Introduction
Setting the intonation of your electric guitar is an essential aspect of maintaining its optimal performance. The intonation directly impacts the accuracy of the instrument's pitch across the fretboard. Without proper intonation, even a well-tuned guitar can sound off-key as you move up and down the neck. Fortunately, with the right tools and a systematic approach, you can easily adjust the intonation of your electric guitar to ensure that each note rings true and harmonious.
Intonation adjustment involves fine-tuning the length of the strings to ensure that they produce the correct pitch at every fret. This process is crucial for achieving accurate and in-tune musical performance, whether you're playing chords, scales, or soloing. By understanding and implementing the steps to set your electric guitar's intonation, you can enhance the overall playability and tonal quality of your instrument.
In the following sections, we will delve into the specifics of intonation adjustment, outlining the necessary tools and a step-by-step guide to help you achieve optimal intonation. Whether you're a beginner or an experienced guitarist, mastering the skill of setting intonation will empower you to unlock the full potential of your electric guitar. Let's embark on this journey to ensure that your instrument resonates with precision and clarity across every fret.
What is Intonation?
Intonation, in the context of a guitar, refers to the accuracy of the instrument’s pitch across the entire fretboard. When a guitar has proper intonation, each note played at any fret will produce the correct pitch. This means that the open string notes and the fretted notes will be in harmony, allowing for accurate and pleasant-sounding musical performance.
One of the primary factors influencing intonation is the length of the guitar strings. When a string is fretted, the effective length of the vibrating portion changes, affecting the pitch produced. If the string length is not properly adjusted, the fretted notes can sound sharp or flat compared to the open string notes, leading to an out-of-tune and dissonant sound.
Poor intonation can be particularly noticeable when playing chords or soloing higher up the neck. Without proper intonation, the guitar may sound out of tune, even if each individual string is tuned correctly. This discrepancy can significantly impact the overall quality of your performance and diminish the enjoyment of playing the instrument.
It’s important to note that intonation is not solely determined by the guitar’s design or build quality. Factors such as string gauge, action height, and changes in temperature and humidity can also affect the intonation over time. Therefore, regular maintenance and adjustments are necessary to ensure consistent and accurate intonation.
Understanding the concept of intonation is crucial for any guitarist, as it directly influences the instrument’s playability and tonal quality. By mastering the skill of setting intonation, you can ensure that your electric guitar produces harmonious and accurate notes across the entire fretboard, enabling you to express your musical creativity with confidence and precision.
Why is Intonation Important?
Intonation plays a pivotal role in the overall playability and tonal accuracy of an electric guitar. There are several compelling reasons why achieving and maintaining proper intonation is crucial for every guitarist:
- Accurate Pitch: Proper intonation ensures that each note played on the guitar resonates at the correct pitch, regardless of its position on the fretboard. This accuracy is essential for creating harmonious melodies and chords, allowing for a more enjoyable and precise playing experience.
- Tonal Quality: Well-adjusted intonation contributes to the overall tonal quality of the instrument. When the guitar is properly intonated, the notes sound clear, vibrant, and in tune, enhancing the musical expression and richness of the sound.
- Chord Clarity: With accurate intonation, chords played higher up the neck maintain their clarity and resonance. Properly intonated guitars produce chords that ring true and remain in tune, providing a more satisfying and professional sound.
- Performance Consistency: Good intonation ensures that the guitar maintains its tuning stability across different fret positions. This consistency is essential for live performances, studio recordings, and jam sessions, allowing for seamless transitions between various musical passages.
- Expression and Creativity: When the guitar is in proper intonation, musicians can freely express their musical ideas without being hindered by out-of-tune notes. This fosters creativity and empowers guitarists to explore a wide range of musical styles and techniques with confidence.
Furthermore, achieving optimal intonation is not only beneficial for the guitarist but also for the audience. Properly intonated guitars deliver a more polished and professional sound, enhancing the listening experience for anyone enjoying the music.
By understanding the significance of intonation and its impact on the instrument’s performance, guitarists can prioritize regular intonation adjustments as part of their instrument maintenance routine. This commitment to maintaining proper intonation will ultimately contribute to a more rewarding and fulfilling musical journey.
Tools Needed for Setting Intonation
Setting the intonation of your electric guitar requires a few essential tools to ensure a precise and effective adjustment process. Here are the key tools you will need:
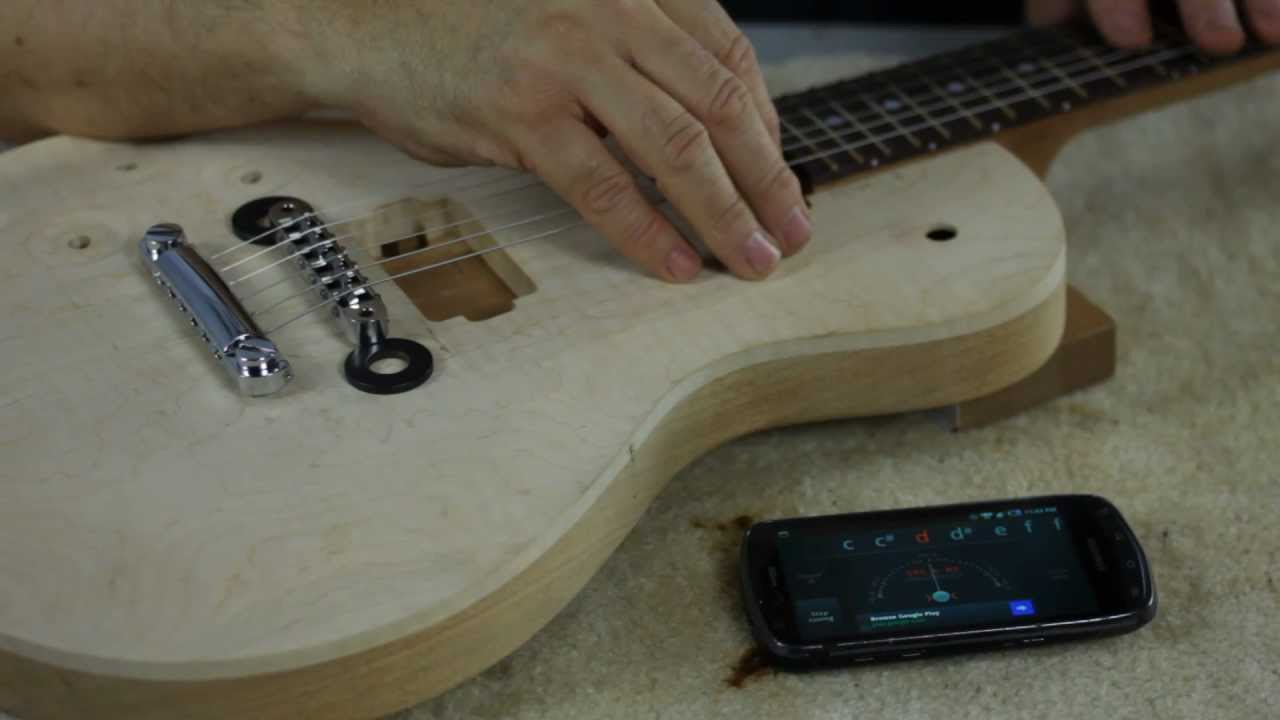
- Electronic Tuner: An accurate electronic tuner is indispensable for setting intonation. It enables you to precisely tune the open strings and assess the accuracy of the fretted notes, providing a reliable reference for intonation adjustments.
- Screwdriver: Depending on your guitar’s bridge design, you may need a screwdriver to adjust the saddle positions. It’s important to use a screwdriver that fits the saddle adjustment screws properly to avoid damaging the screws or the saddle itself.
- Capo: A capo can be helpful for isolating individual strings during the intonation adjustment process. By using a capo to fret the strings at specific fret positions, you can assess the pitch accuracy without the need to hold down multiple strings manually.
- Truss Rod Wrench: In some cases, adjusting the truss rod may be necessary to optimize the overall playability of the guitar. If your guitar’s intonation issues are related to neck relief, a truss rod wrench will be essential for making the appropriate adjustments.
- String Winder: While not directly related to intonation adjustment, a string winder can expedite the process of changing strings. Maintaining fresh strings is beneficial for intonation, as old and worn-out strings can affect the accuracy of the adjustments.
It’s important to ensure that these tools are in good condition and appropriate for your specific guitar model. Additionally, having a clean and well-lit workspace will facilitate the intonation adjustment process, allowing you to focus on the task at hand without any unnecessary distractions.
By having the necessary tools readily available, you can approach the intonation adjustment with confidence, knowing that you have everything required to achieve optimal intonation on your electric guitar.
Step 1: Tune Your Guitar
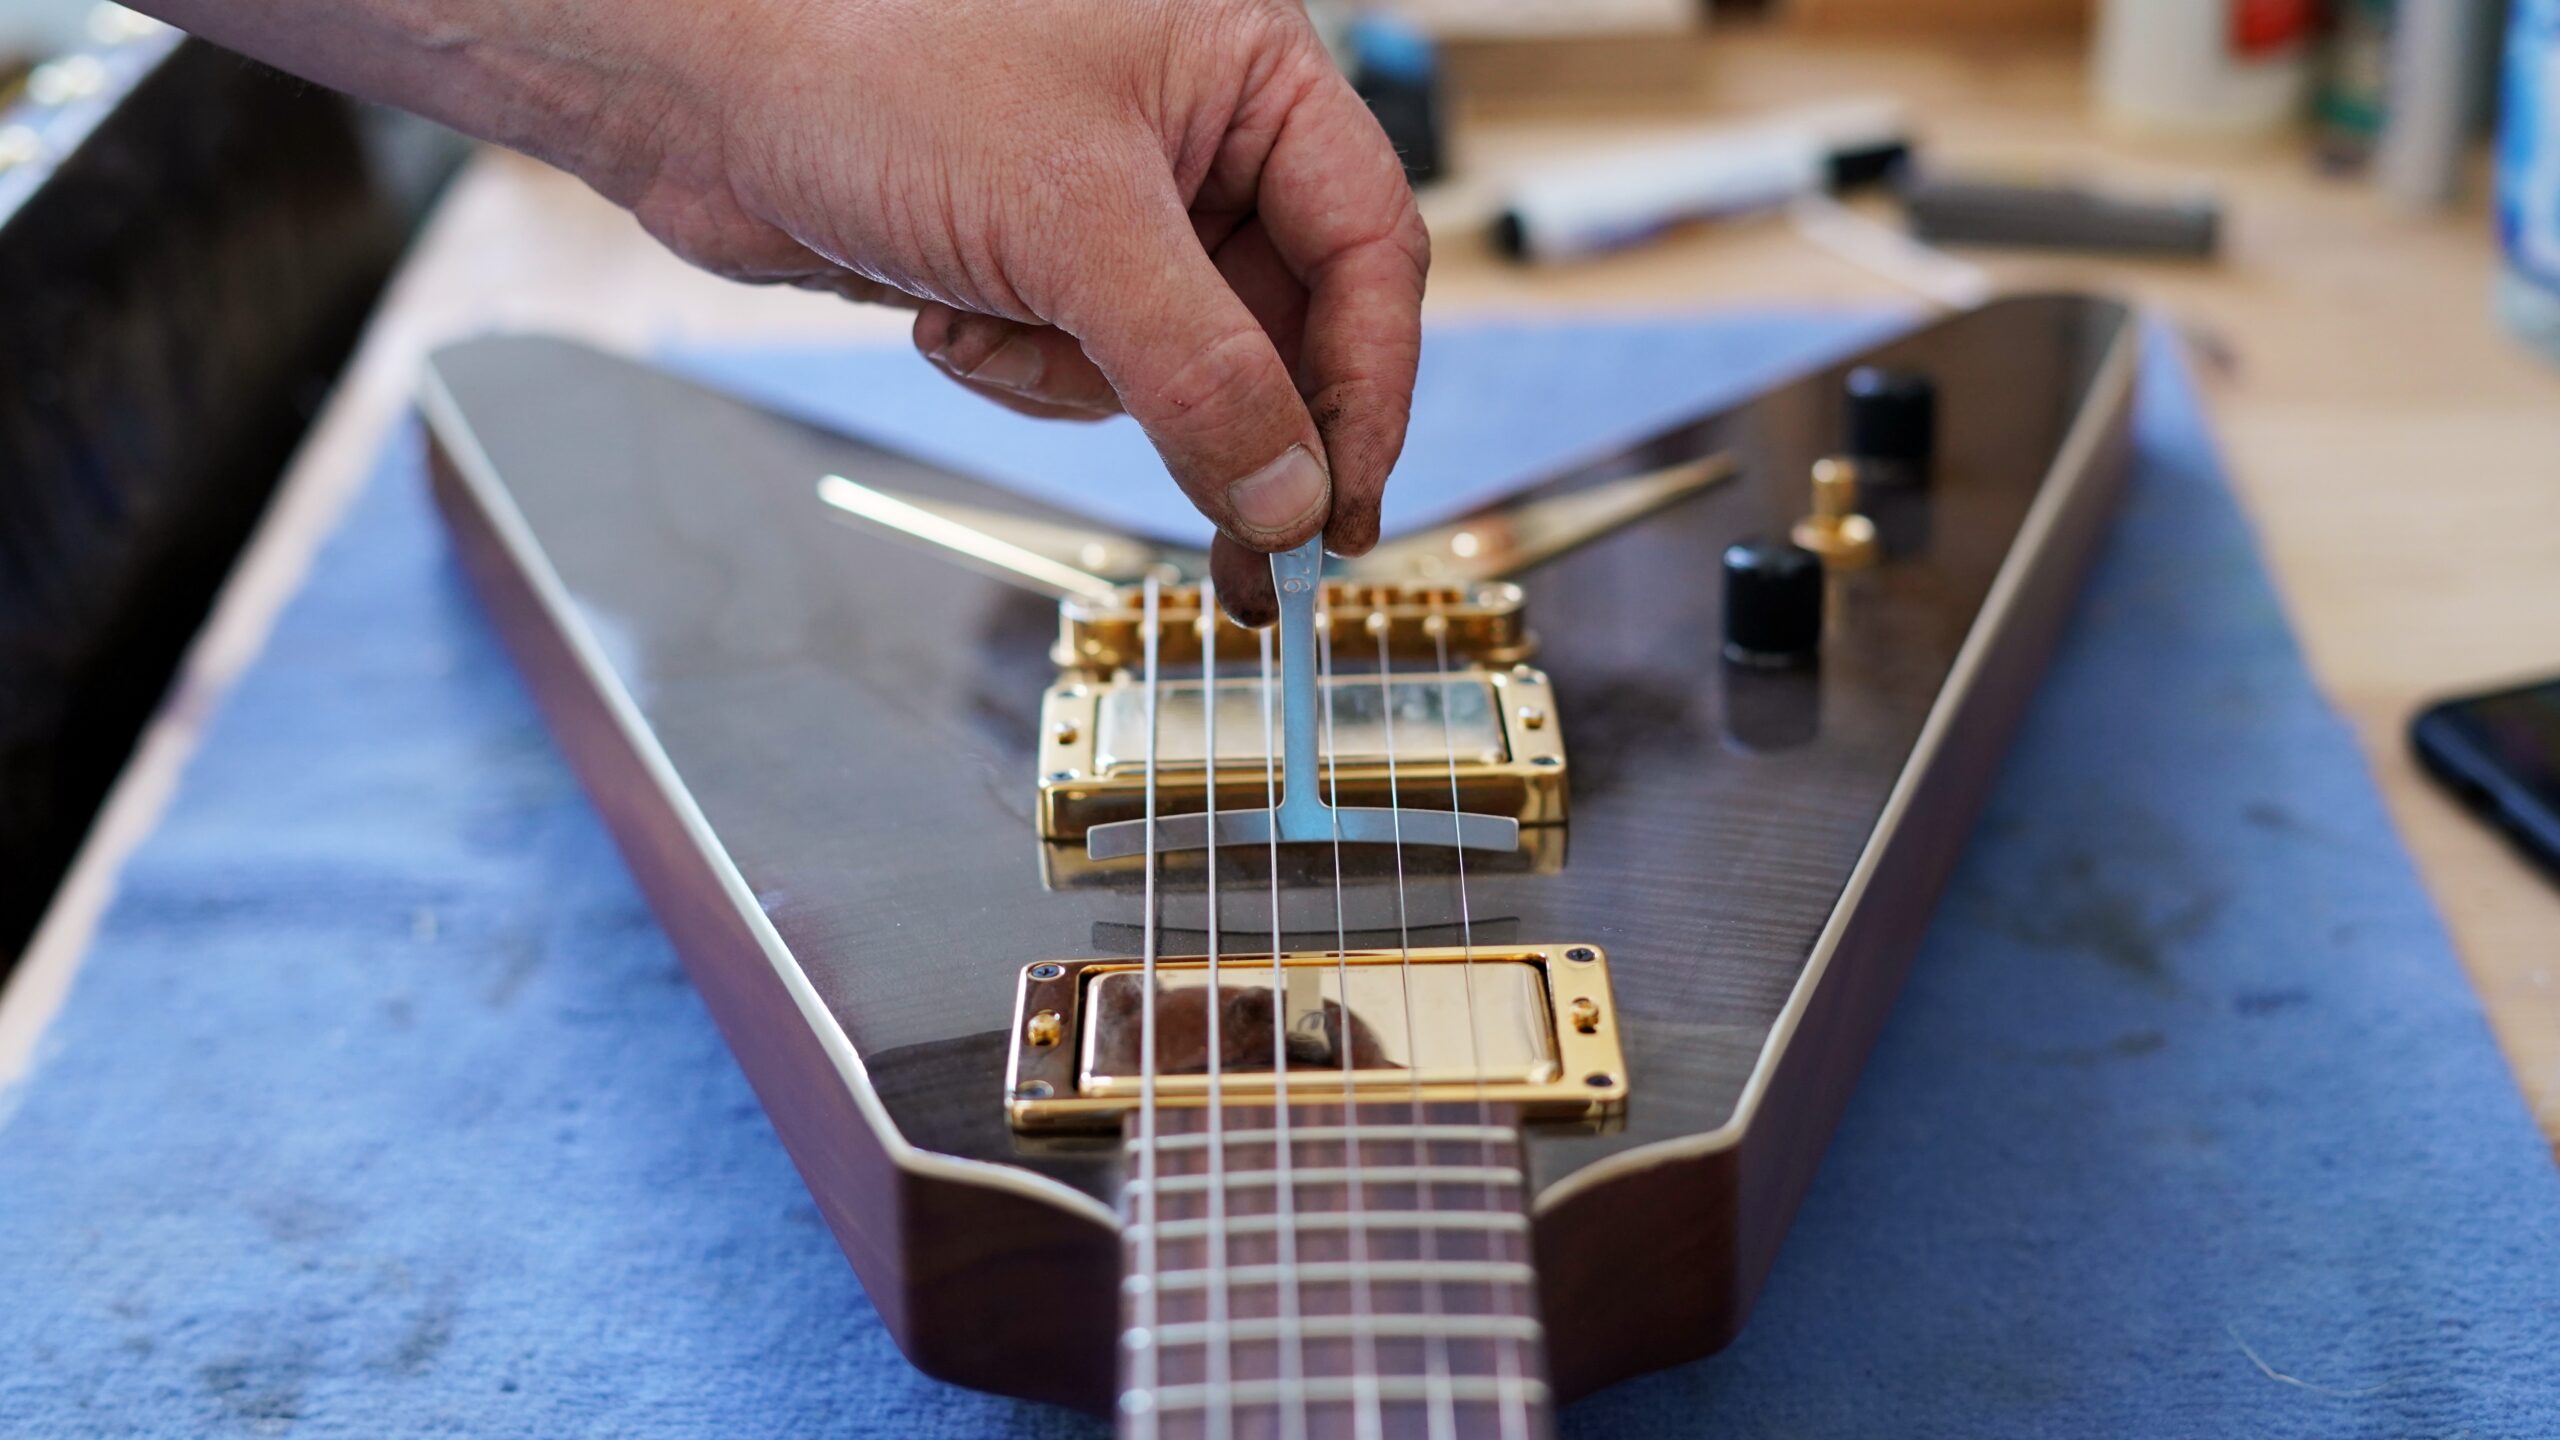
Before embarking on the intonation adjustment process, it is crucial to ensure that your guitar is accurately tuned to standard pitch. Use a reliable electronic tuner to tune each string to the correct notes (EADGBE for standard tuning). This initial tuning serves as the foundation for assessing and adjusting the intonation of your instrument.
As you tune each string, pay close attention to achieving precise pitch accuracy. A well-tuned guitar provides a stable reference point for evaluating the intonation across the fretboard. Ensure that the strings are neither sharp nor flat, as any deviation from the standard tuning can affect the accuracy of the intonation assessment.
Once the open strings are tuned to perfection, strumming through simple chords and playing individual notes across different fret positions can help identify any potential intonation issues. If certain fretted notes sound noticeably sharp or flat compared to their open string counterparts, it indicates a need for intonation adjustment.
It’s important to take your time during this tuning process, as precision at this stage sets the stage for the subsequent intonation adjustments. A well-tuned guitar not only facilitates accurate intonation assessment but also contributes to a more enjoyable and satisfying playing experience.
By meticulously tuning your guitar and confirming the accuracy of the open string notes, you establish a solid starting point for the intonation adjustment journey. With the foundation of precise tuning in place, you are ready to proceed to the next step of setting the intonation of your electric guitar.
Step 2: Adjust the Saddle Position
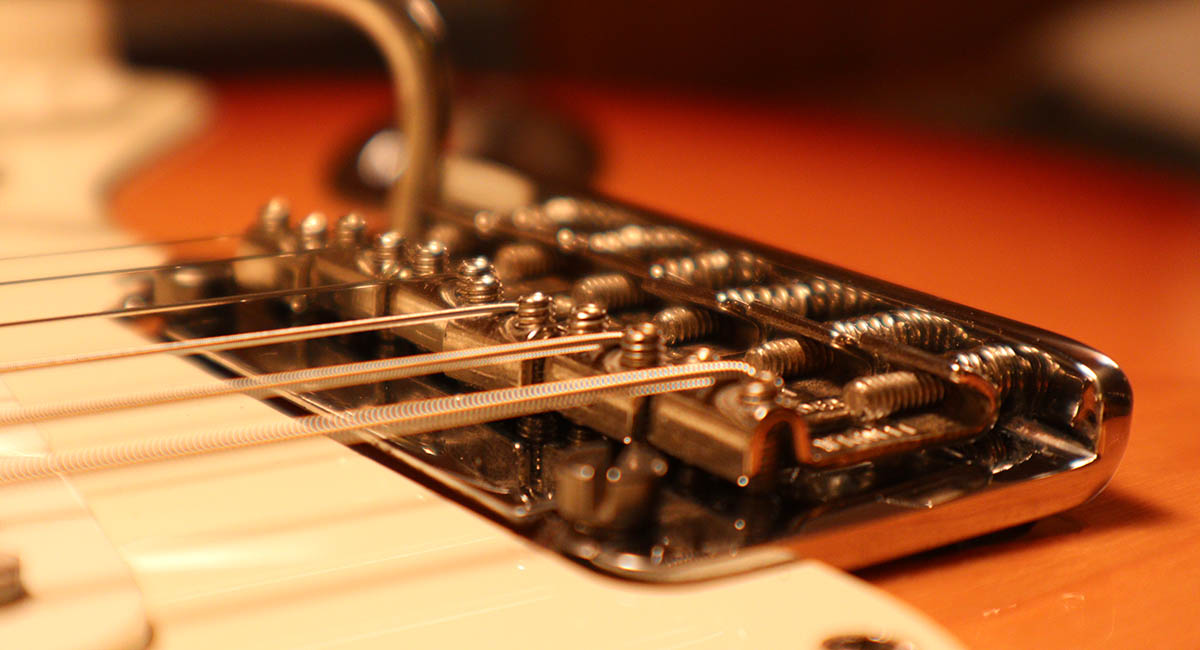
Once your guitar is accurately tuned, the next step in setting the intonation involves adjusting the saddle positions to achieve optimal string length. The saddle serves as the anchor point for the strings and can be adjusted to fine-tune the intonation of each individual string.
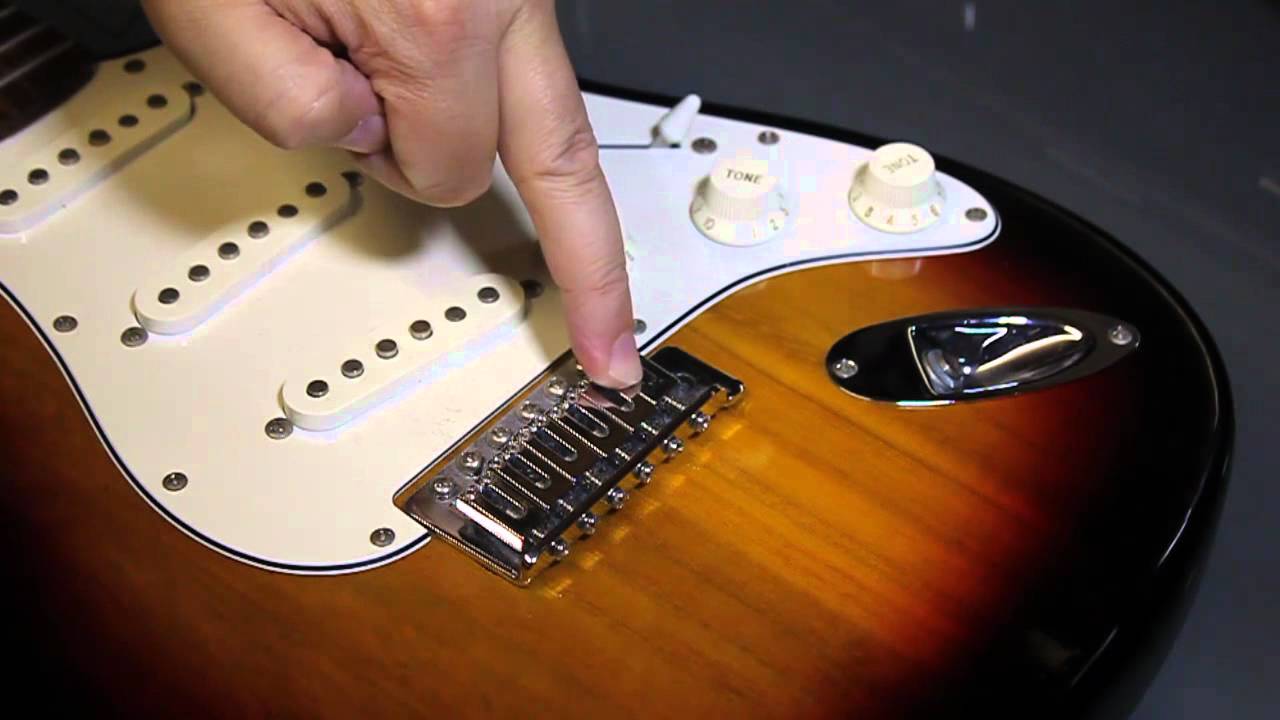
Start by identifying the saddle adjustments on your guitar’s bridge. Depending on the bridge type, the saddles may be individually adjustable for each string or grouped together for simultaneous adjustment. Refer to your guitar’s manual or online resources for specific guidance on locating and adjusting the saddles.
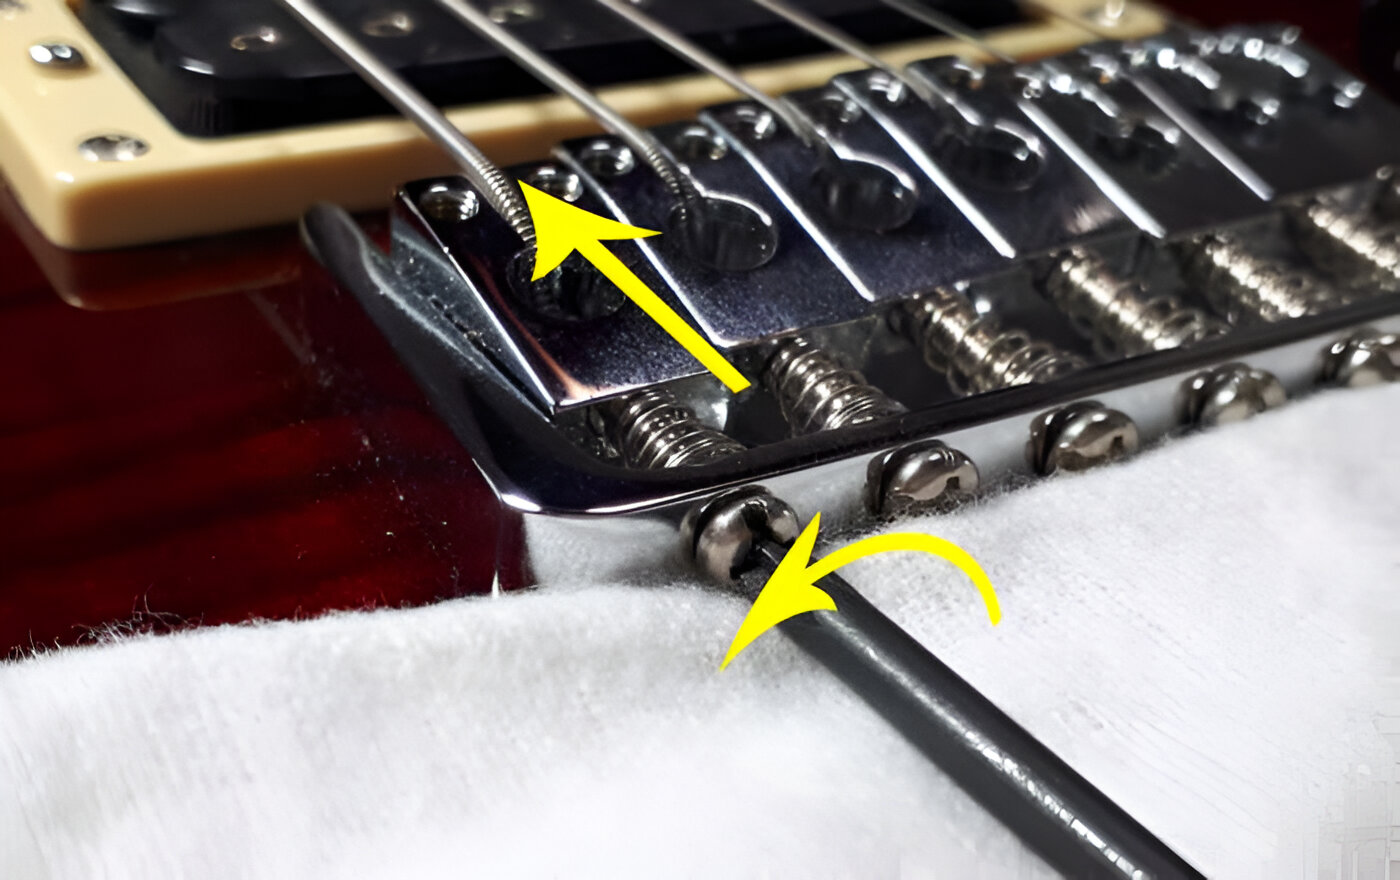
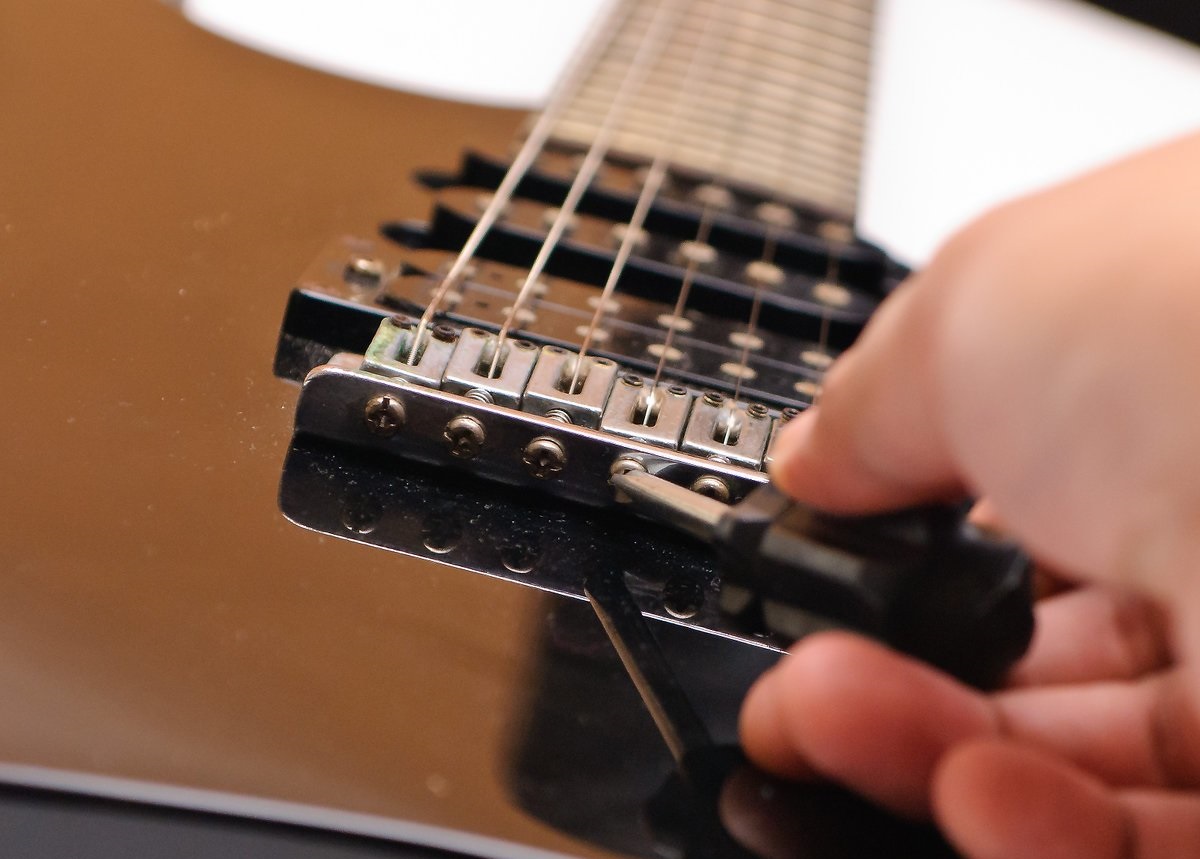
Using a screwdriver or the appropriate tool for your guitar’s saddle adjustment mechanism, make subtle changes to the saddle positions. The goal is to lengthen or shorten the effective vibrating length of each string to ensure that the fretted notes produce the correct pitch.
To begin the adjustment, fret the 12th fret on a specific string and compare the pitch of the fretted note to the open string note. If the fretted note sounds sharp, the string length needs to be increased, requiring the saddle to move away from the neck. Conversely, if the fretted note sounds flat, the string length should be reduced, necessitating the saddle to move towards the neck.
Make incremental adjustments to the saddle position and re-tune the string after each change. It’s essential to approach the adjustments with patience and precision, as small alterations can significantly impact the intonation. Continuously check the pitch accuracy of the fretted notes against the open string notes to gauge the effectiveness of the saddle adjustments.
Repeat this process for each string, ensuring that the saddle positions are meticulously adjusted to achieve accurate intonation across the fretboard. As you fine-tune the saddle positions, you are one step closer to ensuring that your electric guitar produces harmonious and in-tune notes at every fret.
With the saddle positions adjusted, you are ready to move on to the next step of re-tuning the guitar and checking the intonation to validate the effectiveness of the adjustments.
Step 3: Re-tune and Check the Intonation
After adjusting the saddle positions, it’s essential to re-tune your guitar and meticulously check the intonation to ensure that the adjustments have effectively optimized the string length for accurate pitch across the fretboard.
Using an electronic tuner, tune each string to the standard pitch (EADGBE for standard tuning) once again. It’s important to achieve precise tuning, as this will serve as the foundation for evaluating the intonation across the fretboard.
With the guitar accurately tuned, play the open string notes and compare the pitch to the fretted notes at the 12th fret. Pay close attention to the accuracy of the fretted notes, listening for any signs of sharpness or flatness compared to the open string notes.
If the fretted notes exhibit improved pitch accuracy after the saddle adjustments, it indicates that the intonation has been optimized for those strings. However, if any discrepancies in pitch are still present, further adjustments to the saddle positions may be necessary to achieve precise intonation.
When evaluating the intonation, take your time to assess the pitch accuracy at various fret positions, especially higher up the neck where intonation issues are more perceptible. Playing scales, chords, and individual notes across different frets can help identify any lingering intonation challenges that require attention.
Throughout this process, make incremental adjustments to the saddle positions as needed, ensuring that each string’s intonation is meticulously fine-tuned. After each adjustment, re-tune the guitar and check the intonation to validate the effectiveness of the changes.
By re-tuning and thoroughly checking the intonation, you can fine-tune the string length and ensure that the guitar produces harmonious and accurate notes across the entire fretboard. This step is crucial for validating the success of the saddle adjustments and achieving optimal intonation on your electric guitar.
Once you have confirmed the improved intonation, you can proceed to the next step, which involves fine-tuning the saddle positions to further enhance the accuracy of the instrument’s pitch.
Step 4: Fine-Tuning the Saddle Position
After re-tuning and checking the intonation, the next step involves fine-tuning the saddle positions to ensure precise string length adjustments, further refining the accuracy of the instrument’s pitch across the fretboard.
Begin by focusing on the strings that exhibit remaining intonation discrepancies, particularly those that sound sharp or flat when fretted at the 12th fret. Using the appropriate tool, make subtle adjustments to the saddle positions for these specific strings, aiming to achieve optimal intonation.
As you fine-tune the saddle positions, it’s essential to re-tune the guitar after each adjustment to accurately assess the impact on the intonation. This iterative process allows you to gauge the effectiveness of the changes and ensure that the fretted notes produce the correct pitch in harmony with the open string notes.
When fine-tuning the saddle positions, pay close attention to the incremental adjustments and their influence on the intonation. Even slight alterations can significantly impact the accuracy of the instrument’s pitch, making precision and patience essential during this phase of the intonation adjustment process.
Continuously check the intonation by playing scales, chords, and individual notes across different fret positions, listening for any signs of improved pitch accuracy resulting from the fine-tuned saddle positions. This comprehensive assessment ensures that the intonation is consistently optimized across the entire fretboard.
Throughout this step, maintain a methodical approach, addressing each string’s intonation challenges with meticulous attention to detail. By fine-tuning the saddle positions, you are refining the string length adjustments to achieve harmonious and in-tune notes at every fret, enhancing the overall playability and tonal quality of your electric guitar.
Once you have fine-tuned the saddle positions to address any remaining intonation discrepancies, you are ready to proceed to the final step, which involves conducting a comprehensive check and making any necessary adjustments to perfect the intonation of your electric guitar.
Step 5: Final Check and Adjustments
As you near the completion of the intonation adjustment process, conducting a final check and making any necessary adjustments is essential to ensure that your electric guitar achieves optimal intonation across the fretboard.
Begin by re-tuning the guitar to standard pitch using an electronic tuner, ensuring that each string is precisely tuned. This foundational step sets the stage for the comprehensive assessment of the intonation’s accuracy.
With the guitar accurately tuned, play through scales, chords, and individual notes across different fret positions, paying meticulous attention to the pitch accuracy of the fretted notes. Listen for any signs of sharpness or flatness compared to the open string notes, identifying any remaining intonation challenges that require attention.
If you detect any lingering intonation discrepancies, carefully make incremental adjustments to the saddle positions for the affected strings. Fine-tune the string length to address the remaining issues, re-tuning the guitar after each adjustment to validate the impact on the intonation.
Throughout the final check, it’s crucial to maintain a patient and methodical approach, carefully evaluating the pitch accuracy at various fret positions to ensure consistent and harmonious intonation. By conducting a comprehensive assessment, you can identify and address any remaining intonation challenges with precision and confidence.
Once you have fine-tuned the saddle positions and confirmed the accuracy of the intonation, play through different musical passages, experimenting with chords, scales, and melodic phrases to experience the enhanced playability and tonal quality resulting from the optimized intonation.
By conducting a final check and making any necessary adjustments, you are ensuring that your electric guitar resonates with precision and clarity across every fret, empowering you to express your musical creativity with confidence and accuracy.
With the completion of the final check and adjustments, you have successfully navigated the process of setting the intonation of your electric guitar, achieving harmonious and in-tune notes that elevate the overall performance and enjoyment of your instrument.
Conclusion
Setting the intonation of your electric guitar is a fundamental aspect of maintaining its optimal performance and playability. By understanding the concept of intonation and following a systematic approach to adjustment, you can ensure that your instrument produces harmonious and accurate notes across the entire fretboard.
Throughout the intonation adjustment process, you have delved into the nuances of string length optimization, fine-tuning the saddle positions, and conducting comprehensive checks to achieve precise pitch accuracy. This meticulous approach has empowered you to address any intonation discrepancies and enhance the overall tonal quality of your electric guitar.
Optimal intonation not only contributes to the accuracy of the instrument’s pitch but also enhances the clarity and resonance of chords and individual notes, providing a more satisfying and professional sound. The commitment to maintaining proper intonation will ultimately contribute to a more rewarding and fulfilling musical journey.
As you continue to explore the capabilities of your electric guitar, the skill of setting intonation will serve as a valuable asset, enabling you to express your musical creativity with confidence and precision. Whether you’re playing chords, scales, or engaging in expressive solo performances, the optimized intonation will facilitate a more enjoyable and seamless playing experience.
By prioritizing regular intonation adjustments as part of your instrument maintenance routine, you are actively contributing to the longevity and consistent performance of your electric guitar. This dedication to meticulous care and attention ensures that your instrument remains in prime condition, ready to resonate with precision and clarity across every musical endeavor.
As you reflect on the journey of setting the intonation of your electric guitar, take pride in the knowledge and skill you have acquired. The ability to fine-tune and optimize the intonation of your instrument represents a significant milestone in your musical proficiency, allowing you to unlock the full potential of your electric guitar and elevate your musical expression to new heights.
With the intonation of your electric guitar finely tuned and optimized, you are poised to embark on a musical odyssey filled with harmonious melodies, expressive chords, and resonant notes that captivate both the audience and the performer. Embrace the artistry and precision that optimal intonation affords, and let your electric guitar become a conduit for your musical vision and creativity.


