Introduction
Restringing an electric guitar, particularly a Fender model, is an essential skill for any guitarist. Whether you're a seasoned musician or a novice player, knowing how to restring your instrument is a fundamental aspect of guitar maintenance and care. Over time, strings wear out, lose their tone, and become prone to breaking. By learning the proper technique for restringing your electric guitar, you can ensure that your instrument consistently produces the best sound possible.
Restringing a Fender electric guitar involves several steps, including removing the old strings, cleaning the guitar, attaching the new strings, and tuning the instrument to perfection. Each of these steps plays a crucial role in maintaining the playability and sound quality of your guitar. While the process may seem daunting at first, with practice and the right guidance, it can become a routine part of your guitar maintenance regimen.
In this guide, we will walk you through the step-by-step process of restringing your Fender electric guitar, offering valuable tips and insights to help you achieve optimal results. By following these instructions and gaining hands-on experience, you'll not only extend the lifespan of your guitar strings but also develop a deeper understanding of your instrument's mechanics. So, gather your tools and let's dive into the world of Fender electric guitar restringing.
Tools and Materials Needed
Before you embark on the restringing journey, it’s essential to gather the necessary tools and materials. Having the right equipment at your disposal will streamline the process and ensure that you can tackle each step with confidence and precision. Here’s a comprehensive list of the items you’ll need:
- New Guitar Strings: Ensure that you have the appropriate gauge and type of strings for your Fender electric guitar. Different styles of music and playing preferences may require specific string types, so choose accordingly.
- Wire Cutters: A reliable pair of wire cutters will make it easier to remove the old strings and trim the excess length of the new ones.
- Tuner: A digital tuner is crucial for achieving accurate pitch and ensuring that your guitar is perfectly in tune after restringing.
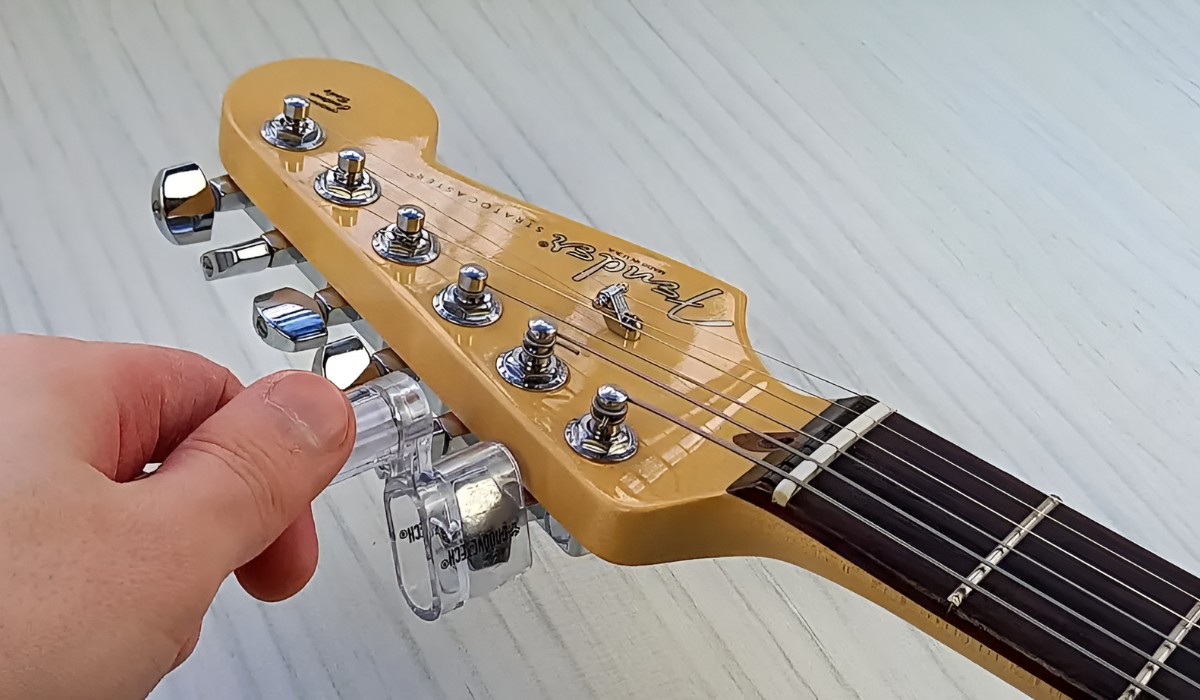
- String Winder: This tool will expedite the process of winding the new strings around the tuning pegs, saving you time and effort.
- Clean Cloth: Having a soft, clean cloth on hand will allow you to wipe down your guitar and keep it free from dust and debris.
- Lemon Oil (for Rosewood Fingerboards): If your Fender guitar features a rosewood fingerboard, lemon oil can be used to condition and clean the wood.
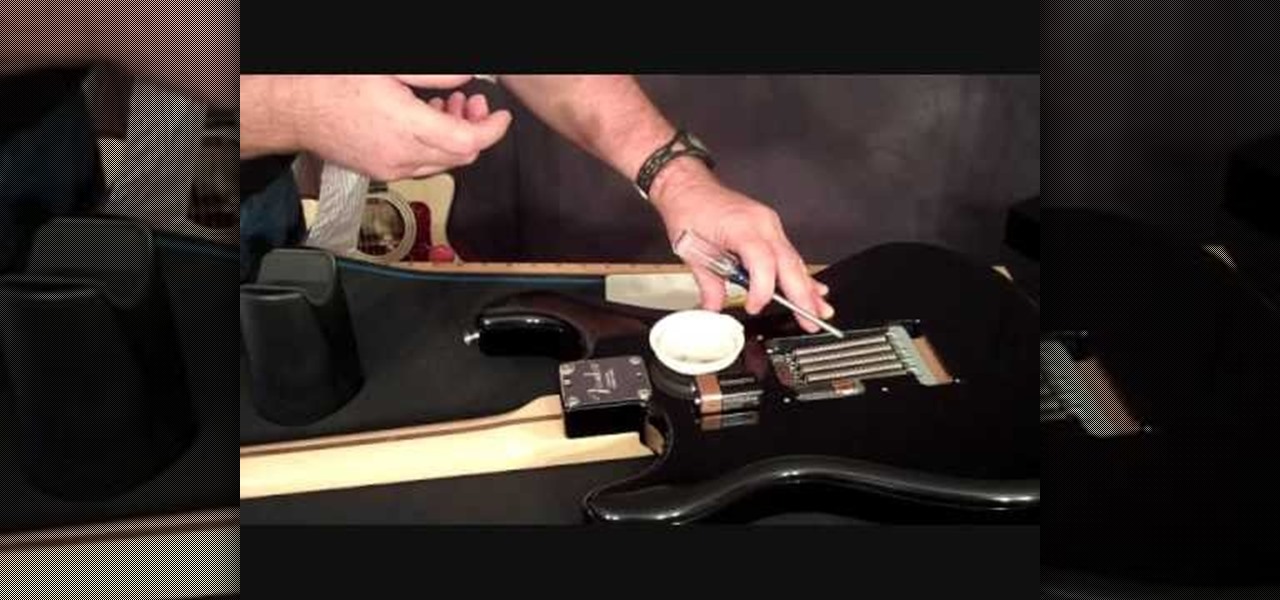
- Allen Wrench (for Locking Tremolo Systems): If your Fender guitar is equipped with a locking tremolo system, an Allen wrench will be necessary for adjusting the bridge and locking nut.
By ensuring that you have all the required tools and materials within reach, you’ll be well-prepared to tackle the restringing process with ease. With these essentials at your disposal, you can proceed to the next steps of removing the old strings and preparing your guitar for a fresh set of strings.
Removing the Old Strings
Before you can outfit your Fender electric guitar with a new set of strings, it’s crucial to remove the old ones carefully. This process not only paves the way for the installation of fresh strings but also allows you to inspect and clean the guitar’s components. Here’s a step-by-step guide to removing the old strings:
- Loosen the Tuning Pegs: Begin by turning the tuning pegs to slacken the tension of the strings. This will make it easier to unwind and remove them from the guitar.
- Unwind the Strings: Using your string winder, unwind each string from its respective tuning peg. Once the tension is released, carefully remove the strings from the guitar’s bridge and discard them.
- Clean the Guitar: With the old strings removed, take the opportunity to clean the fretboard, bridge, and other areas of the guitar. Use a clean cloth to wipe away any accumulated dust or residue.
- Inspect the Components: While the strings are off, inspect the condition of the bridge, nut, and frets. Look for any signs of wear or damage that may require attention.
- Trim the String Ends: After removing the strings, use wire cutters to trim any excess string ends protruding from the tuning pegs. This will prevent them from getting in the way during the restringing process.
By following these steps, you’ll effectively remove the old strings from your Fender electric guitar, setting the stage for the next phase of the restringing process. Taking the time to clean and inspect your guitar during this stage contributes to its overall maintenance and longevity, ensuring that it remains in optimal playing condition.
Cleaning the Guitar
After removing the old strings from your Fender electric guitar, it’s essential to take the time to clean the instrument thoroughly. Cleaning not only enhances the visual appeal of the guitar but also contributes to its overall maintenance and longevity. Here’s a detailed guide on how to clean your guitar effectively:
- Fretboard Cleaning: If your guitar has a rosewood or ebony fretboard, you can use a small amount of lemon oil on a clean cloth to condition and clean the wood. Gently rub the oil into the fretboard, then wipe off any excess to keep the wood hydrated and free from dirt.
- Body and Neck Wiping: Use a soft, clean cloth to wipe down the body and neck of the guitar, removing any dust, fingerprints, or smudges. Pay attention to areas around the pickups, bridge, and tuning pegs, ensuring that all surfaces are free from debris.
- Hardware Inspection: As you clean the guitar, take the opportunity to inspect the hardware, including the bridge, tuners, and any other components. Look for any signs of corrosion, loose screws, or other issues that may require attention.
- Polishing (Optional): If your guitar has a glossy finish, you may opt to use a suitable guitar polish to restore its shine. Apply the polish to a clean cloth and gently buff the guitar’s body and headstock to achieve a lustrous appearance.
By incorporating these cleaning steps into your restringing process, you’ll not only maintain the aesthetic appeal of your Fender electric guitar but also ensure that it remains in prime playing condition. A clean and well-maintained guitar not only looks impressive but also contributes to a more enjoyable playing experience, allowing you to focus on creating music without distractions.
Attaching the New Strings
With your Fender electric guitar cleaned and prepped, it’s time to attach a fresh set of strings to restore its vibrant sound and playability. The process of installing new strings is a pivotal aspect of restringing your guitar, and attention to detail is crucial to achieving optimal results. Here’s a comprehensive guide to attaching the new strings:
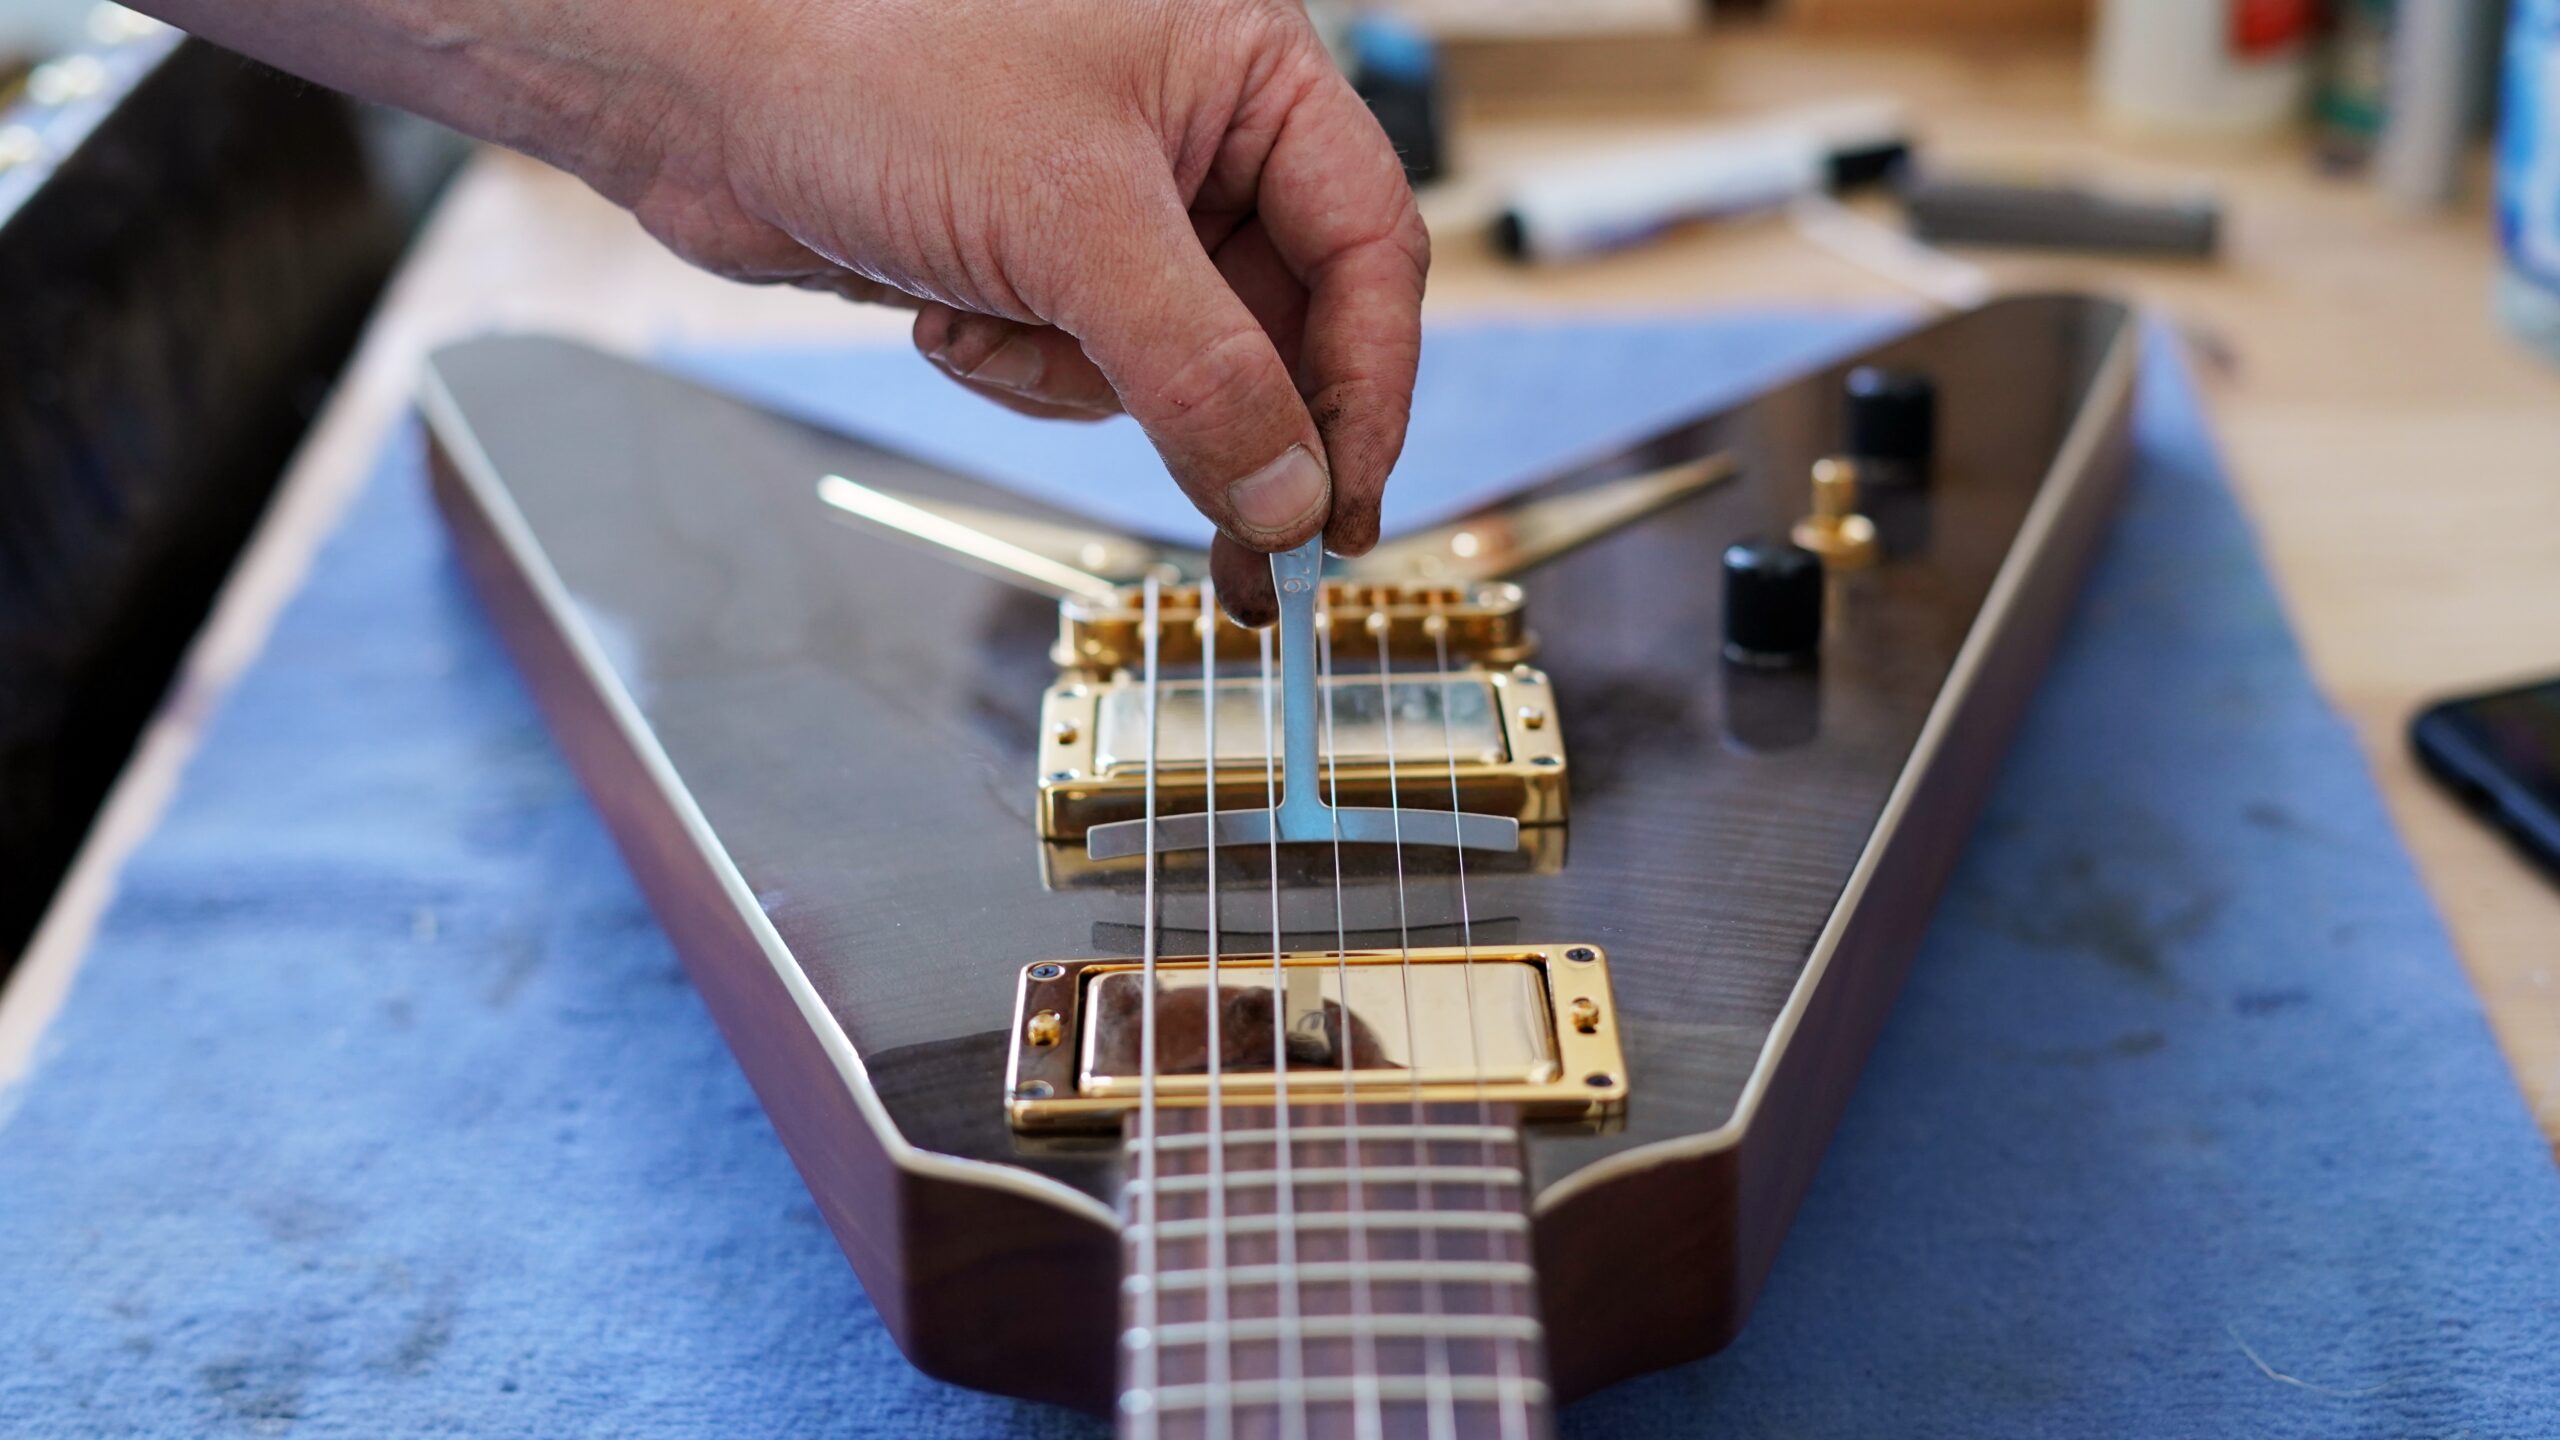
- Feed the String Through the Bridge: Begin by inserting the ball end of the string into the corresponding bridge saddle. Ensure that the string is seated securely in the saddle to prevent slippage.
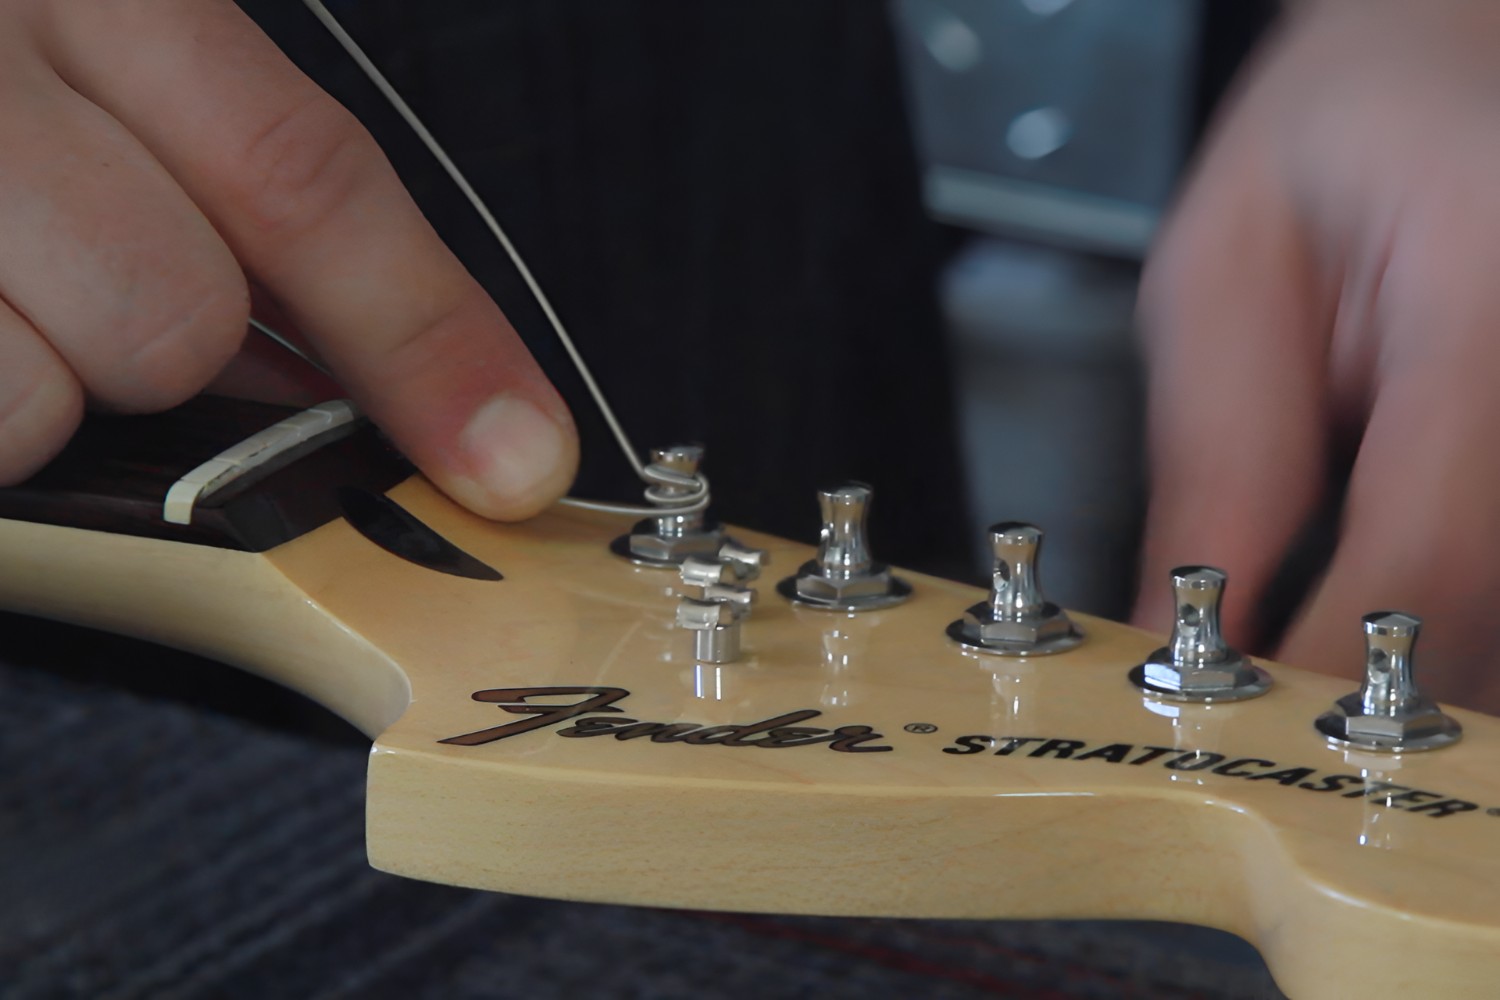
- Secure the String at the Tuning Peg: Pull the opposite end of the string up to the appropriate tuning peg. Leave a few inches of slack, and then insert the string through the peg hole, pulling it taut against the guitar’s headstock.
- Wind the String: Using your string winder, begin winding the string onto the tuning peg in the direction that aligns with the peg’s rotation. Ensure that the coils are neat and uniform for optimal tuning stability.
- Repeat for Remaining Strings: Follow the same process for each subsequent string, taking care to align them properly in their respective bridge saddles and tuning pegs.
- Stretch and Tune the Strings: After all the new strings are attached, gently stretch each one to minimize initial tuning instability. Using a digital tuner, carefully tune each string to the appropriate pitch, ensuring accuracy and stability.
By following these steps meticulously, you’ll successfully attach a fresh set of strings to your Fender electric guitar, setting the stage for optimal sound quality and playability. The proper installation of new strings is a critical component of the restringing process, and attention to detail during this phase will yield rewarding results in the form of enhanced tone and responsiveness.
Tuning the Guitar
After attaching the new strings to your Fender electric guitar, the final step in the restringing process is tuning the instrument to achieve optimal pitch and tonal accuracy. Proper tuning is essential for ensuring that your guitar produces the desired sounds and maintains stable intonation. Here’s a detailed guide to tuning your freshly restrung guitar:
- Initial Tuning: Using a digital tuner, begin by tuning each string to the appropriate pitch. Start with the low E string and progress to the high E string, ensuring that each string is tuned accurately.
- Check Intonation: Once the strings are tuned to standard pitch, check the guitar’s intonation by playing fretted notes at various positions on the neck. Use the tuner to verify that the fretted notes align with the correct pitch.
- Fine-Tuning: After the initial tuning and intonation check, fine-tune each string as needed to eliminate any remaining discrepancies. This step is crucial for achieving precise pitch and ensuring that the guitar stays in tune during play.
- Stretch the Strings: Gently stretch each string by pulling and tugging on it to help settle the new strings and minimize tuning instability. Re-tune the guitar after stretching to ensure stability.
- Verify Tuning Stability: Play chords and individual notes across the fretboard to verify that the guitar maintains stable tuning. Make any additional adjustments as necessary to achieve consistent pitch and intonation.
By meticulously following these tuning steps, you’ll ensure that your Fender electric guitar is perfectly tuned and ready to deliver exceptional sound quality and playability. Proper tuning is the cornerstone of a rewarding playing experience, allowing you to express your musical creativity with confidence and precision.


