Introduction
Changing the strings on your Fender Stratocaster electric guitar is an essential skill for any guitarist. Whether you're a seasoned musician or a beginner, knowing how to restring your instrument is crucial for maintaining its playability and sound quality. Over time, guitar strings accumulate dirt, sweat, and oils from your fingers, causing them to lose their brightness and intonation. By replacing old strings with fresh ones, you can breathe new life into your guitar's tone and playability.
Aside from the sonic benefits, restringing your guitar provides an opportunity to inspect its components, such as the fretboard and bridge, for any signs of wear or damage. Additionally, regular restringing allows you to experiment with different string gauges and materials to find the perfect fit for your playing style and musical preferences.
In this guide, we will walk you through the step-by-step process of changing the strings on your Fender Stratocaster. You'll learn about the tools needed, how to remove the old strings, clean the fretboard, install the new strings, tune and stretch them, and make final adjustments to ensure optimal playability. Whether you're preparing for a gig, a recording session, or simply want to keep your guitar in top condition, restringing your Fender Stratocaster is a valuable skill that every guitarist should master. Let's dive in and discover the art of string maintenance and care for your beloved instrument.
Tools Needed
Before embarking on the restringing journey, it’s essential to gather the necessary tools to ensure a smooth and efficient process. Here’s a list of items you’ll need:
- Replacement Strings: Select the appropriate gauge and material for your playing style and musical genre. Common options include nickel-plated steel, pure nickel, stainless steel, and various coated strings.
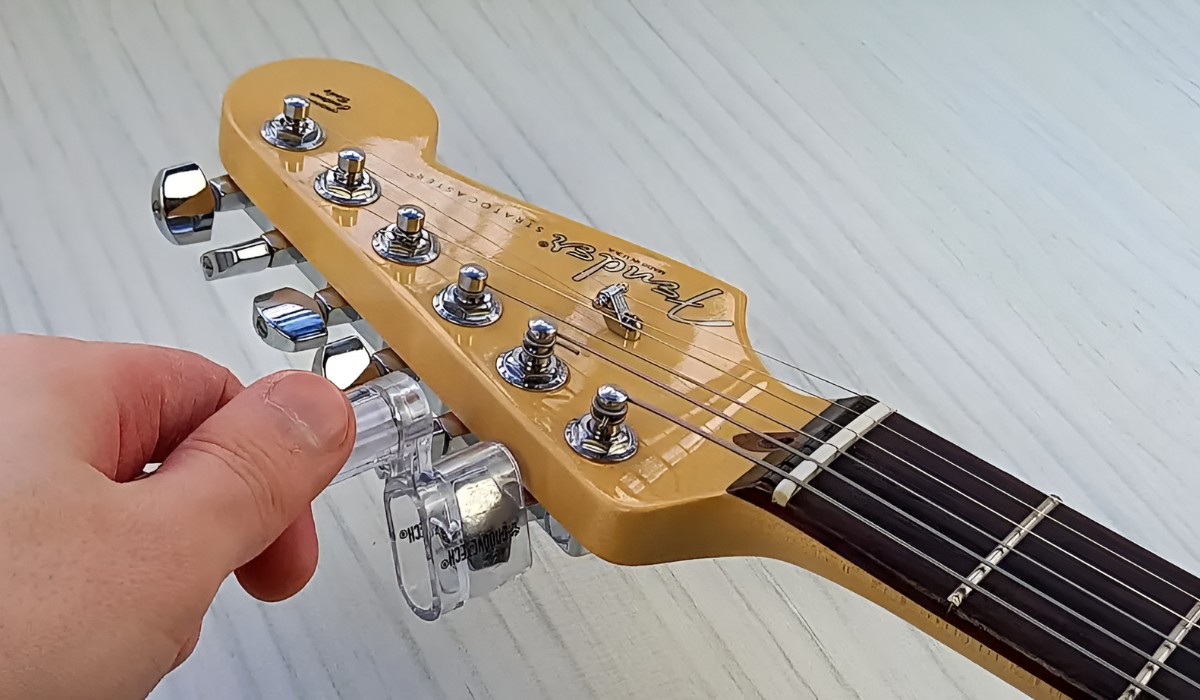
- String Winder: This tool expedites the winding and unwinding of strings, saving time and effort during the restringing process.
- Wire Cutters: Use these to trim excess string length after installation.
- Microfiber Cloth: Ideal for wiping down the guitar’s body, neck, and fretboard, removing any accumulated grime and residue.
- Lemon Oil or Fretboard Conditioner: For cleaning and conditioning the fretboard, maintaining its smoothness and preventing moisture-related issues.
- Tuner: A reliable tuner is essential for accurately tuning the new strings to their proper pitches.
- Soft Work Surface: Lay the guitar on a soft cloth or mat to prevent scratches or damage to its finish during the restringing process.
By having these tools at your disposal, you’ll be well-equipped to execute the string replacement with precision and care. With the right tools in hand, you can ensure that your Fender Stratocaster receives the attention and maintenance it deserves, ultimately enhancing its playability and tonal characteristics.
Removing the Old Strings
Before installing fresh strings on your Fender Stratocaster, it’s crucial to remove the old ones carefully. Follow these steps to ensure a smooth and safe removal process:
- Loosen the Tuning Pegs: Begin by turning the tuning pegs counterclockwise to slacken the tension of each string. This step makes it easier to unwind and remove the strings without causing unnecessary stress on the guitar’s neck and headstock.
- Unwind and Remove the Strings: Using a string winder, unwind each string from its respective tuning peg. Once the tension is released, carefully pull the string out from the peg and bridge. Be cautious when handling the loose strings to prevent any accidental scratches or damage to the guitar’s finish.
- Dispose of the Old Strings: Properly discard the old strings to avoid any potential safety hazards. Consider using a string recycling program if available in your area to minimize environmental impact.
By following these steps, you can safely and efficiently remove the old strings from your Fender Stratocaster, preparing the guitar for the next stage of the restringing process. Proper handling and disposal of the old strings contribute to a tidy and organized workspace, setting the stage for a seamless transition to installing the new strings.
Cleaning the Fretboard
After removing the old strings, it’s an opportune time to give the fretboard of your Fender Stratocaster some well-deserved attention. Over time, the fretboard can accumulate dirt, sweat, and grime, affecting its playability and overall aesthetic. Follow these steps to effectively clean and condition the fretboard:
- Inspect the Fretboard: Take a close look at the fretboard to identify any areas with built-up residue or stubborn dirt. This visual inspection will guide your cleaning efforts and ensure thorough maintenance.
- Apply Fretboard Conditioner: Using a soft, clean cloth, apply a small amount of lemon oil or fretboard conditioner to the fretboard’s surface. Gently rub the conditioner into the wood, covering the entire fretboard while paying particular attention to any heavily soiled areas.
- Remove Excess Conditioner: After allowing the conditioner to penetrate the wood for a few minutes, use a separate clean cloth to wipe away any excess oil or conditioner. This step ensures that the fretboard is left with a smooth, conditioned surface, free from any residual buildup.
- Clean the Frets: With a fine-grade steel wool or fret polishing cloth, carefully clean the frets to remove any tarnish or oxidation. This process restores the frets’ shine and maintains their structural integrity, contributing to a comfortable playing experience.
- Inspect and Wipe the Fretboard: Once the conditioning and cleaning process is complete, inspect the fretboard to ensure that it is free from dirt and grime. Use a dry, clean cloth to give the fretboard a final wipe, leaving it smooth and rejuvenated.
By dedicating time to clean and condition the fretboard, you not only improve the visual appeal of your guitar but also contribute to its long-term durability and playability. A well-maintained fretboard enhances the overall feel of the instrument, providing a comfortable and responsive surface for your playing endeavors.
Installing the New Strings
With the fretboard cleaned and conditioned, it’s time to install the new strings on your Fender Stratocaster. Follow these steps to ensure a successful and secure installation:
- Prepare the Strings: Uncoil the new strings and straighten them gently to remove any kinks or bends. This step ensures that the strings wind smoothly around the tuning pegs and bridge, minimizing the risk of tuning instability.
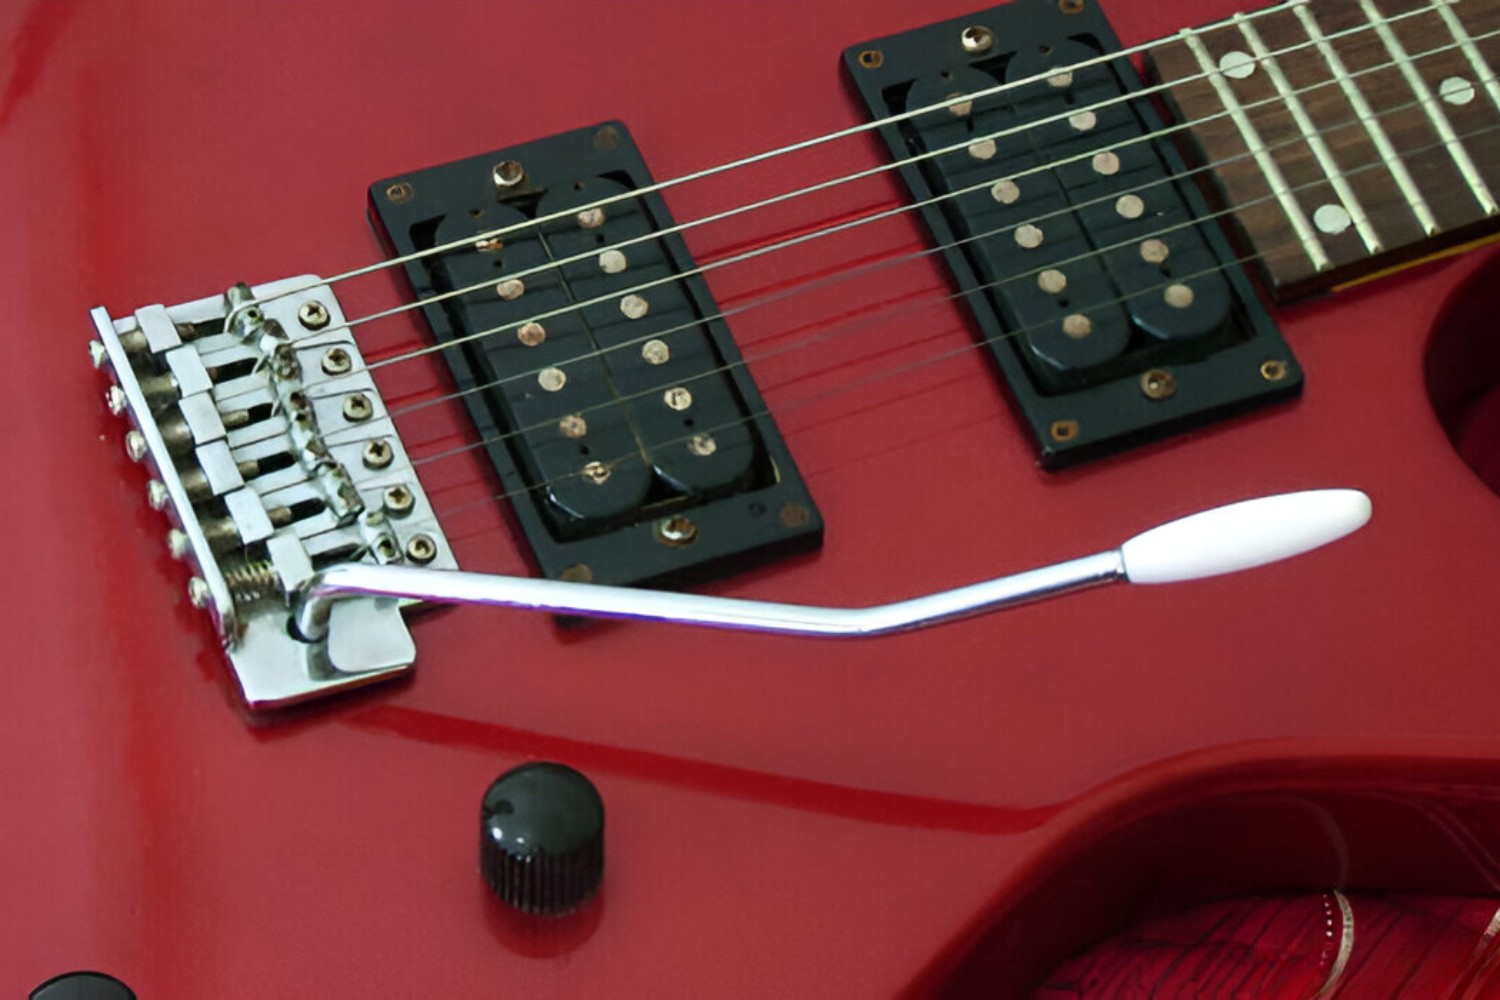
- Thread the Strings: Beginning with the low E string, insert the end of the string through the bridge’s corresponding hole, pulling it through until there is minimal slack. For guitars with a tremolo system, ensure that the ball end of the string is properly secured in the bridge block.
- Secure the Strings to the Tuning Pegs: Guide the string up the neck and through the appropriate nut slot, allowing sufficient slack for winding. With the string held taut, wrap it around the tuning peg, leaving a few inches of excess for trimming later.
- Wind the Strings: Using a string winder, begin winding the string onto the tuning peg in a clockwise direction for the wound strings (A, D, and G) and counterclockwise for the plain strings (B and high E). Ensure that each winding is neat and tight, with the strings aligned properly on the nut and bridge.
- Tune the Strings: Once all the new strings are installed, use a tuner to bring them to their respective pitches. Gradually tighten each string, adjusting the tension until they are in tune and stable. Repeat this process as needed, stretching the strings gently to expedite the settling-in period.
By following these steps, you can successfully install the new strings on your Fender Stratocaster, setting the stage for optimal playability and tonal quality. A methodical and careful approach to string installation ensures that your guitar is ready for tuning and play, allowing you to experience the revitalized sound and responsiveness of fresh strings.
Tuning and Stretching the New Strings
After installing the new strings on your Fender Stratocaster, the next crucial step is to tune and stretch them to stabilize their pitch and ensure reliable performance. Follow these essential guidelines to achieve optimal tuning and string stability:
- Tune to Pitch: Using a reliable tuner, tune each string to its designated pitch, starting with the low E string and progressing to the high E string. Ensure that the strings are accurately tuned to their standard pitches, adjusting the tuning pegs as needed.
- Stretch the Strings: With the strings tuned to pitch, gently stretch each string along its length to remove excess slack and minimize tuning instability. Apply gradual and even pressure to the strings, pulling them away from the fretboard to facilitate the stretching process.
- Retune and Repeat: After stretching the strings, recheck their tuning and make any necessary adjustments. It’s common for freshly installed strings to experience initial stretching and settling, requiring periodic retuning to maintain stable pitch and intonation.
- Repeat the Stretching Process: If the strings continue to exhibit tuning instability, repeat the stretching process, paying particular attention to the wound strings (A, D, and G). Consistent and thorough stretching contributes to the strings’ ability to hold pitch and resist detuning during vigorous playing.
By diligently tuning and stretching the new strings, you optimize their stability and reliability, ensuring consistent pitch and tonal accuracy during your playing sessions. This meticulous approach to string maintenance and care sets the stage for a responsive and dependable playing experience, allowing you to explore the sonic capabilities of your freshly restrung Fender Stratocaster.
Final Adjustments
Upon completing the restringing process for your Fender Stratocaster, it’s essential to perform final adjustments to fine-tune the guitar’s playability and ensure optimal performance. Consider the following steps to address any potential issues and optimize the instrument’s setup:
- Check String Height and Intonation: Using a ruler or feeler gauges, assess the string height at the nut and bridge. Ensure that the strings are at the desired action height, allowing for comfortable playability and minimal fret buzz. Additionally, check the intonation of each string by comparing the open note to the 12th fret harmonic and adjusting the saddle positions as needed.
- Inspect the Nut and Bridge: Verify that the nut slots are free from any binding or pinching of the strings, allowing for smooth and consistent tuning stability. Similarly, examine the bridge saddles to confirm that they are properly set and secure, contributing to accurate intonation and string alignment.
- Assess Neck Relief: Check the neck relief by sighting down the edge of the fretboard and adjusting the truss rod if necessary. The goal is to achieve a slight but even curvature of the neck, promoting comfortable playability and consistent string action across the fretboard.
- Test Playability and Tone: After making the necessary adjustments, test the guitar’s playability and tonal characteristics across various playing styles and musical genres. Pay attention to the instrument’s responsiveness, sustain, and overall tonal balance, making further adjustments as needed to achieve your desired playing experience.
By performing these final adjustments, you ensure that your Fender Stratocaster is finely tuned and optimized for a rewarding playing experience. Addressing key setup elements such as string height, intonation, neck relief, and overall playability allows you to unleash the full potential of your instrument, empowering you to explore new musical horizons with confidence and precision.


