Introduction
Welcome to the world of acoustic guitar playing! For many beginners, learning how to play the F chord can seem like a daunting task. However, once you master this essential chord, it opens up a whole new world of possibilities in your playing. The F chord is commonly used in a wide variety of songs and is a fundamental building block for developing your guitar skills.
In this article, we will break down the F chord and provide you with step-by-step instructions on how to play it correctly. We will also explore common variations of the F chord and offer useful tips and exercises to help you master it. Whether you are a complete beginner or have some experience playing the guitar, this guide is designed to simplify the process and help you overcome any challenges you may face along the way.
Learning the F chord is a crucial milestone for any guitarist, as it not only expands your chord vocabulary but also improves your finger dexterity and overall playing ability. So, let’s dive in and demystify the F chord, so you can start incorporating it into your favorite songs and unleash your creativity on the acoustic guitar!
Why Learn the F Chord?
Learning the F chord is essential for every guitarist, regardless of your skill level or musical preferences. Here are a few compelling reasons why you should invest time in mastering this chord:
- Versatility: The F chord opens up a vast repertoire of songs across different genres, including folk, rock, pop, blues, and more. By familiarizing yourself with the F chord, you can expand your musical horizons and play a wider variety of music.
- Chord Progressions: Many popular chord progressions incorporate the F chord, making it a vital component of creating dynamic and interesting musical arrangements. Understanding the F chord allows you to add depth and complexity to your playing by seamlessly transitioning between chords.
- Develops Finger Strength and Dexterity: Playing the F chord involves intricate finger positioning, which promotes finger strength and dexterity. Practicing the F chord regularly will improve coordination between your fingers and make it easier to navigate other challenging chords in the future.
- Enhances Music Theory Knowledge: Understanding the F chord and its relationship to other chords will deepen your understanding of music theory. Through learning the F chord, you will gain insights into chord construction, chord progressions, and how chords relate to one another.
- Boosts Confidence: Mastering the F chord is a significant milestone for any guitarist. Once you overcome the initial hurdles of finger placement and strumming, you’ll experience a surge of confidence in your playing abilities. This newfound confidence will propel you to tackle more challenging aspects of guitar playing.
By learning the F chord, you are equipping yourself with a vital tool that will expand your musical possibilities, improve your technical skills, and unlock a world of creativity on the guitar. So, let’s dive deeper into the anatomy of the F chord and explore how to play it correctly.
Basic Anatomy of the F Chord
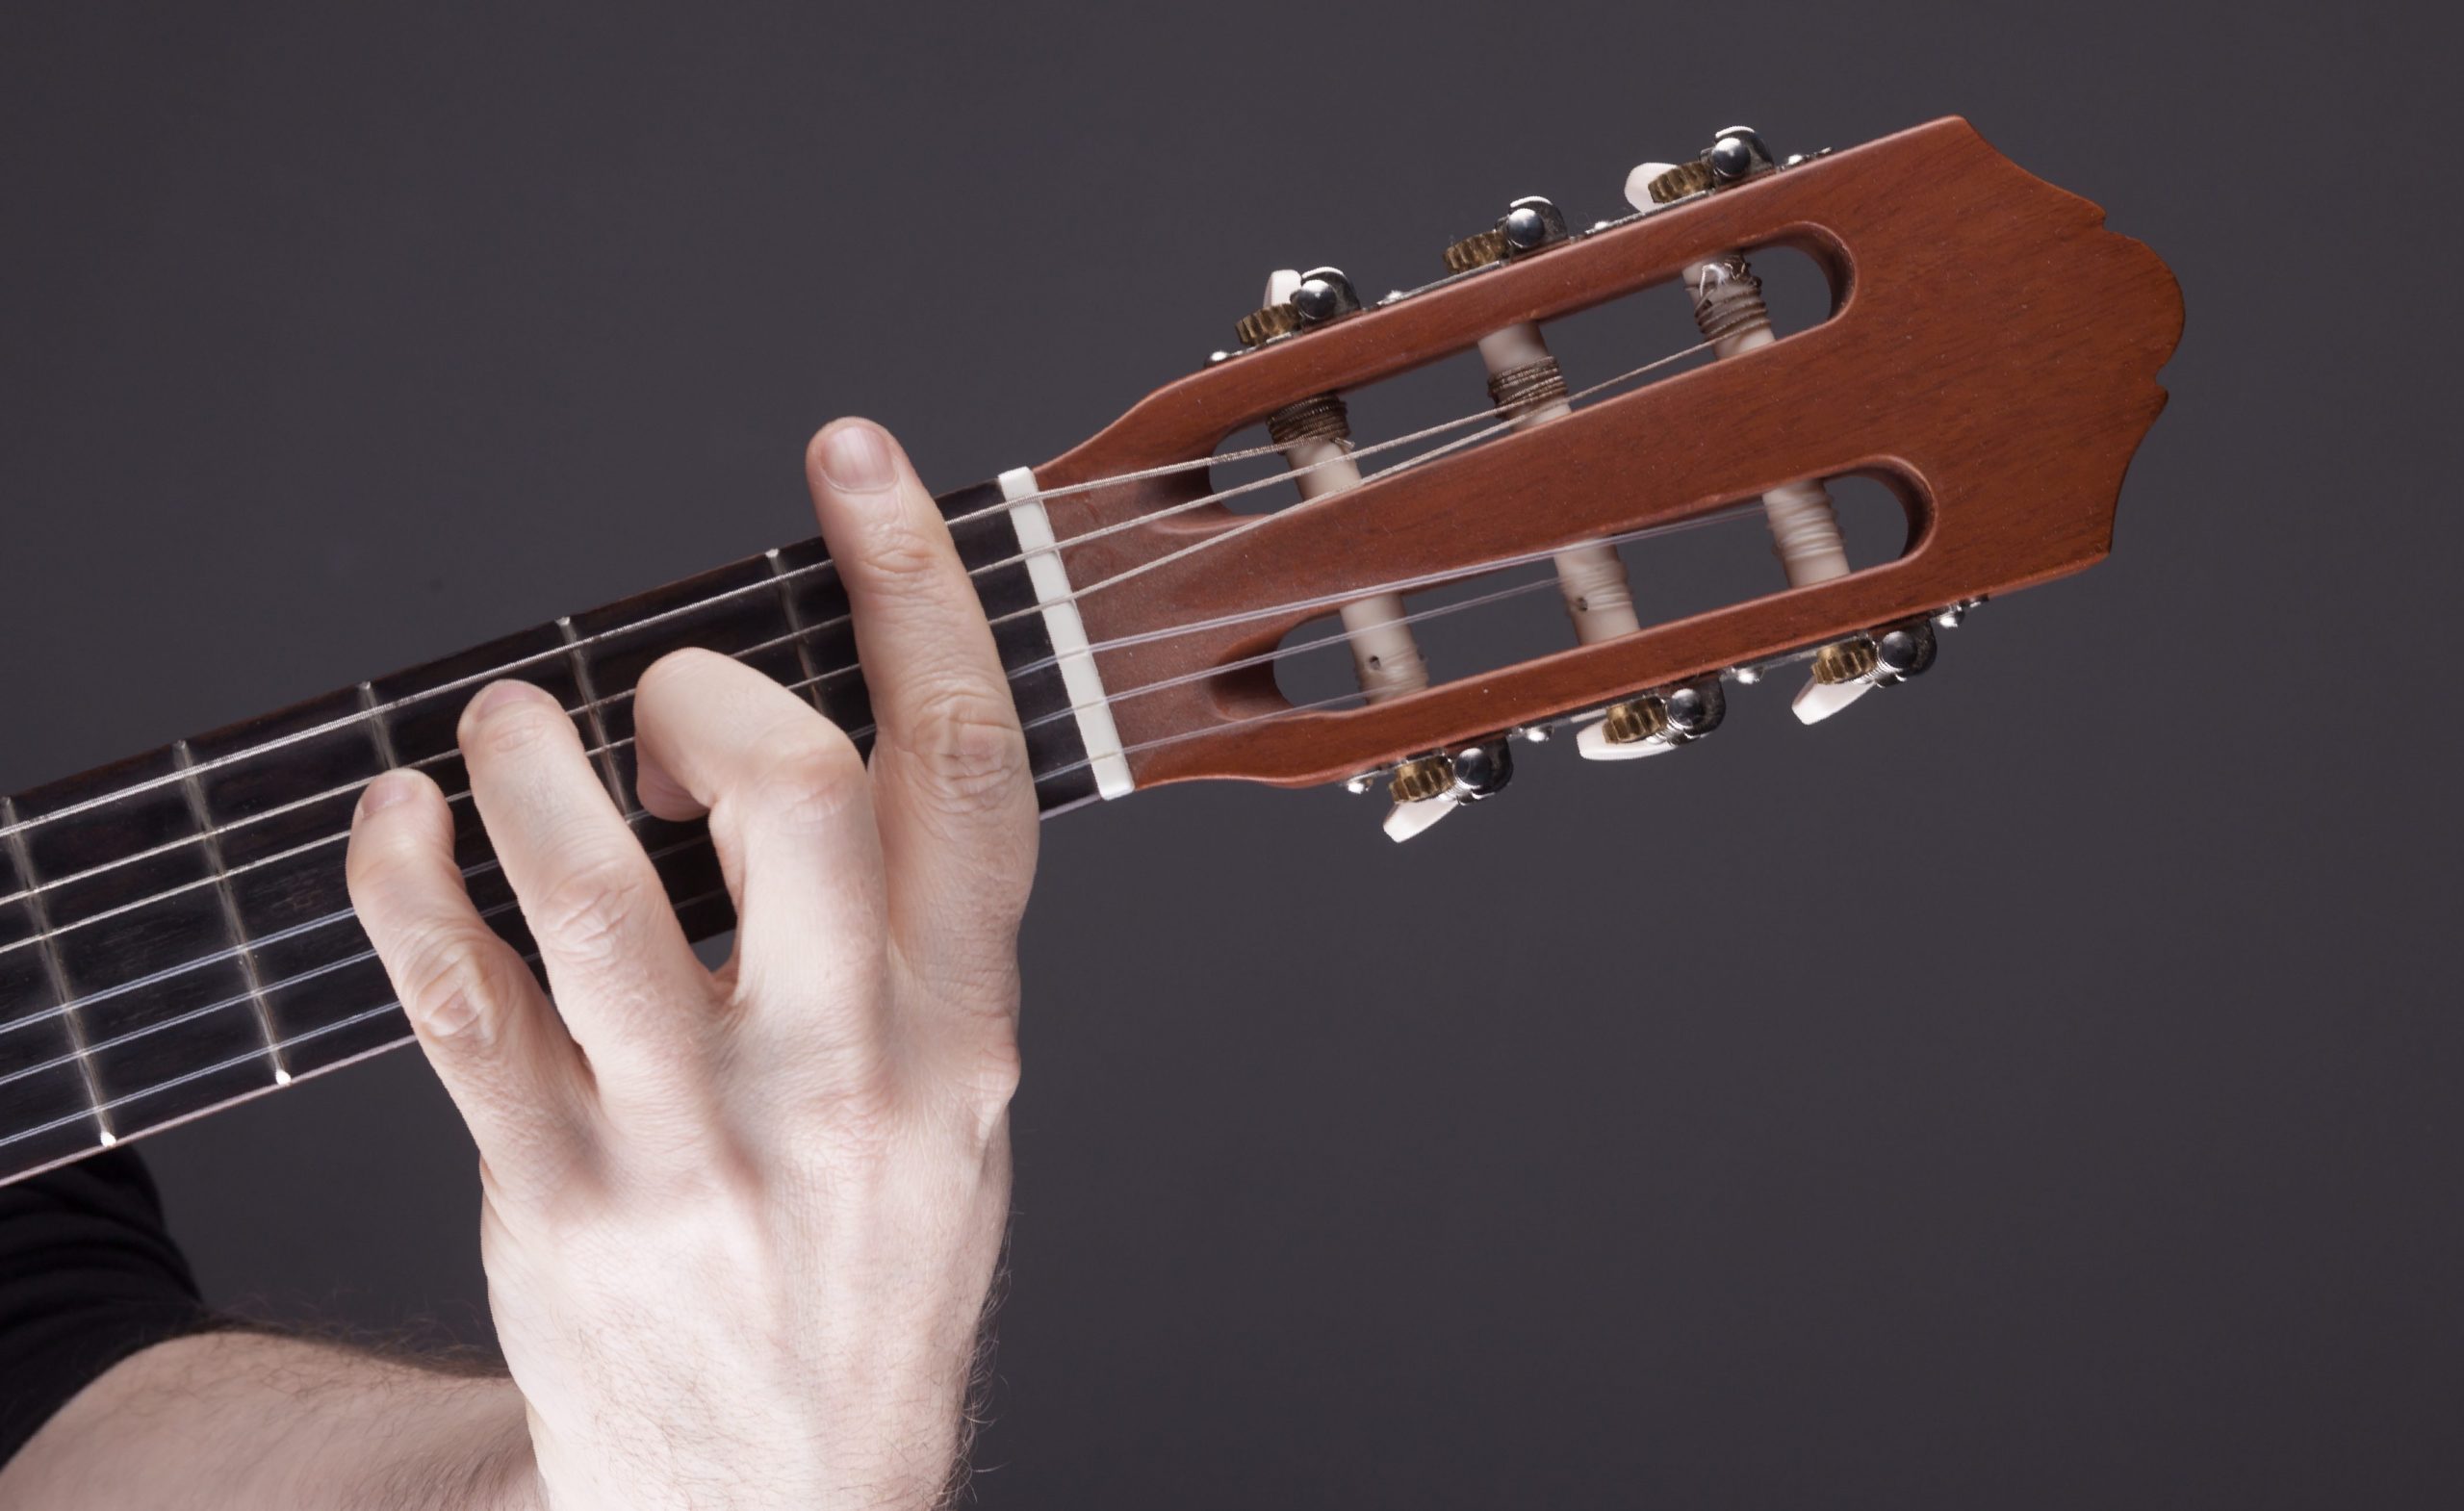
Before we delve into how to play the F chord, it’s important to understand its basic anatomy. The F chord is a barre chord, which means you will use your index finger to press down multiple strings on the guitar neck.
Here are the components that make up the F chord:
- Barre: The barre is essentially a mini “cap” that you create with your index finger, pressing down all of the strings at a specific fret. For the F chord, the barre is positioned across the first fret, effectively “barring” all the strings.
- Root Note: The root note of the F chord is located on the low E string, which is the thickest string on the guitar. When you press down the barre on the first fret, your index finger will effectively serve as a movable nut, allowing you to change the root note by shifting the chord shape up and down the neck.
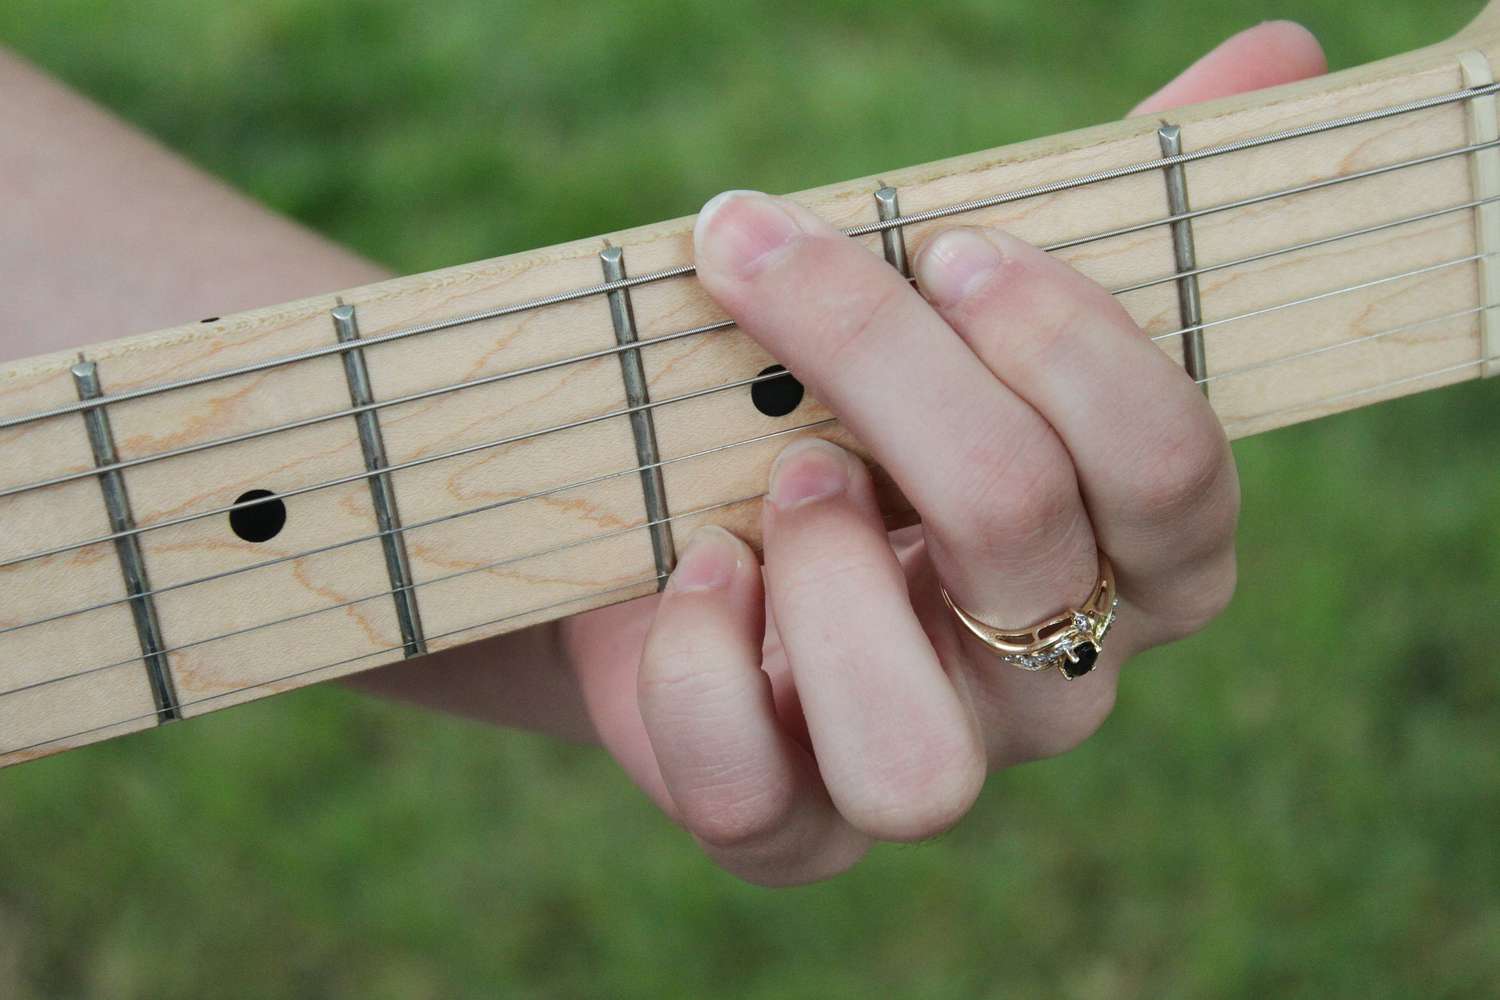
- Finger Placement: Along with the barre, you will use your other fingers to create the rest of the chord shape. The middle finger is placed on the third string of the third fret, the ring finger is placed on the fifth string of the third fret, and the pinky finger is positioned on the fourth string of the third fret.
- Strumming: The F chord is typically strummed from the low E string down to the high E string. However, you can also experiment with different strumming patterns and techniques to add variety to your playing.
Keep in mind that the F chord can be challenging for beginners due to the barre technique and the finger placement required. However, with practice and proper technique, you can overcome these hurdles and play the F chord with ease.
Now that we have a clear understanding of the basic anatomy of the F chord, let’s move on to the next section, which will guide you through the finger placement for playing the F chord correctly.
Finger Placement for the F Chord
Proper finger placement is crucial when it comes to playing the F chord accurately and efficiently. Let’s break down the finger placement step-by-step:
- Barre: Begin by placing your index finger flat across all of the strings at the first fret. Apply enough pressure to ensure all the strings ring out clearly.
- Middle Finger: Position your middle finger on the third string of the third fret. This finger helps stabilize the chord and adds stability to your grip.
- Ring Finger and Pinky Finger: Next, place your ring finger on the fifth string of the third fret and your pinky finger on the fourth string of the third fret. These fingers complete the F chord shape and are responsible for fretting the necessary notes.
Ensure that each finger is pressing down on its respective string firmly and directly behind the fret. This will ensure clean and clear notes when you strum the chord.
It’s important to note that proper finger placement requires practice and patience. Initially, you may experience buzzing or muted strings, but don’t get discouraged. With consistent practice, your fingers will develop the strength and muscle memory needed to hold the F chord correctly.
Remember to maintain a relaxed hand position and avoid unnecessary tension. This will make it easier to transition to and from the F chord as you progress in your guitar playing journey.
Now that you have a solid understanding of the finger placement for the F chord, let’s explore some common variations that you can incorporate into your playing to add depth and versatility.
Common Variations of the F Chord
While the standard F chord shape is an essential foundation, there are several variations of the F chord that you can experiment with to add flavor and variety to your playing. Here are some common variations:
- Fmaj7: This variation adds a touch of sophistication to the F chord. To play Fmaj7, lift your middle finger off the third string while still maintaining the barre and the other fingers in their original positions.
- Fadd9: This variation introduces a suspended note to the F chord. Keep your fingers in the standard F chord shape, but add your pinky finger to the third fret of the high E string.
- F/A: This inversion of the F chord involves using your thumb to fret the low E string on the first fret while still barring the rest of the strings with your index finger. This variation is particularly useful when transitioning between chords.
- F5 Power Chord: For a more intense and rock-oriented sound, you can play the F5 power chord. Place your index finger on the first fret of the low E string and your ring finger on the third fret of the A string. Mute the rest of the strings by lightly touching them with your fretting hand.
Experimenting with these variations will allow you to explore different tonalities and create unique chord progressions. As you become more comfortable with the standard F chord shape, don’t be afraid to incorporate these variations into your playing.
Remember to practice each variation slowly and accurately until you can transition between them seamlessly. This will help you develop a more versatile and expressive playing style.
Next, let’s discuss some tips and exercises that will aid in mastering the F chord and overcoming common challenges along the way.
Tips for Mastering the F Chord
Mastering the F chord can be a challenge, especially for beginners. However, with the right approach and consistent practice, you can overcome any difficulties you encounter. Here are some tips to help you along the way:
- Start Slow: When beginning to practice the F chord, take it slow. Focus on accuracy and clean fretting rather than speed. Gradually increase your speed as you become more comfortable with the chord shape.
- Use Proper Technique: Pay attention to your finger positioning and hand posture. Make sure you’re using the tips of your fingers to press down on the strings and maintaining a relaxed hand position. Tuck your elbow in and keep your wrist straight to avoid unnecessary strain.
- Break It Down: If you’re struggling with the full barre chord, break it down into smaller manageable sections. Practice barring only a few strings and gradually add more as you build strength and control in your fingers.
- Visualize the Shape: Visualize the shape of the F chord in your mind and try to memorize the finger placement. This will help you develop muscle memory and make it easier to switch between chords.
- Use a Capo: If you’re finding the F chord too challenging at first, you can use a capo to transpose the chord to a higher fret. This allows you to play an easier variation of the F chord while still maintaining the key of the song.
- Practice Chord Transitions: Work on transitioning from the F chord to other chords in your repertoire. Practice common chord progressions that involve the F chord to improve your ability to smoothly change between chords.
- Patience and Persistence: Learning the F chord takes time, so be patient with yourself. Don’t get discouraged if you don’t master it right away. Stay persistent and practice regularly, and you will see progress over time.
Remember that learning any new chord takes time and effort. Be consistent with your practice, and don’t be afraid to seek guidance from a teacher or utilize online resources for additional support and guidance.
Now, let’s move on to some practice exercises specifically designed to help you improve your F chord proficiency.
Practice Exercises for the F Chord
To reinforce your skills and improve your mastery of the F chord, it’s important to incorporate specific practice exercises into your routine. Here are a few exercises designed to enhance your proficiency:
- Chord Hold: Begin by fretting the F chord and holding it for a sustained period of time. Start by aiming for 30 seconds and gradually increase the duration as your fingers become more comfortable. This exercise helps build finger strength and endurance.
- Strumming Practice: Focus on strumming the F chord with different rhythmic patterns. Start with simple downstrokes and gradually incorporate upstrokes and alternate strumming patterns. This exercise will improve your strumming control while ensuring each string rings clearly.
- Chord Transitions: Practice transitioning between the F chord and other chords. Start with easy transitions like F to C or F to G and gradually work your way to more challenging progressions. This exercise trains your fingers to move efficiently between chords.
- Arpeggios: Play the individual notes of the F chord one at a time in a sequential pattern. This exercise helps develop finger independence and accuracy, as well as aids in understanding the chord’s structure and voicing.
- Song Application: Choose songs that incorporate the F chord and practice playing them. Start with slower tempo songs and gradually increase the speed as you become more comfortable. Applying the chord in a musical context helps solidify your understanding and skill.
- Patterned Strumming: Create rhythmic patterns using the F chord. Experiment with different strumming patterns, accents, and dynamics to add variation to your playing. This exercise enhances your rhythm and musicality.
- Barre Chord Exercise: Once you’ve mastered the basic F chord, challenge yourself by practicing other barre chords using the same finger positioning. This exercise expands your chord vocabulary and strengthens your barre technique.
Consistency is key when practicing these exercises. Dedicate regular practice sessions to the F chord and its variations, gradually increasing the difficulty as you progress. Remember to start slowly and focus on accuracy before building speed.
By incorporating these exercises into your practice routine, you will develop a solid foundation and gain confidence in your ability to play the F chord in various musical contexts.
Now, let’s address some common issues that players often encounter when learning the F chord and provide troubleshooting techniques to overcome them.
Troubleshooting Common Issues
Learning the F chord can present some unique challenges. Here are some common issues that guitarists often face when playing the F chord and some troubleshooting techniques to help overcome them:
- Muted or Buzzing Strings: If you’re experiencing muted or buzzing strings, ensure that your fingers are pressing down firmly enough on the correct strings. Also, check that your fingers are positioned directly behind the frets, not on top of them. Adjust your finger positioning and apply more pressure if needed.
- Barre Difficulty: Struggling with the barre technique is common, especially for beginners. Practice isolating the barre by holding down only the E and B strings with your index finger, and gradually add more strings as you build strength and flexibility in your hand.
- Straining Your Hand: If you’re experiencing hand strain or discomfort, check your hand posture. Make sure your wrist is straight and relaxed, and your hand is not excessively tense. Take regular breaks during practice sessions and stretch your hands and fingers to relieve tension.
- String Fretting Issues: When playing the F chord, it’s essential to press down the strings just behind the frets to ensure clear notes. Pay attention to your finger positioning and experiment with different finger angles to find the most comfortable and effective position for fretting.
- Transitioning Difficulty: Transitioning smoothly between the F chord and other chords can be challenging. Start by practicing the transitions slowly, focusing on accuracy. Use a metronome or drum track to keep the tempo steady and gradually build up speed as you become more comfortable.
- Finger Fatigue: If you’re experiencing finger fatigue when playing the F chord, take regular breaks during practice sessions to rest and stretch your fingers. Over time, your finger strength and endurance will improve, and the fatigue will diminish.
- Struggling with Barre Chords: Barre chords, including the F chord, can be challenging for beginners. Practice other barre chord shapes to strengthen your hand muscles and familiarize yourself with the technique. As you develop proficiency, the F chord will become easier to play.
Remember that learning guitar takes time and patience. Don’t get discouraged if you encounter difficulties along the way. Each challenge you face is an opportunity for growth and improvement.
Lastly, seeking guidance from a guitar teacher or utilizing online resources can provide valuable insights and additional strategies to overcome any issues you may encounter while learning the F chord.
Now that we’ve addressed common issues and possible solutions, let’s wrap up this guide and summarize the key takeaways.
Conclusion
Congratulations on reaching the end of this guide on playing the F chord on the acoustic guitar! Learning this essential chord is a significant milestone in your guitar journey, and it opens up a world of possibilities for your playing. While it may initially seem challenging, with practice, patience, and proper technique, you can master the F chord.
We started by understanding the importance of learning the F chord and its versatility in various musical genres. We then explored the basic anatomy of the F chord, including the barre technique and finger placement. Additionally, we discussed common variations of the F chord and provided useful tips for mastering it.
To enhance your skills, we introduced practice exercises designed to improve your finger strength, chord transitions, and strumming proficiency. We also addressed common issues that may arise when working on the F chord and provided troubleshooting techniques to help you overcome them.
Remember, learning the F chord takes time and dedication. Be patient with yourself and celebrate each small victory along the way. Don’t be afraid to experiment with chord variations and incorporate the F chord into your playing.
Continue practicing regularly, maintaining proper technique, and exploring different songs and musical styles that incorporate the F chord. As you progress, you’ll discover newfound confidence and versatility in your guitar playing.
Thank you for joining us on this journey to master the F chord. Keep practicing, stay inspired, and enjoy the process of becoming a skilled guitarist. Happy strumming!


