Introduction
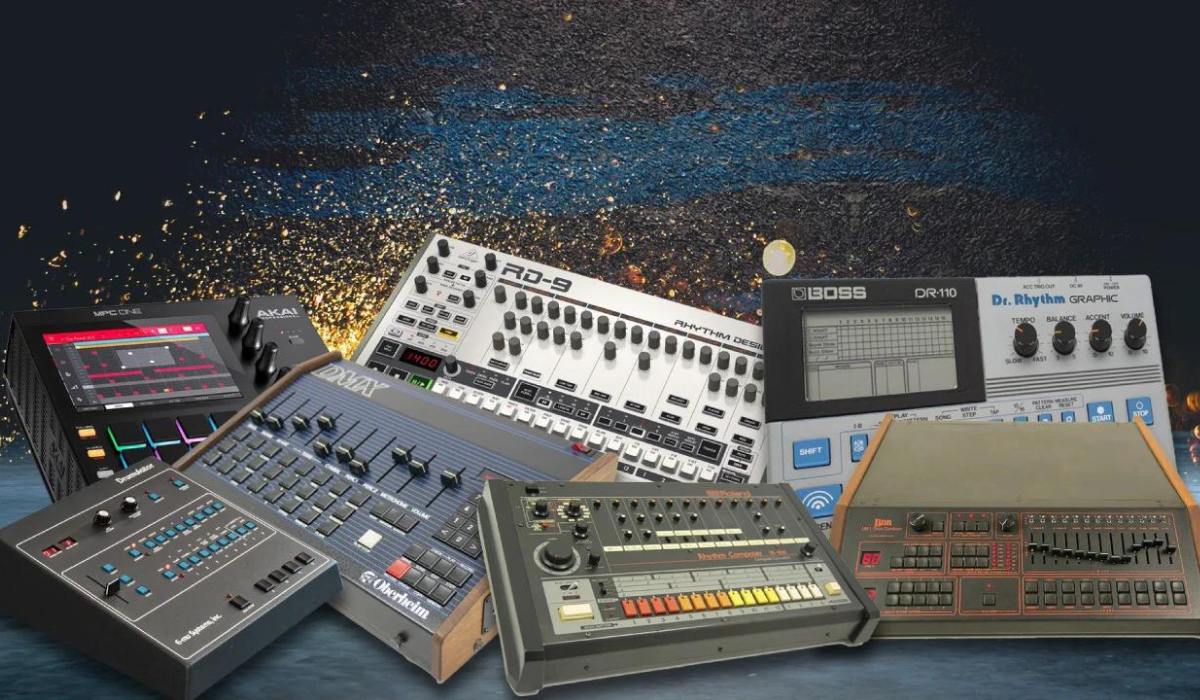
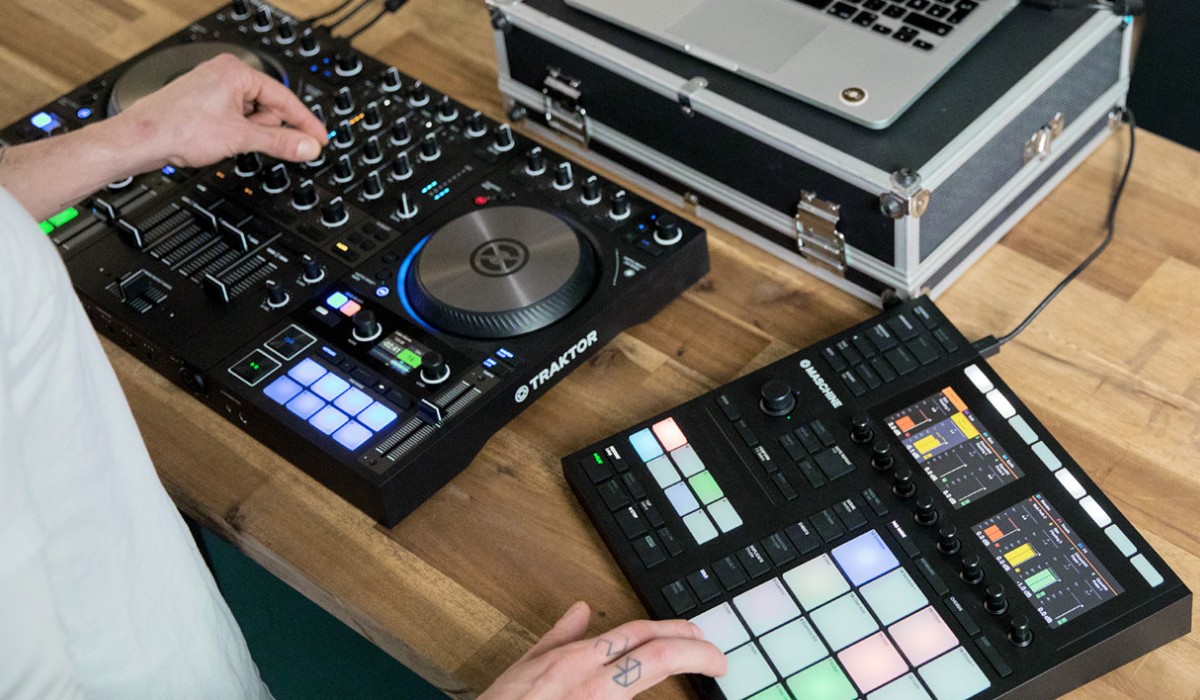
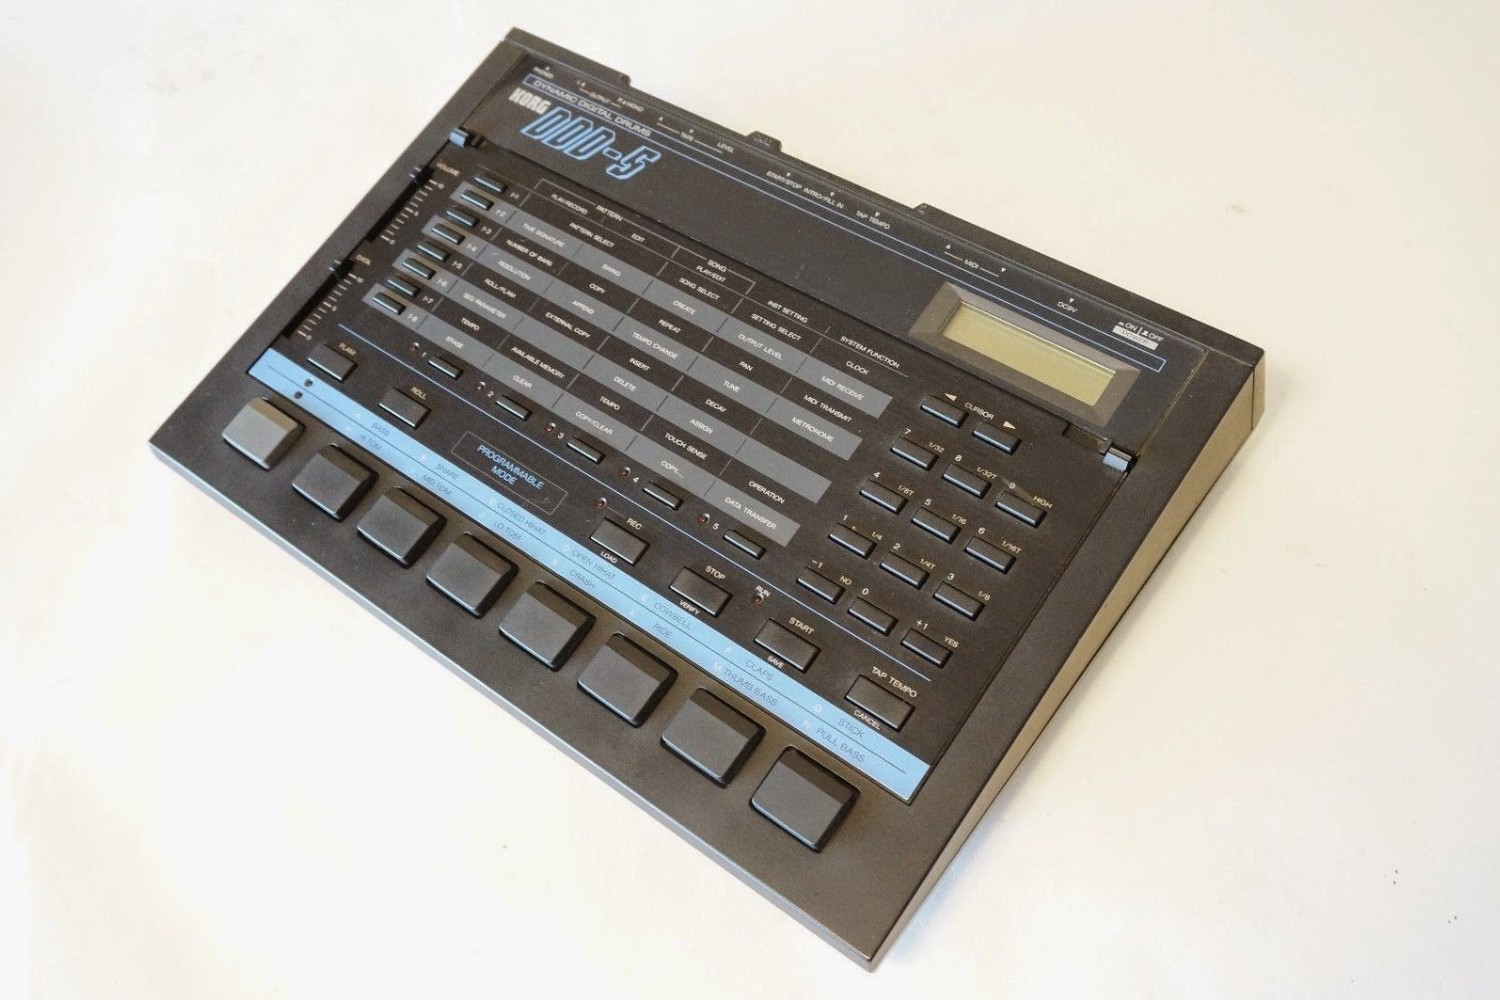
If you're a music enthusiast, a DJ, or a musician looking to add some electronic beats to your repertoire, connecting a drum machine to a mixer can open up a world of sonic possibilities. A drum machine is a versatile piece of equipment that can add depth, rhythm, and texture to your music, and when connected to a mixer, it becomes an integral part of your sound setup. Whether you're a beginner or an experienced musician, understanding how to make this connection can significantly enhance your music production and live performances.
The process of connecting a drum machine to a mixer involves understanding the different input and output options available on both devices, ensuring proper signal flow, and making necessary adjustments to achieve the desired sound. This article will guide you through the step-by-step process of connecting a drum machine to a mixer, setting appropriate levels, and testing the connection to ensure optimal sound quality.
By the end of this guide, you'll have a clear understanding of how to seamlessly integrate a drum machine into your mixer setup, allowing you to unleash your creativity and take your music to new heights. So, let's dive into the world of music production and learn how to connect a drum machine to a mixer with confidence and ease.
Understanding the Connections
Before diving into the physical connections, it’s essential to grasp the various input and output options available on both the drum machine and the mixer. Most drum machines feature multiple output options, such as main outputs, individual instrument outputs, and sometimes a headphone output. On the other hand, mixers come with a range of input channels, including line inputs, mic inputs, and stereo inputs, each serving a specific purpose in the signal chain.
When connecting a drum machine to a mixer, you’ll typically use the main outputs of the drum machine, which carry the combined audio signal of all the drum sounds. These outputs are usually in the form of 1/4″ jacks or XLR connectors. It’s important to identify the type of connectors on both the drum machine and the mixer to ensure compatibility and the availability of appropriate cables.
Understanding the signal flow is crucial in establishing the correct connections. The main outputs of the drum machine will be connected to the input channels on the mixer. Depending on the mixer’s input options, you may use line inputs for stereo connection or individual mono inputs for each channel of the drum machine. Additionally, some mixers offer dedicated stereo inputs designed specifically for connecting stereo devices like drum machines.
It’s also important to consider the level of the audio signal being sent from the drum machine to the mixer. Ensuring that the signal level is compatible with the mixer’s input requirements is vital for achieving optimal sound quality and avoiding distortion or signal degradation.
By understanding the input and output options, signal flow, and signal levels of both the drum machine and the mixer, you’ll be well-equipped to proceed with the physical connections and make the necessary adjustments for a seamless integration of the two devices.
Connecting the Drum Machine to the Mixer
Once you have a clear understanding of the input and output options, signal flow, and signal levels, you can proceed with physically connecting the drum machine to the mixer. Here’s a step-by-step guide to help you make the proper connections:
- Identify the Outputs: Locate the main outputs on your drum machine. These are typically found as 1/4″ jacks or XLR connectors. Ensure that you have the appropriate cables to connect these outputs to the mixer.
- Choose the Input Channels: Depending on your mixer’s input options, decide whether you will connect the drum machine to stereo inputs or individual mono inputs. This will depend on the type of outputs available on your drum machine and the mixer’s input configuration.
- Make the Physical Connections: Connect the main outputs of the drum machine to the selected input channels on the mixer using the appropriate cables. Ensure a secure connection to avoid any signal interruptions during operation.
- Check the Polarity: In some cases, especially when using XLR connectors, it’s essential to check the polarity to ensure that the audio signal is correctly transmitted from the drum machine to the mixer. Incorrect polarity can result in phase issues, affecting the overall sound quality.
- Verify the Grounding: If you’re using devices with three-pronged power plugs, such as mixers and drum machines, ensure that they are properly grounded to prevent potential electrical interference and ground loops that can introduce unwanted noise into the audio signal.
By following these steps, you can establish the physical connections between your drum machine and the mixer, setting the stage for a seamless integration of the two devices. Once the connections are in place, you can proceed to the next crucial step of setting appropriate levels and making necessary adjustments to achieve the desired sound.
Setting Levels and Adjusting Sound
After connecting the drum machine to the mixer, the next crucial step involves setting the levels and making adjustments to ensure optimal sound quality and proper integration with the rest of your audio setup. Here’s a detailed guide to help you navigate this essential phase:
- Initial Level Adjustment: Start by setting the initial levels on the mixer for the input channels receiving the drum machine’s signal. Ensure that the levels are initially set to a conservative position to prevent sudden loud bursts of sound that could potentially damage your equipment or cause discomfort to the listeners.
- Monitor the Signal: Use the mixer’s level meters or visual indicators to monitor the incoming signal from the drum machine. This will allow you to gauge the signal strength and make adjustments accordingly.
- Balance the Levels: If your drum machine offers individual instrument outputs, you may need to balance the levels of each instrument to achieve a cohesive and well-mixed sound. This can be done by adjusting the individual instrument volumes on the drum machine itself.
- Equalization and Effects: Depending on your mixer’s capabilities, you may have access to equalization controls and onboard effects. Experiment with these features to sculpt the sound of the drum machine, adding depth and character to the overall output.
- Check for Clipping and Distortion: While adjusting the levels, keep an eye (and ear) out for any signs of clipping or distortion. Clipping occurs when the audio signal exceeds the maximum level that the equipment can handle, resulting in a harsh, distorted sound. Make adjustments to prevent clipping and ensure a clean, undistorted signal.
By carefully setting the levels, balancing the individual instrument outputs, and making use of the mixer’s equalization and effects, you can fine-tune the sound of the drum machine to complement your music and achieve the desired sonic characteristics. Once you’ve made these adjustments, you’re ready to proceed to the final step of testing the connection and making any necessary refinements.
Testing the Connection and Making Adjustments
With the physical connections established and the levels and sound adjusted, it’s time to test the integration of the drum machine with the mixer and make any necessary refinements to ensure a seamless and harmonious audio output. Here’s a comprehensive approach to testing the connection and fine-tuning the setup:
- Play Test Signals: Trigger various sounds and patterns on the drum machine to generate audio signals and send them to the mixer. This will allow you to assess how the mixer processes and reproduces the drum machine’s output.
- Listen for Balance and Clarity: Pay attention to the overall balance and clarity of the drum machine’s output through the mixer. Ensure that each instrument’s sound is well-defined and that the overall mix is coherent and free from any unwanted artifacts or imbalances.
- Adjust Input Levels: If you notice any inconsistencies in the levels or if certain instruments are overpowering the mix, go back to the mixer and make further adjustments to the input levels of the drum machine. Fine-tune the levels to achieve a balanced and well-defined sound.
- Revisit Sound Adjustments: Listen to the output of the drum machine through the mixer and revisit any sound adjustments, such as equalization and effects, to ensure that the sonic characteristics align with your creative vision and the requirements of your music.
- Solicit Feedback: If possible, have someone else listen to the output and provide feedback. A fresh pair of ears can often identify nuances that you might have missed and offer valuable insights for further refinement.
By systematically testing the connection and making necessary adjustments, you can fine-tune the integration of the drum machine with the mixer, ensuring that the two devices work in harmony to deliver the sonic impact and musical expression you desire. Once you’re satisfied with the results of the testing and adjustments, you can confidently incorporate the drum machine into your music production or live performance setup, knowing that it is seamlessly connected and optimized for sonic excellence.


