Introduction
The acoustic guitar is a beautiful instrument known for its rich, warm tones and versatile sound. Whether you are performing on stage, recording in the studio, or simply practicing at home, amplifying your acoustic guitar can take your sound to the next level. By using the right techniques and equipment, you can enhance the natural sound of your guitar and ensure that it cuts through the mix with clarity and precision.
In this article, we will guide you through the process of amplifying your acoustic guitar, covering topics such as choosing the right amplifier, understanding the different pickup options, setting up your amplifier, proper microphone placement, utilizing EQ and effects, and techniques for playing and amplifying your guitar. We will also highlight some common mistakes to avoid to ensure that you achieve the best possible sound.
Whether you are a beginner or a seasoned guitarist, this guide aims to provide you with valuable insights and techniques to help you amplify your acoustic guitar effectively. By following these tips and tricks, you can confidently showcase your skills and create a captivating performance that resonates with your audience.
So, let’s dive in and explore the world of amplifying acoustic guitars, unlocking their true potential and elevating your music to new heights. Get ready to unleash the full range of sounds and emotions that your acoustic guitar has to offer.
Choosing the Right Amplifier
When it comes to amplifying your acoustic guitar, selecting the right amplifier is crucial. The amplifier you choose should complement the unique characteristics of your acoustic guitar and provide the desired sound quality. Here are some factors to consider when making your selection.
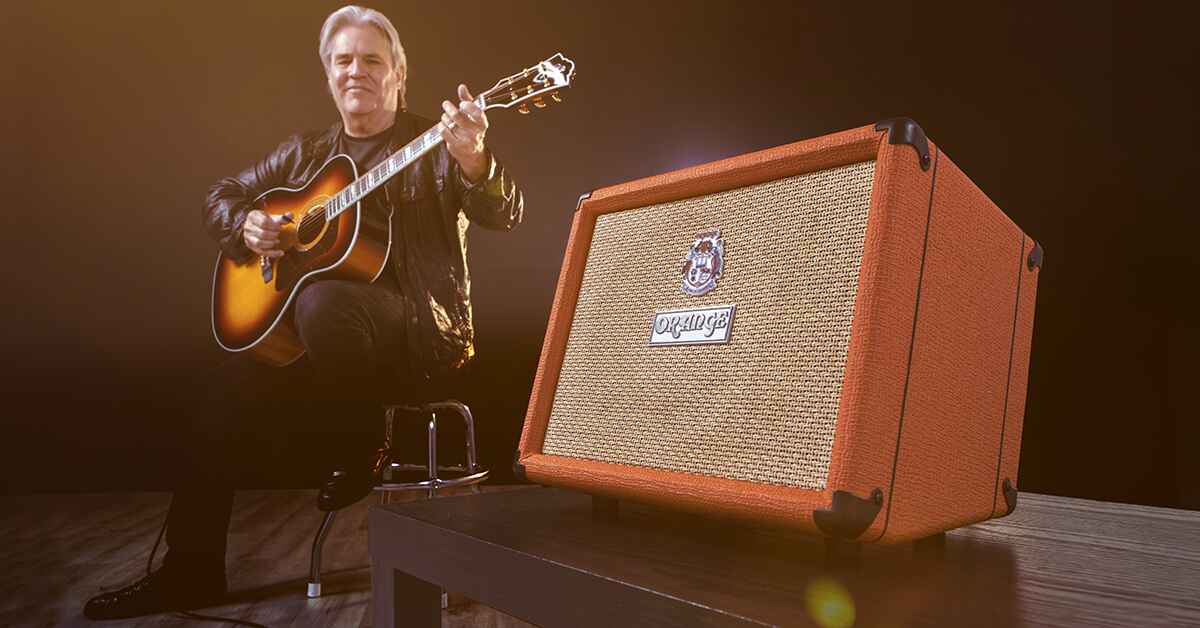
Firstly, consider the type of amplification you need. There are two main options: acoustic amplifiers and electric guitar amplifiers. Acoustic amplifiers are specifically designed to accurately reproduce the natural sound of acoustic guitars. They often come with features like built-in effects, DI outputs, and feedback control. Electric guitar amplifiers, on the other hand, are designed mainly for electric guitars and may not produce the same level of clarity and fidelity for acoustic guitars.
Next, think about the power and size of the amplifier. If you plan on performing in small venues or practicing at home, a lower wattage amplifier may be sufficient. However, for larger venues or outdoor concerts, a higher wattage amplifier will be necessary to provide enough volume and projection. Additionally, consider the size and weight of the amplifier for portability and ease of transportation.
Furthermore, pay attention to the connectivity options available. Most amplifiers come with multiple input channels, allowing you to connect microphones, pickups, and other instruments. Make sure the amplifier you choose has the necessary input and output options to accommodate your specific setup requirements.
Lastly, consider your budget. Amplifiers come in a wide range of prices, so it’s important to find a balance between your desired features and your financial limitations. Remember, investing in a high-quality amplifier will enhance your overall sound and performance.
To make an informed decision, it’s advisable to test different amplifiers with your acoustic guitar before making a purchase. Visit a music store and try out various models to see how they sound with your guitar. Pay attention to the clarity, tonal range, and overall sound quality produced by each amplifier.
By carefully considering these factors, you can select an amplifier that perfectly complements your acoustic guitar, allowing you to achieve the best possible sound. Remember, the right amplifier will enhance the natural tones of your acoustic guitar and unlock its true potential.
Understanding the Different Pickup Options
When it comes to amplifying your acoustic guitar, understanding the different pickup options available can greatly influence the tone and sound quality you achieve. Acoustic guitar pickups are devices that capture the vibrations of the strings and convert them into an electrical signal that can be amplified. Let’s explore some of the common pickup options for acoustic guitars.
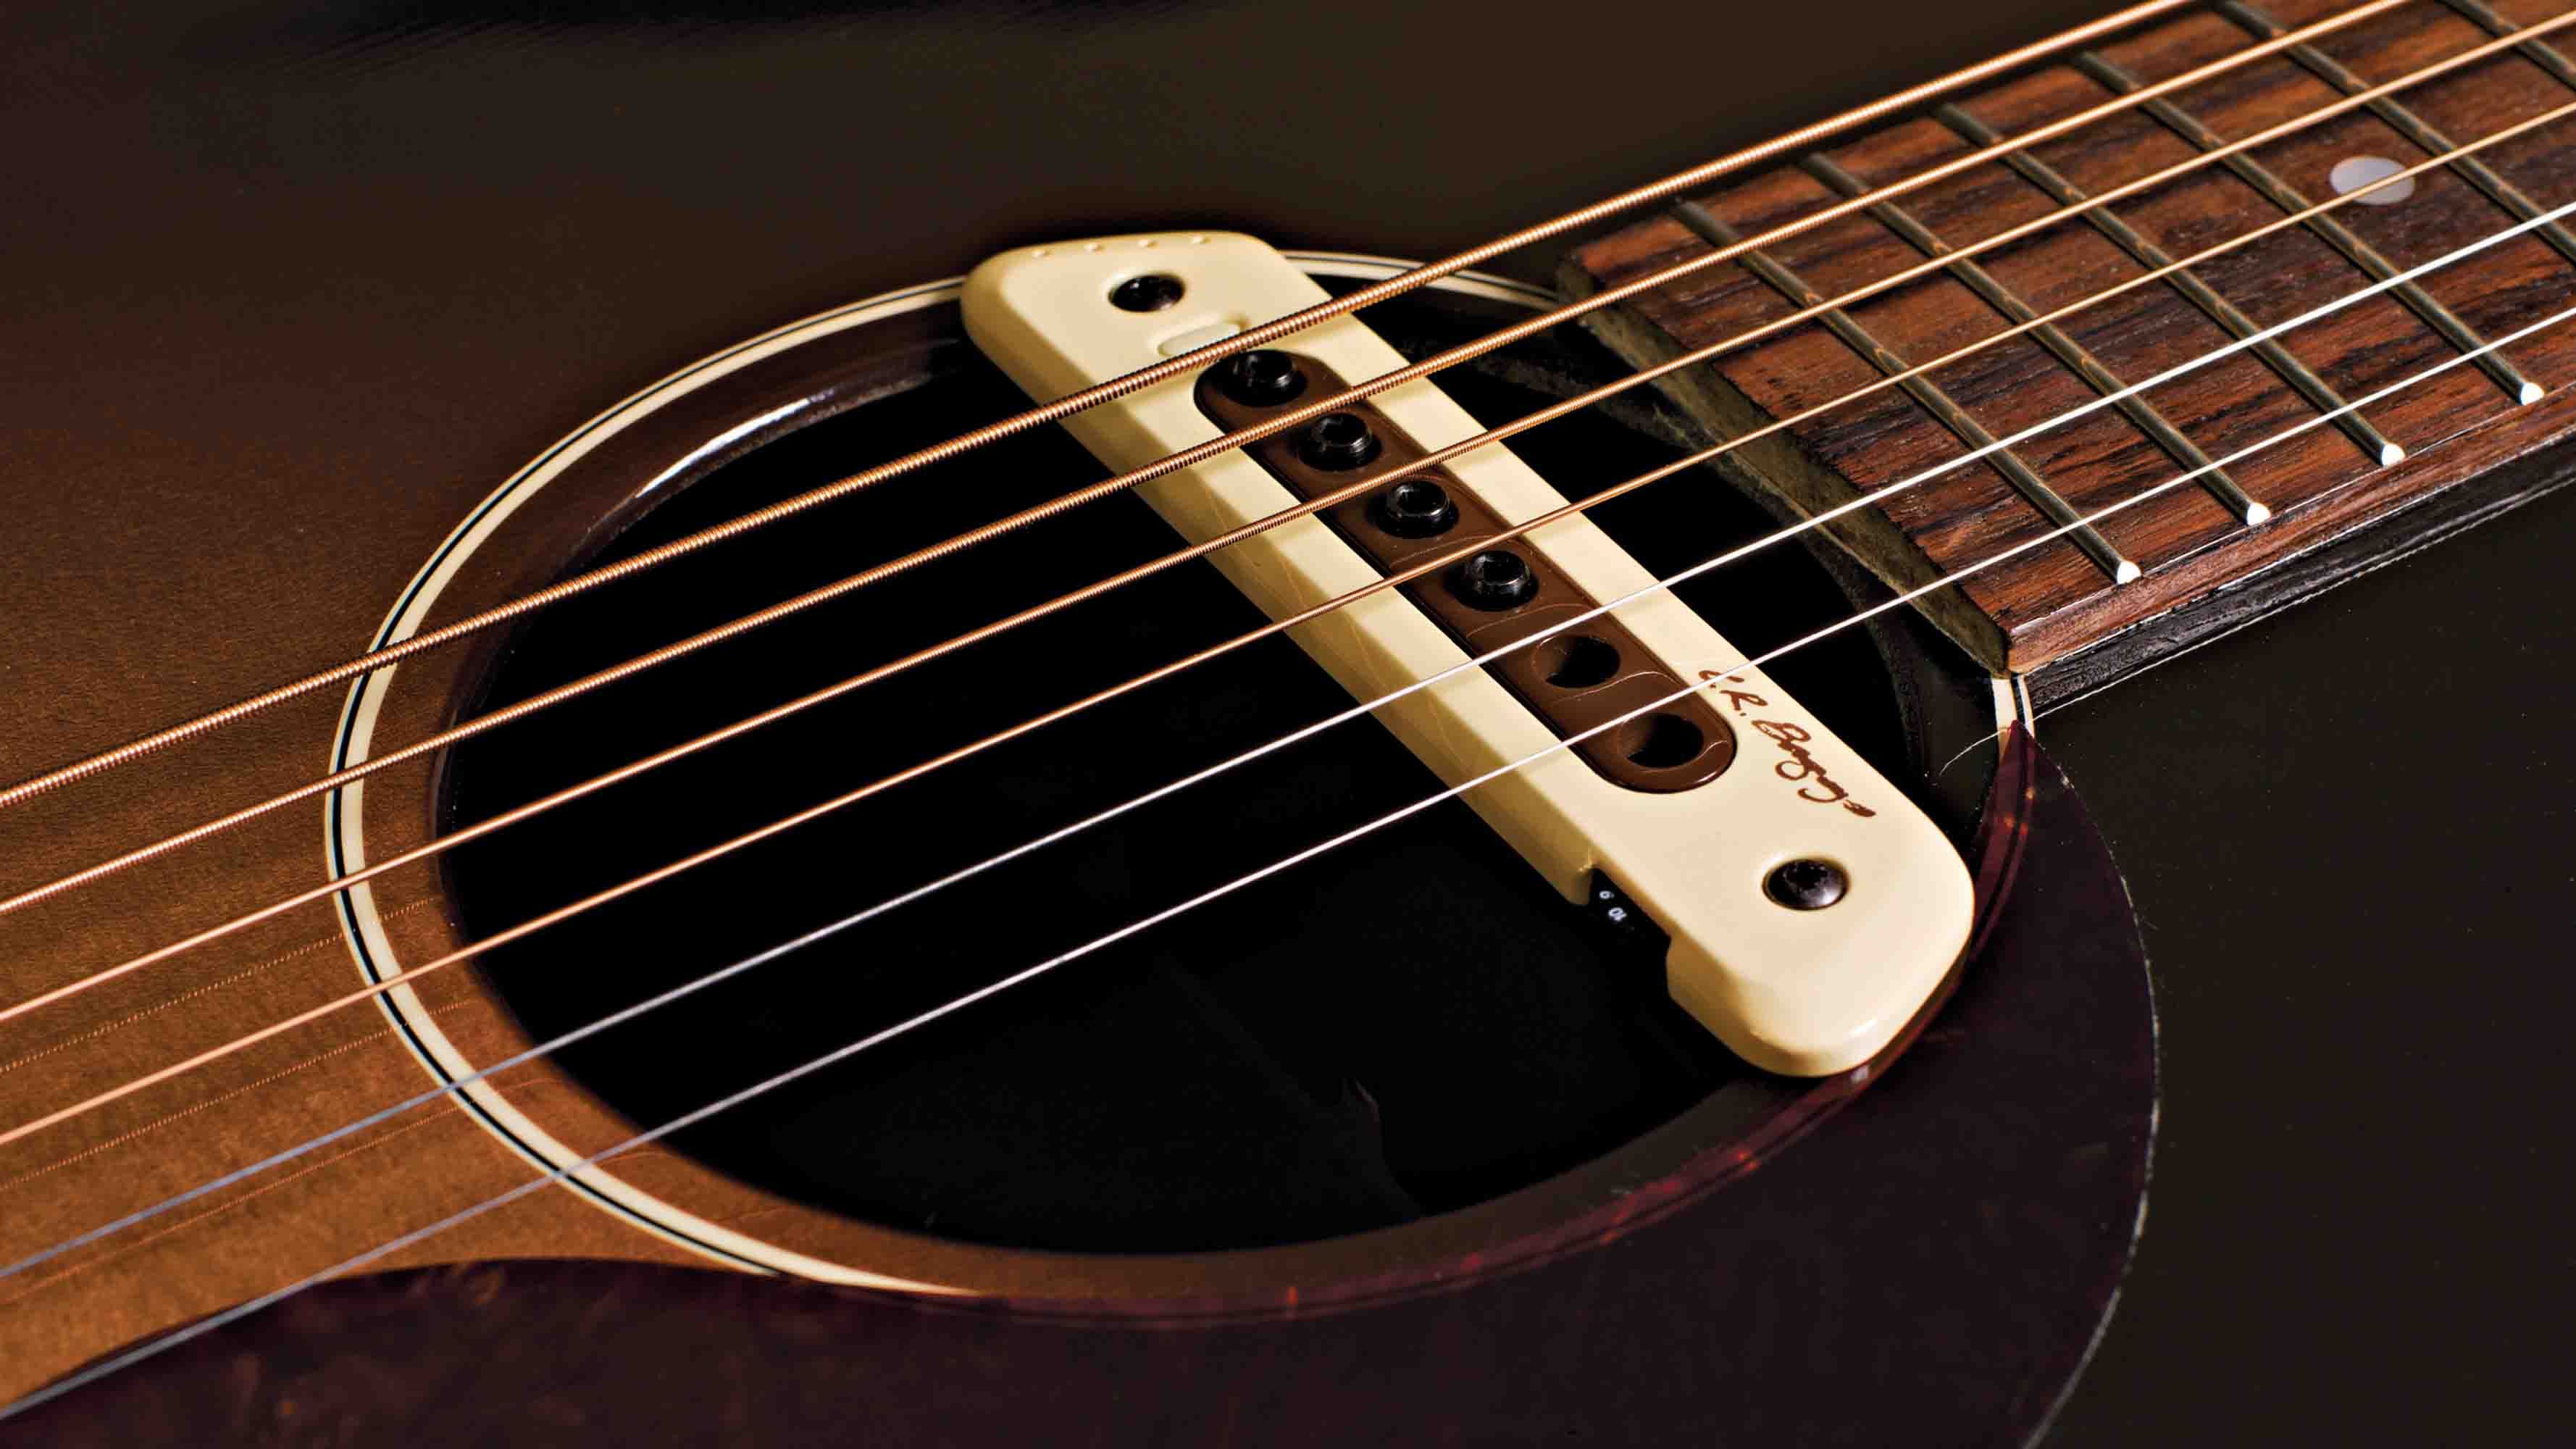
1. Soundhole Pickups: These pickups are mounted near the soundhole and capture the vibrations of the strings. They are a popular choice for their ease of installation and affordability. Soundhole pickups produce a warm and balanced tone, making them suitable for a wide range of music genres.
2. Under-saddle Pickups: Under-saddle pickups are integrated into the saddle of the guitar and capture the vibrations directly from the saddle. They provide a clear and natural sound reproduction, especially when paired with a preamp or external EQ. Under-saddle pickups are often found in higher-end acoustic guitars and deliver a crisp and balanced tone.
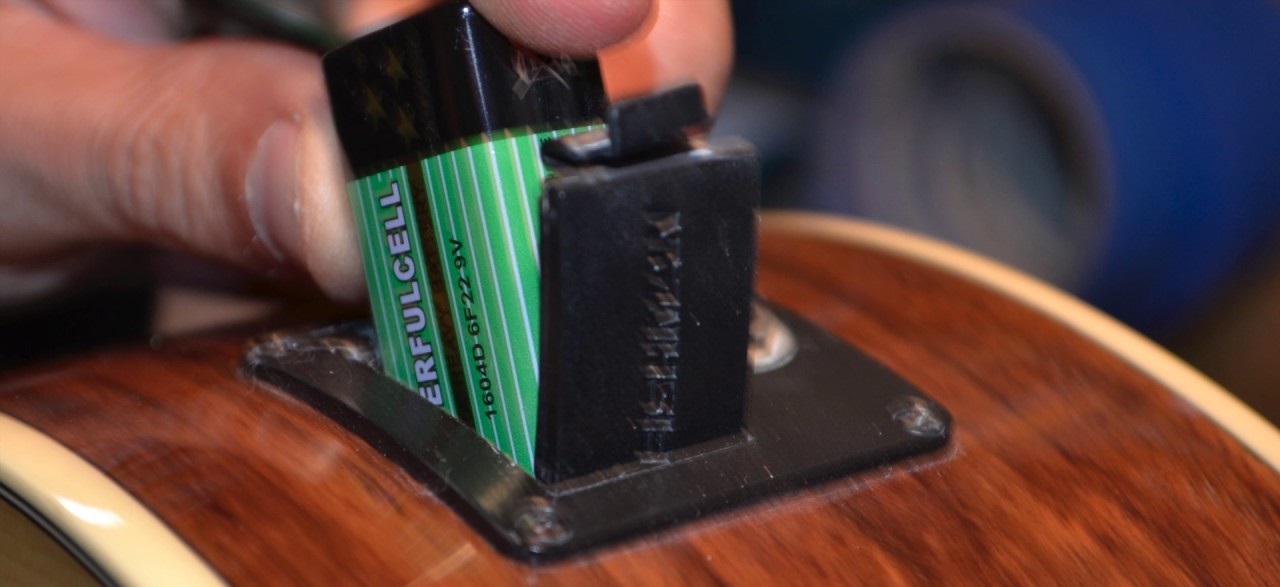
3. Contact/Mic Pickups: Contact or Mic pickups are placed inside the guitar, usually in the form of a small microphone or transducer. These pickups capture the subtle nuances and tonal characteristics of the guitar, resulting in a more organic and natural sound. However, contact pickups can be sensitive to feedback, so proper placement and EQ adjustment are crucial.
4. Dual-source Pickups: Dual-source pickups combine multiple pickup types, such as under-saddle and mic pickups, to provide a more versatile and customizable sound. This allows you to blend the characteristics of different pickups and achieve a wider range of tones.
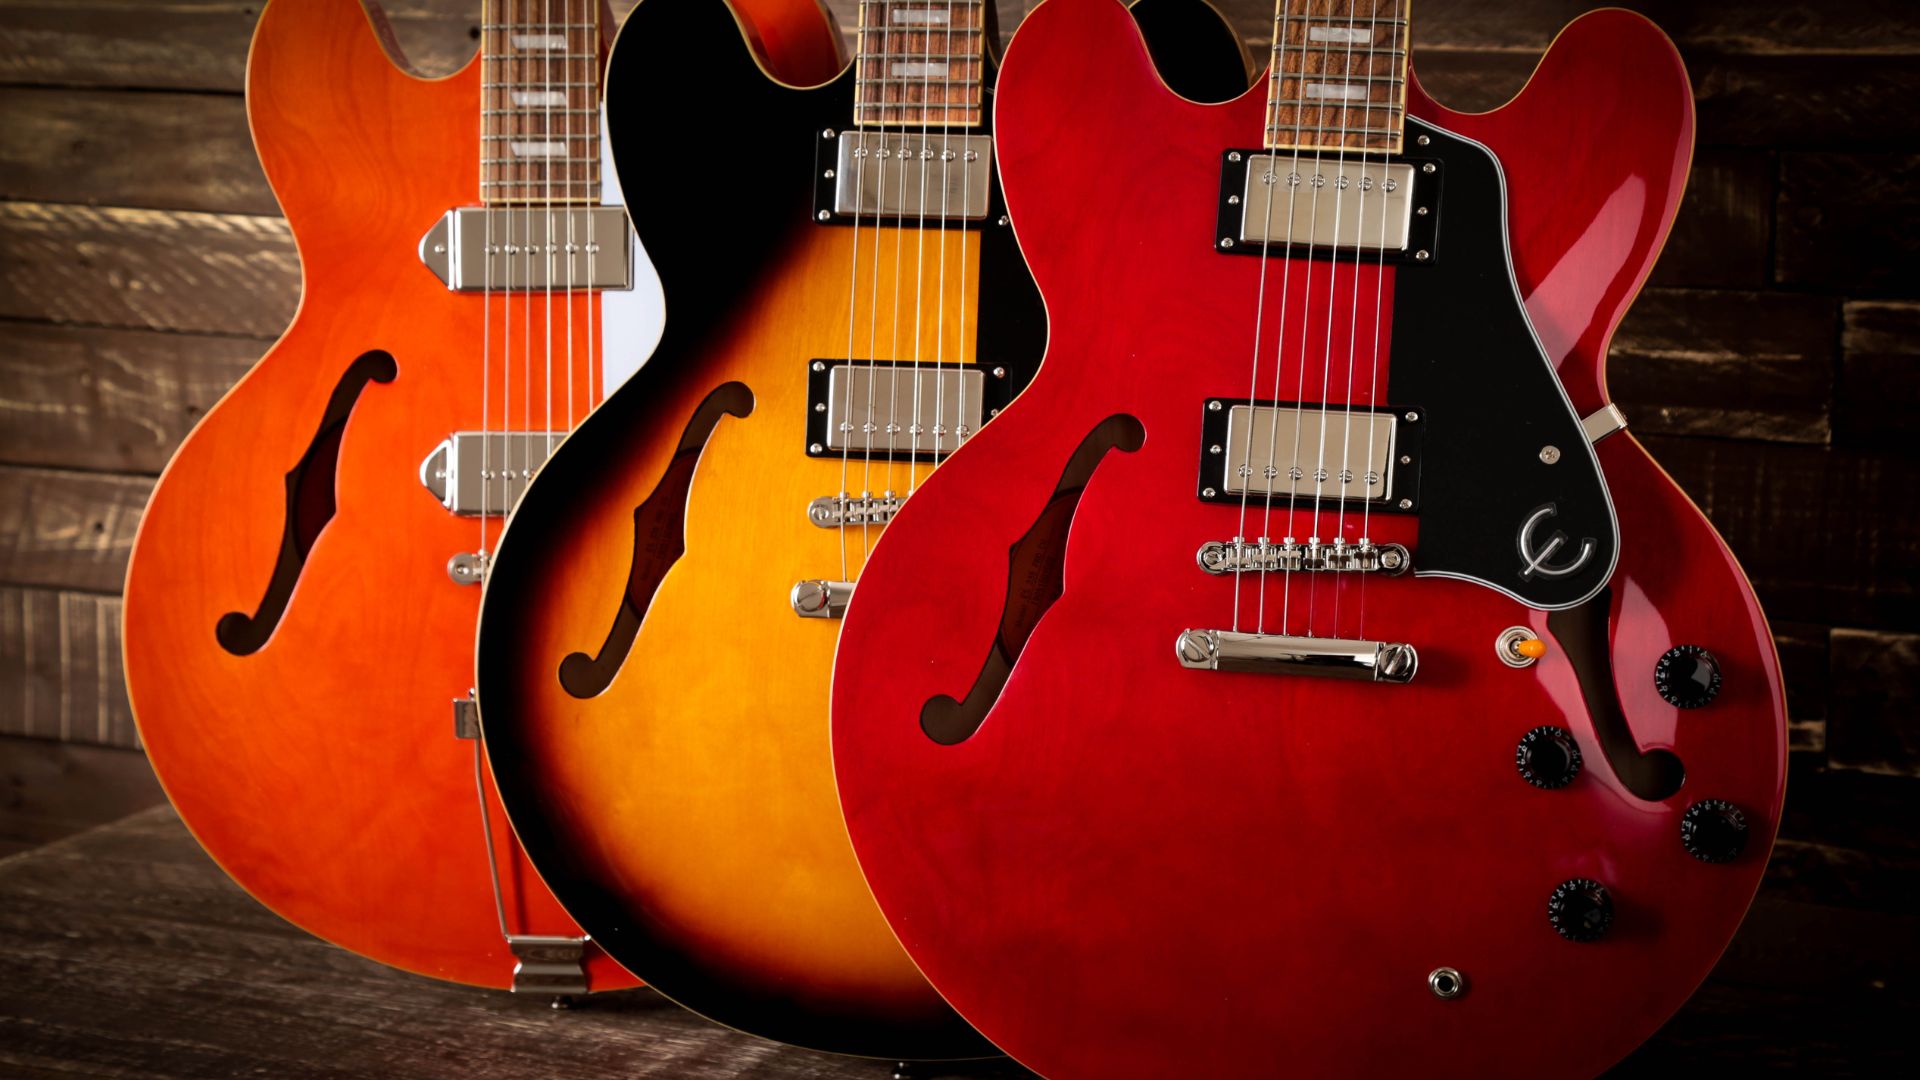
5. Magnetic Pickups: Magnetic pickups are commonly used in electric guitars, but they can also be used for amplifying acoustic guitars. They use magnets to pick up the vibrations of the strings and are typically mounted on the soundboard or attached externally. Magnetic pickups offer a unique and distinctive tone that can add a touch of electric guitar-like sound to your acoustic playing.
It’s important to note that each pickup option has its own unique characteristics, and the best choice for you depends on your playing style, genre of music, and personal preferences. Experimenting with different pickup options and seeking the advice of professionals can help you find the perfect pickup that enhances the natural sound of your acoustic guitar.
Understanding the different pickup options empowers you to make an informed decision when selecting an amplifier and adjusting the EQ settings. Whether you prefer a warm and balanced tone or a more natural and organic sound, the right pickup can help you achieve the desired results.
Setting Up Your Amplifier
Once you have chosen the right amplifier for your acoustic guitar, it’s time to set it up properly to achieve the best sound possible. Properly setting up your amplifier involves a few key steps that will ensure optimal performance and sound quality.
1. Gain and Volume Adjustment: Start by setting the gain and volume levels on your amplifier. The gain controls the input sensitivity and should be set to a level where there is no unwanted distortion or clipping. Adjust the volume level to the appropriate level for your playing environment, whether you are practicing at home or performing on stage.
2. EQ (Equalization) Adjustment: Most amplifiers come with built-in EQ controls that allow you to shape the tone of your guitar. Experiment with the bass, midrange, and treble controls to find a balanced and pleasing sound. Adjusting the EQ settings can help cut through the mix and reduce any unwanted frequencies.
3. Reverb and Effects: If your amplifier has built-in reverb or other effects, experiment with these settings to add depth and ambience to your sound. Use reverb sparingly to create a natural-sounding environment, and be mindful not to overdo it, as it can muddy the overall tone.
4. Feedback Prevention: Acoustic guitars are prone to feedback when amplified, especially at high volumes. To minimize feedback, position your amplifier and guitar in a way that reduces the chance of the sound bouncing back into the guitar’s soundhole. Additionally, using feedback suppression devices or placing dampening materials around the guitar’s soundhole can help control unwanted feedback.
5. Monitor Placement: Consider the placement of your amplifier and how it interacts with your surroundings. If you are playing in a small room, positioning the amplifier on a raised surface or using a monitor speaker can help distribute the sound evenly. In larger venues, consider using stage monitors or routing the signal through the main PA system.
Remember, it’s important to regularly check and adjust your amplifier settings to accommodate different playing environments and ensure consistent sound quality. Take the time to familiarize yourself with the controls and features of your amplifier, as this will allow you to make quick adjustments when needed.
By properly setting up your amplifier, you can ensure that your acoustic guitar’s true sound is faithfully reproduced and amplified. The right combination of gain, volume, EQ, and effects will help you achieve the desired tone and enhance your overall performance.
Proper Placement of Microphones
In addition to using pickups, incorporating microphones can capture the natural tone and nuances of your acoustic guitar when amplifying. Proper placement of microphones is crucial to achieve the desired sound and ensure optimal performance. Here are some tips for proper microphone placement.
1. Positioning the Microphone: The ideal placement for a microphone when amplifying an acoustic guitar is typically around the 12th to 14th fret. This location captures a balanced mix of the guitar’s body and string sound, resulting in a full and rich tone. Experiment with slightly different positions to find the sweet spot that best captures the characteristics of your guitar.
2. Distance from the Soundhole: The distance between the microphone and the soundhole affects the tonal balance and the amount of low-end boominess. Placing the microphone too close to the soundhole can result in an overpowering bass response and muddiness. It’s recommended to position the microphone a few inches away from the soundhole to capture a more balanced and natural sound.
3. Angle of the Microphone: The angle at which the microphone is pointed towards the guitar can also impact the sound. Experiment with different angles to find the positioning that best captures the desired amount of string and body resonance. Generally, pointing the microphone slightly downwards towards the guitar ensures a clear and detailed representation of the instrument’s sound.
4. Stereo Microphone Techniques: If you want to create a broader and more spacious sound, utilizing stereo microphone techniques can be beneficial. Techniques like the XY and ORTF configurations involve using two microphones spaced apart to capture a wider stereo image. These techniques can provide a more immersive listening experience in recordings and live performances.
5. Room Acoustics: Consider the acoustics of the room when placing microphones. Rooms with excessive natural reverberation may result in a muddled and boomy sound. Conversely, very dry or dead-sounding rooms may lack depth and resonance. Experiment with microphone placement and consider the use of room treatment or close-miking techniques to achieve the desired balance between clarity and ambience.
Remember to always listen and adjust the microphone placement to achieve the best sound before committing to a final position. Additionally, it’s essential to use high-quality microphones and ensure proper microphone cable connections to prevent any signal loss or interference.
Proper placement of microphones allows you to capture the nuances and intricacies of your acoustic guitar’s sound when amplifying. By taking the time to explore different techniques and experimenting with microphone placement, you can achieve a natural, balanced, and dynamic representation of your instrument’s unique tonal qualities.
Utilizing EQ and Effects for the Best Sound
EQ (Equalization) and effects play a crucial role in shaping the sound of your amplified acoustic guitar. By understanding how to effectively use these tools, you can enhance the tone, add depth, and create a more professional and polished sound. Here’s how to utilize EQ and effects for the best sound.
1. EQ: The EQ controls on your amplifier or mixer allow you to adjust the frequency response of your guitar. Start by adjusting the bass, midrange, and treble controls to achieve a balanced and pleasing tone. Reduce any excessive low-end rumble or boominess by lowering the bass frequencies, and boost the presence and clarity by adding a touch of the midrange and treble frequencies. Remember to make subtle adjustments and listen carefully to the changes in sound.
2. Notch Filter: If you’re experiencing feedback or unwanted frequencies resonating from your acoustic guitar, utilize the notch filter on your amplifier or a graphic EQ pedal to eliminate or reduce those specific frequencies. Sweep the notch filter or adjust the graphic EQ to identify and attenuate the problem frequencies without affecting the overall tone of your guitar.
3. Reverb: Reverb adds depth and a sense of space to your guitar’s sound. Experiment with different reverb settings to find the right balance. Use a subtle amount of reverb for a natural sound, or increase it to create a more ambient and atmospheric effect. Be mindful not to drown out the clarity of your guitar by using too much reverb.
4. Delay: Delay effects can add dimension and create a sense of depth to your guitar sound. Utilize delay settings to create rhythmic patterns or to add a subtle echo to your playing. Experiment with the delay time and feedback controls to find the right balance and sync it with your playing style.
5. Chorus and Modulation: Chorus and modulation effects can add richness and movement to your guitar sound. Chorus creates a thick, shimmering effect by duplicating the original signal and adding slight variations in pitch and timing. Modulation effects like flanger, phaser, or tremolo can create swirling, sweeping, or pulsating sounds. Use these effects sparingly to add texture and interest to your guitar sound.
6. Compression: Compression helps to even out the dynamics of your guitar sound. It can smooth out the peaks and boost the quieter notes, resulting in a more consistent sound. Use compression to control the attack of your guitar and achieve a balanced signal without excessive peaks or dips in volume.
Remember, the key is to use these EQ and effects tastefully and sparingly. While they can enhance your guitar sound, it’s essential not to overpower the natural characteristics of your acoustic guitar. Take the time to experiment with different settings and listen carefully to ensure that you are achieving the desired sound.
By utilizing EQ and effects thoughtfully, you can elevate the sound of your amplified acoustic guitar and add an extra layer of depth and nuance to your playing.
Techniques for Playing and Amplifying Acoustic Guitar
Playing and amplifying an acoustic guitar require specific techniques to achieve the best possible sound. Here are some tips to help you enhance your playing and optimize the amplification of your acoustic guitar.
1. Strumming and Picking Dynamics: Pay attention to your strumming and picking dynamics. Varying the intensity and speed of your strumming or picking can add dynamics and expressiveness to your playing. Experiment with different techniques, such as palm muting or fingerpicking, to create a wide range of tonal variations that can be effectively amplified.
2. Avoid Excessive String Noise: Acoustic guitars can produce unwanted string noise during playing. To minimize this, work on your fretting and muting techniques. Place your fingers close to the frets to achieve clean and clear notes. Additionally, use the palm of your picking hand to lightly touch the strings below the soundhole to dampen any sympathetic vibrations or unwanted string noise.
3. Adjusting Your Attack: The attack or how you initially strike the strings affects the tone and overall character of your guitar sound. Experiment with different attack techniques, such as digging into the strings for a more aggressive sound or lightly grazing the strings for a softer and more delicate tone. By adjusting your attack, you can customize your sound and optimize it for amplification.
4. Feedback Prevention: Feedback can be a common issue when amplifying acoustic guitars, especially at high volumes. To mitigate this, position yourself and your guitar strategically in relation to the amplifier. Aim to minimize the interaction between the guitar’s soundhole and the direction of the amplifier. Additionally, using feedback suppressors or using notch filters on your amplifier can help control feedback frequencies when necessary.
5. Explore Percussive Elements: Adding percussive elements to your playing can create a fuller and more engaging sound when amplified. Techniques like tapping, slapping the strings, or incorporating thumb percussion on the guitar’s body can add rhythmic elements and texture to your performance. Experiment with different techniques to find ways to enhance your sound and make it stand out when amplified.
6. Use a Preamp/DI Box: Using a preamp or DI (Direct Injection) box between your guitar and the amplifier can optimize the signal and provide better control over your tone. These devices often provide additional EQ and gain adjustments, as well as options for controlling impedance and minimizing any signal loss. Using a preamp or DI box ensures that your guitar’s sound is properly amplified and shaped before reaching the amplifier.
By implementing these techniques, you can optimize your playing and amplify the true essence of your acoustic guitar. Each technique adds another layer of depth and expression to your sound, allowing you to create a captivating and amplified performance.
Remember, practice and experimentation are key to mastering these techniques. Take the time to explore different playing styles and learn to adapt them when playing through an amplifier. With time and experience, you will find the perfect combination of techniques that highlight the unique voice of your acoustic guitar when amplified.
Common Mistakes to Avoid when Amplifying Acoustic Guitar
Amplifying an acoustic guitar can be a complex task, and there are common mistakes that many musicians make. By being aware of these pitfalls, you can avoid them and ensure a better sound when amplifying your acoustic guitar. Here are some common mistakes to avoid:
1. Poor Feedback Control: Feedback is one of the most prevalent issues when amplifying acoustic guitars. Some common mistakes that lead to feedback include standing too close to the amplifier or placing the guitar too close to the speakers. Experiment with the positioning of both yourself and the amplifier to minimize the risk of feedback. Additionally, using appropriate feedback control techniques such as notch filters or soundhole covers can help mitigate feedback issues.
2. Ignoring Soundcheck: Failing to conduct a thorough soundcheck can result in poor sound quality during a performance. Take the time to soundcheck before every gig or rehearsal. Adjust the levels, EQ settings, and monitor mix to ensure that your acoustic guitar sounds balanced and clear in the venue. Proper soundcheck ensures that both you and the audience experience the best sound possible.
3. Neglecting Room Acoustics: The acoustics of the venue or room can greatly impact the sound of your amplified acoustic guitar. Avoid playing in rooms with excessive echo or reverb, as it can muddy the sound and affect clarity. Consider using sound-absorbing panels or curtains to improve the acoustics of the room. Additionally, adjust your EQ settings accordingly to compensate for any room-related acoustic issues.
4. Overusing Effects: Effects can enhance the sound of your acoustic guitar, but using them excessively can detract from the natural tone and can make your performance sound artificial. Use effects such as reverb, delay, and modulation sparingly and tastefully, ensuring that they complement the natural sound of your guitar rather than overpower it.
5. Neglecting String Maintenance: Neglected or old strings can negatively impact the tone and projection of your acoustic guitar when amplified. Make sure to regularly change your strings and keep them clean. Fresh strings will produce a clearer and more vibrant sound when amplified.
6. Relying Solely on Amplification: While amplification can enhance your acoustic guitar sound, it should not be solely relied upon to compensate for poor technique or a poorly maintained instrument. Take the time to develop your playing skills, improve your fingerpicking, strumming, and dynamics. Always strive to achieve the best possible sound from your guitar even without amplification.
7. Ignoring the Mix: When playing with other musicians, it’s important to consider the overall mix and how your amplified acoustic guitar fits within it. Communicate with the sound engineer and other musicians to find the right balance between your guitar and other instruments. Properly blending your guitar within the mix will result in a more cohesive and professional sound.
Being aware of these common mistakes and taking proactive measures to avoid them will greatly improve the sound quality and overall performance when amplifying your acoustic guitar. Remember to thoroughly prepare, optimize your setup, and continually refine your technique to achieve the best possible results.
Conclusion
Amplifying an acoustic guitar can be a game-changer in terms of enhancing your sound and taking your performance to the next level. By choosing the right amplifier, understanding the different pickup options, setting up your equipment correctly, utilizing EQ and effects effectively, and employing proper playing techniques, you can unlock the full potential of your acoustic guitar’s sound.
Choosing the right amplifier that suits your needs and budget is crucial. Whether you opt for an acoustic amplifier or an electric guitar amplifier, consider factors such as power, size, and connectivity options to ensure the best sound reproduction.
Understanding the different pickup options allows you to select one that captures your guitar’s unique tonal characteristics accurately. Whether you go for soundhole pickups, under-saddle pickups, contact/mic pickups, or a combination of them, choosing the right pickup can greatly impact the quality of your amplified sound.
Properly setting up your amplifier, including gain and volume adjustment, EQ settings, and using effects judiciously, is pivotal for achieving a balanced and professional sound. Experiment with microphone placement, paying attention to position, distance, and angle to capture the best sound of your acoustic guitar.
Developing and utilizing playing techniques that embrace dynamics, control string noise, adjust attack, and explore percussive elements will not only enhance your overall playing experience but also optimize the amplified sound of your guitar.
Finally, be aware of common mistakes to avoid, such as poor feedback control, neglecting soundcheck or room acoustics, overusing effects, neglecting string maintenance, relying solely on amplification, and ignoring the mix. By being conscious of these errors, you can ensure a better amplification experience and sound quality.
Remember, amplifying your acoustic guitar is an ongoing process of exploration, experimentation, and refinement. Continuously strive to improve your skills, adapt to different environments, and fine-tune your setup to achieve the best possible sound that showcases the unique characteristics of your instrument.
So, whether you are performing on stage, recording in the studio, or enjoying the sound of your amplified guitar at home, may these tips and techniques guide you towards creating a captivating and resonant sound that truly represents the beauty of your acoustic guitar.