Introduction
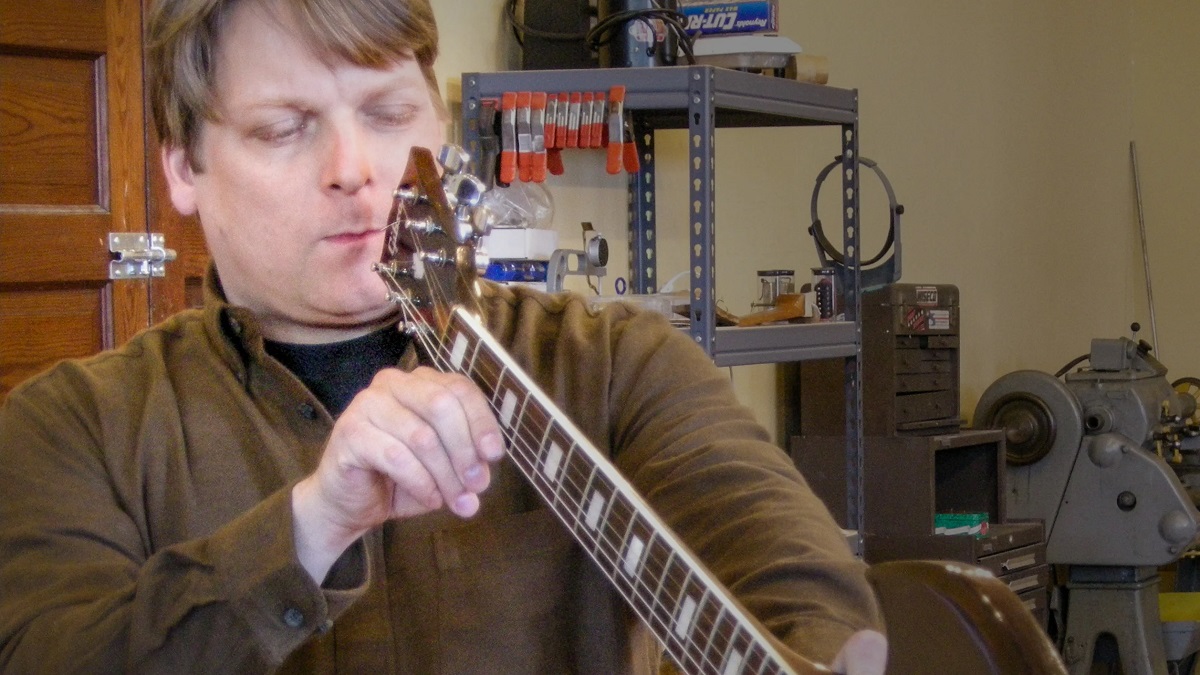
Adjusting the truss rod on an electric guitar is a crucial maintenance task that every guitarist should become familiar with. The truss rod is a metal rod that runs along the length of the guitar's neck and is used to counteract the tension exerted by the strings. Over time, environmental factors such as humidity and temperature can cause the neck to bend, leading to issues like fret buzz and high action. By learning how to properly adjust the truss rod, guitarists can ensure that their instrument plays optimally and remains in good condition.
Understanding the nuances of truss rod adjustment is essential for maintaining the playability and longevity of an electric guitar. While it may seem daunting at first, with the right tools and guidance, this process can be straightforward and immensely beneficial. By making precise adjustments to the truss rod, guitarists can achieve the ideal neck relief, which is the slight curvature of the neck that allows for comfortable playing without sacrificing intonation or action.
In this guide, we will delve into the step-by-step process of adjusting the truss rod on an electric guitar, equipping you with the knowledge and confidence to undertake this task. Before delving into the specific steps, it is imperative to gather the necessary tools to ensure a smooth and successful truss rod adjustment. Once you have the required tools at your disposal, you can proceed with the adjustment process, followed by testing the results to ensure the desired outcome.
Mastering the art of truss rod adjustment empowers guitarists to maintain their instruments in top playing condition, thereby enhancing their musical experience and performance. With the comprehensive guidance provided in this article, you will be well-prepared to embark on this essential maintenance task and elevate the playability of your electric guitar.
Tools Needed
Before embarking on the truss rod adjustment process, it is crucial to gather the essential tools to ensure a smooth and effective procedure. The following tools are indispensable for this task:
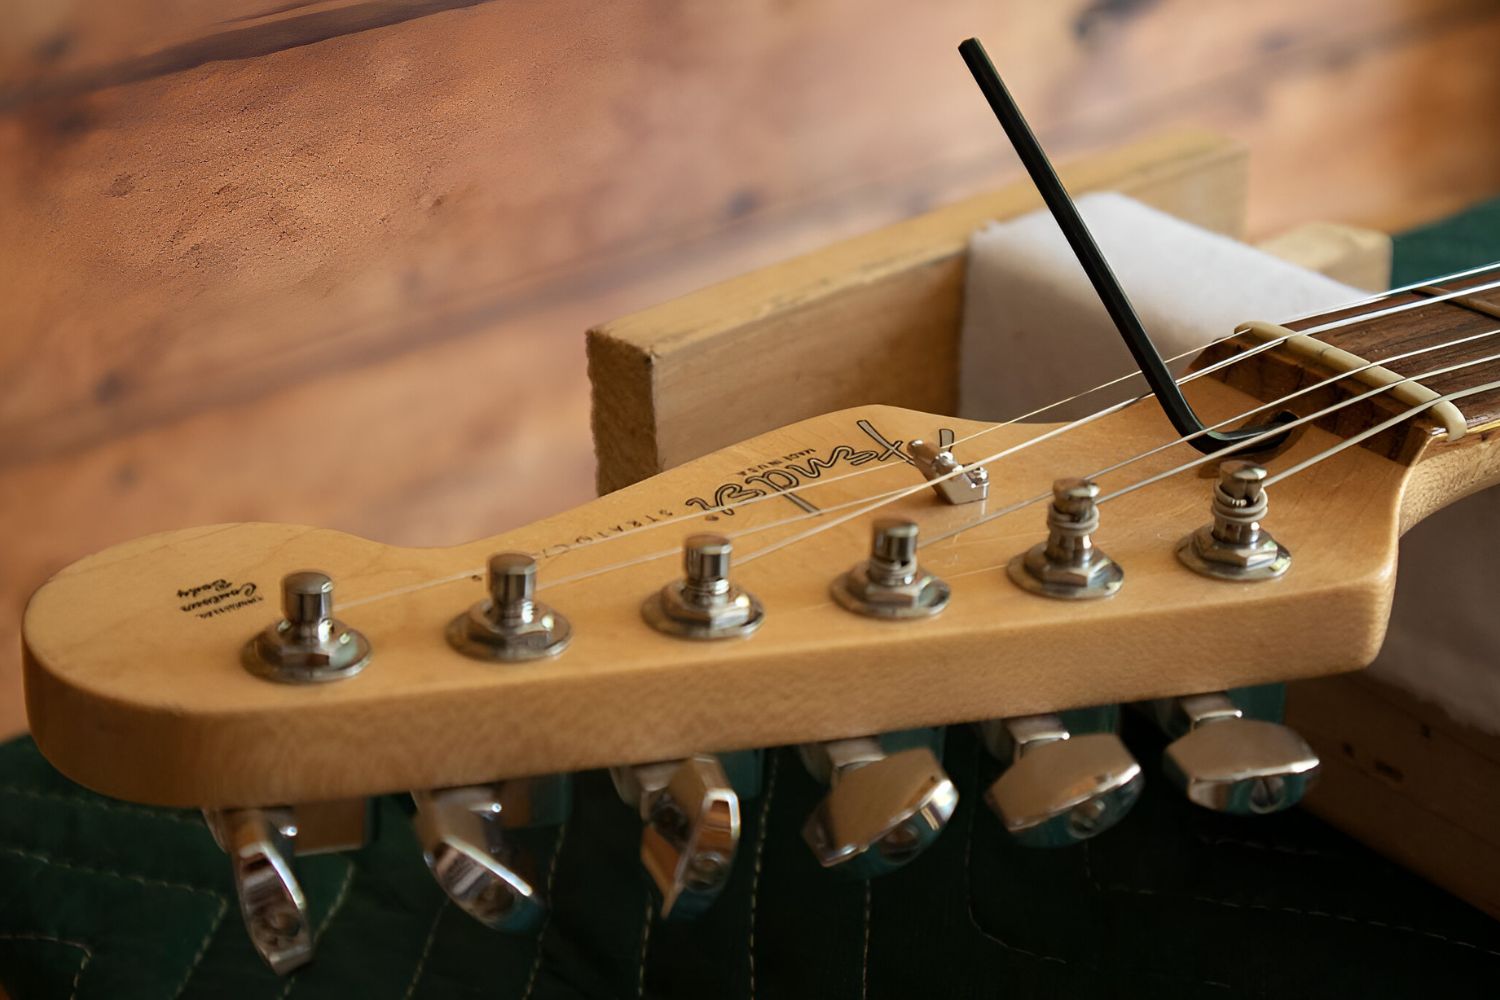
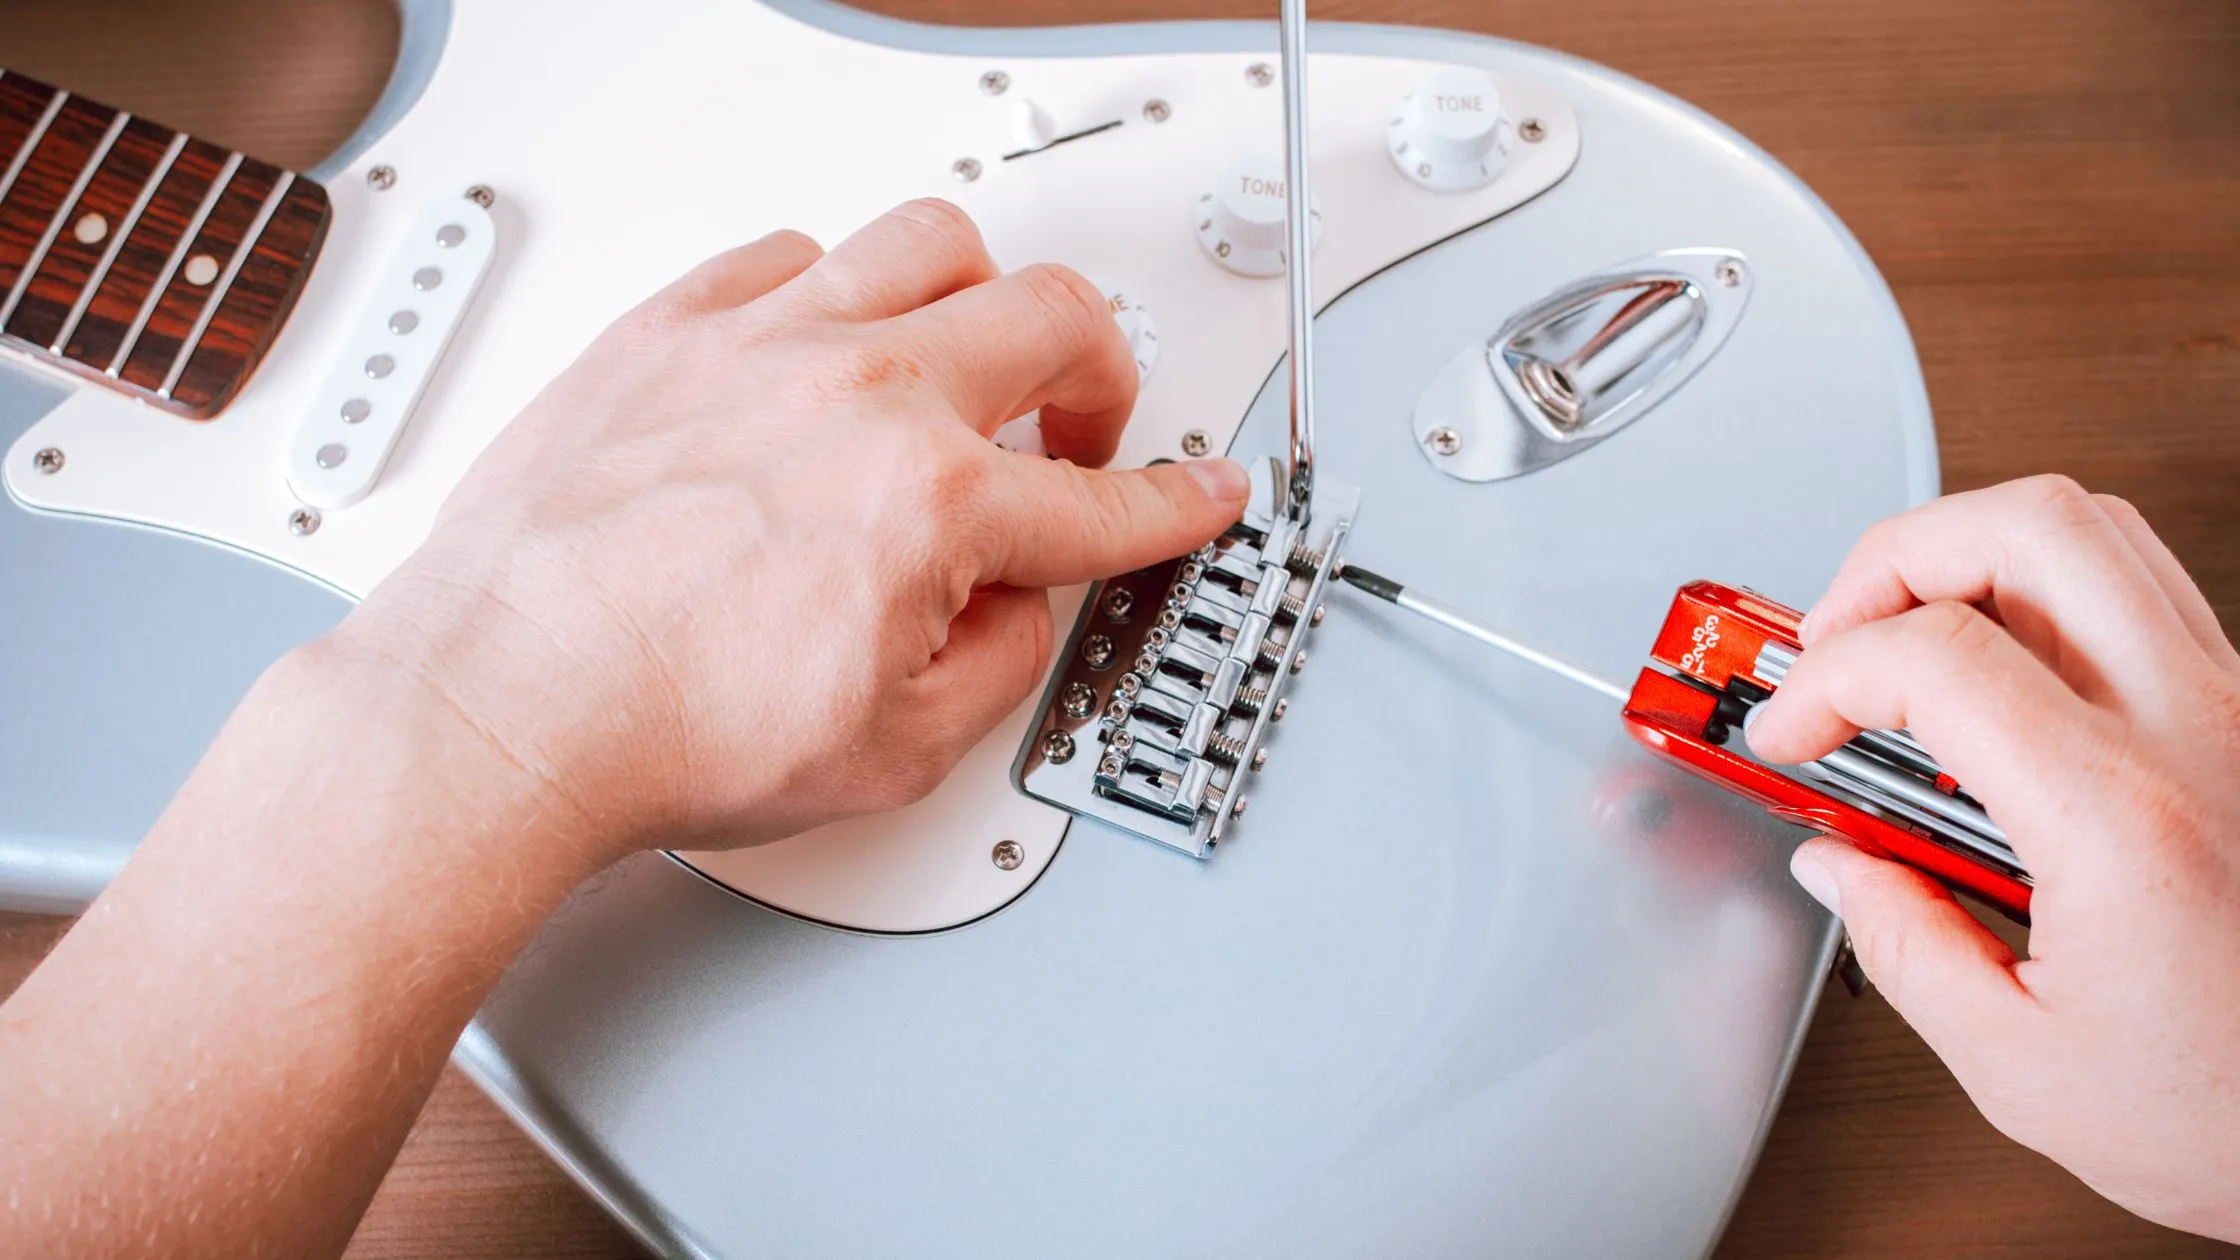
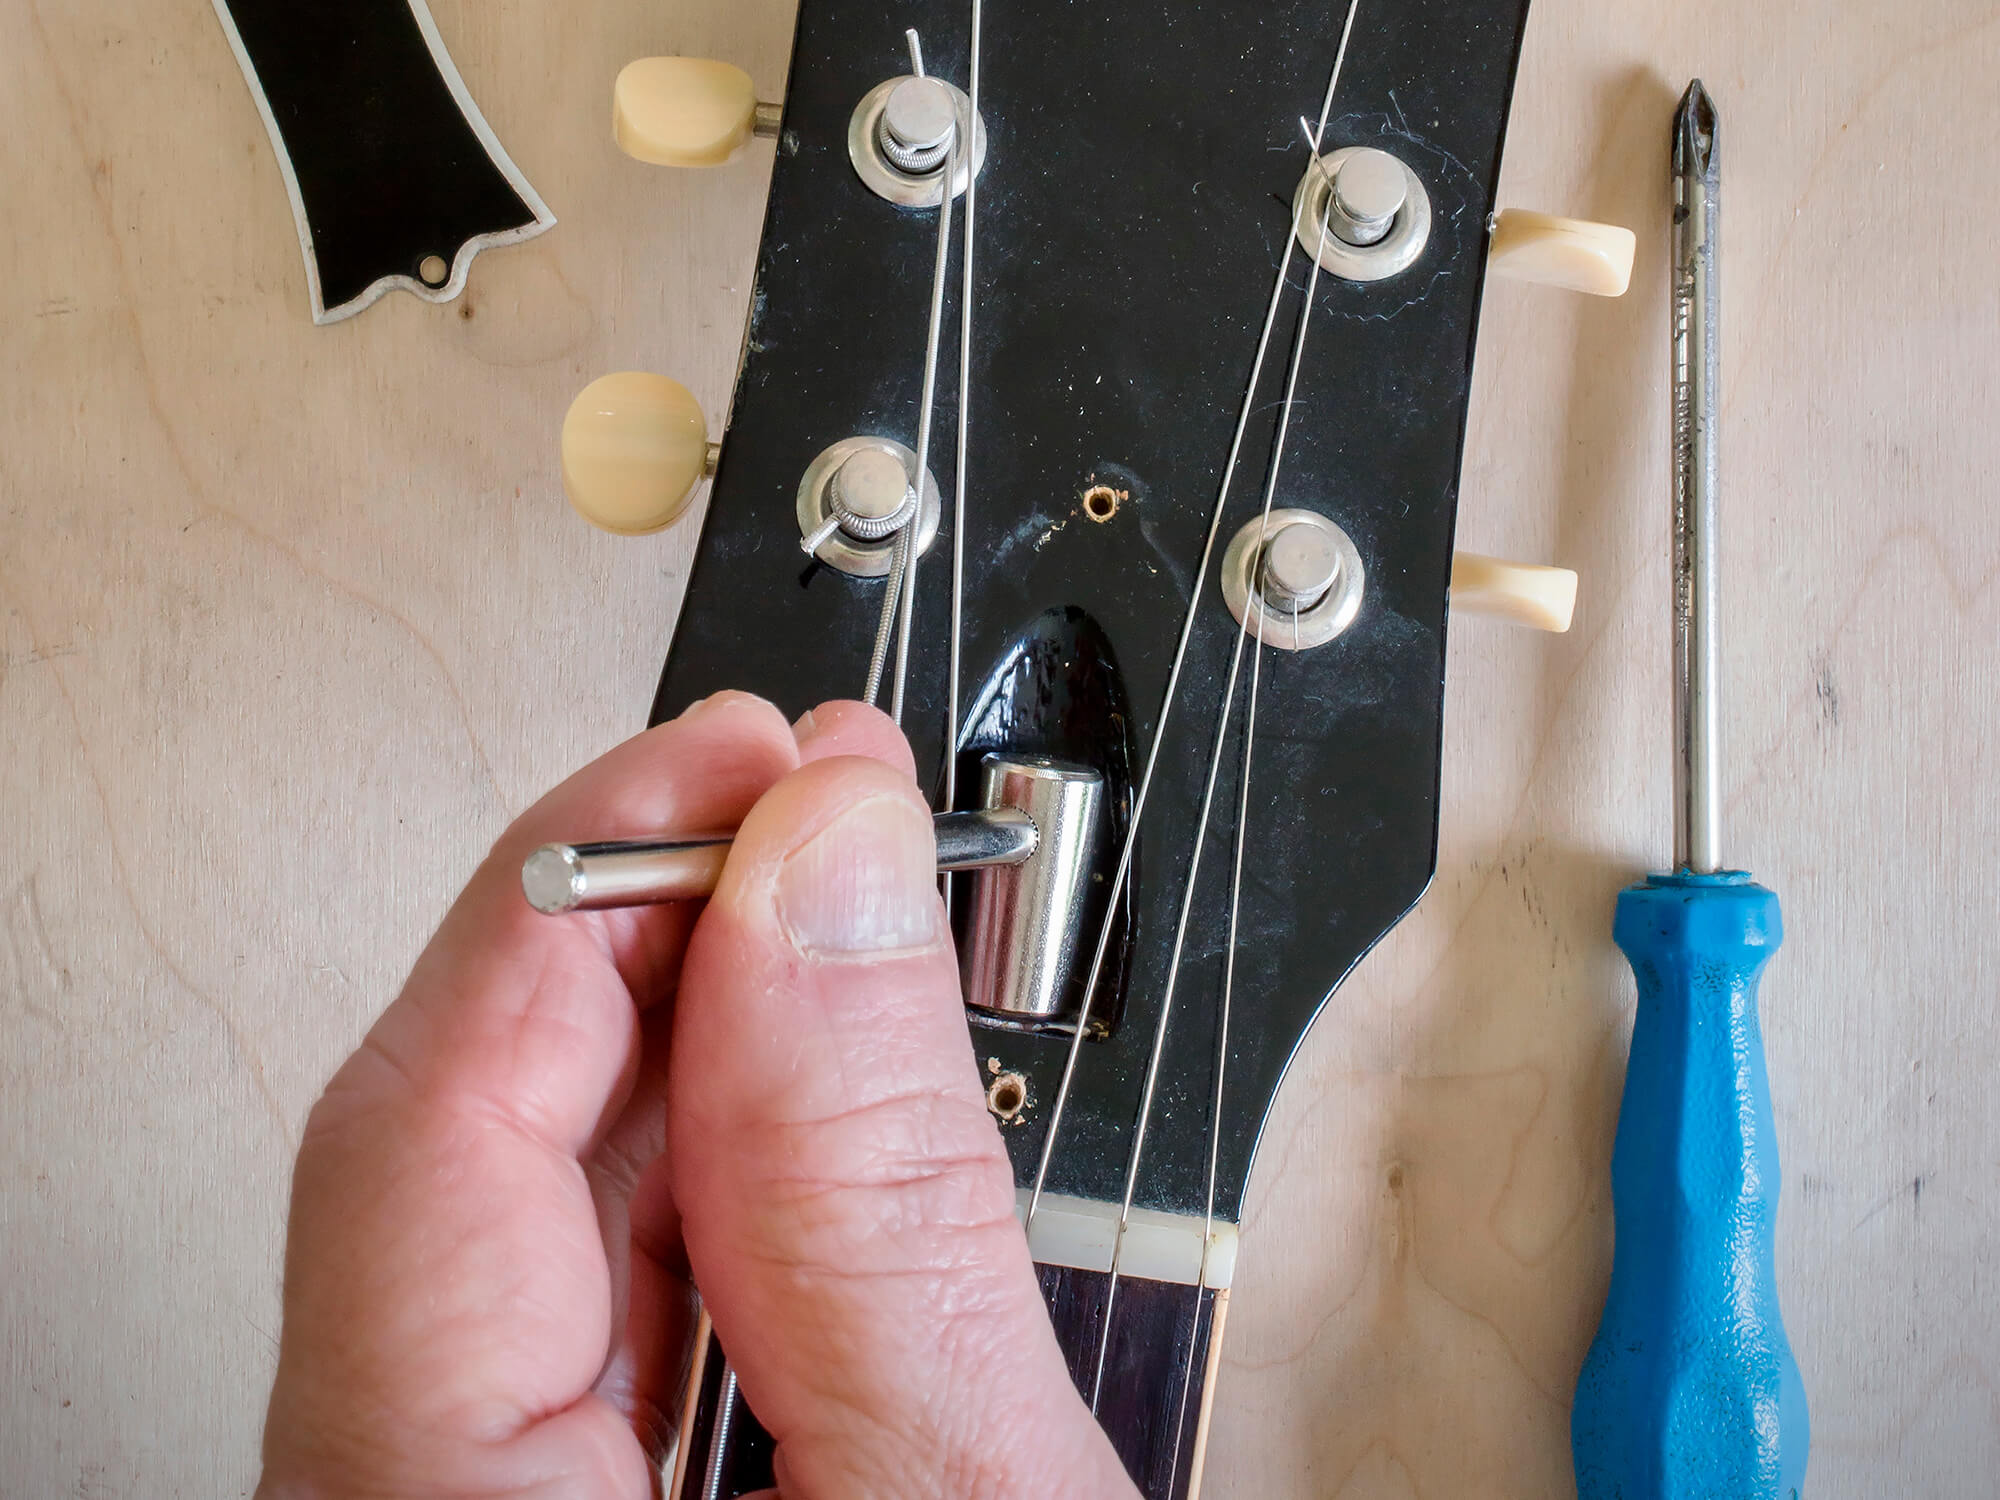
- Truss Rod Wrench: This specialized wrench is designed to fit the truss rod nut located at the headstock or the heel of the guitar neck. It comes in various sizes, so it is important to ascertain the correct wrench size for your specific guitar model.
- Capo: Using a capo to fret the strings at the first fret facilitates the measurement of neck relief, allowing for more accurate adjustments to the truss rod.
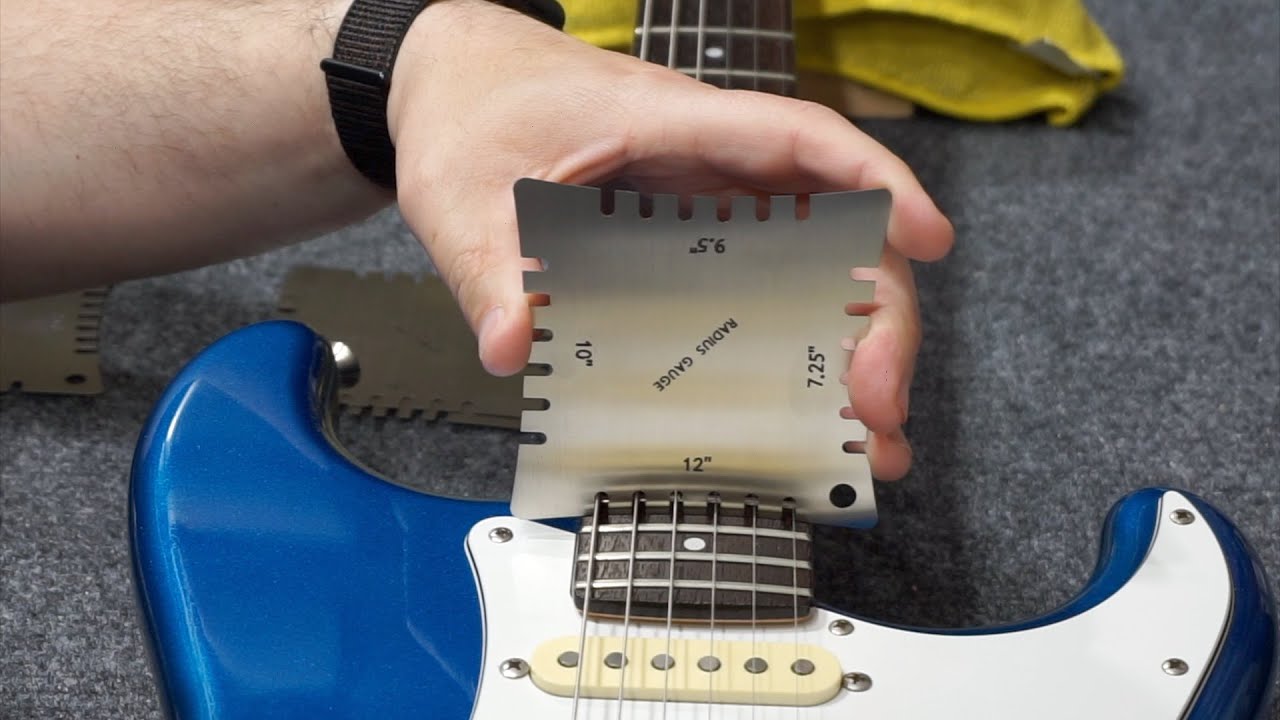
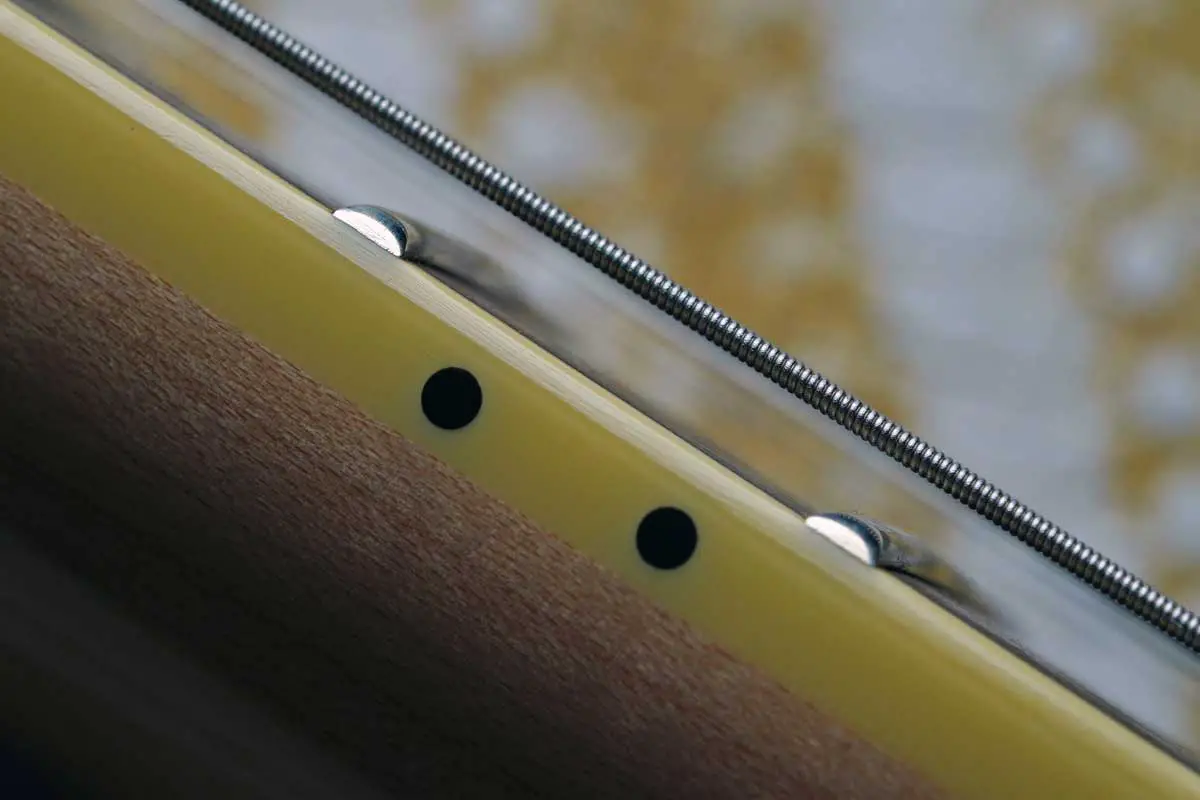
- Feeler Gauge: A feeler gauge is utilized to measure the amount of space between the top of the frets and the straightedge placed along the neck, aiding in determining the existing neck relief.
- Flat Edge or Straightedge: This tool is employed in conjunction with the feeler gauge to assess the curvature of the neck and determine the necessary adjustments to the truss rod.
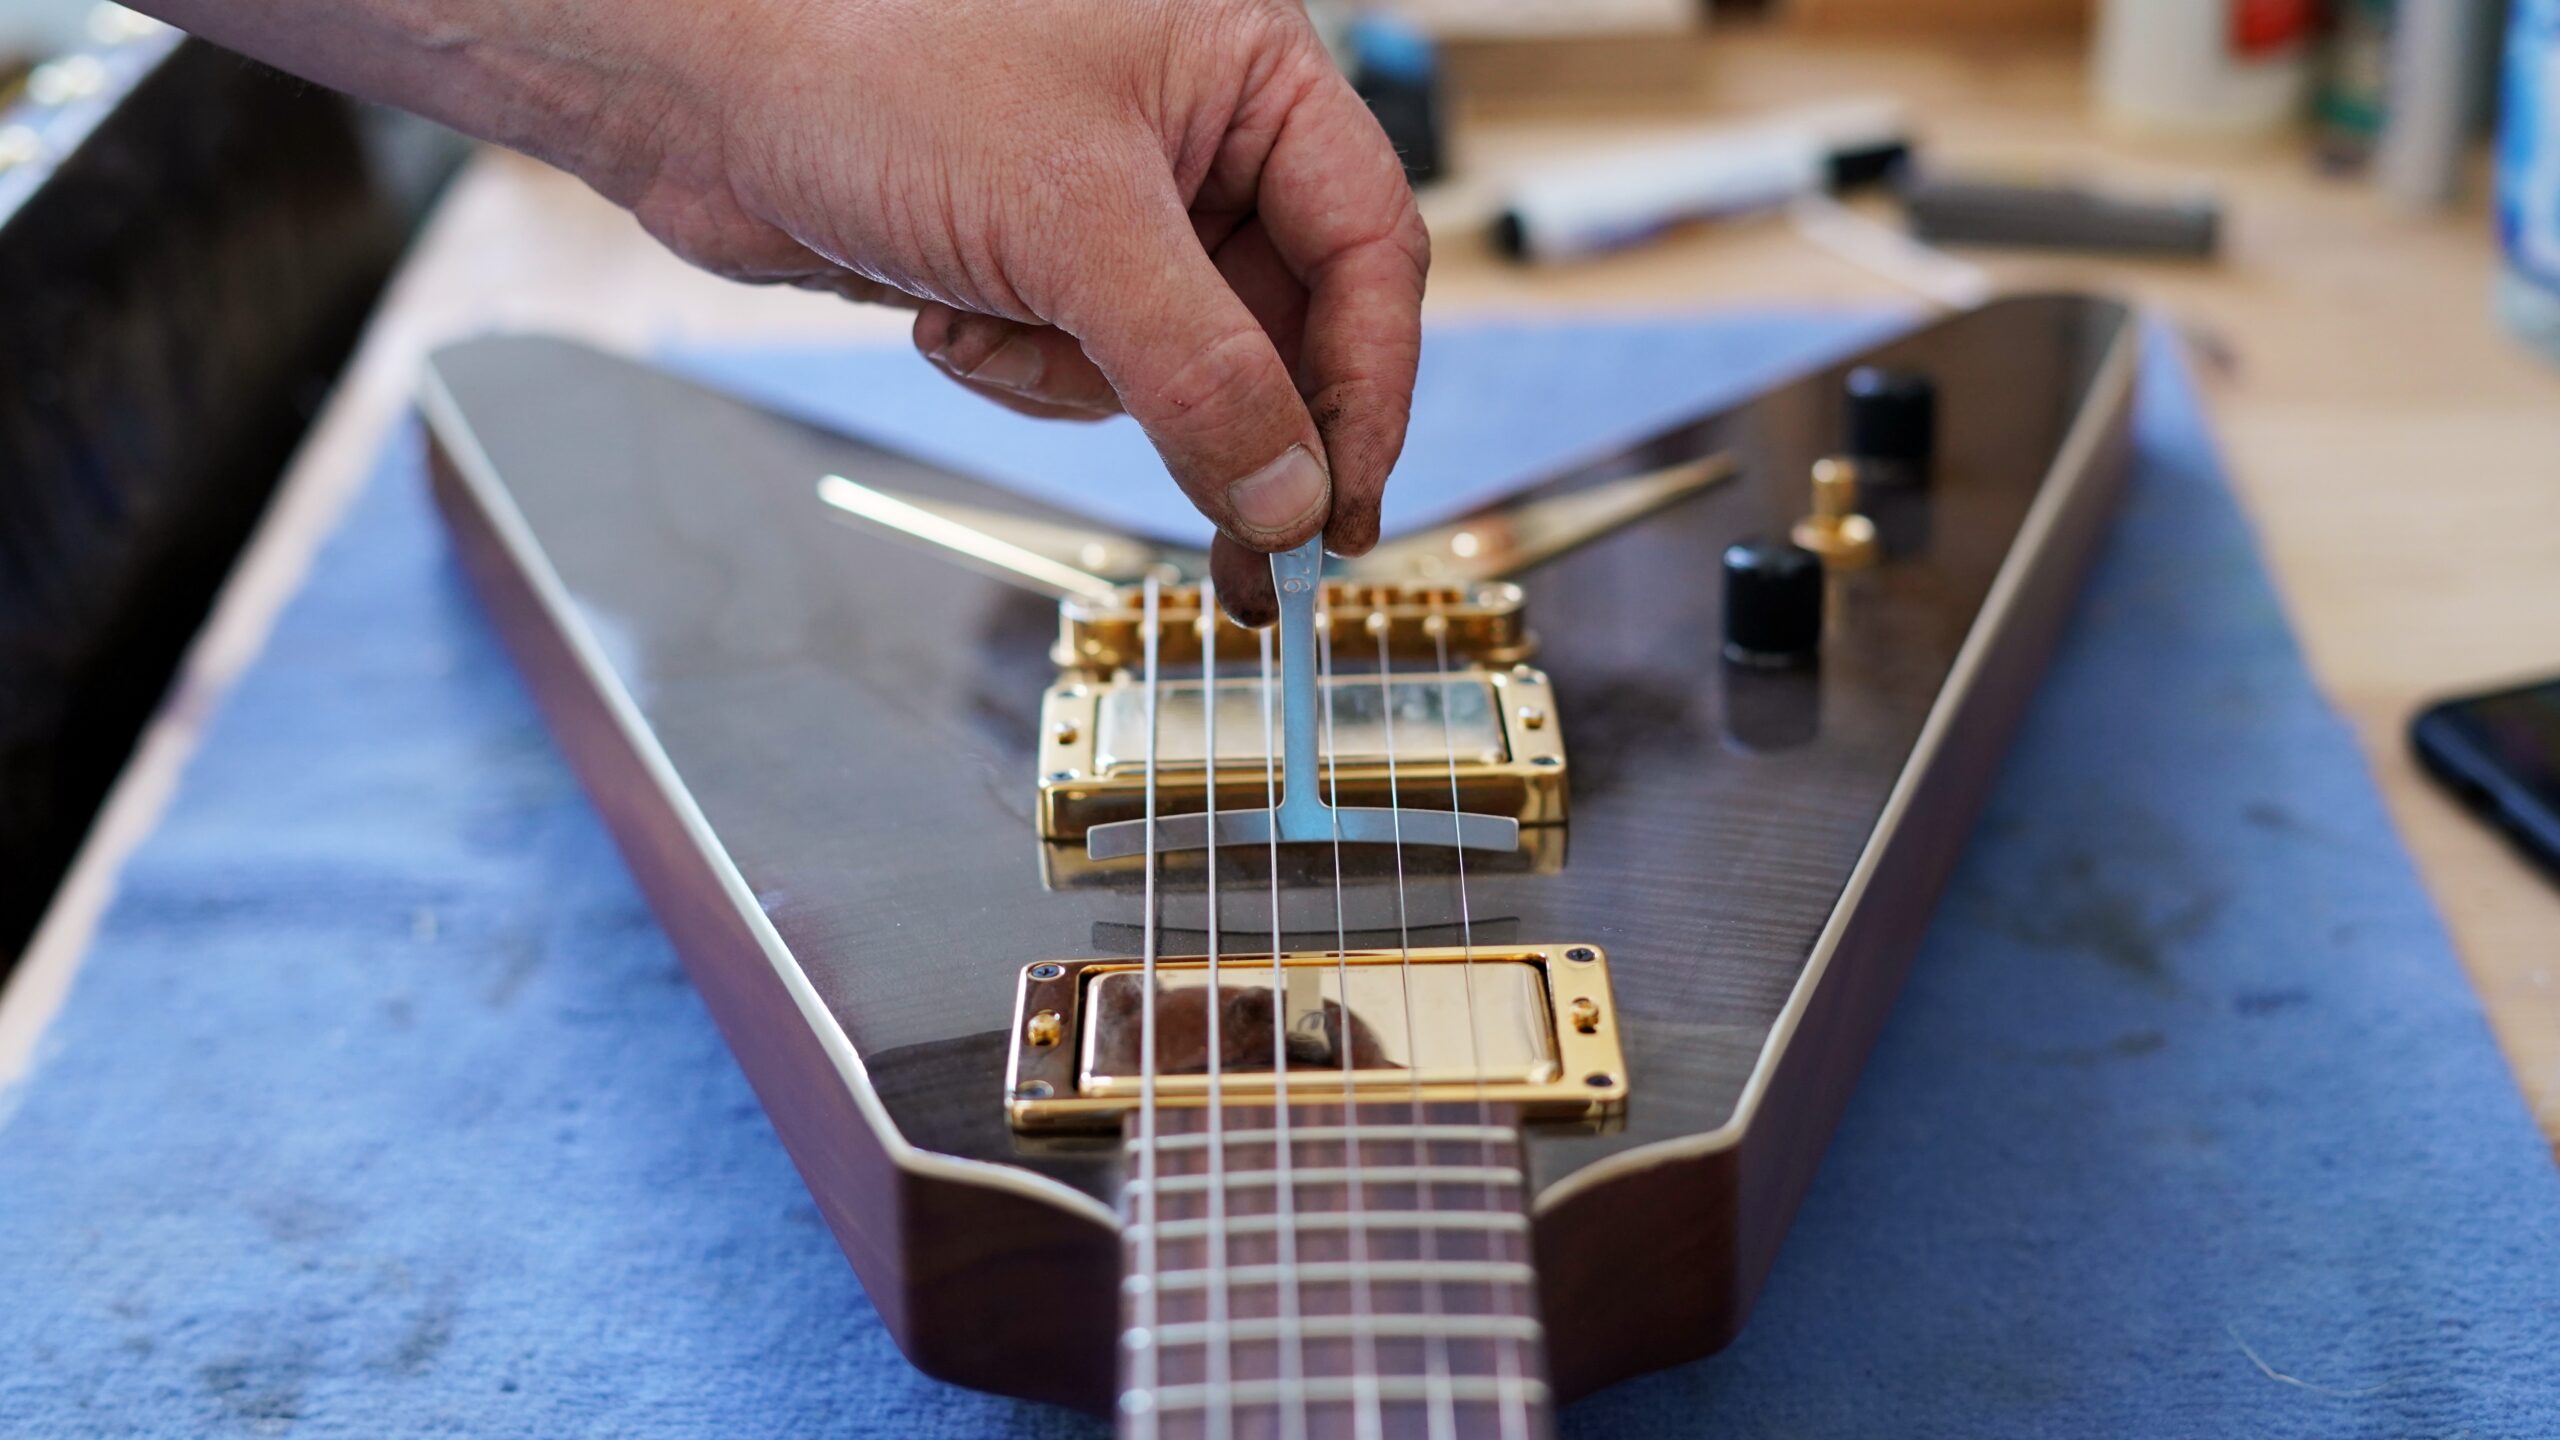
- String Action Gauge: Measuring the string action, or the height of the strings above the frets, is integral to achieving optimal playability. A string action gauge facilitates accurate measurements, enabling precise adjustments to the truss rod.
- Microfiber Cloth: Keeping a microfiber cloth handy is advisable for cleaning the guitar and ensuring that no debris or particles interfere with the truss rod adjustment process.
By assembling these essential tools, you will be well-equipped to undertake the truss rod adjustment on your electric guitar with confidence and precision. Each tool plays a crucial role in the process, contributing to the accurate assessment and adjustment of the truss rod to achieve the desired neck relief and playability.
Steps to Adjust the Truss Rod
Adjusting the truss rod on an electric guitar requires a systematic approach to ensure the proper alignment of the neck and optimal playability. Follow these essential steps to execute the truss rod adjustment effectively:
- Prepare the Guitar: Begin by detuning the guitar to alleviate the tension on the neck. This step is crucial to prevent any potential damage to the truss rod during adjustment. Once the strings are adequately loosened, use the appropriate tools to remove the truss rod cover, exposing the truss rod nut.
- Assess the Neck Relief: With the strings at tension, place the capo on the first fret and use the feeler gauge in conjunction with the straightedge to measure the gap between the frets and the straightedge. This measurement provides insight into the current neck relief, guiding the subsequent adjustments to the truss rod.
- Make Incremental Adjustments: Insert the truss rod wrench into the truss rod nut and carefully make quarter-turn adjustments, ensuring that each turn is gradual and deliberate. It is imperative to exercise caution and avoid over-tightening the truss rod, as this can lead to neck damage.
- Reassess the Neck Relief: After each adjustment, remove the capo and re-measure the neck relief using the feeler gauge and straightedge. This iterative process allows for precise alterations to the truss rod, gradually achieving the desired neck curvature.
- Check String Action: Once the optimal neck relief is attained, utilize the string action gauge to measure the string height at various points along the neck. This step ensures that the string action is within the preferred range, contributing to comfortable playability.
- Reassemble and Retune: After confirming the satisfactory adjustment of the truss rod and string action, reassemble the truss rod cover and proceed to tune the guitar back to standard pitch. This final step completes the truss rod adjustment process, preparing the guitar for optimal performance.
By diligently following these steps and exercising precision throughout the adjustment process, you can effectively align the neck of your electric guitar, resulting in improved playability and overall performance. The systematic approach outlined above serves as a reliable guide for successfully adjusting the truss rod, empowering guitarists to maintain their instruments in optimal playing condition.
Testing the Adjustment
After completing the truss rod adjustment on your electric guitar, it is crucial to conduct thorough testing to ensure that the desired neck relief and playability have been achieved. Testing the adjustment involves assessing various aspects of the guitar’s performance to confirm that the truss rod has been effectively aligned. The following steps outline the essential testing procedures:
- Fret Buzz Evaluation: Play each string individually across the fretboard, paying close attention to any instances of fret buzz. Fret buzz occurs when the strings make contact with the frets due to inadequate neck relief, and it is indicative of an improperly adjusted truss rod. If fret buzz is present, further adjustments to the truss rod may be necessary.
- String Action Assessment: Measure the string action at various points along the neck using the string action gauge. Confirm that the string height aligns with the preferred specifications, ensuring comfortable playability without excessive string height or buzzing.
- Playability Testing: Play chords, scales, and various musical passages to evaluate the overall playability of the guitar. Assess the ease of fretting notes and executing bends, ensuring that the adjusted truss rod has contributed to improved playability and responsiveness.
- Intonation Check: Verify the intonation of the guitar by playing harmonic and fretted notes at different positions on the neck. Confirm that the instrument maintains accurate intonation, as the truss rod adjustment can impact the guitar’s ability to stay in tune across the fretboard.
Thoroughly testing the adjustment is essential for validating the effectiveness of the truss rod alignment and ensuring that the guitar performs optimally. By meticulously evaluating fret buzz, string action, playability, and intonation, you can ascertain the success of the truss rod adjustment and make any additional adjustments if necessary. This comprehensive testing process serves as a critical final step in the truss rod adjustment procedure, allowing guitarists to fine-tune their instruments for an enhanced playing experience.
Conclusion
Mastering the art of adjusting the truss rod on an electric guitar is a valuable skill that empowers guitarists to maintain their instruments in optimal playing condition. By following the systematic steps outlined in this guide and employing the essential tools, guitarists can effectively align the truss rod to achieve the desired neck relief and playability. The careful assessment of neck relief, incremental adjustments to the truss rod, and thorough testing procedures are integral to the successful execution of this maintenance task.
Understanding the nuances of truss rod adjustment not only contributes to the immediate playability of the guitar but also enhances its longevity and performance. By regularly assessing and, if necessary, adjusting the truss rod, guitarists can mitigate issues such as fret buzz, high action, and intonation discrepancies, ensuring that their instrument remains in optimal playing condition.
Furthermore, the ability to confidently undertake truss rod adjustments instills a sense of ownership and connection with the instrument, fostering a deeper understanding of its mechanics and intricacies. This hands-on approach to maintenance empowers guitarists to actively contribute to the care and upkeep of their electric guitars, ultimately enhancing their musical experience and performance capabilities.
By incorporating the knowledge and skills acquired from this guide into your guitar maintenance routine, you can ensure that your electric guitar consistently delivers the playability and performance quality you desire. Whether you are a seasoned musician or an aspiring guitarist, the proficiency in truss rod adjustment attained through this comprehensive guide equips you to uphold the optimal condition and playability of your electric guitar, enhancing your musical journey and enjoyment.