Introduction
So, you've got a beloved electric guitar with a bent neck. It's a common issue that can cause tuning problems and affect playability. But fear not – with some patience and the right techniques, you can often straighten out a bent electric guitar neck without needing professional help.
Before diving into the repair process, it's crucial to understand the construction of an electric guitar neck. Most electric guitars have a metal truss rod embedded within the neck, running underneath the fingerboard. This truss rod is designed to counteract the tension exerted by the strings, ensuring the neck remains straight and stable.
A bent neck can result from various factors, such as changes in temperature and humidity, impact, or simply the natural settling of the instrument over time. When addressing this issue, it's vital to proceed with caution to avoid causing further damage.
In this guide, we'll walk through the steps to assess the damage, loosen the truss rod, apply heat and pressure to the neck, re-tighten the truss rod, and make final adjustments. By the end, you'll have the knowledge and confidence to tackle this repair and restore your electric guitar to its optimal condition.
Let's dive into the process of assessing the damage to determine the best course of action for your instrument.
Assessing the Damage
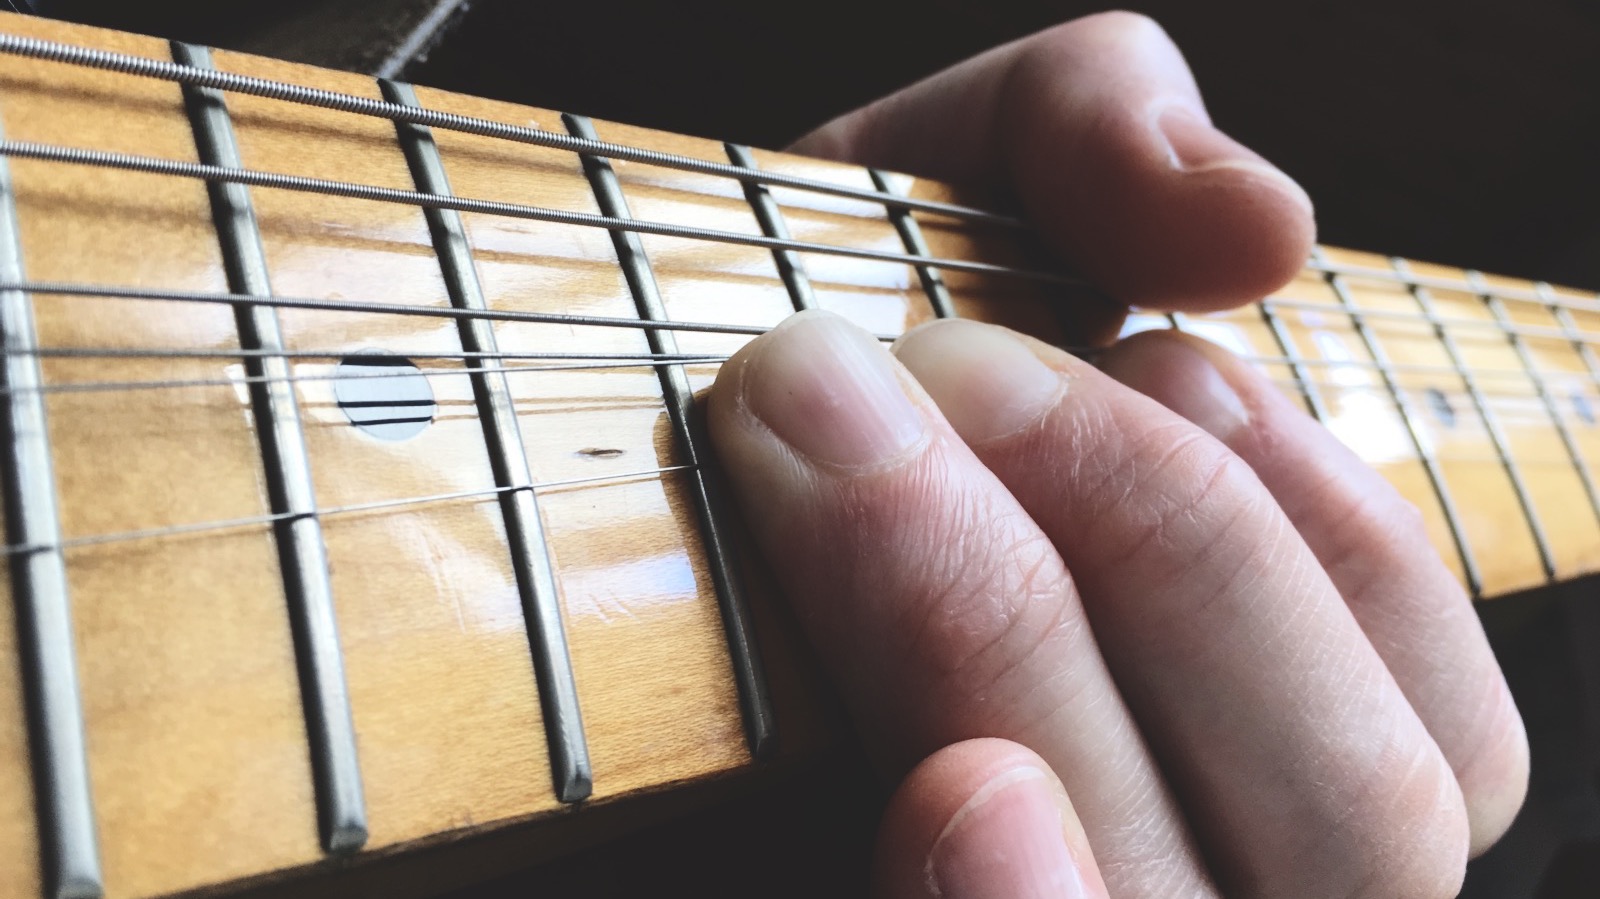
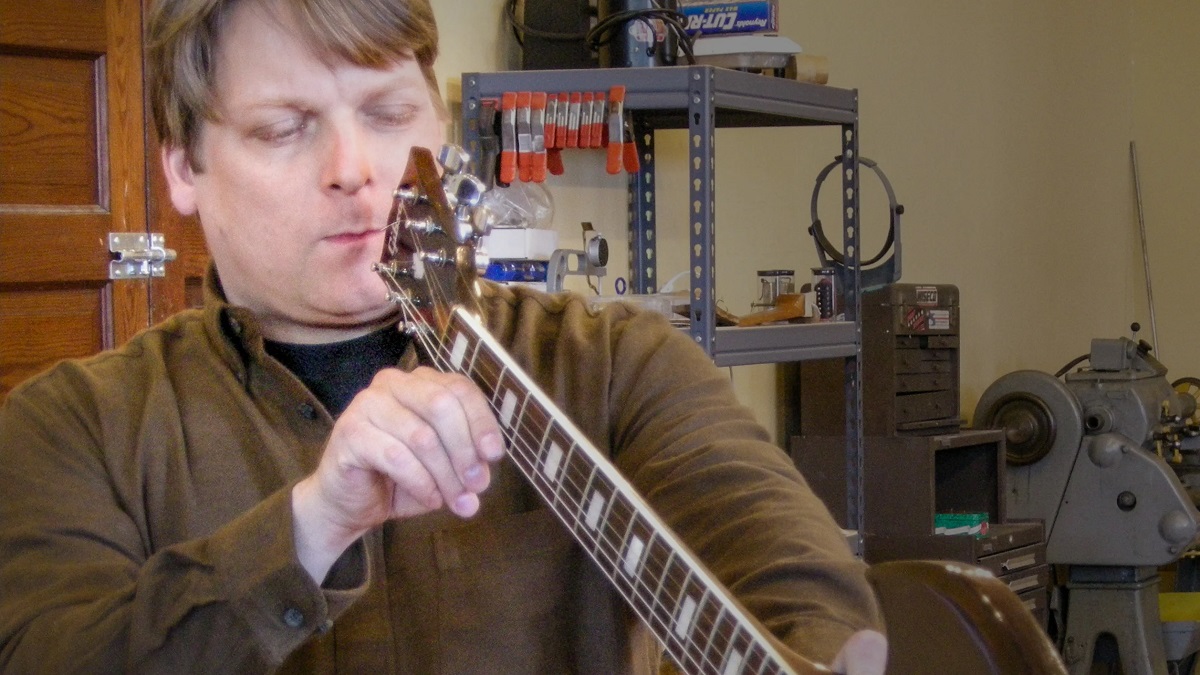
Before embarking on the journey of repairing a bent electric guitar neck, it’s crucial to thoroughly assess the extent of the damage. Start by visually inspecting the neck to identify any irregularities. Look down the length of the neck from the headstock to the body, checking for any visible twists or bows.
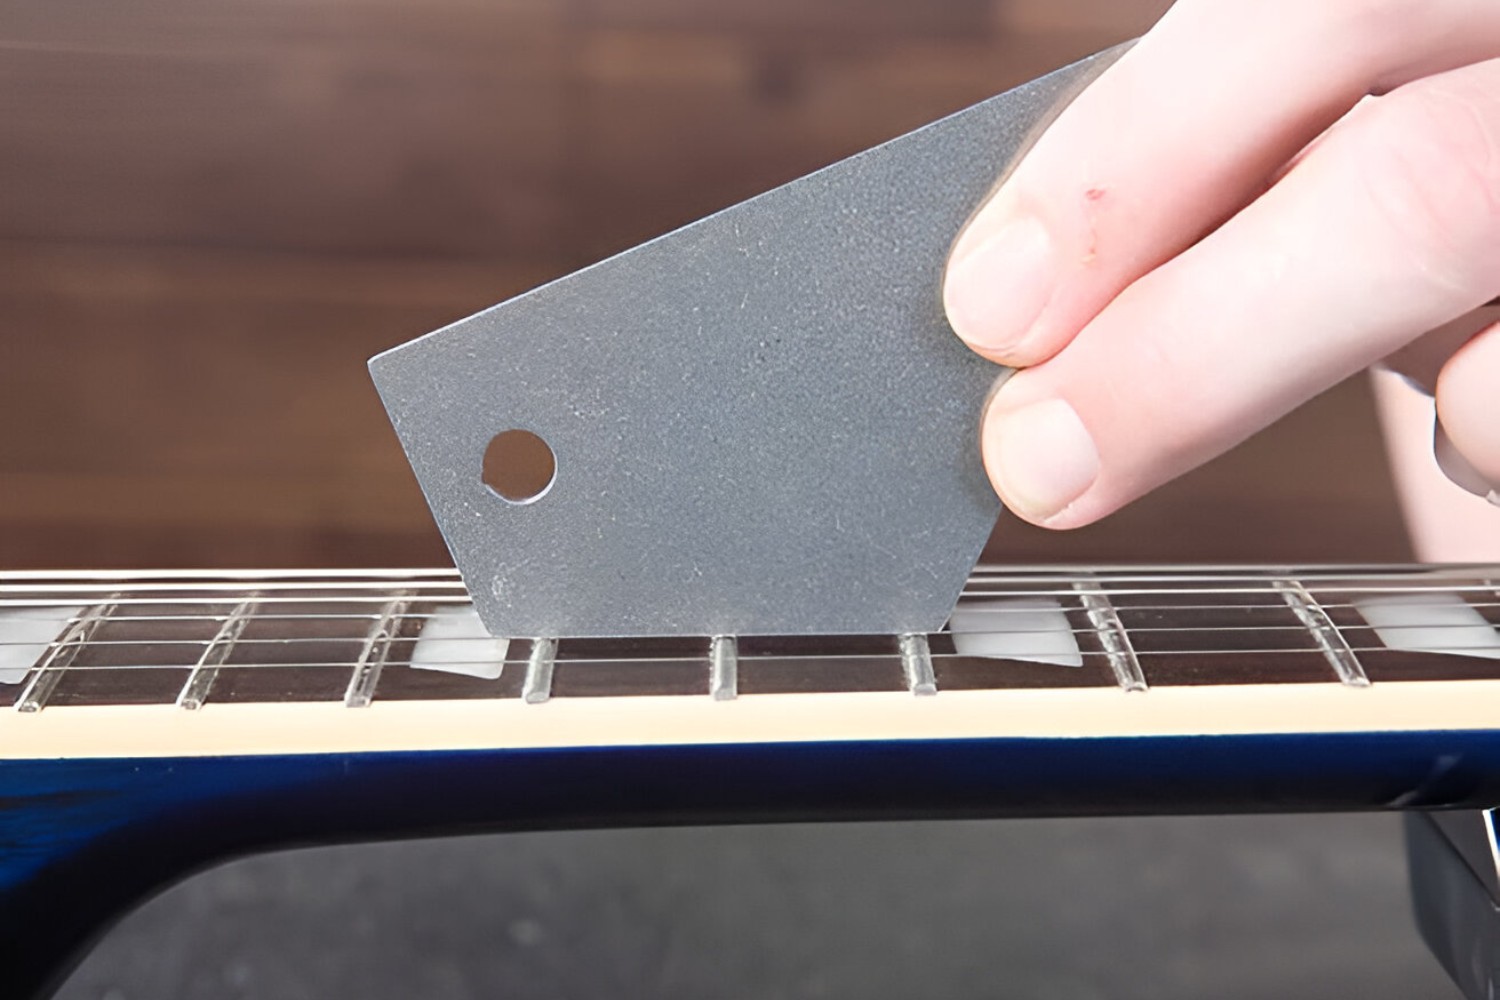
Next, tune the guitar to pitch and play each fret, noting any buzzing, choking, or unevenness in the string height. Uneven fret buzzing or high action can be indicative of a bent neck. Additionally, use a straight edge, such as a ruler or specialized straightedge tool, to determine the precise curvature of the neck.
Once you’ve visually and audibly evaluated the neck, measure the relief – the slight concave bow present in a properly adjusted neck – using a capo and feeler gauge. This step will help you gauge the severity of the bend and inform your approach to correcting it.
If the neck exhibits a minor, gradual curve, it may be feasible to address the issue without professional intervention. However, if the bend is severe or accompanied by structural damage, seeking the expertise of a luthier or guitar technician is advisable to prevent exacerbating the problem.
It’s important to consider the guitar’s overall condition and value when deciding whether to proceed with the repair. Vintage or high-end instruments, in particular, warrant careful consideration and, in some cases, professional attention to preserve their integrity.
By thoroughly assessing the damage, you’ll gain valuable insights into the specific nature of the neck’s bend and its impact on the instrument’s playability. This understanding will guide your subsequent steps in rectifying the issue and restoring the guitar to optimal performance.
Loosening the Truss Rod
Once you’ve assessed the extent of the bend in your electric guitar’s neck, the next step is to address the issue by adjusting the truss rod. This crucial component allows for precise control over the neck’s curvature, enabling you to counteract the effects of a bend and restore proper alignment.
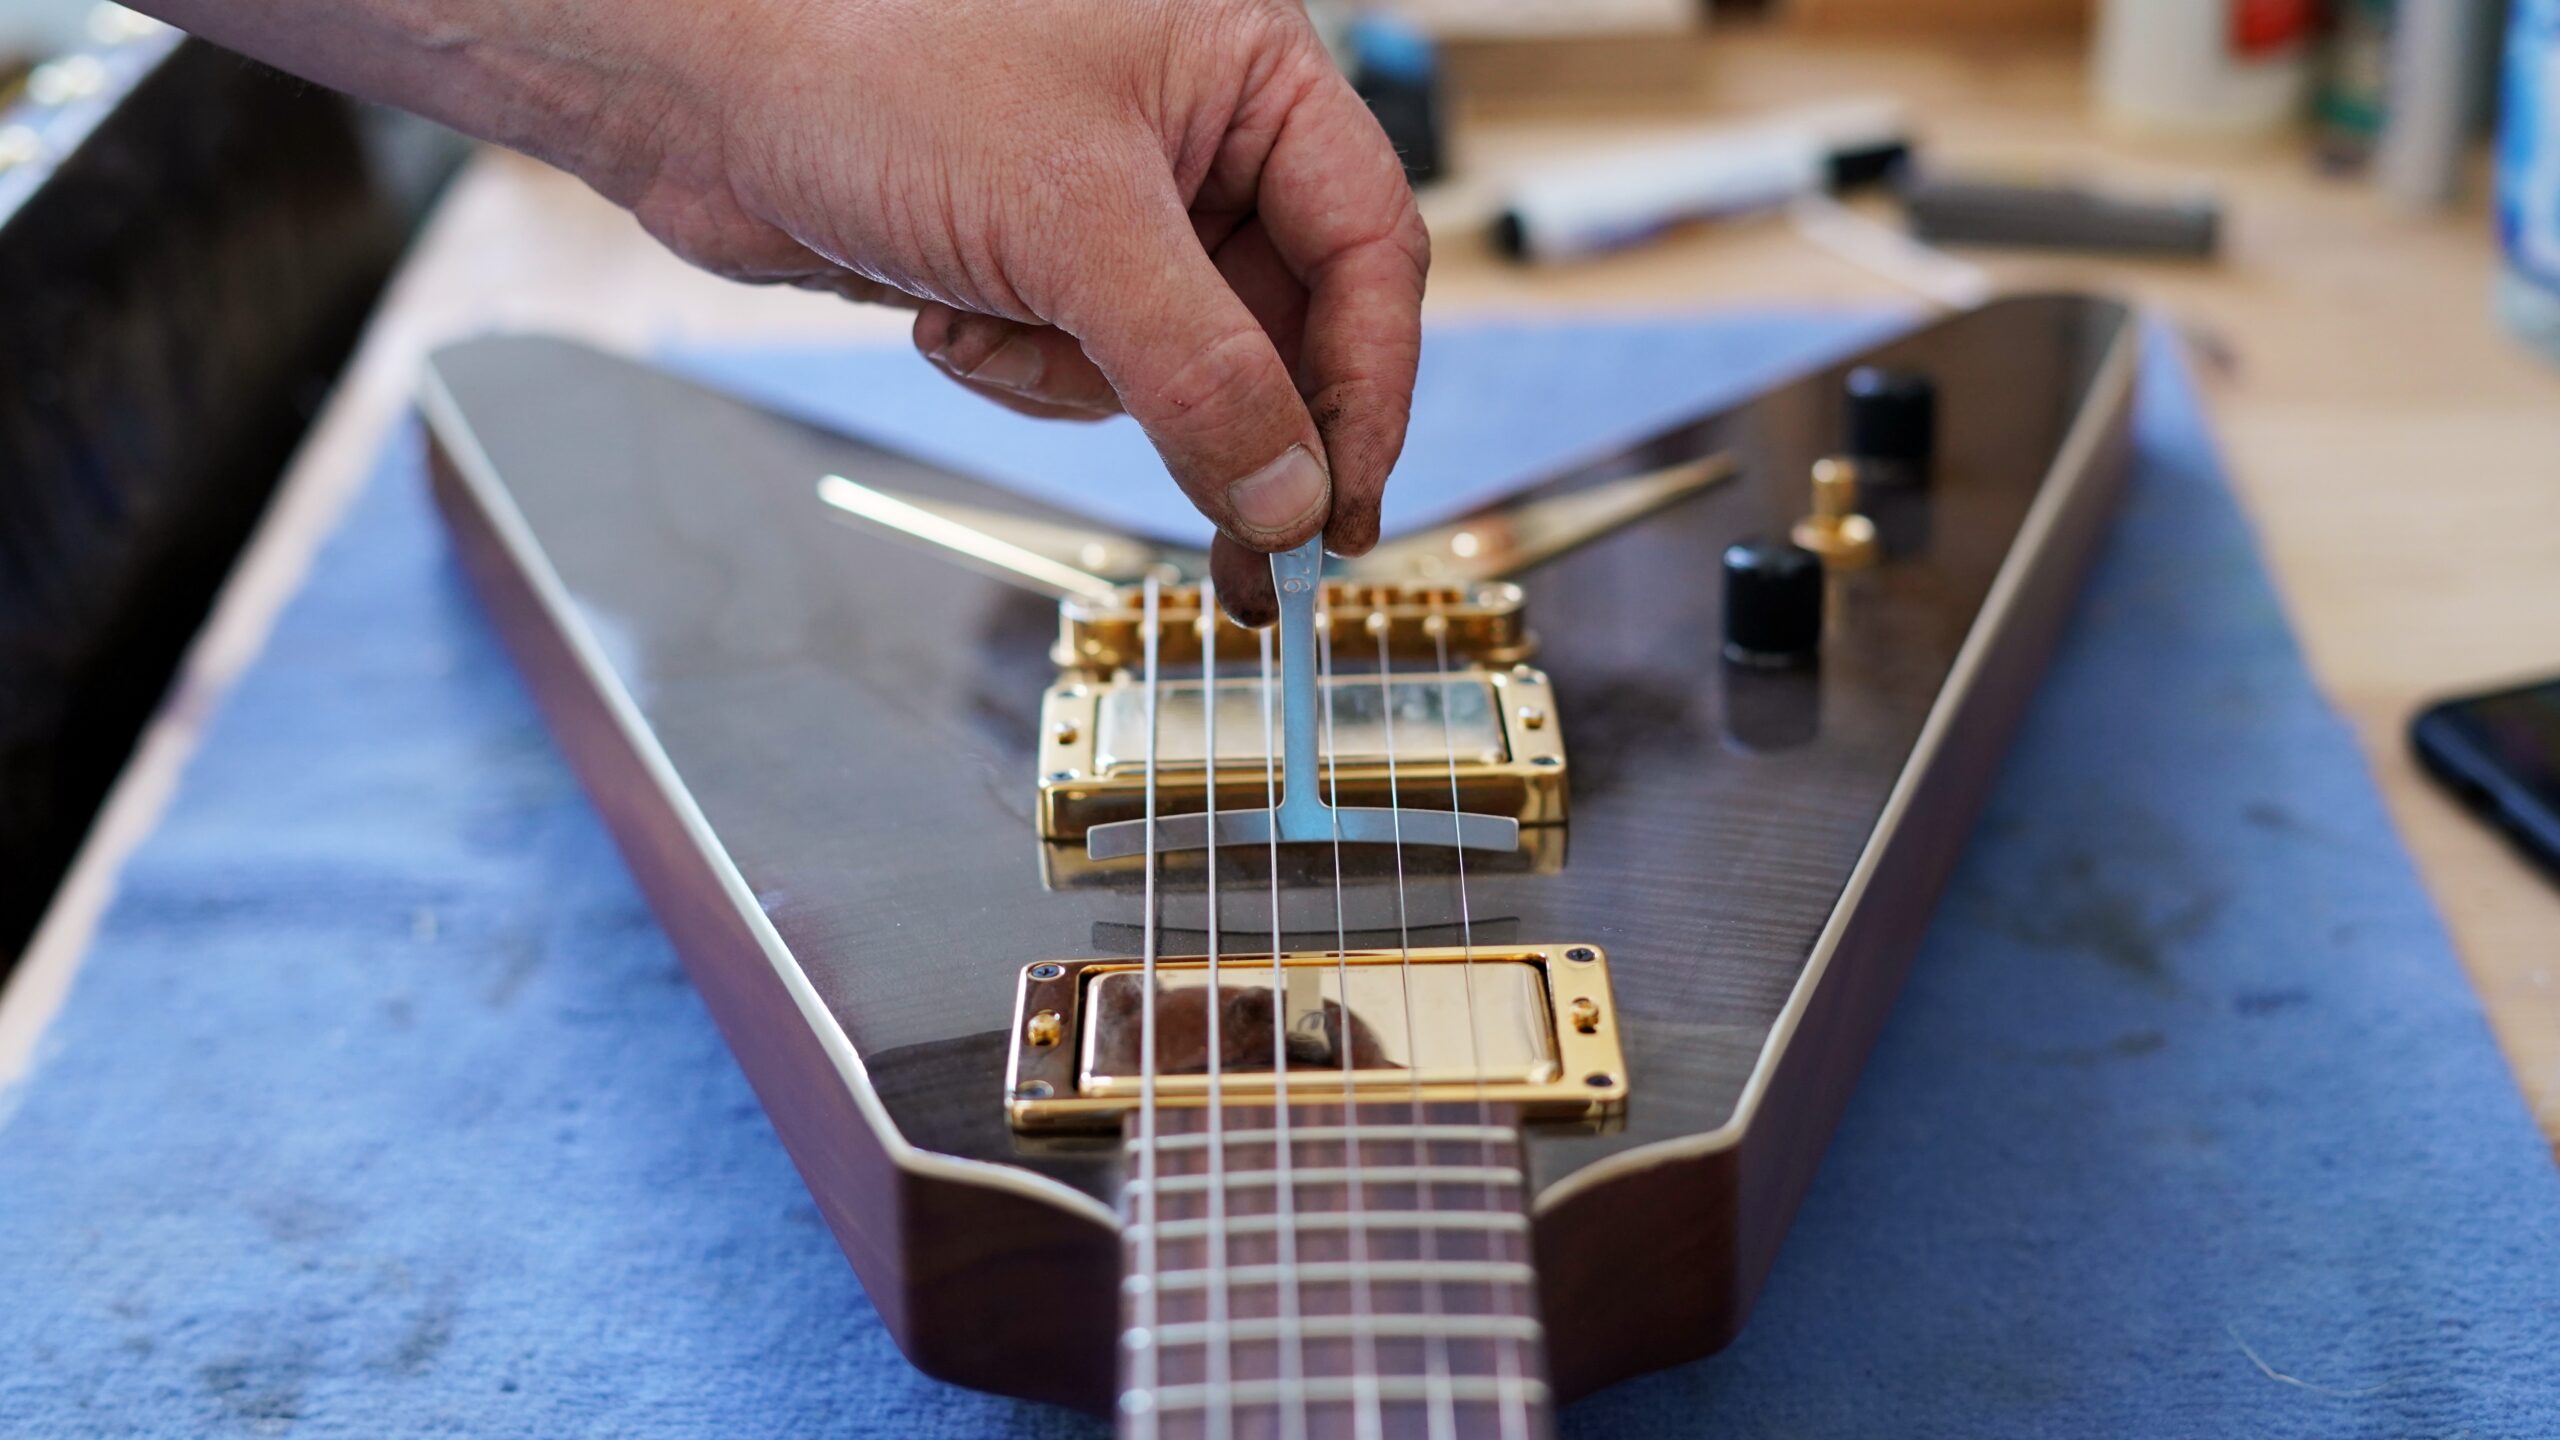
Before proceeding, it’s essential to gather the necessary tools: a truss rod wrench that fits the adjustment nut on your guitar, as well as a capo and a reliable tuner. These items will facilitate the adjustment process and ensure accurate results.
To access the truss rod, locate the adjustment nut, which is typically positioned at the headstock end of the neck. Insert the truss rod wrench and carefully begin to turn it in the appropriate direction, following the manufacturer’s guidelines for your specific guitar model. A quarter-turn at a time is a good rule of thumb to make gradual adjustments and avoid over-tightening.
As you loosen the truss rod, be mindful of the changes in the neck’s curvature. Periodically check the relief using the capo and feeler gauge, and tune the guitar to pitch to assess the impact of the adjustments on playability and intonation.
It’s important to exercise patience and caution during this process, as over-loosening the truss rod can lead to undesirable outcomes, such as excessive fret buzz or a back-bowed neck. If you encounter resistance or are unsure about proceeding, seeking guidance from a professional guitar technician is advisable to prevent potential damage to the instrument.
By methodically loosening the truss rod and monitoring the neck’s response, you’ll gradually mitigate the effects of the bend, bringing the neck closer to its intended straightness. This preparatory step sets the stage for the subsequent corrective measures, such as applying heat and pressure to further facilitate the restoration of the neck’s ideal alignment.
Applying Heat and Pressure
With the truss rod loosened to allow for adjustments, the next phase in rectifying a bent electric guitar neck involves the strategic application of heat and pressure. This combination of techniques aims to encourage the wood fibers in the neck to yield and adapt to the desired straightening, effectively complementing the truss rod’s corrective function.
To begin, it’s essential to prepare a suitable heating source, such as a specialized neck rest with a heating blanket or a heat lamp. The goal is to gently warm the neck, promoting flexibility in the wood without subjecting it to excessive heat that could cause damage. Carefully position the heating element to uniformly heat the neck, exercising caution to avoid overheating or scorching the wood.
As the neck reaches an optimal temperature, apply gradual pressure to encourage the wood fibers to conform to the desired straightness. This can be achieved using a neck straightening jig or a purpose-designed clamp system, carefully aligned to exert controlled pressure along the length of the neck.
Throughout this process, it’s crucial to monitor the neck’s response and periodically check for any signs of stress or deformation. The application of heat and pressure should be approached with patience and attentiveness, ensuring that the wood undergoes a gradual and controlled adjustment without compromising its structural integrity.
After applying heat and pressure, allow the neck to cool and acclimate to its adjusted state before proceeding to the next phase of the repair. This cooling period is essential for the wood to stabilize and retain the straightened configuration, setting the stage for the subsequent re-tightening of the truss rod to secure the corrected alignment.
By skillfully applying heat and pressure, you’ll effectively harness the natural malleability of wood to facilitate the straightening process, complementing the truss rod’s corrective action. This methodical approach sets the stage for the final stages of the repair, culminating in a carefully calibrated adjustment of the truss rod to consolidate the neck’s restored alignment.
Re-tightening the Truss Rod
Having addressed the bend in the electric guitar neck through the careful application of heat and pressure, the subsequent step in the repair process involves re-tightening the truss rod to consolidate the corrected alignment. This pivotal stage aims to secure the neck’s straightened configuration, ensuring its stability and resilience against the tension exerted by the guitar strings.
Before re-tightening the truss rod, it’s essential to allow the neck to fully cool and acclimate to the adjusted state. This period of stabilization enables the wood fibers to settle and maintain the straightened configuration, setting the stage for the truss rod’s re-engagement.
With the neck cooled and the wood stabilized, carefully access the truss rod adjustment nut using the appropriate tool. Begin to gradually tighten the truss rod, employing quarter-turn adjustments and periodically assessing the neck’s relief using a capo and feeler gauge. This iterative process allows for precise control over the neck’s curvature, enabling you to fine-tune the alignment to the desired specifications.
As you re-tighten the truss rod, it’s crucial to monitor the neck’s response and tune the guitar to pitch to evaluate the impact of the adjustments on playability and intonation. By iteratively adjusting the truss rod and assessing the neck’s relief, you can ensure that the corrective measures effectively consolidate the neck’s straightened state without introducing new issues, such as excessive back-bowing or string buzzing.
Exercise patience and attentiveness throughout the re-tightening process, making incremental adjustments and carefully gauging the neck’s response. If you encounter resistance or are uncertain about the optimal adjustment, seeking guidance from a professional guitar technician is advisable to ensure the neck’s integrity and playability are preserved.
By methodically re-tightening the truss rod, you’ll secure the neck’s corrected alignment, ensuring its stability and resilience against the tension exerted by the guitar strings. This meticulous adjustment sets the stage for the final phase of the repair, encompassing the fine-tuning and testing of the instrument to confirm its restored playability and performance.
Final Adjustments and Testing
With the truss rod re-tightened to secure the corrected alignment of the electric guitar neck, the final phase of the repair process encompasses meticulous adjustments and comprehensive testing to validate the instrument’s restored playability and performance. This critical stage ensures that the neck’s straightened configuration harmonizes with the overall setup, culminating in an optimally functioning guitar.
Begin by evaluating the guitar’s action and intonation, making any necessary adjustments to the bridge saddles and nut to optimize string height and ensure accurate pitch across the fretboard. This step is crucial for achieving comfortable playability and precise tuning, complementing the corrective measures applied to the neck.
Next, assess the neck’s relief using a capo and feeler gauge, confirming that the curvature aligns with the desired specifications for the instrument’s playability and tonal characteristics. Fine-tune the truss rod as needed to achieve the optimal relief, striking a balance between straightness and the slight concave bow essential for proper string clearance and resonance.
Following the adjustments to the action, intonation, and relief, thoroughly test the guitar’s playability and tonal quality across the fretboard. Play scales, chords, and lead passages, evaluating the instrument’s responsiveness and resonance to ensure that the corrective measures have harmonized with the overall setup, enhancing the guitar’s performance.
Throughout the testing phase, listen for any signs of fret buzz, choking, or unevenness in string height, addressing any anomalies with targeted adjustments to the truss rod, bridge, or nut as necessary. Additionally, assess the guitar’s tuning stability and sustain, confirming that the neck’s alignment supports consistent string tension and resonance.
By methodically conducting final adjustments and comprehensive testing, you’ll validate the successful restoration of the electric guitar’s playability and performance. This meticulous process ensures that the corrective measures applied to the neck seamlessly integrate with the instrument’s overall setup, culminating in an optimally functioning guitar ready to inspire and resonate with its musical prowess.