Introduction
Adjusting the truss rod on an electric guitar is a fundamental aspect of guitar maintenance and setup. The truss rod plays a crucial role in ensuring the optimal playability and stability of the instrument. Understanding how to adjust the truss rod is a valuable skill for any guitarist, as it allows for the customization of the guitar's neck relief to suit individual playing styles and preferences. This article will guide you through the process of adjusting the truss rod, providing essential insights and practical tips to help you maintain your electric guitar.
The truss rod is an adjustable metal rod that runs through the neck of the guitar, typically accessed through the headstock. Its primary function is to counteract the tension exerted by the strings on the neck, thereby maintaining the neck's proper curvature. By making precise adjustments to the truss rod, guitarists can control the amount of relief in the neck, ensuring that the strings are at an optimal distance from the fretboard. This, in turn, affects the playability, intonation, and overall feel of the instrument.
Understanding the significance of the truss rod and its impact on the guitar's performance is essential for any guitarist looking to maintain their instrument in top condition. Whether you're a seasoned player or a novice enthusiast, having the knowledge and skills to adjust the truss rod empowers you to tailor your instrument to your specific playing preferences.
In the following sections, we will delve into the intricacies of truss rod adjustment, providing a comprehensive guide to the tools required, the step-by-step process, and the precautions to be mindful of. By the end of this article, you will have a deeper understanding of the truss rod's role in shaping the playability of your electric guitar and the confidence to perform adjustments with precision and care. Let's embark on this journey to unlock the potential of your instrument and enhance your playing experience.
What is a Truss Rod?
A truss rod is a vital component of a guitar's neck structure, serving a critical function in maintaining the instrument's playability and structural integrity. Positioned within the neck, the truss rod is a metal rod that can be adjusted to counteract the tension exerted by the strings, thereby influencing the curvature of the neck. This adjustable feature allows guitarists to customize the amount of relief in the neck, ensuring that the strings are at the optimal distance from the fretboard.
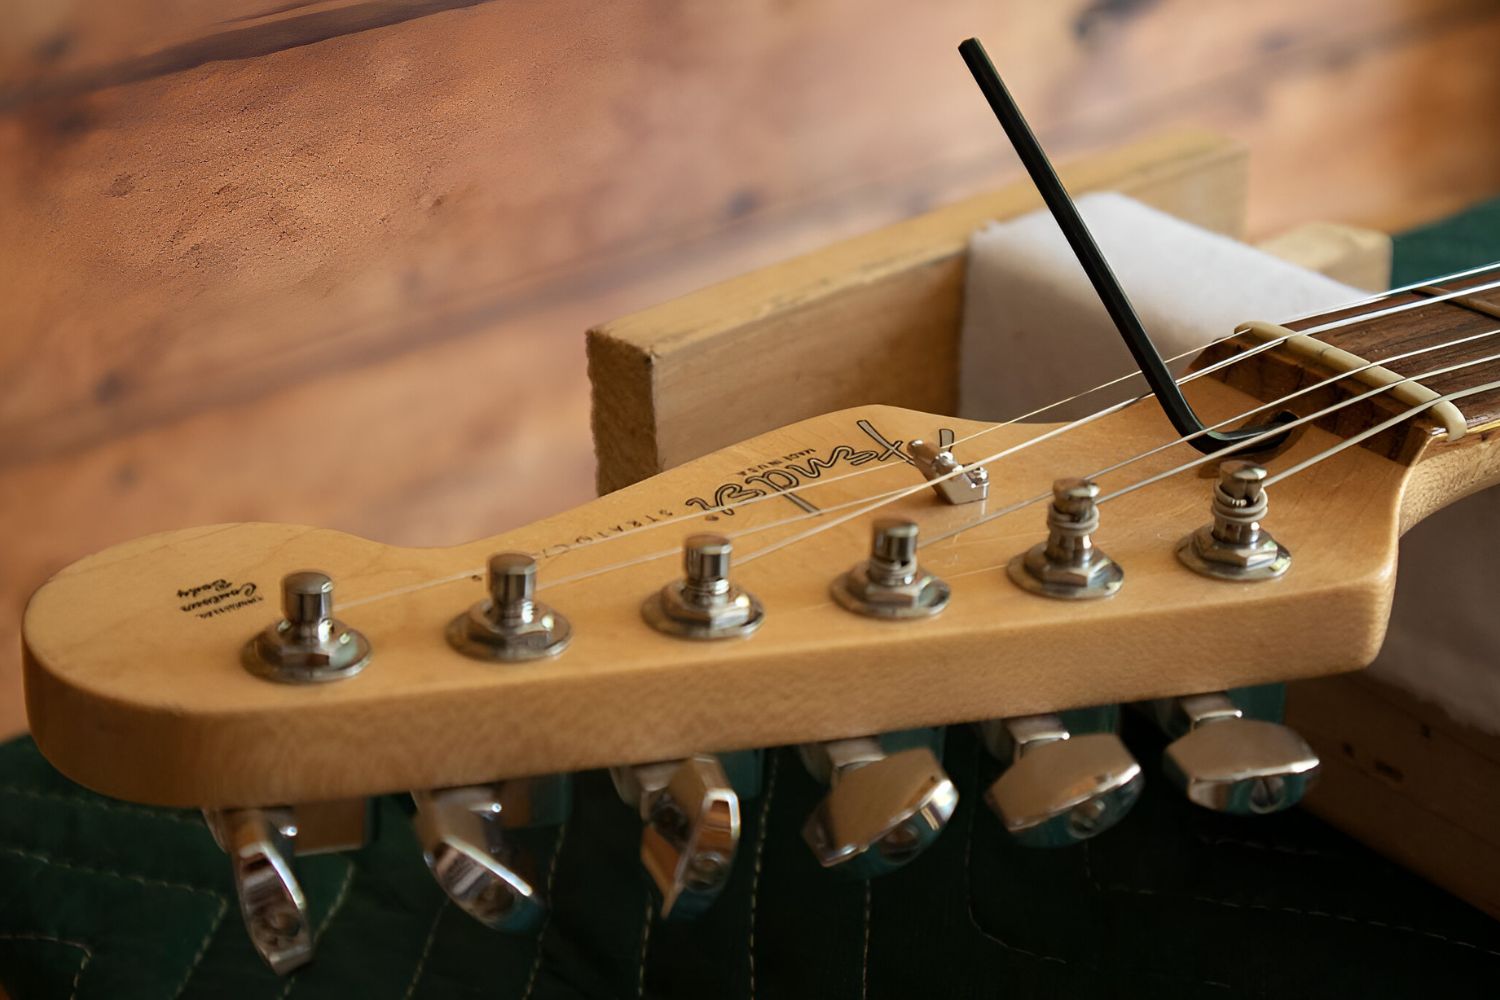
The truss rod is typically accessed through the headstock of the guitar and extends along the length of the neck, terminating near the neck joint. Its design and placement enable it to resist the forward force exerted by the strings, preventing the neck from bowing excessively under string tension. By adjusting the truss rod, players can achieve the desired amount of neck relief, which directly impacts the action, intonation, and overall feel of the guitar.
Truss rods come in various types, including single-action and dual-action designs. Single-action truss rods can only be adjusted to counteract the force exerted by the strings, allowing for a convex or concave curvature in the neck. On the other hand, dual-action truss rods offer the flexibility to adjust the neck in both directions, accommodating a wider range of relief adjustments. Understanding the type of truss rod in your guitar is essential for making accurate adjustments and ensuring the optimal playability of the instrument.
While the truss rod is a critical element in maintaining the structural stability of the guitar, it requires careful and precise adjustments to avoid potential damage to the instrument. When used correctly, the truss rod empowers guitarists to tailor the neck relief to their specific playing style and preferences, ultimately enhancing the overall performance and comfort of the instrument.
Why is it Important to Adjust the Truss Rod?
Adjusting the truss rod is crucial for maintaining the optimal playability, intonation, and structural integrity of an electric guitar. The truss rod’s primary function is to counteract the tension exerted by the strings, ensuring that the neck maintains the proper curvature. Here are several reasons why adjusting the truss rod is of paramount importance:
- Neck Relief: The truss rod adjustment directly impacts the amount of relief in the neck, influencing the distance between the strings and the fretboard. Proper neck relief is essential for achieving comfortable action and preventing fret buzz, ultimately enhancing the playability of the instrument.
- String Action: By adjusting the truss rod, guitarists can customize the string action, determining the height of the strings above the frets. This adjustment is crucial for tailoring the guitar’s feel and responsiveness to suit individual playing preferences.
- Intonation: A well-adjusted truss rod contributes to accurate intonation across the fretboard, ensuring that the guitar produces in-tune notes at every position. This is essential for achieving a balanced and harmonious sound while playing chords and melodies.
- Structural Stability: Proper truss rod adjustment helps maintain the structural stability of the guitar neck, preventing excessive bowing or backbow that could lead to playability issues and potential damage to the instrument.
- Preventing Damage: Neglecting truss rod adjustments can lead to issues such as fret buzz, high action, or uneven string response, which may result in excessive wear on the frets and strings. Regular truss rod maintenance helps prevent these issues and prolong the longevity of the instrument.
Ultimately, the truss rod serves as a crucial tool for tailoring the guitar’s neck to the player’s specific preferences, enhancing the overall comfort and performance of the instrument. By understanding the significance of truss rod adjustment and its impact on playability, guitarists can ensure that their electric guitar remains in optimal playing condition, facilitating a more enjoyable and expressive playing experience.
Tools Needed for Adjusting the Truss Rod
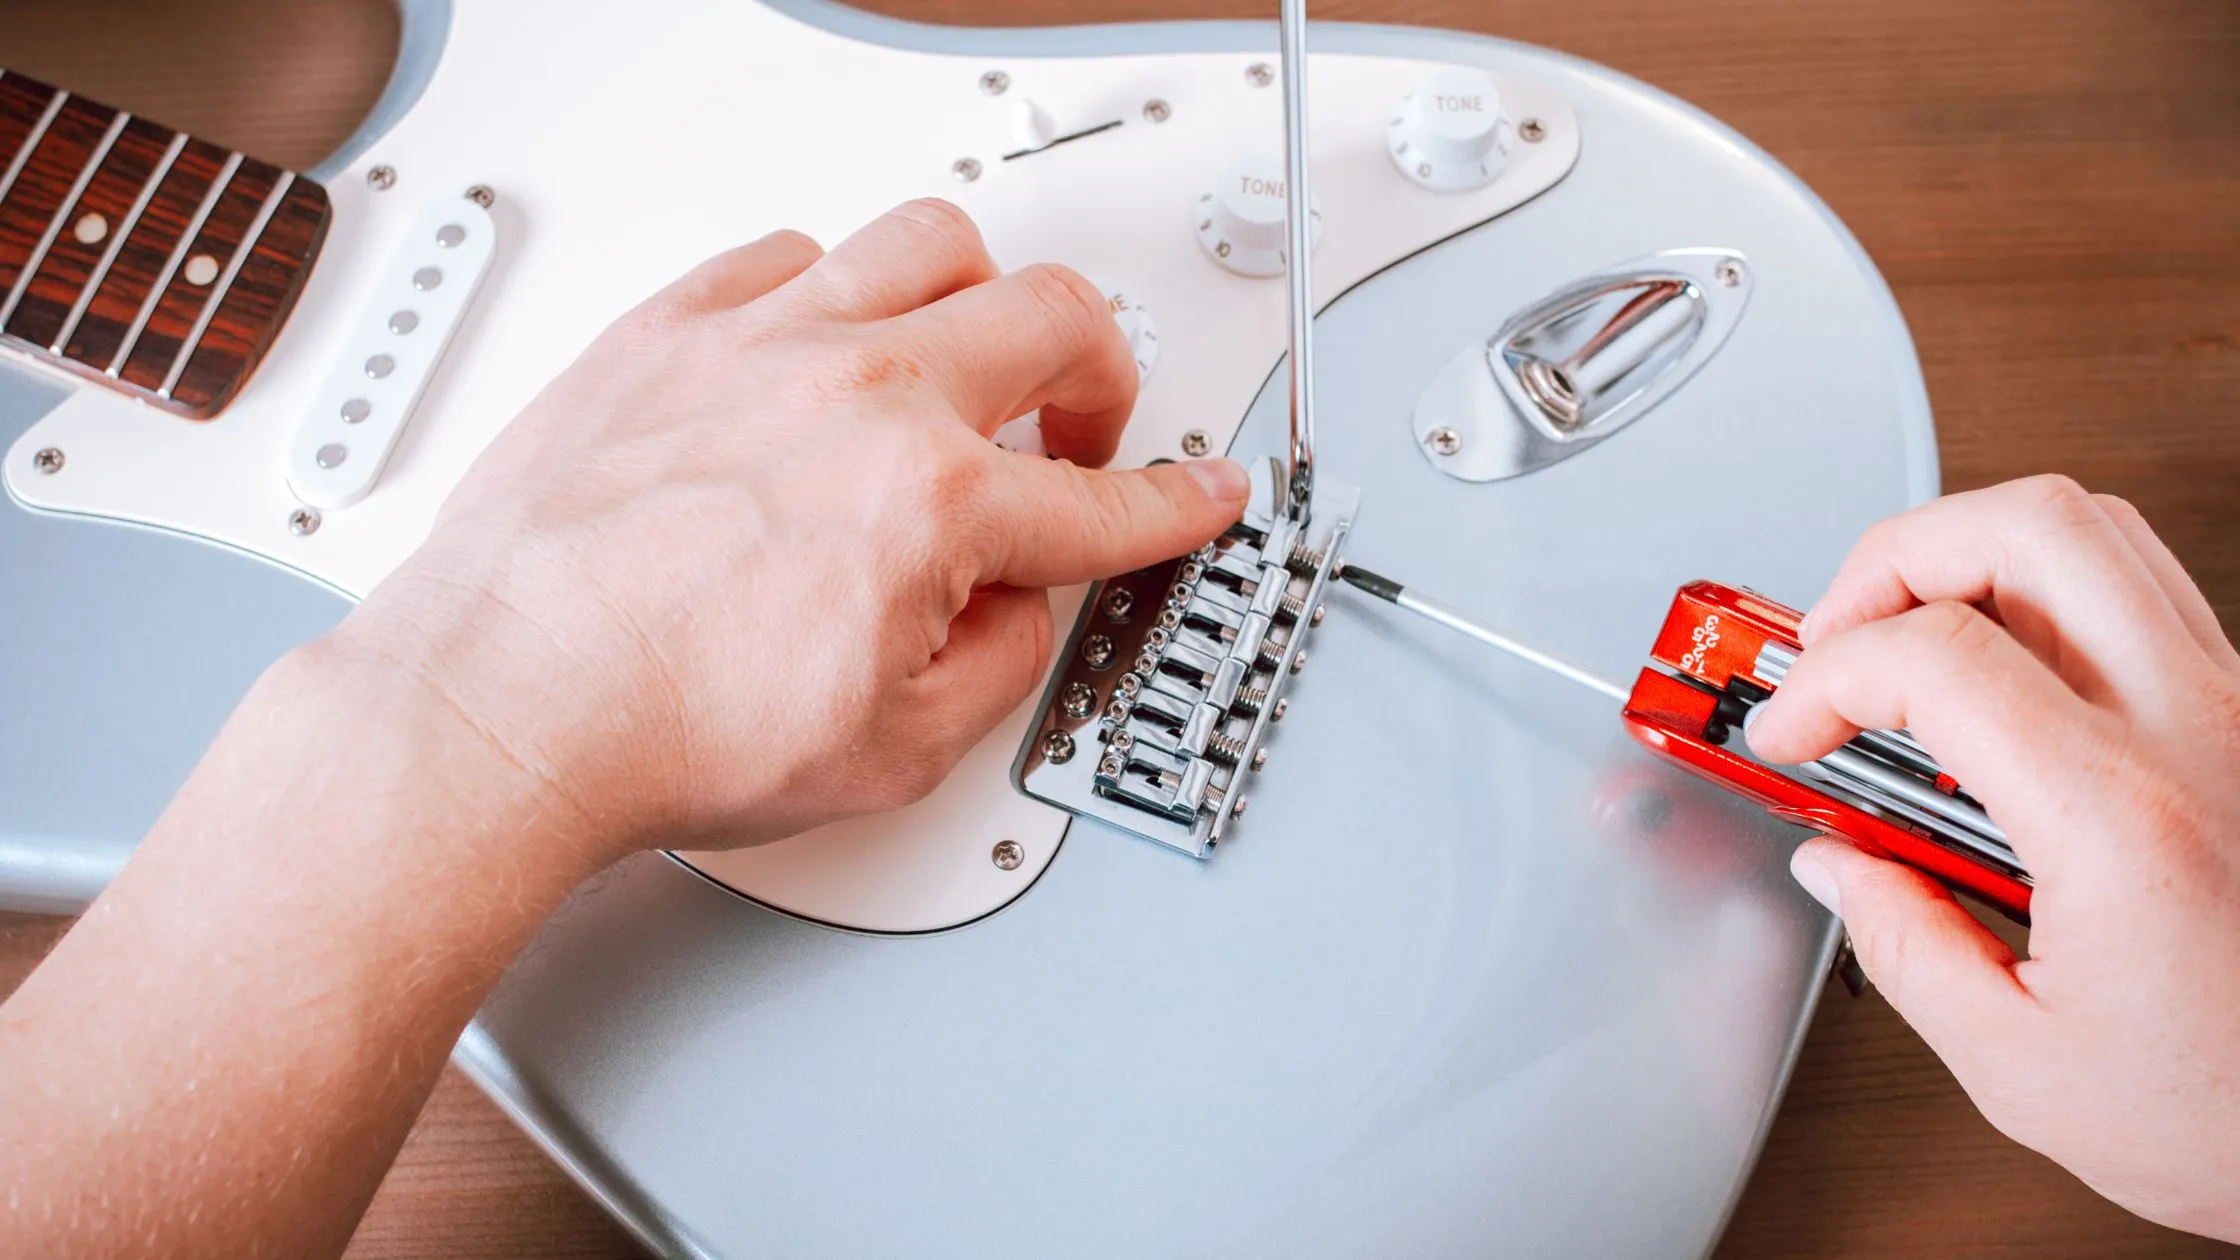
When it comes to adjusting the truss rod on an electric guitar, having the right tools at your disposal is essential for performing the task accurately and safely. Here are the key tools required for adjusting the truss rod:
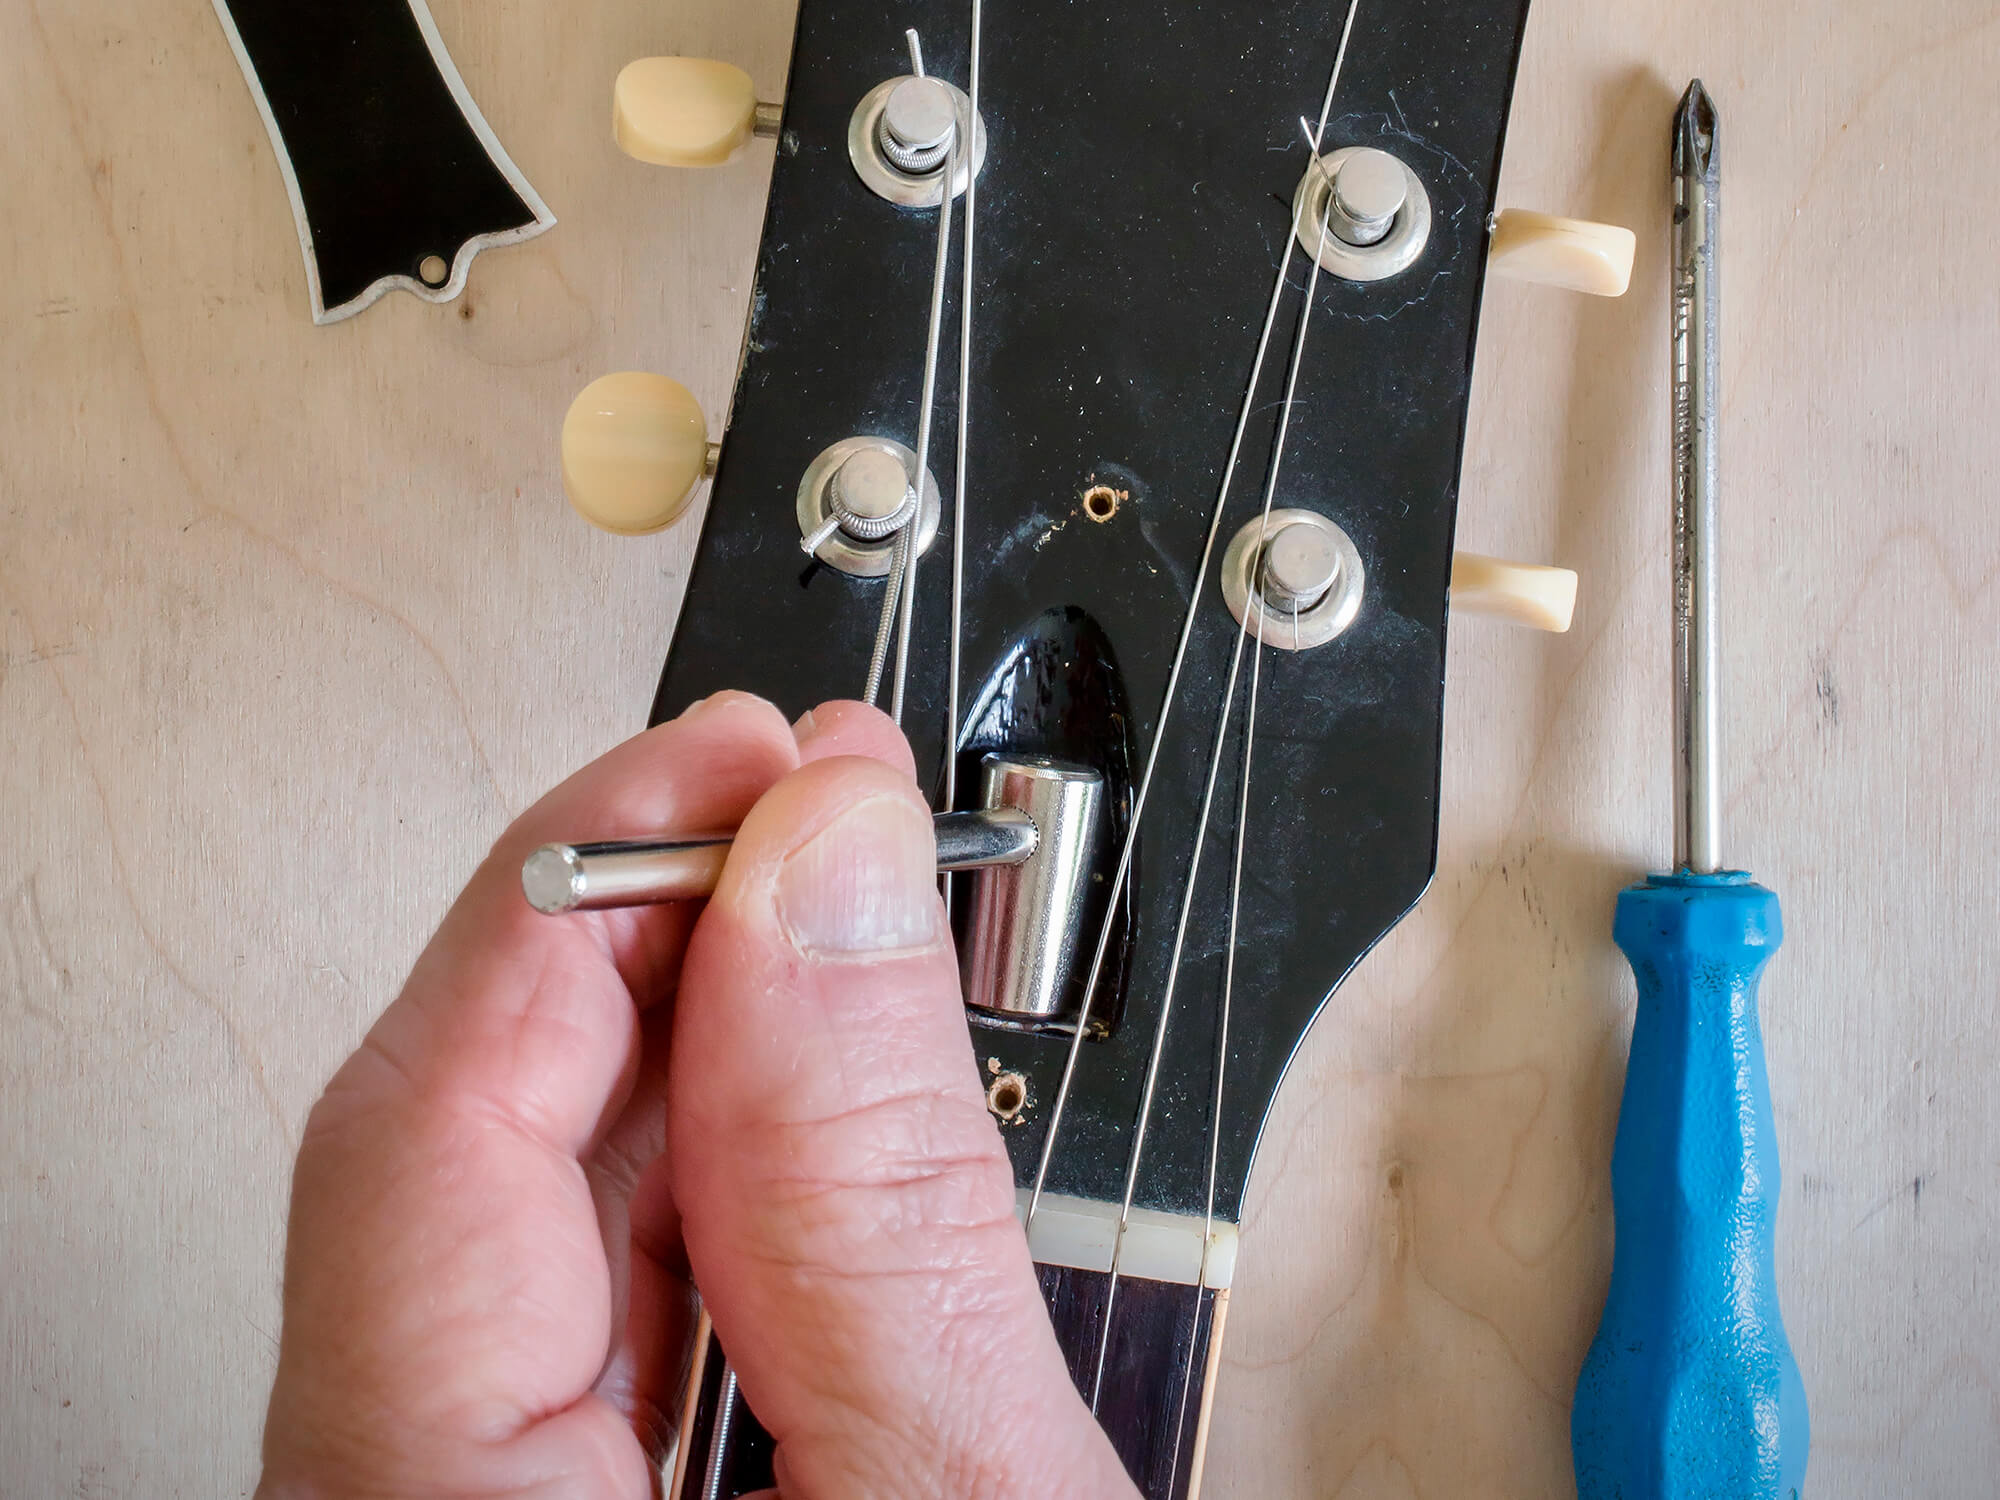
- Truss Rod Wrench: The truss rod wrench is a specialized tool designed to fit the truss rod nut located inside the guitar’s neck. It comes in various sizes and shapes to accommodate different types of truss rod nuts, and using the correct wrench ensures a secure grip and prevents damage to the truss rod nut during adjustment.
- Capo: A capo is useful for temporarily raising the action of the strings, allowing easier access to the truss rod adjustment point. Placing the capo on the first fret can create additional clearance near the neck joint, facilitating smoother truss rod adjustments.
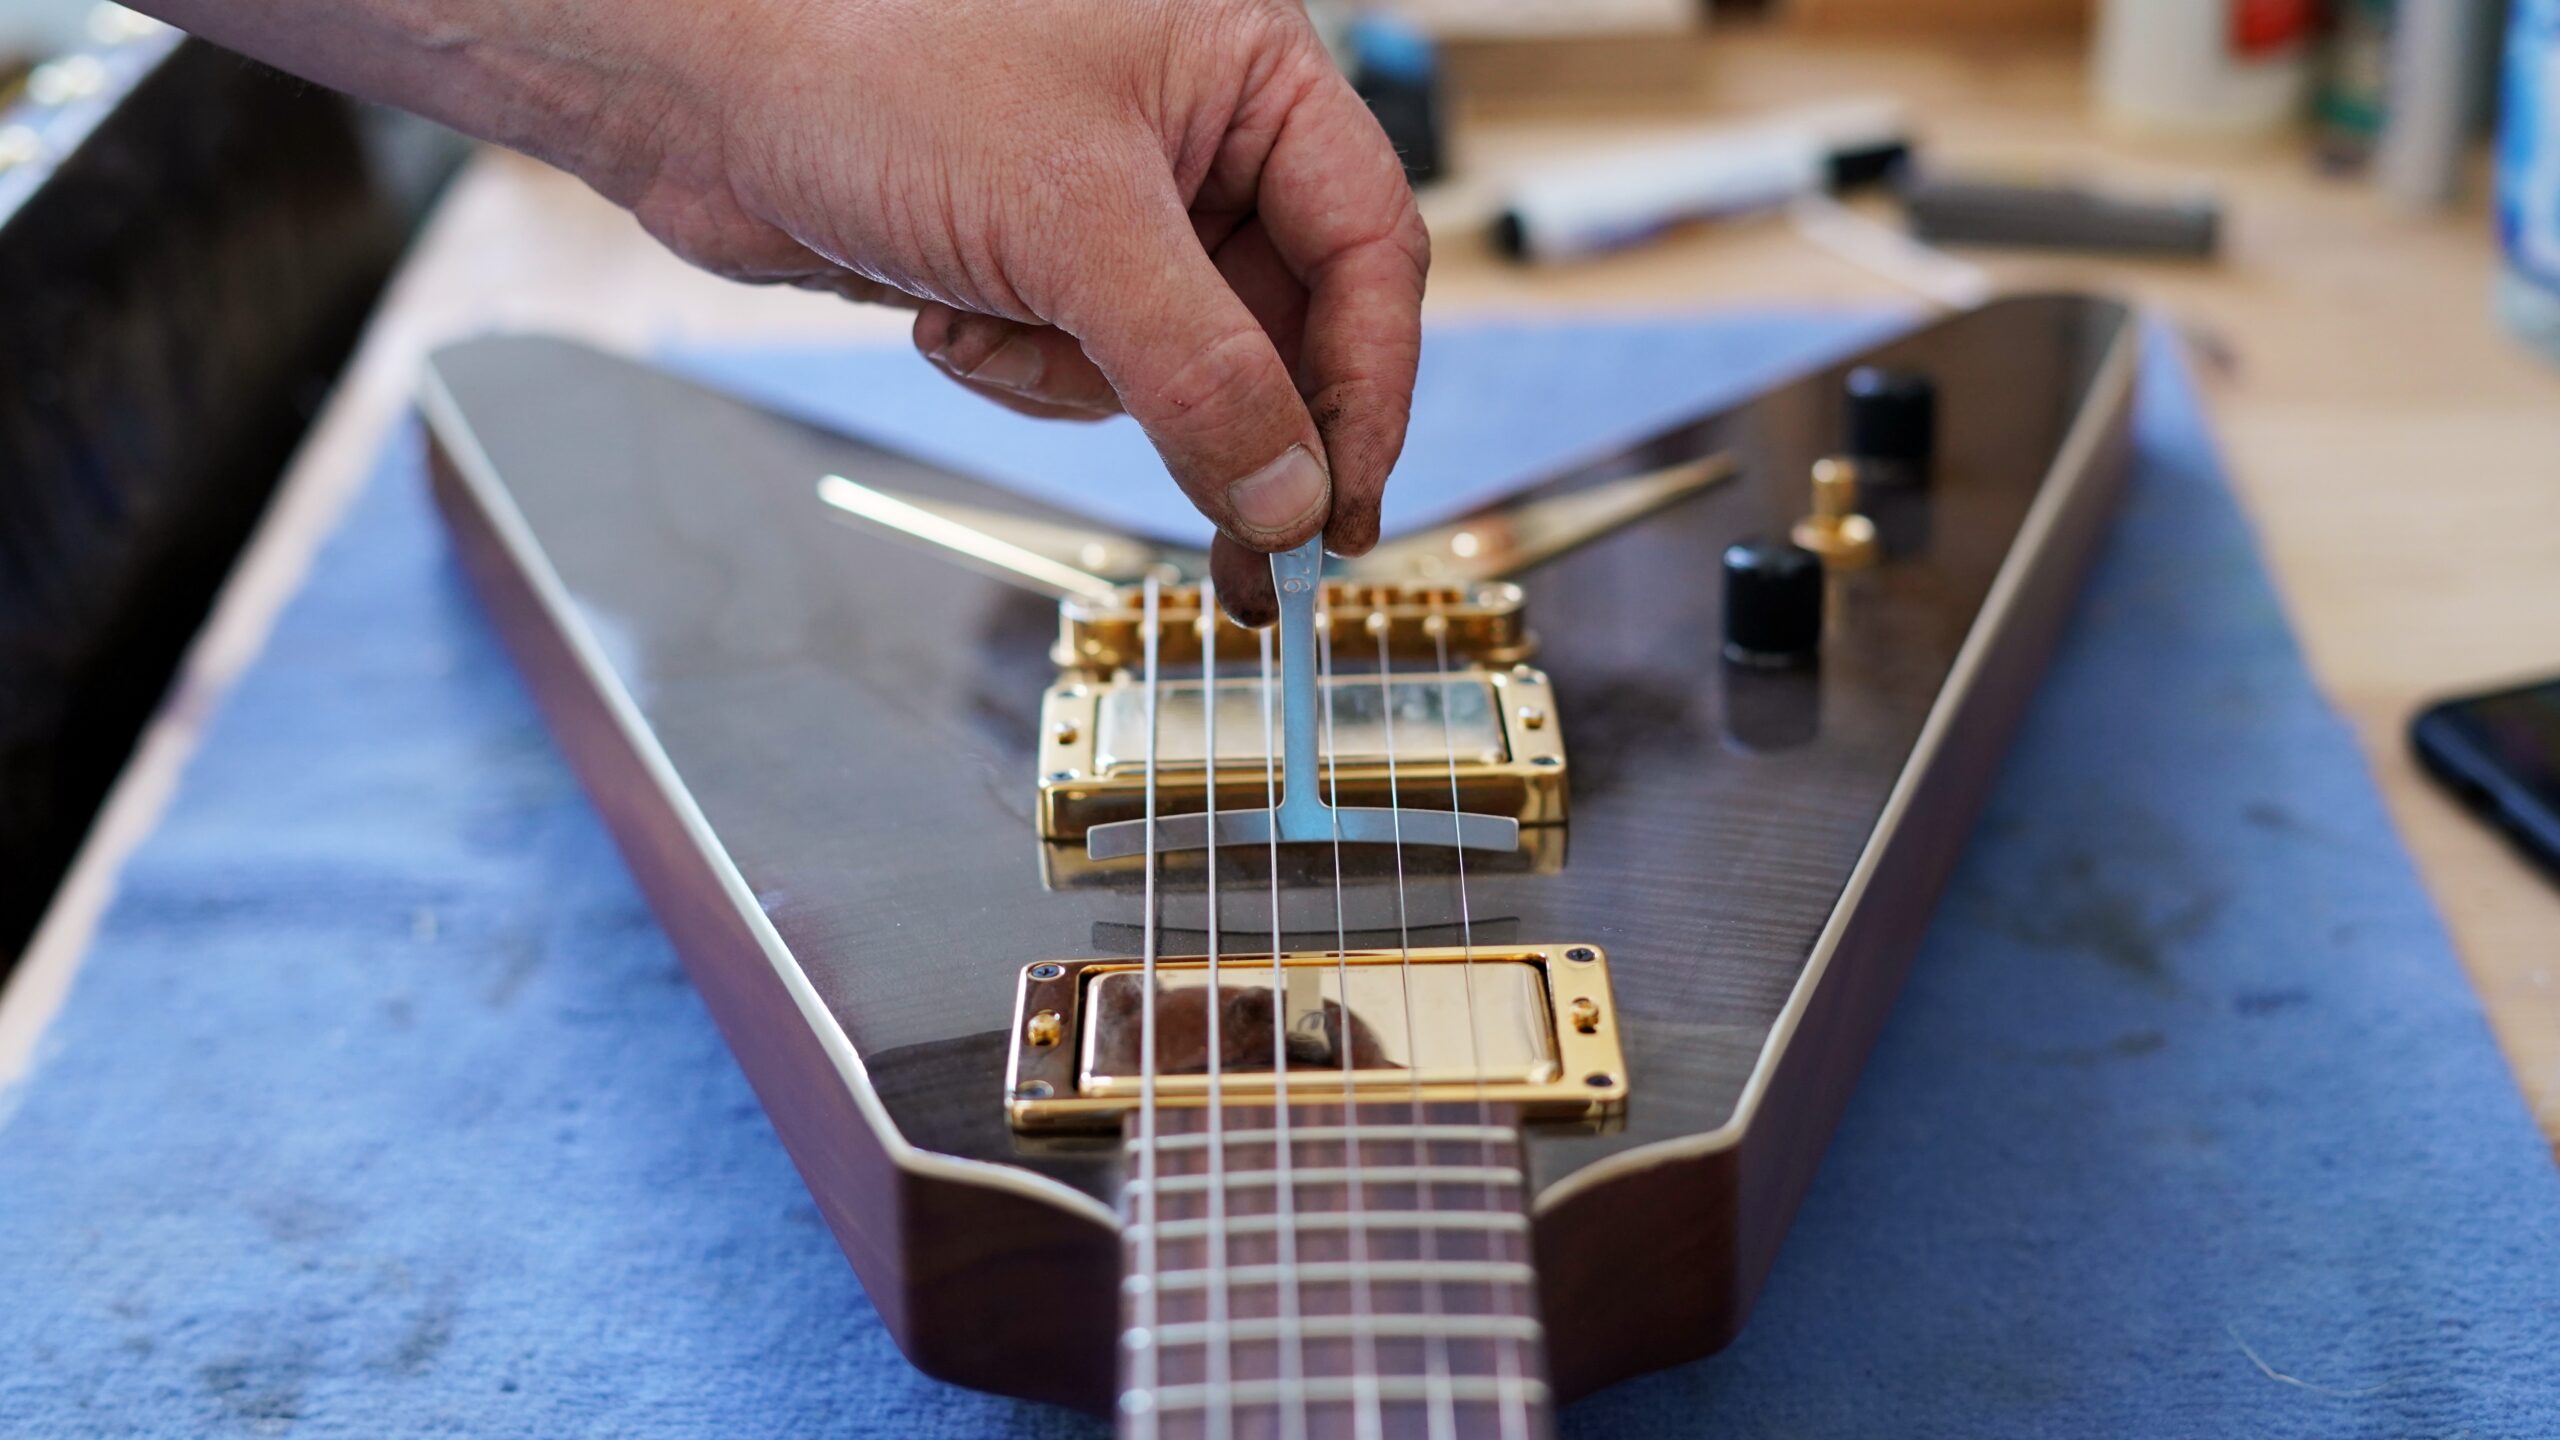
- Feeler Gauge: A feeler gauge is a precision tool used to measure the gap between the strings and the frets. It is helpful for assessing the neck relief and string action before and after truss rod adjustments, ensuring that the desired specifications are achieved.
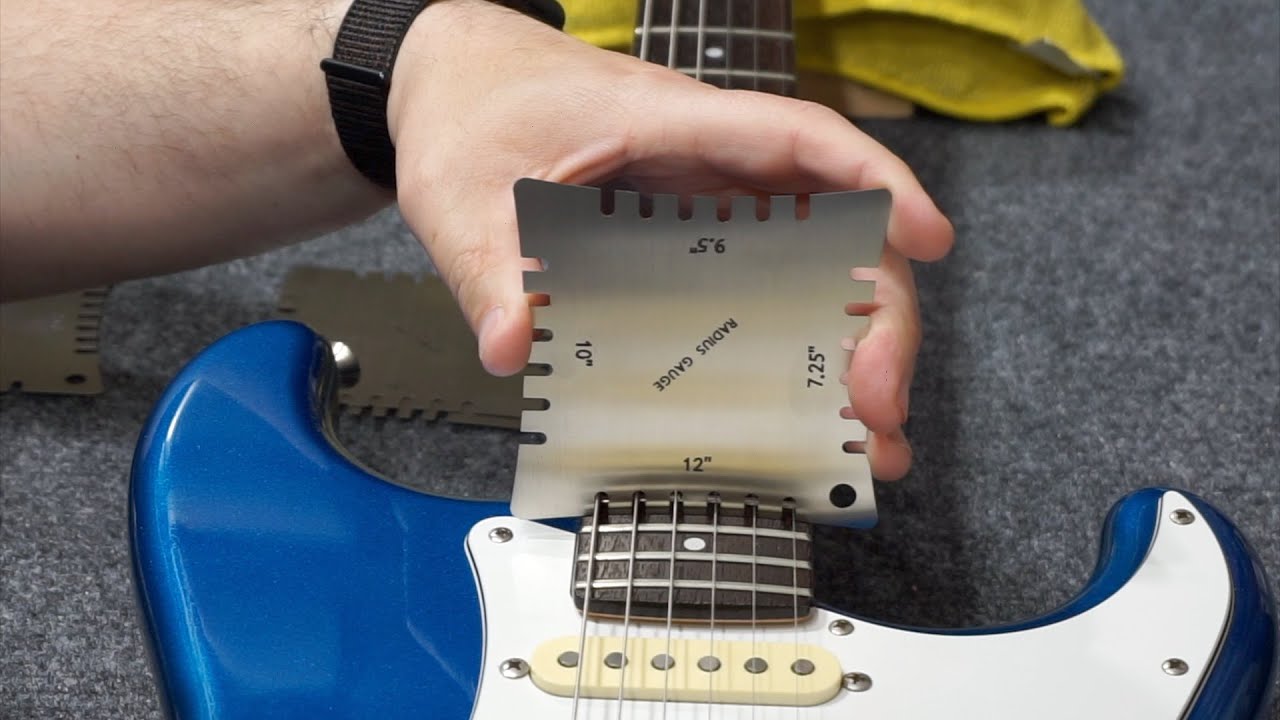
- String Action Gauge: This tool provides accurate measurements of the string action at various points along the fretboard. It is instrumental in determining the ideal string height and assessing the impact of truss rod adjustments on the guitar’s playability.
- Light Source: Adequate lighting is crucial for inspecting the neck relief and assessing the results of truss rod adjustments. A reliable light source, such as a flashlight or a workbench lamp, helps in clearly observing the neck curvature and string clearance during the adjustment process.
Having these essential tools on hand ensures that guitarists can perform truss rod adjustments with precision and confidence, effectively customizing the neck relief and string action to suit their playing preferences. Additionally, using the correct tools minimizes the risk of damaging the truss rod or the guitar’s neck, promoting safe and effective maintenance practices.
Step-by-Step Guide to Adjusting the Truss Rod
Adjusting the truss rod on an electric guitar requires careful attention to detail and a systematic approach to ensure the proper setup of the instrument. Here is a step-by-step guide to adjusting the truss rod:
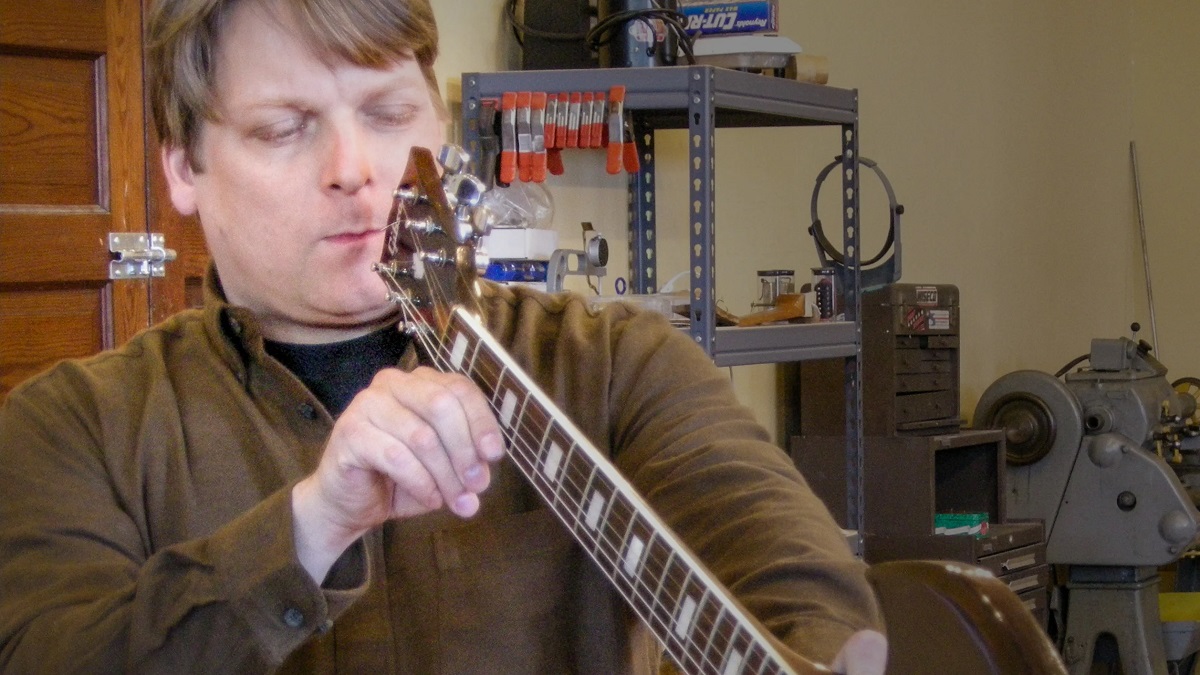
- Assess the Current Neck Relief: Before making any adjustments, evaluate the existing neck relief by visually inspecting the curvature of the neck and assessing the string action. This initial assessment provides a baseline for determining the direction and extent of truss rod adjustments.
- Prepare the Guitar: Place the guitar on a stable surface, ensuring that it is well-supported and positioned at a comfortable working height. Use a capo to raise the strings near the first fret, creating additional clearance for accessing the truss rod adjustment point.
- Loosen the Truss Rod Nut: Using the appropriate truss rod wrench, carefully loosen the truss rod nut in small increments. It is essential to make gradual adjustments to avoid over-loosening the truss rod, which can lead to an excessively straight or back-bowed neck.
- Assess the Neck Relief: With the truss rod nut loosened, reassess the neck relief and string action, noting any changes in the curvature of the neck. Use a feeler gauge to measure the gap between the strings and the frets at various points along the neck, ensuring that the relief is within the desired range.
- Make Incremental Adjustments: If additional truss rod adjustments are needed, make small, incremental turns of the truss rod nut, typically in quarter-turn increments. Continuously assess the neck relief and string action, striving to achieve the optimal balance between comfortable playability and minimal fret buzz.
- Recheck and Fine-Tune: After each adjustment, recheck the neck relief and string action using the feeler gauge and string action gauge. Fine-tune the truss rod adjustments as necessary, aiming for consistent relief across the fretboard and balanced string action.
- Restore the Guitar: Once the desired neck relief and string action are achieved, securely tighten the truss rod nut to ensure stability. Remove the capo and re-tune the guitar, allowing the instrument to settle before performing a final assessment of the playability and intonation.
By following this systematic approach to adjusting the truss rod, guitarists can effectively tailor the neck relief and string action to their specific preferences, ultimately enhancing the playability and performance of the electric guitar.
Precautions to Take When Adjusting the Truss Rod
While adjusting the truss rod is an essential aspect of electric guitar maintenance, it is crucial to approach this task with care and attention to detail to avoid potential damage to the instrument. Here are important precautions to consider when adjusting the truss rod:
- Use the Correct Truss Rod Wrench: Ensure that you have the appropriate truss rod wrench that fits the truss rod nut snugly. Using an ill-fitting wrench can lead to slippage and damage to the truss rod nut, compromising its functionality.
- Make Incremental Adjustments: When loosening or tightening the truss rod nut, make small, gradual adjustments to avoid overcompensating. This approach allows for precise control over the neck relief and minimizes the risk of causing structural issues in the guitar’s neck.
- Assess the Neck Relief Periodically: Throughout the adjustment process, periodically assess the neck relief and string action to monitor the impact of the truss rod adjustments. This helps in preventing drastic changes that may necessitate extensive corrective measures.
- Be Mindful of the Truss Rod Material: Some truss rods are made of softer materials, such as aluminum, and require extra care to prevent stripping or damaging the truss rod threads. Exercise caution when adjusting these types of truss rods to avoid compromising their integrity.
- Consult Professional Assistance if Uncertain: If you are uncertain about adjusting the truss rod or encounter resistance during the process, seek guidance from a qualified guitar technician. Professional assistance can prevent potential damage and ensure that the truss rod is adjusted accurately.
- Monitor the Guitar’s Response: After making truss rod adjustments, closely monitor the guitar’s response in terms of playability, intonation, and string action. This allows for timely corrections and ensures that the instrument’s performance is optimized.
- Stabilize the Truss Rod Nut: Once the desired adjustments are made, securely tighten the truss rod nut to prevent it from loosening due to string tension and playing conditions. A stable truss rod nut maintains the integrity of the adjustments over time.
By observing these precautions, guitarists can approach truss rod adjustments with confidence and precision, safeguarding the structural integrity of the instrument and promoting optimal playability and performance.
Conclusion
Mastering the art of adjusting the truss rod on an electric guitar is a valuable skill that empowers guitarists to tailor their instruments to their specific playing preferences. The truss rod, a fundamental component of the guitar’s neck structure, plays a pivotal role in maintaining the instrument’s playability, intonation, and structural stability. By understanding the significance of the truss rod and following a systematic approach to its adjustment, guitarists can optimize the neck relief and string action, ultimately enhancing the overall performance and comfort of the instrument.
Throughout this guide, we have explored the essential role of the truss rod, the tools required for its adjustment, and a step-by-step process for making precise and effective adjustments. Additionally, we have emphasized the importance of taking precautions to ensure the integrity of the truss rod and the guitar’s neck during the adjustment process.
By approaching truss rod adjustments with care, using the correct tools, and making incremental changes, guitarists can achieve the desired neck relief and string action, leading to a more comfortable and responsive playing experience. Regular maintenance of the truss rod ensures that the guitar remains in optimal playing condition, minimizing the risk of playability issues and promoting the longevity of the instrument.
Ultimately, the knowledge and skills gained from adjusting the truss rod empower guitarists to maintain their electric guitars with confidence and precision, unlocking the full potential of their instruments and enhancing their musical expression. As guitarists continue to explore and refine their playing styles, the ability to customize the neck relief and string action through truss rod adjustments becomes an invaluable tool in shaping the character and playability of their electric guitars.