Introduction
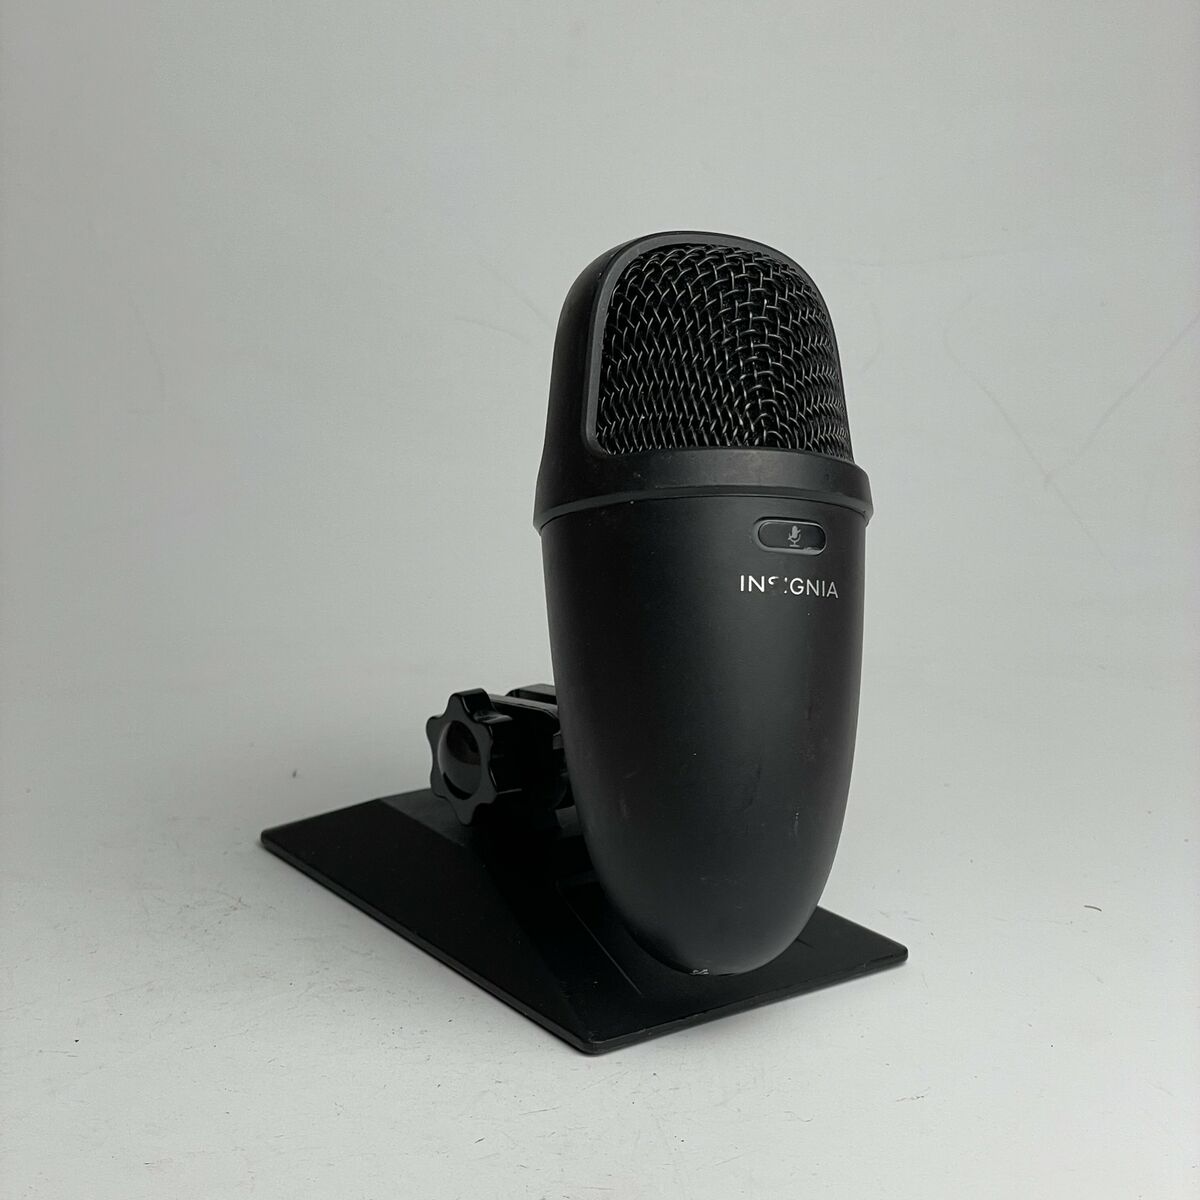
The Insignia NS-Paum USB Microphone is a versatile device that allows you to capture professional-quality audio for various purposes. Whether you’re recording podcasts, voiceovers, or participating in online meetings and conferences, this microphone can help you achieve clear and crisp sound reproduction. However, to get the best results from your Insignia NS-Paum USB Microphone, it’s important to properly adjust its settings.
In this guide, we will take you through the step-by-step process of connecting the microphone to your computer and adjusting its settings on both Windows and Mac operating systems. We’ll also walk you through testing the microphone to ensure it’s functioning correctly. Additionally, we’ll provide troubleshooting tips for common issues that you might encounter along the way.
Before we dive into the steps, it’s worth noting that the Insignia NS-Paum USB Microphone is a plug-and-play device, meaning you won’t need any complicated drivers or software installations. Simply connect it to your computer’s USB port, and you’ll be ready to go.
Now, let’s get started with the first step – connecting the Insignia NS-Paum USB Microphone.
Step 1: Connecting the Insignia NS-Paum USB Microphone
Before you can start adjusting the settings of your Insignia NS-Paum USB Microphone, you need to ensure that it is properly connected to your computer. Follow these steps to connect the microphone:
- Locate an available USB port on your computer. The Insignia NS-Paum USB Microphone uses a USB connection, so you’ll need to find a compatible port.
- Take the USB cable that came with your microphone and plug one end into the microphone itself.
- Insert the other end of the USB cable into the USB port on your computer. Ensure that the connection is secure.
- Once the microphone is connected, wait for your computer to recognize the device. This may take a few moments.
- Once the device is recognized, you can proceed to adjust the microphone settings on your computer, which we’ll cover in the next steps.
It’s important to note that the Insignia NS-Paum USB Microphone is compatible with both Windows and Mac operating systems, so you can use it regardless of your computer’s platform. Now that you’ve successfully connected the microphone, let’s move on to adjusting the settings on your particular operating system.
Step 2: Adjusting the Microphone Settings on Windows
After connecting the Insignia NS-Paum USB Microphone to your Windows computer, it’s time to adjust its settings to ensure optimal audio quality. Follow these steps:
- Right-click on the speaker icon in the taskbar and select “Sounds” from the menu. This will open the Sound settings.
- In the Sound settings window, navigate to the “Recording” tab. You should see the Insignia NS-Paum USB Microphone listed as one of the available recording devices.
- Select the Insignia NS-Paum USB Microphone and click on the “Properties” button located below the list.
- In the Microphone Properties window, navigate to the “Levels” tab. Here, you can adjust the microphone volume by moving the slider up or down. Experiment with different volume levels and make sure to test the microphone to find the optimal setting.
- Next, navigate to the “Enhancements” tab. If you want to enhance the audio quality, you can adjust settings such as noise suppression, echo cancellation, and more. Enable or disable these enhancements based on your preferences.
- Once you have adjusted the volume and any desired enhancements, click “OK” to save the changes.
Keep in mind that the exact options and layout of the Sound settings may vary depending on your version of Windows. If you’re unsure, consult the Windows documentation or seek assistance from the official Microsoft support channels.
Now that you’ve successfully adjusted the microphone settings on your Windows computer, let’s move on to adjusting the settings on a Mac in the next step.
Step 3: Adjusting the Microphone Settings on Mac
If you’re using a Mac computer, adjusting the microphone settings for your Insignia NS-Paum USB Microphone is a straightforward process. Follow these steps:
- Click on the Apple menu icon in the top-left corner of your screen and select “System Preferences” from the dropdown menu.
- In the System Preferences window, locate and click on the “Sound” icon.
- In the Sound settings, ensure that you are in the “Input” tab. The Insignia NS-Paum USB Microphone should be listed as one of the available input devices.
- Click on the microphone entry to select it, and adjust the input volume slider to increase or decrease the microphone sensitivity.
- You may also notice an “Input Level” bar. Speak into the microphone and monitor the bar to ensure it detects your voice properly. Adjust the input volume accordingly.
- Optional: If you want to enable noise reduction or other audio effects, you can click on the “Effects” tab and make your desired adjustments.
- Once you have made the necessary adjustments, close the Sound settings window to save the changes.
Please note that the interface and options may vary slightly depending on the version of macOS you are using. If you encounter any difficulties or have specific questions about your Mac’s audio settings, refer to Apple’s official support documentation or contact their support team.
Now that you’ve successfully adjusted the microphone settings on your Mac, you’re one step closer to using your Insignia NS-Paum USB Microphone for various audio recording needs. Next, we’ll move on to testing the microphone to ensure it’s functioning correctly.
Step 4: Testing the Microphone
Once you have connected and adjusted the settings for your Insignia NS-Paum USB Microphone, it’s important to test it to ensure that it’s working correctly. Follow these steps to perform a quick microphone test:
- Open any application or software that allows you to record audio, such as a voice recorder or video conferencing application.
- Select the Insignia NS-Paum USB Microphone as the preferred audio input device within the application’s settings. Consult the application’s documentation or support resources if you are unsure how to select the microphone.
- Begin recording your voice or speaking into the microphone. Monitor the recording levels or audio meters to ensure that the microphone is picking up sound.
- Speak into the microphone at a normal volume and listen to the playback to ensure that the audio is clear and free from any distortions or background noise.
- If you notice any issues, go back to the previous steps and recheck your connections and settings. Troubleshoot any problems you encounter, or consult the Insignia NS-Paum USB Microphone’s user manual or the manufacturer’s support resources for further assistance.
By conducting this test, you can verify that the microphone is functioning correctly and producing the desired audio quality. If everything sounds good, congratulations! You are now ready to use the Insignia NS-Paum USB Microphone for recording podcasts, voiceovers, participating in online meetings, and more.
If you encounter any persisting issues or have specific questions about the microphone’s performance, don’t hesitate to seek assistance from the manufacturer’s support team or relevant online communities dedicated to audio recording and technology.
Now that you’ve successfully tested the microphone, let’s move on to the next and final step – troubleshooting common issues that you may encounter with the Insignia NS-Paum USB Microphone.
Step 5: Troubleshooting Common Issues
While the Insignia NS-Paum USB Microphone is a reliable device, you may occasionally encounter some common issues. Here are some troubleshooting tips to help you resolve them:
- No sound or low volume: Ensure that the microphone is properly connected to your computer’s USB port. Check the volume settings on your computer and increase the microphone volume if necessary. Additionally, check if the microphone is selected as the default input device in your operating system’s sound settings.
- Unwanted background noise: To reduce background noise, try adjusting the microphone’s input sensitivity settings. You can also consider using a pop filter or placing the microphone closer to your source of audio while avoiding proximity to other noisy devices.
- Interference or static noise: Make sure that there are no electromagnetic devices or sources of interference near the microphone or its cable. Try using a different USB port or cable to rule out any issues with the connection. Additionally, check for any firmware or driver updates for the microphone.
- Compatibility issues: Ensure that the Insignia NS-Paum USB Microphone is compatible with your operating system and software. Check for any specific driver requirements or updates that may need to be installed to ensure compatibility.
- Recording software-specific issues: If you experience issues with a particular recording software, consult the software’s documentation or support resources for troubleshooting steps specific to that application. This may involve adjusting settings within the software or reinstalling it.
- Physical damage or defect: If you suspect physical damage or a defect with the Insignia NS-Paum USB Microphone, reach out to the manufacturer’s customer support for further assistance. They may be able to provide guidance or initiate a repair or replacement if necessary.
If you’ve exhausted all troubleshooting options and the issues persist, it’s recommended to contact the Insignia NS-Paum USB Microphone’s customer support team for further assistance. They will have the expertise to help you in resolving any unique or persistent issues you may encounter.
By addressing these common issues, you can ensure that your Insignia NS-Paum USB Microphone consistently delivers high-quality audio and provides an optimal recording or communication experience.
With the troubleshooting steps covered, you’re now equipped to overcome any challenges that may arise while using the Insignia NS-Paum USB Microphone. Congratulations on reaching the end of this guide!
Conclusion
Congratulations on successfully adjusting the settings and troubleshooting your Insignia NS-Paum USB Microphone! By following the steps outlined in this guide, you have gained the knowledge and skills to ensure optimal audio quality and performance for your recording needs.
Remember, connecting the microphone to your computer is just the first step. Adjusting the microphone settings on both Windows and Mac, testing the microphone, and troubleshooting any potential issues are essential to achieving the best results.
Now that you have a clear understanding of how to connect, adjust, and troubleshoot your Insignia NS-Paum USB Microphone, you are ready to explore the endless possibilities it offers. Whether you’re recording podcasts, voiceovers, participating in online meetings, or engaging in other audio-related activities, this microphone will help you deliver professional-quality sound.
If you encounter any further difficulties or have questions beyond what this guide covers, don’t hesitate to consult the manufacturer’s documentation or reach out to their customer support team. They will assist you in resolving any specific concerns or issues you may have.
Thank you for choosing the Insignia NS-Paum USB Microphone, and happy recording!