Introduction
Understanding the Green and Pink Cords on Your Gaming Headset
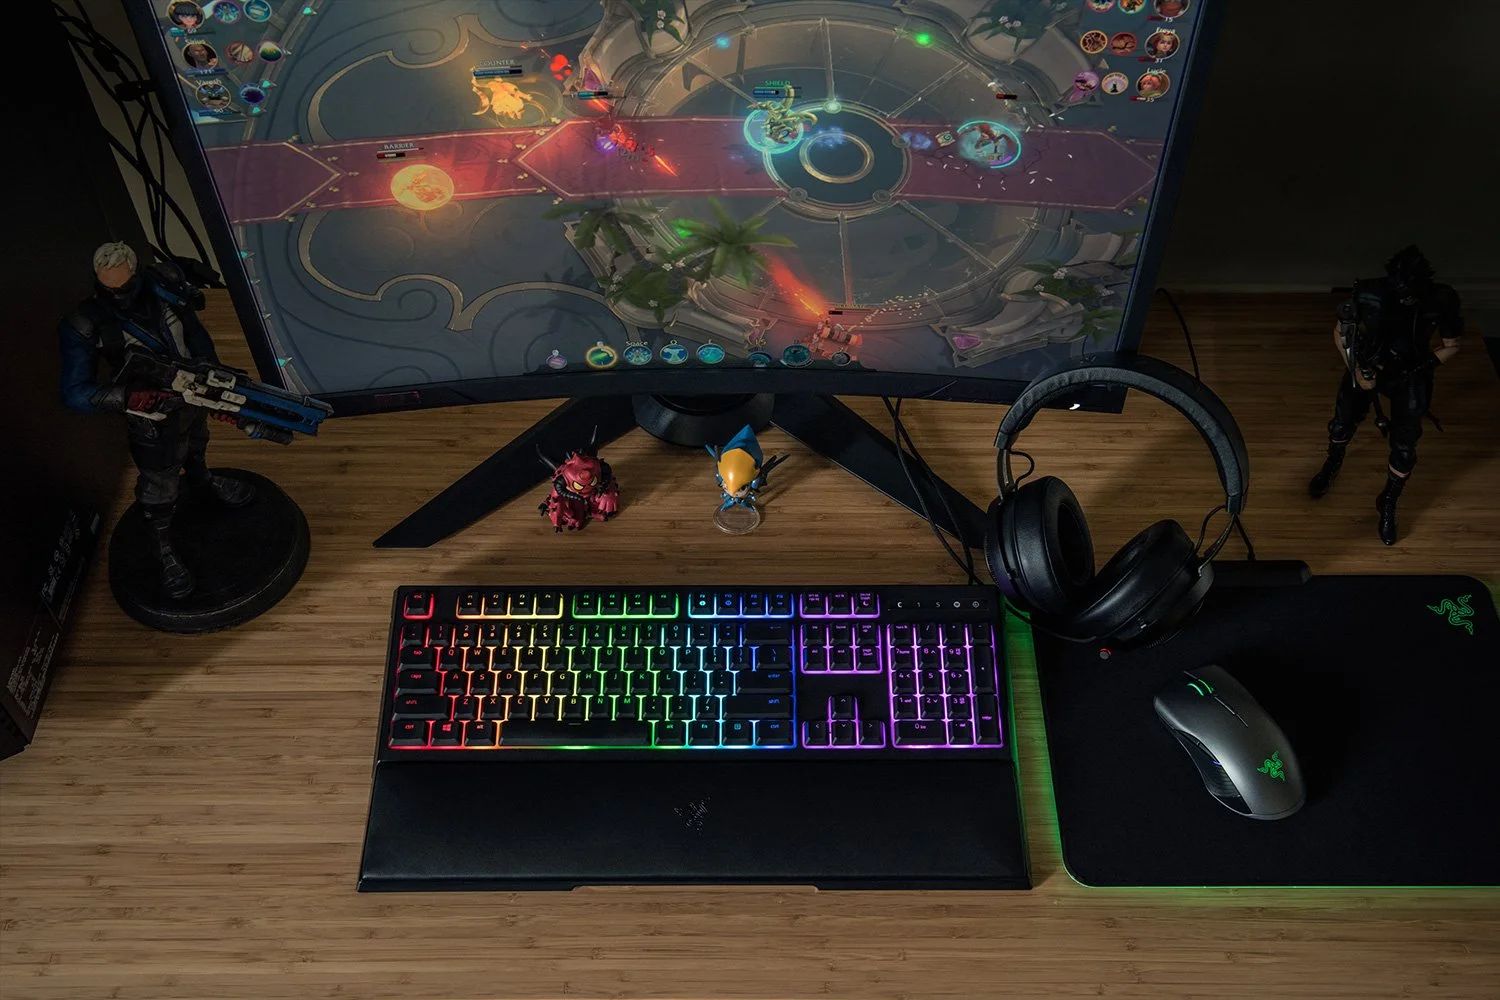
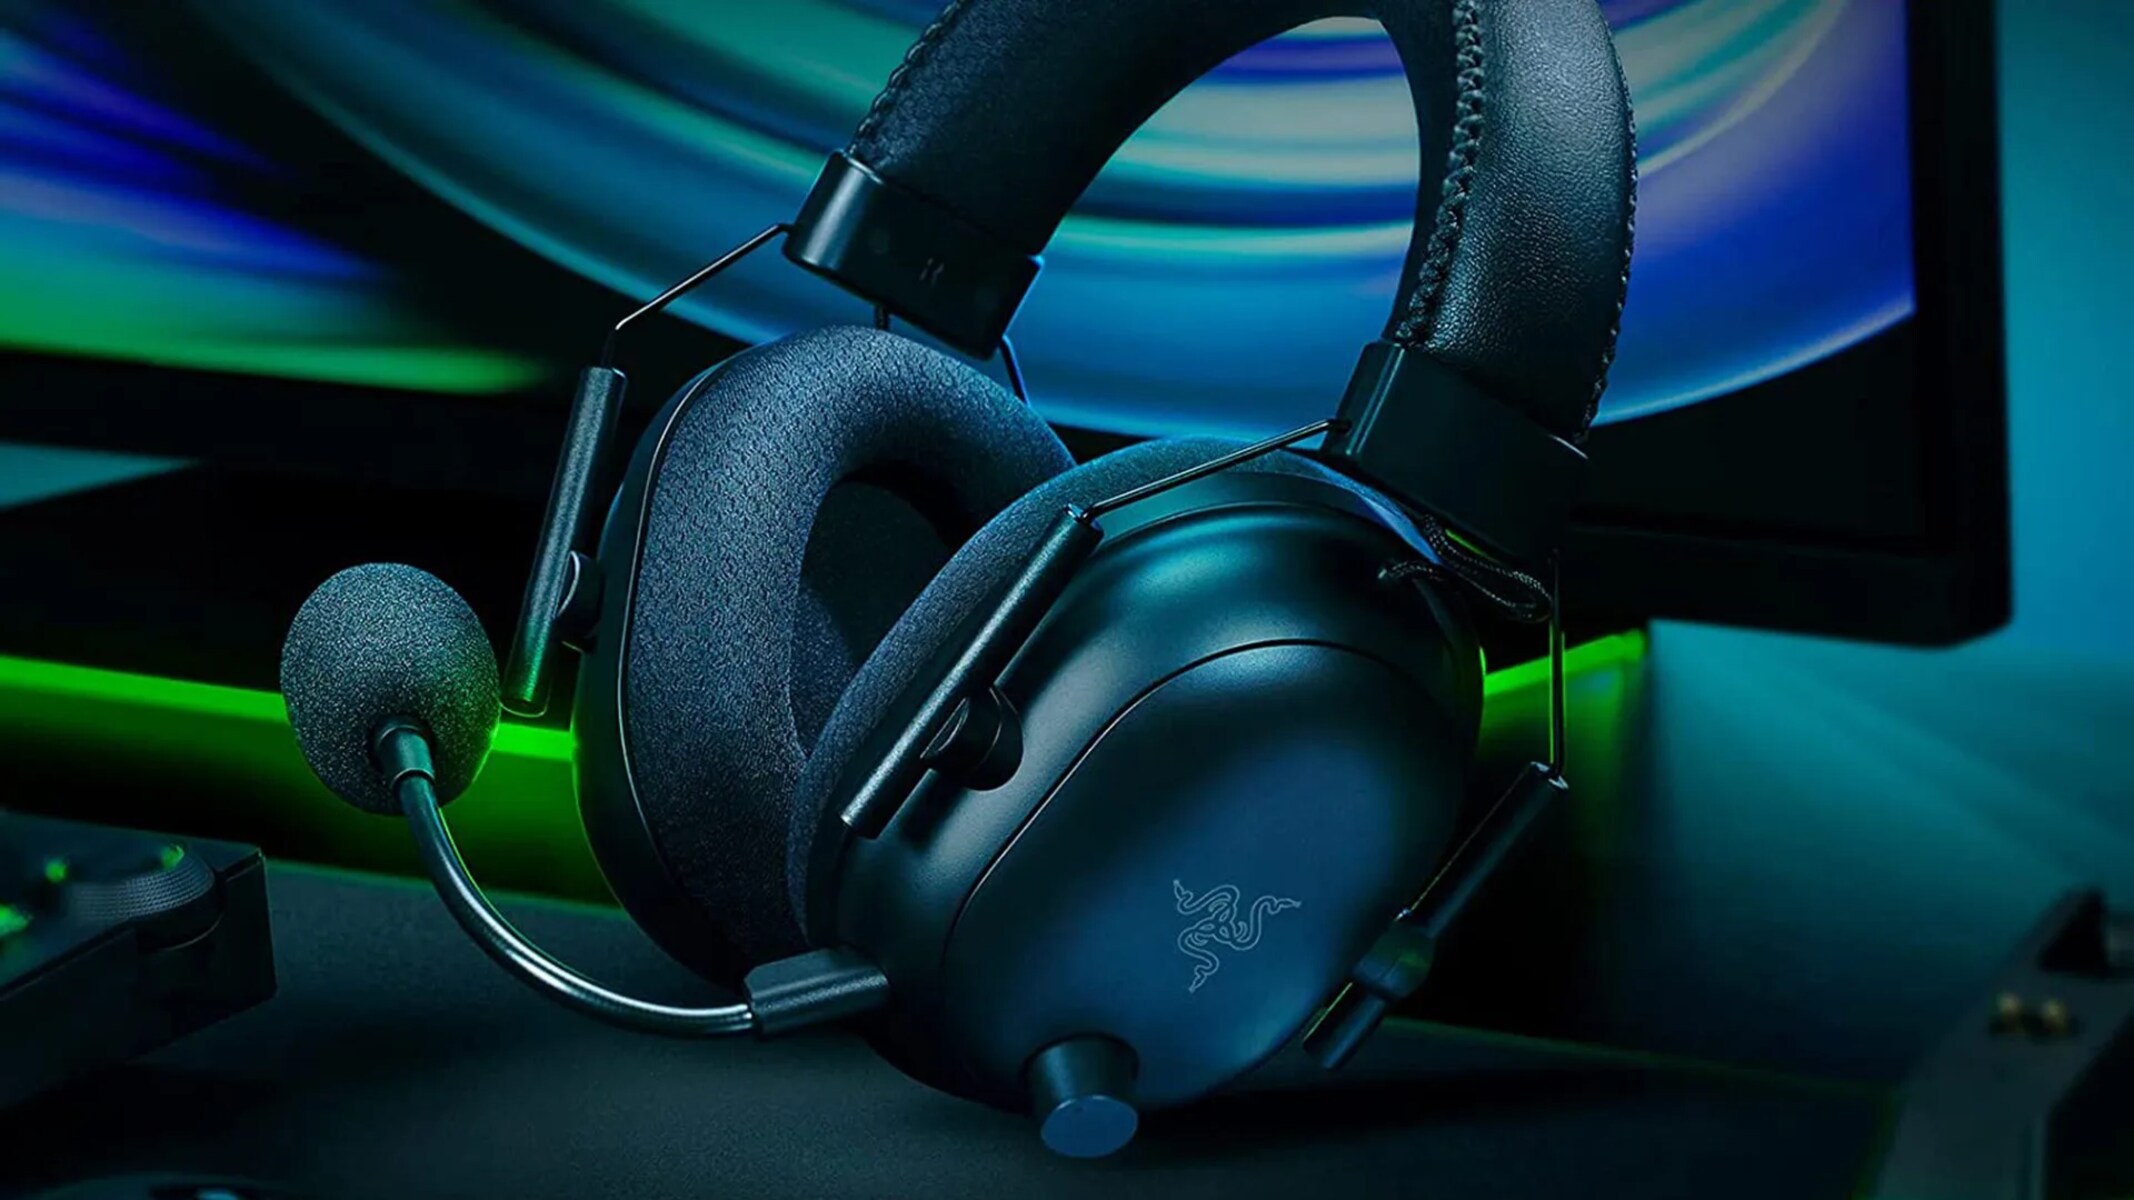
If you're an avid gamer, you understand the importance of a high-quality gaming headset. These devices not only provide immersive audio experiences but also enable seamless communication with fellow gamers during multiplayer sessions. However, when it comes to setting up a gaming headset, particularly connecting the green and pink cords to the motherboard, things can get a bit confusing for some users.
In this guide, we'll delve into the intricacies of these two essential cords and shed light on their significance in the gaming headset setup process. By the end of this article, you'll have a clear understanding of where and how to connect the green and pink cords to your motherboard, ensuring optimal functionality and an enhanced gaming experience.
Whether you're a seasoned gamer looking to upgrade your gaming setup or a newcomer navigating the complexities of hardware connections, this guide will serve as a valuable resource to demystify the enigmatic green and pink cords on your gaming headset. Let's embark on this informative journey to unravel the mysteries of headset connectivity and empower you to make the most of your gaming peripherals.
Understanding the Green and Pink Cords on Your Gaming Headset
Before diving into the intricacies of connecting the green and pink cords to your motherboard, it’s crucial to comprehend the specific functions of these two essential components of your gaming headset.
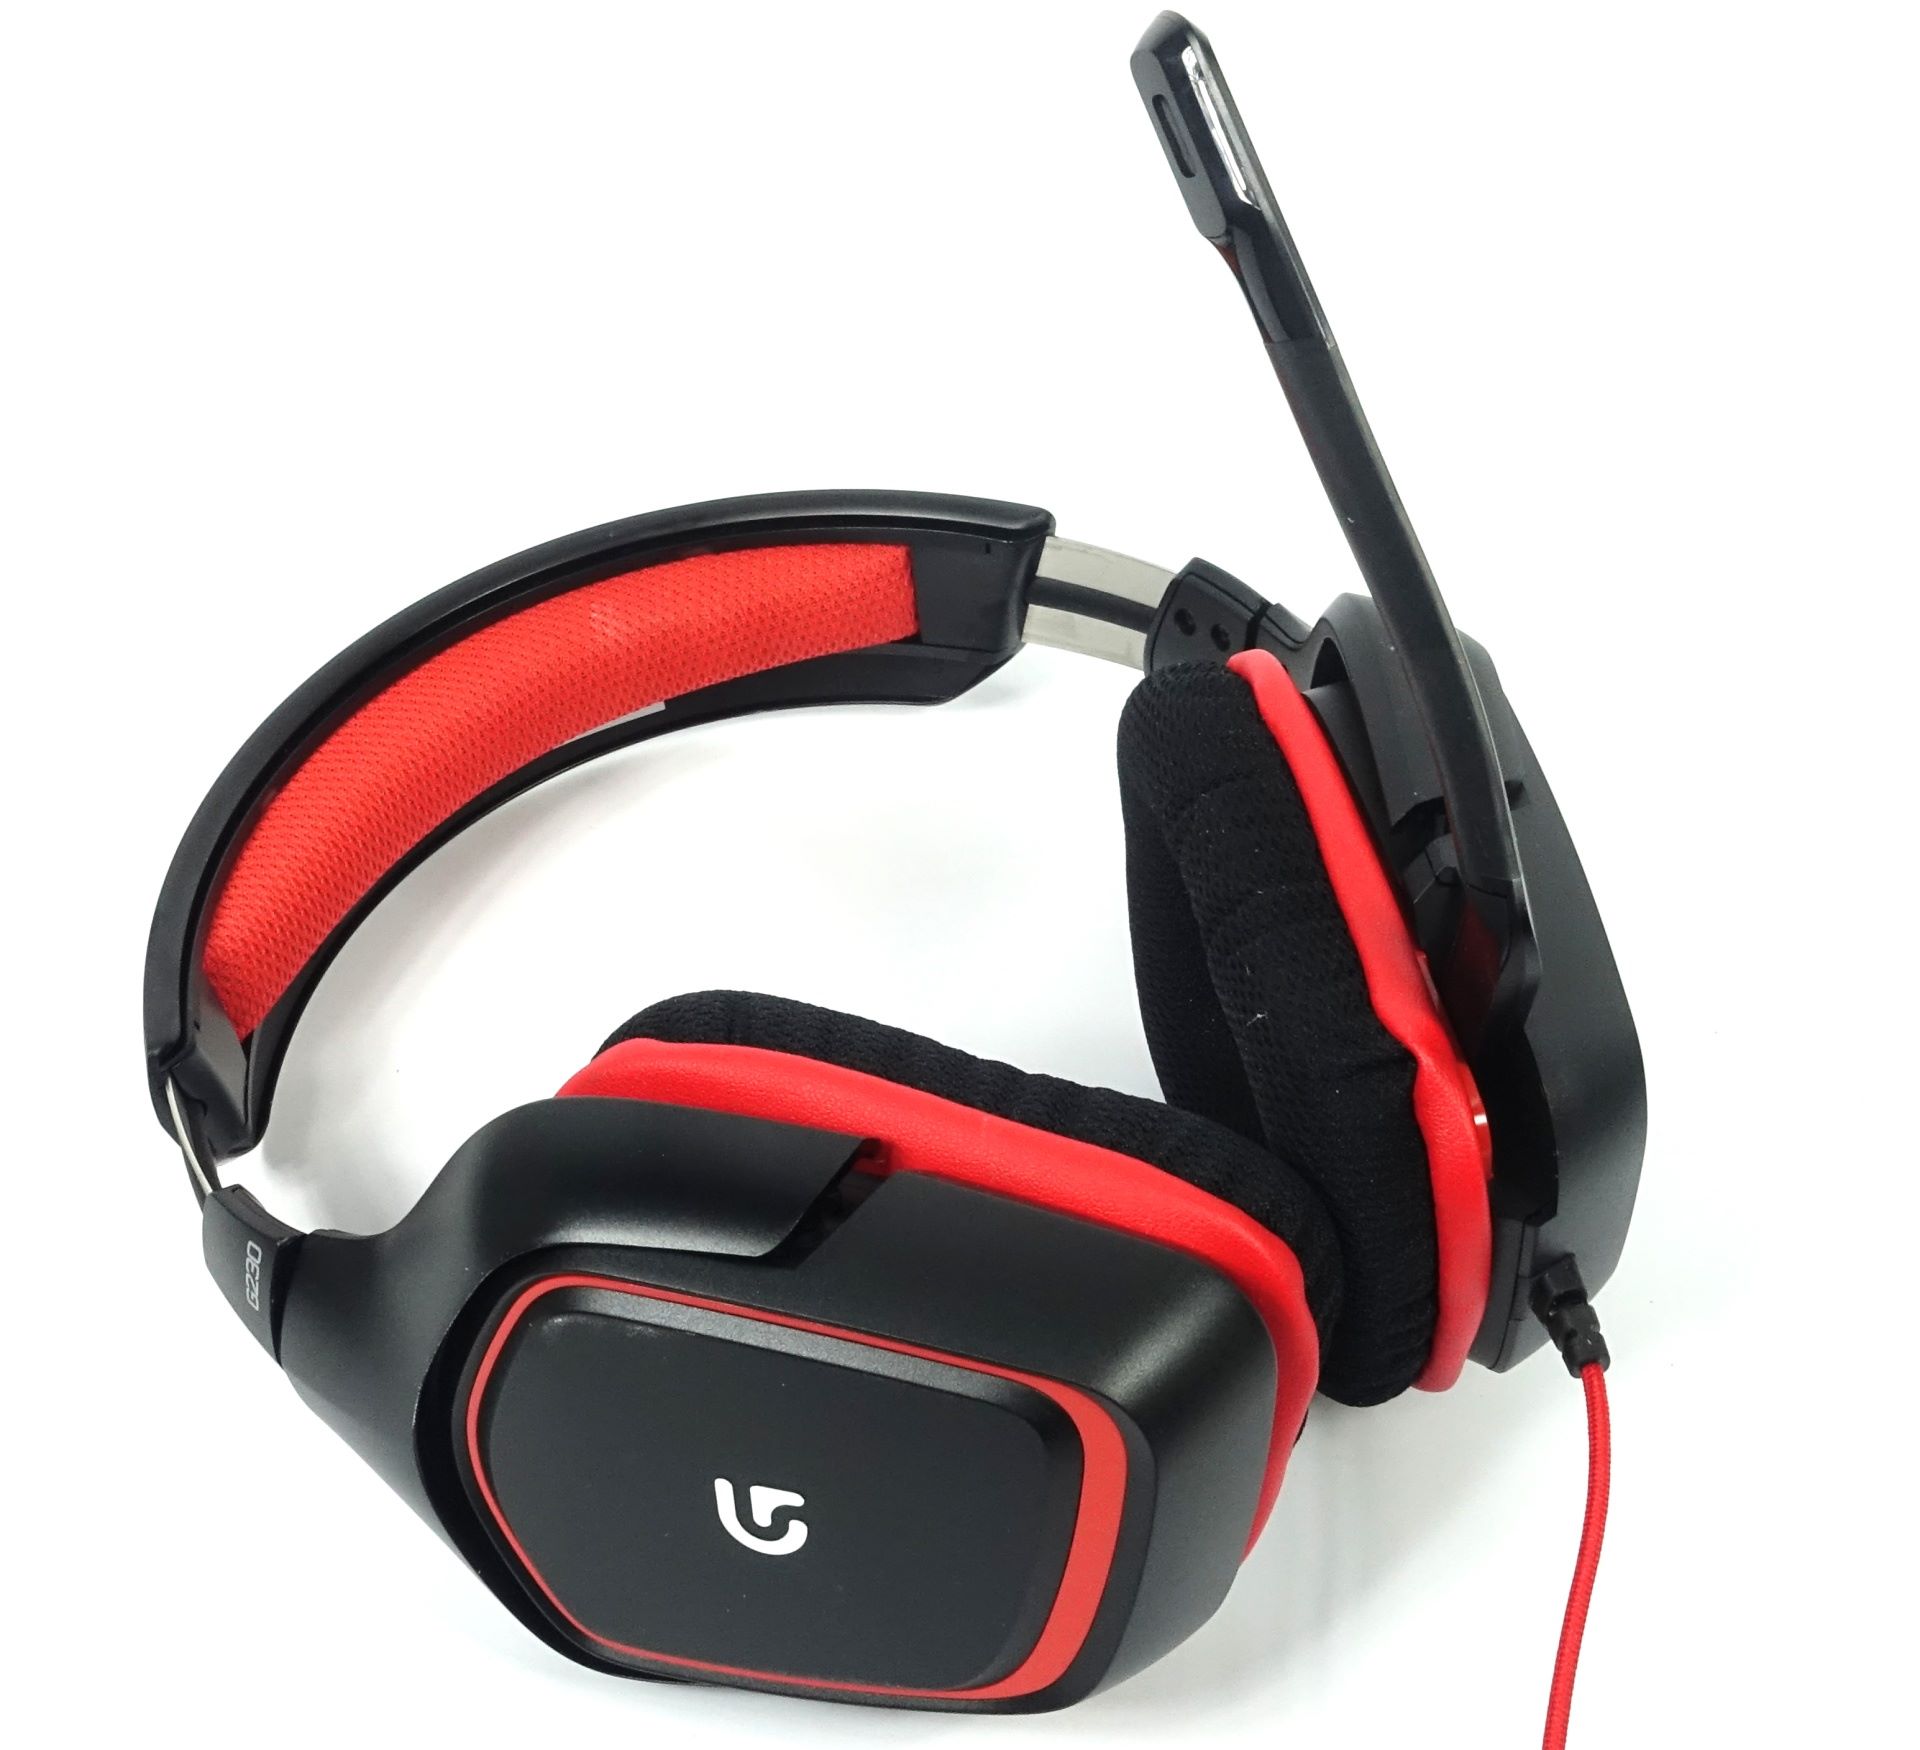
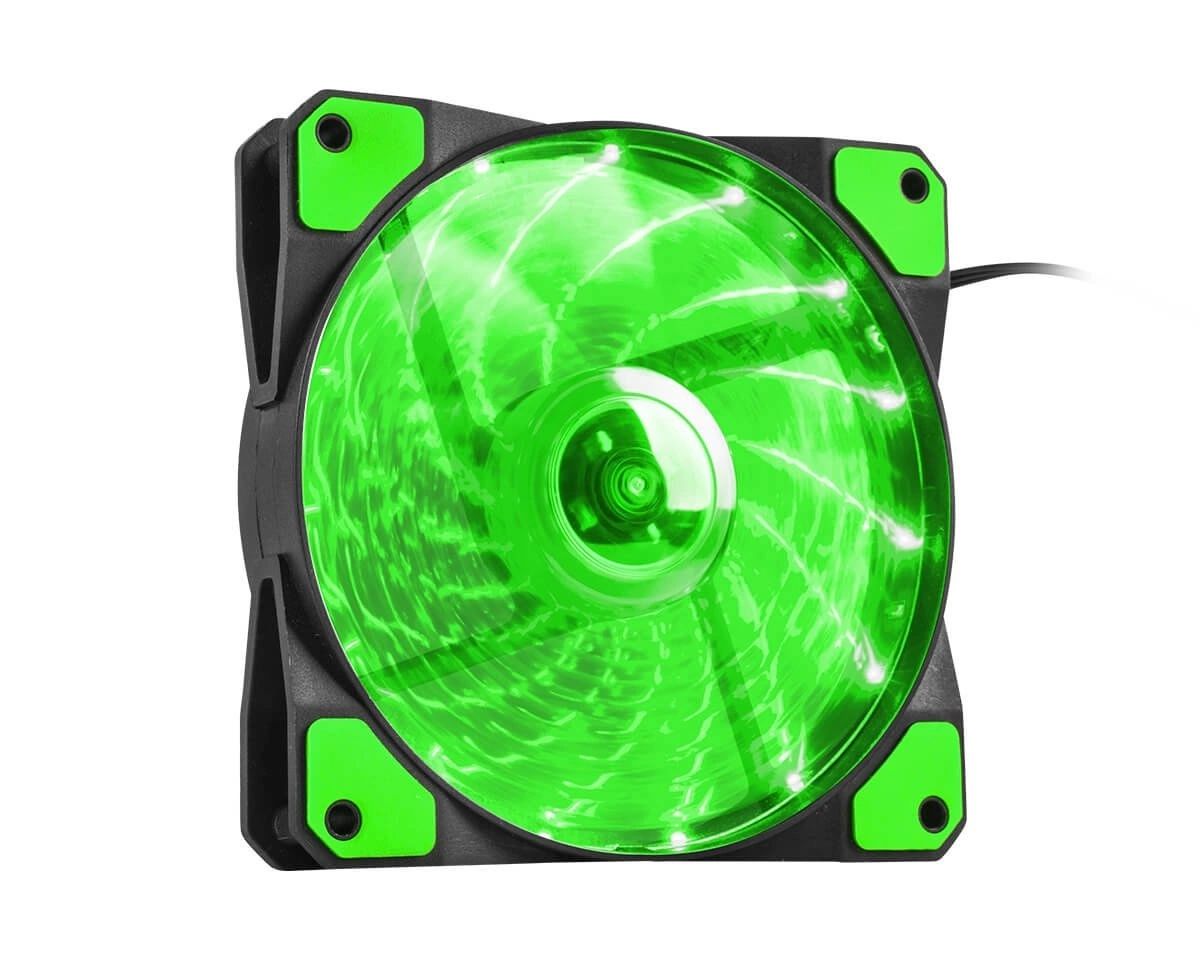
The Green Cord:
The green cord, often labeled as the “audio” or “headphone” cord, serves as the primary channel for transmitting audio signals from your gaming headset to your computer. This cord is responsible for delivering the in-game sounds, background music, and other audio elements directly to your ears, ensuring an immersive gaming experience.
The Pink Cord:
On the other hand, the pink cord, commonly identified as the “microphone” or “mic” cord, plays a pivotal role in capturing and relaying your voice to your gaming companions during multiplayer sessions. This cord enables seamless communication, allowing you to strategize, coordinate movements, and engage in lively banter with fellow gamers without any hindrances.
Understanding the distinct functions of the green and pink cords is essential for optimizing your gaming headset setup. While the green cord handles audio output, the pink cord facilitates input, creating a harmonious audio-communication ecosystem that is fundamental to the multiplayer gaming experience.
As we proceed, you’ll gain valuable insights into the precise locations on the motherboard where these cords should be connected, ensuring that you can harness the full potential of your gaming headset and elevate your gaming escapades to new heights.
Connecting the Green and Pink Cords to the Motherboard
Now that you have a clear understanding of the roles played by the green and pink cords in your gaming headset, it’s time to demystify the process of connecting these cords to the motherboard of your computer. Properly establishing these connections is crucial for ensuring seamless audio output and effective communication with your gaming peers.
Locating the Audio and Microphone Ports:
Before proceeding, it’s essential to identify the audio and microphone ports on your motherboard. These ports are typically color-coded to correspond with the green and pink cords of your gaming headset. The audio port, often green in color, is designated for the headphone cord, while the microphone port, usually pink, is intended for the mic cord.
Inserting the Green Cord:
Begin by locating the green audio port on your motherboard. This port is typically found on the rear panel of the computer, although some modern cases also feature front-panel audio connectors for added convenience. Carefully align the green connector of your gaming headset’s cord with the corresponding audio port and gently insert it until you feel a secure connection.
Securing the Pink Cord:
Next, locate the pink microphone port on your motherboard. Similar to the audio port, this port can be situated on the rear or front panel of your computer, depending on the case and motherboard configuration. Align the pink connector of your gaming headset’s cord with the microphone port and firmly insert it to establish a reliable connection for seamless communication during your gaming endeavors.
Once you’ve successfully connected the green and pink cords to the respective ports on your motherboard, you’re one step closer to immersing yourself in the captivating realms of your favorite games while staying connected with your fellow gamers through crystal-clear audio and seamless communication.
By following these straightforward steps and understanding the significance of these connections, you can optimize your gaming headset setup and elevate your gaming experiences to new heights, all while fostering camaraderie and teamwork in the virtual battlegrounds.