Introduction
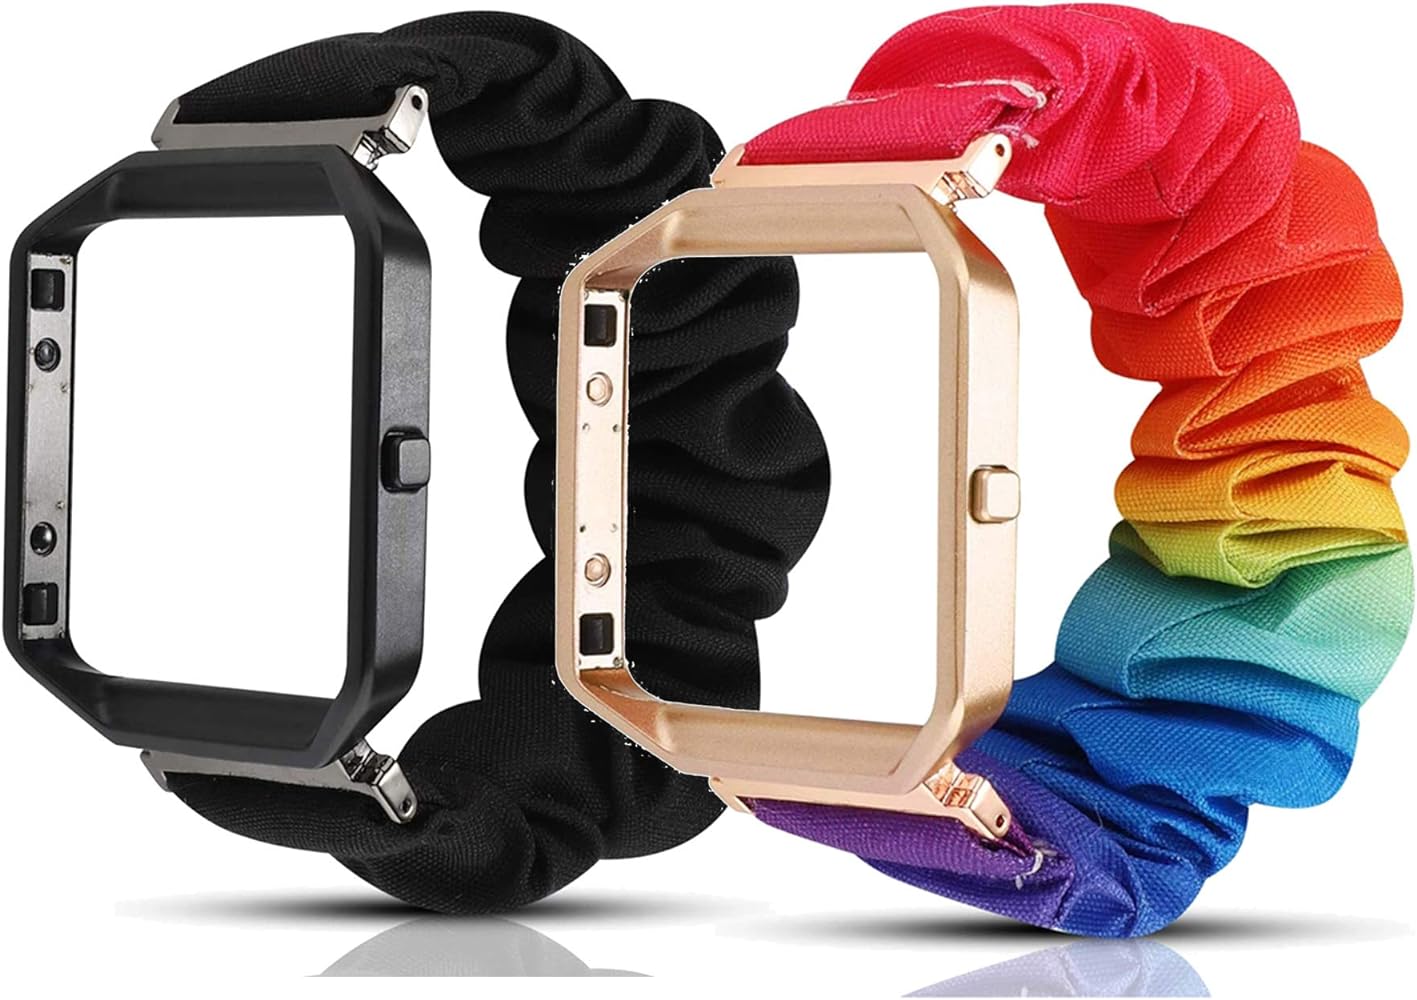
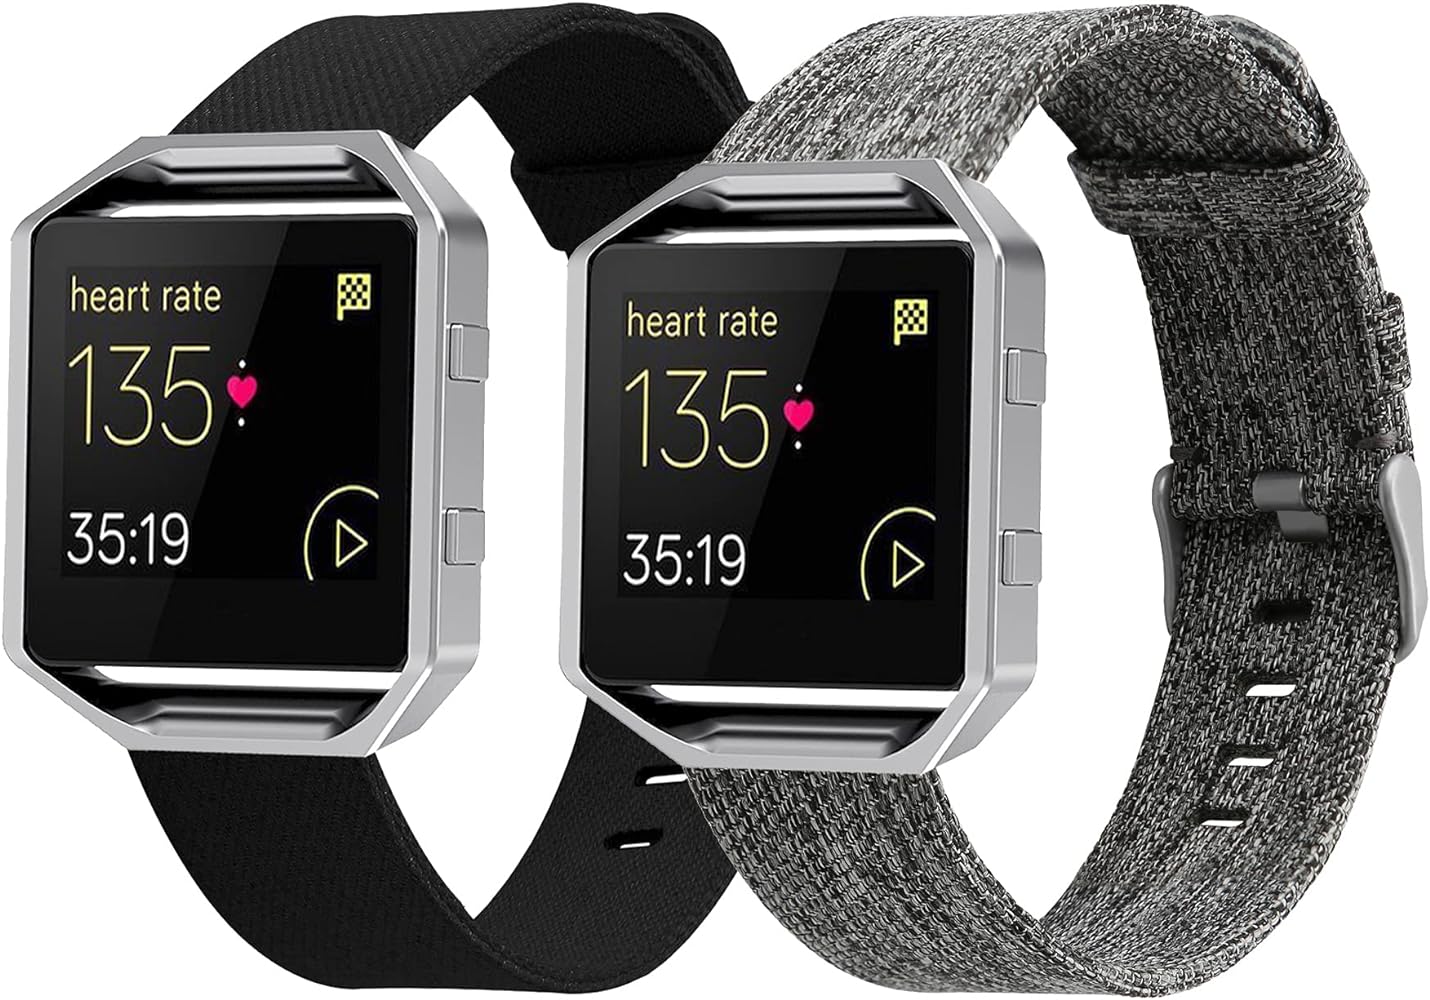
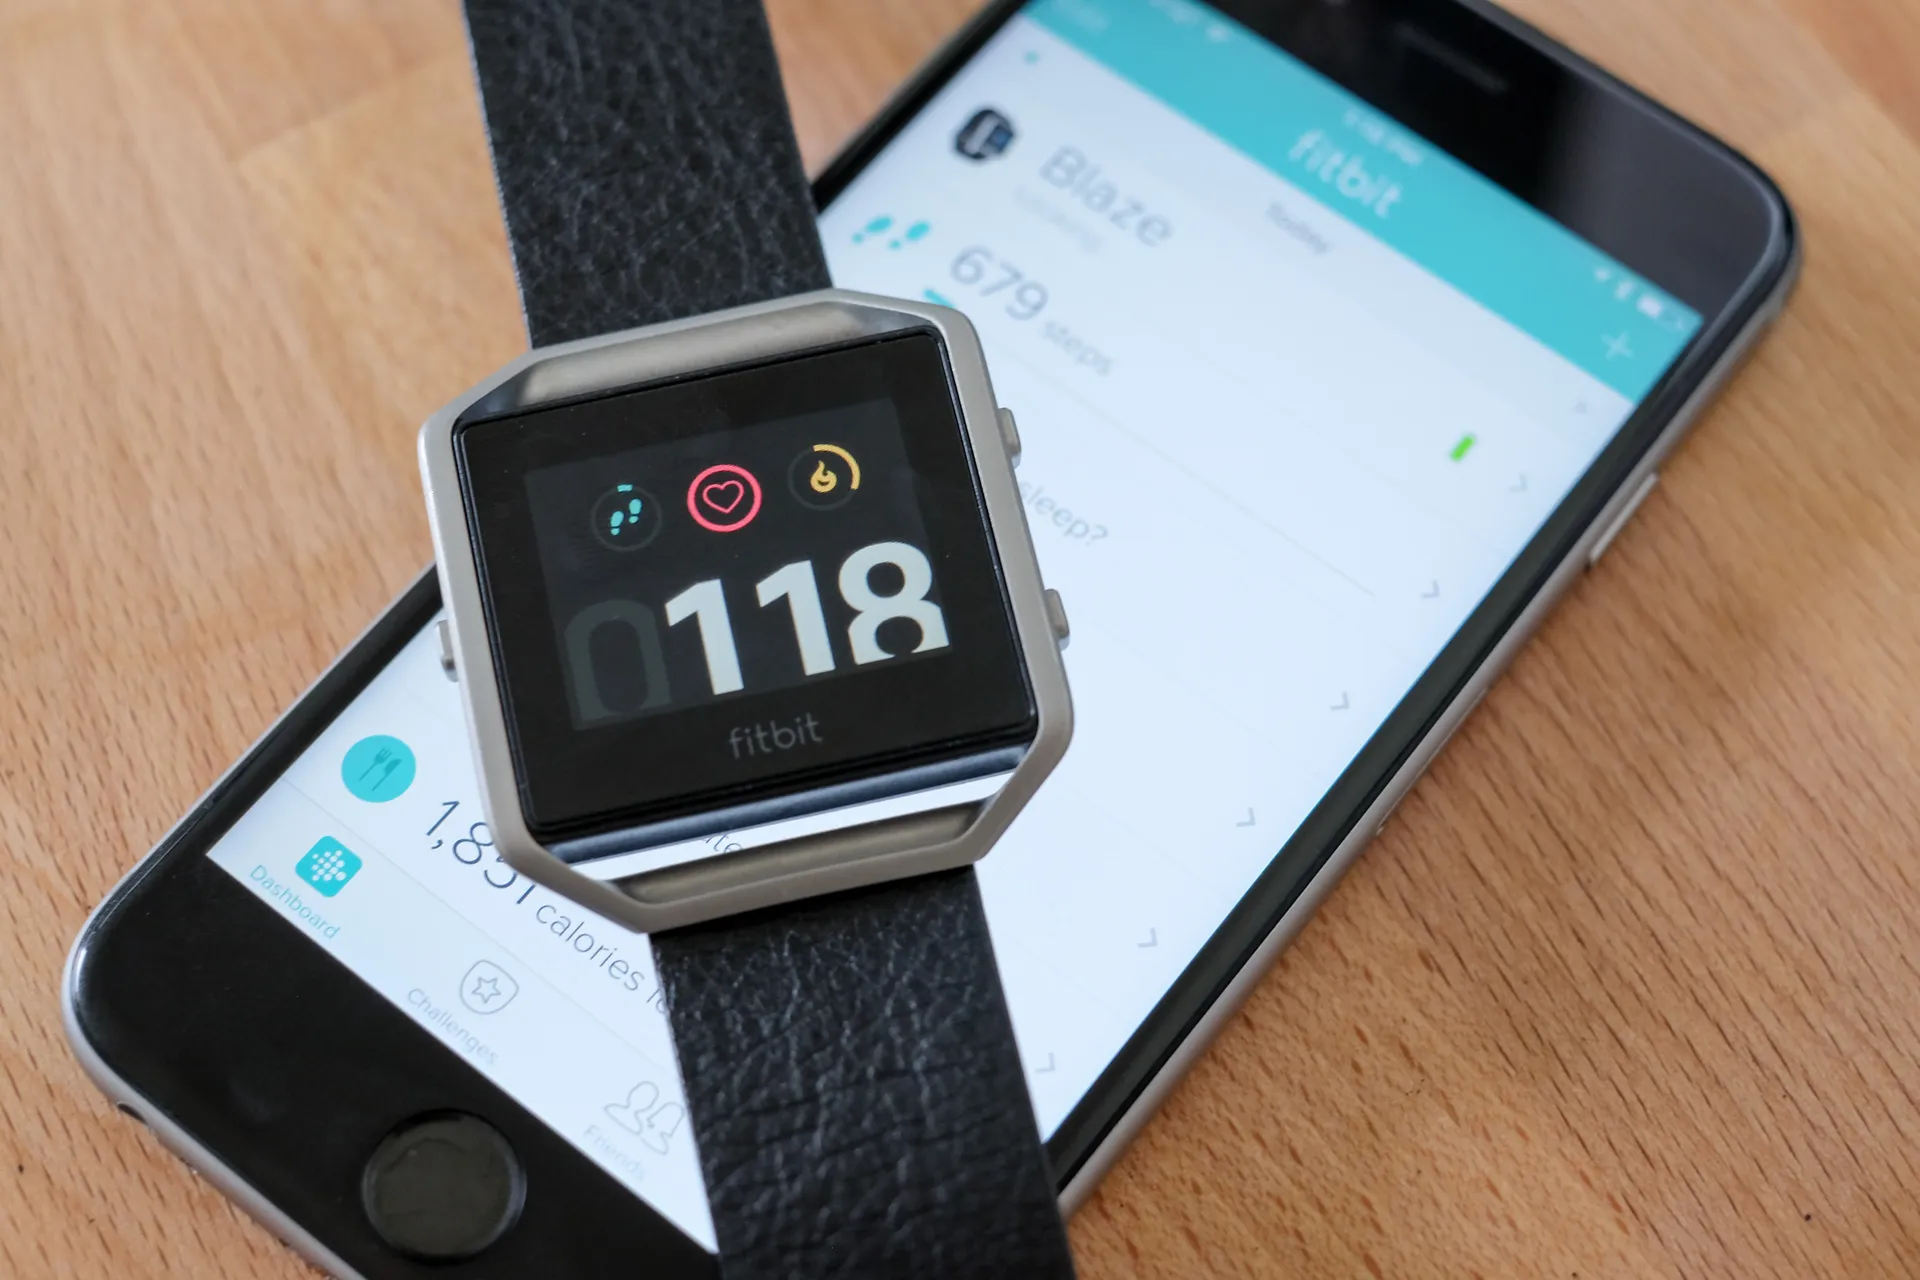
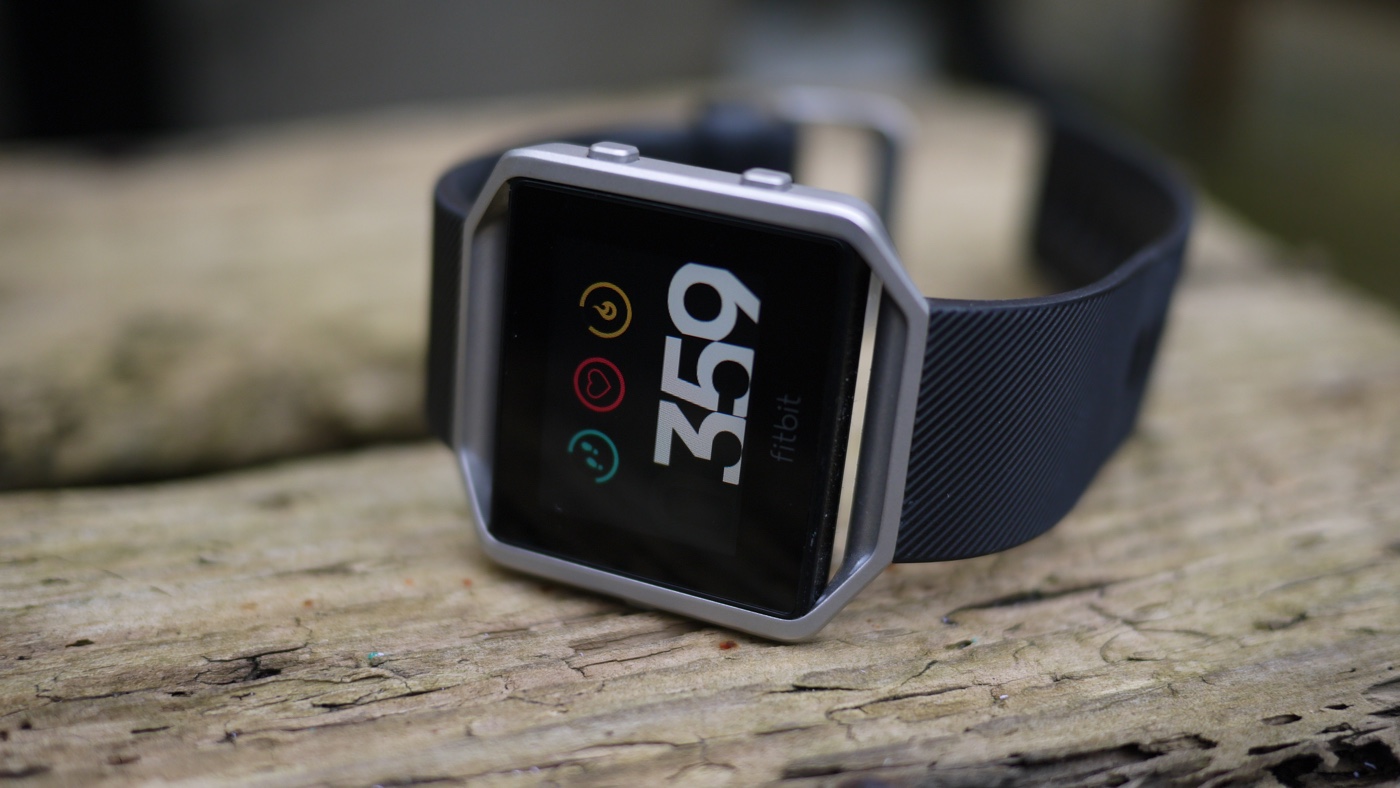
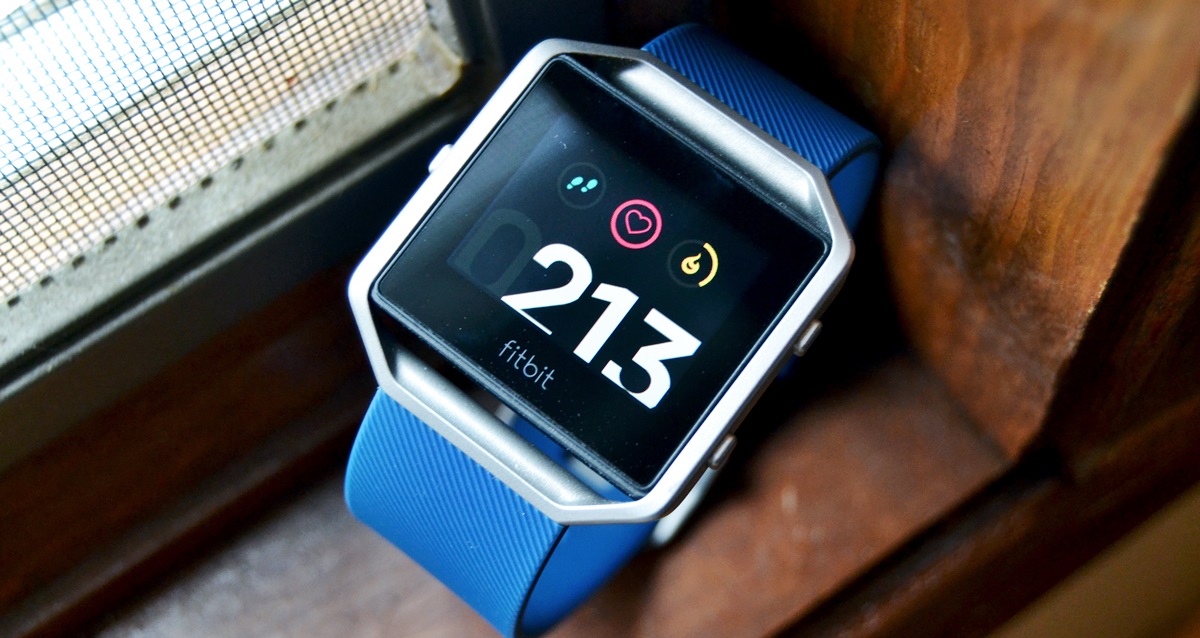
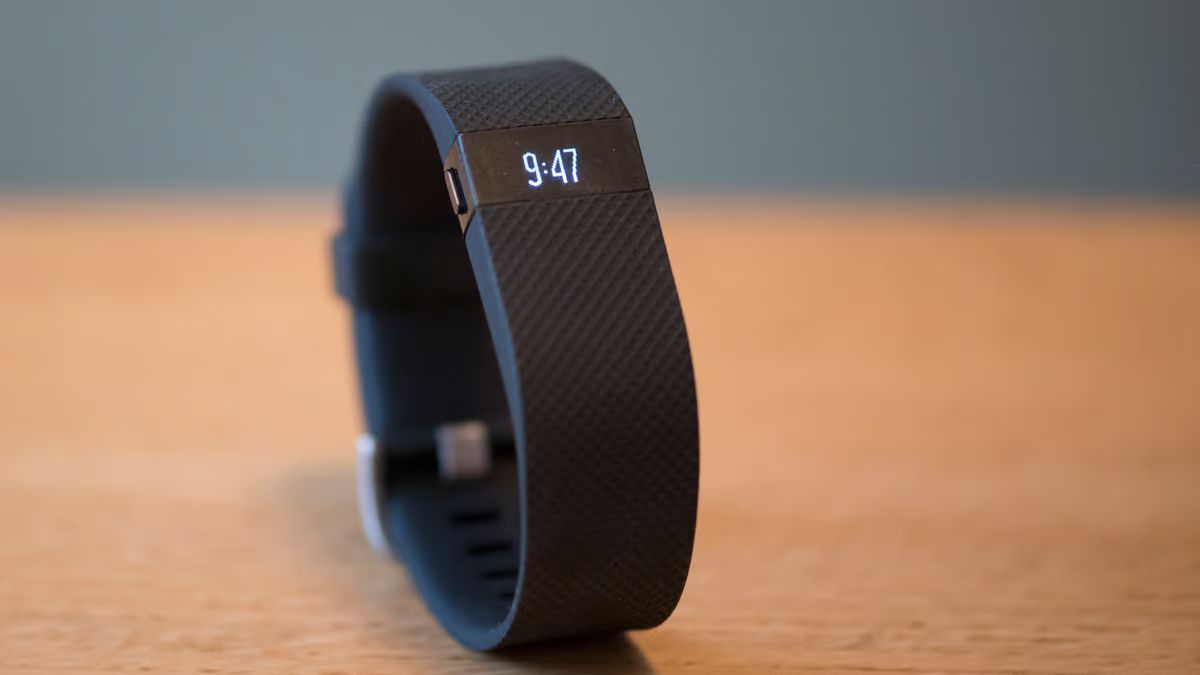
Welcome to the world of wearables, where technology seamlessly integrates with fashion and functionality. Fitbit Blaze, a popular choice among fitness enthusiasts, offers a versatile and stylish design that complements various lifestyles. One of the key features of the Fitbit Blaze is its interchangeable bands, allowing users to personalize their devices to suit different occasions or personal preferences.
In this comprehensive guide, we will walk you through the process of upgrading the band on your Fitbit Blaze. Whether you're looking to replace a worn-out band, switch to a more comfortable material, or simply add a touch of flair to your device, changing the band is a simple yet impactful way to revamp the style and comfort of your Fitbit Blaze.
As wearables continue to evolve, customization has become a significant aspect of the user experience. The ability to switch out bands not only adds a dash of individuality to your device but also extends its longevity by offering a practical solution to wear and tear. With a wide range of band options available, from sleek metal links to sweat-resistant silicone, the possibilities for personalization are virtually endless.
By following the steps outlined in this guide, you'll gain the confidence and know-how to effortlessly transition from one band to another, ensuring that your Fitbit Blaze remains a seamless extension of your personal style and fitness journey. So, let's dive in and discover the simple yet transformative process of changing the band on your Fitbit Blaze.
Whether you're gearing up for an intense workout, a casual day out, or a formal event, having the flexibility to switch bands at a moment's notice adds a dynamic touch to your wearable experience. So, without further ado, let's embark on this style upgrade journey and elevate the aesthetic and functionality of your Fitbit Blaze.
Step 1: Gather the necessary tools
Before embarking on the band replacement journey, it's essential to ensure that you have the necessary tools at your disposal. Gathering the right tools not only streamlines the process but also safeguards the integrity of your Fitbit Blaze. Here's a comprehensive list of the essential tools you'll need:
-
Replacement Band: The centerpiece of this endeavor, the replacement band, is the star of the show. Whether you opt for a sleek metal band, a durable silicone band, or a classic leather band, ensure that it is compatible with the Fitbit Blaze model. This ensures a seamless fit and a polished aesthetic.
-
Spring Bar Tool: This specialized tool is instrumental in safely removing and attaching the bands to your Fitbit Blaze. It features a small, forked end that allows you to compress the spring bars, facilitating the effortless removal and attachment of bands.
-
Cleaning Cloth: A soft, lint-free cleaning cloth is essential for maintaining the pristine condition of your Fitbit Blaze during the band replacement process. It helps remove any dust, fingerprints, or debris that may have accumulated on the device.
-
Flat Surface: Working on a stable, flat surface provides a conducive environment for the band replacement procedure. This ensures that your Fitbit Blaze remains secure and stable throughout the process, minimizing the risk of accidental damage.
-
Good Lighting: Adequate lighting is crucial for precision and attention to detail. Whether you're working near a well-lit window or using a dedicated desk lamp, ensuring proper illumination enhances visibility and minimizes the likelihood of errors.
-
Patience and Attention to Detail: While not tangible tools, patience and attention to detail are invaluable assets during the band replacement process. Taking your time and focusing on the task at hand ensures a smooth and successful transition to the new band.
By assembling these essential tools, you'll be well-equipped to navigate the band replacement process with confidence and precision. With the right tools at your disposal, you're ready to embark on the next steps to elevate the style and functionality of your Fitbit Blaze.
Step 2: Remove the current band
Removing the current band from your Fitbit Blaze is a crucial step in the process of upgrading to a new band. This step requires precision and care to ensure that the device remains unharmed during the transition. Follow these detailed steps to seamlessly detach the current band from your Fitbit Blaze:
-
Prepare the Workspace: Find a well-lit and stable surface to work on. Lay down a soft cloth to protect the device from scratches and provide a clean area to perform the band removal.
-
Locate the Spring Bars: The spring bars are small, spring-loaded pins that secure the band to the Fitbit Blaze. They are typically located at the junction where the band meets the body of the device. Use the spring bar tool to carefully locate and access the spring bars.
-
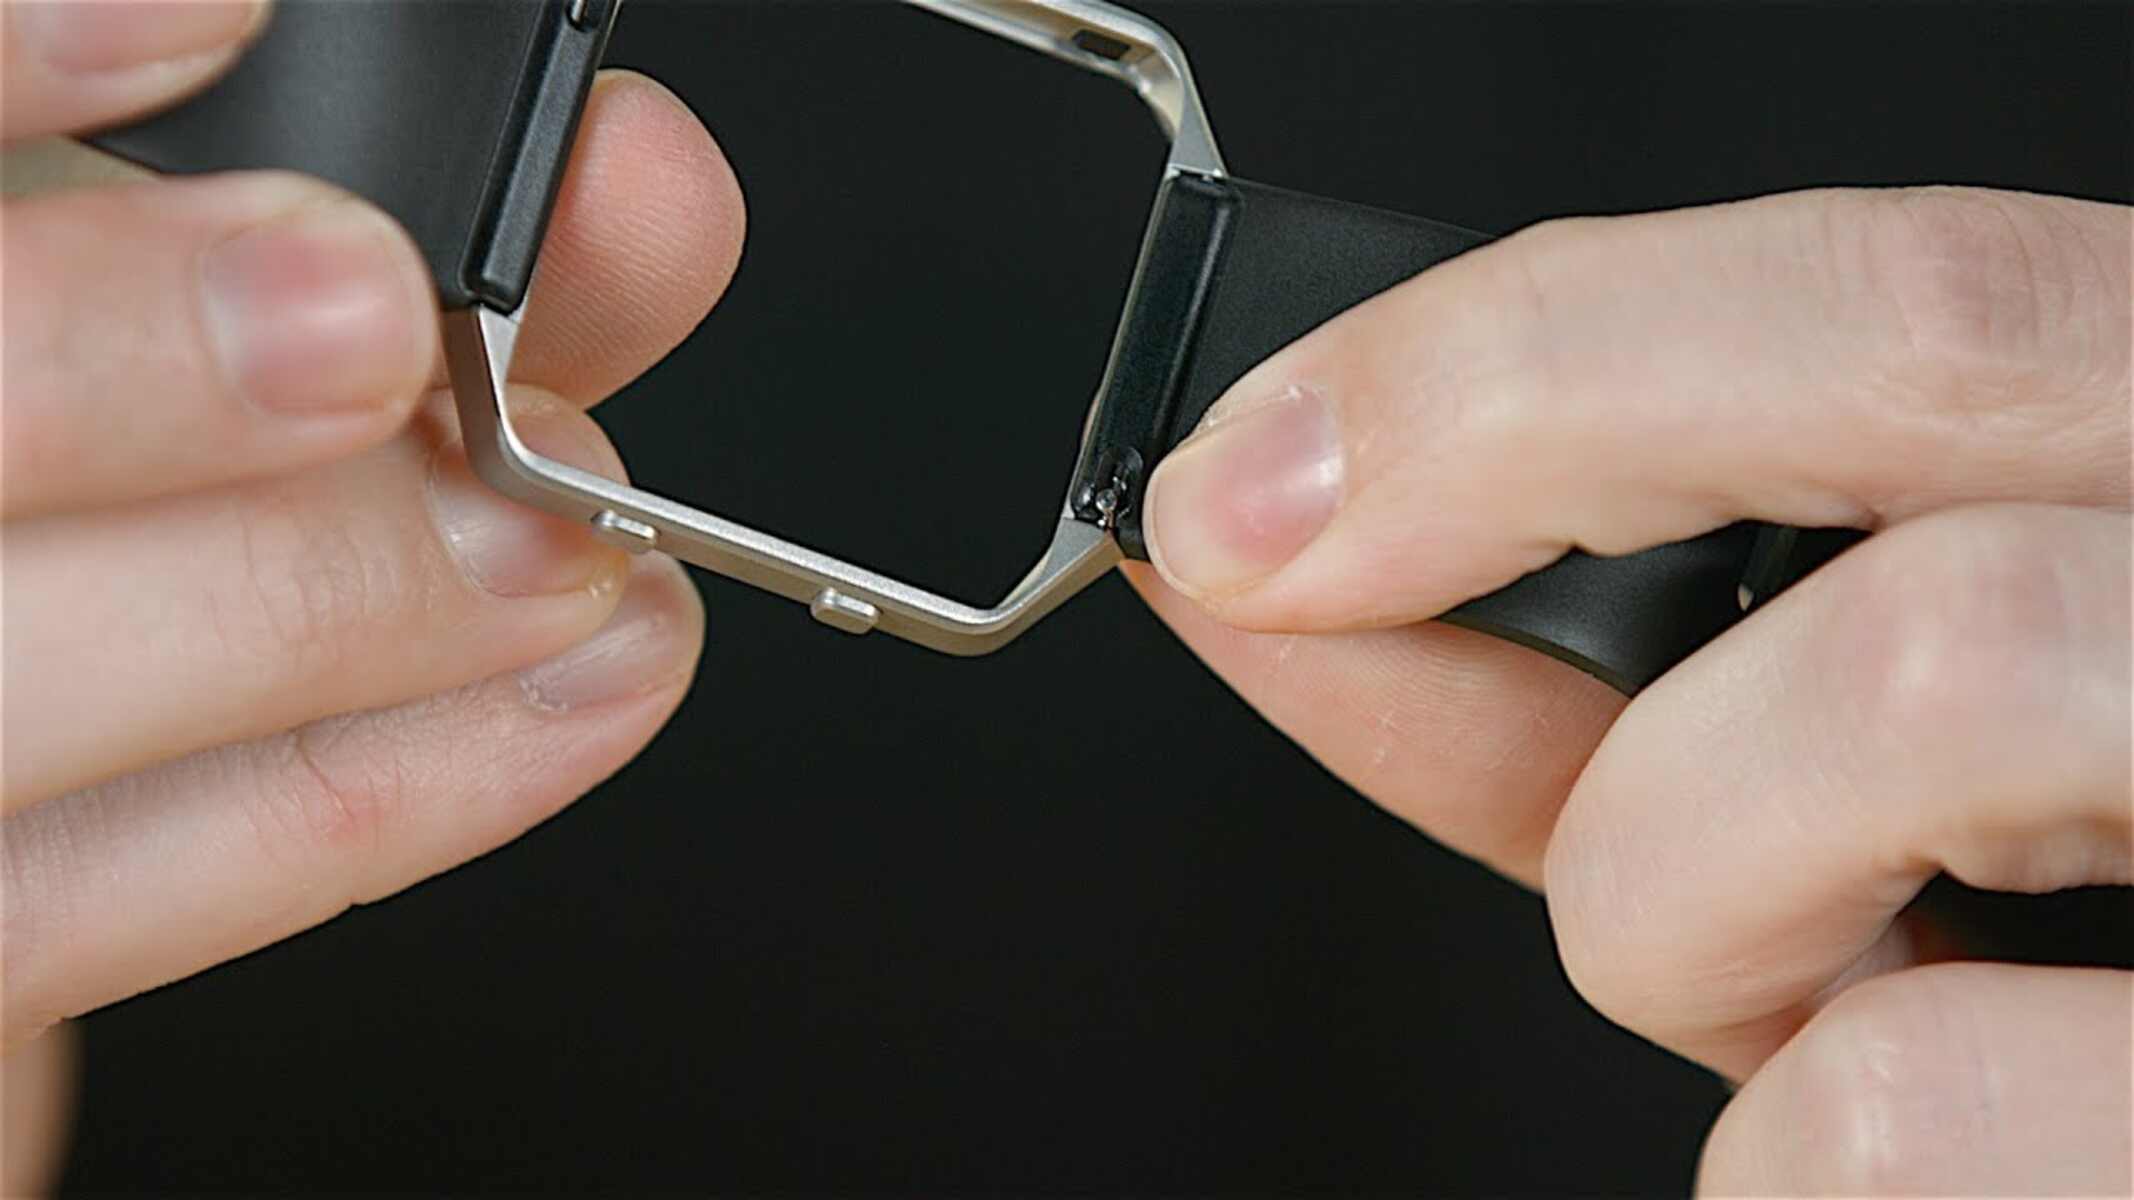
Use the Spring Bar Tool: With the forked end of the spring bar tool, gently compress one end of the spring bar. Apply steady and even pressure to release the tension and disengage the spring bar from its slot. Repeat this process for the other end of the spring bar.
-
Remove the Current Band: Once both spring bars are disengaged, carefully detach the current band from the Fitbit Blaze. Take your time to ensure a smooth removal, being mindful of any resistance or potential snags.
-
Inspect the Connection Points: With the band removed, take a moment to inspect the connection points on the Fitbit Blaze. Ensure that the area is clean and free of any debris or residue that may have accumulated over time.
-
Store the Current Band: If the current band is still in good condition, store it in a safe place for future use. Proper storage ensures that the band remains pristine and ready for potential reattachment.
By following these detailed steps, you can safely and effectively remove the current band from your Fitbit Blaze. This sets the stage for the exciting transition to a new band, allowing you to explore a myriad of style options and elevate the overall appeal of your wearable device. With the current band gracefully detached, you're now ready to proceed with attaching the new band and infusing your Fitbit Blaze with a fresh sense of style and functionality.
Step 3: Attach the new band
With the current band gracefully detached, the stage is set for the exciting transition to a new band, allowing you to explore a myriad of style options and elevate the overall appeal of your wearable device. Attaching the new band is a pivotal step that demands attention to detail and precision to ensure a seamless and secure fit. Follow these detailed steps to effortlessly attach the new band to your Fitbit Blaze:
-
Select the New Band: Before attaching the new band, carefully choose the replacement band that best aligns with your style preferences and functional needs. Whether you opt for a sporty silicone band, an elegant metal band, or a classic leather band, ensure that it is compatible with the Fitbit Blaze model.
-
Inspect the Connection Points: Prior to attaching the new band, take a moment to inspect the connection points on the Fitbit Blaze. Ensure that the area is clean and free of any debris or residue that may have accumulated during the band removal process. A quick wipe with a clean, dry cloth can help ensure a pristine connection surface.
-
Align the New Band: Position the new band at the connection points on the Fitbit Blaze, ensuring that it is oriented correctly with the device. Pay attention to any directional indicators or alignment cues provided by the replacement band to ensure a proper fit.
-
Engage the Spring Bars: With the new band aligned and positioned at the connection points, it's time to engage the spring bars. Using the spring bar tool, gently compress one end of the spring bar and carefully guide it into the corresponding slot on the Fitbit Blaze. Apply steady and even pressure to secure the spring bar in place. Repeat this process for the other end of the spring bar, ensuring that both ends are securely fastened.
-
Test the Fit: Once the new band is attached, perform a gentle tug test to ensure that it is securely fastened to the Fitbit Blaze. The band should sit snugly against the device, with minimal movement or play. A properly attached band enhances comfort and ensures the safety of your wearable device during daily activities.
By following these detailed steps, you can seamlessly attach the new band to your Fitbit Blaze, infusing your device with a fresh sense of style and functionality. Whether you're gearing up for a workout, a social gathering, or a professional setting, the ability to effortlessly switch bands adds a dynamic touch to your wearable experience. With the new band securely in place, your Fitbit Blaze is now ready to complement your personal style and fitness journey with renewed vigor and versatility.
Step 4: Adjust the fit
Once the new band is securely attached to your Fitbit Blaze, it's essential to ensure that the fit is optimized for comfort and functionality. Adjusting the fit allows you to personalize the wearing experience, catering to your unique wrist size and activity requirements. Follow these detailed steps to fine-tune the fit of your Fitbit Blaze:
-
Assess Wrist Comfort: Wear the Fitbit Blaze with the new band attached and assess the initial comfort level. Pay attention to any areas of discomfort or pressure points that may arise during movement. The goal is to achieve a snug and secure fit without sacrificing comfort.
-
Evaluate Band Tension: Take note of the tension of the new band around your wrist. Depending on the material and design of the replacement band, you may need to adjust the fit to achieve the desired level of snugness. Ensure that the band is secure enough to prevent shifting during physical activities but not overly tight to restrict circulation.
-
Utilize Adjustable Features: If your new band features adjustable elements, such as a clasp or buckle, take advantage of these features to customize the fit. Experiment with different settings to find the optimal balance between security and comfort. This allows you to tailor the fit to your specific preferences.
-
Perform Activity Tests: Engage in light physical activities while wearing the Fitbit Blaze to gauge the performance of the new band. Whether it's brisk walking, stretching, or everyday tasks, assess how the band adapts to movement. This real-world testing provides valuable insights into the fit and comfort of the new band during various activities.
-
Observe Skin Reaction: Throughout the adjustment process, monitor your skin's reaction to the new band. Ensure that the material is skin-friendly and does not cause irritation or discomfort. If any issues arise, consider alternative band options that better suit your skin sensitivity.
-
Fine-Tune as Needed: Based on your observations and comfort assessments, make any necessary adjustments to the fit of the band. This may involve minor tweaks to the sizing or fastening mechanism to achieve an ideal balance of comfort and security.
By meticulously adjusting the fit of your Fitbit Blaze's new band, you can optimize the wearing experience to align with your lifestyle and preferences. A well-fitted band not only enhances comfort during extended wear but also ensures the accurate tracking of fitness metrics, allowing you to make the most of your wearable device.
With the fit finely tuned to your satisfaction, your Fitbit Blaze is now poised to accompany you on your fitness journey with style, comfort, and unwavering functionality. Whether you're embarking on a workout session, a busy day at work, or a leisurely stroll, the customized fit of your Fitbit Blaze band adds a touch of personalized luxury to your wearable experience.
Conclusion
Congratulations on successfully navigating the band replacement journey for your Fitbit Blaze! By embracing the process of changing the band, you've not only elevated the style and functionality of your wearable device but also unlocked a world of personalization and versatility.
As you reflect on the seamless transition from the old band to the new, it's evident that the ability to customize your Fitbit Blaze extends far beyond mere aesthetics. The interchangeable bands serve as a testament to the evolving landscape of wearables, where innovation meets individuality. Whether you've opted for a sporty silicone band to accompany your fitness endeavors or a sophisticated metal band for formal occasions, the newfound adaptability of your Fitbit Blaze empowers you to seamlessly integrate technology with your unique sense of style.
Beyond the visual transformation, the band replacement process embodies a deeper connection to your wearable device. The meticulous steps involved in removing the old band, attaching the new one, and fine-tuning the fit serve as a testament to your commitment to personalizing your Fitbit Blaze. This hands-on approach not only enhances your ownership experience but also fosters a deeper appreciation for the seamless integration of technology into your daily life.
As you embark on future adventures with your Fitbit Blaze, the versatility of the interchangeable bands will undoubtedly enrich your experiences. Whether you're conquering new fitness milestones, embracing diverse social settings, or immersing yourself in professional endeavors, the adaptability of your Fitbit Blaze ensures that your wearable companion effortlessly transitions to complement every facet of your lifestyle.
The journey of upgrading the band on your Fitbit Blaze is a testament to the boundless potential for personalization within the realm of wearables. As technology continues to intertwine with fashion and function, your empowered ability to customize your device reflects the evolving narrative of individual expression within the wearable landscape.
With the band replacement process now a part of your wearable journey, your Fitbit Blaze stands as a testament to your unique style, unwavering commitment to personalization, and a seamless fusion of technology and individuality. Embrace the endless possibilities that the interchangeable bands offer, and let your Fitbit Blaze become an extension of your personal narrative, adapting effortlessly to every moment and movement in your life.


