Introduction
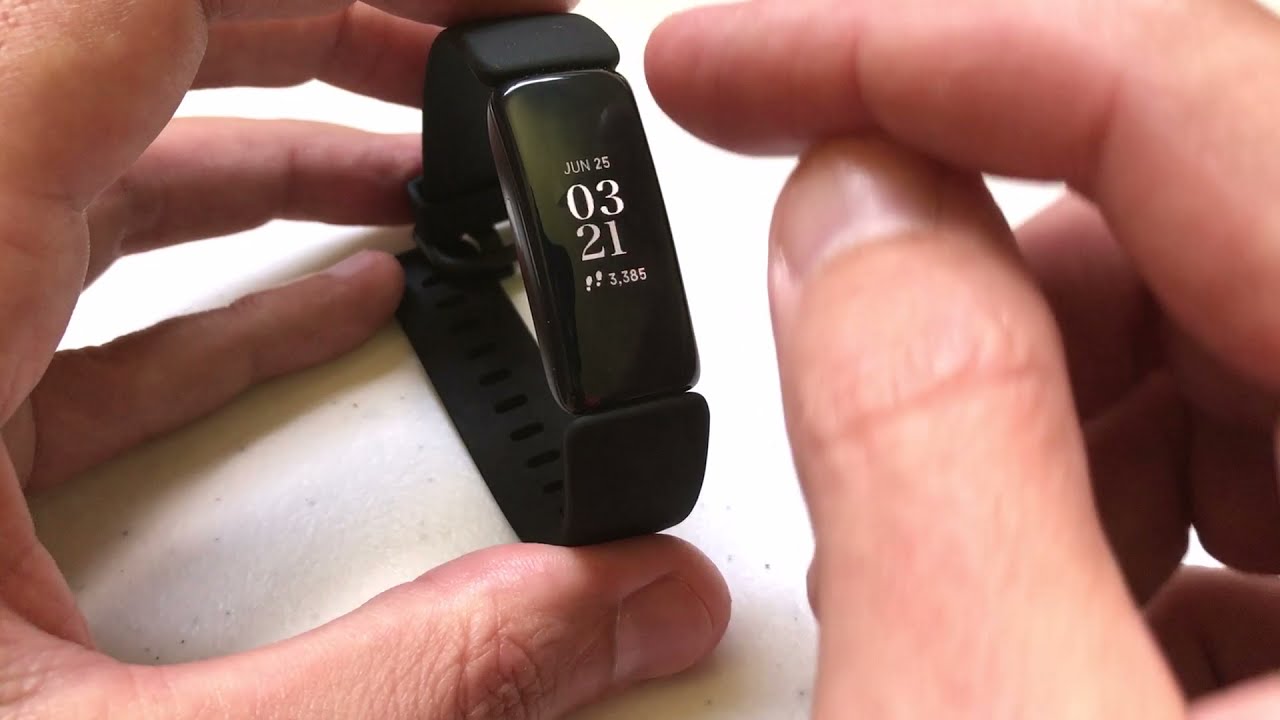
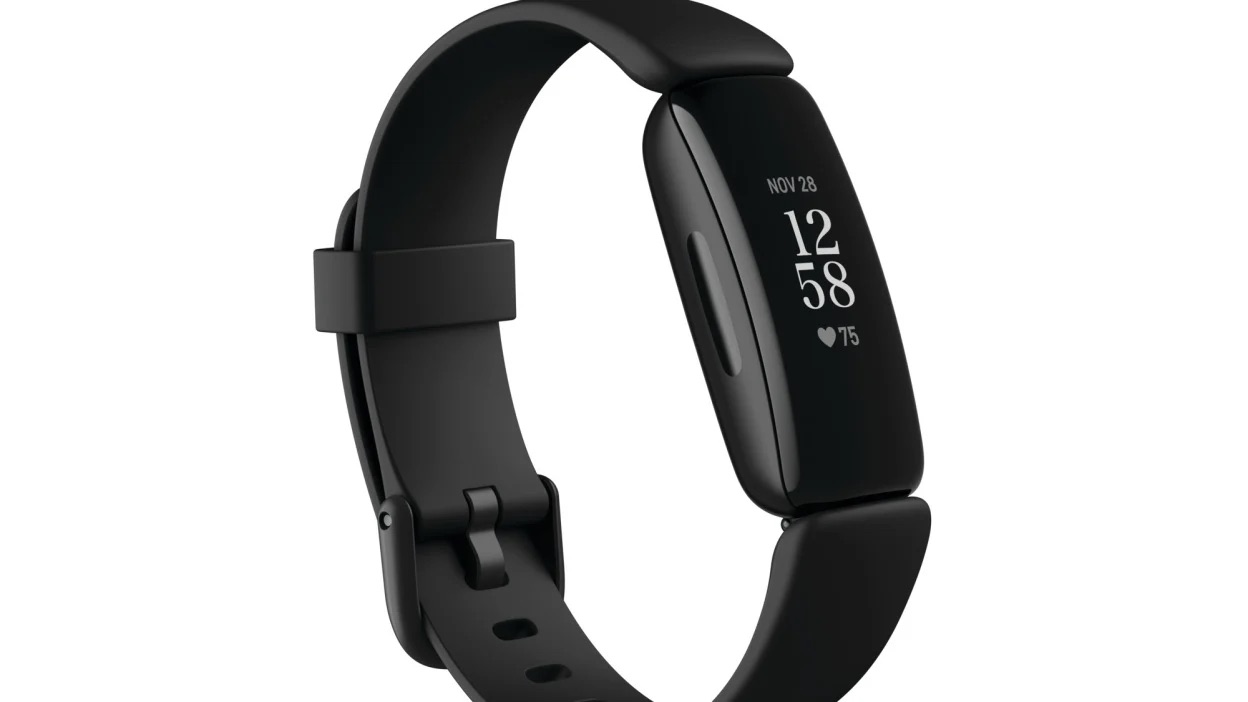
The Fitbit Inspire 2 is a versatile and stylish wearable device that empowers individuals to lead healthier and more active lifestyles. One of the standout features of the Inspire 2 is its interchangeable bands, which allow users to personalize their devices to suit their unique preferences and styles. Whether you're looking to add a pop of color, upgrade to a more durable material, or simply switch up your look, changing the band on your Fitbit Inspire 2 is a simple and rewarding process.
In this comprehensive guide, we will walk you through the step-by-step process of swapping out the band on your Fitbit Inspire 2. From gathering the necessary materials to adjusting the fit of your new band, we've got you covered. Whether you're a fitness enthusiast, a fashion-forward individual, or someone who simply enjoys customizing their accessories, this guide will equip you with the knowledge and confidence to effortlessly change the band on your Fitbit Inspire 2.
So, if you're ready to breathe new life into your Fitbit Inspire 2 and make it uniquely yours, let's dive into the exciting world of band swapping. Whether you're a seasoned Fitbit user or new to the world of wearables, this guide will provide you with the tools and know-how to transform your device and elevate your overall experience. Let's embark on this band-swapping journey together and unlock the full potential of your Fitbit Inspire 2!
Step 1: Gather Your Materials
Before embarking on the band swapping journey for your Fitbit Inspire 2, it's essential to gather the necessary materials to ensure a smooth and hassle-free process. Here's a comprehensive list of items you'll need:
-
Fitbit Inspire 2: Ensure that your Fitbit Inspire 2 is fully charged and powered off before beginning the band swap.
-
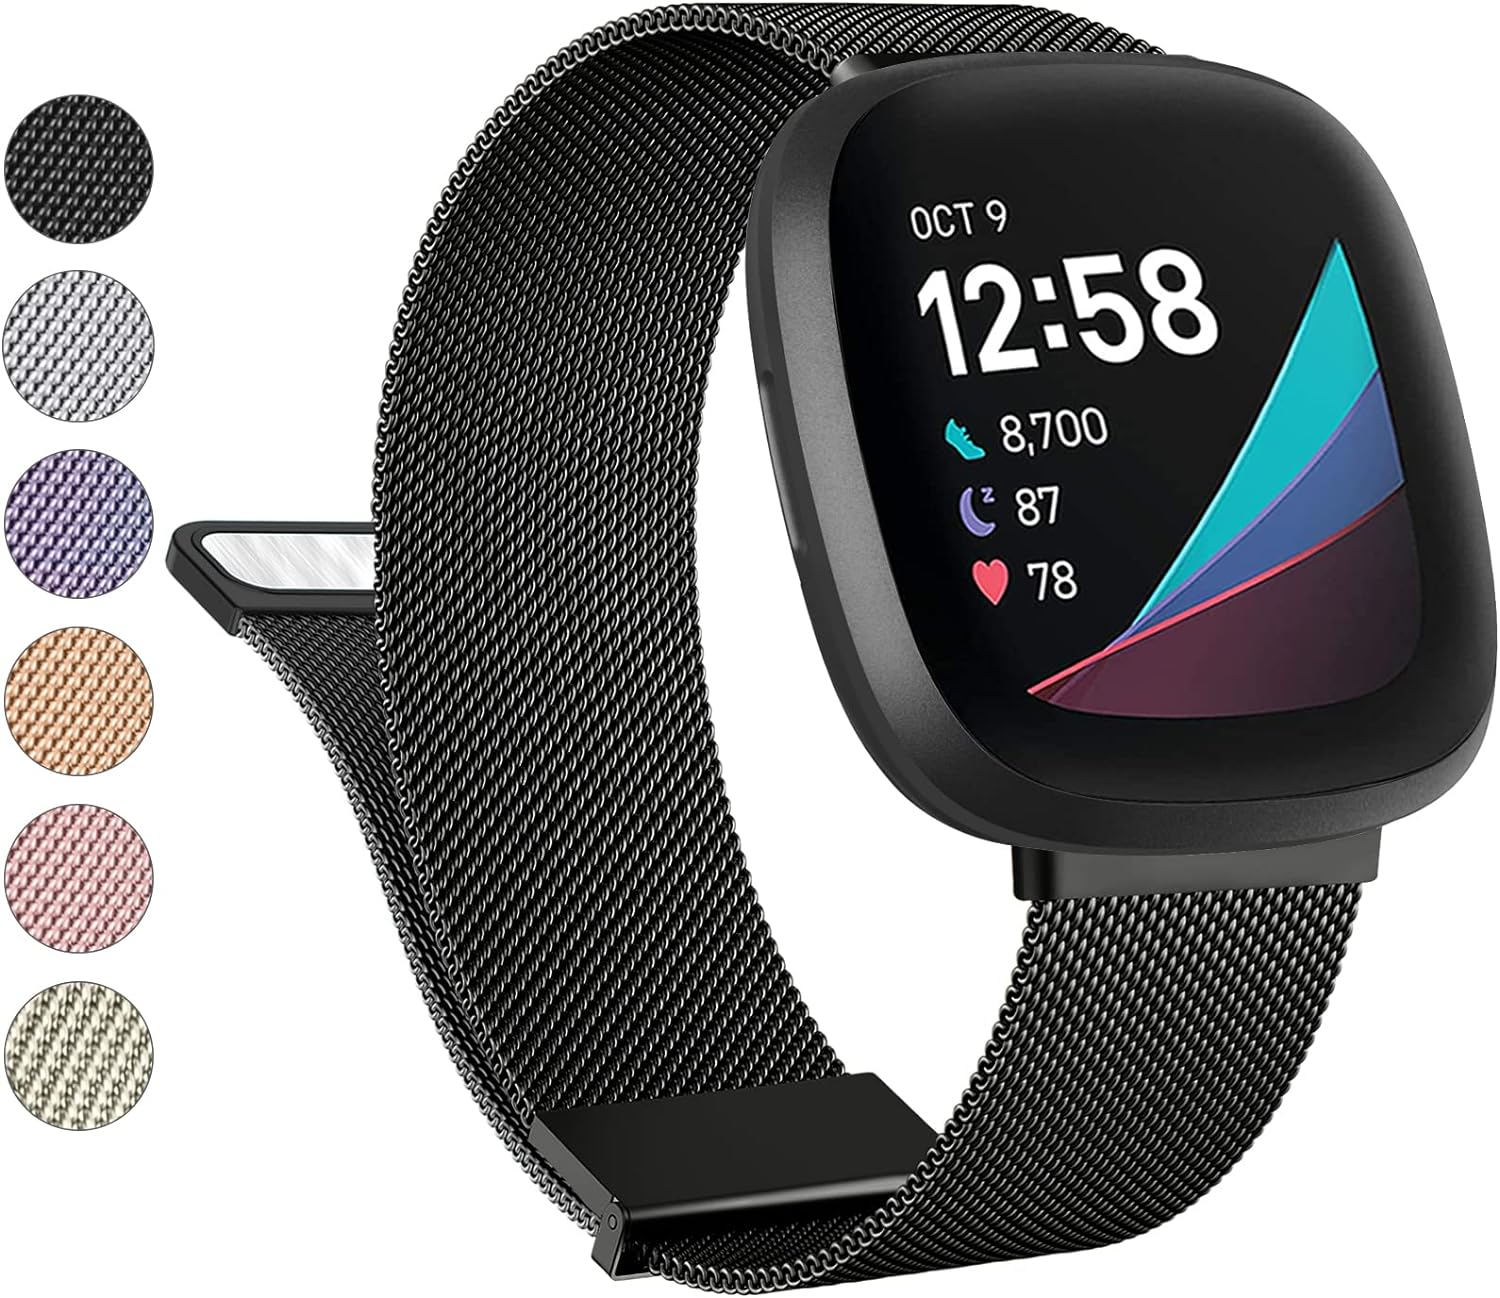
Replacement Band: Select a compatible replacement band for your Fitbit Inspire 2. There is a wide variety of bands available, including silicone, woven, leather, and metal options, allowing you to choose a band that best suits your style and preferences.
-
Clean Cloth: Have a clean, soft cloth on hand to wipe down your Fitbit Inspire 2 and the replacement band, ensuring that both are free from dust, dirt, or any residue.
-
Work Surface: Prepare a clean and spacious work surface to lay out your materials and provide ample room for the band swapping process.
-
Optional Tools: Depending on the type of replacement band, you may need additional tools such as a small screwdriver or band removal tool. Some bands may feature quick-release mechanisms, while others may require specific tools for detachment.
By ensuring that you have all the necessary materials at your disposal, you can streamline the band swapping process and minimize any potential disruptions. With these items in hand, you're now ready to proceed to the next step and begin the exciting process of changing the band on your Fitbit Inspire 2.
Step 2: Remove the Current Band
Removing the current band from your Fitbit Inspire 2 is the initial step in the band swapping process. While this may seem daunting at first, rest assured that with the right approach, it can be a straightforward and rewarding experience.
-
Power Off and Clean: Before attempting to remove the current band, ensure that your Fitbit Inspire 2 is powered off. This precaution prevents any accidental inputs during the band removal process. Additionally, take a moment to clean the device and the current band using a clean cloth. This simple step ensures that the surfaces are free from any debris, allowing for a smooth transition to the new band.
-
Locate the Release Button or Pins: Depending on the type of band your Fitbit Inspire 2 is equipped with, you will need to identify the release mechanism. If your band features a classic buckle or a clasp, look for the release button on the underside of the band. For bands with a different attachment mechanism, such as pins, familiarize yourself with their location.
-
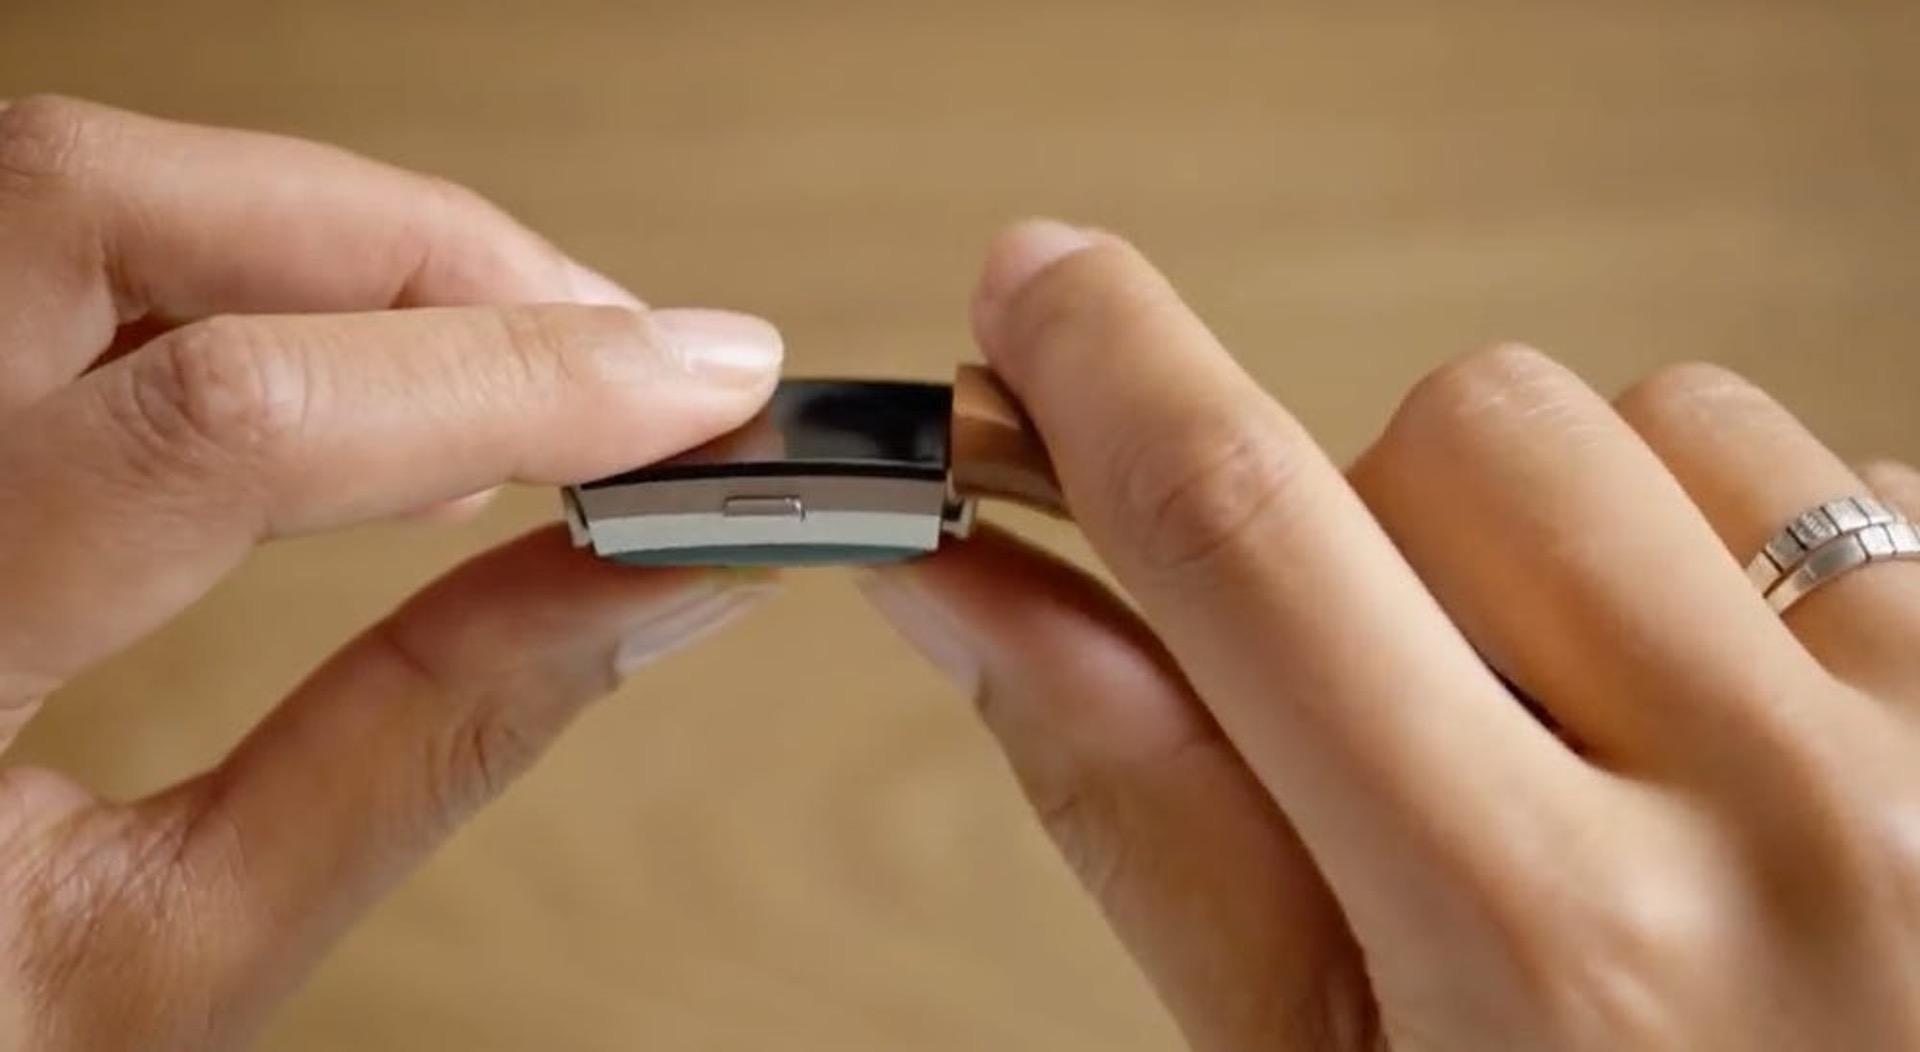
Release the Band: Once you've located the release button or pins, press or slide them as directed by the manufacturer. This action will disengage the current band from the tracker. Apply gentle and consistent pressure to ensure a smooth release, taking care not to force the mechanism.
-
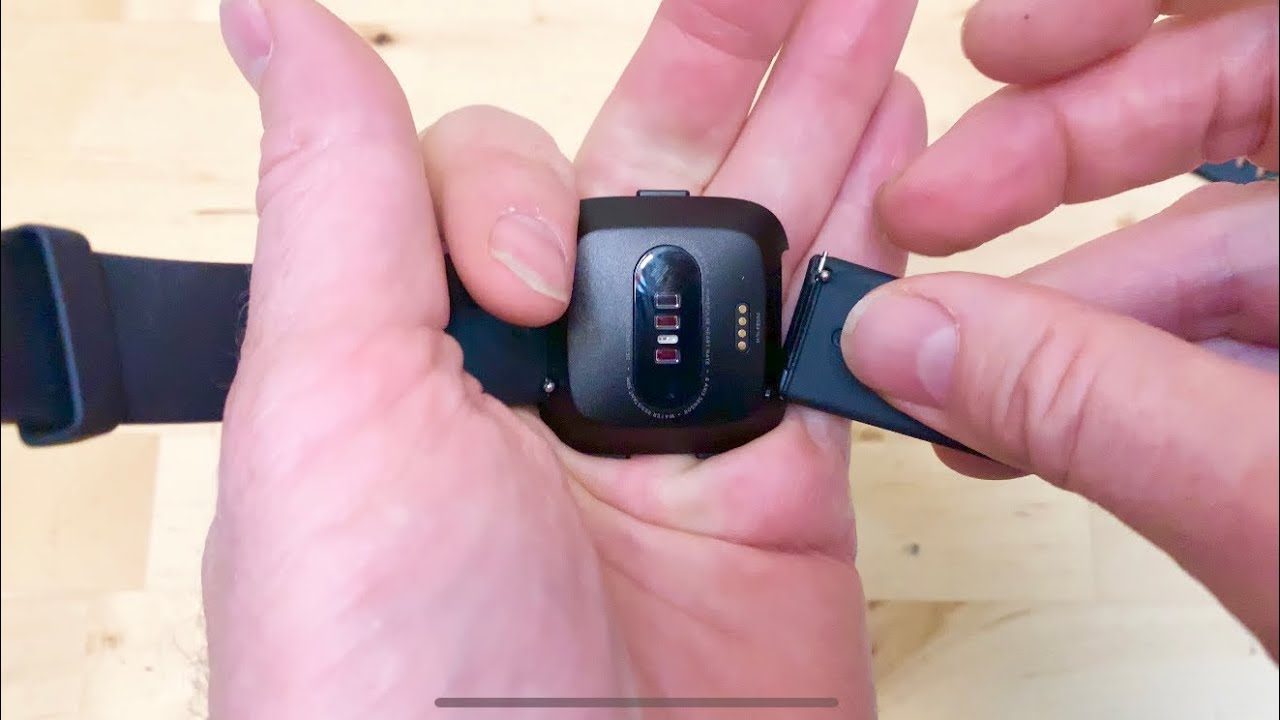
Detach the Band: With the release mechanism activated, carefully detach the current band from the Fitbit Inspire 2. Pay attention to any specific instructions provided by the manufacturer to avoid any damage to the device or the band during this process.
-
Stow the Current Band: After successfully removing the current band, store it in a safe and secure location. Whether you plan to keep it as a backup or simply want to maintain its condition, storing the band properly ensures that it remains in good shape for future use.
By following these steps and exercising patience and precision, you can effectively remove the current band from your Fitbit Inspire 2. With the old band set aside, you are now ready to transition to the next exciting phase: attaching the new band.
Now that you have successfully removed the current band, let's move on to the next step: attaching the new band to your Fitbit Inspire 2.
Step 3: Attach the New Band
With the previous band successfully removed, it's time to embark on the exciting process of attaching the new band to your Fitbit Inspire 2. This step offers a wonderful opportunity to infuse your device with a fresh look and style that resonates with your personality. Here's a detailed guide on how to seamlessly attach the new band:
-
Select the Replacement Band: Before attaching the new band, ensure that it is compatible with the Fitbit Inspire 2. Whether you've opted for a silicone, woven, leather, or metal band, confirm that it is designed to fit your specific Fitbit model. This attention to detail will prevent any compatibility issues and ensure a snug and secure fit.
-
Align and Attach: Position the replacement band alongside the tracker, aligning the attachment points with the corresponding slots on the device. Depending on the type of band, you may need to slide it into place, secure it with a clasp, or engage the quick-release mechanism. Follow the manufacturer's instructions carefully to ensure a proper attachment.
-
Secure the Connection: Once the replacement band is aligned and in position, secure the connection as per the designated method. This may involve clicking a clasp into place, sliding the band until it locks securely, or activating a quick-release mechanism. Confirm that the band is firmly attached and that there is no movement or looseness.
-
Perform a Fit Check: With the new band attached, perform a fit check to ensure that it sits comfortably on your wrist. Adjust the fit if necessary to achieve a snug yet comfortable feel. The band should not be too tight or too loose, allowing for optimal wearability during various activities.
-
Personalize and Enjoy: Once the new band is securely attached and offers a comfortable fit, take a moment to personalize your Fitbit Inspire 2 to reflect your unique style. Whether you've chosen a vibrant color, a sleek material, or a textured design, revel in the opportunity to make your device uniquely yours.
By following these detailed steps, you can seamlessly attach the new band to your Fitbit Inspire 2, unlocking a world of customization and personalization. With the band securely in place, you're now ready to proceed to the next step and fine-tune the fit of your newly attached band.
Step 4: Adjust the Fit
Once the new band is securely attached to your Fitbit Inspire 2, it's essential to ensure that it offers a comfortable and optimal fit for your wrist. The proper fit not only enhances the overall wearing experience but also ensures accurate tracking and reliable performance during various activities. Here's a detailed guide on how to adjust the fit of your newly attached band:
-
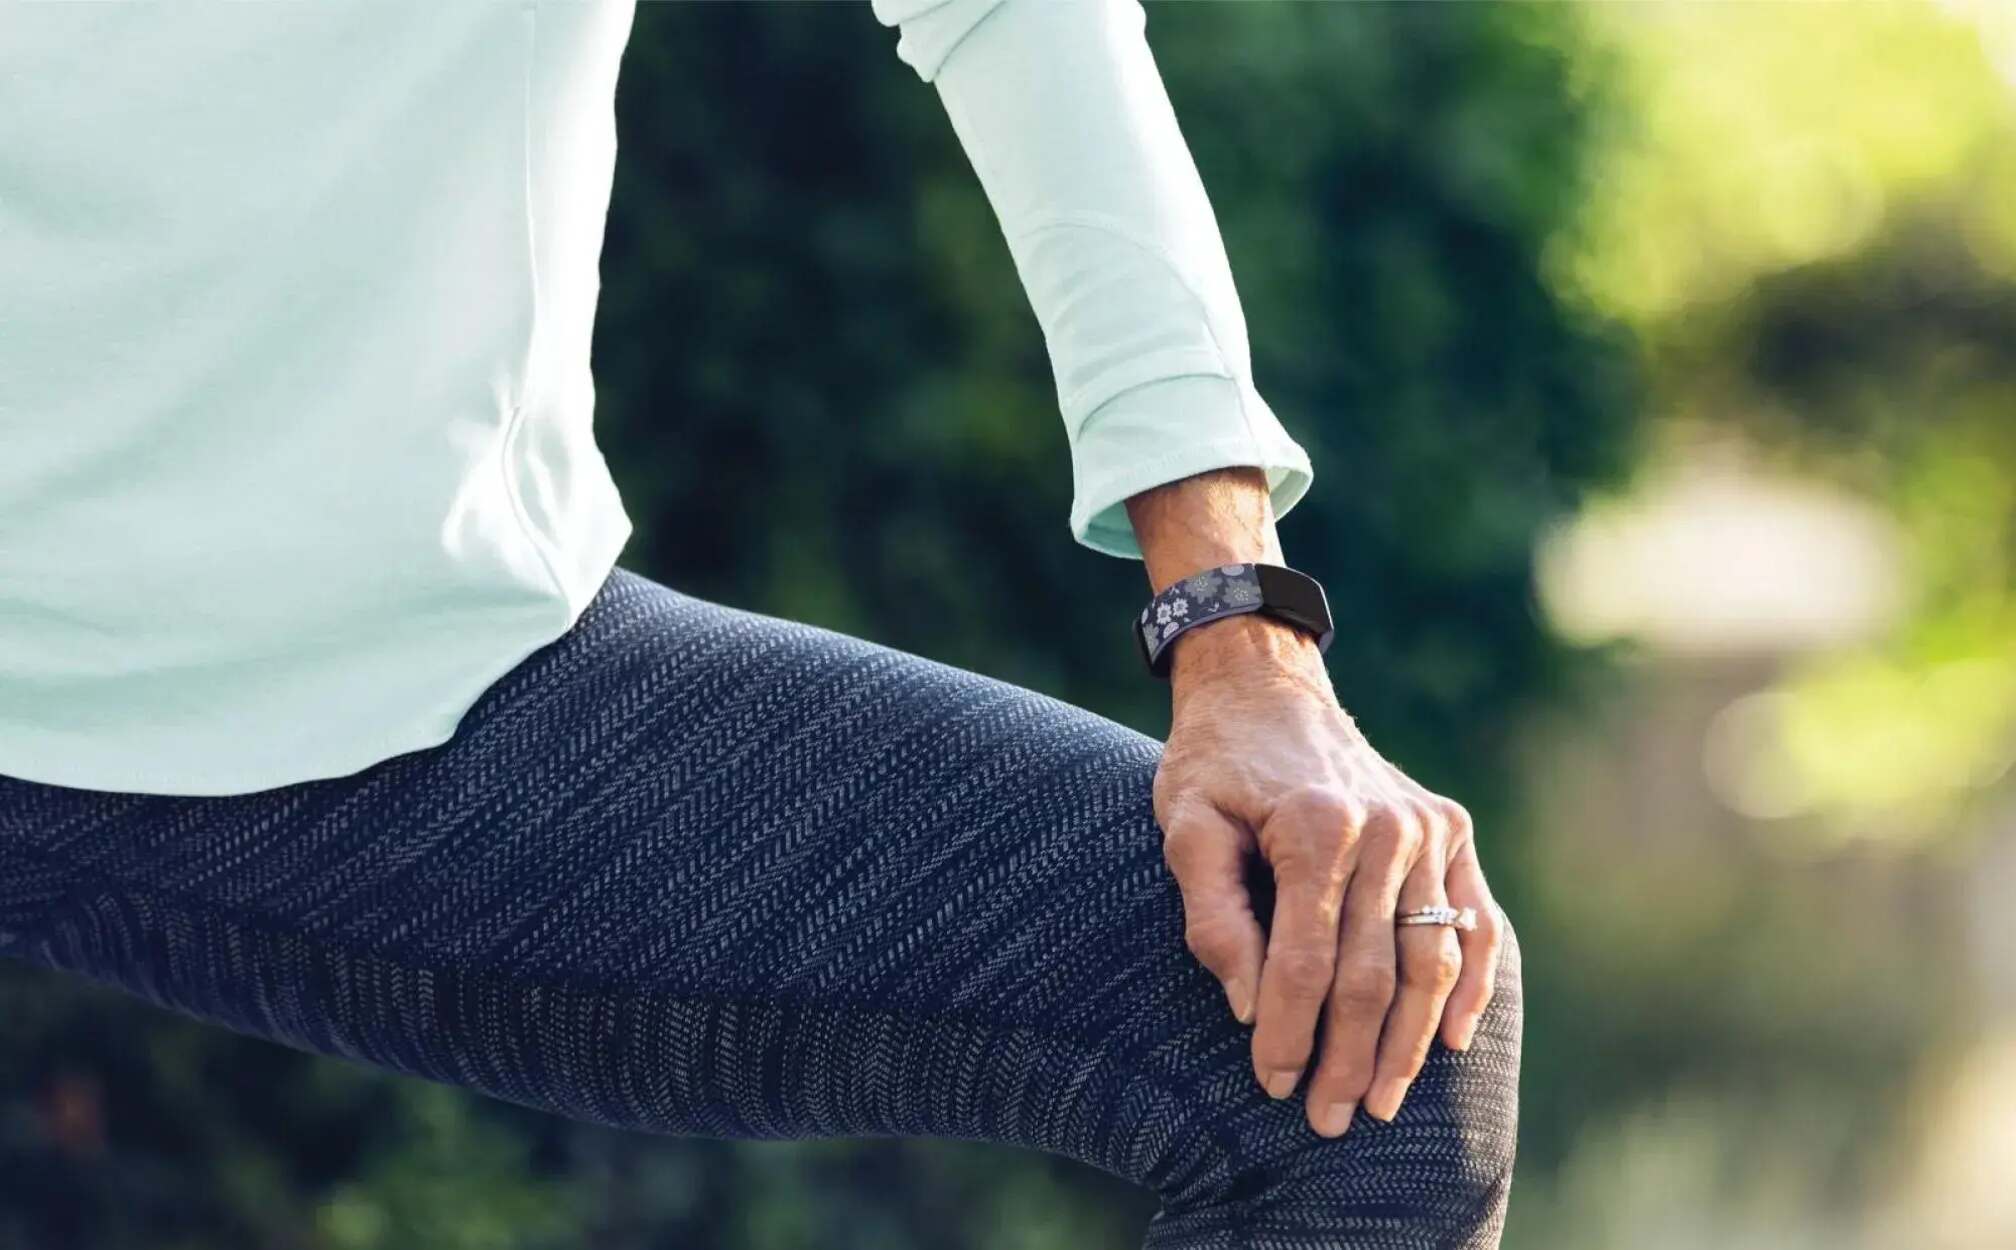
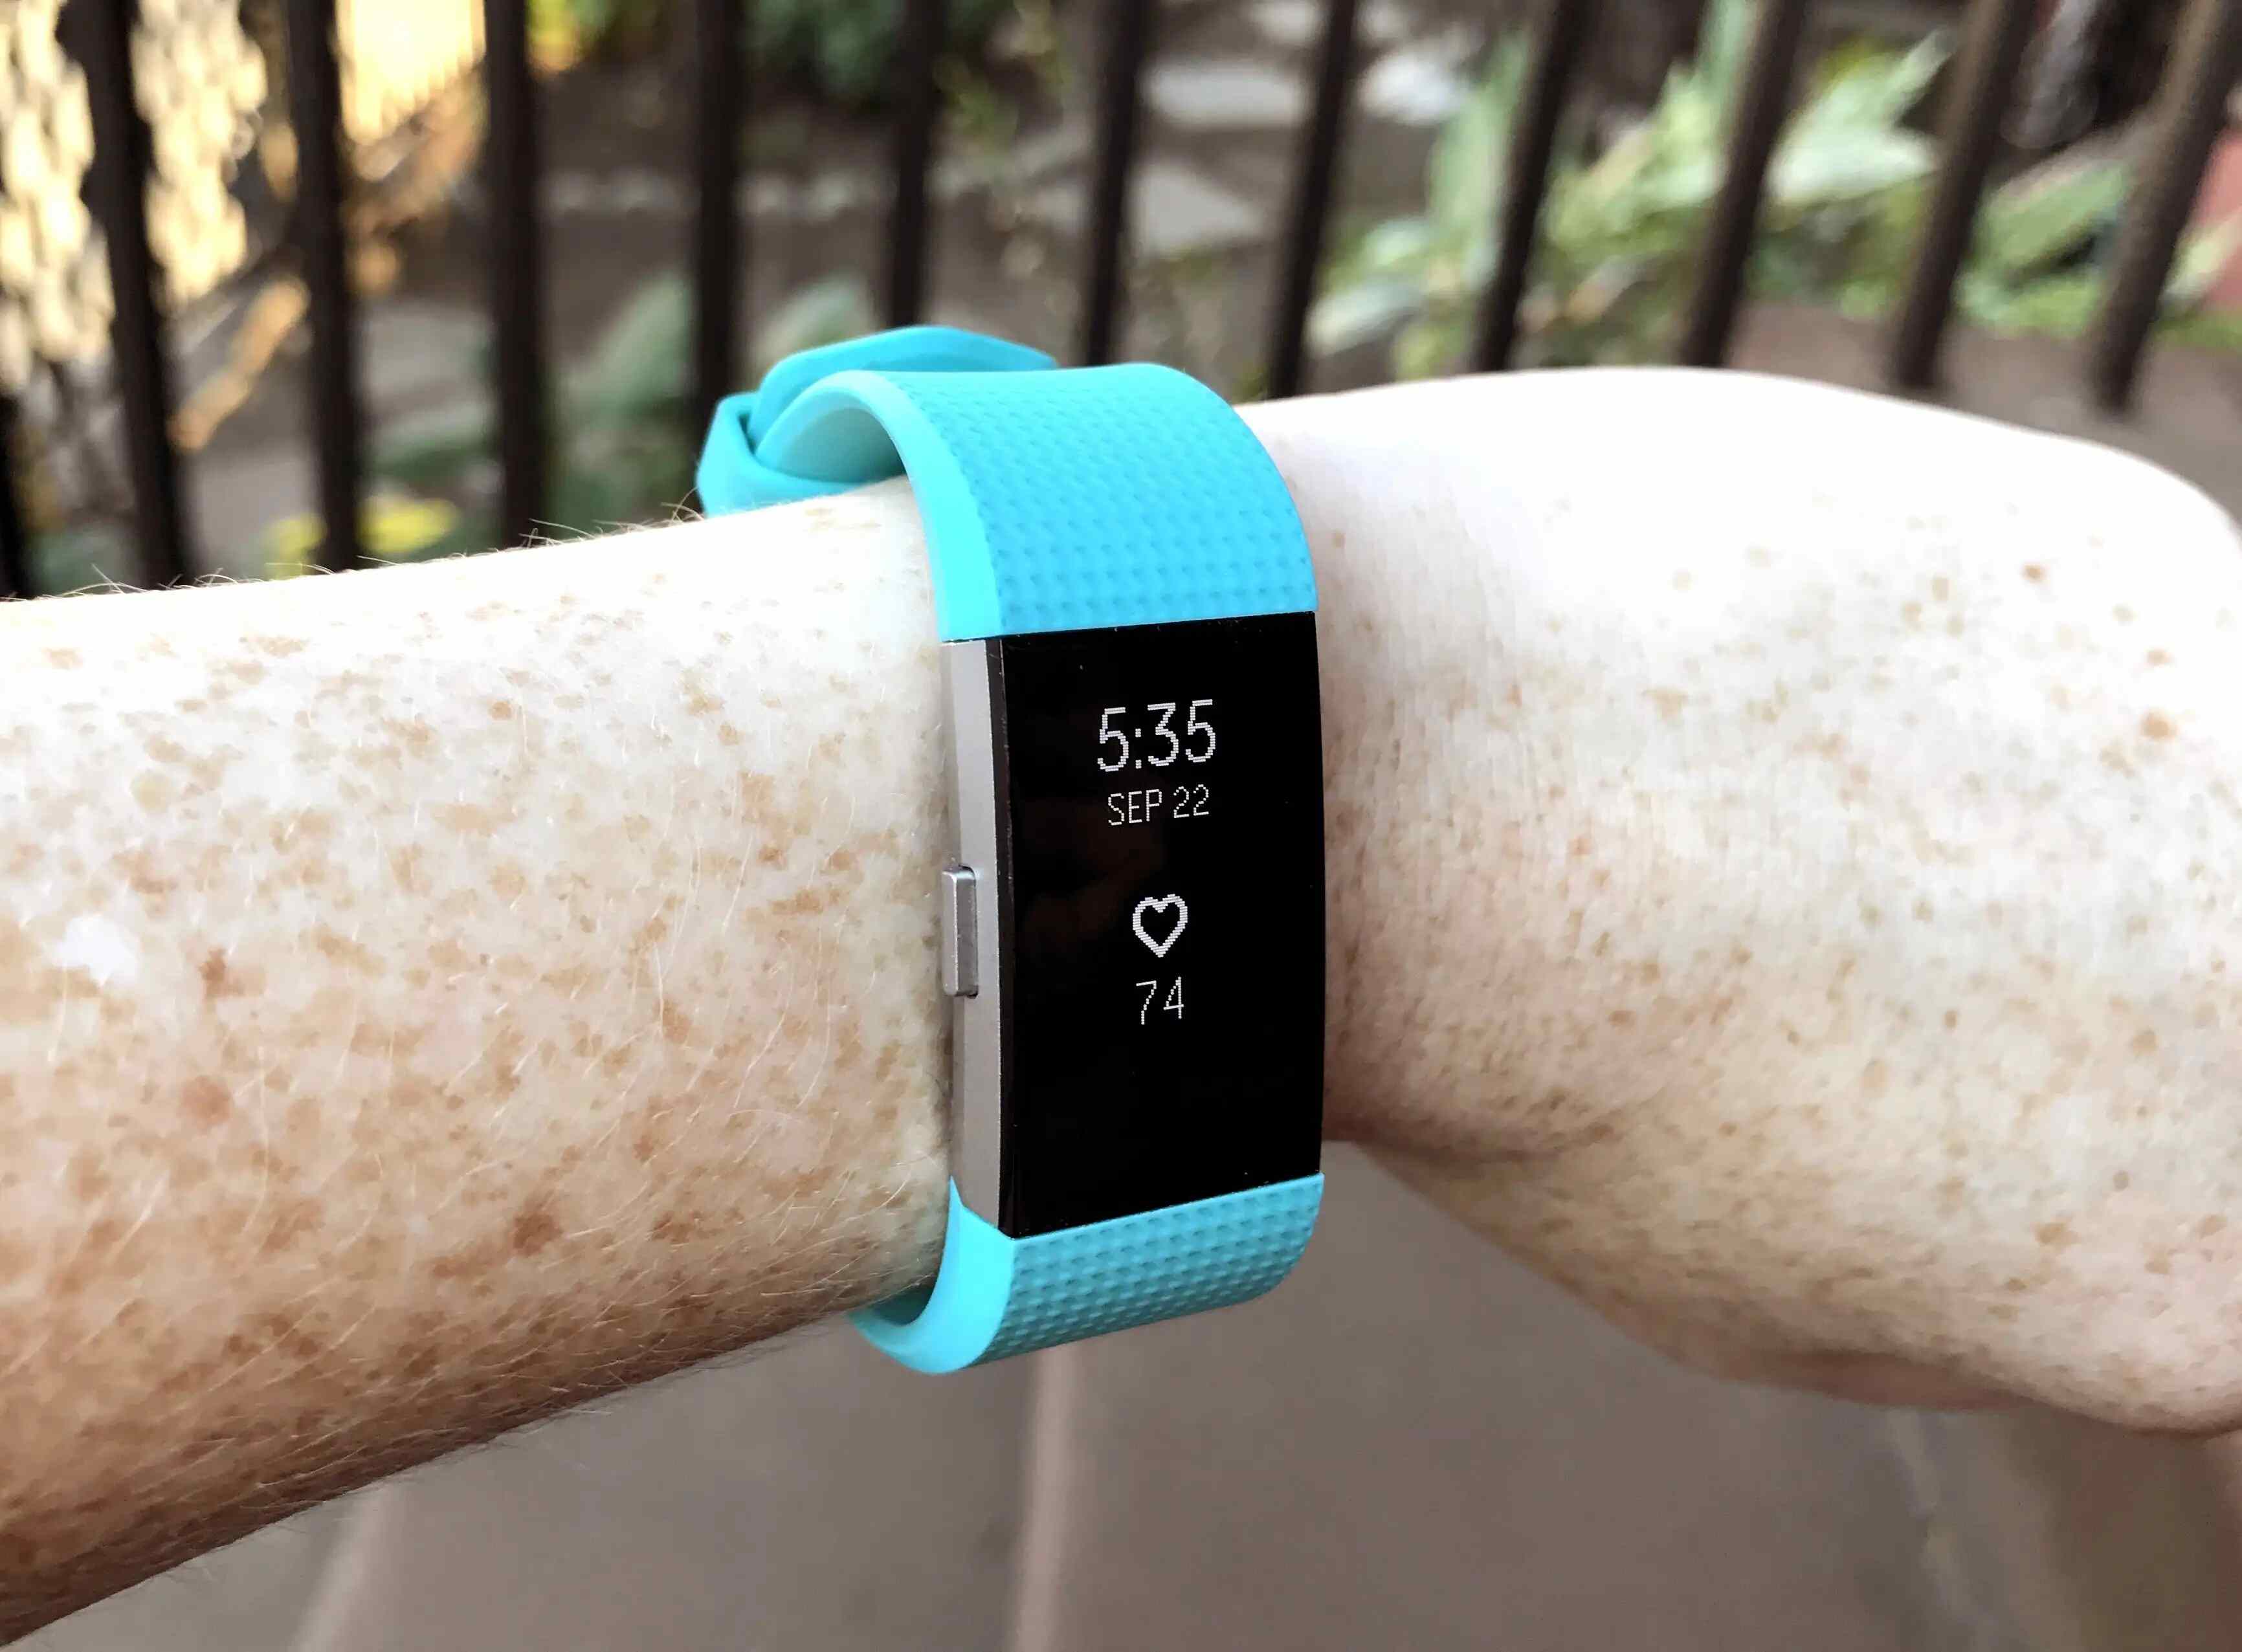
Wrist Positioning: Position the Fitbit Inspire 2 on your wrist, ensuring that it sits comfortably and snugly. The tracker should be positioned on the top side of your wrist, approximately one finger's width above the wrist bone. This placement allows for accurate heart rate monitoring and ensures a secure fit during movement.
-
Strap Adjustment: If your replacement band features an adjustable strap, such as a classic buckle or a clasp, adjust it to achieve the desired fit. Ensure that the strap is neither too tight nor too loose, striking a balance that offers comfort without compromising security. The band should sit securely on your wrist without causing any discomfort or leaving indentations.
-
Band Alignment: Confirm that the band is aligned symmetrically on your wrist, with the tracker positioned at the center of the top side. This alignment not only enhances the aesthetic appeal but also contributes to the overall comfort and functionality of the device. A well-aligned band ensures that the tracker's sensors make optimal contact with your skin, enabling accurate data tracking.
-
Movement Test: Perform a series of movements, including wrist rotations and flexing, to assess the fit of the band during various activities. The band should remain securely in place without causing any irritation or hindering your range of motion. Pay attention to any discomfort or slippage, as this may indicate the need for further adjustments.
-
Comfort Evaluation: Take a moment to assess the overall comfort of the band on your wrist. The material should feel comfortable against your skin, with no rough edges or areas causing irritation. If any discomfort is experienced, consider readjusting the band or exploring alternative fit options to ensure a seamless wearing experience.
By following these detailed steps and paying close attention to the fit of your newly attached band, you can optimize the wearing experience of your Fitbit Inspire 2. A well-fitted band not only enhances the aesthetic appeal of the device but also ensures that it remains securely in place during various activities, empowering you to make the most of your wearable technology. With the fit finely tuned, you're now ready to proceed to the final step: testing the new band.
Step 5: Test the New Band
After attaching the new band and adjusting its fit, it's crucial to thoroughly test its performance and comfort to ensure that it meets your expectations and seamlessly integrates into your daily routine. Testing the new band allows you to assess its durability, flexibility, and overall suitability for various activities. Here's a detailed guide on how to effectively test the new band on your Fitbit Inspire 2:
-
Activity Simulation: Engage in a series of activities that are representative of your typical daily routine. This may include walking, jogging, cycling, or engaging in your preferred fitness regimen. Pay attention to how the band feels during movement and whether it remains securely in place without causing any discomfort or irritation.
-
Water Resistance Check: If your new band is designed to be water-resistant, take the opportunity to test its performance in wet conditions. Whether it's during handwashing, showering, or light water-based activities, confirm that the band effectively repels moisture and dries quickly, maintaining its integrity and comfort.
-
Skin Sensitivity Assessment: For individuals with sensitive skin, it's essential to monitor how the new band interacts with your skin over an extended period. Assess whether the material causes any redness, itching, or irritation, and note any adverse reactions that may indicate a need to reconsider the band choice.
-
Durability Evaluation: Throughout the testing phase, observe the band for any signs of wear, such as fraying, discoloration, or deformation. Assess its resilience to daily wear and tear, ensuring that it maintains its quality and appearance even after prolonged use.
-
Sleep Comfort Test: If you typically wear your Fitbit Inspire 2 while sleeping to track your sleep patterns, evaluate the comfort of the new band during overnight wear. Confirm that it does not cause any discomfort or disrupt your sleep, allowing for uninterrupted usage and accurate sleep tracking.
By subjecting the new band to these comprehensive tests, you can gain valuable insights into its performance, comfort, and suitability for your lifestyle. This thorough evaluation empowers you to make an informed assessment of the new band's compatibility with your needs and preferences, ensuring that it seamlessly integrates into your daily activities and enhances your overall experience with the Fitbit Inspire 2.
With the new band successfully tested and proven to meet your expectations, you can confidently embrace its unique features and style, knowing that it complements your active lifestyle and personal preferences. Whether you're focused on fitness, fashion, or functionality, the ability to test and validate the new band ensures that it aligns with your individual requirements, allowing you to derive maximum enjoyment and utility from your Fitbit Inspire 2.
Now that you've completed the band testing phase, you're ready to fully embrace the enhanced functionality and style that the new band brings to your Fitbit Inspire 2. With a seamless transition and thorough validation, you can confidently showcase your personalized wearable device, reflecting your unique identity and preferences.
Conclusion
In conclusion, the process of changing the band on your Fitbit Inspire 2 is not only a practical endeavor but also an opportunity for personal expression and customization. By following the steps outlined in this guide, you have gained the knowledge and confidence to seamlessly transition from your current band to a new, personalized option that resonates with your style and preferences.
The ability to swap bands on the Fitbit Inspire 2 empowers you to infuse your wearable device with a touch of individuality, allowing you to reflect your unique personality and fashion sensibilities. Whether you opt for a vibrant silicone band to add a pop of color to your fitness attire or choose a sleek metal band for a sophisticated look, the band-swapping process opens a world of possibilities for personalization.
Furthermore, the attention to detail in adjusting the fit and testing the new band ensures that it not only complements your style but also seamlessly integrates into your daily activities. The thorough evaluation of the band's performance, comfort, and durability provides the assurance that it meets your specific needs, whether you're engaged in physical activities, water-based pursuits, or even tracking your sleep patterns.
As you embrace the enhanced functionality and style of your newly customized Fitbit Inspire 2, you are poised to derive maximum enjoyment and utility from your wearable device. Whether you're focused on achieving fitness goals, staying connected with your health metrics, or simply expressing your personal style, the band-swapping process amplifies the versatility and appeal of the Fitbit Inspire 2, elevating it from a functional device to a personalized accessory that reflects your identity.
With each step, from gathering the necessary materials to testing the new band, you have embarked on a journey of self-expression and practical customization. The seamless integration of the new band into your daily routine not only enhances the aesthetic appeal of your Fitbit Inspire 2 but also reflects your commitment to a personalized and tailored wearable experience.
In essence, the process of changing the band on your Fitbit Inspire 2 transcends mere functionality; it embodies the fusion of technology, style, and individuality. As you showcase your personalized device, you embody the spirit of customization and self-expression, turning your Fitbit Inspire 2 into a true reflection of your unique identity and preferences.


