Introduction
Introduction
Are you ready to take your gaming experience to the next level by using a gaming headset on your PC? Gaming headsets offer immersive audio, crystal-clear communication, and a competitive edge in online multiplayer games. However, getting your gaming headset set up on your PC may seem like a daunting task. Fear not! This guide will walk you through the simple steps to seamlessly connect and configure your gaming headset with your PC, allowing you to dive into your favorite games with superior audio quality and communication capabilities.
Whether you're a seasoned gamer or just starting in the gaming world, using a gaming headset on your PC can significantly enhance your gaming experience. From hearing the subtle footsteps of approaching enemies to coordinating strategies with your teammates, a high-quality gaming headset is an essential accessory for any PC gamer. By following the steps outlined in this guide, you'll be well on your way to enjoying the full benefits of your gaming headset on your PC.
So, grab your gaming headset, and let's embark on this journey to optimize your gaming setup and elevate your gaming experience to new heights. Get ready to immerse yourself in the captivating audio and seamless communication that only a gaming headset can provide. Let's dive into the first step: checking the compatibility of your gaming headset with your PC.
Step 1: Check the Compatibility of the Gaming Headset with Your PC
Before diving into the setup process, it’s crucial to ensure that your gaming headset is compatible with your PC. Compatibility issues can lead to frustration and may hinder the optimal performance of your headset. Here’s how to verify the compatibility:
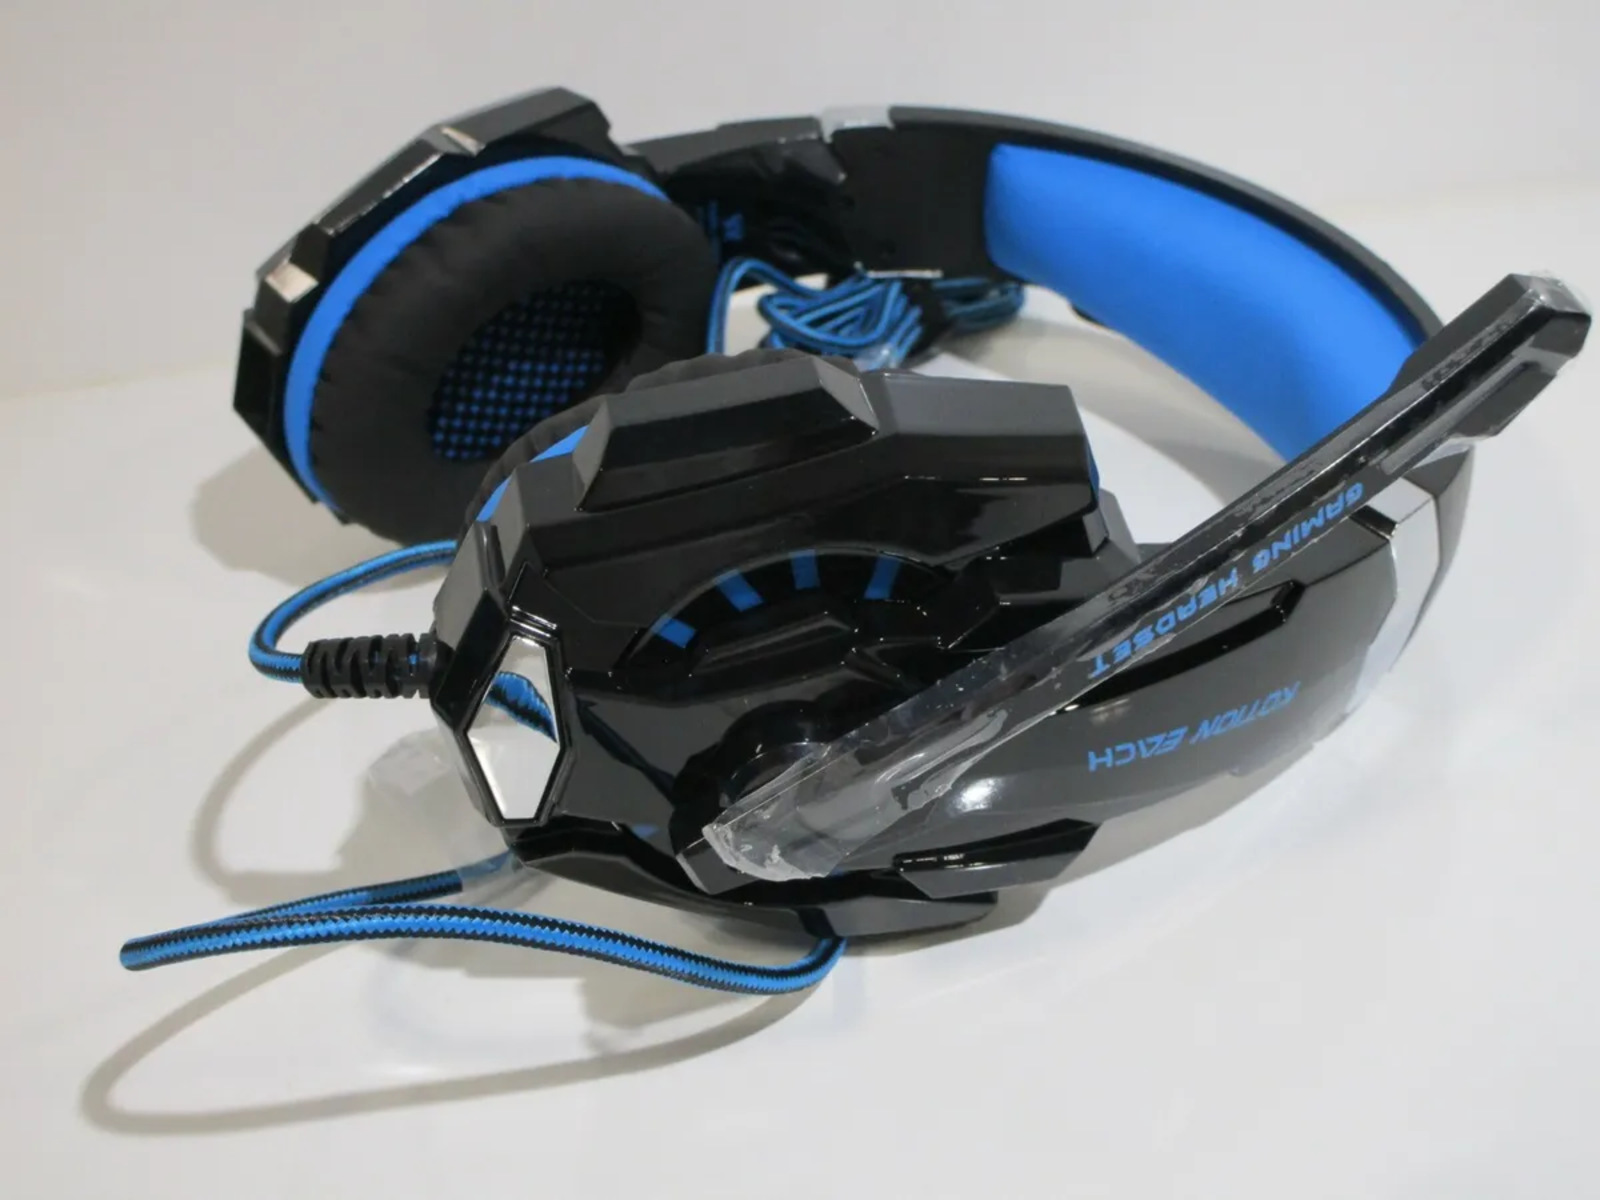
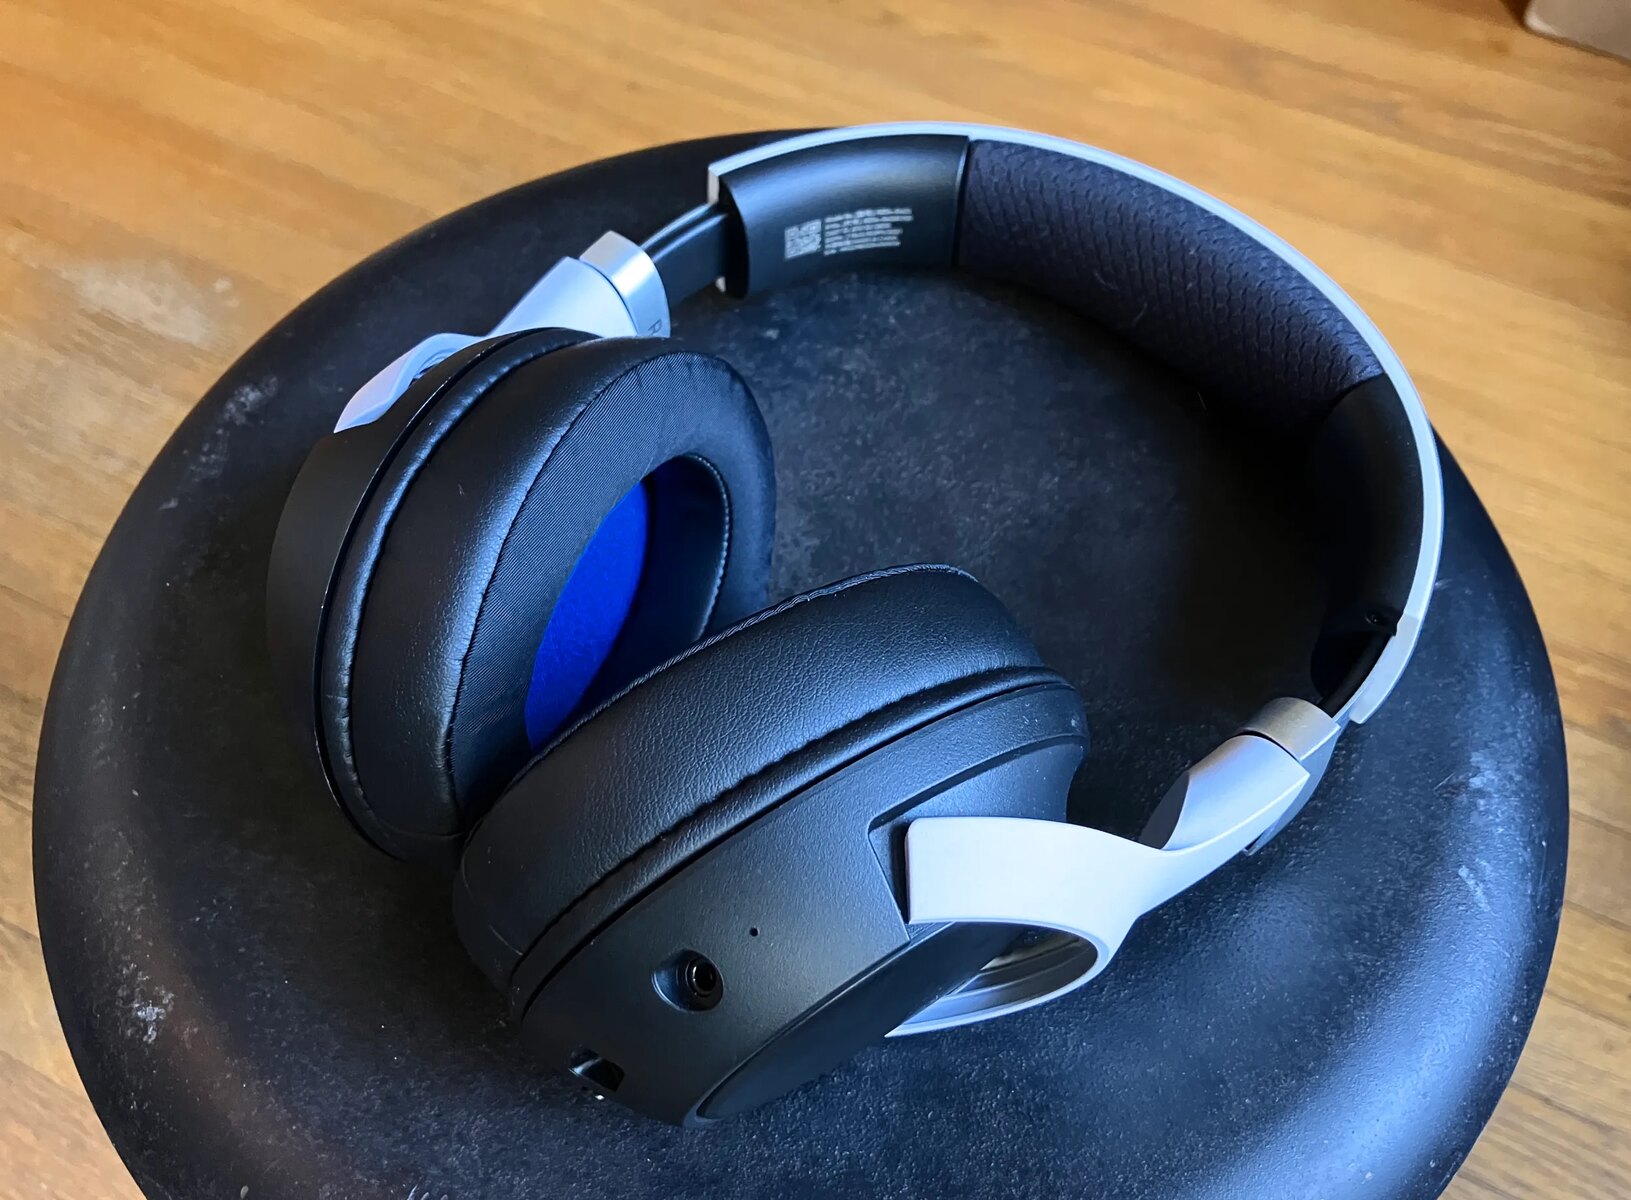
Check the Connection Type: Determine the connection type of your gaming headset. Most gaming headsets utilize a 3.5mm audio jack, USB, or wireless connection. Ensure that your PC has the corresponding ports or wireless connectivity support. If your headset requires a 3.5mm audio jack and your PC only has USB ports, you may need an adapter to make the connection.
Review System Requirements: Some advanced gaming headsets come with software or additional features that may have specific system requirements. Check the product specifications or manual to verify if your PC meets these requirements. This is particularly important for headsets with virtual surround sound, customizable audio profiles, or RGB lighting that rely on software integration.
Compatibility with Operating System: Ensure that the gaming headset is compatible with your PC’s operating system. Whether you’re using Windows, macOS, or Linux, it’s essential to confirm that the headset’s drivers and software are compatible with your operating system to avoid any potential compatibility issues.
Check for Firmware Updates: Visit the manufacturer’s website to see if there are any firmware updates available for your gaming headset. Updating the firmware can address compatibility issues and improve the overall performance of the headset when connected to your PC.
Once you have confirmed the compatibility of your gaming headset with your PC, you can proceed to the next step with the confidence that your hardware is ready for seamless integration. Now, let’s move on to connecting the headset to your PC.
Step 2: Connect the Headset to the PC
Now that you’ve verified the compatibility of your gaming headset with your PC, it’s time to establish the physical connection. Depending on the type of connection supported by your headset, follow the appropriate steps to connect it to your PC:
Wired Connection (3.5mm Audio Jack or USB):
- If your gaming headset utilizes a 3.5mm audio jack, locate the corresponding audio input on your PC. Most PCs have color-coded audio jacks, with green designated for the audio output. Insert the headset’s 3.5mm connector into the matching audio jack.
- For headsets with a USB connection, simply insert the USB connector into an available USB port on your PC. Some gaming headsets may require USB connections for both audio and additional features, so ensure that all necessary USB connections are made.
- Once connected, your PC should automatically recognize the headset as the audio output device. You may need to adjust the audio settings in your PC’s control panel or system preferences to ensure the headset is selected as the default audio output and input device.
Wireless Connection:
- For wireless gaming headsets, follow the manufacturer’s instructions to pair the headset with the wireless receiver or Bluetooth on your PC. This typically involves pressing a pairing button on the headset and the wireless receiver, or initiating the pairing process through your PC’s Bluetooth settings.
- After the pairing is successful, your PC should recognize the wireless headset as an available audio device. You may need to adjust the audio settings to set the wireless headset as the default audio output and input device.
Once the headset is successfully connected to your PC, you’re one step closer to experiencing immersive audio and seamless communication during your gaming sessions. With the physical connection established, it’s time to fine-tune the audio settings on your PC to optimize the performance of your gaming headset.
Step 3: Adjust the Audio Settings on Your PC
Configuring the audio settings on your PC is essential to ensure that your gaming headset delivers optimal sound quality and enables clear communication. Follow these steps to adjust the audio settings:
Select Default Playback and Recording Devices:
- Open the sound settings on your PC. In Windows, right-click on the speaker icon in the taskbar and select “Open Sound settings.” On macOS, go to “System Preferences” and choose “Sound.”
- Under the playback tab, select your gaming headset as the default playback device. This ensures that all audio output is directed to your headset. Similarly, under the recording tab, set your headset as the default recording device for clear communication with other players.
Adjust Sound Levels and Enhancements:
- Fine-tune the volume levels for your gaming headset. Ensure that the volume is at a comfortable level for an immersive gaming experience without causing discomfort.
- Explore any sound enhancements or equalizer settings that may be available on your PC. Some gaming headsets come with companion software that allows you to customize audio profiles and enable virtual surround sound. Adjust these settings to suit your preferences and enhance the audio output.
Configure Communication Settings:
- Many multiplayer games feature communication settings that prioritize in-game voice chat. Ensure that your gaming headset is selected as the default communication device within the game’s settings to enable seamless voice communication with other players.
- Adjust the microphone sensitivity and noise cancellation settings to ensure that your voice is clear and background noise is minimized during in-game communication.
By fine-tuning the audio settings on your PC, you can harness the full potential of your gaming headset, immersing yourself in rich, detailed soundscapes and ensuring effective communication with your gaming allies. With the audio settings optimized, it’s time to put your gaming headset to the test on your PC.
Step 4: Test the Gaming Headset on Your PC
With the physical connection established and the audio settings adjusted, it’s time to put your gaming headset to the test on your PC. Testing the headset allows you to ensure that both the audio output and microphone input are functioning as intended. Here’s how to conduct the test:
Audio Test:
- Launch a game or multimedia content that showcases a range of audio elements, such as music, dialogue, and environmental sounds. This will allow you to experience the full spectrum of audio output through your gaming headset.
- Pay attention to the clarity, depth, and positional audio provided by the headset. Listen for subtle details in the sound effects and ensure that the overall audio experience is immersive and engaging.
- If your gaming headset features virtual surround sound or customizable audio profiles, test different settings to determine which configuration best suits your preferences and enhances your gaming experience.
Microphone Test:
- Utilize the microphone on your gaming headset to record a short audio clip or engage in a voice chat with a friend. This will allow you to assess the clarity and accuracy of the microphone input.
- Listen to the recorded audio or request feedback from your communication partner to ensure that your voice is clear and free from distortion. Adjust the microphone positioning and sensitivity if necessary to optimize the voice input.
- If your gaming headset features noise-canceling technology, test the microphone in various environments to gauge its effectiveness in minimizing background noise during communication.
By thoroughly testing the gaming headset on your PC, you can confirm that both the audio output and microphone input meet your expectations, delivering a seamless and immersive gaming experience. If any issues are identified during the test, revisit the audio settings and ensure that the headset is properly configured as the default playback and recording device on your PC.
Congratulations! You’ve successfully connected, configured, and tested your gaming headset on your PC, unlocking the full potential of immersive audio and communication capabilities. Now, immerse yourself in your favorite games and enjoy the enhanced gaming experience facilitated by your gaming headset.
Conclusion
Embarking on the journey to integrate a gaming headset with your PC has empowered you to elevate your gaming experience to new heights. By following the steps outlined in this guide, you’ve navigated through the process of checking compatibility, establishing connections, fine-tuning audio settings, and conducting comprehensive tests to ensure optimal performance.
With your gaming headset seamlessly integrated with your PC, you now have the tools to immerse yourself in captivating audio landscapes, communicate effectively with fellow gamers, and gain a competitive edge in the virtual battlegrounds. The enhanced audio quality and clear communication facilitated by your gaming headset will undoubtedly enrich your gaming sessions and elevate your overall gaming experience.
As you venture into the realms of your favorite games, take a moment to appreciate the immersive soundscapes and the seamless communication made possible by your gaming headset. Whether you’re exploring vast virtual worlds, engaging in intense multiplayer battles, or immersing yourself in cinematic narratives, your gaming headset will serve as a conduit for unparalleled audio immersion and effective collaboration with your gaming peers.
Remember to stay attuned to any firmware updates or software enhancements offered by the headset’s manufacturer, as these updates can further optimize the performance and feature set of your gaming headset on your PC. Additionally, continue to explore the audio customization options available through companion software, allowing you to tailor the audio output to your unique preferences and gaming experiences.
With your gaming headset seamlessly integrated with your PC, you’re poised to embark on countless gaming adventures, each enriched by the immersive audio and seamless communication facilitated by your gaming headset. Embrace the power of audio immersion, harness the clarity of communication, and let your gaming headset become an indispensable companion in your virtual escapades.


