Introduction
Gaming headsets are essential accessories for immersive gaming experiences, allowing players to communicate with teammates, hear in-game audio cues, and enjoy high-quality sound effects. However, encountering sound issues with a gaming headset can be frustrating and disruptive to the overall gaming experience. Whether you're experiencing crackling sounds, no audio output, or other related problems, troubleshooting these issues can help restore your headset's functionality.
In this guide, we'll explore effective solutions for addressing sound issues on a gaming headset. By following these steps, you can potentially resolve the audio problems and get back to enjoying a seamless gaming experience. From checking physical connections to updating headset drivers and troubleshooting software conflicts, we'll cover various troubleshooting methods to help you identify and address the root cause of the sound issues.
Understanding the common causes of sound problems with gaming headsets and learning how to troubleshoot them can empower you to resolve these issues independently, saving time and potentially avoiding costly repair services. Whether you're a casual gamer or a dedicated enthusiast, having a reliable and fully functional gaming headset is crucial for an immersive and enjoyable gaming experience. So, let's dive into the troubleshooting process and work towards restoring your gaming headset's audio performance.
Check the Physical Connections
When encountering sound issues with your gaming headset, the first step is to inspect the physical connections to ensure everything is properly set up. Even a minor loose connection can lead to sound problems, so it’s crucial to methodically check each connection point. Here’s a step-by-step guide to help you troubleshoot the physical connections:
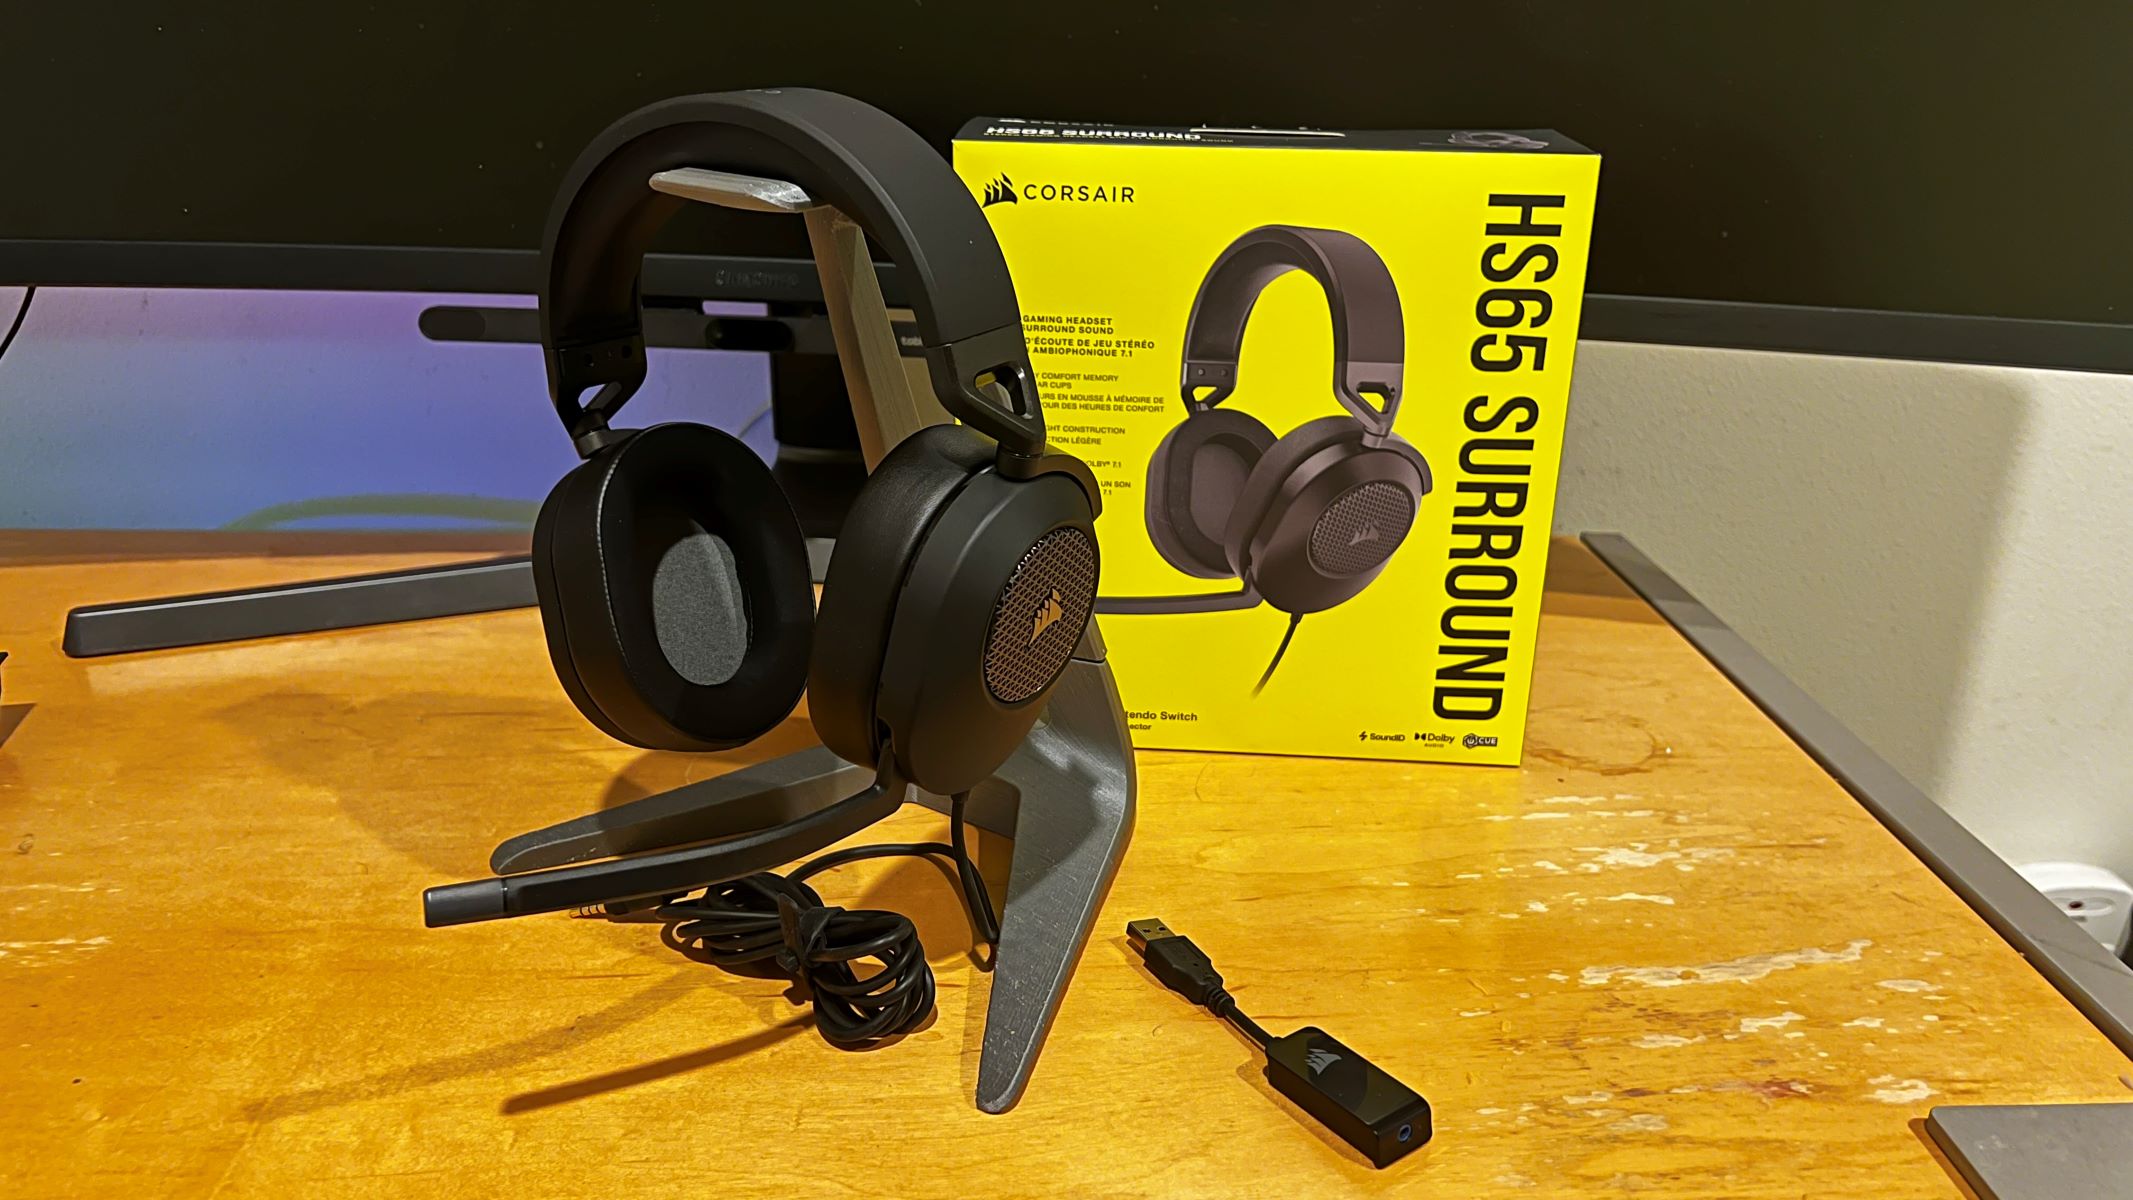
- USB and Audio Jacks: Verify that the USB or audio jacks are securely plugged into the corresponding ports on your computer or gaming console. If your headset uses a USB connection, ensure that the USB port is functioning correctly and can provide ample power to the headset.
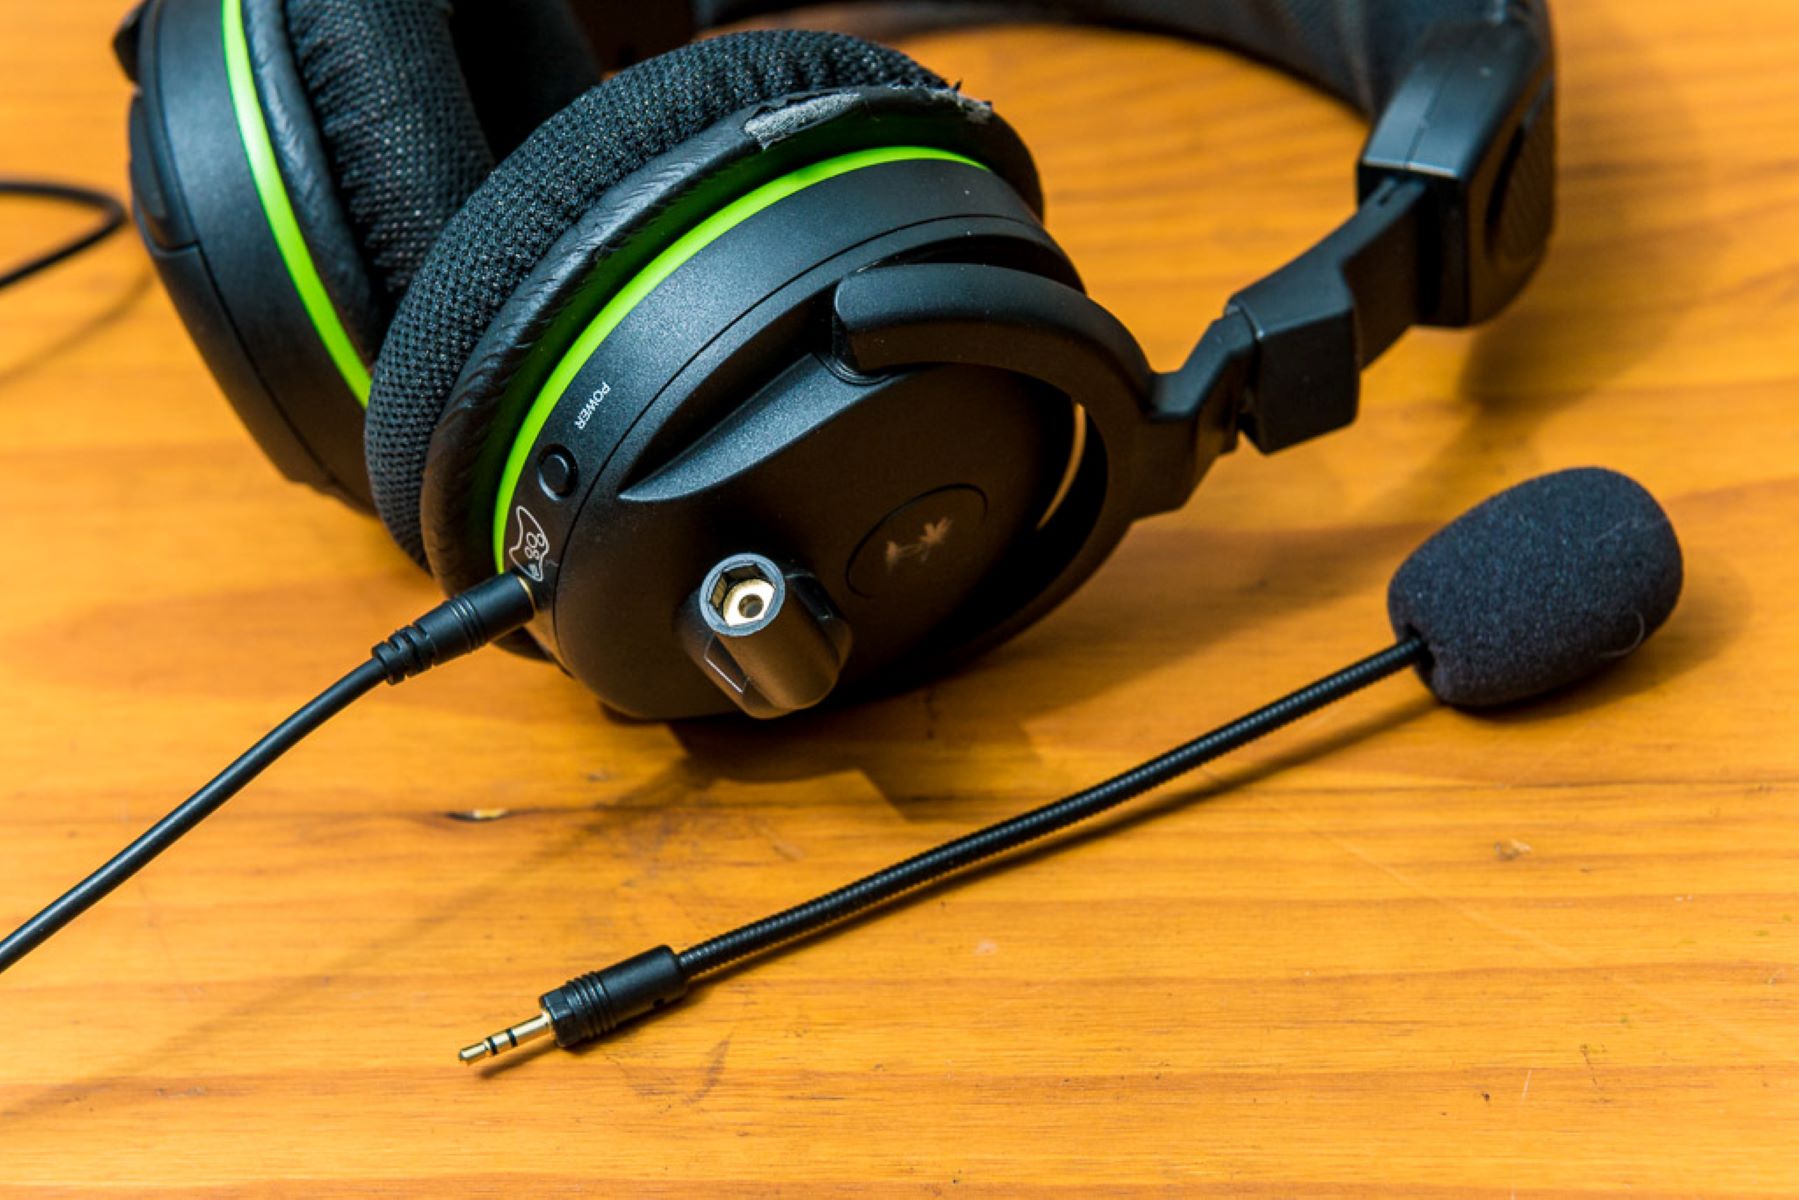
- Headset Cables: Examine the headset cables for any signs of damage, such as fraying or exposed wires. If you notice any damage, it’s important to address it promptly to prevent further issues.
- Inline Controls: If your headset features inline volume or microphone controls, check the connections between the inline controls and the headset cable. Ensure that these connections are secure and free from any debris or damage.
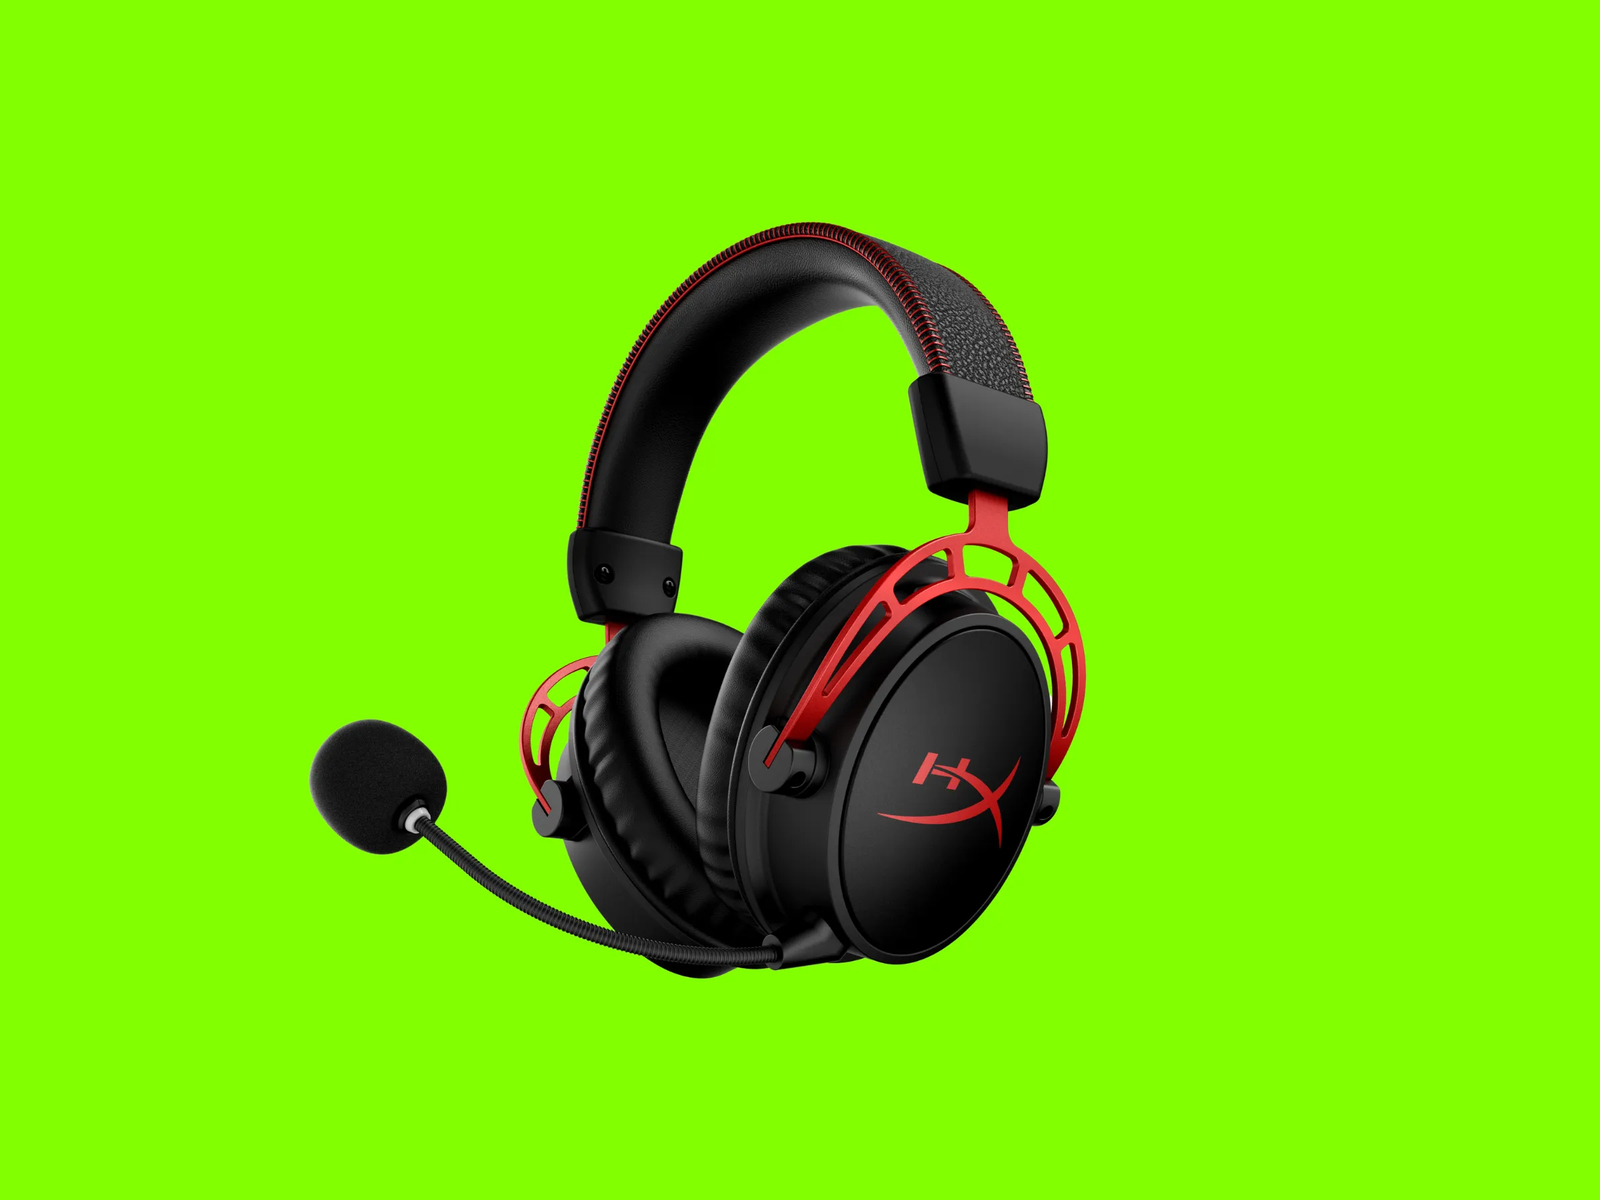
- Microphone Position: If your headset includes a flexible microphone boom, ensure that it is properly positioned near your mouth and securely attached to the headset. A loose or improperly positioned microphone can impact audio quality and clarity.
By meticulously examining the physical connections of your gaming headset, you can identify any potential issues stemming from loose connections, damaged cables, or improperly positioned components. Once you’ve confirmed that all connections are secure and free from damage, proceed to the next troubleshooting steps to address the sound issues.
Adjust the Volume Settings
Incorrect volume settings can often lead to sound issues with gaming headsets. Whether the volume is too low, too high, or improperly configured, adjusting the volume settings can potentially resolve the audio problems you’re experiencing. Here’s how you can effectively adjust the volume settings to troubleshoot sound issues:
- System Volume: Check the system volume settings on your computer or gaming console. Ensure that the volume is not muted and is set to an appropriate level for both the system and the headset.
- Headset Controls: If your gaming headset has built-in volume controls or a dedicated volume wheel, adjust the headset’s volume directly. Test the headset at different volume levels to see if the sound issues persist or improve.
- Software Settings: Some gaming headsets come with companion software that allows you to customize audio settings. Verify that the software settings for your headset are properly configured and aligned with your preferences.
- Game Settings: Within the game you’re playing, check the in-game audio settings to ensure that the sound output is optimized for your headset. Make adjustments to the game’s audio settings to see if it positively impacts the sound quality.
By carefully adjusting the volume settings across your system, headset, software, and game settings, you can potentially mitigate sound issues and achieve optimal audio output from your gaming headset. If adjusting the volume settings does not fully resolve the sound problems, proceed to the next troubleshooting steps to further diagnose and address the issues.
Update the Headset Drivers
Outdated or corrupted headset drivers can contribute to sound issues and impact the overall performance of your gaming headset. Updating the headset drivers can often resolve compatibility issues, improve audio quality, and ensure that the headset functions optimally with your system. Here’s how you can update the headset drivers to troubleshoot sound problems:
- Manufacturer’s Website: Visit the official website of your headset’s manufacturer to check for driver updates. Look for a “Support” or “Downloads” section where you can find the latest drivers for your specific headset model.
- Driver Installation: Download the latest drivers for your headset and follow the manufacturer’s instructions to install them on your computer. Ensure that you’re installing the drivers that are compatible with your operating system.
- Device Manager: If your headset is connected via USB or has its own audio device, you can also use the Device Manager in Windows or the equivalent tool on other operating systems to check for driver updates and install them as needed.
- Companion Software: Some gaming headsets come with companion software that includes driver update functionality. If your headset’s companion software offers driver update options, utilize this feature to ensure that your headset’s drivers are up to date.
By updating the headset drivers to the latest versions provided by the manufacturer, you can potentially address sound issues stemming from outdated or faulty drivers. Once the drivers are updated, test the headset to see if the audio problems have been resolved. If updating the drivers does not fully alleviate the sound issues, proceed to the next troubleshooting steps to further diagnose and address the problems.
Check for Software Conflicts
Software conflicts can often disrupt the functionality of gaming headsets and lead to sound issues. Incompatibilities between different software applications, conflicting audio drivers, or background processes can impact the performance of the headset. Identifying and resolving software conflicts can help restore the audio functionality of your gaming headset. Here’s how you can check for software conflicts and address them:
- Task Manager: Open the Task Manager on your computer to review the active processes and applications. Look for any software that may be consuming excessive system resources or conflicting with the audio output of your headset.
- Audio Settings: Access the audio settings within your operating system and review the default audio playback device. Ensure that your gaming headset is selected as the default playback device to prevent conflicts with other audio output sources.
- Background Applications: Close unnecessary background applications and processes that may be competing for system resources or interfering with the headset’s audio functionality. This can help mitigate potential conflicts and improve the headset’s performance.
- Driver Compatibility: Verify that the audio drivers for your gaming headset are compatible with the operating system and other audio-related software installed on your computer. Incompatibilities between drivers can lead to sound issues and disruptions.
By proactively addressing software conflicts and ensuring that the headset’s audio output is not impeded by conflicting processes or incompatible software, you can potentially resolve sound issues and restore the optimal functionality of your gaming headset. After checking for software conflicts, test the headset to determine if the audio problems have been mitigated. If the sound issues persist, proceed to the next troubleshooting steps to further diagnose and address the problems.
Clean the Headset and Audio Ports
Over time, dust, debris, and dirt can accumulate on the surface of your gaming headset and within the audio ports, potentially leading to sound issues and compromised audio quality. Cleaning the headset and audio ports can help eliminate these obstructions and restore the headset’s optimal performance. Here’s a step-by-step guide to effectively clean your gaming headset and audio ports:
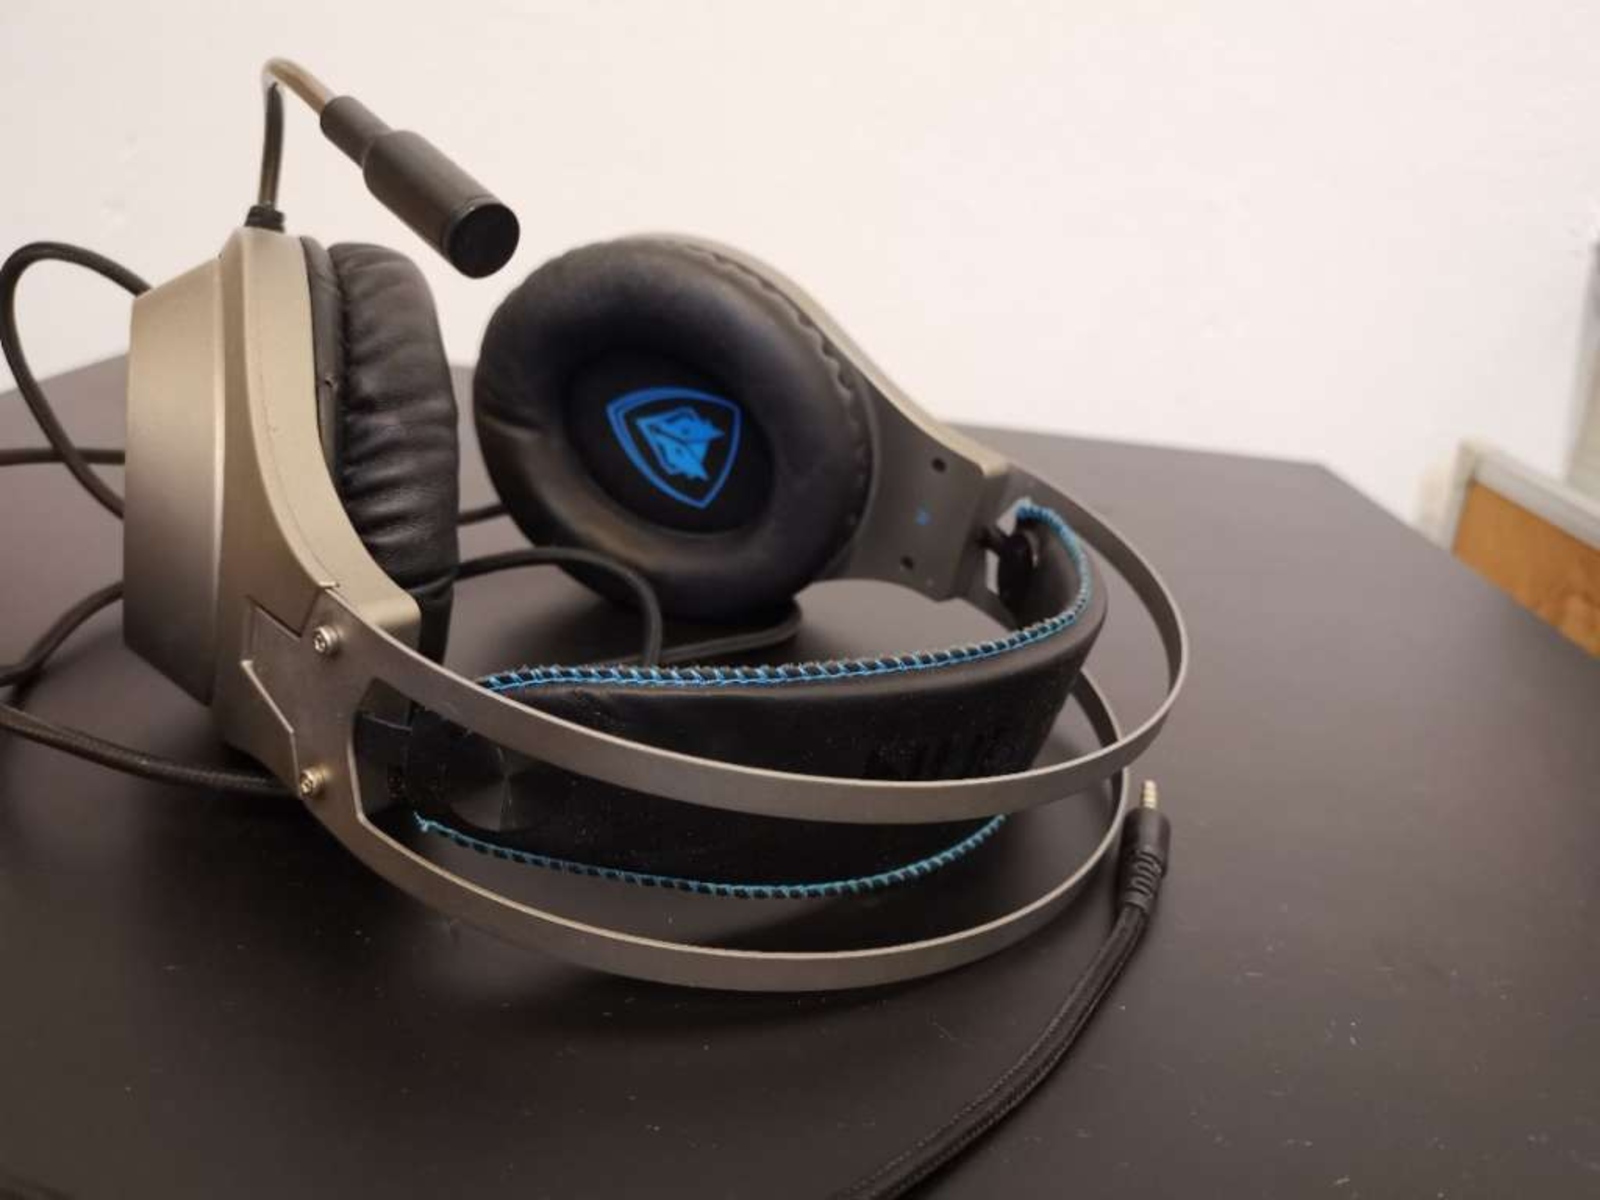
- Headset Surface: Use a soft, dry microfiber cloth to gently wipe the surface of the headset, including the ear cups, headband, and microphone boom. This can help remove dust and smudges that may impact the headset’s appearance and functionality.
- Audio Ports: Inspect the audio ports on your computer, gaming console, or audio interface for any visible debris or obstructions. If you notice dust or dirt, use compressed air or a soft brush to carefully remove the particles from the ports.
- Headset Ear Cushions: If your headset features removable ear cushions, detach them according to the manufacturer’s instructions and clean them using a mild solution of water and gentle soap. Allow the ear cushions to air dry completely before reattaching them to the headset.
- Microphone Mesh: If your headset includes a microphone with a mesh cover, inspect the mesh for any buildup of debris or dust. Gently brush the mesh with a soft, dry brush to remove any particles that may be obstructing the microphone’s functionality.
By regularly cleaning your gaming headset and audio ports, you can prevent the accumulation of debris that may impede the headset’s performance and contribute to sound issues. Once the headset and audio ports are clean, test the headset to determine if the audio problems have been resolved. If cleaning the headset and audio ports does not fully alleviate the sound issues, proceed to the next troubleshooting steps to further diagnose and address the problems.
Test the Headset on Another Device
When troubleshooting sound issues with a gaming headset, testing the headset on another device can help determine whether the problems are specific to the original device or the headset itself. By connecting the headset to an alternative device, such as a different computer, gaming console, or mobile device, you can assess whether the sound issues persist across multiple platforms. Here’s a guide to effectively test your headset on another device:
- Device Compatibility: Choose a secondary device that is compatible with your gaming headset, ensuring that the necessary audio ports or adapters are available to establish a connection.
- Connection Process: Connect your gaming headset to the alternative device as per the manufacturer’s instructions, ensuring that all connections are secure and properly configured.
- Audio Playback: Play audio content, such as music or a video, on the secondary device while wearing the headset. Pay attention to the sound quality, clarity, and any potential issues that may persist from the original device.
- Microphone Test: If your headset includes a microphone, conduct a test call or use a voice recording app on the secondary device to assess the microphone’s functionality and audio quality.
By testing the gaming headset on an alternative device, you can gain valuable insights into the nature of the sound issues and whether they are linked to a specific device or the headset itself. If the sound issues persist across multiple devices, it may indicate a problem with the headset that requires further attention. Conversely, if the headset functions properly on the alternative device, the original device or its settings may be contributing to the sound issues. Based on the results of the testing, proceed to the next troubleshooting steps to further diagnose and address the problems.
Contact Customer Support or Consider Repair Options
If you’ve exhausted the troubleshooting steps and the sound issues with your gaming headset persist, it may be time to seek assistance from the manufacturer’s customer support or explore repair options to address the underlying problems. Here’s a guide to help you navigate the process of reaching out to customer support and considering repair solutions:
- Manufacturer’s Support Channels: Visit the official website of your gaming headset’s manufacturer to locate customer support contact information. Look for dedicated support channels, such as live chat, email support, or a customer service hotline, to connect with the manufacturer’s support team.
- Issue Documentation: Prepare a detailed summary of the sound issues you’ve encountered, including any troubleshooting steps you’ve already taken. Documenting the specifics of the problems can help customer support representatives understand the nature of the issues and provide tailored assistance.
- Warranty Coverage: If your gaming headset is still within the warranty period, review the warranty terms and conditions to determine if the sound issues are covered for repair or replacement. Understanding your warranty coverage can inform your approach to seeking resolution for the headset problems.
- Repair Services: Inquire about authorized repair services or certified technicians who can diagnose and address the sound issues with your gaming headset. The manufacturer may offer repair options or recommend authorized service providers to assist with resolving the problems.
By reaching out to the manufacturer’s customer support and exploring repair options, you can access professional assistance in diagnosing and resolving the persistent sound issues affecting your gaming headset. Customer support representatives can provide guidance on potential solutions, warranty coverage, and repair services, helping you make informed decisions about the next steps to take. Whether it involves arranging a repair service or seeking a replacement, proactive engagement with customer support can lead to a resolution for the sound issues with your gaming headset.