Introduction
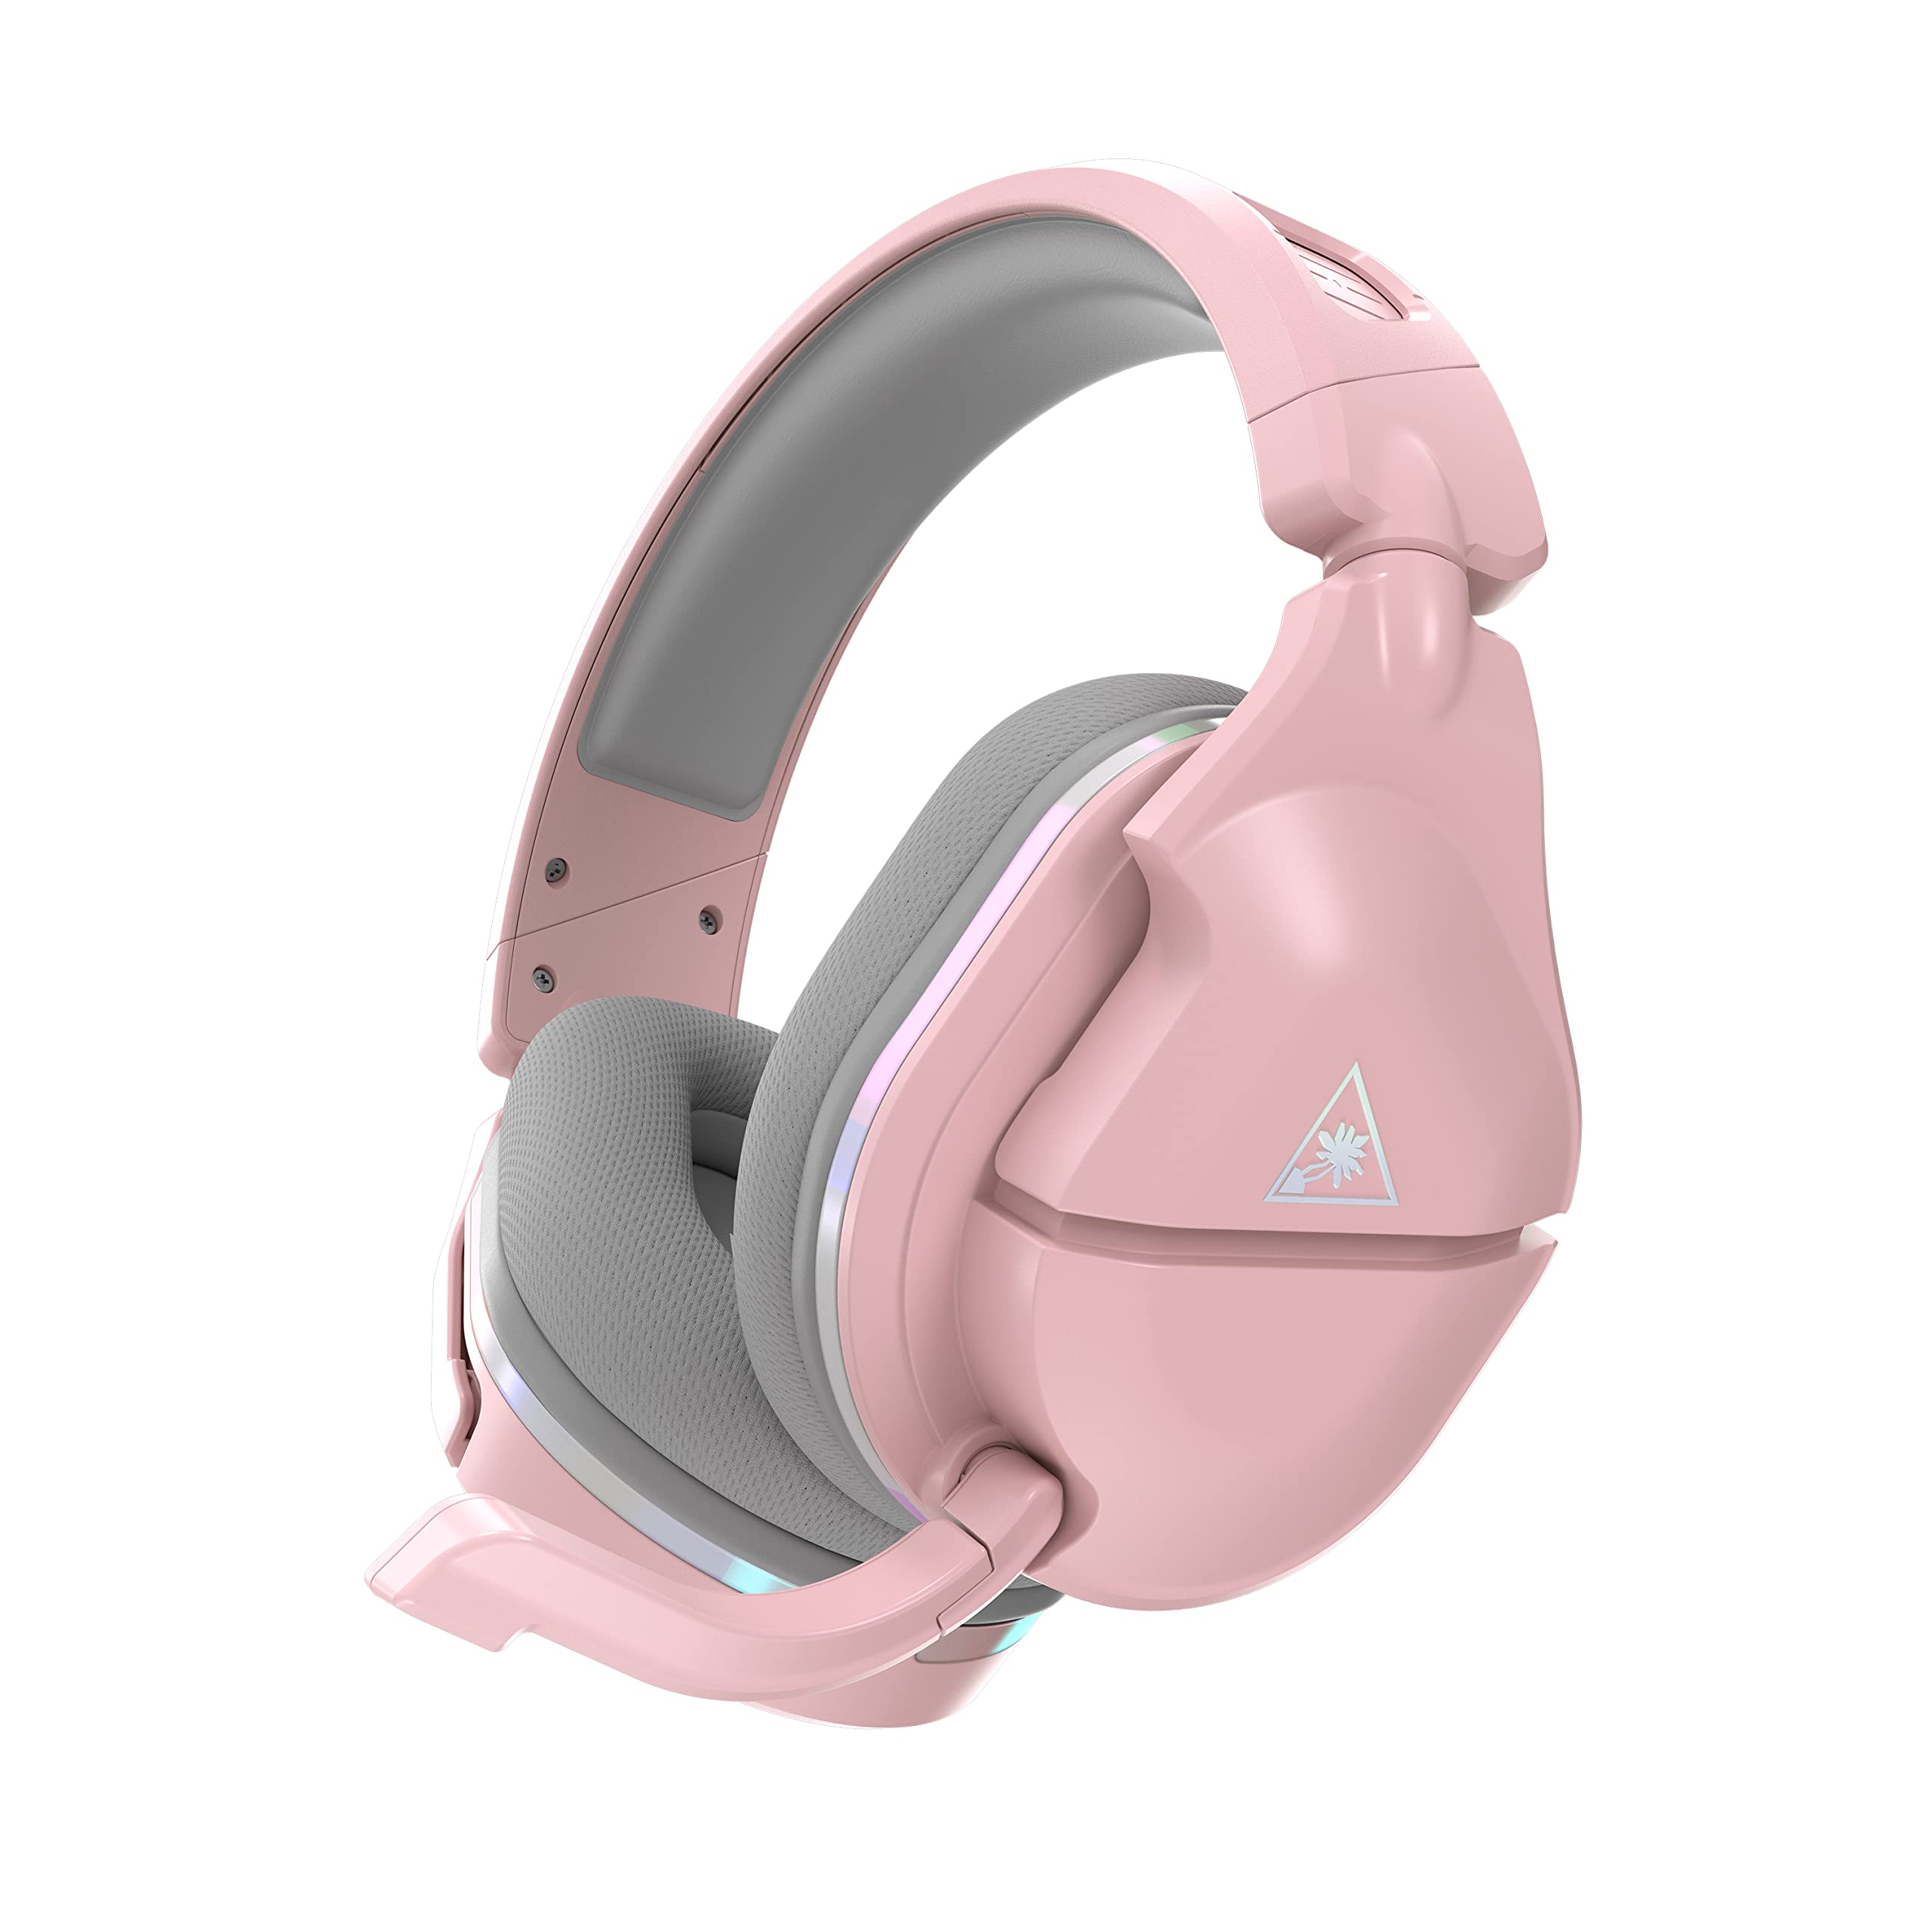
The Turtle Beach Stealth 700 gaming headset for PS4 is a popular choice among gamers for its exceptional sound quality and comfort. However, like any electronic device, the headset's battery will eventually need to be replaced. Fortunately, changing the battery on the Stealth 700 is a straightforward process that can be easily accomplished at home with the right tools and a little know-how.
In this guide, we will walk you through the step-by-step process of changing the battery on your Stealth 700 gaming headset. Whether you are experiencing a decline in battery life or simply want to ensure uninterrupted gaming sessions, replacing the battery will breathe new life into your headset and keep you immersed in your gaming adventures.
By following the instructions provided in this guide, you will learn how to safely remove the old battery, install a new one, and test the headset to ensure it is functioning properly. With a few simple tools and a willingness to dive into the inner workings of your headset, you can extend the lifespan of your Stealth 700 and continue enjoying the immersive gaming experience it provides.
So, grab your tools, roll up your sleeves, and let's get started on reviving your Stealth 700 gaming headset!
Step 1: Gather the Necessary Tools
Before you begin the battery replacement process, it’s essential to gather the necessary tools and materials to ensure a smooth and efficient procedure. Here’s what you’ll need:
- Replacement Battery: The first and most crucial item you’ll need is a compatible replacement battery for your Turtle Beach Stealth 700 gaming headset. Ensure that the replacement battery is specifically designed for the Stealth 700 model to guarantee compatibility and optimal performance.
- Small Phillips Head Screwdriver: You’ll require a small Phillips head screwdriver to remove the screws securing the battery compartment of the headset. A precision screwdriver set with interchangeable heads is ideal for this task.
- Work Surface: Find a clean, well-lit, and spacious work surface to perform the battery replacement. A clutter-free area with ample lighting will make it easier to handle small components and keep track of screws and other parts.
- Container for Screws: To prevent misplacing tiny screws during disassembly, have a small container or magnetic tray on hand to store the screws safely. This simple practice will help you stay organized and avoid the frustration of hunting for misplaced hardware.
- Clean Cloth or Anti-Static Mat: It’s advisable to have a clean cloth or an anti-static mat to place the headset and its components during the battery replacement process. This precaution helps prevent accidental damage from static electricity and provides a soft, clean surface to work on.
By ensuring you have all the necessary tools and materials ready before you begin, you’ll set the stage for a hassle-free battery replacement experience. With everything in place, you’ll be well-prepared to move on to the next steps and breathe new life into your Stealth 700 gaming headset.
Step 2: Remove the Old Battery
Now that you have gathered the required tools, it’s time to delve into the process of removing the old battery from your Turtle Beach Stealth 700 gaming headset. Follow these steps carefully to ensure a successful battery removal:
- Prepare the Work Area: Begin by setting up your work surface with a clean cloth or anti-static mat. This will provide a safe and stable area to handle the headset and its components.
- Power Off the Headset: Before starting the battery removal process, ensure that the headset is powered off and disconnected from any charging cables. This precaution is essential for safety and prevents potential electrical hazards during disassembly.
- Locate the Battery Compartment: The battery compartment of the Stealth 700 headset is typically located on one of the ear cups. Carefully examine the headset to identify the compartment’s precise location.
- Remove the Screws: Use the small Phillips head screwdriver to carefully remove the screws securing the battery compartment cover. Place the screws in the designated container to keep them organized and prevent loss.
- Detach the Battery: Once the screws are removed, gently detach the battery from its housing, taking care not to damage any connected wires or components. If the battery is connected via a wire harness, carefully disconnect it from the headset’s internal circuitry.
- Handle with Care: Throughout the battery removal process, handle the headset and its components with care to avoid causing any accidental damage. Take your time and exercise patience to ensure a smooth and damage-free disassembly.
By methodically following these steps, you can safely remove the old battery from your Stealth 700 headset without encountering any complications. With the old battery out of the way, you are now ready to proceed to the next crucial step: installing the new battery to rejuvenate your gaming headset.
Step 3: Install the New Battery
With the old battery successfully removed, it’s time to install the new battery into your Turtle Beach Stealth 700 gaming headset. Follow these step-by-step instructions to ensure a seamless installation process:
- Inspect the New Battery: Before proceeding, carefully inspect the new replacement battery to ensure it is free from any defects or damage. Verify that it matches the specifications of the original battery and is compatible with the Stealth 700 headset.
- Connect the New Battery: If the new battery is equipped with a wire harness, carefully connect it to the corresponding port within the headset, ensuring a secure and snug fit. Take note of any markings or indicators on the battery and the headset to ensure proper alignment during the connection.
- Position the Battery: Gently position the new battery into the designated housing within the headset, aligning it properly to fit securely without any unnecessary force. Ensure that the battery sits flush and does not impede the reassembly of the battery compartment cover.
- Secure the Battery Compartment Cover: Using the small Phillips head screwdriver, reattach the screws to secure the battery compartment cover in place. Tighten the screws carefully, ensuring that they are snug but not over-tightened to avoid damaging the headset’s housing.
- Perform a Visual Check: Once the new battery is installed and the compartment cover is secured, perform a visual inspection to confirm that all components are in place and properly aligned. Check for any loose wires or irregularities that may require attention.
- Power On and Test: After completing the installation, power on the headset and test its functionality to ensure that the new battery is functioning as expected. Verify that the headset powers on, connects to your gaming console, and maintains a stable power supply.
By meticulously following these steps, you can successfully install the new battery into your Stealth 700 gaming headset, setting the stage for extended gaming sessions without interruptions. With the new battery in place, you’re one step closer to reviving your headset and immersing yourself in captivating gaming experiences.
Step 4: Test the Headset
After installing the new battery, it’s crucial to thoroughly test your Turtle Beach Stealth 700 gaming headset to ensure that it is functioning optimally and delivering the exceptional audio experience you expect. Follow these steps to conduct a comprehensive test of your headset:
- Power On the Headset: Turn on the headset and verify that it powers up without any issues. If the headset features LED indicators, observe their functionality to ensure that the power supply is stable.
- Connect to the Gaming Console: Pair the headset with your PS4 gaming console or the compatible gaming platform. Ensure that the headset establishes a reliable connection and that the audio output is clear and consistent.
- Audio Quality Test: Play a variety of audio sources, including music, game soundtracks, and in-game audio, to assess the headset’s audio quality. Pay attention to the clarity, depth, and richness of the sound to confirm that the new battery is supporting optimal performance.
- Wireless Functionality: If your Stealth 700 headset includes wireless features, such as Bluetooth connectivity, test these functions to ensure seamless wireless performance. Verify that the wireless range and stability meet your expectations.
- Battery Performance: Monitor the battery performance over an extended period to confirm that the new battery provides adequate power and maintains a consistent charge. Note any irregularities in battery life or charging behavior for further assessment.
- Mic and Chat Functionality: If your headset includes a microphone for in-game communication, test its functionality by engaging in voice chat with other players. Verify that the microphone captures clear and distortion-free audio and that the chat features operate smoothly.
By conducting a comprehensive test of your Stealth 700 gaming headset, you can confidently confirm that the new battery installation has rejuvenated the headset’s performance. Any issues identified during the testing phase can be addressed promptly, ensuring that your gaming experiences remain immersive and uninterrupted.
Conclusion
Congratulations! You have successfully navigated the process of changing the battery on your Turtle Beach Stealth 700 gaming headset for PS4. By following the step-by-step instructions provided in this guide, you have revitalized your headset and ensured that it continues to deliver the exceptional audio quality and immersive gaming experiences you love.
Throughout this journey, you gathered the necessary tools, removed the old battery with precision, installed the new battery with care, and thoroughly tested the headset to confirm its optimal functionality. Your commitment to maintaining your gaming gear has paid off, and your Stealth 700 headset is now equipped to power through extended gaming sessions with renewed vigor.
By embracing the process of DIY battery replacement, you have not only extended the lifespan of your headset but also gained valuable insight into its inner workings. This hands-on experience empowers you to take proactive measures in maintaining and optimizing your gaming equipment, ensuring that it continues to meet your expectations for years to come.
As you embark on your gaming adventures with your refreshed Stealth 700 headset, remember the satisfaction of overcoming the challenge of battery replacement and the confidence gained in handling technical tasks. Your dedication to preserving and enhancing your gaming experience serves as a testament to your passion for immersive gameplay and audio excellence.
Now, armed with a rejuvenated headset and the knowledge gained from this process, you are ready to dive back into the captivating worlds of your favorite games, fully immersed in the rich audio landscapes provided by your trusted Turtle Beach Stealth 700 gaming headset.


