Introduction
Are you a proud Fitbit owner who relies on this nifty wearable to track your daily steps, monitor your heart rate, and stay on top of your fitness goals? If so, you're likely aware that the battery life of your Fitbit is crucial to its functionality. Over time, the battery of your Fitbit may start to lose its charge, leading to the need for a battery replacement. Fortunately, changing the battery on your Fitbit is a straightforward process that you can easily tackle at home with the right tools and a bit of guidance.
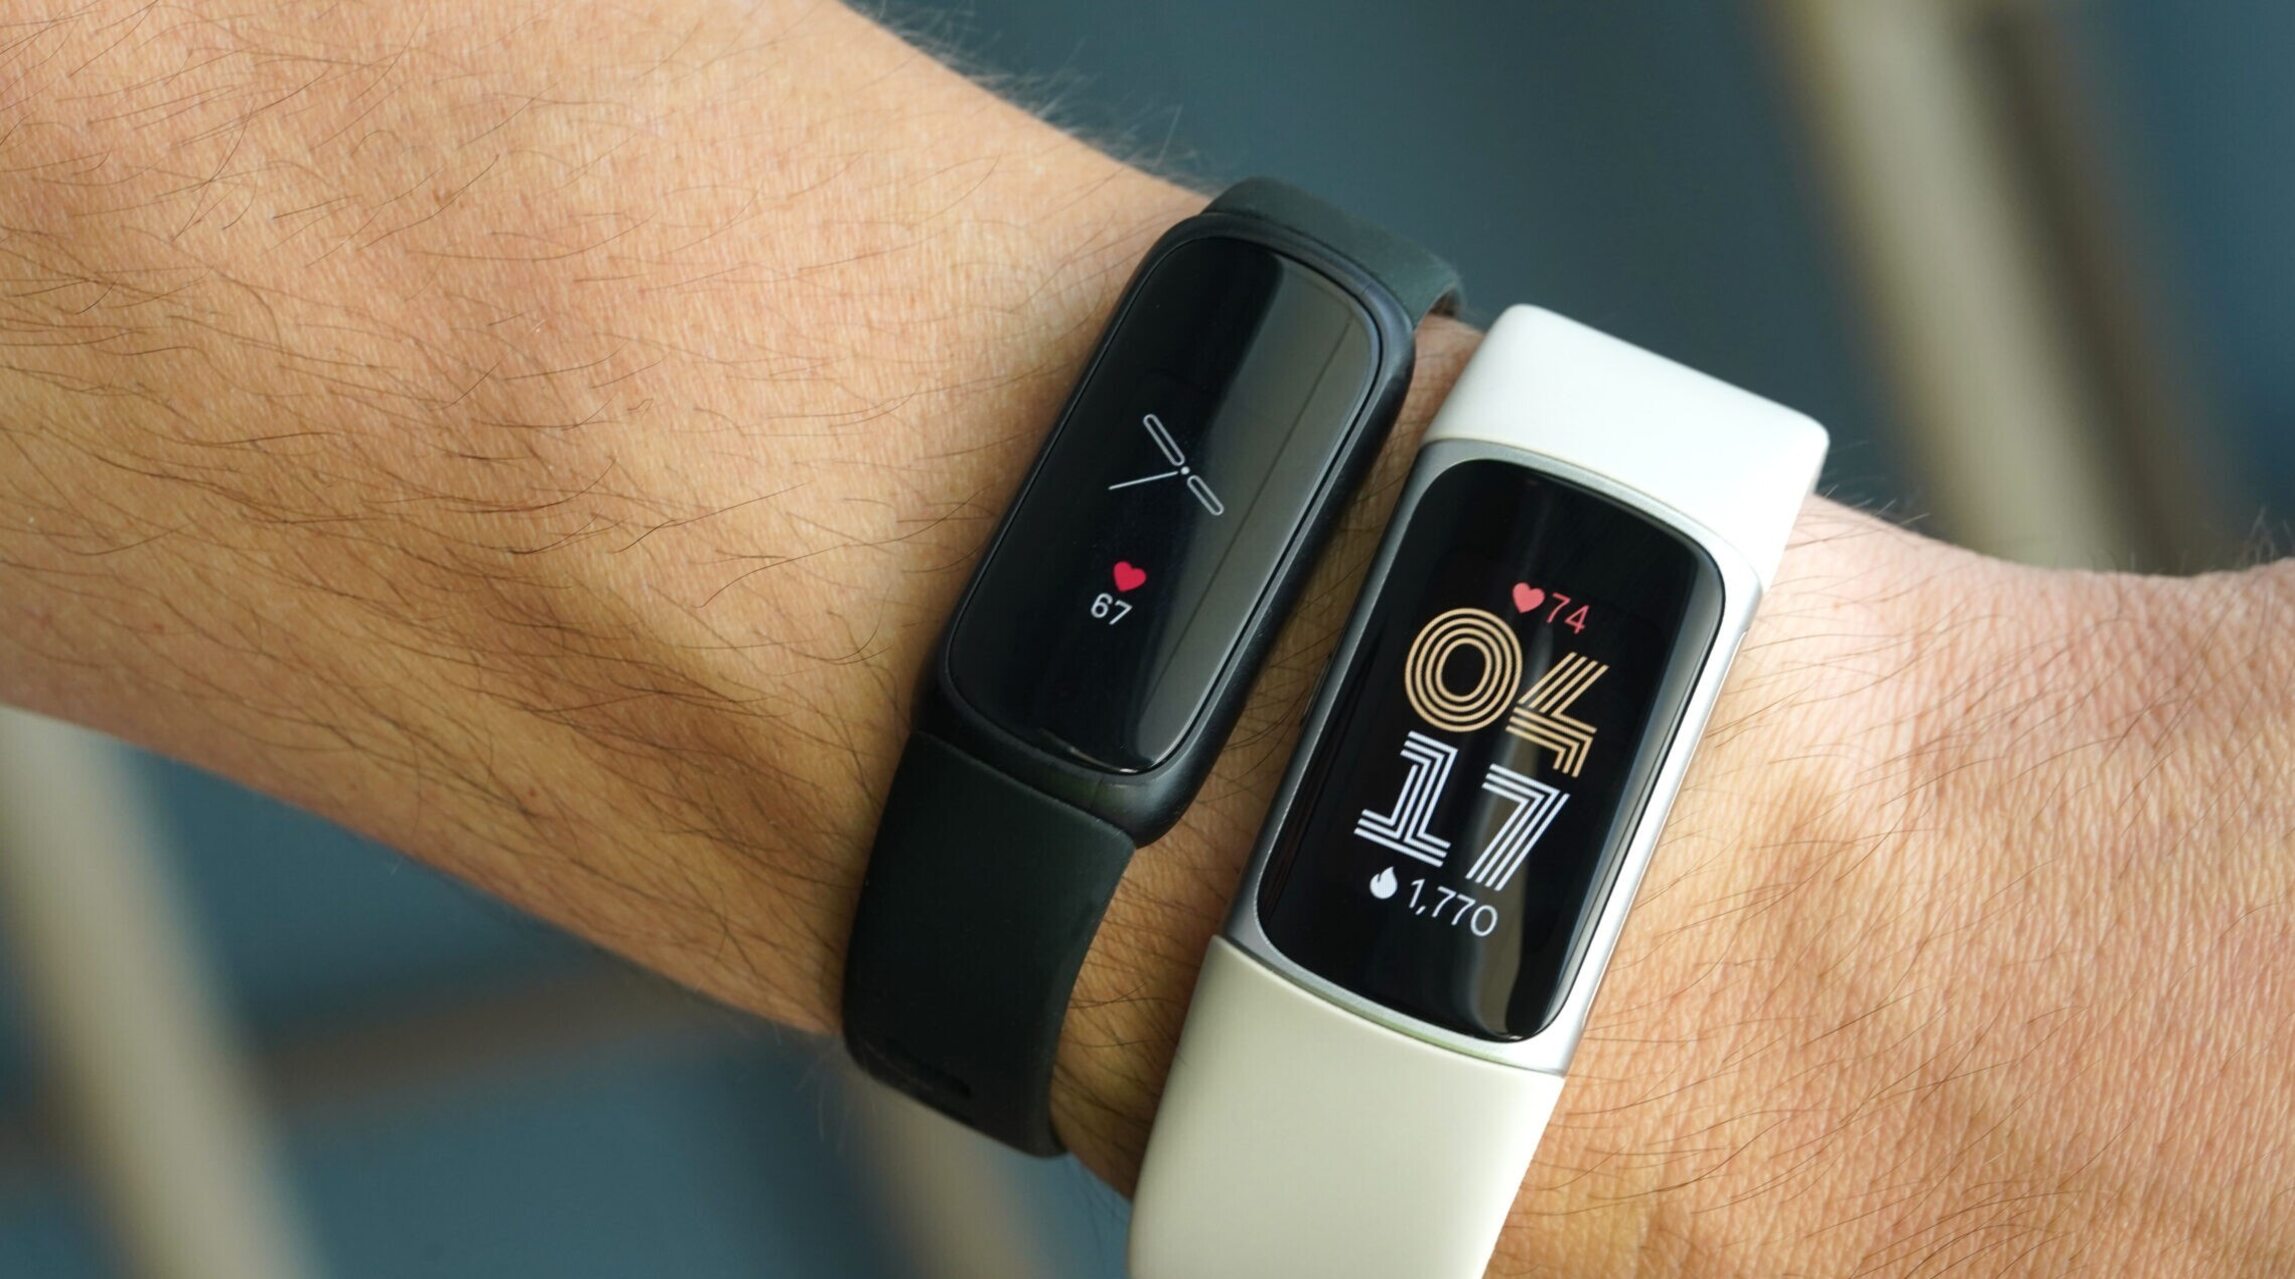
In this comprehensive guide, we will walk you through the step-by-step process of changing the battery on your Fitbit, ensuring that you can continue to enjoy the full range of features and benefits that your Fitbit has to offer. Whether you own a Fitbit Versa, Charge, Inspire, or any other model, this guide is designed to equip you with the knowledge and confidence to perform a battery swap with ease.
By following this tutorial, you can extend the lifespan of your beloved Fitbit and avoid the inconvenience of a drained battery during your workouts or daily activities. So, grab your tools and let's dive into the simple yet essential process of replacing the battery in your Fitbit. With a few easy steps, you'll be back to tracking your steps and staying motivated on your fitness journey in no time.
Step 1: Gather Necessary Tools
Before embarking on the battery replacement journey for your Fitbit, it's essential to gather the necessary tools to ensure a smooth and efficient process. Here's a list of items you'll need to have on hand:
1. Replacement Battery
The first and most crucial item you'll need is the replacement battery for your specific Fitbit model. It's essential to ensure that the replacement battery is compatible with your Fitbit device to guarantee optimal performance. You can often find compatible replacement batteries online or at electronic stores. Be sure to double-check the model number and compatibility before making a purchase.
2. Screwdriver Set
A precision screwdriver set is indispensable for accessing the internal components of your Fitbit. Most Fitbit models require small Phillips or Torx screwdrivers to remove the screws holding the device together. Having a variety of screwdriver sizes at your disposal will help you tackle any type of screw you encounter during the battery replacement process.
3. Tweezers
Tweezers can be incredibly handy for handling small components and delicate parts within your Fitbit. They provide precision and control when removing and inserting the battery, as well as handling tiny screws or other intricate elements. Opt for non-magnetic tweezers to avoid any interference with electronic components.
4. Opening Tool or Pry Tool
An opening tool or pry tool is useful for gently separating the housing of your Fitbit without causing damage. These tools are specifically designed to safely pry open electronic devices without scratching or denting the exterior. Using an appropriate opening tool helps avoid cosmetic damage to your Fitbit during the battery replacement process.
5. Cleaning Cloth
Having a microfiber cleaning cloth on hand can help you keep your workspace and Fitbit device clean during the battery replacement. It's essential to work in a dust-free environment to prevent any debris from entering the internal components of your Fitbit. A gentle wipe with a cleaning cloth can also help remove any dust or fingerprints from the exterior of your device.
By ensuring you have these essential tools at your disposal, you'll be well-prepared to proceed with the battery replacement process for your Fitbit. With the right tools in hand, you can approach the subsequent steps with confidence and precision, ensuring a successful battery swap without any unnecessary hiccups.
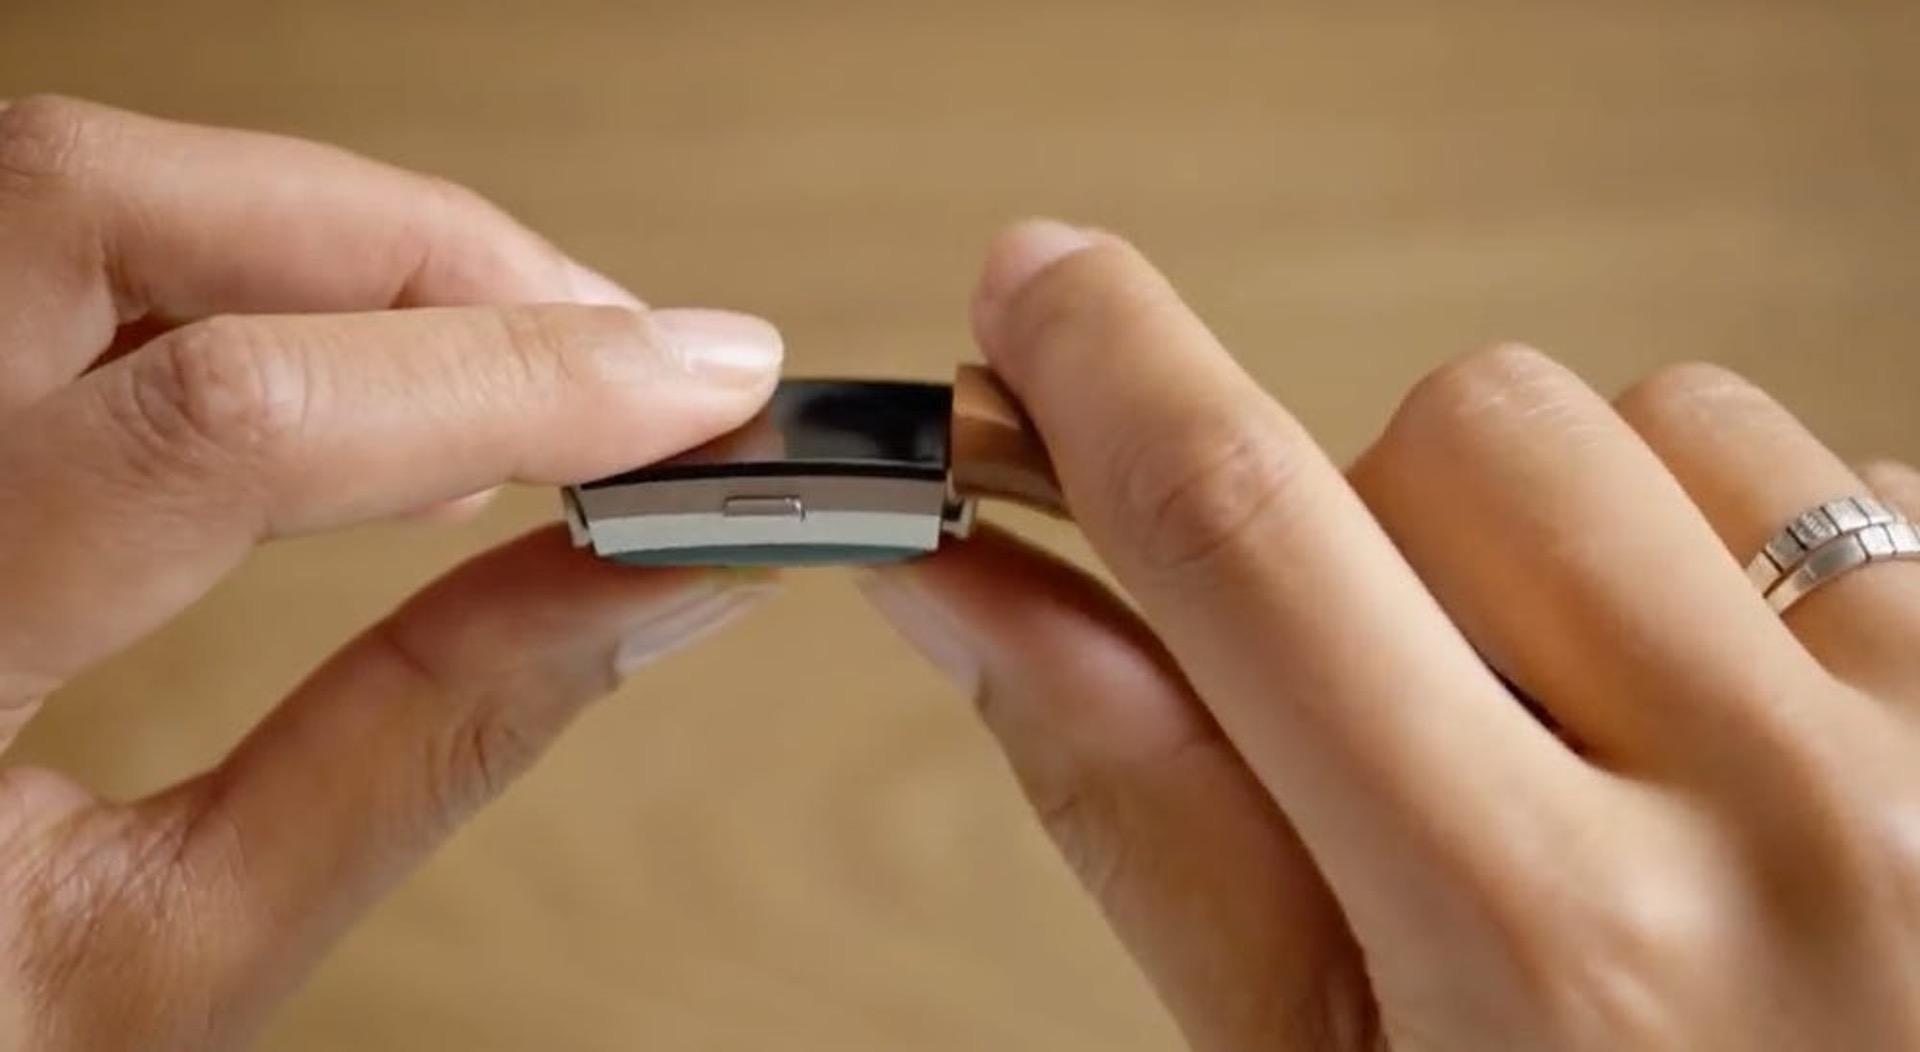
Step 2: Open the Fitbit
Now that you have assembled the necessary tools for the battery replacement process, it's time to delve into the crucial step of opening your Fitbit. This step requires precision and care to avoid causing any damage to the device. Here's a detailed walkthrough of how to open your Fitbit:
-
Prepare Your Workspace: Find a clean, well-lit area where you can comfortably work on your Fitbit. It's essential to choose a location with ample space and minimal distractions to ensure that you can focus on the task at hand. Additionally, having a soft, flat surface to work on will help prevent any accidental scratches or damage to your Fitbit.
-
Identify the Screws: Depending on the model of your Fitbit, you will typically find small screws securing the outer casing of the device. Use a magnifying glass if needed to locate and identify the precise location of these screws. Most Fitbit models use Phillips or Torx screws, so ensure that you have the appropriate screwdriver from your set ready for this step.
-
Unscrew the Casing: Carefully use the designated screwdriver to remove the screws holding the casing of your Fitbit together. It's crucial to apply gentle and consistent pressure to avoid stripping the screws or causing any damage to the surrounding area. Keep the screws in a safe place to prevent them from getting lost during the process.
-
Use an Opening Tool: Once the screws are removed, it's time to employ an opening tool or pry tool to gently separate the housing of your Fitbit. Start by identifying the small gap or indentation along the edge of the device where you can insert the opening tool. Exercise caution and patience as you work your way around the perimeter of the Fitbit, gradually releasing the clips or adhesive securing the casing.
-
Handle with Care: As you open the Fitbit, be mindful of any cables or connectors that may be attached to the internal components. Avoid applying excessive force or pulling on any connected wires. If you encounter resistance while opening the Fitbit, take a step back and reassess your approach to prevent any accidental damage.
By following these detailed steps, you can safely and effectively open your Fitbit in preparation for the subsequent stages of the battery replacement process. Taking your time and maintaining a steady hand will ensure that you can access the internal components of your Fitbit without encountering any unnecessary complications.
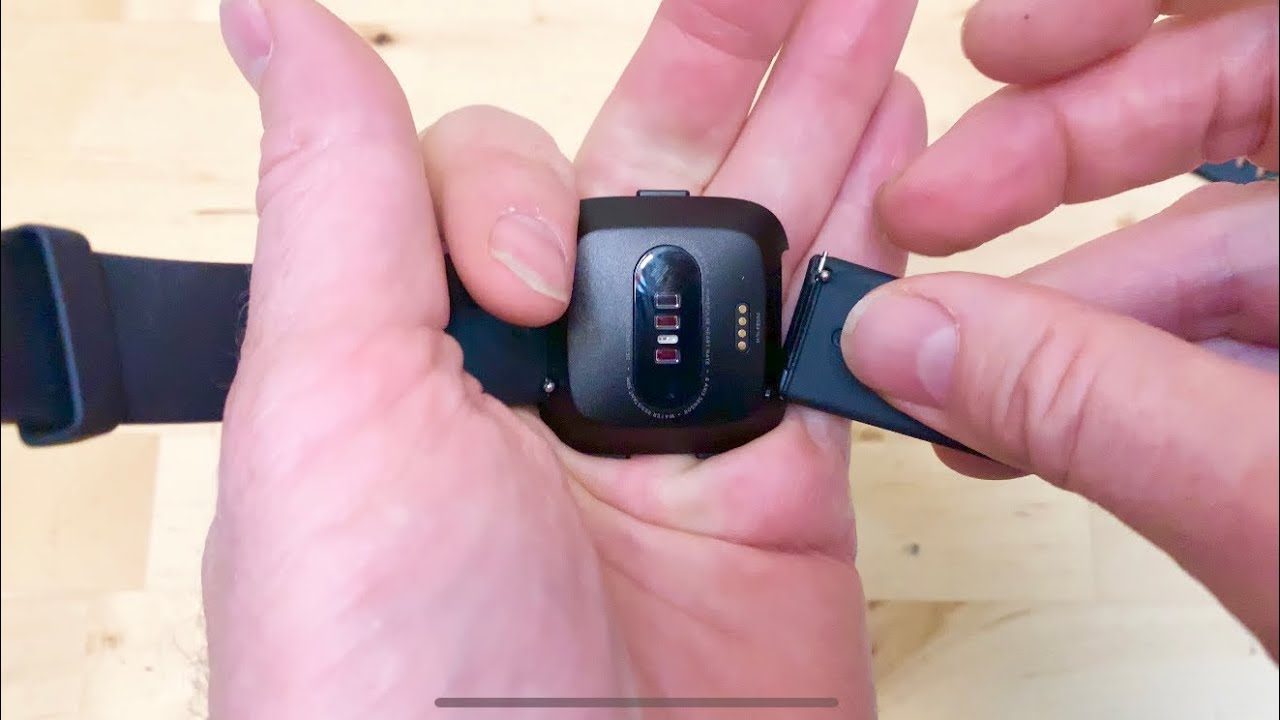
Step 3: Remove the Old Battery
With the outer casing of your Fitbit successfully opened, the next critical step is to carefully remove the old battery from its position within the device. This process requires precision and attention to detail to ensure that the old battery is safely extracted without causing any damage to the internal components. Here's a detailed guide on how to remove the old battery from your Fitbit:
-
Locate the Battery: Once the internal components of your Fitbit are exposed, you'll be able to locate the old battery nestled within the device. Take a moment to familiarize yourself with the battery's placement and any connectors or adhesive securing it in place. Depending on the Fitbit model, the battery may be easily accessible, or it may require additional steps to reach.
-
Disconnect Any Connectors: If the old battery is connected to the device via wires or connectors, carefully detach these connections to free the battery from its position. Take note of the orientation and placement of the connectors to ensure that you can reattach them correctly when inserting the new battery. Use gentle and deliberate movements to avoid damaging the connectors or related components.
-
Release Adhesive (If Applicable): In some instances, the old battery may be secured in place with adhesive. If this is the case, use a gentle prying motion to release the adhesive bond while being mindful of the surrounding components. It's crucial to exercise patience and caution during this step to prevent any unintended damage to the battery or the Fitbit's internal structure.
-
Remove the Battery: Once any connectors or adhesive securing the old battery have been addressed, carefully lift the battery out of its housing. Use minimal force and ensure that your movements are steady and controlled to avoid any sudden jolts or impacts that could potentially harm the battery or other internal components. Take note of the battery's orientation and position within the Fitbit for reference when inserting the new battery.
-
Handle with Care: Throughout the process of removing the old battery, it's imperative to handle the battery and surrounding components with the utmost care. Avoid bending or twisting the battery, and be mindful of any delicate wires or connectors in the vicinity. By maintaining a gentle touch and a focused approach, you can safely extract the old battery from your Fitbit without encountering any issues.
By meticulously following these steps, you can successfully remove the old battery from your Fitbit, paving the way for the subsequent phase of inserting the new battery. It's essential to proceed with patience and precision to ensure that the battery removal process is executed smoothly and without any unintended complications.
Step 4: Insert the New Battery
With the old battery successfully removed from your Fitbit, the next pivotal step is to delicately insert the new battery into its designated position within the device. This phase demands meticulous attention to detail and a steady hand to ensure that the new battery is securely and accurately placed, setting the stage for the seamless restoration of your Fitbit's functionality. Here's a comprehensive guide on how to insert the new battery into your Fitbit:
-
Verify Compatibility: Before proceeding, double-check that the replacement battery is compatible with your specific Fitbit model. Confirm that the new battery matches the required specifications and dimensions, ensuring a perfect fit within the device. Attention to detail at this stage is crucial to prevent any potential issues with the battery's compatibility.
-
Positioning the Battery: Carefully orient the new battery in the same position and alignment as the old battery within the Fitbit. Ensure that the battery's terminals and connectors align with the corresponding contacts within the device. By maintaining consistency in the battery's placement, you can avoid potential complications during the reassembly process.
-
Reconnect Any Components: If the new battery requires the reattachment of connectors or wires, proceed with caution to securely reestablish these connections. Verify that the connectors are firmly seated and aligned correctly to facilitate the smooth flow of power from the new battery to the Fitbit's internal circuitry. Precision and attention to detail are paramount during this step to prevent any connectivity issues.
-
Adhering the Battery (If Applicable): In cases where the new battery necessitates adhesive for secure placement, gently affix it to the designated area within the Fitbit. Exercise patience and ensure that the adhesive bond is firm and uniform, providing stable support for the new battery. Avoid applying excessive pressure during this process to prevent any inadvertent damage to the battery or surrounding components.
-
Secure Fit and Alignment: Once the new battery is in position, verify that it sits securely within the device and aligns perfectly with the designated housing. Confirm that the battery is level and flush with the surrounding components, ensuring that it does not protrude or impede the subsequent reassembly of the Fitbit. Attention to detail at this stage is instrumental in achieving a seamless and secure fit for the new battery.
By meticulously following these steps, you can successfully insert the new battery into your Fitbit, marking a significant milestone in the battery replacement process. It's essential to approach this phase with precision and care to guarantee that the new battery is seamlessly integrated into your Fitbit, setting the stage for the subsequent reassembly of the device.
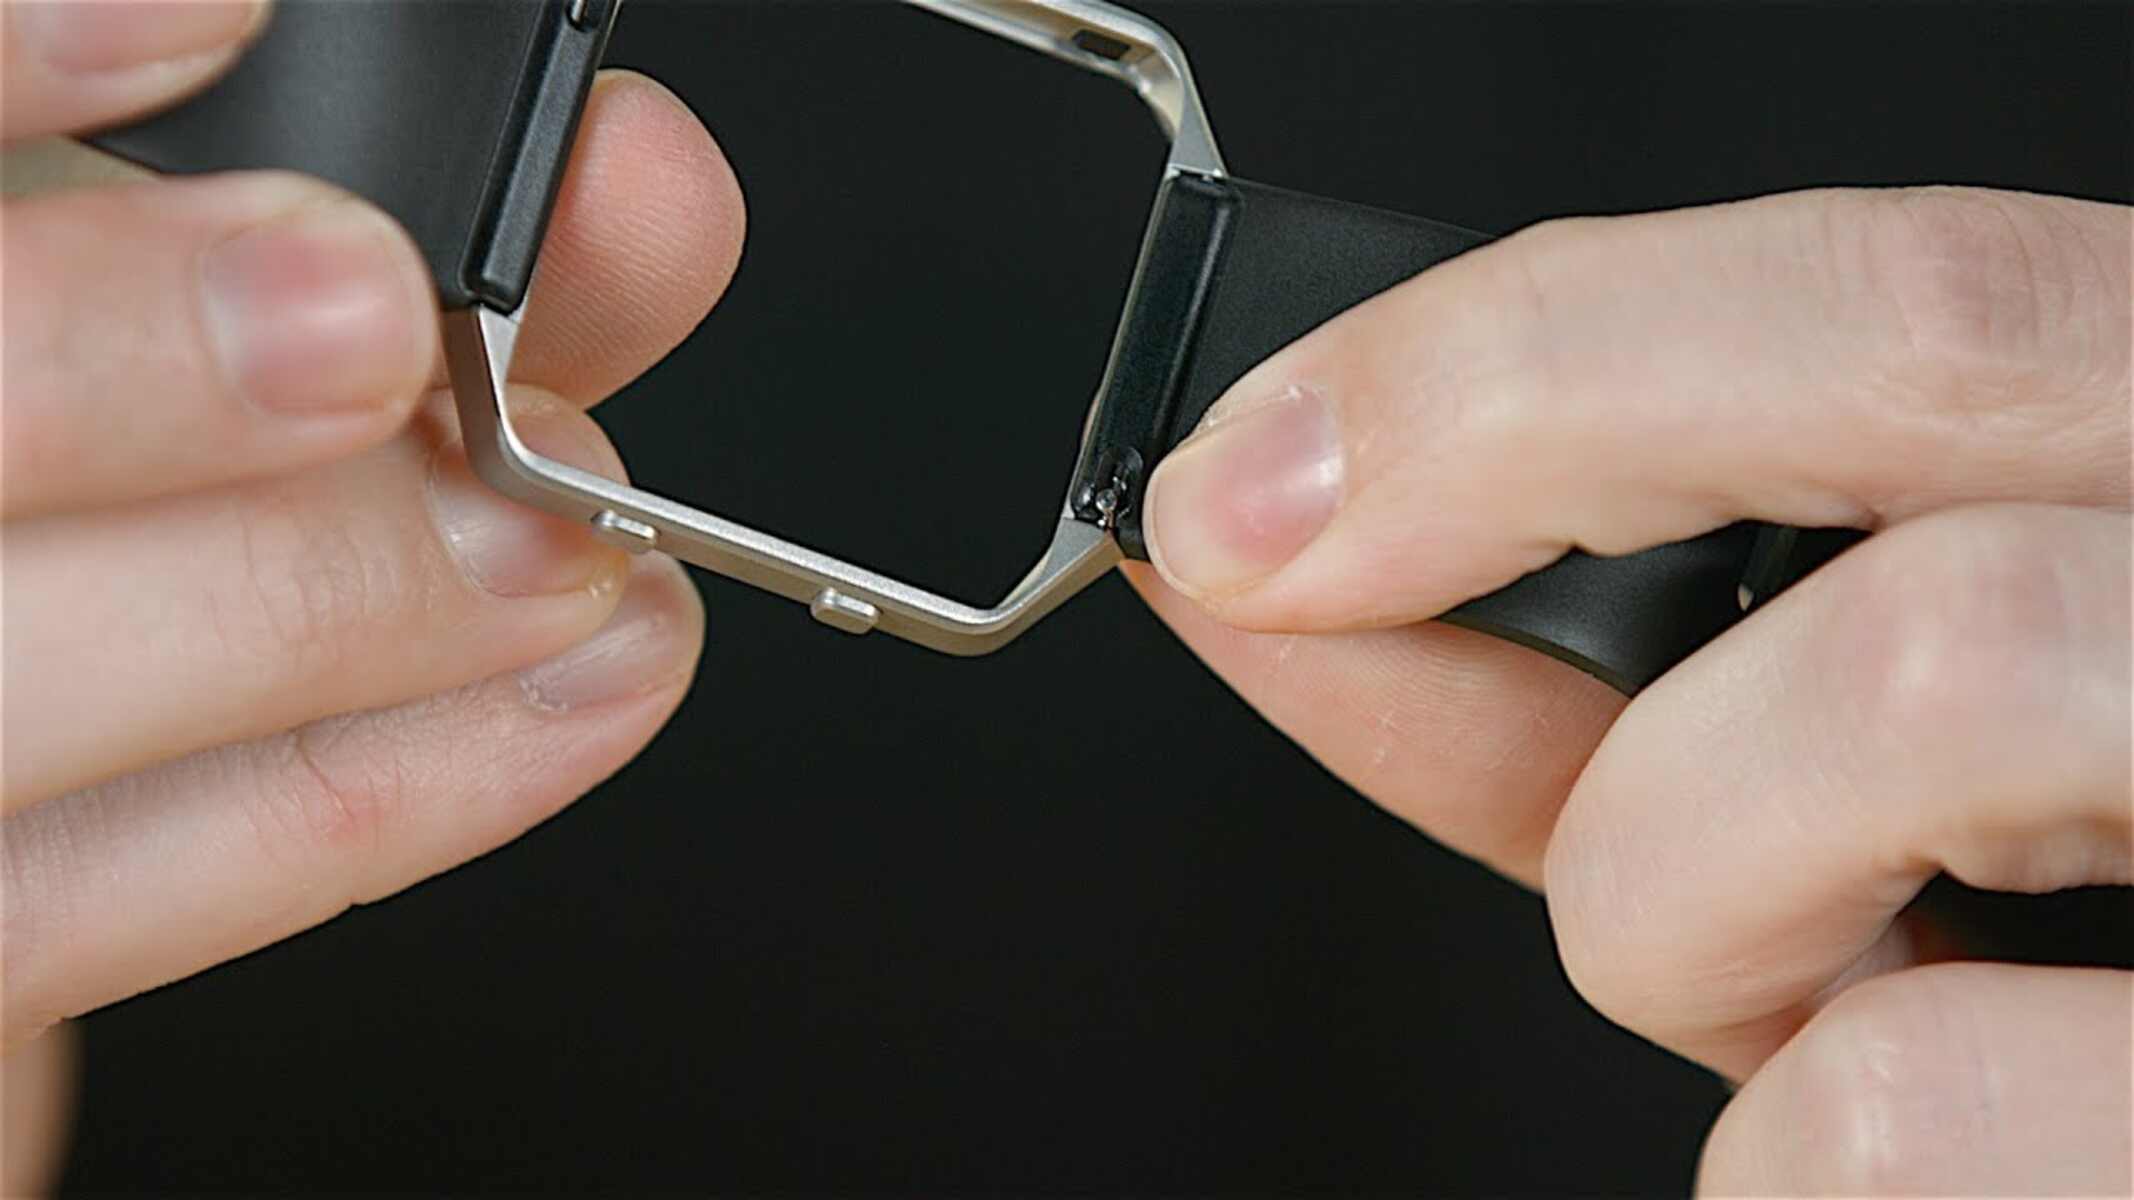
Step 5: Close the Fitbit
With the new battery securely in place, the final and crucial step in the battery replacement process is to carefully close your Fitbit. This phase demands precision and attention to detail to ensure that the internal components are safely housed within the device's casing, ultimately restoring its functionality. Here's a detailed guide on how to close your Fitbit after replacing the battery:
-
Reassembly Preparation: Before closing the Fitbit, take a moment to review the internal components and ensure that the new battery is securely positioned and all connectors are properly attached. Verify that no loose screws or small components remain within the device's housing, as these could impede the closing process.
-
Aligning the Casing: Position the outer casing of the Fitbit carefully, ensuring that it aligns perfectly with the internal components. Take note of any clips or grooves that facilitate the seamless integration of the casing. Aligning the casing accurately sets the stage for a smooth and secure closure.
-
Gentle Pressure: Apply gentle and even pressure along the edges of the Fitbit's casing to initiate the closing process. Exercise caution and avoid using excessive force, as this could potentially damage the internal components or compromise the integrity of the device's housing. The goal is to gradually guide the casing into place without encountering resistance.
-
Securing the Screws: Once the casing is aligned and in position, carefully reinsert and tighten the screws using the appropriate screwdriver from your set. Ensure that the screws are snug but not overly tightened, as this could lead to damage. A balanced approach to securing the screws will help maintain the structural integrity of your Fitbit.
-
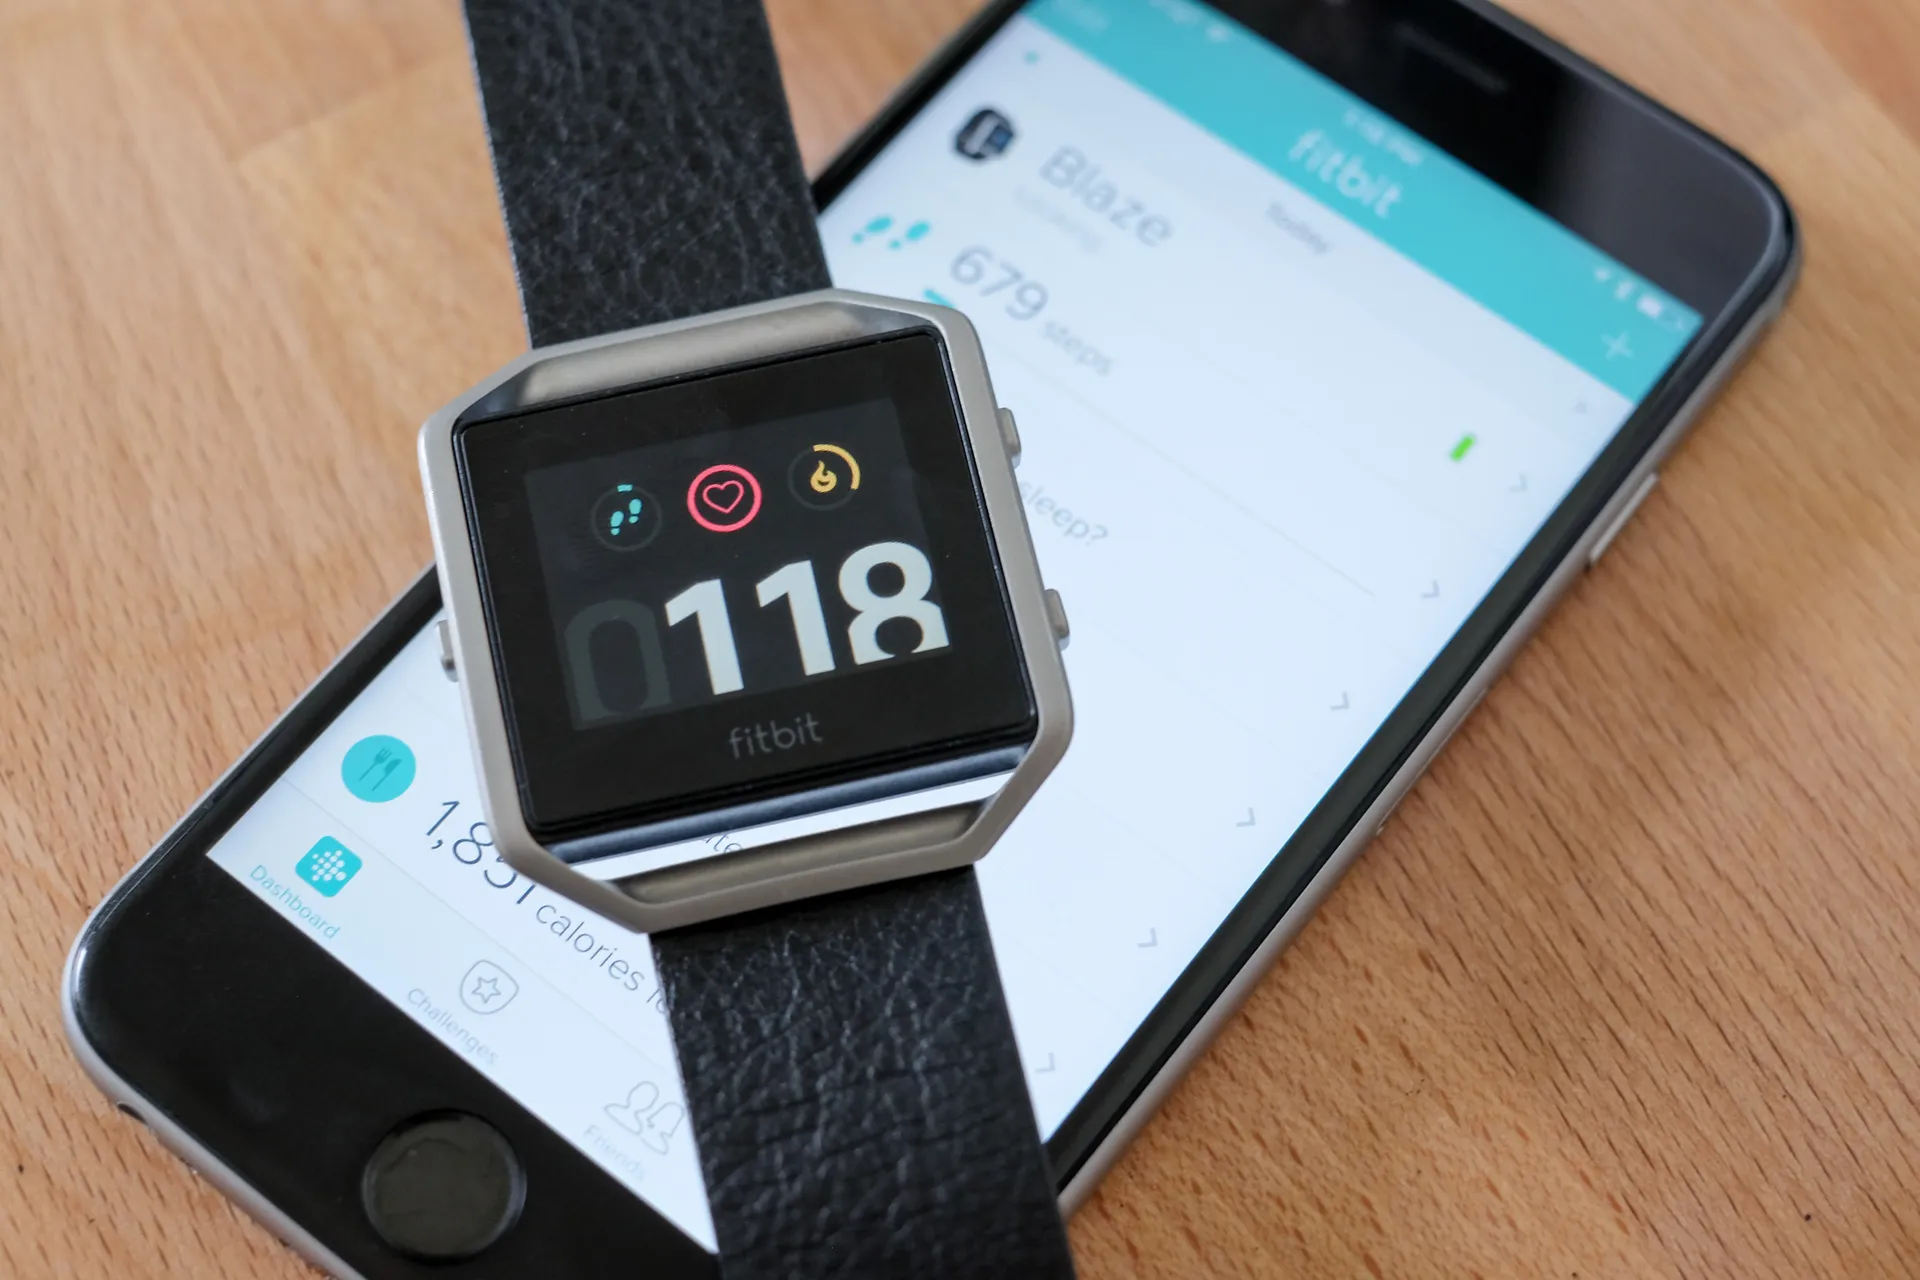
Functionality Check: After closing the Fitbit, take a moment to verify that all buttons, sensors, and features are operational. Power on the device and ensure that the new battery is powering the Fitbit effectively. This step allows you to confirm that the battery replacement process has been executed successfully and that your Fitbit is ready for use.
By following these meticulous steps, you can effectively close your Fitbit after replacing the battery, culminating in the restoration of its functionality and ensuring that the internal components are securely housed. It's essential to approach this phase with care and precision, ultimately leading to a seamless and successful closure of your Fitbit.
Conclusion
Congratulations on successfully completing the battery replacement process for your Fitbit! By following the step-by-step guide outlined in this tutorial, you have demonstrated the ability to tackle a crucial maintenance task for your beloved wearable device. As you reflect on this accomplishment, it's important to recognize the significance of your efforts in preserving the functionality and longevity of your Fitbit.
The process of changing the battery on your Fitbit may have initially seemed daunting, but your commitment to following the detailed instructions has empowered you to overcome this challenge with confidence. Through the careful utilization of essential tools, meticulous handling of internal components, and a focused approach to each step, you have effectively extended the lifespan of your Fitbit, ensuring that it can continue to support your fitness journey and daily activities.
As you close the chapter on the battery replacement process, take a moment to appreciate the sense of accomplishment that comes with successfully navigating a technical task. Your dedication to maintaining your Fitbit exemplifies your commitment to harnessing the full potential of wearable technology, allowing you to stay connected to your health and wellness goals.
Moving forward, your freshly replaced battery equips your Fitbit with the power it needs to continue tracking your steps, monitoring your heart rate, and providing valuable insights into your fitness progress. With a revitalized battery, you can confidently embrace your daily activities, workouts, and adventures, knowing that your Fitbit is ready to support and empower you every step of the way.
As you reflect on the journey of replacing the battery in your Fitbit, remember the valuable skills and knowledge you have gained. The ability to perform a battery swap not only enhances your technical proficiency but also instills a sense of independence and self-reliance in managing the maintenance of your devices.
In conclusion, your dedication to maintaining and optimizing your Fitbit sets the stage for continued success in leveraging wearable technology to enhance your lifestyle. By taking the initiative to replace the battery in your Fitbit, you have reaffirmed your role as a proactive and empowered user, ensuring that your Fitbit remains a reliable companion on your journey toward improved health and well-being.