Introduction
Welcome to our guide on how to wire a smart thermostat to a Coleman heater! Upgrading your thermostat to a smart one can offer numerous benefits, including improved energy efficiency, remote control capabilities, and enhanced comfort. By properly wiring your smart thermostat to your Coleman heater, you can take advantage of these features and optimize the heating performance in your home.
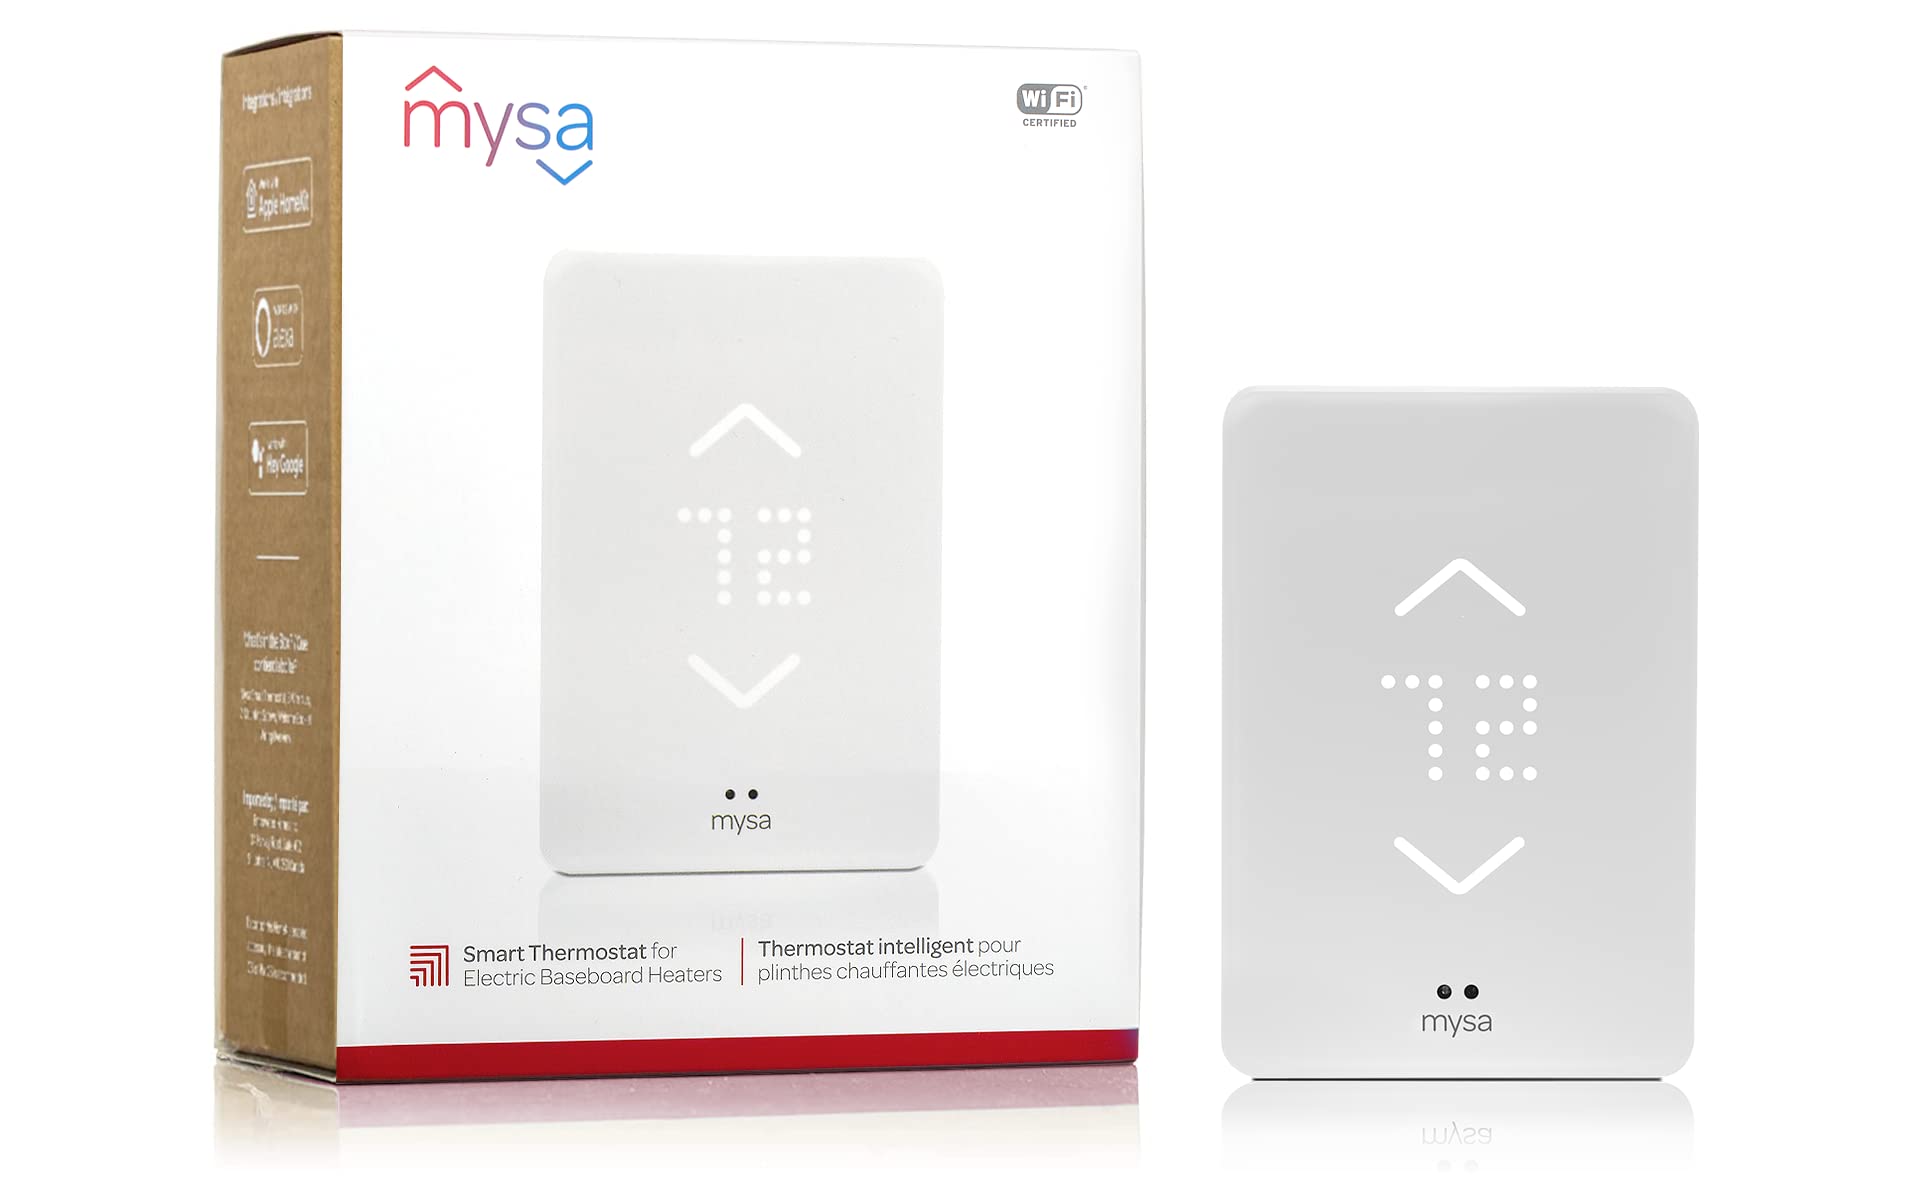
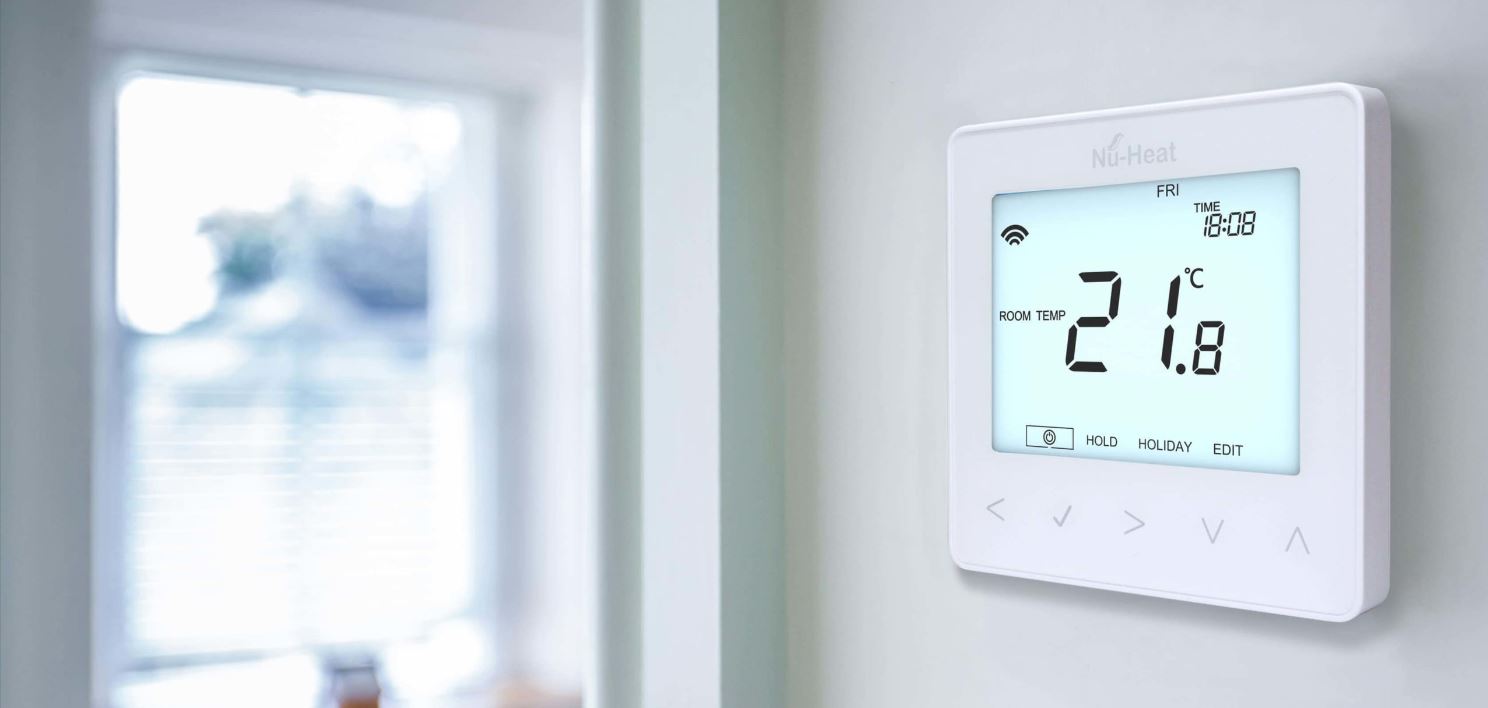
Before we delve into the specifics, let’s briefly understand what a smart thermostat is and why it’s worth considering for your Coleman heater. A smart thermostat is a modern upgrade to traditional thermostats, allowing you to control your heating system through a smartphone app or voice commands. These intelligent devices offer advanced features, such as learning your heating patterns, providing detailed energy usage reports, and integrating with other smart home devices.
To ensure a successful integration, it’s essential to evaluate the compatibility between your Coleman heater and the smart thermostat you wish to install. Different smart thermostats may have specific requirements or limitations, so it’s vital to consider factors such as voltage compatibility, wiring system compatibility, and HVAC system compatibility. Taking these factors into account will help you select a smart thermostat that works seamlessly with your Coleman heater.
In this guide, we’ll walk you through the step-by-step process of wiring a smart thermostat to your Coleman heater. We’ll provide you with clear instructions, including the tools and materials you’ll need, safety precautions to follow, and even troubleshooting tips in case any issues arise during the installation process.
Please note that while we aim to provide comprehensive guidance in this article, it’s crucial to refer to the specific instructions and guidelines provided by the manufacturer of your smart thermostat and Coleman heater. These instructions will ensure compatibility and warranty coverage, making your installation journey smoother and safer.
Now, let’s gather the necessary tools and get started on wiring your smart thermostat to maximize the efficiency and control of your Coleman heater!
Understanding the Basics of Smart Thermostats
Before you embark on installing a smart thermostat for your Coleman heater, it’s important to understand the basic functionality and features of these innovative devices. A smart thermostat goes beyond the traditional thermostat by incorporating advanced technology that offers improved control, energy efficiency, and convenience.
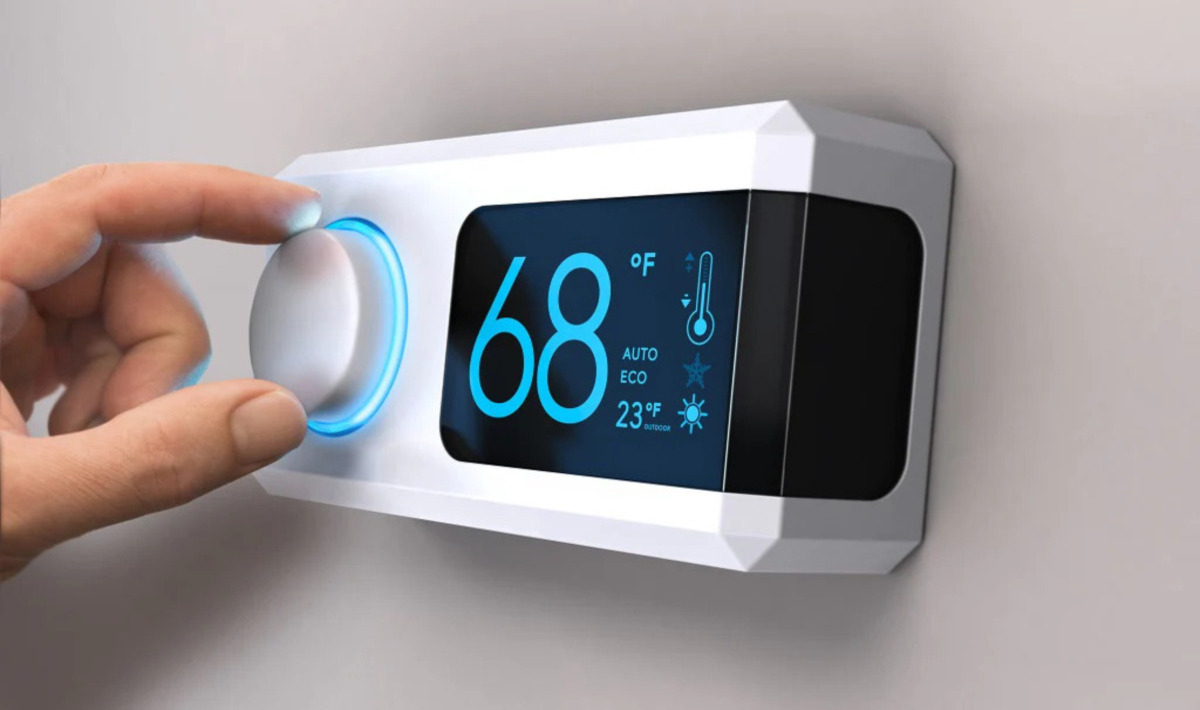
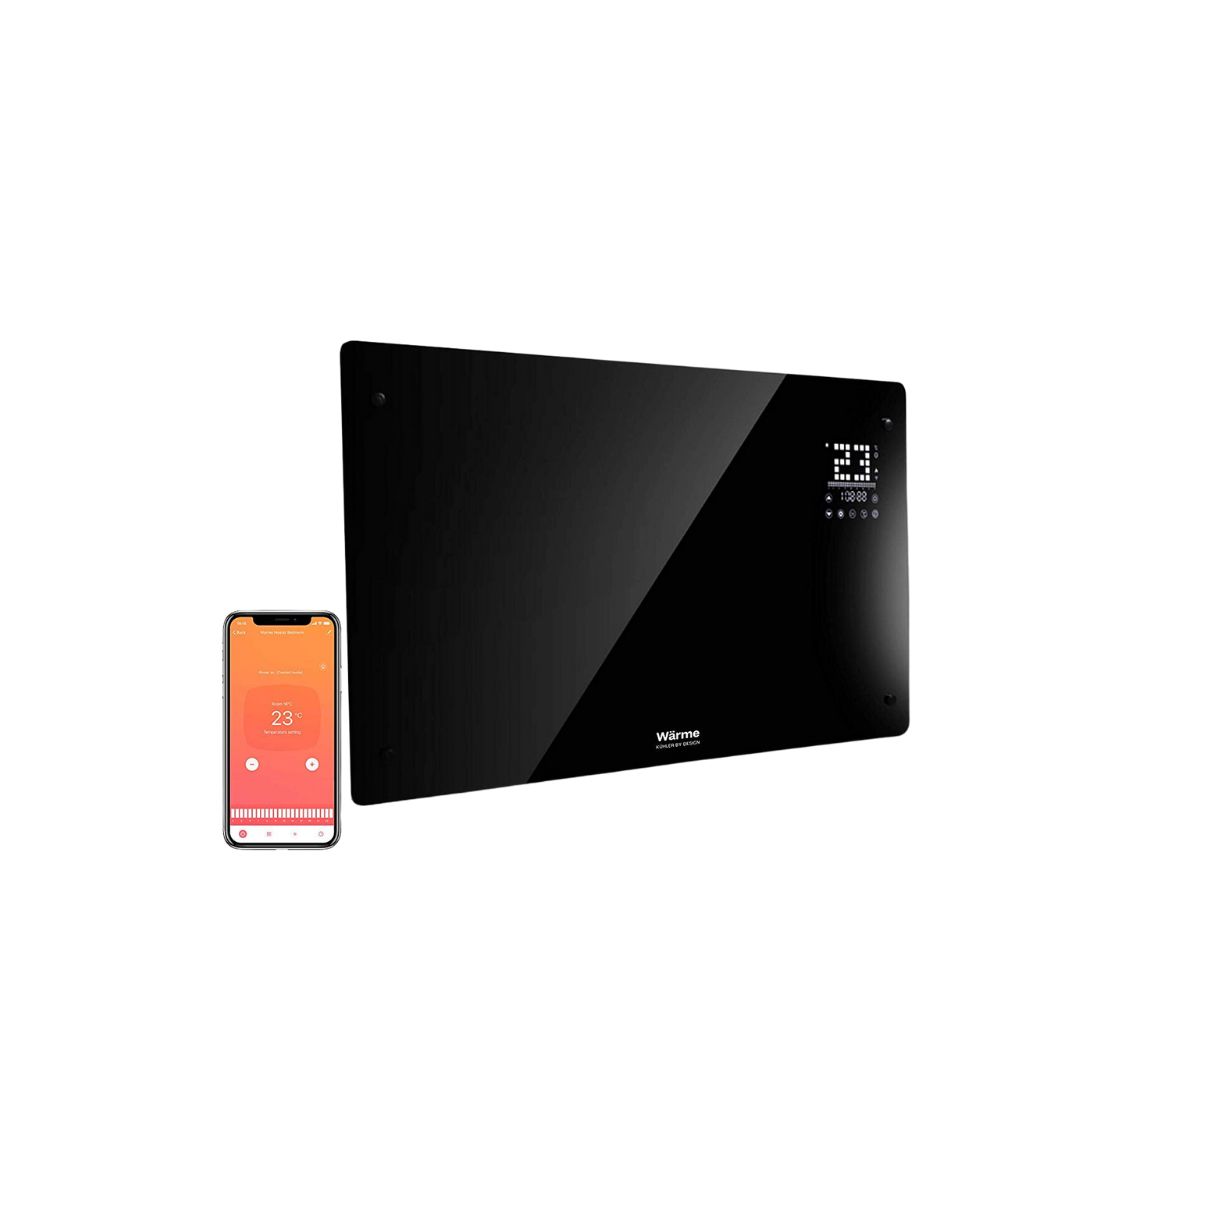
One of the key features of a smart thermostat is its ability to connect to your home’s Wi-Fi network. This connectivity allows you to control your heating system remotely using a smartphone app or even voice commands with voice assistant devices like Amazon Echo or Google Home. With this flexibility, you can adjust the temperature, create heating schedules, and monitor energy usage from anywhere, providing an unprecedented level of convenience and comfort.
Another advantage of smart thermostats is their ability to learn your heating preferences and patterns. Using algorithms and sensors, these devices can analyze your occupancy patterns and adjust the temperature accordingly. This means that over time, your smart thermostat will learn when you are home and when you are away, optimizing the heating performance to maximize energy savings without compromising comfort.
Most smart thermostats also come with energy-saving features, such as geofencing and occupancy detection. Geofencing technology uses your smartphone’s location to determine when to adjust the temperature based on your proximity to home. For example, when you leave a certain radius from your home, the thermostat will automatically lower the temperature to save energy. When you approach your home, the thermostat will adjust the temperature back to your desired comfort level.
Occupancy detection is another useful feature that smart thermostats offer. By using motion sensors or integrating with other smart devices, the thermostat can detect whether a room is occupied or vacant. This allows it to adjust the temperature accordingly, ensuring energy is not wasted in unoccupied areas of your home.
In addition to these advanced features, smart thermostats often provide detailed energy usage reports and recommendations to help you make informed decisions about your heating habits. This insight can empower you to identify areas where you can make further energy-saving changes, ultimately reducing your environmental impact and energy bills.
Now that you have a solid understanding of the basics of smart thermostats, it’s time to move on to evaluating the compatibility between your Coleman heater and the smart thermostat you plan to install. Take a closer look at the requirements and limitations of both devices to ensure a successful integration and improved heating performance.
Evaluating Compatibility between Coleman Heater and Smart Thermostats
To ensure a smooth installation and optimal performance, it is crucial to evaluate the compatibility between your Coleman heater and the smart thermostat you intend to install. While many smart thermostats are designed to work with a wide range of heating systems, it’s important to verify that your Coleman heater meets the necessary requirements.
The first step in evaluating compatibility is to determine whether your Coleman heater is compatible with 24-volt systems, which is the standard for most smart thermostats. Most modern Coleman heaters are compatible with 24-volt systems, but it’s always recommended to check the manufacturer’s documentation or consult with a professional for confirmation.
Next, you need to assess the wiring system of your Coleman heater. Smart thermostats typically require a common wire, also known as a C-wire, to power the device. The C-wire provides a continuous flow of power, enabling features such as Wi-Fi connectivity and the display screen. Some older Coleman heaters may not have a C-wire, so you may need to install an adapter or consult an HVAC technician to ensure compatibility.
Additionally, it’s important to confirm the compatibility of your HVAC (Heating, Ventilation, and Air Conditioning) system with the smart thermostat. Different smart thermostats have varying compatibility with multi-stage heating systems, heat pump systems, or dual-fuel systems. Check the specifications of both your Coleman heater and the smart thermostat to ensure they are compatible and capable of working together effectively.
When evaluating compatibility, consider factors such as the voltage requirements, wiring system, and HVAC system compatibility. It’s also important to review the manufacturer’s guidelines and recommended thermostat models for your specific Coleman heater. By thoroughly assessing compatibility, you can avoid potential issues during installation and ensure that your smart thermostat is fully functional with your Coleman heater.
If you’re unsure about the compatibility between your Coleman heater and the smart thermostat, it’s always wise to seek professional advice. An HVAC technician can assess your system, identify any necessary modifications or upgrades, and recommend the most suitable smart thermostat for seamless integration and optimal performance.
Once you have confirmed compatibility, it’s time to gather the necessary tools and materials to proceed with the installation. In the next section, we will discuss the essential tools and materials you’ll need to successfully wire your smart thermostat to your Coleman heater.
Tools and Materials Needed
Before you start wiring your smart thermostat to your Coleman heater, it’s important to gather all the necessary tools and materials. Having everything prepared in advance will make the installation process much smoother and more efficient. Here’s a list of the essential items you’ll need:
- Screwdriver: You’ll need a screwdriver to remove the cover of your existing thermostat and to secure the wires to the terminals of the new thermostat.
- Wire Cutter/Stripper: This tool will come in handy for cutting and stripping the insulation off the thermostat wires, ensuring a clean and secure connection.
- Electrical Tape: Use electrical tape to insulate the exposed wire ends, providing extra protection against any potential electrical issues.
- Labeling Stickers: These stickers will help you keep track of the wire connections during the installation process, making it easier to reconnect the wires correctly.
- Smart Thermostat: Choose a smart thermostat model that is compatible with your Coleman heater and meets your specific needs in terms of features and functionality.
- C-Wire Adapter (if necessary): If your Coleman heater doesn’t have a C-wire, you may need an adapter to provide the necessary power to your smart thermostat. Check the compatibility of the adapter with your specific smart thermostat model.
- User Manual: Read the user manual provided with your smart thermostat to understand the installation process, as each model may have slightly different requirements and instructions.
Make sure to have all these tools and materials readily available before starting the installation. It’s also a good idea to have a clear workspace and to turn off the power to your heating system for safety purposes. Following these guidelines will help ensure a smooth and successful installation process.
In the next section, we’ll discuss the necessary safety precautions to keep in mind before embarking on the wiring process.
Safety Precautions before Wiring
Before you start wiring your smart thermostat to your Coleman heater, it’s crucial to prioritize safety. Dealing with electrical systems requires caution and attention to prevent any accidents. Here are some essential safety precautions to follow before you begin the installation process:
- Turn off the Power: Before working on your heating system, turn off the power at the circuit breaker or the main electrical panel to ensure there is no electrical current flowing through the system. This will help prevent any potential electric shocks or accidents.
- Use Protective Gear: Wear gloves and safety glasses to protect yourself from any sharp edges or wiring hazards during the installation process. This will minimize the risk of injuries and ensure your safety.
- Read the User Manual: Carefully read the user manual that comes with your smart thermostat. Familiarize yourself with the instructions, diagram, and warnings provided by the manufacturer to understand the installation process and any potential risks involved.
- Check the Compatibility: Ensure that the smart thermostat you’ve chosen is compatible with your Coleman heater. Refer to the manufacturer’s instructions or consult with an HVAC professional to verify compatibility. Using an incompatible thermostat can cause problems or damage to your heating system.
- Avoid Strain on Wires: When connecting the wires to the thermostat terminals, make sure not to pull or tug on the wires excessively. Apply gentle pressure to secure the connections without causing any strain, which could lead to loose connections or damage.
- Double-Check Wiring: After connecting the wires, double-check their placement and ensure they are properly secured. Incorrectly wired connections can cause malfunctions or even damage your heating system. Take your time to ensure all connections are correct before proceeding.
- Test Before Finalizing: Once you’ve completed the wiring, turn the power back on and test the thermostat to ensure it is functioning correctly. Monitor your heating system for a few cycles to verify that the temperature changes as expected and that there are no abnormal behaviors.
Keep in mind that if you are unsure about any aspect of the installation process or encounter any difficulties, it’s best to seek professional assistance. HVAC technicians have the expertise and knowledge to ensure a safe and reliable installation, minimizing any risks associated with working on heating systems.
By following these safety precautions, you can ensure the well-being of yourself and your household while successfully wiring your smart thermostat to your Coleman heater. Now that you are familiar with the safety measures, let’s move on to locating the wiring terminals on your Coleman heater in the next section.
Locating the Wiring Terminals on the Coleman Heater
Before you begin wiring your smart thermostat, it’s important to locate the wiring terminals on your Coleman heater. These terminals are where the thermostat wires will be connected to ensure proper communication between the thermostat and the heating system. Locating the wiring terminals may vary depending on the specific model of your Coleman heater, so it’s crucial to refer to the manufacturer’s documentation for accurate information. Here are some general steps to help you locate the wiring terminals:
- Turn off the Power: As a safety precaution, make sure to turn off the power to your heating system at the circuit breaker or the main electrical panel.
- Remove the Old Thermostat: If you already have a thermostat installed, carefully remove the cover and disconnect the thermostat from the wiring terminals. Take note of the wire colors and their corresponding terminals to ensure correct connections later.
- Locate the Control Panel: Depending on the model of your Coleman heater, the control panel may be on the front or side of the unit. It houses various components, including the wiring terminals.
- Refer to the Manual: Consult the manufacturer’s manual or documentation to find the specific location of the wiring terminals. The manual may contain labeled diagrams or illustrations that indicate the position of the terminals on the control panel.
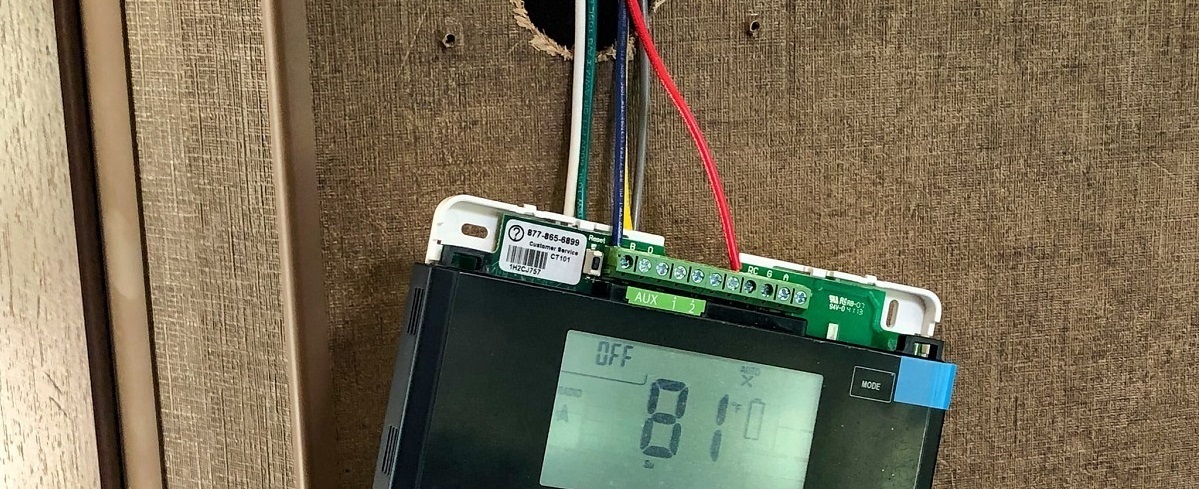
- Identify the Terminal Labels: Each terminal is typically labeled with a letter or a symbol to indicate its function. Common labels include R (power), W (heat), Y (cooling), G (fan), and C (common). Ensure that the labels on your Coleman heater match the wire labels from your thermostat.
- Take Note of the Wiring Order: Before disconnecting any wires, take a photo or make a note of the original wiring order. This will serve as a reference when connecting the wires to your new smart thermostat.
It’s important to exercise caution when working with the wiring terminals. Avoid touching any live wires or components while the power is still on, as this can lead to electric shocks or other electrical hazards. Ensure the power remains off until all wiring is complete and you have verified the connections.
By following these steps and referring to the manufacturer’s documentation, you should be able to locate the wiring terminals on your Coleman heater. Once you have identified the terminals, you can proceed to the next section, where we will provide detailed wiring instructions for various common smart thermostat models.
Wiring Instructions for Common Smart Thermostat Models
Now that you have located the wiring terminals on your Coleman heater, it’s time to wire your smart thermostat. The specific wiring instructions may vary depending on the model and brand of your smart thermostat, so it’s essential to refer to the manufacturer’s documentation for the most accurate instructions. However, we will provide you with a general guideline for wiring common smart thermostat models to ensure a successful installation.
Before you begin the wiring process, make sure the power to your heating system is turned off at the circuit breaker or main electrical panel for safety purposes. It’s also a good idea to use the labels or photos you took during the previous step to guide you in connecting the wires correctly. Here’s a step-by-step guide to wiring common smart thermostat models:
- Identify the Thermostat Terminal Letters: Each wire from your Coleman heater will correspond to a specific terminal on your smart thermostat. Familiarize yourself with the terminal labels on the thermostat, which commonly include R (power), W (heat), Y (cooling), G (fan), and C (common).
- Match the Wires: Match the wires from your Coleman heater to the corresponding terminal letters on your smart thermostat. For example, the wire labeled “R” on your Coleman heater should be connected to the “R” terminal on your smart thermostat.
- Connect the Wires: Use a screwdriver to loosen the screws on each terminal and insert the corresponding wire into the appropriate terminal. Tighten the screws securely to ensure proper contact and connection.
- C-Wire Connection (if applicable): If your smart thermostat requires a C-wire (common wire) for power, connect it to the C terminal on both the Coleman heater and the smart thermostat. If your Coleman heater does not have a C-wire terminal, you may need to use a C-wire adapter or consult an HVAC professional for assistance.
- Additional Wire Connections: If your smart thermostat has additional terminals, such as for a heat pump system or auxiliary heating, refer to the manufacturer’s documentation for specific instructions on connecting those wires.
- Secure and Insulate the Wires: Once all the wires are connected, ensure they are securely fastened to the terminals. Use electrical tape to insulate any exposed wire ends to prevent them from coming into contact with other wires or components.
It’s essential to double-check all the wire connections to ensure they are secure and properly matched to the correct terminals. Incorrect wiring can lead to malfunctions or damage to your heating system. Once all the wires are connected, you can proceed to attach the front panel or cover of your smart thermostat, following the manufacturer’s instructions.
Remember to turn the power back on and test your smart thermostat to ensure it is functioning correctly. Monitor your heating system to confirm that the temperature changes as expected and that the thermostat is communicating effectively with your Coleman heater.
Please note that these are general instructions, and it’s always recommended to consult the manufacturer’s documentation and guidelines for your specific smart thermostat model. Now that your smart thermostat is wired, we will move on to configuring the thermostat settings in the next section.
Configuring the Thermostat Settings
After successfully wiring your smart thermostat to your Coleman heater, it’s time to configure the thermostat settings to optimize its performance and tailor it to your preferences. The specific steps and options for configuring your thermostat settings may vary depending on the model and brand you have installed. However, we will provide a general guideline to help you get started.
1. Power on the Thermostat: Turn on the power to your heating system. Your smart thermostat should receive power and display the initial setup screen or prompt.
2. Language and Units: Select your preferred language and units of temperature (Fahrenheit or Celsius) on the thermostat display.
3. Wi-Fi Connectivity: Follow the prompts on the thermostat to connect it to your home’s Wi-Fi network. Most smart thermostats have on-screen instructions to guide you through the process. Enter the network password when prompted.
4. Companion App Setup: If your smart thermostat has a companion smartphone app, download the app and follow the instructions to set it up and pair it with your thermostat. This will allow you to control your heating system remotely and access additional features.
5. Heating and Cooling Preferences: Configure your desired temperature settings for different times of the day. Some smart thermostats have preset schedules or occupancy sensors that can learn your habits and adjust accordingly. Take the time to adjust these settings to suit your lifestyle and preferences.
6. Energy-Saving Features: Explore the energy-saving features offered by your smart thermostat, such as geofencing or occupancy detection. Enable and customize these features to maximize energy efficiency and savings.
7. Integration with Smart Home Devices: If you have other smart home devices, such as voice assistants or smart speakers, follow the instructions to pair them with your smart thermostat. This will allow you to control your heating system using voice commands or through automated routines.
8. Firmware Updates: Check for any available firmware updates for your smart thermostat. Updating to the latest firmware ensures that you have access to the latest features, bug fixes, and security improvements.
9. Test and Monitor: After configuring the thermostat settings, test your heating system to ensure proper functionality. Monitor the temperature changes and the performance of your smart thermostat over a few cycles to ensure everything is working as expected.
Remember, these are general guidelines, and it’s important to refer to the manufacturer’s specific instructions and documentation for your smart thermostat model. Familiarize yourself with all the available features and options your thermostat offers, as they may enhance your comfort and energy efficiency.
In the next section, we’ll provide information on testing and troubleshooting the installation, helping you address any potential issues that may arise during the setup process.
Testing and Troubleshooting the Installation
Once you have configured the settings of your smart thermostat, it’s important to test the installation to ensure its proper functionality. This step allows you to verify that your Coleman heater is communicating effectively with the thermostat and that your heating system is operating as expected. If any issues arise during the testing process, troubleshooting can help identify and resolve them. Here’s a guide to testing and troubleshooting your smart thermostat installation:
1. Check the Display: Ensure that the thermostat’s display is showing the correct temperature, mode (heat or cool), and any other relevant information. If the display is blank or shows incorrect information, verify that the thermostat is receiving power and that the wiring connections are secure.
2. Adjust Temperature Settings: Set the desired temperature on your thermostat and monitor if the Coleman heater responds accordingly. Listen for any sounds or observe the behavior of the heating system to confirm that it is turning on and providing the expected level of warmth.
3. Test the Fan: Activate the fan on your smart thermostat to test if it is functioning properly. Listen for the fan turning on and observe if the airflow is consistent and adequate. If the fan is not working or seems to be malfunctioning, double-check the wiring connections and ensure they are correctly connected to the appropriate terminals.
4. Monitor Energy Usage: Many smart thermostats provide real-time energy usage data. Monitor and compare your energy consumption to identify any abnormalities or unexpected high usage. If your energy usage is unusually high, it could indicate a problem with the thermostat or the heating system itself. Refer to the manufacturer’s documentation or consult with a professional to address any energy consumption concerns.
5. Troubleshooting Common Issues: If you encounter any issues during testing, consult the troubleshooting section of your smart thermostat’s user manual or the manufacturer’s website. Common issues may include connectivity problems, temperature discrepancies, or error messages. Troubleshooting steps can help identify the root cause and offer solutions to resolve the problem.
If troubleshooting steps fail to resolve the issue, it is advisable to contact the manufacturer’s customer support or consult with an HVAC technician for further assistance. They can provide expert guidance and help resolve any technical or installation-related problems you may encounter.
Remember, it’s important to regularly maintain and check your smart thermostat for optimal performance. Keep the thermostat clean, ensure it has the most up-to-date firmware, and periodically review its settings to ensure they meet your heating preferences and energy-saving goals.
With successful testing and troubleshooting, you can now enjoy the benefits of your smart thermostat, maximizing comfort and energy efficiency in your home.
Conclusion
Congratulations on successfully wiring your smart thermostat to your Coleman heater! By following the steps outlined in this guide, you have taken a significant step towards optimizing the performance, energy efficiency, and convenience of your heating system. A smart thermostat provides you with greater control over your home’s temperature, allowing you to create personalized schedules, monitor energy usage, and even control your heating system remotely.
In this guide, we started by understanding the basics of smart thermostats and the benefits they offer. We then discussed the importance of evaluating compatibility between your Coleman heater and the smart thermostat to ensure a seamless integration. We also provided a list of tools and materials you’ll need for the installation, along with essential safety precautions to follow.
We covered important steps such as locating the wiring terminals on your Coleman heater and provided wiring instructions for common smart thermostat models. We emphasized the significance of configuring the thermostat settings to make the most of its features and customize it to your preferences.
Lastly, we discussed the importance of testing and troubleshooting the installation to ensure everything is functioning correctly and addressed any issues that may arise during the setup process.
Remember, always refer to the specific instructions and documentation provided by the manufacturer of your smart thermostat and the Coleman heater. If you encounter any challenges or are unsure about any aspect of the installation, it is advisable to seek professional assistance from an HVAC technician.
Installing a smart thermostat to your Coleman heater not only enhances your comfort but also allows for greater energy efficiency and control over your heating system. Enjoy the benefits of simplified scheduling, remote accessibility, and personalized temperature settings while reducing energy consumption and lowering your utility bills.
Thank you for choosing our guide as a resource for wiring your smart thermostat to your Coleman heater. We hope this information has been helpful and that you enjoy the convenience and energy efficiency that a smart thermostat brings to your home.


