Introduction:
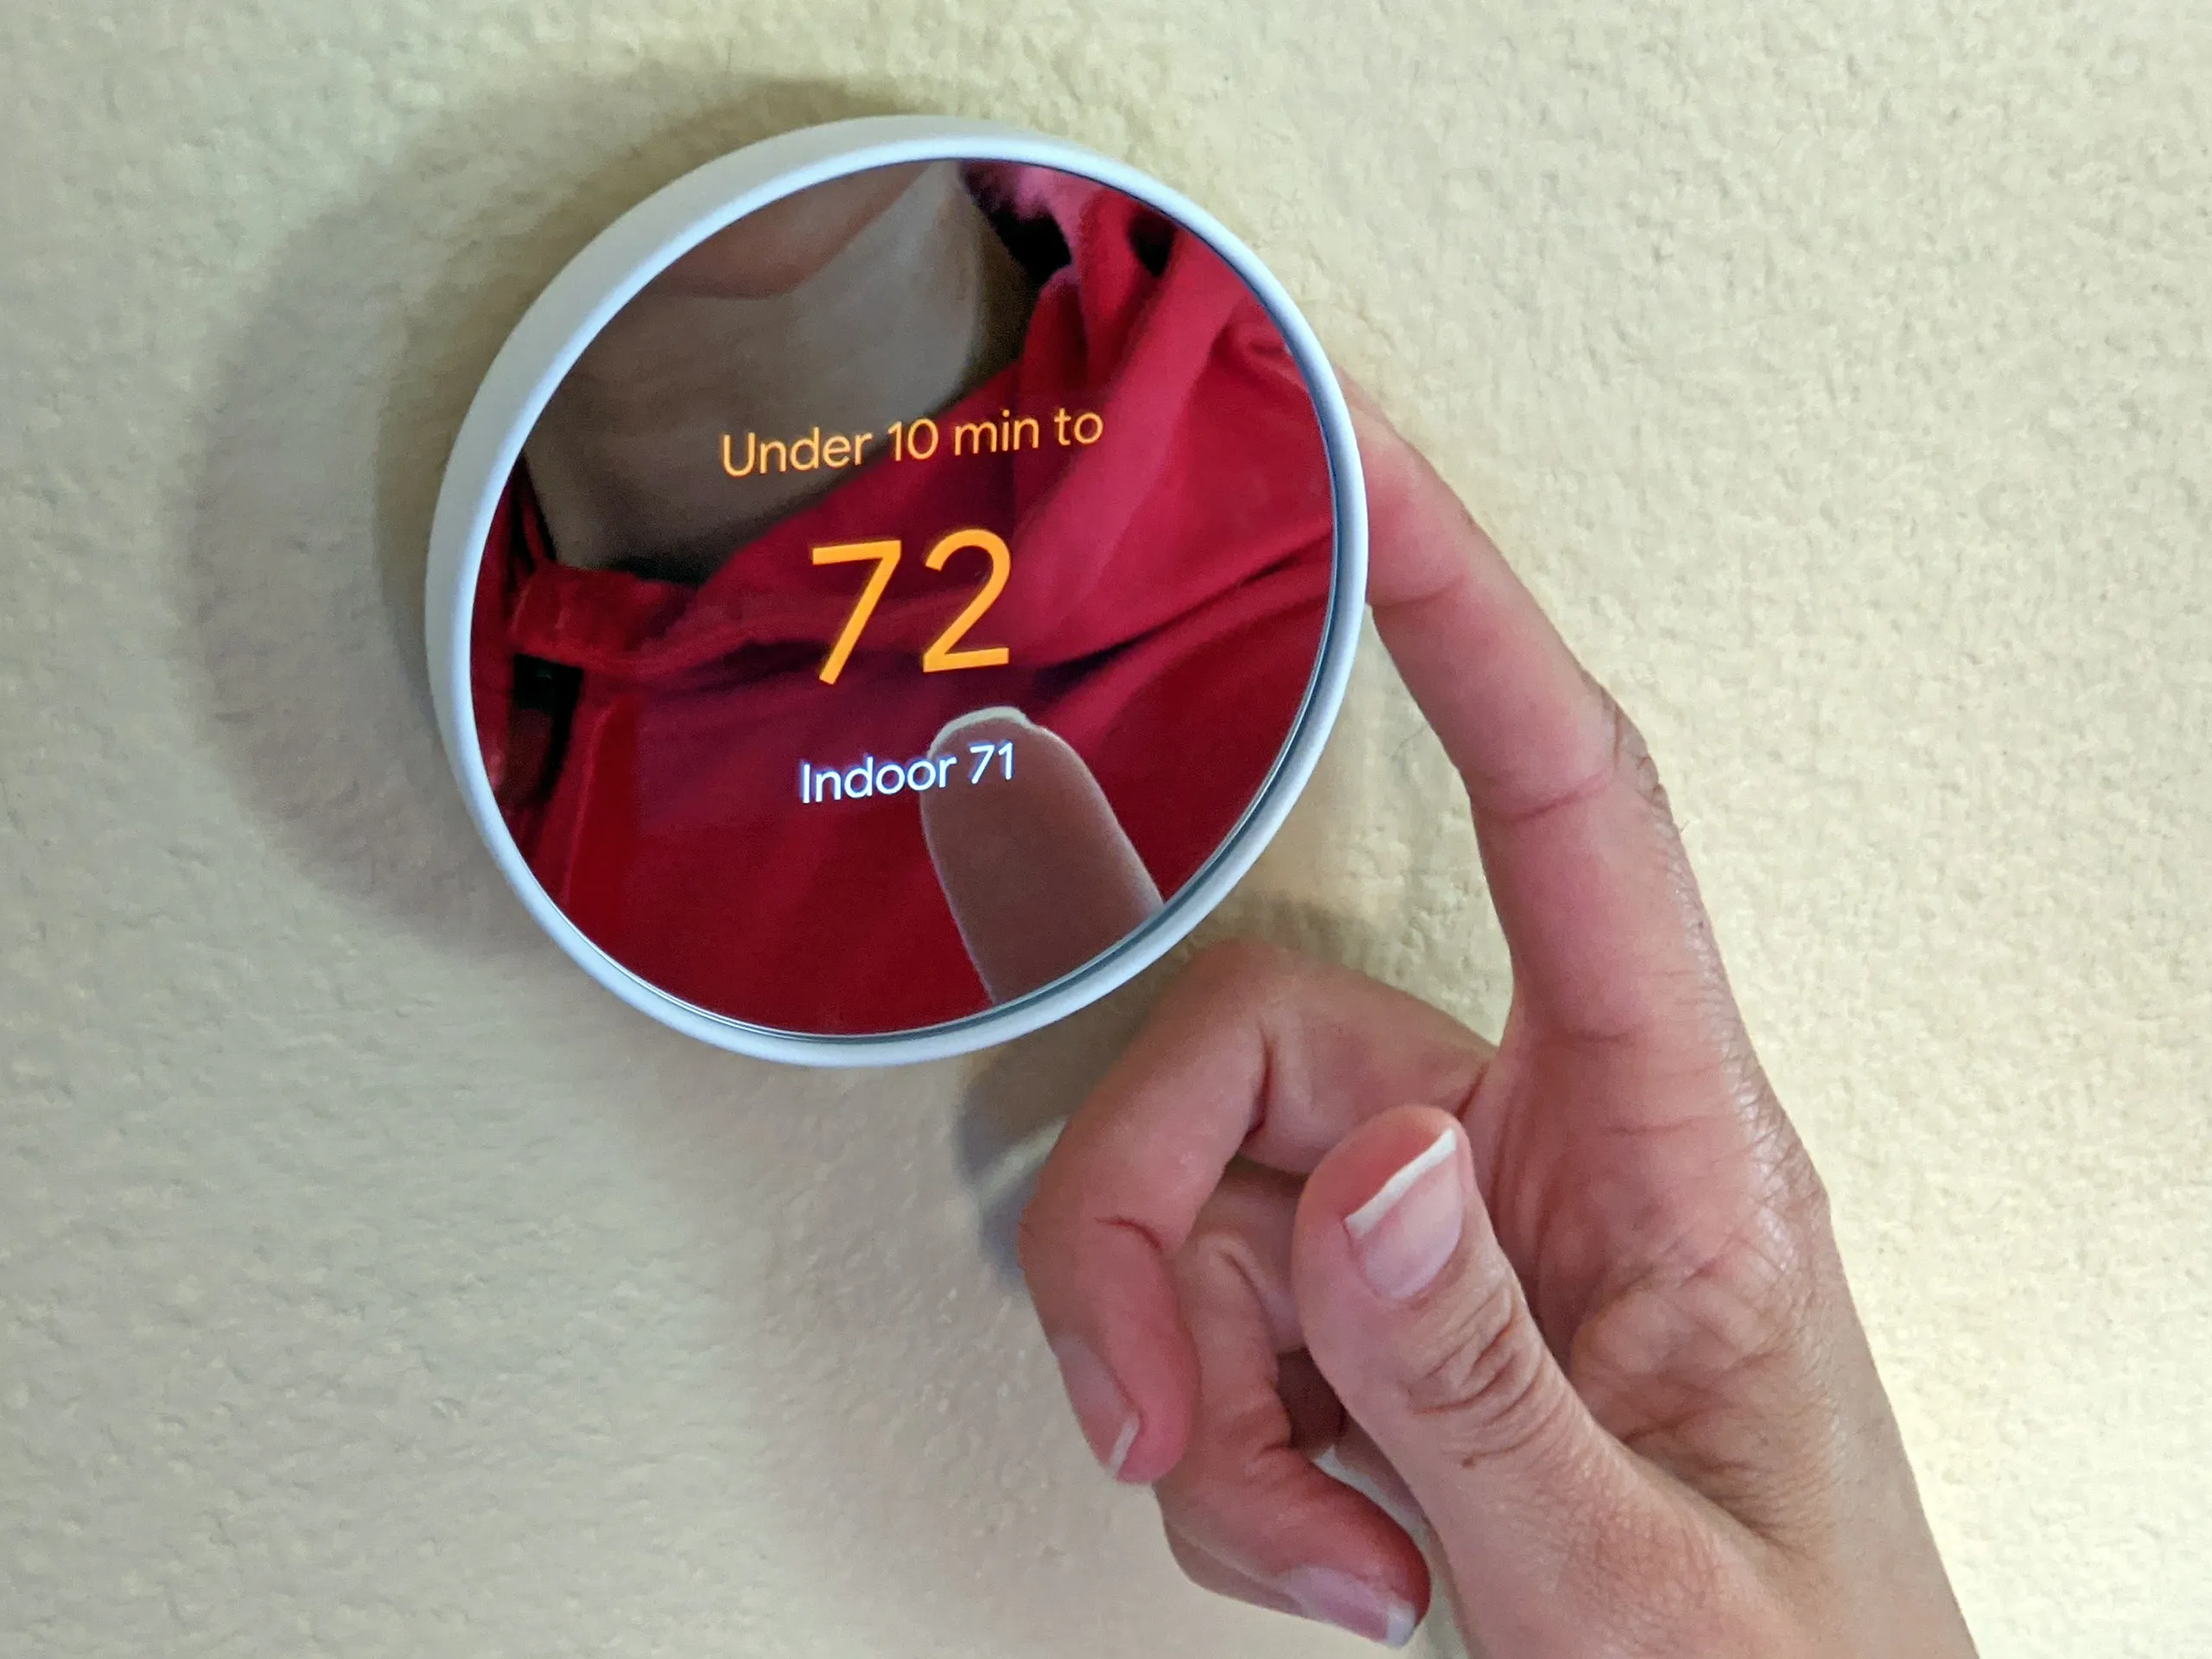
When you purchase a pre-owned Honeywell smart thermostat, one of the first things you need to do is unregister the previous owner. Unregistering is crucial as it allows you to have complete control over the thermostat and ensures that the previous owner no longer has access to it. By unregistering, you can personalize the settings, connect it to your own home automation system, and maximize its features to suit your needs.
Although unregistering may seem like a complicated process, Honeywell provides a straightforward method to release the thermostat from the previous owner’s control. In this article, we will guide you through the step-by-step process to successfully unregister the previous owner of a Honeywell smart thermostat. Additionally, we will also discuss an alternative method to factory reset the thermostat if the official unregistration process is not feasible.
Unregistering the previous owner not only offers you peace of mind but also ensures that your smart thermostat functions optimally. It allows you to customize the settings, such as temperature and scheduling, to align with your preferences. Furthermore, it enables you to connect the thermostat to your preferred home automation system or smart assistant, providing you with a seamless and convenient experience when controlling the thermostat.
Whether you recently purchased a used Honeywell smart thermostat or inherited one from a previous occupant in your home, it is essential to go through the unregistration process to claim ownership and maximize its functionality. By following our step-by-step guide or considering the alternative method, you will be able to successfully unregister the previous owner and take complete control of your Honeywell smart thermostat.
Why Unregister the Previous Owner?
Unregistering the previous owner of a Honeywell smart thermostat is an important step for several reasons. Let’s explore why it is necessary to unlink the thermostat from its previous owner:
- Privacy and Security: When you unregister the previous owner, you ensure that they no longer have access to your thermostat. This protects your privacy, preventing them from monitoring or controlling your heating and cooling settings. It also eliminates the risk of unauthorized access to your home’s temperature and energy usage data.
- Personalization: By unregistering, you can personalize the thermostat to meet your specific needs and preferences. You can create temperature schedules that align with your daily routine, adjust settings based on your comfort level, and optimize energy usage to save costs. Unregistering allows you to tailor the thermostat’s settings to your unique lifestyle.
- Compatibility: Unregistering the previous owner ensures that the thermostat is no longer linked to their home automation system or smart assistant. This allows you to connect it to your own preferred platform, ensuring seamless integration with other smart devices in your home. Compatibility with your preferred system enhances the overall functionality and convenience of controlling your thermostat.
- Warranty and Support: Registering yourself as the new owner of the thermostat ensures that you can take advantage of any warranty or support services offered by Honeywell. If you encounter any issues or require assistance, having ownership registered under your name allows for a smoother communication process with customer support.
- Full Control: By unregistering the previous owner, you gain complete control over the thermostat. You can set your own temperature preferences, manage energy-saving features, and adjust settings remotely if the thermostat supports it. This ownership transfer allows you to unleash the full potential of the Honeywell smart thermostat.
Unregistering the previous owner of a Honeywell smart thermostat is important for your privacy, personalization, compatibility, warranty, and control. It ensures that you have sole ownership and complete control over the thermostat, allowing it to cater to your specific needs. Now that we understand the significance of unregistering, let’s move on to the step-by-step guide on how to accomplish this process.
Step-by-Step Guide to Unregistering the Previous Owner:
Unregistering the previous owner of your Honeywell smart thermostat involves a simple process. Follow the steps below to successfully complete the unregistration:
- Gathering Information: Before contacting Honeywell support, gather all the necessary information related to the thermostat. This includes the model number, serial number (if available), and any other relevant details. Having this information ready will help expedite the unregistration process.
- Contacting Honeywell Support: Reach out to Honeywell customer support through their official channels. This can be via phone, email, or live chat. Explain that you have purchased a used Honeywell smart thermostat and need assistance with unregistering the previous owner.
- Providing Required Details: During your communication with Honeywell support, be prepared to provide the information gathered in step 1. This will allow them to locate your specific product and verify ownership.
- Confirmation and Verification Process: Honeywell support will guide you through a series of steps to confirm your ownership and unregister the previous owner. This may involve providing proof of purchase, photos of the thermostat, or answering security questions related to the device. Follow their instructions carefully to proceed.
- Completing the Unregistration: Once the confirmation and verification process is complete, Honeywell support will unregister the previous owner from the thermostat. They may provide further instructions on how to link the device to your own account, or it may automatically reset to factory default settings. In either case, you will now have full control over the thermostat.
Following this step-by-step guide will ensure a smooth unregistration process for your Honeywell smart thermostat. However, if you encounter any difficulties or if the official unregistration process is not feasible, there is an alternative method you can try – factory resetting the thermostat.
Step 1: Gathering Information
Before initiating the unregistration process for your Honeywell smart thermostat, it is essential to gather all the necessary information. This will help streamline the communication with Honeywell support and expedite the unregistration process. Here are the key details you need to collect:
- Model Number: The model number of your thermostat can usually be found on the device itself or in the product documentation. It is a unique alphanumeric code that identifies the specific model you own.
- Serial Number: While not all Honeywell smart thermostats have a serial number, if yours does, it can be found either on the device or its packaging. The serial number serves as an additional identifier for your specific unit.
- Purchase Information: If you have any purchase information, such as an invoice or receipt, gather and keep it handy. This documentation serves as proof of ownership and can be useful during the unregistration process.
- Additional Details: Take note of any other relevant details about the thermostat, such as the date of purchase, where it was purchased from, or any specific circumstances surrounding its acquisition. While not always necessary, these details could help expedite the unregistration process or resolve any potential issues smoothly.
Gathering this information before contacting Honeywell support will save you time and provide them with the necessary details to assist you effectively. Having the model number and serial number readily available allows support representatives to quickly locate your specific product and verify ownership. Providing any additional purchase details can help demonstrate that you are the rightful owner of the thermostat.
Remember to keep this information in a safe place, as you may need it for future references or any follow-up inquiries. Once you have collected all the necessary details, you are ready to proceed to the next step – contacting Honeywell support.
Step 2: Contacting Honeywell Support
After gathering all the necessary information for your Honeywell smart thermostat unregistration, the next step is to reach out to Honeywell support. There are multiple channels you can use to contact them, including phone, email, or live chat. Follow the instructions below to initiate communication with Honeywell support:
- Visit the Honeywell Support Website: Begin by visiting the official Honeywell website. Navigate to the support section, where you will find various contact options.
- Choose Your Preferred Mode of Contact: Select the contact method that suits you best. You may prefer to call their customer support hotline, send an email to their designated support address, or engage in a live chat conversation with a representative.
- Explain Your Situation: Clearly explain that you have purchased a pre-owned Honeywell smart thermostat and need assistance to unregister the previous owner. Briefly summarize the steps you have already completed, such as gathering the necessary information, to provide context to the support representative.
- Be Prepared to Provide Details: Honeywell support may require some specific details from you to proceed with the unregistration process. This may include the model number, serial number, purchase information, or any other relevant information you gathered in the previous step. Ensure you have this information readily available to provide when prompted.
- Follow Their Guidance: The support representative will guide you through the unregistration process. They may ask for additional information, provide specific instructions, or request proof of ownership. Listen carefully and follow their instructions to successfully unregister the previous owner of your Honeywell smart thermostat.
By reaching out to Honeywell support, you are accessing the expertise and assistance of their dedicated team. They are experienced in handling registrations and unregistrations, ensuring that the process is smooth and efficient for you as the new owner of the thermostat.
Remember to jot down any reference numbers, case numbers, or important details provided by the support representative for future reference. This will be useful in case you need to follow up on the progress of the unregistration process or if you require further assistance.
Now that you have contacted Honeywell support, provided the necessary information, and explained your situation, you can proceed to the next step – providing the required details to verify ownership.
Step 3: Providing Required Details
After initiating contact with Honeywell support for the unregistration of your Honeywell smart thermostat, the next step is to provide them with the required details to verify your ownership. Follow the instructions below to effectively provide the necessary information:
- Listen to the Support Representative: Once you are connected to a Honeywell support representative, carefully listen to their instructions. They may ask for specific details or documents to verify your ownership.
- Provide the Model Number: When prompted, share the model number of your Honeywell smart thermostat. This unique alphanumeric code can usually be found on the device or in the product documentation.
- Share the Serial Number (if applicable): If your Honeywell smart thermostat has a serial number, provide it when requested. The serial number is an additional identifier for your specific unit and can aid in the verification process.
- Submit Purchase Information: If you have any purchase documentation, such as an invoice or receipt, be prepared to provide a copy or relevant details. This will serve as proof of ownership and help verify that you are the rightful owner of the thermostat.
- Answer Security Questions: Honeywell support may ask you security questions related to the product or your purchase to further validate your ownership. Answer these questions accurately to demonstrate your ownership.
- Follow Any Additional Instructions: Depending on the situation, the support representative may ask for additional information or documentation. This could include photos of the thermostat or any other unique identifiers that can help confirm ownership. Cooperate with the representative and provide the requested details promptly.
By providing the required details, you are assisting Honeywell support in verifying your ownership of the thermostat. This step is crucial in ensuring a smooth unregistration process and transferring the ownership to you as the new owner.
Remember to stay patient and cooperative throughout the process. In case you encounter any difficulties or have trouble providing certain information, communicate openly with the support representative. They are there to assist you and will guide you through any challenges you may face.
Once the required details have been submitted and verified, you are one step closer to successfully unregistering the previous owner of your Honeywell smart thermostat. Next, we will cover the confirmation and verification process in step 4 of the unregistration guide.
Step 4: Confirmation and Verification Process
After providing the necessary details to Honeywell support for the unregistration of your Honeywell smart thermostat, you will proceed to the confirmation and verification process. This step is crucial in ensuring that the ownership transfer is successfully carried out. Follow the instructions below to navigate through this stage:
- Follow Support Representative’s Instructions: The support representative will guide you through the confirmation and verification process. They may ask you to perform specific actions or provide additional information to complete the process.
- Provide Proof of Purchase: As part of the verification process, you may be required to provide proof of purchase for the thermostat. This can include uploading a copy of the invoice, receipt, or any other relevant documentation. Be prepared to share this information as requested.
- Answer Further Security Questions: To ensure the proper transfer of ownership, the support representative may ask you additional security questions related to the device or your account. Answer these questions accurately and securely to proceed.
- Submit Photos or Pictures (if requested): Depending on the situation, you may be asked to provide photos or pictures of the thermostat. These visuals can help validate your ownership and assist in the verification process. Follow the instructions provided by the support representative regarding the format and content of the photos.
- Confirm Unregistration: Once all the necessary steps and actions have been completed, the support representative will confirm the unregistration of the previous owner from your Honeywell smart thermostat. They may provide you with a confirmation or reference number as proof of the successful unregistration.
During the confirmation and verification process, it is important to follow the instructions provided by the support representative. They are experienced in handling these situations and will guide you through any necessary steps to ensure a successful transfer of ownership.
Keep in mind that the process may vary depending on the specific situation and any additional security measures in place. Be patient and cooperate with the support representative to expedite the process.
Once the confirmation and verification process is complete, you are ready to proceed to the final step – completing the unregistration of the previous owner of your Honeywell smart thermostat.
Step 5: Completing the Unregistration
After successfully going through the confirmation and verification process with Honeywell support, you are now ready to complete the unregistration of the previous owner from your Honeywell smart thermostat. Follow the steps below to finalize the process:
- Follow Support Representative’s Instructions: Once the support representative confirms the completion of the verification process, listen to any additional instructions they may provide for completing the unregistration.
- Link to Your Account (if applicable): Depending on the model of your Honeywell smart thermostat, you may need to link it to your own account for full control. The support representative will guide you through this process and provide instructions on how to proceed. Follow their guidance carefully to successfully link the thermostat to your account.
- Factory Reset: In some cases, the unregistration process may involve a factory reset of the thermostat. If this is the case, the support representative will provide clear instructions on how to perform the reset. Follow these instructions precisely to ensure the reset is executed correctly.
- Verify Unregistration: After completing the necessary steps, it is advisable to verify that the unregistration of the previous owner has been successful. Confirm that the thermostat is disconnected from any previous home automation systems or accounts, and that you have full control over its settings.
- Record any Important Information: As a final step, make a record of any important information provided by the support representative. This could include confirmation numbers, reference numbers, or any other details that may be necessary for future reference or follow-up inquiries.
By following these steps, you will successfully complete the unregistration process and have full control of your Honeywell smart thermostat. Whether you need to link it to your own account or perform a factory reset, ensure that the necessary steps are carried out according to the support representative’s instructions.
Remember to take note of any information that may be useful for future communication or troubleshooting. This will help expedite any follow-up support you may require regarding the unregistration or any other related matters.
Congratulations! You have now completed the unregistration process and can enjoy complete ownership and control of your Honeywell smart thermostat. It is now personalized to your preferences and ready to provide you with optimal comfort and energy efficiency.
Alternative Method: Factory Resetting the Thermostat
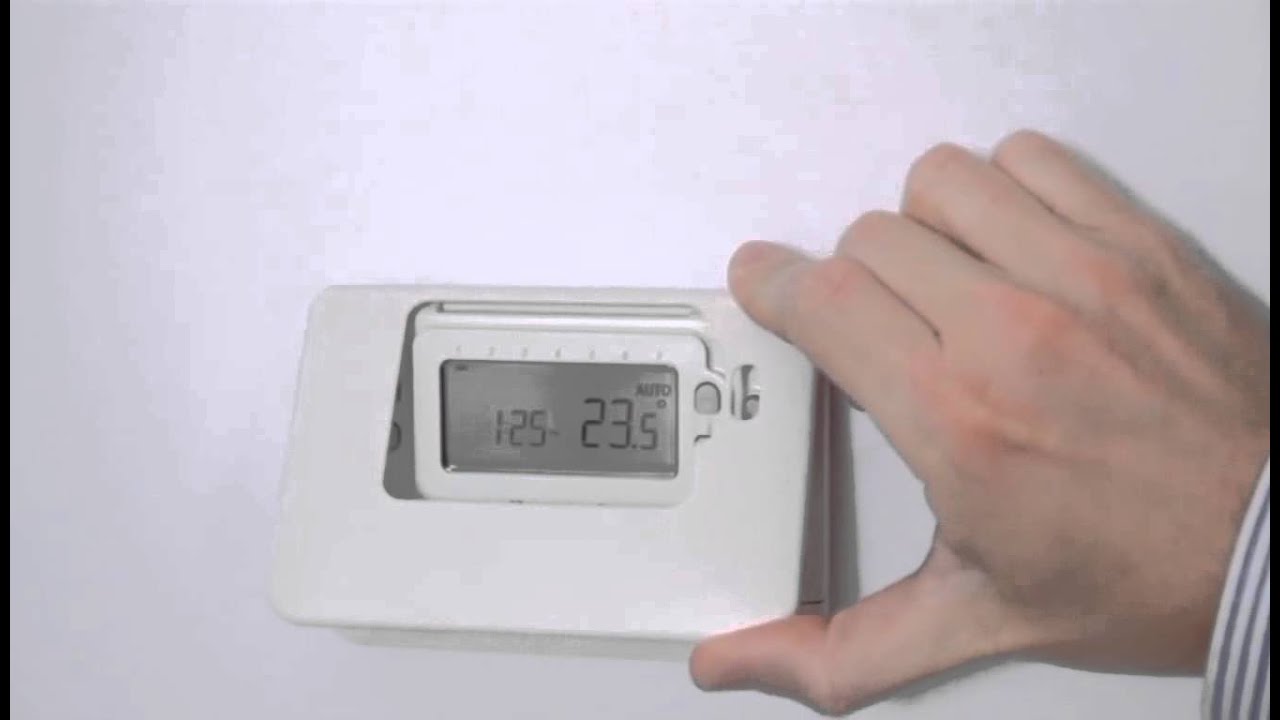
If you are unable to contact Honeywell support or the official unregistration process is not feasible, an alternative method to unregister the previous owner from your Honeywell smart thermostat is by performing a factory reset. Before proceeding with this method, it is important to note that a factory reset will erase all personalized settings and return the thermostat to its original state. Follow the steps below to perform a factory reset:
- Locate the Reset Button: On your Honeywell smart thermostat, look for a small reset button. The location of the reset button can vary depending on the model, but it is typically located either on the front or back of the device.
- Press and Hold the Reset Button: Using a small pointed object like a pen tip or paperclip, press and hold the reset button for approximately 15 seconds. You may need to use some force to depress the button.
- Release the Reset Button: After holding the reset button for the specified time, release it. The thermostat will now begin the factory reset process.
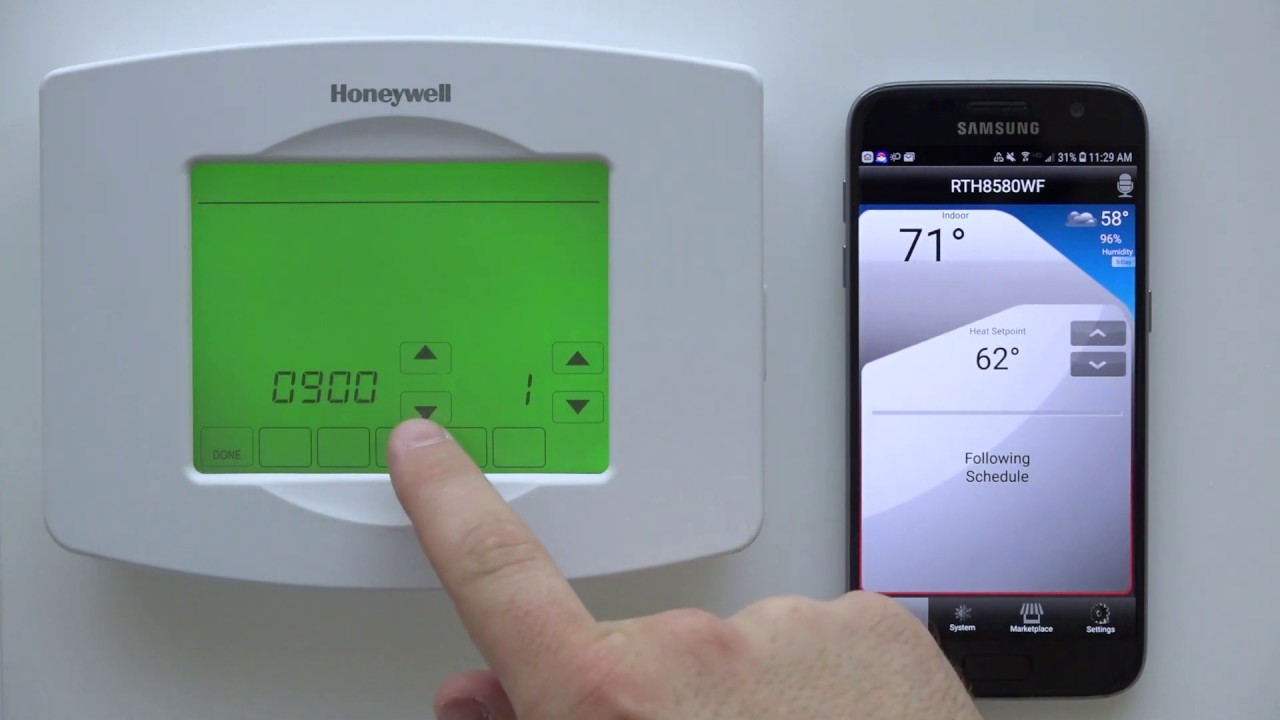
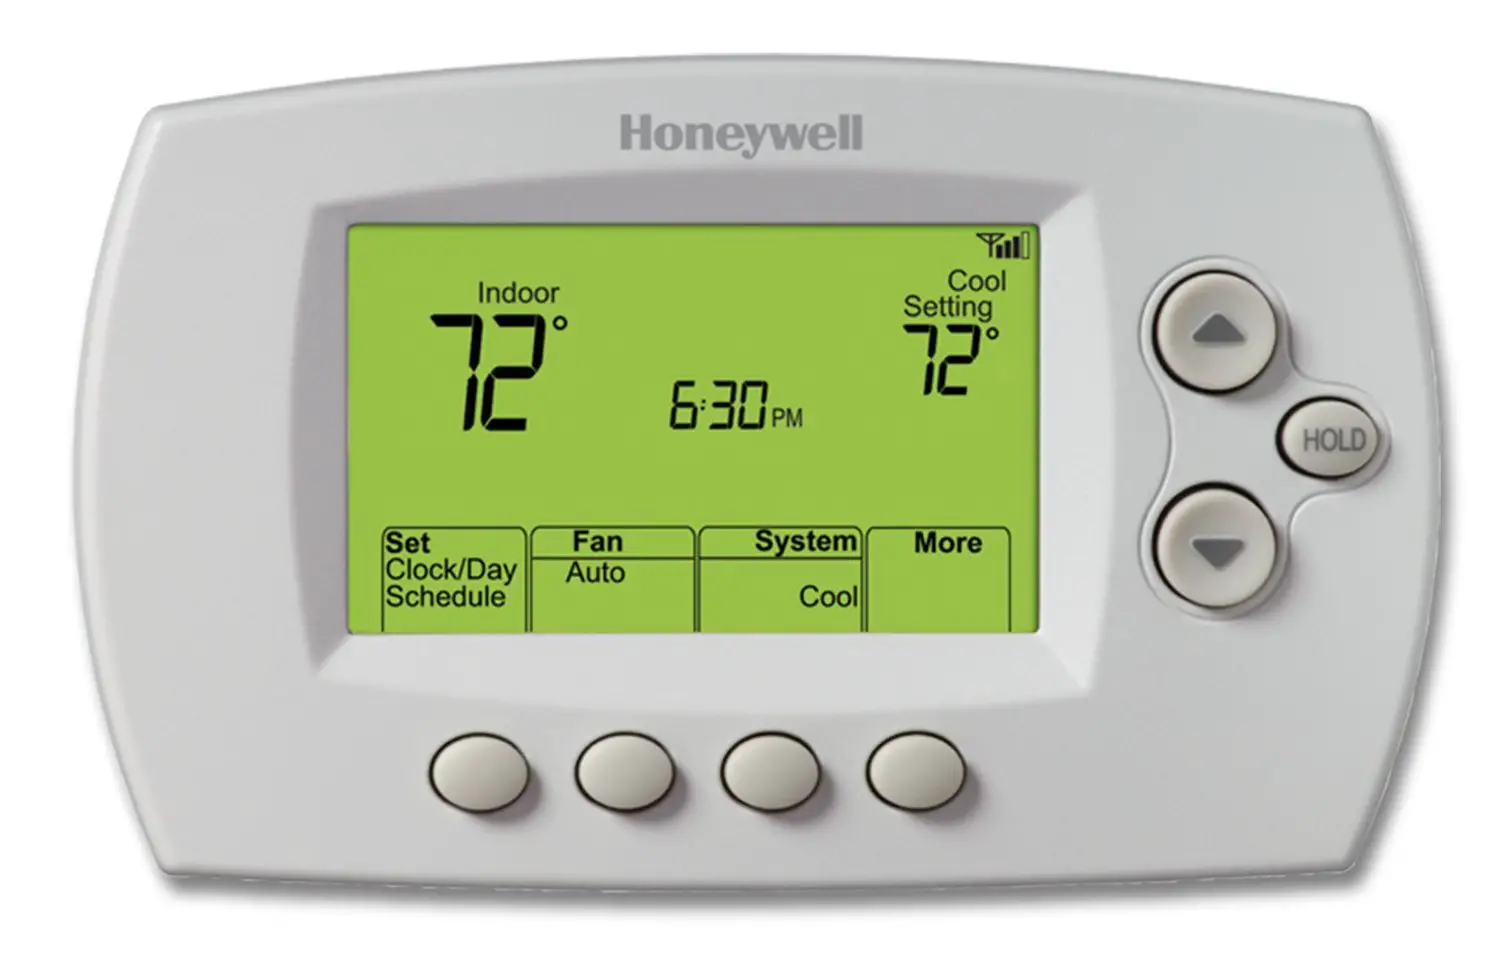
- Follow the On-screen Prompts: Depending on the model, your Honeywell smart thermostat may display on-screen prompts to guide you through the setup process. Follow the prompts to configure the thermostat according to your preferences.
- Reconnect to Wi-Fi and Configure: Once the factory reset process is complete, you will need to reconnect the thermostat to your Wi-Fi network and configure the desired settings, such as temperature preferences and scheduling. Follow the instructions provided by the thermostat during the setup process.
Performing a factory reset will erase all previous settings, including the registration information from the previous owner. This effectively unregisters the previous owner and allows you to take full control of the Honeywell smart thermostat.
Keep in mind that factory resetting is a last resort and should only be used if the official unregistration process is not accessible or you cannot obtain assistance from Honeywell support. If there is any doubt or hesitation, it is recommended to contact Honeywell support to explore other options or clarify any concerns.
By following these steps, you can accomplish the unregistration process through a factory reset, ensuring that you have complete ownership and control of your Honeywell smart thermostat. After the reset, you can personalize the thermostat settings to suit your preferences and enjoy its full functionality once again.
Conclusion
Unregistering the previous owner of a Honeywell smart thermostat is an essential step to ensure that you have complete control and ownership of the device. Throughout this guide, we have explored the step-by-step process to successfully unregister the previous owner and personalize the thermostat to your preferences.
We began by understanding the importance of unregistering the previous owner, which includes safeguarding your privacy and security, enabling personalization, ensuring compatibility with your preferred home automation system, accessing warranty and support services, and gaining full control over the thermostat.
We then delved into the step-by-step guide, which involved gathering the necessary information, contacting Honeywell support, providing the required details for verification, going through the confirmation and verification process, and finally, completing the unregistration.
In cases where official unregistration may not be possible, we also explored an alternative method – performing a factory reset of the thermostat. However, it’s essential to note that a factory reset erases all personalized settings, and it should only be used as a last resort.
By following the steps outlined in this guide, you can successfully and confidently unregister the previous owner of your Honeywell smart thermostat. This allows you to personalize the thermostat to your liking, connect it to your preferred home automation system, and enjoy the full range of features and benefits it offers.
Remember to reach out to Honeywell support for assistance whenever possible, as their expertise and guidance can help streamline the unregistration process and address any specific issues or concerns you may have.
Now, armed with the knowledge and steps provided in this guide, you can confidently take control of your Honeywell smart thermostat and create a personalized and efficient home heating and cooling experience.