Introduction
Welcome to our guide on how to uninstall a Honeywell smart thermostat. If you’re planning to upgrade your thermostat or simply need to remove the existing one, this step-by-step tutorial will provide you with all the necessary instructions.
Honeywell smart thermostats are known for their innovative features and energy-saving capabilities. However, there may be various reasons why you need to uninstall your current Honeywell smart thermostat. Perhaps you have decided to switch to a different brand, are moving to a new location, or need to replace a malfunctioning unit. Regardless of the reason, we’ve got you covered.
Before we dive into the uninstallation process, it’s essential to ensure your safety and the integrity of your HVAC system. We recommend turning off the power supply to the thermostat before starting the removal process to avoid any electrical mishaps.
In the following steps, we will guide you through the necessary actions to uninstall your Honeywell smart thermostat properly. From disconnecting the wires to removing the mounting plate, we’ll cover every detail to make the process as smooth as possible.
Please note that the exact steps may vary slightly depending on the model of your Honeywell smart thermostat. We recommend consulting the user manual specific to your device for detailed instructions. However, the general steps outlined in this guide will provide you with a good starting point for the uninstallation process.
Now that we’ve set the stage, let’s move on to Step 1: Preparing for Uninstallation, where we will cover the necessary precautions you need to take before removing your Honeywell smart thermostat.
Step 1: Prepare for Uninstallation
Before you start uninstalling your Honeywell smart thermostat, it’s crucial to take a few preparatory steps to ensure a smooth and safe process. Here’s what you need to do:
1. Familiarize Yourself with the User Manual: Read through the user manual provided with your Honeywell smart thermostat. Different models may have unique installation and uninstallation procedures. Familiarizing yourself with the manual will give you a better understanding of the specific steps required for your particular thermostat.
2. Gather the Necessary Tools: Prepare the tools you’ll need for uninstalling the thermostat. Common tools include a small flathead screwdriver, a Phillips screwdriver, and a pair of needle-nose pliers. Having these tools on hand will make the removal process much more convenient.
3. Turn Off the Power Supply: Locate the circuit breaker that controls the power supply to your thermostat. Switch off the circuit breaker to ensure the electrical system is safely disconnected. This step is crucial to prevent any accidental electrical shocks while removing the thermostat.
4. Document the Wiring Connections: Before disconnecting any wires, take a picture or make a note of the existing wiring connections. This documentation will be useful when installing a new thermostat or troubleshooting any wiring issues in the future.
5. Take Precautions for Mercury Thermostats: If your Honeywell smart thermostat contains a mercury switch, exercise caution while removing it. Mercury switches are hazardous, and you should follow your local regulations for safe disposal.
By completing these preparatory steps, you’ll be well-prepared and ready to dive into the actual uninstallation process. In the next step, we’ll guide you through turning off the power to the thermostat to ensure your safety throughout the process.
Step 2: Turn off the Power to the Thermostat
Before beginning the uninstallation process, it’s important to ensure that the power supply to the thermostat is turned off. This step will help prevent any potential electrical hazards. Follow these steps to turn off the power:
1. Locate the Circuit Breaker: Find the circuit breaker box in your home or building. It is usually located in the basement, garage, utility room, or near the main electrical panel.
2. Identify the Thermostat Circuit: Locate the circuit breaker that controls the power supply to the thermostat. It may be labeled as “Thermostat,” “HVAC,” or something similar. If you’re unsure, refer to the circuit breaker diagram or consult an electrician.
3. Switch Off the Circuit Breaker: Once you’ve identified the correct circuit breaker, switch it off by flipping the corresponding switch to the “Off” position. This will cut off power to the thermostat and ensure your safety during the uninstallation process.
4. Test the Thermostat: To confirm that the power has been successfully turned off, go to the location of the thermostat and check if the display and any accompanying lights have turned off. If they are still on, double-check that you have switched off the correct circuit breaker.
Note: Turning off the power to the thermostat will also deactivate your HVAC system. This means that heating and cooling will not be available during the uninstallation process. It’s important to plan the uninstallation at a time when the lack of HVAC functionality will not be an inconvenience.
By following these steps to turn off the power to the thermostat, you have taken an essential precautionary measure to ensure your safety. Now that the power is off, we can proceed to the next step of removing the faceplate of the thermostat.
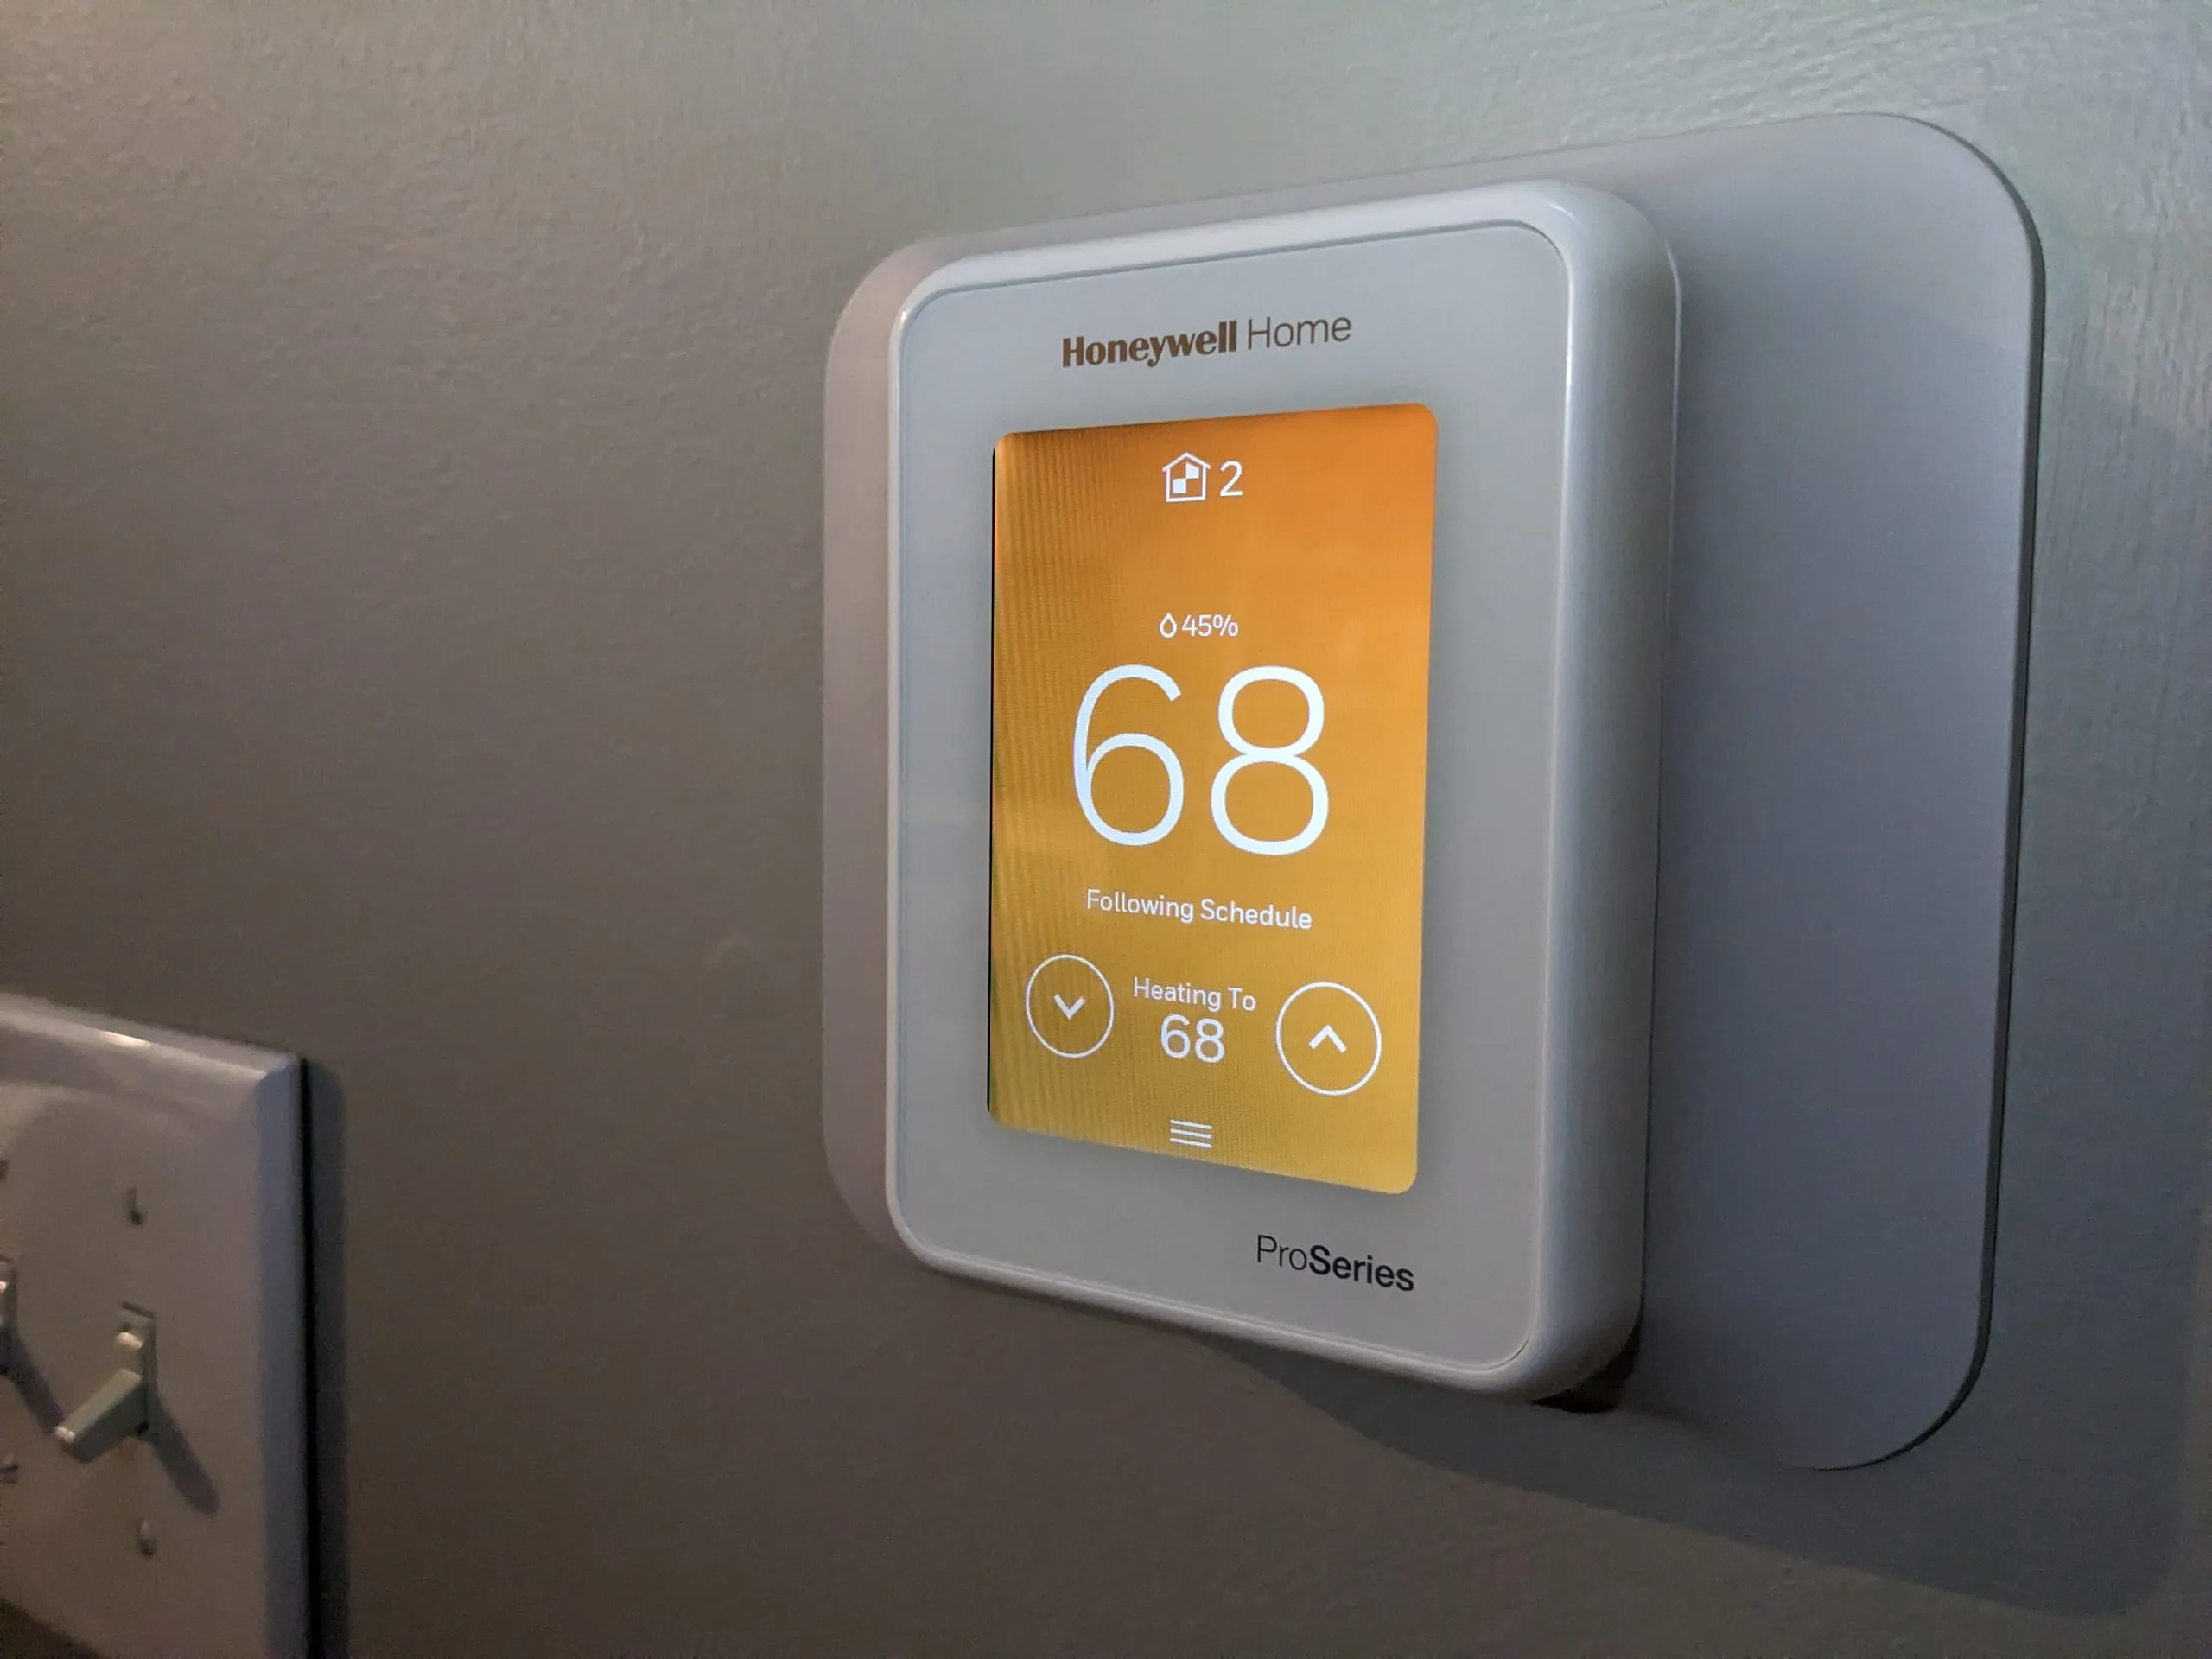
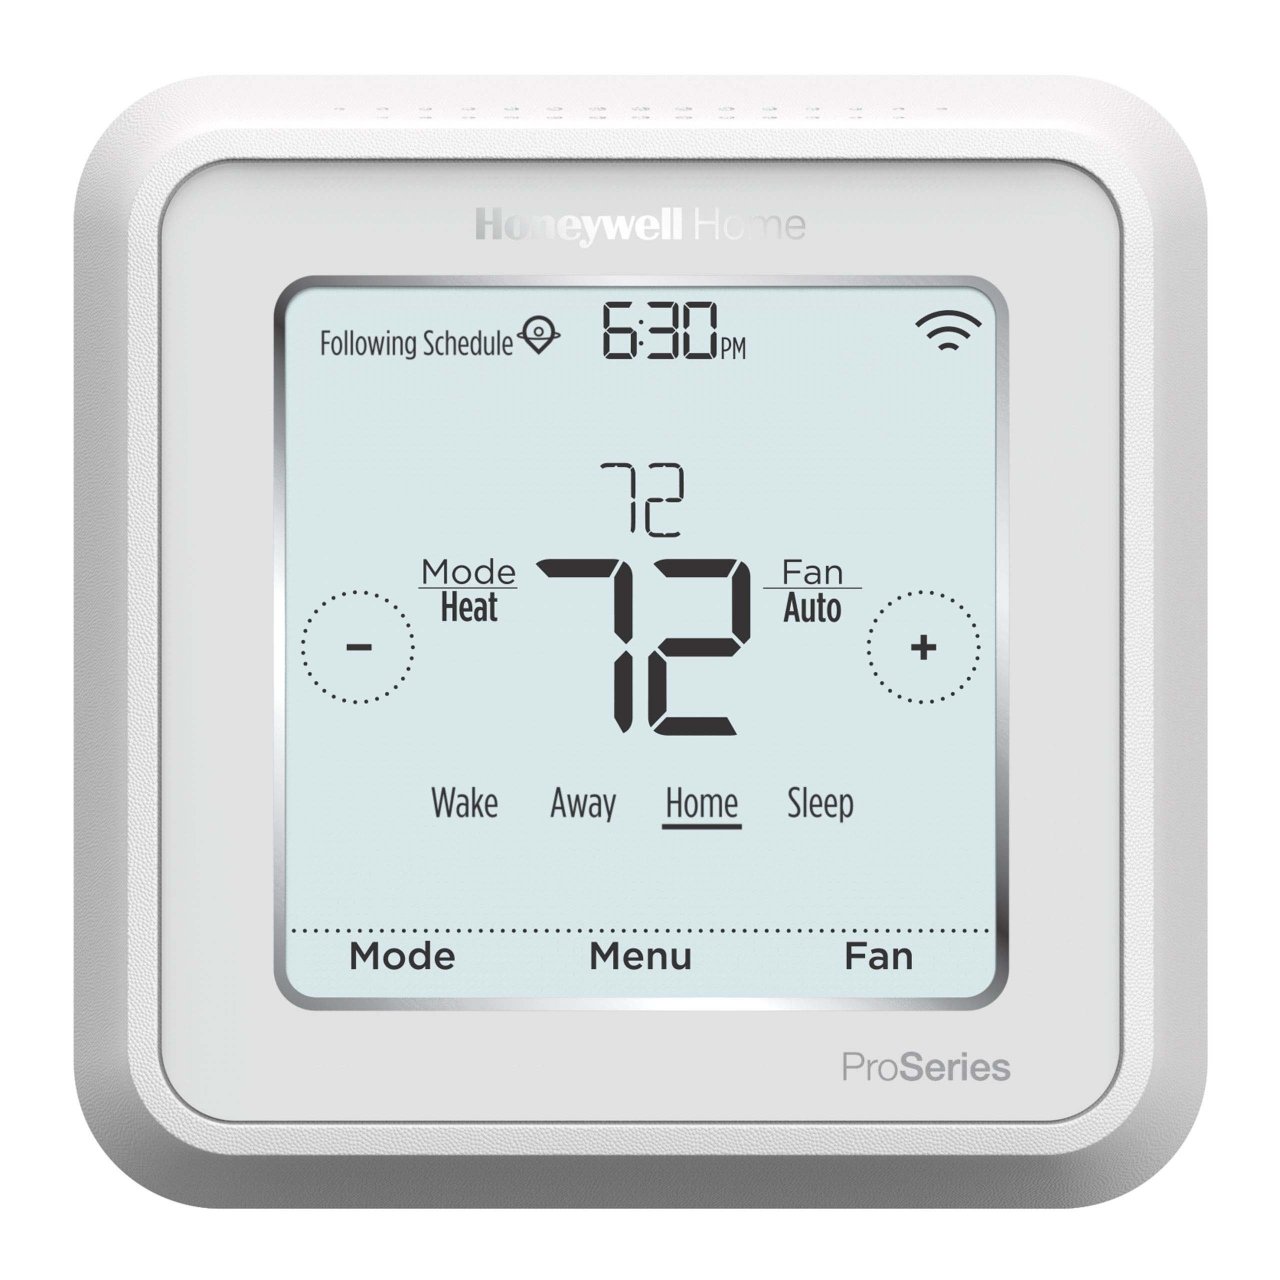
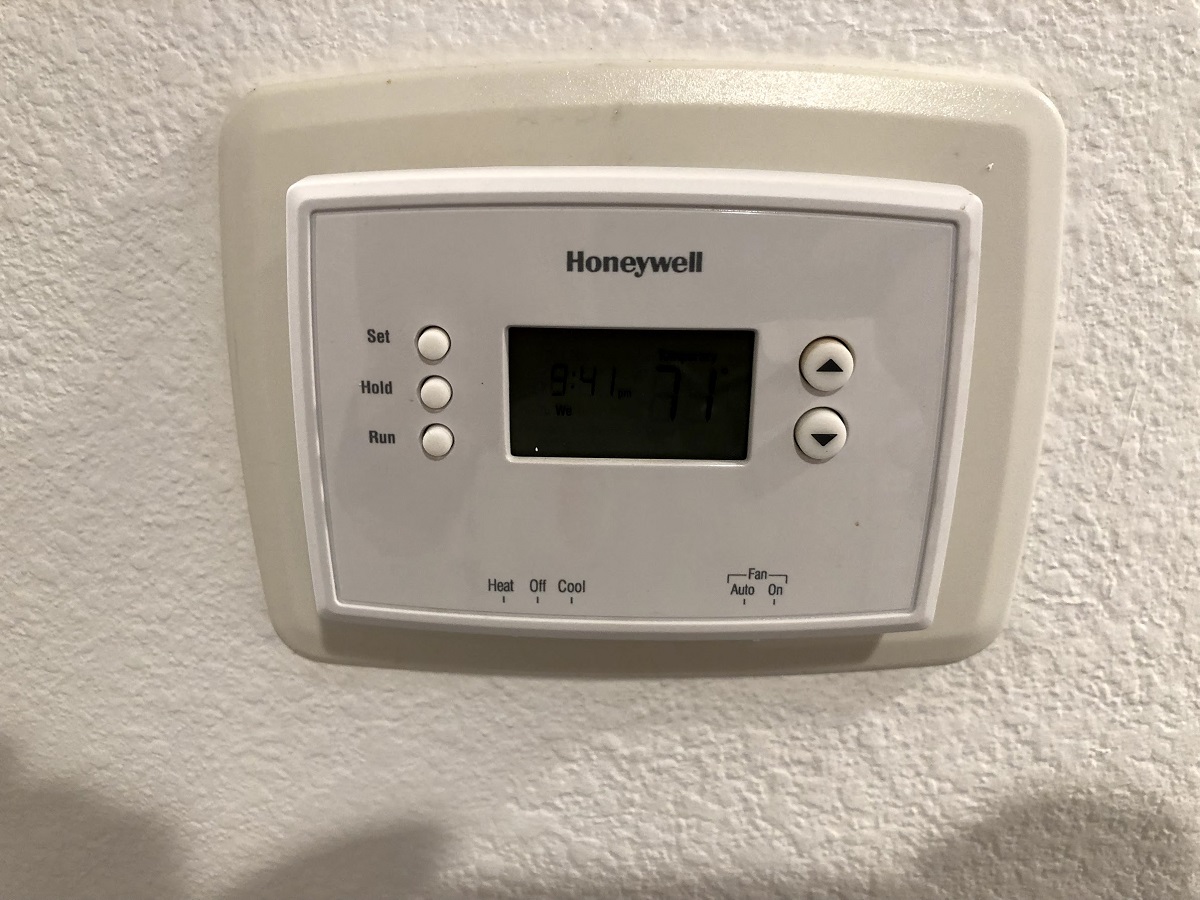
Step 3: Remove the Faceplate
With the power turned off, it’s now time to remove the faceplate of your Honeywell smart thermostat. The faceplate is the front cover that houses the display and buttons. Follow these steps to safely remove the faceplate:
1. Identify the Attachment Mechanism: Take a close look at the faceplate and determine how it is attached to the thermostat base. Most Honeywell smart thermostats have either snap-on or screw-on faceplates. This will help you understand the method you need to use for removal.
2. Snap-On Faceplate: If your thermostat has a snap-on faceplate, gently insert a small flathead screwdriver into the slots on either side of the faceplate. Apply slight pressure and carefully pry the faceplate away from the base until it pops off. Be cautious not to exert too much force to avoid damaging the components.
3. Screw-On Faceplate: For thermostats with a screw-on faceplate, locate the small screws holding the faceplate in place. Use a Phillips screwdriver to loosen and remove the screws. Keep the screws in a safe place for reinstallation, if needed.
4. Detach the Faceplate: Once you have released the attachment mechanism, gently lift and pull the faceplate away from the wall. Take care not to pull forcefully or yank the faceplate, as this can damage the wiring or mounting plate behind it.
5. Check for Additional Connections: Some Honeywell thermostats may have additional wires or connectors securing the faceplate to the base. If you notice any, unplug or detach them carefully before completely removing the faceplate.
Note: During this step, it’s essential to be mindful of any wires or connections behind the faceplate. Avoid bending or damaging them while removing the faceplate. If you encounter any difficulties or are unsure about disconnecting the faceplate, consult the user manual or seek professional assistance.
By following these steps, you have successfully removed the faceplate of your Honeywell smart thermostat. In the next step, we will guide you through disconnecting the wires from the thermostat base.
Step 4: Disconnect the Wires
With the faceplate removed, the next step in uninstalling your Honeywell smart thermostat is disconnecting the wires from the thermostat base. Follow these steps to safely disconnect the wires:
1. Identify the Wiring Terminal Blocks: Look for the wiring terminal blocks on the thermostat base. These blocks are usually labeled with letters or other identification codes that correspond to the wires connected to them.
2. Loosen the Terminal Screws: Using a screwdriver or a small wrench, loosen the terminal screws for each wire. Turn the screws counterclockwise to release the wires. Take note of the color-coded wires and the terminal blocks they are connected to. This will be helpful when installing a new thermostat or troubleshooting in the future.
3. Disconnect the Wires: Once the terminal screws are sufficiently loosened, gently pull out each wire from its respective terminal block. It may be helpful to use needle-nose pliers to grasp the wire close to the terminal and assist with removal, especially if the wires are tightly secured.
Note: Take extra care not to tug or yank on the wires excessively, as this can damage the connectors or wiring. If you encounter any resistance, double-check that the terminal screws are fully loosened before attempting to remove the wires.
4. Organize and Secure the Wires: After disconnecting the wires, it’s a good practice to organize and secure them. You can use tape or cable ties to group the wires together, ensuring they don’t get tangled or misplaced.
5. Inspect for Any Damage: While you have the wires disconnected, it’s a good opportunity to inspect them for any signs of damage or wear. Look for frayed ends, exposed wires, or corrosion. If you notice any issues, consider replacing the wires or seeking professional assistance for repairs.
By following these steps, you have successfully disconnected the wires from the thermostat base. In the next step, we will guide you through removing the old mounting plate to complete the uninstallation process.
Step 5: Remove the Old Mounting Plate
With the wires disconnected, it’s time to remove the old mounting plate of your Honeywell smart thermostat. Follow the steps below to safely remove the mounting plate:
1. Inspect the Mounting Plate: Take a close look at the mounting plate to determine the type of attachment mechanism it uses. Most Honeywell smart thermostats have either a snap-on or screw-on mounting plate.
2. Snap-On Mounting Plate: If your thermostat has a snap-on mounting plate, gently grip the edges of the plate and pull it forward. Apply slight pressure to disengage the snaps holding the plate in place. Be careful not to force or break the snaps, as this may damage the wall or mounting surface.
3. Screw-On Mounting Plate: For thermostats with a screw-on mounting plate, look for the screws securing the plate to the wall. Use a screwdriver to loosen and remove these screws. Keep the screws in a safe place for potential reinstallation or use with a new thermostat.
4. Detach the Mounting Plate: Once the attachment mechanism is released, gently lift and separate the mounting plate from the wall. Be cautious not to damage the wall surface or any wires that may be behind the plate.
Note: If the mounting plate feels stuck or is difficult to remove, double-check if there are any additional screws or fasteners holding it in place. Some mounting plates may also be adhered to the wall using adhesive, in which case you may need to carefully pry it off using a putty knife or similar tool.
5. Patching and Repair: After removing the old mounting plate, you may notice holes or markings on the wall. If you plan to install a new thermostat, these can often be covered by the new mounting plate. However, if you no longer need a thermostat in that location, consider patching and repairing the wall to restore its appearance.
By following these steps, you have successfully removed the old mounting plate of your Honeywell smart thermostat. In the next step, we will guide you through installing the new mounting plate, if applicable.
Step 6: Install the New Mounting Plate (if applicable)
If you are replacing your Honeywell smart thermostat with a new one, you will need to install the new mounting plate. Follow these steps to properly install the new mounting plate:
1. Determine Compatibility: Ensure that the new mounting plate is compatible with your new Honeywell smart thermostat. Refer to the installation instructions provided with the new thermostat or consult the user manual for guidance.
2. Position the Mounting Plate: Hold the new mounting plate against the wall in the desired location. Ensure that it is level and aligned properly with any existing holes or markings from the previous mounting plate.
3. Mark the Screw Holes: Use a pencil or marker to mark the positions of the screw holes on the wall through the corresponding holes in the mounting plate. This will serve as a guide for screw placement during installation.
4. Drill Pilot Holes: If necessary, use a drill with an appropriate drill bit to create pilot holes at the marked positions. Pilot holes help prevent wall damage and make it easier to screw in the mounting plate securely.
5. Attach the Mounting Plate: Align the holes in the mounting plate with the pilot holes or marked positions on the wall. Using screws provided with the new thermostat, secure the mounting plate to the wall. Tighten the screws firmly, but be cautious not to over-tighten and strip the screws or damage the wall.
6. Verify Stability: Ensure that the mounting plate is securely attached and stable on the wall. Give it a gentle tug to confirm that it doesn’t come loose. If needed, make any necessary adjustments or check for additional screws or fasteners that may need to be tightened.
Note: If your new thermostat does not require a mounting plate or if you are reusing the existing mounting plate, you can skip this step and proceed to the next step, which involves connecting the wires to the new thermostat.
By following these steps, you have successfully installed the new mounting plate for your Honeywell smart thermostat. In the next step, we will guide you through connecting the wires to the new thermostat (if applicable) to complete the installation process.
Step 7: Connect the Wires to the New Thermostat (if applicable)
If you are installing a new Honeywell smart thermostat or reusing the existing one, it’s time to connect the wires to the thermostat. Follow these steps to ensure the proper connection:
1. Refer to the Wiring Diagram: Check the user manual or the installation guide provided with your new thermostat to locate the wiring diagram. The diagram will indicate the terminal labels and corresponding wire colors for proper connection.
2. Identify the Terminal Blocks: On the back of your new thermostat, locate the terminal blocks where the wires will be connected. Depending on the model, you may have letters or different colors indicating the terminals.
3. Match Wires to Terminals: Referencing the wiring diagram, match each wire with the corresponding terminal. Gently insert each wire into the appropriate terminal block, ensuring a snug and secure connection. Pay attention to the wire colors and terminal labels to avoid any confusion.
4. Tighten the Terminal Screws: Once the wires are inserted into the terminal blocks, tighten the terminal screws carefully. Use a screwdriver or a small wrench to turn the screws clockwise, securing the wires in place. Be cautious not to over-tighten, as it may damage the terminals or the wires.
5. Check for Proper Connection: After tightening the terminal screws, give each wire a gentle tug to confirm that it is securely attached. Ensure that all the wires are properly connected and positioned within the terminal blocks to provide a reliable electrical connection.
Note: If you encounter any difficulties or are unsure about the wiring connections, it’s recommended to consult the user manual, contact the manufacturer’s support, or seek professional assistance to ensure accurate and safe installation.
By following these steps, you have successfully connected the wires to your new Honeywell smart thermostat. In the next step, we will guide you through attaching the new faceplate (if applicable) to complete the installation process.
Step 8: Attach the New Faceplate (if applicable)
If you have a new faceplate for your Honeywell smart thermostat or if you are reattaching the existing one, it’s time to attach it to the thermostat base. Follow these steps to ensure a secure and proper attachment:
1. Position the Faceplate: Hold the new faceplate against the thermostat base, aligning it with the screw holes or attachment points. Ensure that it is positioned correctly and level before proceeding.
2. Align the Attachment Mechanism: Take a closer look at the attachment mechanism of your faceplate. Depending on your thermostat model, it may have snap-on, slide-on, or screw-on attachment.
3. Snap-On or Slide-On Faceplate: If your faceplate has a snap-on or slide-on attachment, align the securing tabs or grooves on the faceplate with the corresponding slots on the thermostat base. Gently apply pressure and push the faceplate until it clicks into place or slides smoothly into the base.
4. Screw-On Faceplate: For thermostats with a screw-on faceplate, align the screw holes on the faceplate with the corresponding screw holes on the base. Insert the screws provided with the thermostat into the holes and tighten them using a screwdriver. Be careful not to overtighten, as it may damage the faceplate or the base.
5. Verify Proper Attachment: Check that the faceplate is securely attached to the thermostat base. Give it a gentle tug or wiggle to confirm that it is firmly in place and doesn’t move or come loose.
Note: If your new thermostat doesn’t require a faceplate or if you are reusing the existing faceplate, you can skip this step and proceed to the next one, which involves turning on the power to the thermostat.
By following these steps, you have successfully attached the new faceplate (if applicable) to your Honeywell smart thermostat. In the next step, we will guide you through turning on the power to the thermostat to complete the installation process.
Step 9: Turn on the Power to the Thermostat
Now that you have completed the installation of your Honeywell smart thermostat, it’s time to restore power to the device. Follow these steps to safely turn on the power:
1. Locate the Circuit Breaker: Find the circuit breaker box in your home or building where the power to the thermostat is controlled. It is usually located in the basement, utility room, or near the main electrical panel.
2. Identify the Thermostat Circuit: Locate the circuit breaker that corresponds to the power supply of your thermostat. It may be labeled as “Thermostat,” “HVAC,” or have a corresponding number or name on the breaker switch.
3. Switch On the Circuit Breaker: Carefully switch on the circuit breaker by flipping the corresponding switch to the “On” position. This will restore power to the thermostat and activate its functionality.
Note: As the power is restored to the thermostat, it may take a few moments for the device to initialize and display the control screen or status indicators. Be patient and allow the thermostat to complete its startup process.
4. Check the Thermostat Display: Once the power is restored, check the thermostat display to ensure that it is functioning correctly. Verify that the display is showing the correct time, temperature, and any other relevant information.
5. Test the Thermostat Controls: Test the various controls on the thermostat, such as adjusting the temperature settings or switching between heating and cooling modes, to ensure that they are responding correctly and activating the desired functions of your HVAC system.
By following these steps, you have successfully turned on the power to your Honeywell smart thermostat. In the final step, we will guide you through testing the new thermostat to ensure it is working as expected.
Step 10: Test the New Thermostat
Now that you have successfully installed and powered up your Honeywell smart thermostat, it’s time to test its functionality. Follow these steps to ensure that the thermostat is functioning as expected:
1. Check Temperature Display: Verify that the thermostat is displaying the current temperature accurately. Compare it with another reliable temperature source in your home, such as a separate thermometer or digital temperature gauge.
2. Adjust Temperature Settings: Use the controls on the thermostat to adjust the temperature settings up or down. Ensure that the changes are reflected on the thermostat display and that your HVAC system responds accordingly by activating heating or cooling as needed.
3. Test Mode Switching: If your thermostat has multiple modes, such as heating, cooling, and fan-only mode, test each mode to ensure that the thermostat is correctly activating the desired mode and regulating the temperature accordingly.
4. Check Fan Operation: If your thermostat controls the fan function, test it by manually switching the fan on and off. Verify that the fan starts and stops as expected in conjunction with your chosen mode.
5. Monitor Automatic Scheduling: If your Honeywell smart thermostat includes automated scheduling features, monitor its behavior over the course of a day or week to ensure that it follows the programmed settings and adjusts temperatures accordingly.
6. Check Connectivity: If your thermostat has Wi-Fi or smart home integration, ensure that it is connected to the network and that you can access and control it through the manufacturer’s app or any integrated smart home systems.
7. Seek Professional Assistance if Needed: If you encounter any issues during testing or believe that the thermostat is not functioning correctly, consult the user manual or seek professional assistance from a licensed HVAC technician or the manufacturer’s support team.
By following these steps and thoroughly testing your new Honeywell smart thermostat, you can ensure that it is fully functional, providing accurate temperature control, and meeting your specific heating and cooling needs. Enjoy the convenience and energy-saving benefits of your new smart thermostat!
Conclusion
Congratulations! You have successfully uninstalled, installed, and tested your Honeywell smart thermostat. By following these step-by-step instructions, you have gained the knowledge and confidence to tackle the process on your own. Whether you are upgrading to a newer model, relocating your thermostat, or replacing a faulty unit, the uninstallation and installation process is now within your reach.
Remember, safety is paramount when working with electrical systems. Always turn off the power to the thermostat before starting any maintenance or uninstallation procedures. Take your time, be cautious when handling the wiring, and consult the user manual provided with your specific Honeywell smart thermostat for any model-specific instructions.
Throughout the uninstallation and installation process, we covered the essential steps, including preparing for uninstallation, turning off the power, removing the faceplate, disconnecting the wires, removing the old mounting plate, installing the new mounting plate (if applicable), connecting the wires to the new thermostat (if applicable), attaching the new faceplate (if applicable), turning on the power, and finally, testing the new thermostat.
By following these steps and testing the functionality of your new thermostat, you can ensure a seamless transition to your upgraded or replaced Honeywell smart thermostat. Enjoy the benefits of precise temperature control, energy efficiency, and the convenience that smart thermostats bring to your home or office.
If you encounter any difficulties or require further assistance, don’t hesitate to reach out to the manufacturer’s customer support or consult a professional HVAC technician. They can provide guidance and support tailored to your specific needs.
Thank you for utilizing this guide. We hope it has been informative, helpful, and provided you with the knowledge you need to successfully uninstall and install your Honeywell smart thermostat.