Introduction
So, you've decided to upgrade your old thermostat to a smart thermostat. Congratulations! This decision marks a significant step toward enhancing your home's energy efficiency and overall comfort. Smart thermostats offer a range of benefits, including remote temperature control, energy usage insights, and the ability to create personalized heating and cooling schedules. By making this switch, you're not only modernizing your home but also contributing to a more sustainable environment.
In this guide, we'll walk you through the process of replacing your old thermostat with a smart one. Whether you're a seasoned DIY enthusiast or a novice looking to take on a new project, this step-by-step tutorial will provide you with the knowledge and confidence to complete the installation successfully. Before we dive into the nitty-gritty details, it's essential to emphasize the importance of safety. When dealing with electrical components, always exercise caution and, if you're unsure about anything, consult a professional.
Now, let's get started on this exciting journey toward a more efficient and connected home. Gather your tools and materials, and let's transform your thermostat into a smart, energy-saving powerhouse!
Step 1: Gather Your Tools and Materials
Before embarking on the installation process, it’s crucial to ensure that you have all the necessary tools and materials at your disposal. Here’s a comprehensive list to help you prepare for the task ahead:
- Screwdriver: You’ll likely need a screwdriver to remove the old thermostat from the wall and install the new one. The specific type of screwdriver required will depend on the screws used in your existing thermostat.
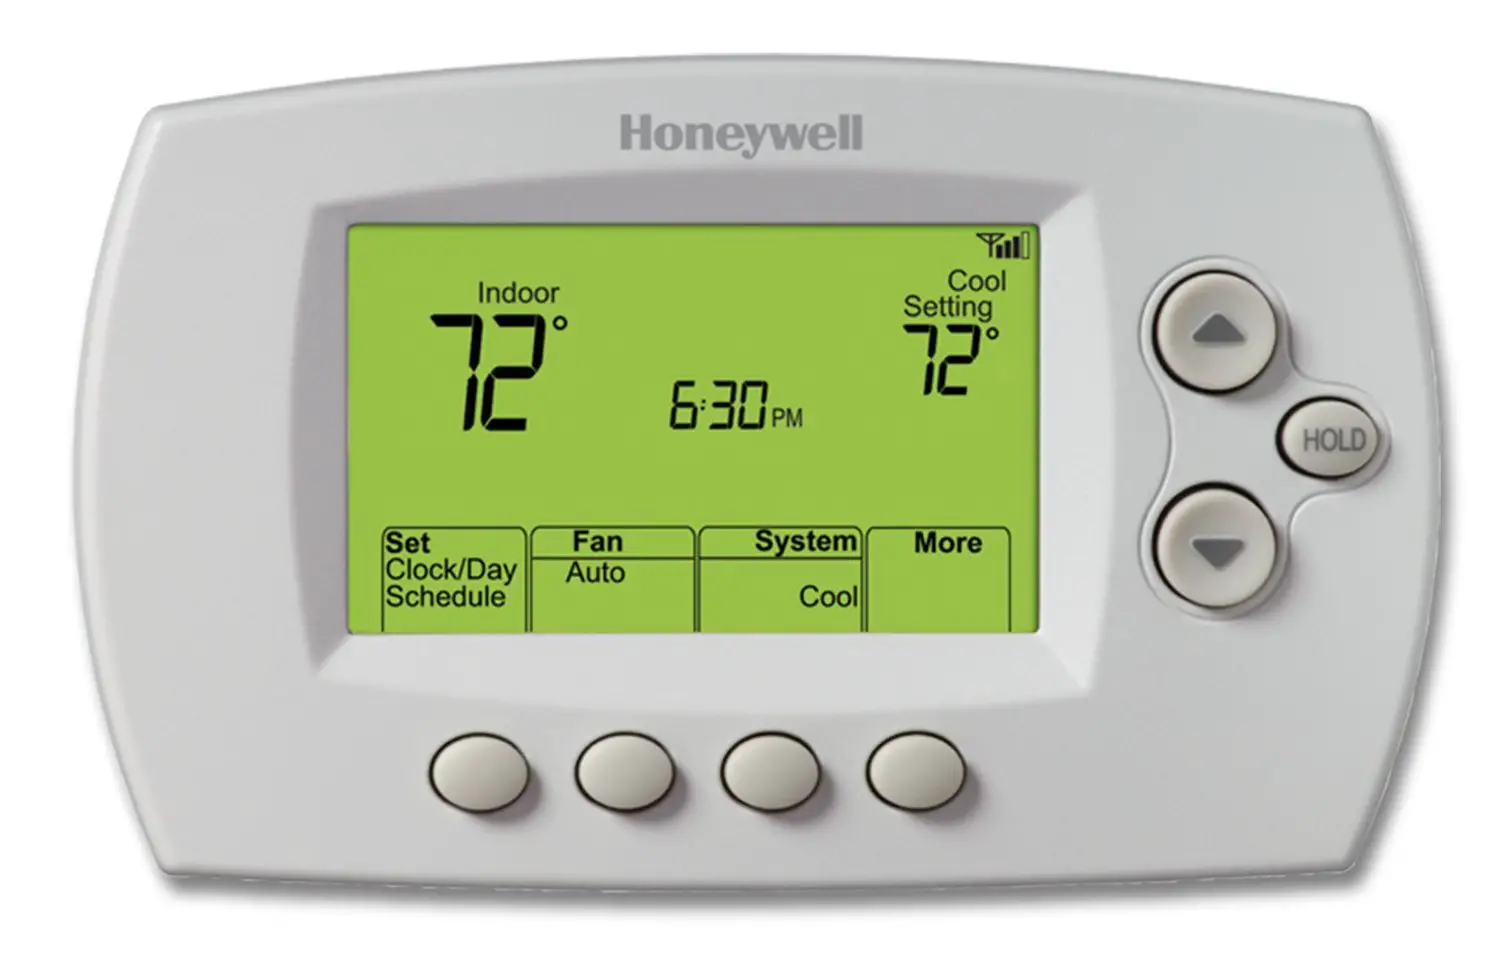
- Smart Thermostat: Of course, you’ll need the smart thermostat itself. Be sure to choose a model that is compatible with your HVAC system and offers the features you desire.
- Compatibility Checking Tools: Some smart thermostat manufacturers provide online tools or mobile apps to help you determine whether your HVAC system is compatible with their product. Be sure to check compatibility before making a purchase.
- Labels: It’s a good idea to have some small adhesive labels on hand. These will come in handy when labeling the wires you disconnect from the old thermostat, making it easier to connect them to the new one.
- Pen and Paper: Keeping a pen and paper nearby will allow you to jot down notes or make diagrams as needed during the installation process.
- Level (Optional): While not essential, a small level can be useful for ensuring that your smart thermostat is mounted perfectly straight on the wall.
- Smartphone or Tablet: Having a smartphone or tablet handy can be beneficial for referencing installation guides or contacting customer support if you encounter any challenges.
By gathering these tools and materials beforehand, you’ll set yourself up for a smooth and efficient installation experience. With everything in hand, you’ll be ready to move on to the next step: turning off the power to your HVAC system.
Step 2: Turn Off Power to Your HVAC System
Before you begin working on your thermostat, it’s essential to ensure your safety by turning off the power to your heating, ventilation, and air conditioning (HVAC) system. This precautionary measure will help prevent any electrical mishaps during the installation process. Here’s how you can safely power down your HVAC system:
- Locate the Circuit Breaker: Head to your home’s circuit breaker panel and find the breaker that controls the HVAC system. The breaker may be labeled as “HVAC,” “Furnace,” or “Air Conditioner.”
- Switch Off the Breaker: Once you’ve identified the correct breaker, switch it to the “off” position. This action will cut off power to the HVAC system, ensuring that no electricity is flowing to the thermostat or the HVAC unit itself.
- Verify Power Cutoff: To double-check that the power has been successfully turned off, go to your existing thermostat and attempt to adjust the temperature or switch between heating and cooling modes. If the thermostat does not respond, the power has been effectively shut off.
By following these steps, you’ll create a safe working environment for the remainder of the installation process. Remember, safety should always be a top priority when dealing with electrical systems. Once you’ve confirmed that the power is off, you can proceed with confidence to the next step: removing the old thermostat.
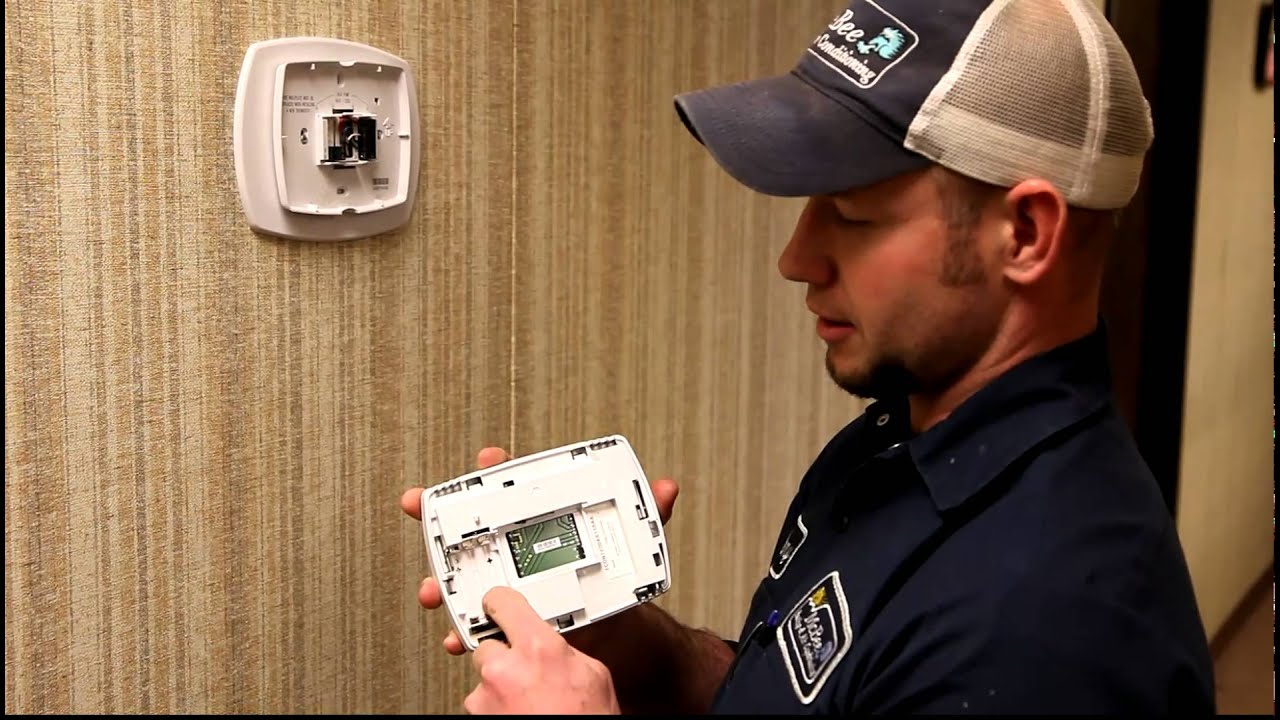
Step 3: Remove the Old Thermostat
With the power to your HVAC system safely turned off, you’re ready to remove the old thermostat. This step involves carefully detaching the existing unit from the wall and exposing the wiring behind it. Here’s a systematic guide to help you through this process:
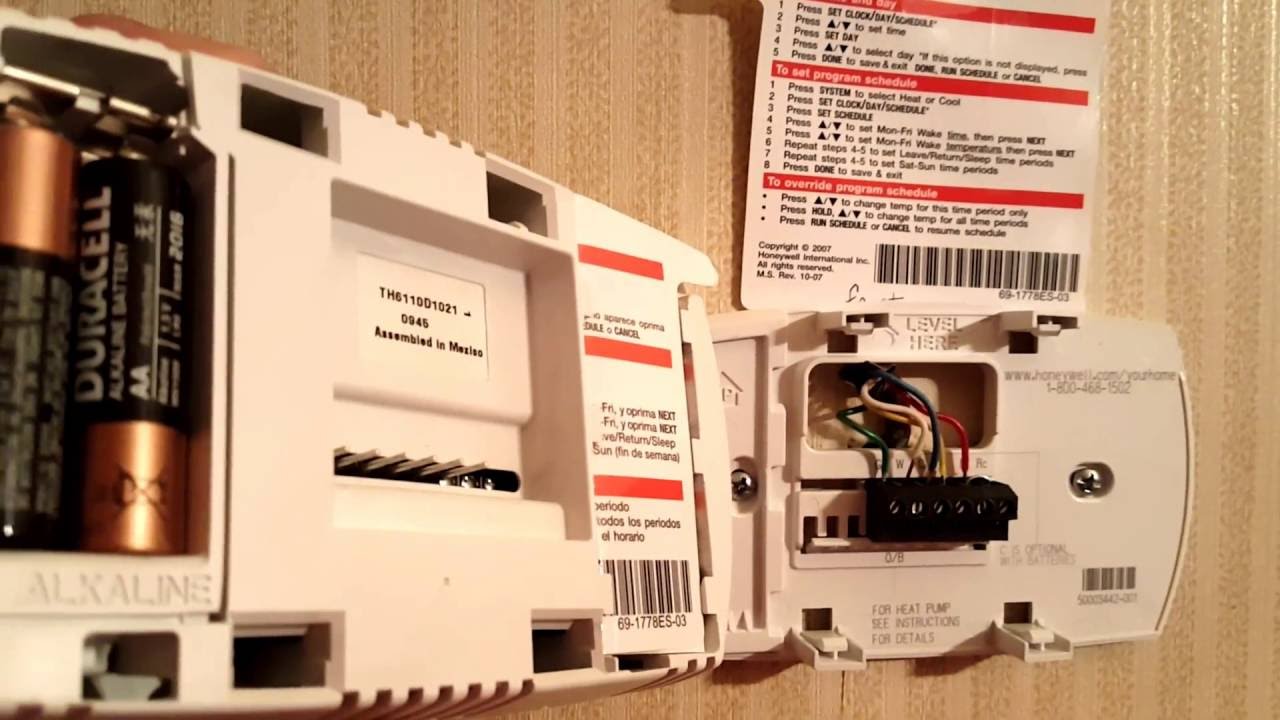
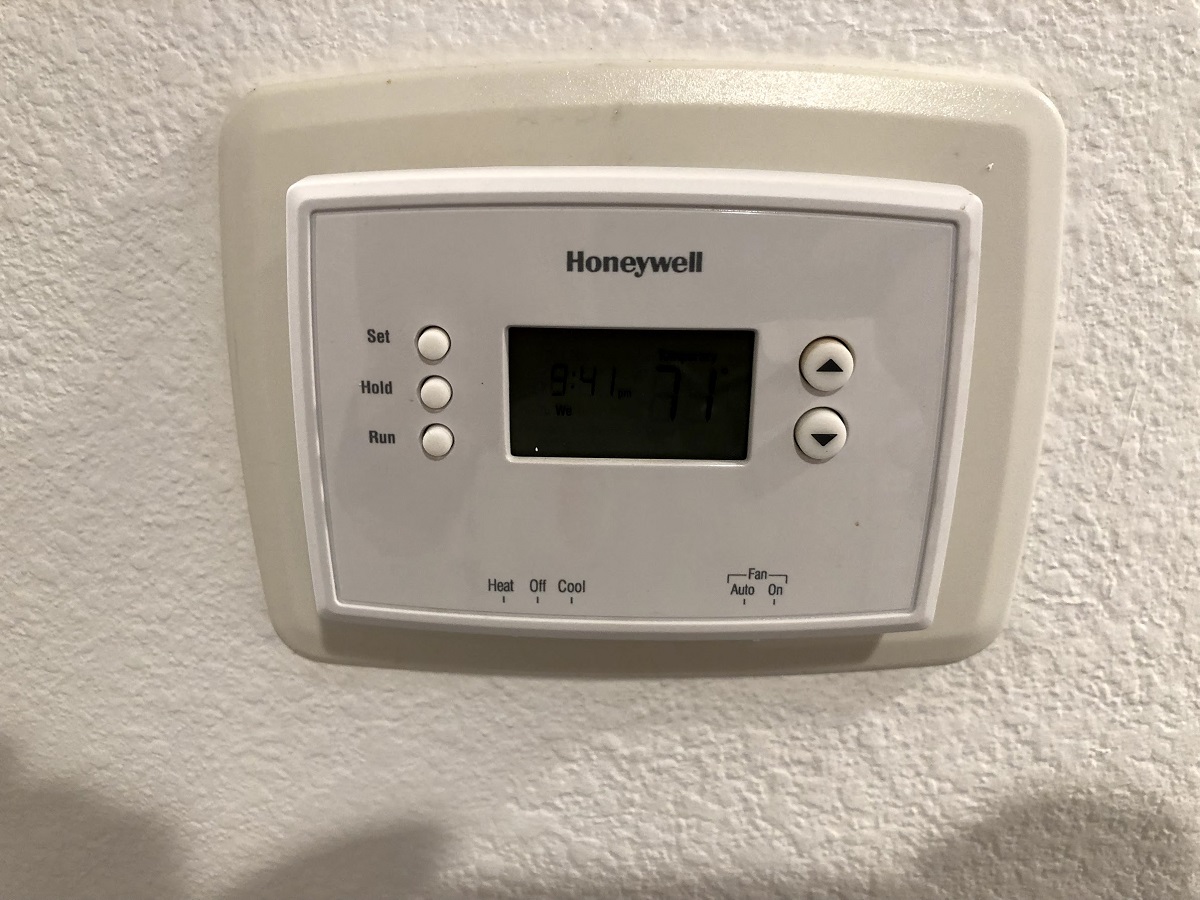
- Detach the Faceplate: Depending on the model of your thermostat, you may need to gently pry off the faceplate or remove any screws holding it in place. This will reveal the inner wiring and mounting base.
- Label the Wires: Before disconnecting any wires, use the labels you prepared earlier to mark each wire according to its terminal. This step is crucial for ensuring that you can correctly reconnect the wires to your new smart thermostat.
- Remove the Mounting Base: Once the wires are labeled, remove the screws securing the thermostat’s mounting base to the wall. Carefully detach the base and set it aside, exposing the wall plate and wiring.
- Inspect the Wiring: Take a moment to inspect the exposed wiring for any signs of damage or wear. If you notice any issues, this is the ideal time to address them before installing the new thermostat.
- Cap the Wires: To prevent the wires from accidentally falling back into the wall, consider fastening them with wire nuts or electrical tape. This precautionary measure will ensure that the wiring remains easily accessible for the next stage of the installation.
By following these steps, you’ll successfully remove the old thermostat and prepare the wiring for the installation of your new smart thermostat. With the old unit out of the way, you’re now ready to move on to the exciting phase of installing your smart thermostat and connecting the wires.
Step 4: Install the Smart Thermostat
With the old thermostat removed and the wiring prepared, it’s time to install your new smart thermostat. This step involves mounting the new unit to the wall and ensuring that it is securely in place. Follow these guidelines to carry out a successful installation:
- Position the Mounting Plate: Begin by positioning the mounting plate of your smart thermostat on the wall, aligning it with the holes left by the previous thermostat’s base. Use a level to ensure that the plate is straight before marking the spots for the mounting screws.
- Secure the Mounting Plate: Once you’ve marked the spots, drill pilot holes for the screws and then attach the mounting plate to the wall using the provided screws. Ensure that the plate is firmly secured and level.
- Connect the Wiring: Gently pull the labeled wires through the opening in the new thermostat’s mounting plate. Refer to the manufacturer’s instructions to determine the correct terminals for each wire and connect them accordingly. Some smart thermostats feature push-in connectors or screw terminals for easy wiring.
- Attach the Thermostat: Carefully align the smart thermostat with the mounting plate, taking care not to pinch or dislodge any wires. Once aligned, press the thermostat onto the plate until it clicks into place, securing it firmly to the wall.
- Restore Power to the HVAC System: With the smart thermostat installed, return to the circuit breaker panel and switch the HVAC system’s breaker back to the “on” position. This will restore power to the thermostat and HVAC system, allowing you to proceed with the next steps.
By following these steps, you’ll have successfully installed your new smart thermostat, bringing you one step closer to enjoying its advanced features and energy-saving capabilities. With the thermostat securely in place and the wiring connected, you’re now ready to move on to the crucial task of connecting the wires to the appropriate terminals.
Step 5: Connect the Wires
Connecting the wires from your HVAC system to the appropriate terminals on your new smart thermostat is a critical step in the installation process. Properly linking the wires ensures that your smart thermostat can effectively control your heating and cooling system. Follow these steps to connect the wires securely and accurately:
- Refer to the Wiring Diagram: Consult the wiring diagram provided with your smart thermostat to identify the correct terminals for each wire. The diagram will typically indicate the designated terminals for the common wire (C), power (R or Rh), heating (W), cooling (Y), and any additional wires specific to your system.
- Match and Connect the Wires: Starting with the labeled wires, match each one to its corresponding terminal on the smart thermostat. Depending on the model, you may need to use a small screwdriver to secure the wires in place or simply insert them into designated push-in connectors.
- Double-Check the Connections: Once all the wires are connected, double-check each terminal to ensure a secure and proper connection. Any loose or improperly seated wires could lead to operational issues with your HVAC system or smart thermostat.
- Tuck Excess Wiring: If there is excess wiring, carefully tuck it into the opening behind the smart thermostat. Be mindful not to crimp or damage the wires during this process, as they need to remain accessible for potential future adjustments or maintenance.
- Attach the Smart Thermostat Faceplate: If your smart thermostat features a detachable faceplate, carefully reattach it to the base, ensuring that it snaps into place securely. This step completes the installation of your smart thermostat’s wiring.
By following these steps, you’ll have successfully connected the wiring from your HVAC system to your new smart thermostat, setting the stage for the final phase of the installation process. With the wiring securely in place, you’re now ready to power up your smart thermostat and configure it to suit your preferences.
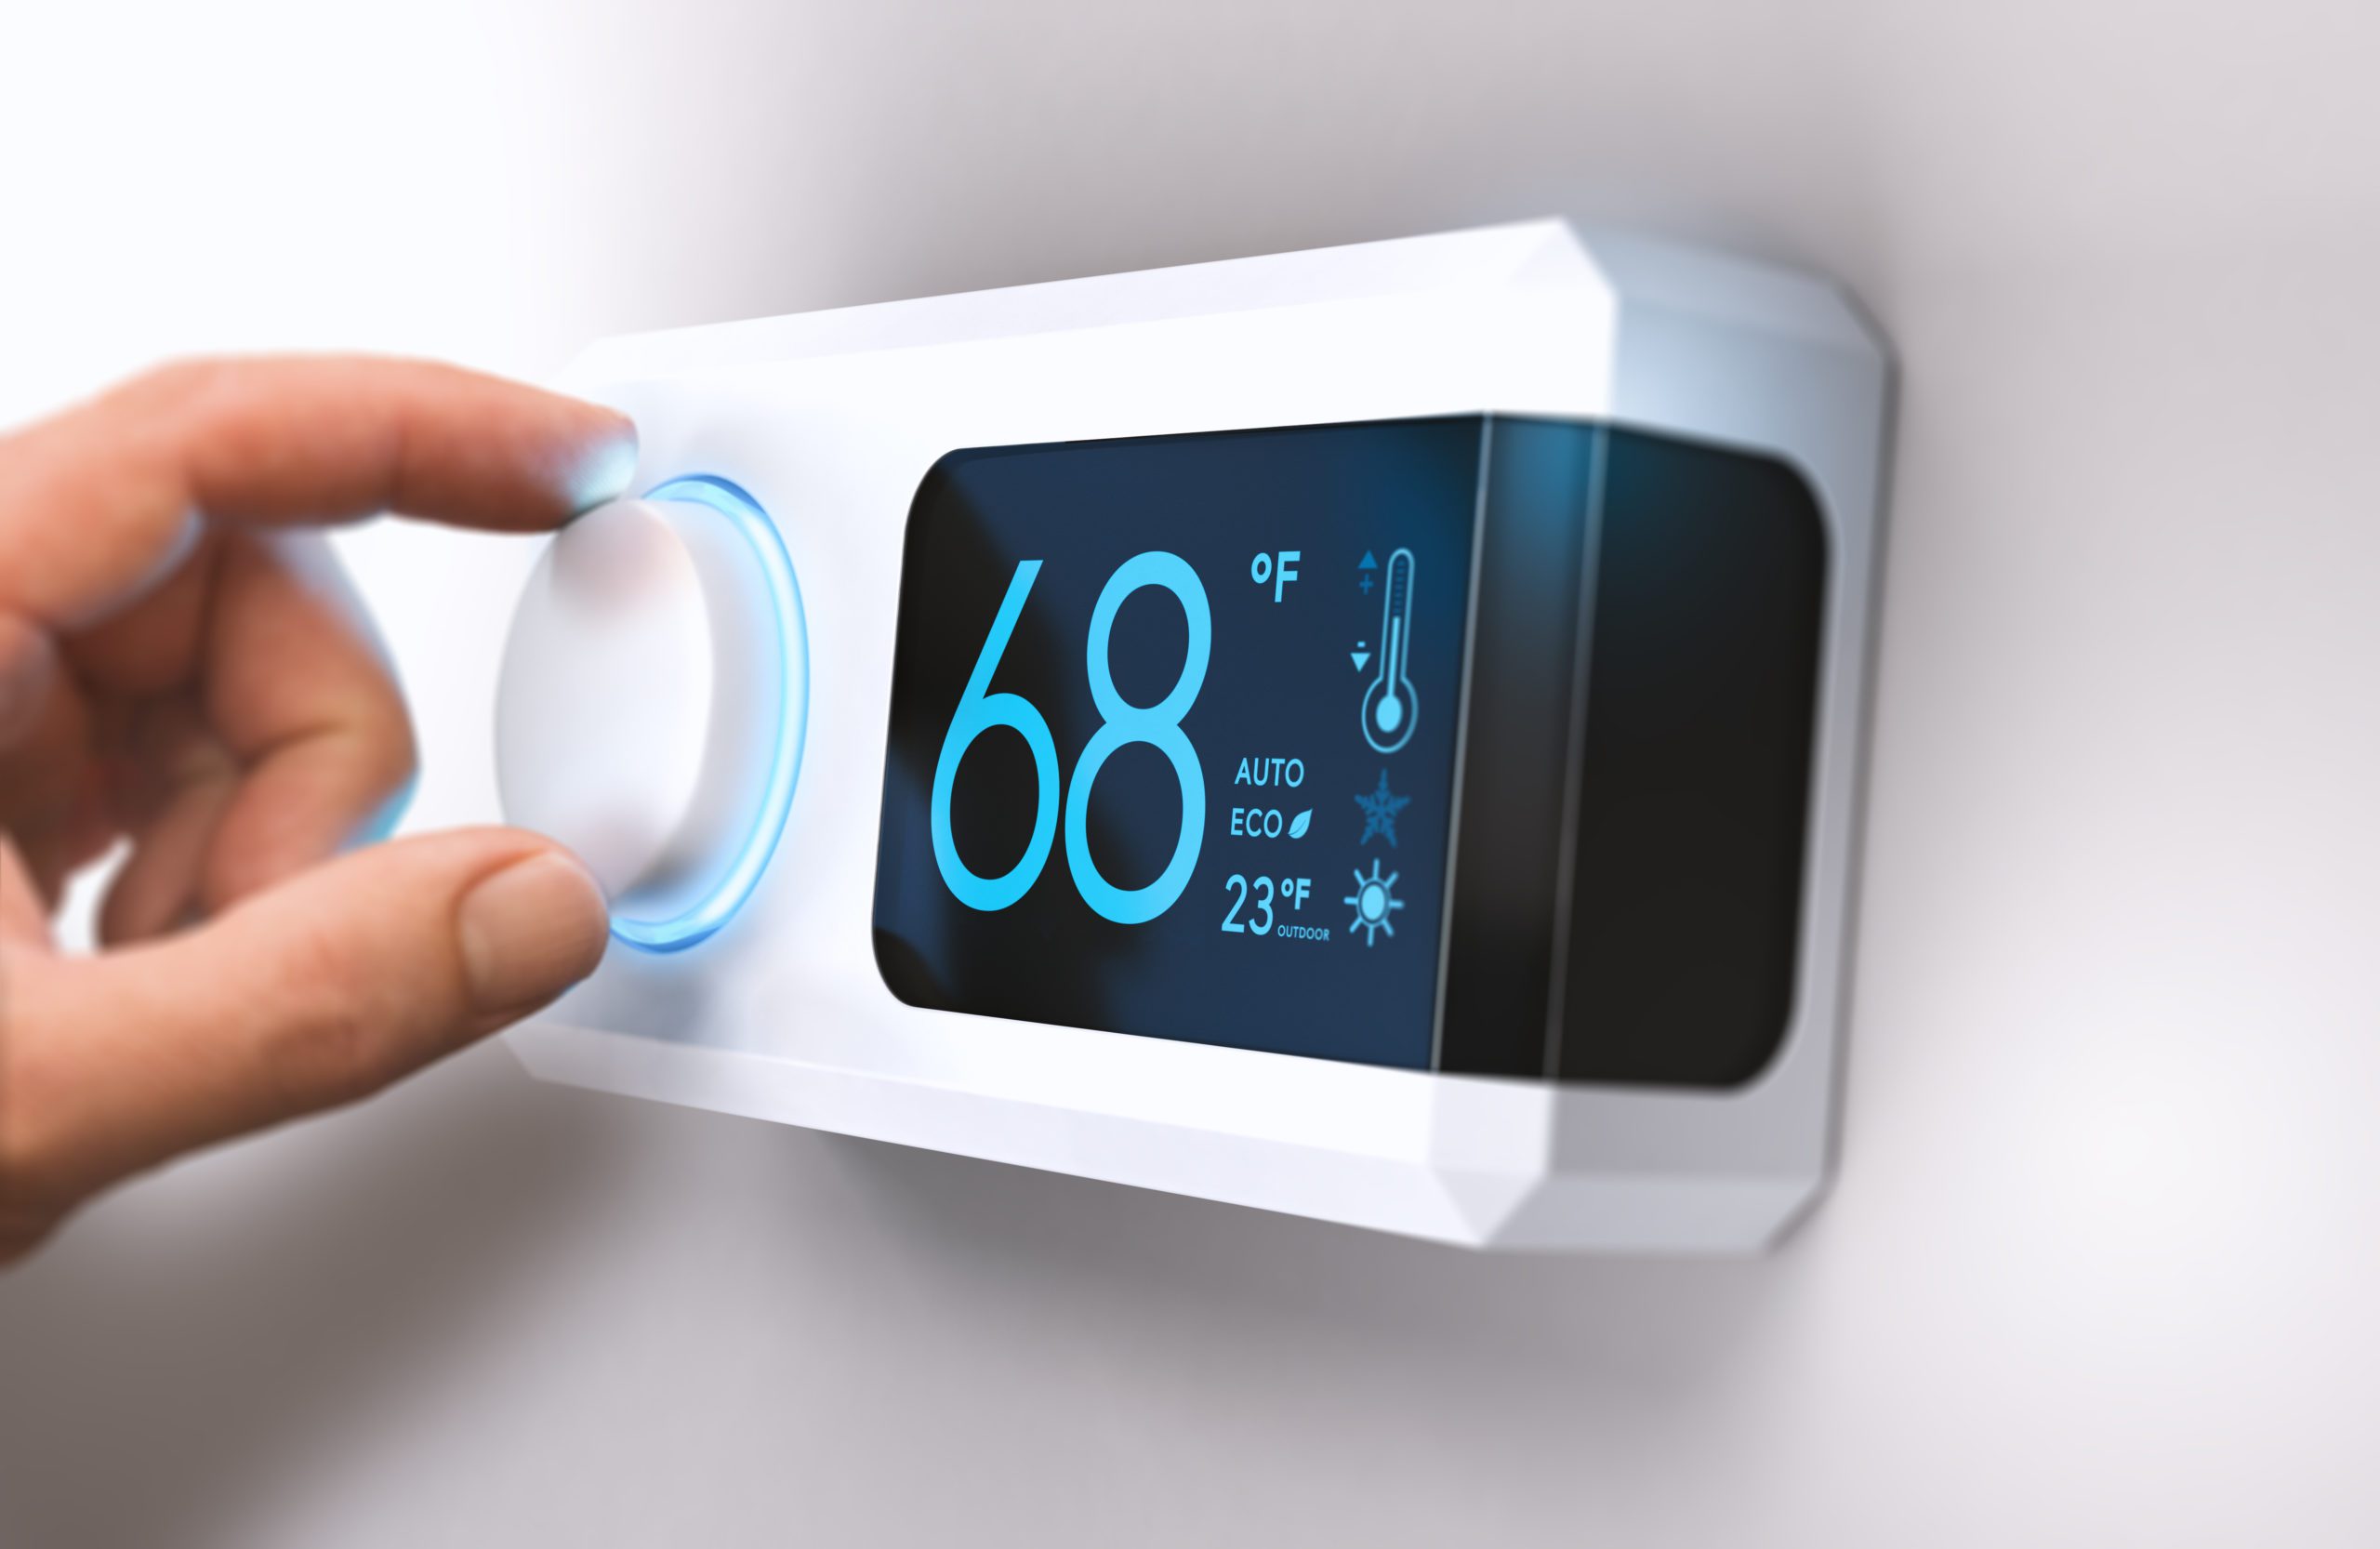
Step 6: Power Up and Configure Your Smart Thermostat
With the wiring successfully connected, it’s time to power up your smart thermostat and configure it to optimize your home’s heating and cooling settings. This step involves energizing the thermostat, linking it to your home’s Wi-Fi network, and programming it to suit your lifestyle and preferences. Follow these steps to complete the setup process:
- Restore Power to the HVAC System: If you haven’t already done so, return to the circuit breaker panel and switch the breaker for your HVAC system back to the “on” position. This action will restore power to the thermostat and HVAC system, allowing you to proceed with the setup.
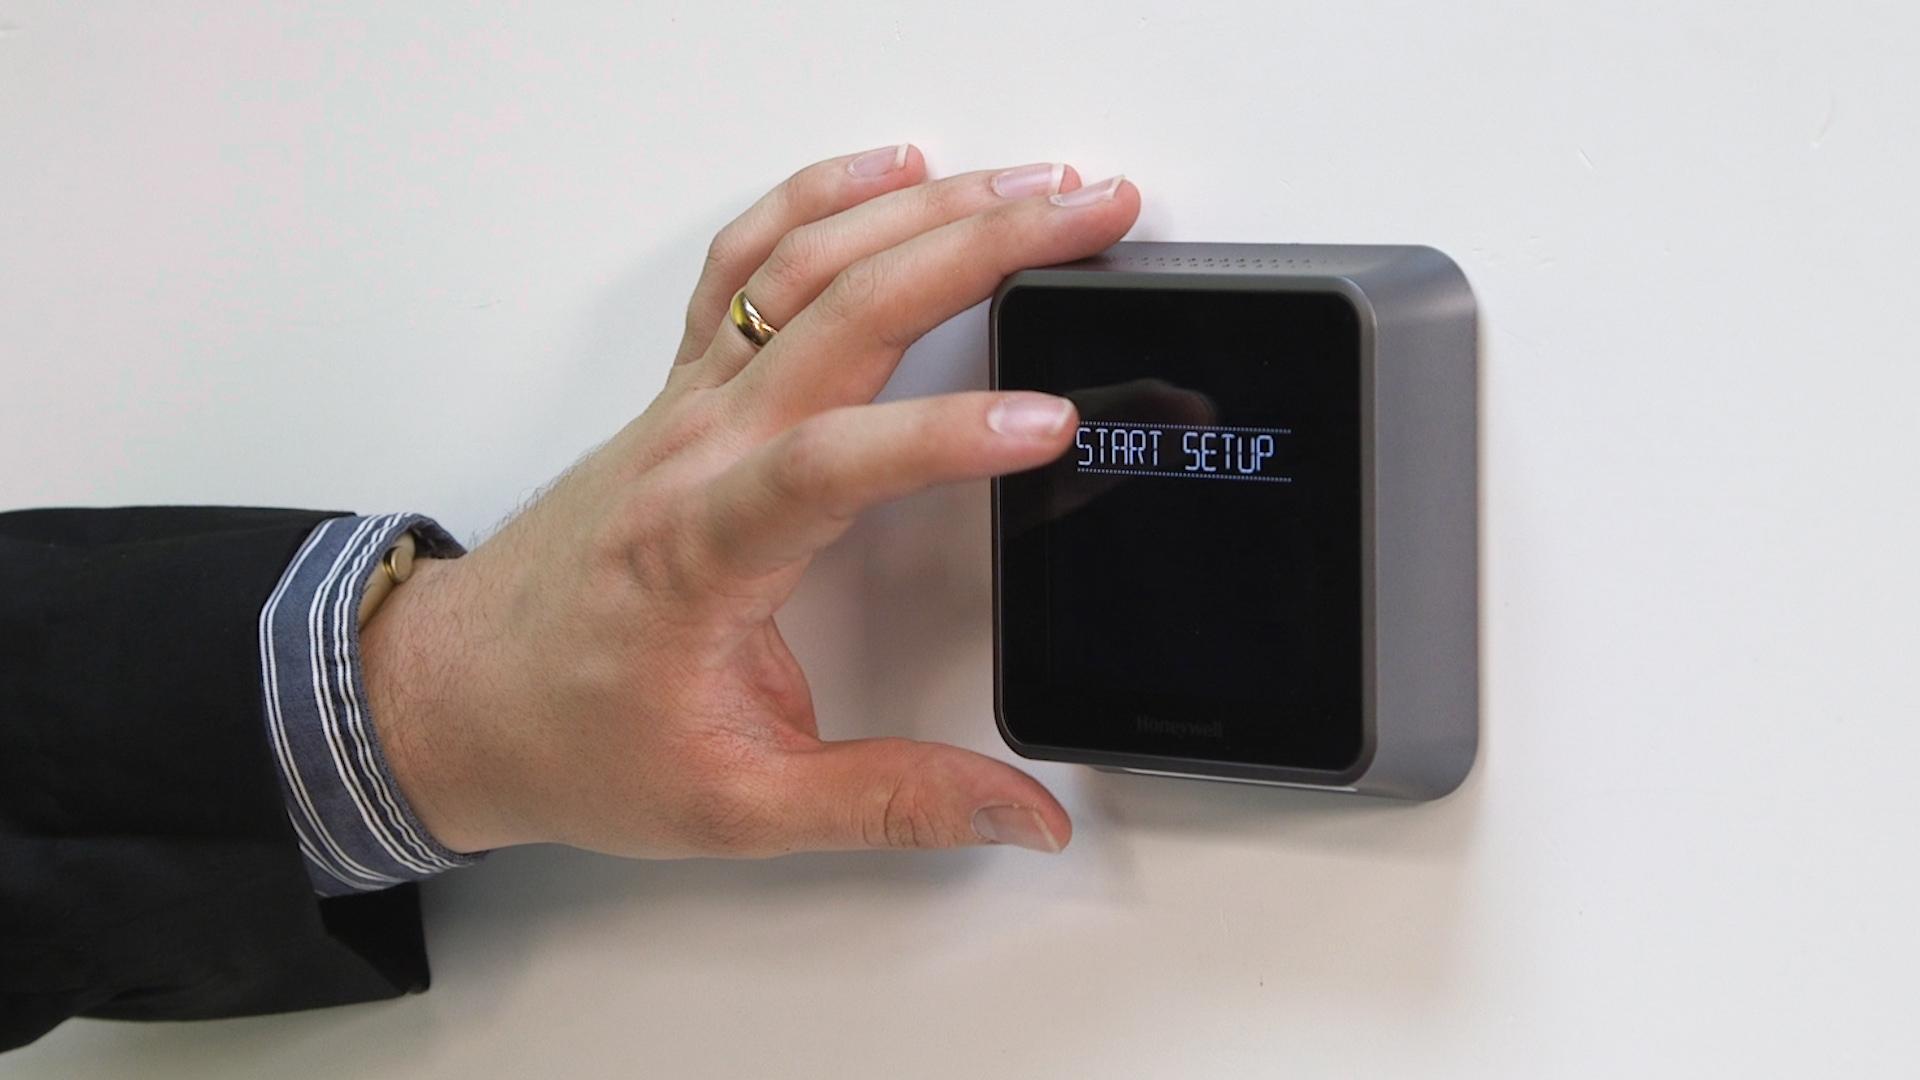
- Power Up the Smart Thermostat: Once the power is restored, your smart thermostat should light up and display the initial setup screen. Follow the manufacturer’s instructions to initialize the thermostat and begin the configuration process.
- Connect to Wi-Fi: Using the thermostat’s interface, connect it to your home’s Wi-Fi network. This step is crucial for enabling remote access, software updates, and integration with smart home systems or voice assistants.
- Set Date and Time: Ensure that the thermostat displays the correct date and time. This information is essential for scheduling heating and cooling cycles and for providing accurate energy usage data.
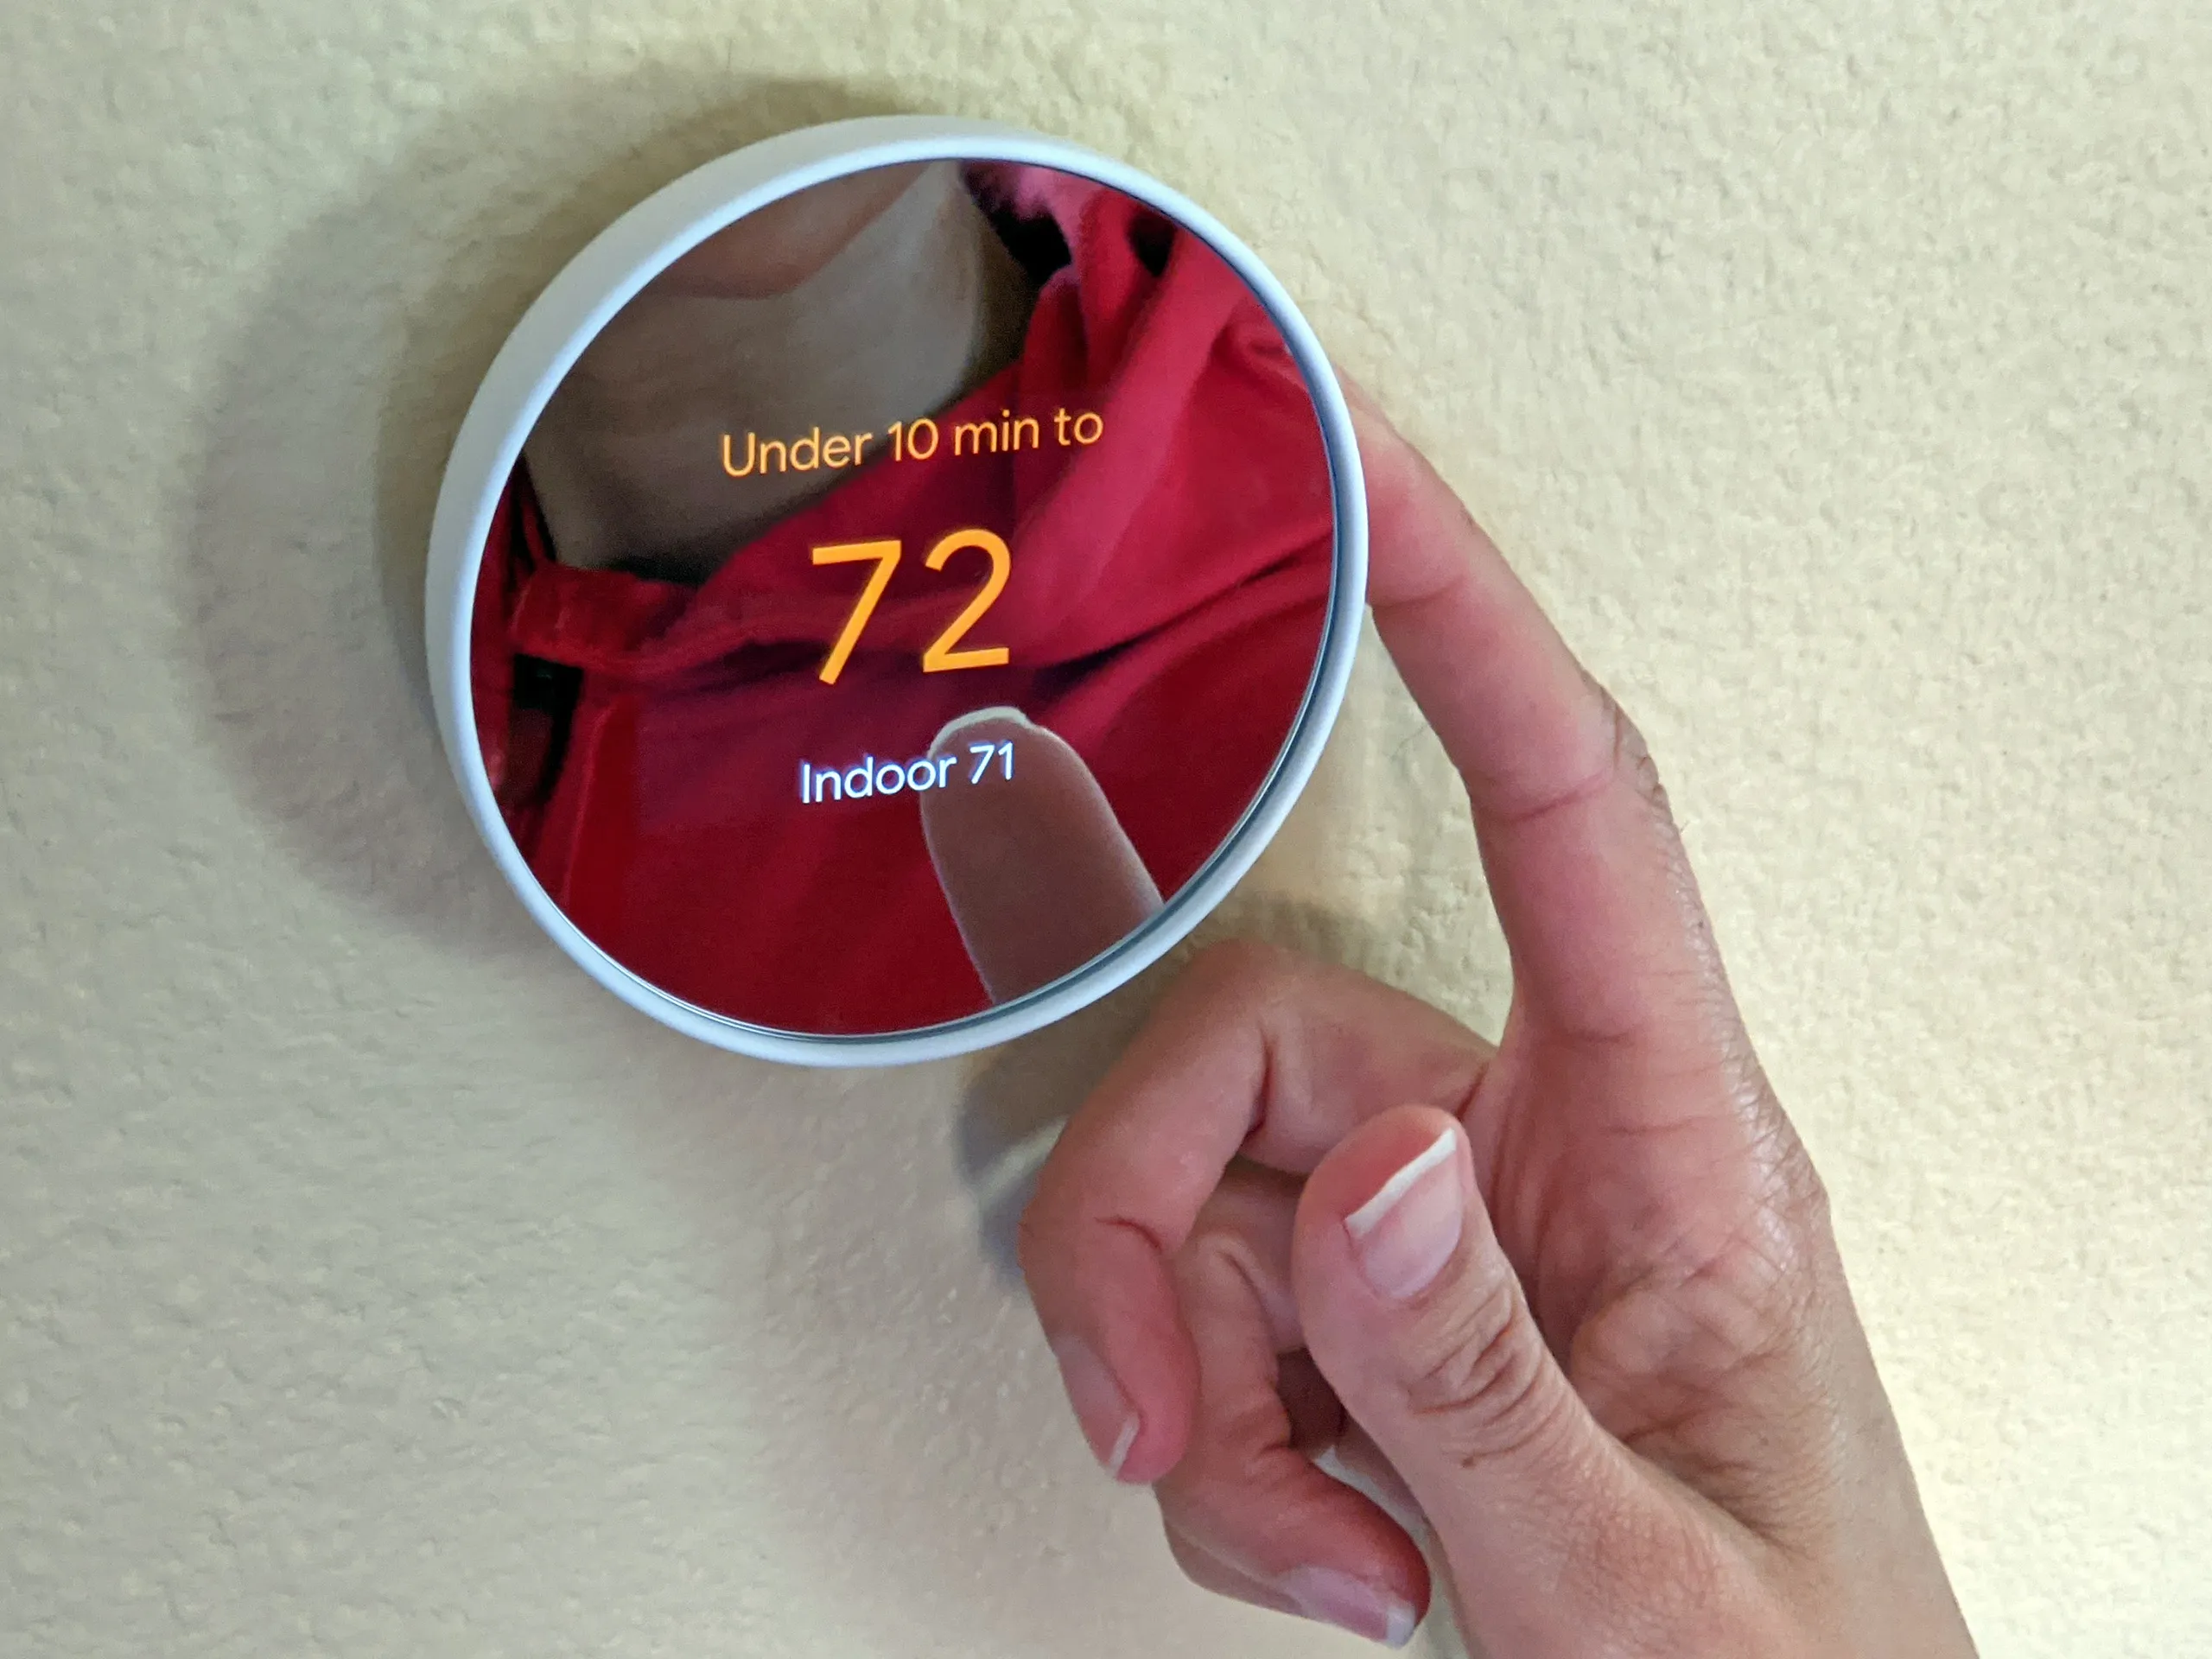
- Program Your Preferences: Utilize the thermostat’s interface or accompanying mobile app to input your preferred temperature settings for different times of the day. Many smart thermostats offer customizable schedules and adaptive learning features to maximize comfort and energy efficiency.
- Explore Additional Features: Take the time to familiarize yourself with any additional features offered by your smart thermostat, such as energy usage reports, geofencing capabilities, or compatibility with voice commands and smart home platforms.
By following these steps, you’ll have successfully powered up and configured your smart thermostat, unlocking its full potential to enhance your home’s comfort and energy efficiency. With the thermostat now operational and tailored to your preferences, you can look forward to enjoying the convenience and savings that come with smart climate control.
Conclusion
Congratulations! You’ve completed the process of replacing your old thermostat with a cutting-edge smart thermostat. By embarking on this journey, you’ve taken a significant step toward optimizing your home’s energy efficiency, enhancing your comfort, and embracing the convenience of modern technology. Throughout the installation process, you’ve demonstrated the determination and skill required to tackle a DIY project that promises long-term benefits.
As you reflect on this accomplishment, it’s important to recognize the positive impact of your decision. Your new smart thermostat empowers you to exert precise control over your home’s heating and cooling, ensuring that energy is used efficiently and responsibly. With features such as remote temperature adjustment and personalized scheduling, you now have the tools to create a comfortable living environment while minimizing energy waste.
Furthermore, the installation of a smart thermostat aligns with the broader effort to promote sustainability and reduce environmental impact. By optimizing your home’s energy usage, you’re contributing to a more eco-friendly future and setting an example for others to follow. Every small change in our homes collectively leads to a significant positive impact on the environment.
As you enjoy the benefits of your new smart thermostat, take pride in the knowledge that you’ve embraced innovation and taken a proactive step toward a more connected, efficient, and sustainable home. Your willingness to adopt smart technology demonstrates a forward-thinking approach to home management and a commitment to making a positive difference in the world.
With your smart thermostat now seamlessly integrated into your home, you can look forward to a future of enhanced comfort, energy savings, and environmental stewardship. Your dedication to this project serves as a testament to your resourcefulness and your commitment to creating a better, smarter, and more sustainable living space for yourself and future generations.