Introduction
Welcome to the world of smart home technology! If you’re looking to upgrade your thermostat and make your home more comfortable and energy-efficient, you’ve come to the right place. In this guide, we’ll show you how to install the Tado Smart Thermostat, a cutting-edge device that allows you to control your heating system from anywhere using your smartphone.
By installing the Tado Smart Thermostat, you’ll be able to enjoy greater convenience, energy savings, and a comfortable living environment. Whether you’re at home or on the go, you can easily adjust the temperature settings to ensure maximum comfort without wasting energy.
Before we get started with the installation process, it’s important to note that this guide assumes you have a basic understanding of electrical systems and wiring. If you’re uncertain or uncomfortable with any aspect of the installation, we highly recommend consulting a professional electrician to ensure everything is installed safely and correctly.
With that in mind, let’s dive into the step-by-step guide on how to install the Tado Smart Thermostat.
Step 1: Gather the necessary tools and materials
Before you begin installing the Tado Smart Thermostat, it’s important to gather all the tools and materials you’ll need for a smooth and successful installation. Here’s a list of the items you’ll need:
- Flathead screwdriver
- Philips screwdriver
- Wire strippers
- Drill (if necessary)
- Anchor screws (if necessary)
- Tado Smart Thermostat
- Thermostat mounting plate
- Mounting screws
- Wire labels
- Compatibility check
Start by making sure you have the correct tools for the job. A flathead screwdriver and a Philips screwdriver will be essential for removing your existing thermostat and mounting the Tado Smart Thermostat. Wire strippers will come in handy if you need to strip any wires during the installation process.
In some cases, you may need a drill and anchor screws to mount the thermostat’s plate on the wall. This will depend on your specific setup, so it’s always good to have them on hand just in case.
Of course, you’ll need the Tado Smart Thermostat itself, along with the necessary mounting components. These include the thermostat mounting plate, which serves as a base for attaching the thermostat to the wall, as well as the mounting screws to secure it in place.
Lastly, don’t forget about wire labels. These small stickers will be crucial for keeping track of the different wires during the installation process, ensuring that you connect everything correctly.
Before moving on to the next step, make sure to double-check the compatibility of the Tado Smart Thermostat with your existing heating system. You can visit the Tado website or consult the device’s manual to ensure compatibility.
Step 2: Turn off the power
Before you start working on your thermostat, it’s crucial to turn off the power to your heating system. This step is essential to ensure your safety and prevent any electrical mishaps during the installation process. Here’s how to do it:
- Locate your circuit breaker panel: The circuit breaker panel can usually be found in the basement, garage, or utility room of your home. It is a metal box that contains multiple switches or breakers.
- Identify the breaker for your heating system: Look for the breaker that corresponds to your heating system. If you’re unsure which breaker it is, you can refer to the labeling on the panel or consult the circuit breaker layout diagram.
- Turn off the breaker: Once you’ve identified the correct breaker, flip it to the “Off” position. This will cut off the power supply to your heating system, ensuring that it’s safe to proceed with the installation.
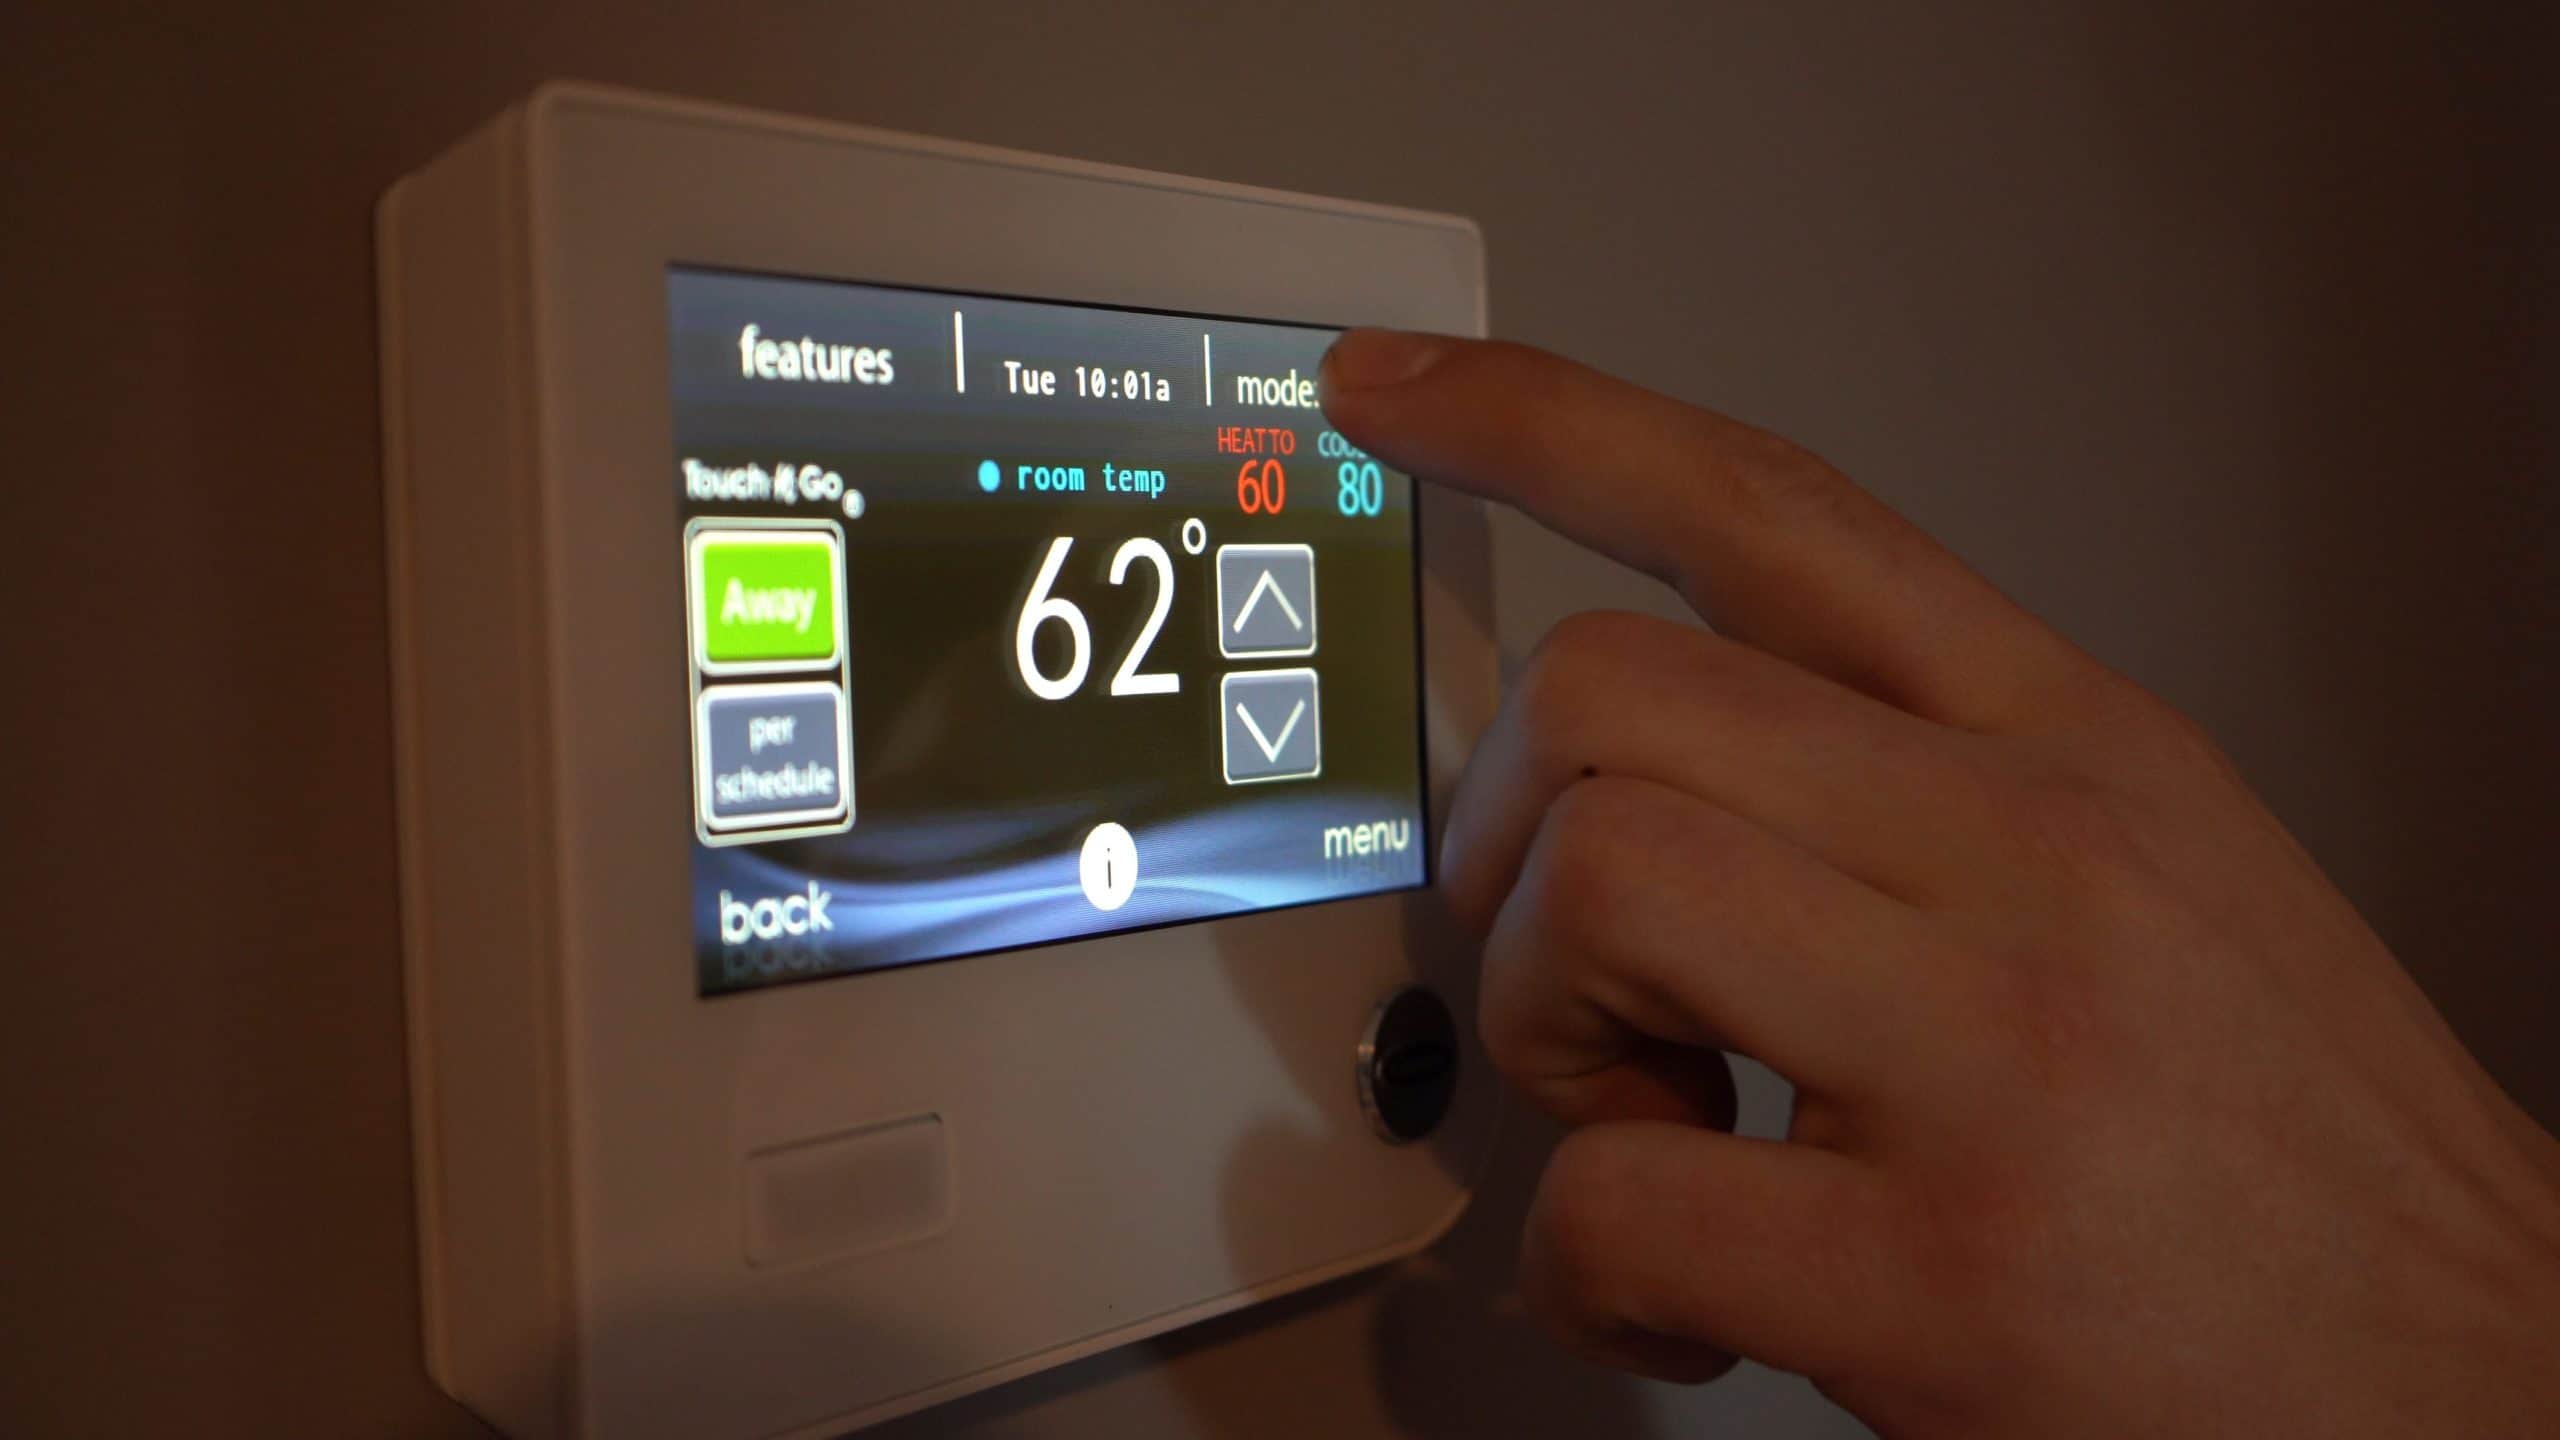
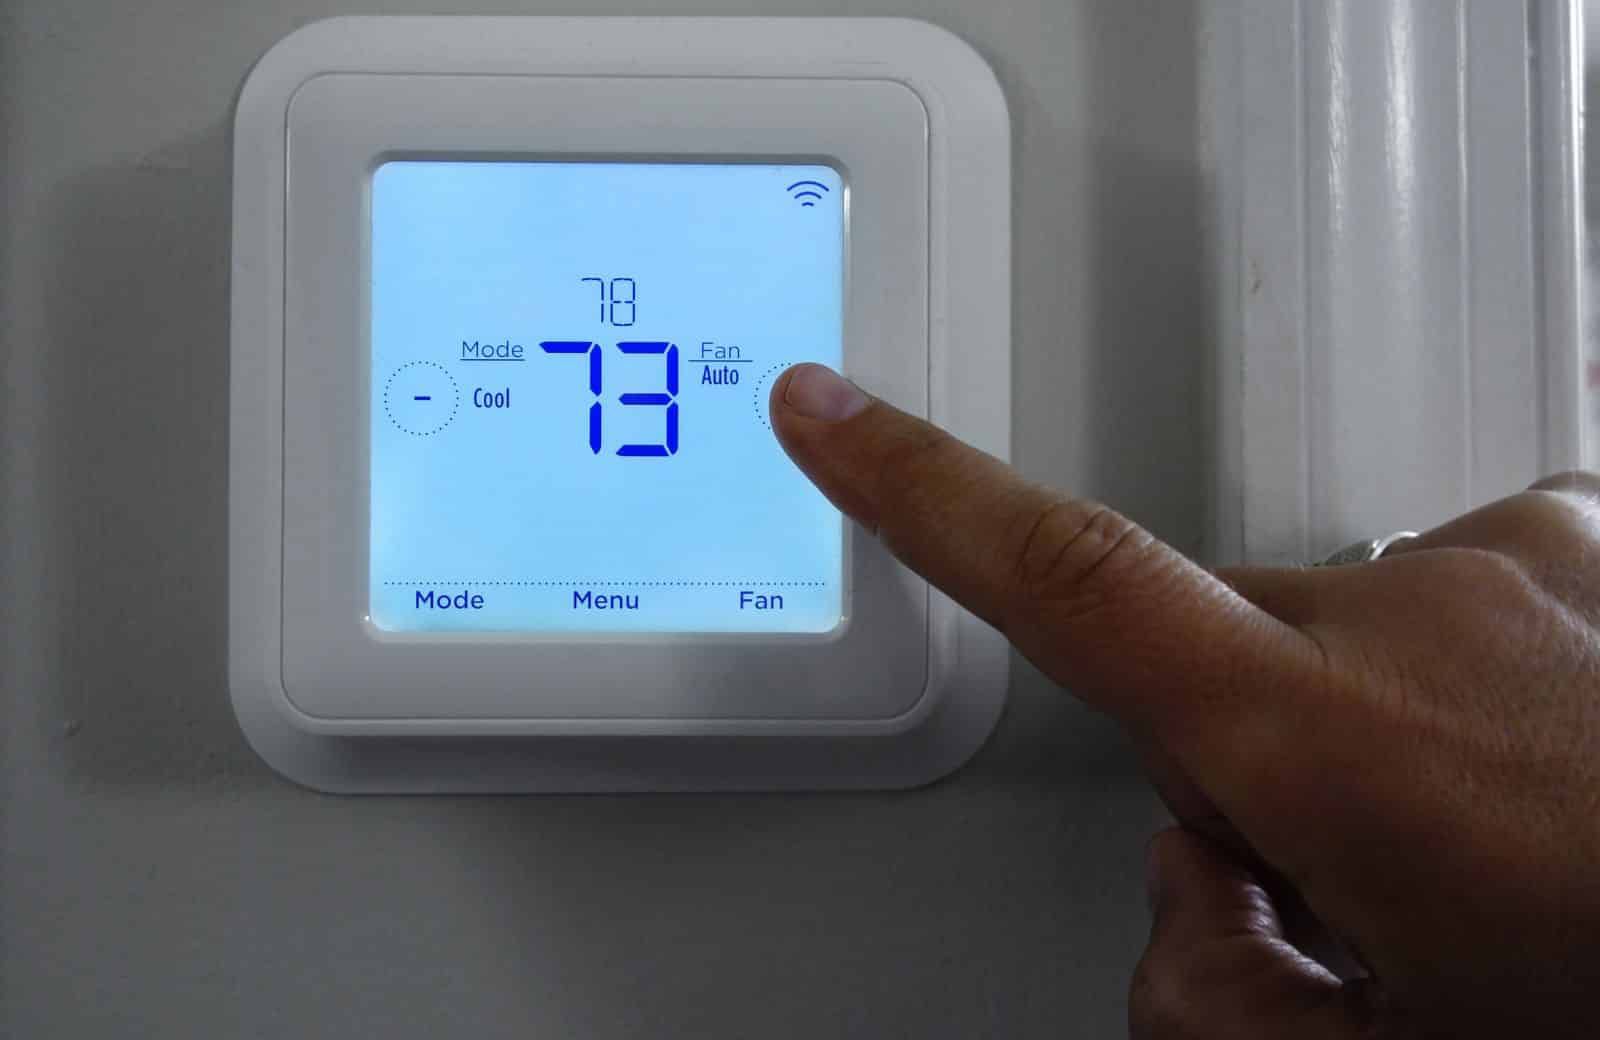
After turning off the power, it’s a good practice to double-check that your heating system is indeed turned off. You can do this by attempting to adjust the temperature on your existing thermostat. If the system doesn’t respond and the display remains off, it confirms that the power has been successfully turned off.
Additionally, while working on your thermostat, it’s advisable to use a non-contact voltage tester to verify that there is no live current present. This tool will help ensure your safety by detecting the presence of electrical voltage without having to make direct contact with the wiring.
Always remember that safety comes first when dealing with electrical systems. By turning off the power to your heating system, you minimize the risk of electric shock or damage to your equipment. Once you’ve taken these precautions, you’re ready to move on to the next step of the installation process.
Step 3: Remove the existing thermostat
Now that you’ve turned off the power, it’s time to remove your old thermostat. Removing the existing thermostat will allow you to prepare the wall for the installation of the Tado Smart Thermostat. Here’s how to do it:
- Remove the thermostat cover: Most thermostats have a removable cover that snaps or slides off. Gently pry the cover away from the wall to expose the inner components. Be cautious not to damage any wires.
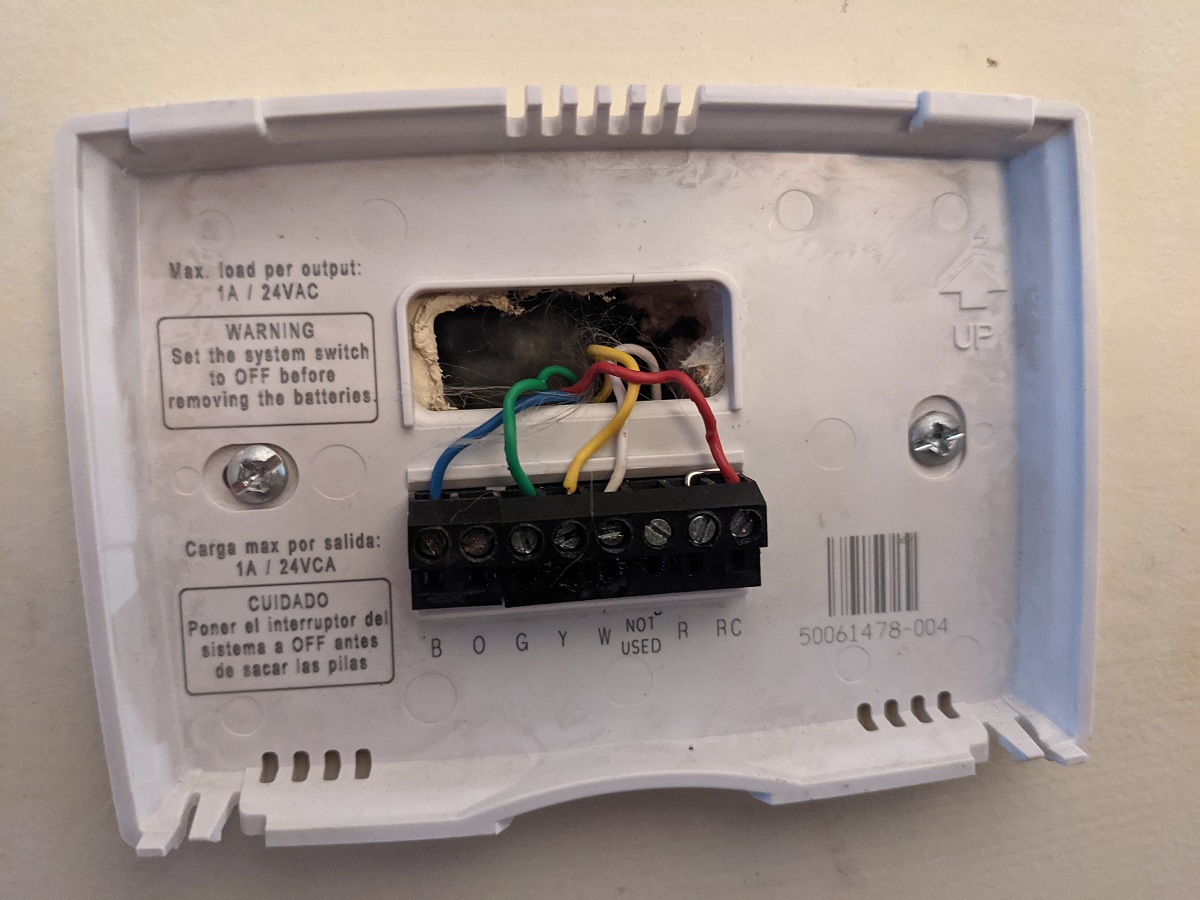
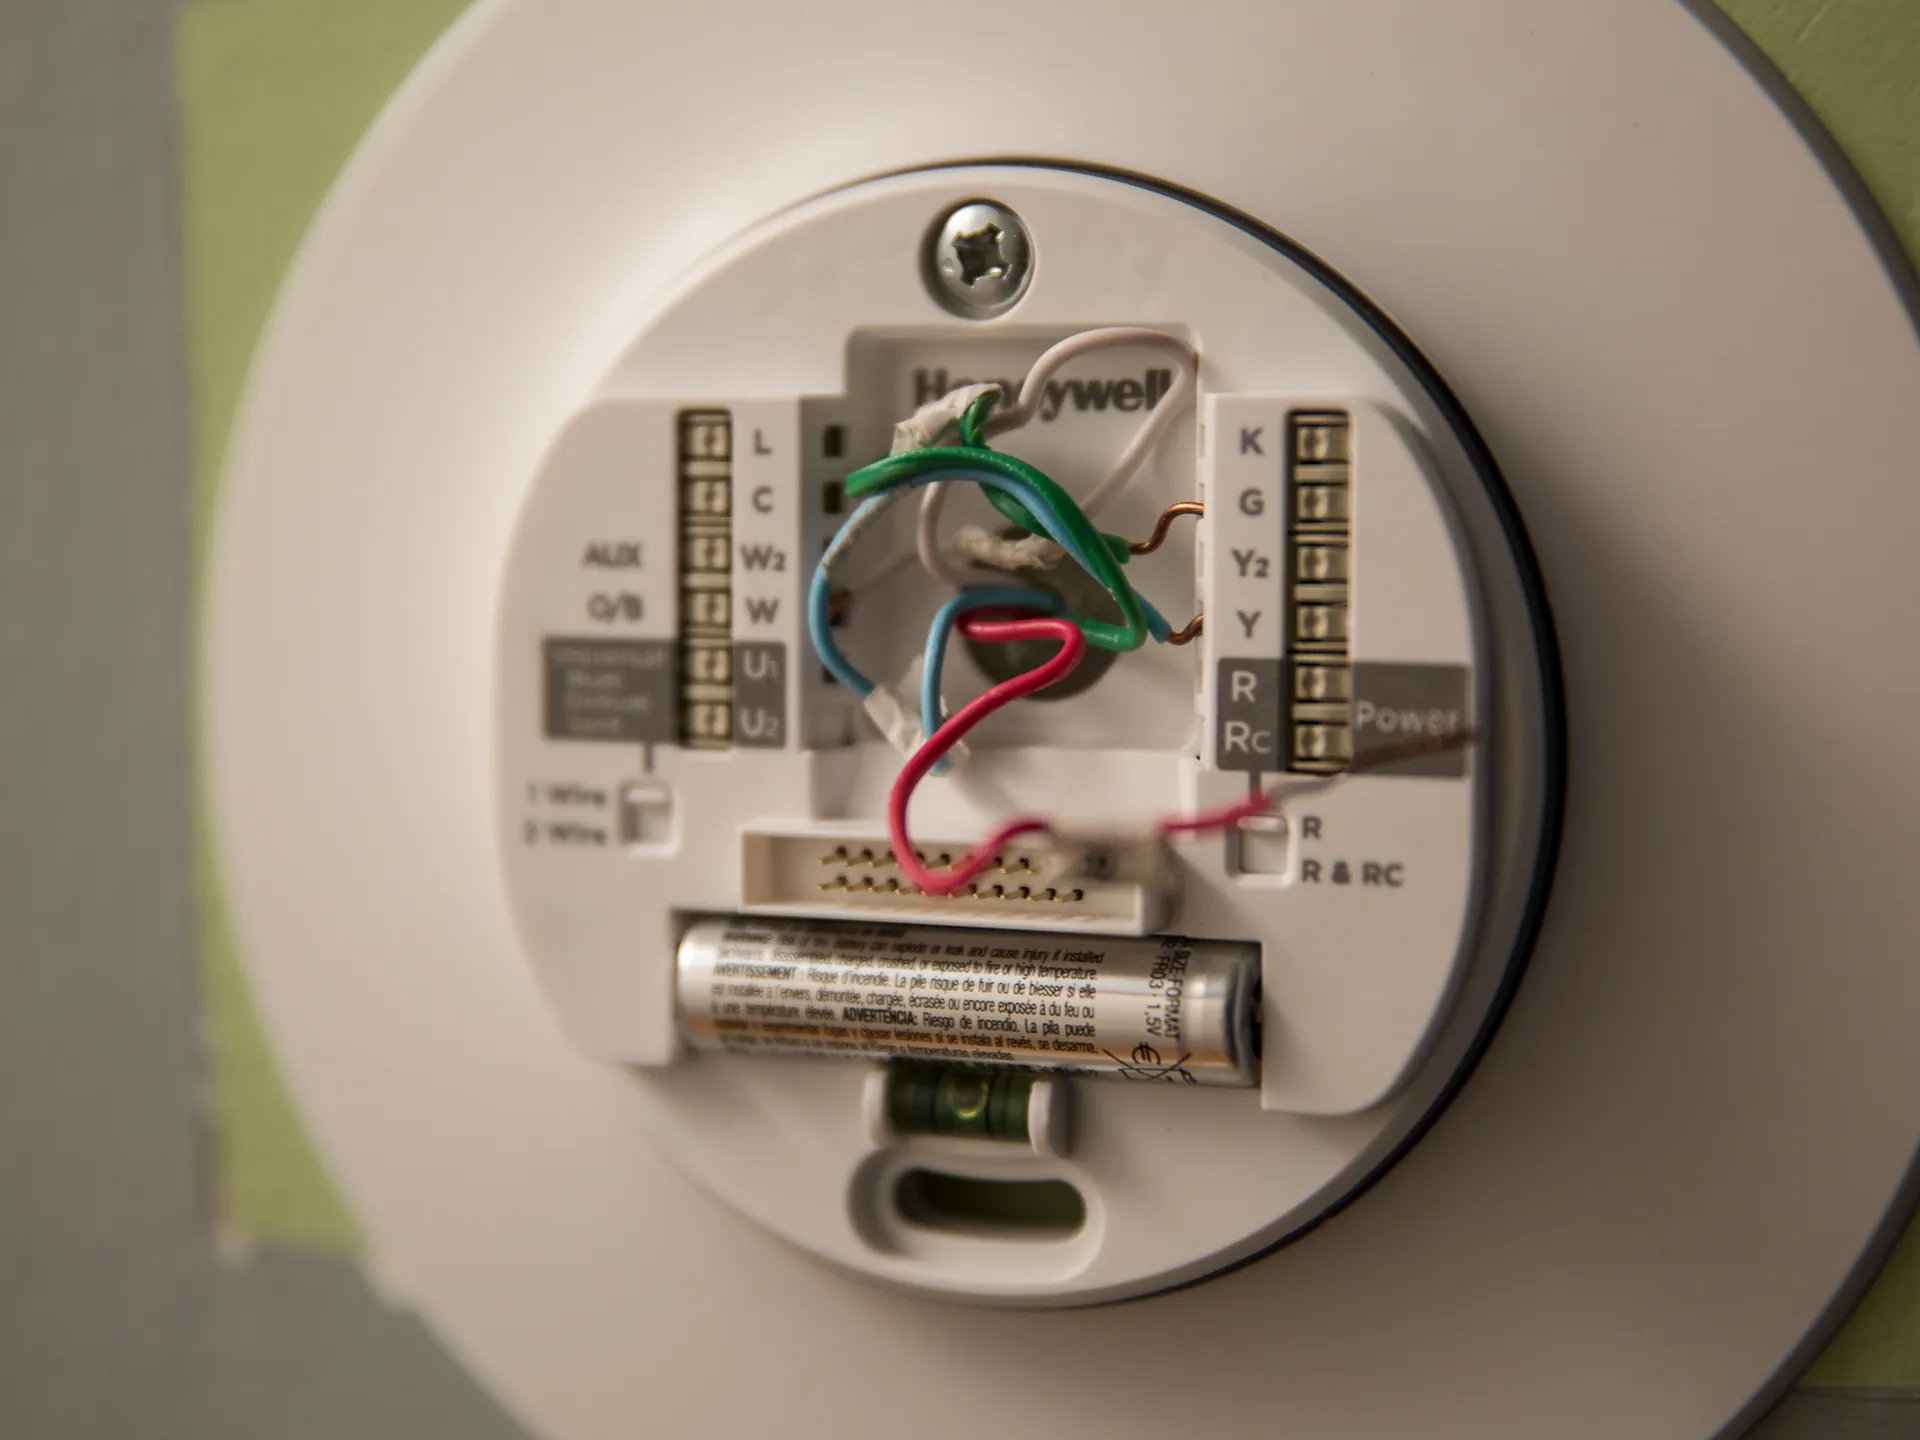
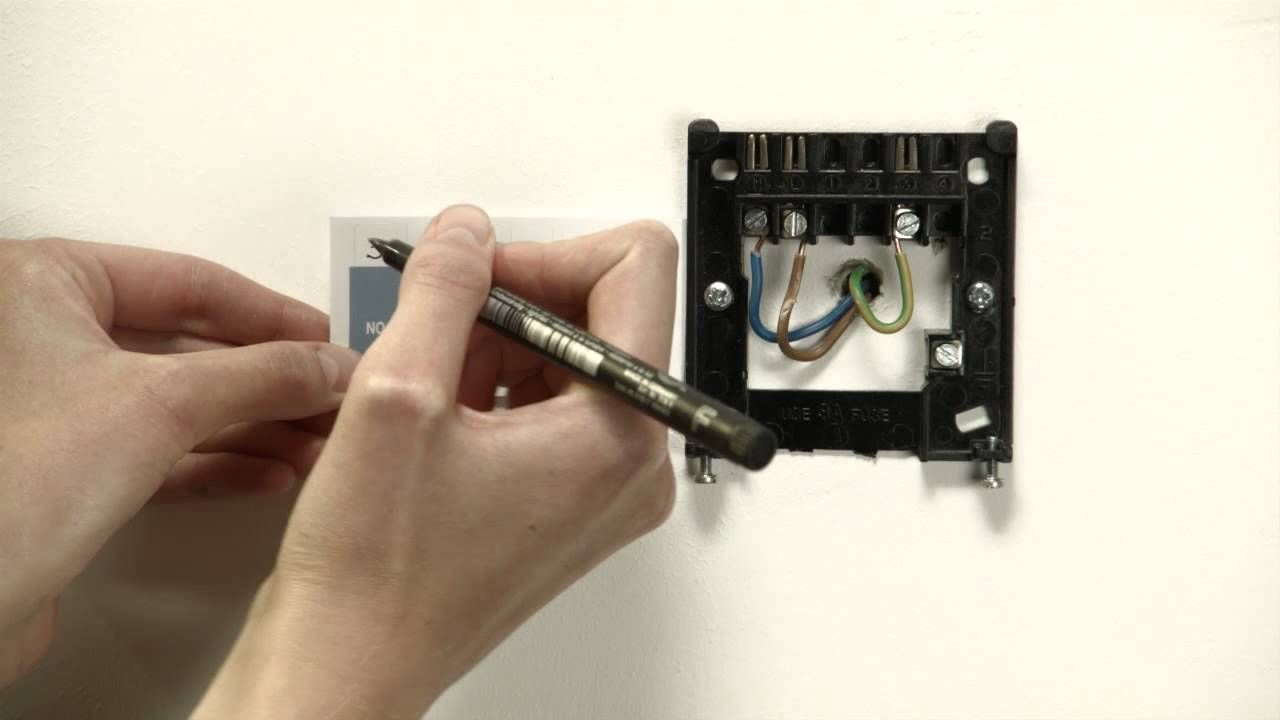
- Take a picture of the wiring: Before disconnecting any wires, it’s a good idea to take a photo of the wiring configuration. This will serve as a handy reference when connecting the wires to the new thermostat later on. If possible, also label the wires according to their terminal connections.
- Loosen the mounting screws: Locate the mounting screws that secure the thermostat base to the wall. Use a screwdriver to loosen the screws and remove the base from the wall. Be careful not to damage the wires or any surrounding components.
- Disconnect the wires: Gently pull out the wires from their terminal connections on the existing thermostat base. Some thermostats may have screw terminals, while others may have push-in connectors. Carefully note which wire corresponds to each terminal.
- Remove the thermostat base: Once the wires are disconnected, remove the existing thermostat base from the wall completely. You may need to unscrew any remaining screws or brackets holding it in place.
With the old thermostat removed, you can now prepare the wall for the installation of the Tado Smart Thermostat. Take this opportunity to clean the wall surface and remove any debris or dust left behind. Ensure that the area is dry and free from any obstructions that might interfere with the installation process.
Remember to handle the old thermostat and its components with care, as they may contain fragile components or potentially hazardous materials. Properly dispose of the old thermostat according to local regulations or guidelines.
Now that your old thermostat has been removed and the wall is ready, you’re all set to proceed with the installation of the Tado Smart Thermostat in the next step.
Step 4: Install the Tado Smart Thermostat
With the old thermostat removed and the wall prepared, it’s time to install the Tado Smart Thermostat. Follow these steps to ensure a successful installation:
- Position the mounting plate: Take the thermostat mounting plate and align it with the holes or markings on the wall. Ensure that the plate is level and in the desired location for optimal functionality and visibility.
- Secure the mounting plate: Once the mounting plate is positioned correctly, use the provided mounting screws to secure it to the wall. Ensure that the plate is firmly attached and level.
- Correctly connect the wires: Refer to the photo or sketch you took earlier of the old thermostat wiring. Match each wire to its corresponding terminal on the Tado Smart Thermostat. Depending on the model, you may need to unscrew the terminals or use push-in connectors to secure the wires.
- Attach the Tado Smart Thermostat: Once all the wires are connected, gently attach the Tado Smart Thermostat to the mounting plate. Ensure that it is properly aligned and securely in place.
- Tighten any screws: Check to see if there are any additional screws or fasteners provided with the Tado Smart Thermostat. Use these to securely tighten the device to the mounting plate, ensuring that it remains stable and fixed in position.
It’s important to refer to the Tado Smart Thermostat’s installation manual for any specific instructions or guidelines related to your model. Different models may have slightly different installation processes and may require additional steps or components.
Once the Tado Smart Thermostat is properly installed, take a moment to verify that it is functioning correctly. Check that the display is lit and responsive, and ensure that the wires are securely connected. This will help ensure that the thermostat is ready to be connected to your home’s Wi-Fi network in the next step.
Congratulations! You have successfully installed the Tado Smart Thermostat on your wall. The next step is to connect it to your Wi-Fi network so you can control and monitor your heating system remotely.
Step 5: Connect the Tado to your Wi-Fi network
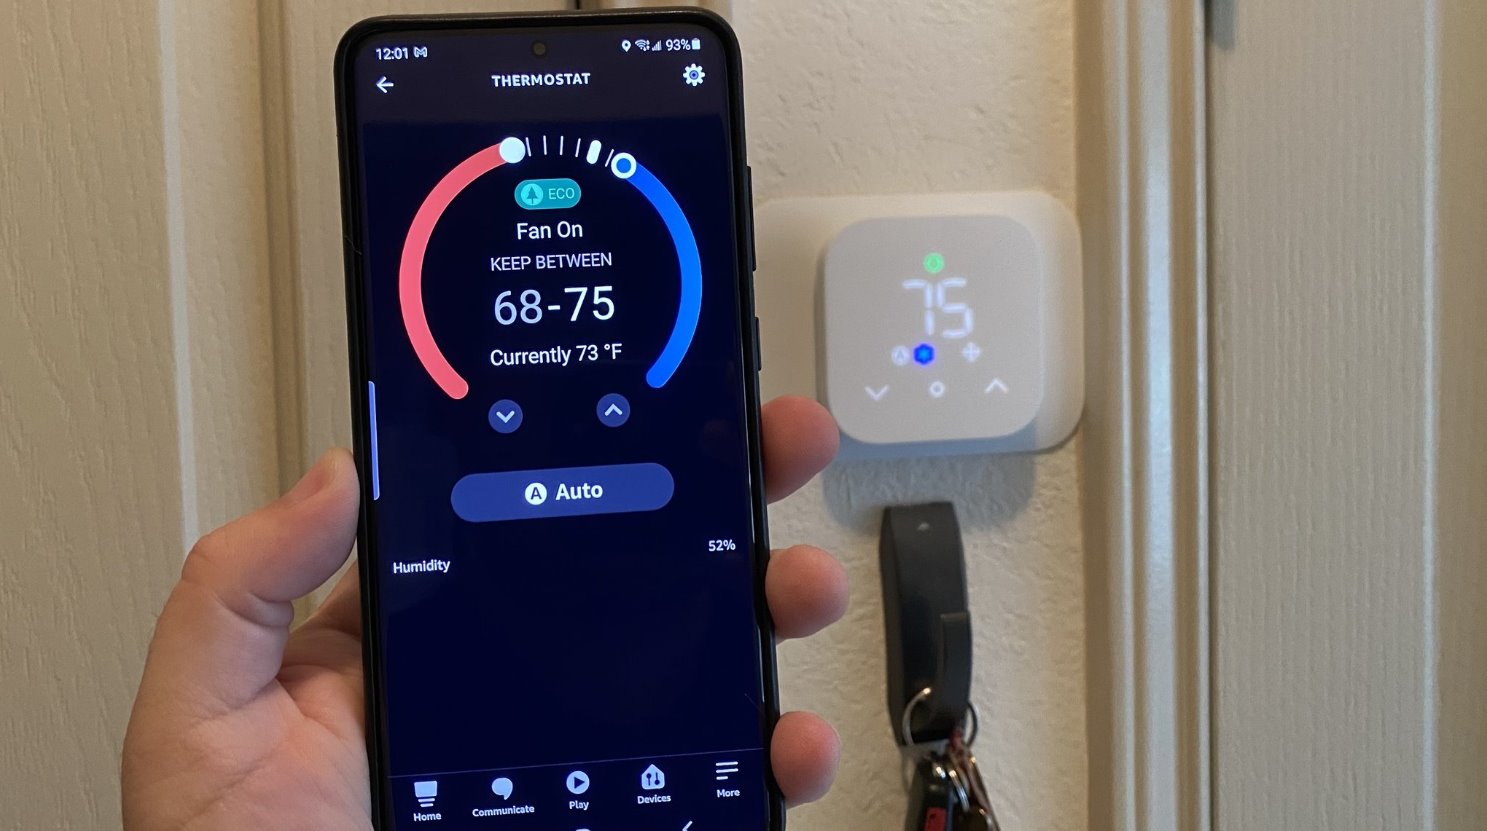
With the Tado Smart Thermostat installed and securely in place, it’s time to connect it to your home’s Wi-Fi network. By doing this, you’ll gain the ability to control your heating system remotely and enjoy the convenience of managing your thermostat from anywhere. Follow these steps to connect your Tado Smart Thermostat to your Wi-Fi network:
- Power on the Tado: Ensure that your Tado Smart Thermostat is powered on and ready to connect. The device should have an active display and be in setup mode.
- Download the Tado app: On your smartphone or tablet, go to the App Store or Google Play Store and search for the Tado app. Download and install the app onto your device.
- Open the Tado app: Launch the Tado app on your device. If you don’t have an account, create one by following the on-screen instructions.
- Follow the setup process: The Tado app will guide you through the setup process. Follow the on-screen instructions, and when prompted, provide the necessary information such as your location, heating system specifics, and any other relevant details.
- Connect the Tado to your Wi-Fi: When prompted, select the option to connect the Tado Smart Thermostat to your Wi-Fi network. Follow the instructions provided within the app to complete the connection process.
- Verify the connection: Once the Tado Smart Thermostat is successfully connected to your Wi-Fi network, the app will confirm the connection. You should see the thermostat listed within the app and be able to control it remotely.
During the Wi-Fi connection process, it’s important to ensure that your smartphone or tablet is connected to the same Wi-Fi network that you want to connect the Tado Smart Thermostat to. This will facilitate a seamless connection between the devices.
By connecting your Tado Smart Thermostat to your Wi-Fi network, you’ll unlock the full potential of this smart device. You’ll be able to control your heating system from anywhere, adjust temperature settings, create schedules, and monitor energy usage all through the convenience of the Tado app.
With the Tado Smart Thermostat successfully connected to your Wi-Fi network, you’re now ready to move on to the next step of setting up the Tado app.
Step 6: Set up the Tado app
Now that your Tado Smart Thermostat is connected to your Wi-Fi network, it’s time to set up the Tado app. The app will serve as your control center, allowing you to manage and monitor your heating system remotely. Follow these steps to set up the Tado app:
- Open the Tado app: Launch the Tado app on your smartphone or tablet. If you’re not already logged in, enter your Tado account credentials to sign in.
- Add your Tado Smart Thermostat: Tap on the option to add a device within the app. Follow the instructions provided to search for and connect to your Tado Smart Thermostat. Make sure your device is in pairing mode for the app to identify it.
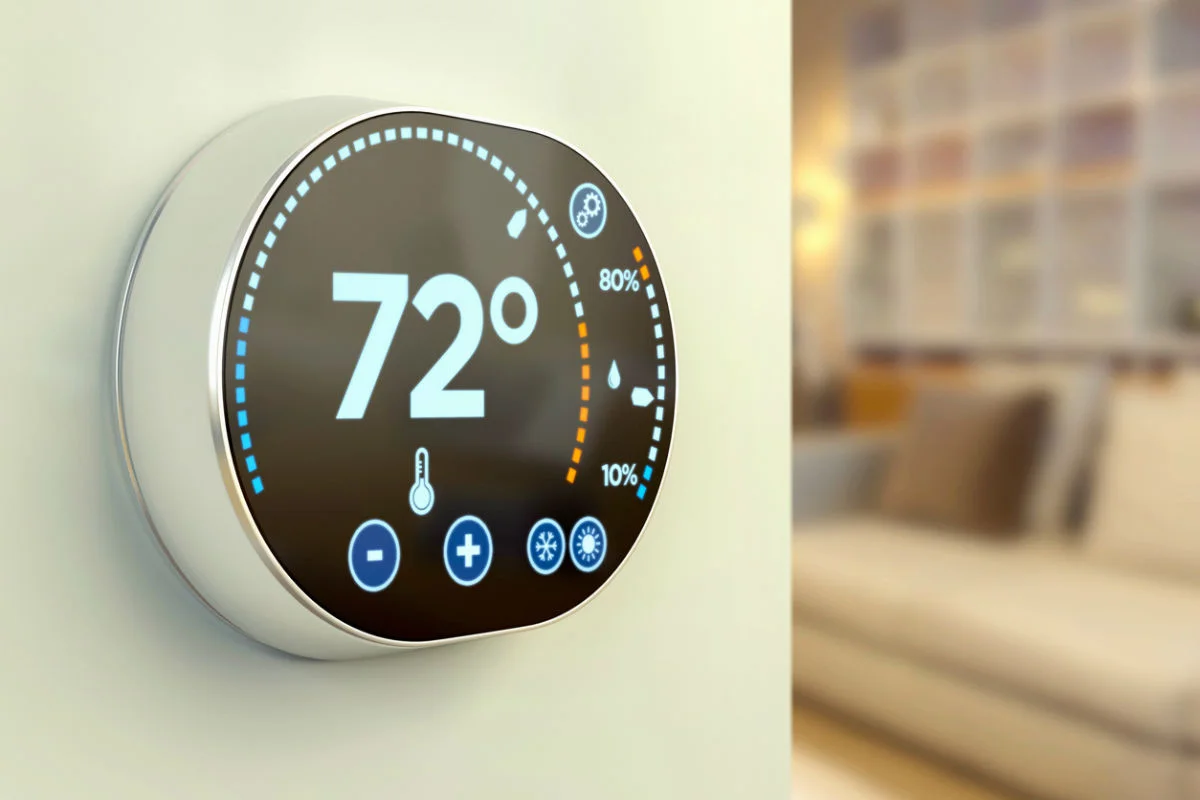
- Customize your settings: Once your Tado Smart Thermostat is successfully added to the app, you can begin customizing your settings. Set your preferred temperature ranges, create heating schedules, and explore the various features and functionalities offered by the app.
- Explore additional features: The Tado app provides a range of additional features and options to enhance your thermostat experience. You can explore features such as geofencing, which allows the thermostat to adjust settings based on your location, and energy-saving tips to help optimize your energy usage.
- Connect with other smart devices: If you have other smart home devices, such as smart speakers or smart plugs, you can explore integrating them with your Tado Smart Thermostat. This will allow for more advanced automation and control options.
- Take advantage of app updates: Tado regularly releases updates to the app, introducing new features and improvements. Make sure to check for updates periodically and install them to ensure that you have the latest version of the app.
The Tado app offers a user-friendly interface that allows you to conveniently control your Tado Smart Thermostat with just a few taps on your smartphone or tablet. Take the time to explore the app’s features and settings to personalize your comfort and maximize energy efficiency.
With the Tado app set up, you now have full control over your heating system, even when you’re not at home. Whether you want to adjust the temperature, create custom schedules, or monitor energy usage, the Tado app puts the power in your hands.
Congratulations! You’ve successfully set up the Tado app and completed the installation process for your Tado Smart Thermostat. Enjoy the comfort, convenience, and energy savings that come with this smart addition to your home!
Conclusion
Congratulations on successfully installing and setting up your Tado Smart Thermostat! By following the step-by-step process outlined in this guide, you’ve taken a significant step towards enhancing the comfort and energy efficiency of your home.
With the Tado Smart Thermostat, you now have the ability to control your heating system with ease, whether you’re at home or on the go. The convenience of managing your thermostat through the Tado app allows you to create tailored schedules, adjust temperatures remotely, and monitor your energy usage.
Not only does the Tado Smart Thermostat offer convenience, but it also helps you save on energy costs. With features like geofencing, the thermostat can adjust temperatures based on your proximity to home, ensuring optimal comfort while minimizing energy waste. The Tado app also provides insights and energy-saving tips to assist you in making more informed decisions about your energy usage.
During the installation process, it’s important to prioritize safety. If you’re unsure about any aspect, don’t hesitate to consult a professional electrician who can provide guidance and ensure that the installation is carried out safely and correctly.
Remember to keep the Tado app and the firmware of your Smart Thermostat updated with the latest releases. This will ensure that you have access to the most advanced features and enhancements as they become available.
With your Tado Smart Thermostat installed and connected, you’ll experience improved comfort, increased convenience, and reduced energy consumption. Enjoy the benefits of a smart home and take control of your heating system like never before.
Thank you for choosing the Tado Smart Thermostat, and we hope it brings you years of comfort and energy savings.