Introduction
Welcome to the world of smart homes, where technology seamlessly integrates with our daily lives to make them more convenient and efficient. In the realm of smart home automation, Apple’s HomeKit has emerged as a popular platform that allows homeowners to control various devices through their Apple devices.
Apple HomeKit provides a centralized hub for managing and controlling smart devices, including thermostats, lights, door locks, and more. In this article, we will be focusing specifically on thermostats that are compatible with Apple HomeKit.
By integrating a thermostat with Apple HomeKit, homeowners can enjoy enhanced control over their home’s temperature, energy efficiency, and overall comfort. This technology allows users to remotely adjust the temperature, schedule temperature changes, and even automate temperature adjustments based on certain conditions.
Whether you’re someone who wants to conserve energy and reduce utility bills or simply enjoy the convenience of remotely controlling your thermostat, Apple HomeKit thermostats offer a wide range of possibilities.
In the following sections, we will explore the benefits of using Apple HomeKit with a thermostat, factors to consider when choosing a thermostat, popular thermostat options that work with Apple HomeKit, and how to set up and troubleshoot common issues. So let’s dive in and discover how Apple HomeKit can revolutionize the way we control and manage our home’s temperature!
What is Apple HomeKit?
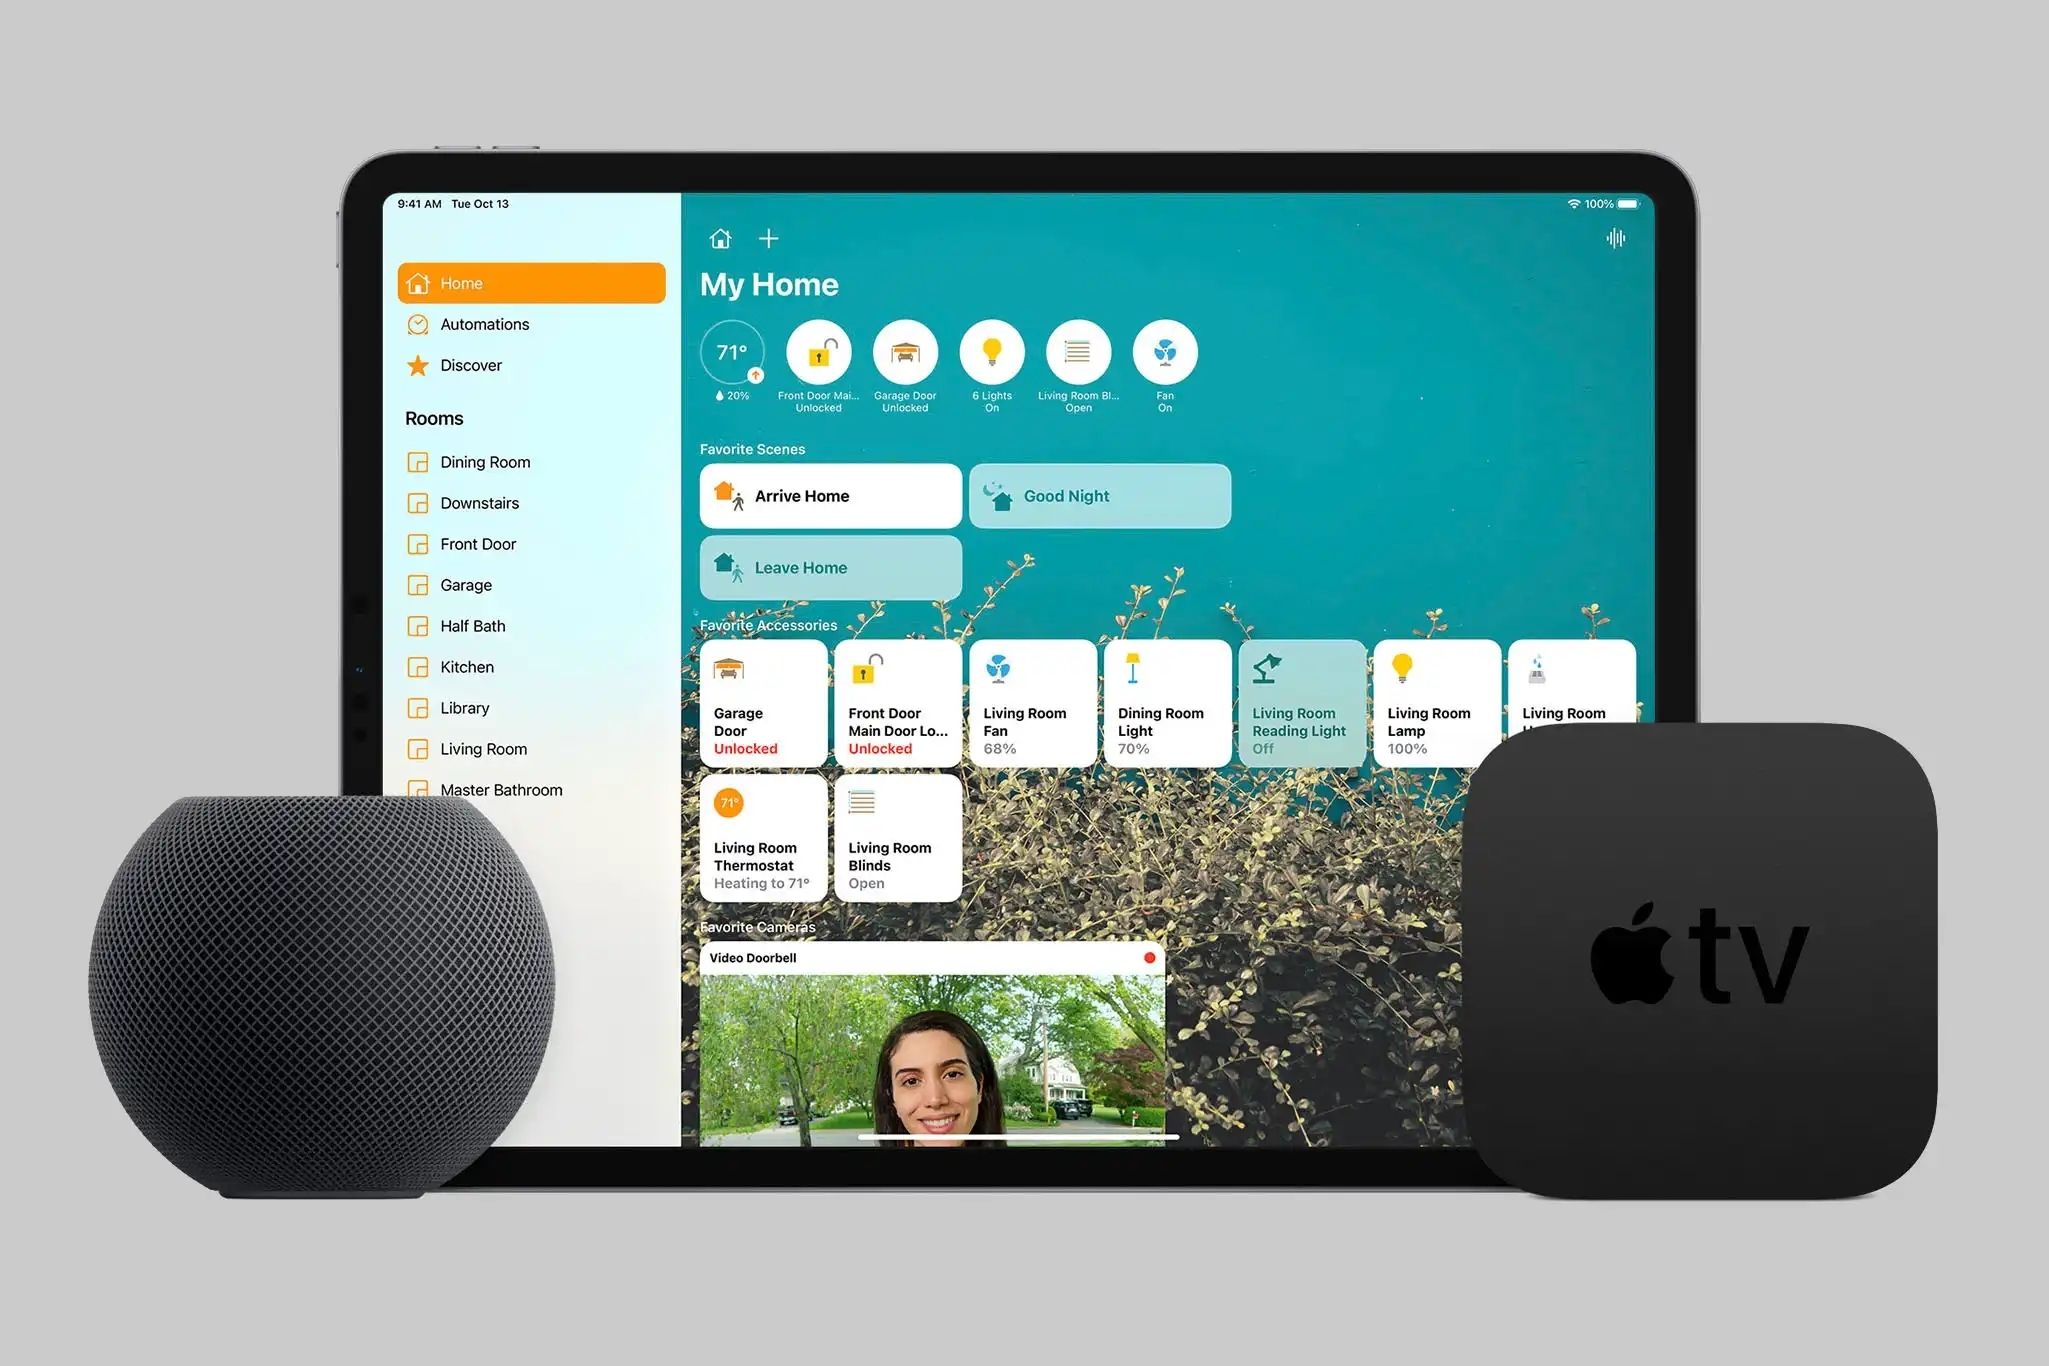
Apple HomeKit is a smart home platform developed by Apple Inc. that allows users to connect and control compatible smart devices through their Apple devices, such as iPhones, iPads, Apple Watches, and Siri voice commands. HomeKit acts as a central hub, enabling users to manage their smart home devices from a single app, providing seamless integration and control.
With Apple HomeKit, users can control a variety of devices such as lights, thermostats, door locks, cameras, and more. The platform utilizes a combination of Wi-Fi, Bluetooth, or Zigbee connectivity to communicate with these devices, ensuring a reliable and secure connection.
One of the key advantages of Apple HomeKit is its emphasis on privacy and security. Apple heavily focuses on data encryption and user privacy, ensuring that HomeKit-enabled devices and the data exchanged between them are protected. This commitment to security provides users with peace of mind when it comes to integrating smart devices into their homes.
HomeKit provides an intuitive interface, allowing users to easily set up and control their smart home devices. Through the Home app, users can create scenes and automation routines, enabling devices to work together seamlessly based on specific triggers or schedules. For example, you can create a “Good Morning” scene that adjusts the thermostat, turns on the lights, and opens the blinds, all with a single tap.
Additionally, Apple HomeKit offers voice control functionality through Siri, Apple’s virtual assistant. Users can use voice commands to control their smart home devices simply by speaking to their Apple devices. This hands-free convenience makes it easy to adjust the temperature, turn off lights, or lock doors with just a few words.
To ensure compatibility, Apple has a rigorous certification process for manufacturers seeking to create HomeKit-compatible devices. This process ensures that only devices meeting Apple’s strict standards can be certified and integrated into the HomeKit ecosystem. This level of control and compatibility guarantees a seamless user experience when integrating HomeKit-enabled devices into a smart home.
In summary, Apple HomeKit is a smart home platform that allows users to control compatible smart devices through their Apple devices. With its user-friendly interface, emphasis on privacy and security, and integration with Siri, Apple HomeKit offers a sophisticated and convenient solution for managing and controlling a smart home.
Benefits of using Apple HomeKit with a thermostat
Integrating a thermostat with Apple HomeKit offers numerous benefits for homeowners, enhancing their comfort, energy efficiency, and overall control over their home’s temperature. Let’s explore some of the key advantages of using Apple HomeKit with a thermostat:
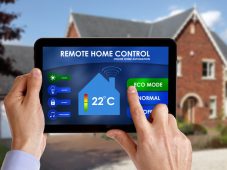
- Convenient Control: With Apple HomeKit, controlling your thermostat becomes incredibly convenient. You can easily adjust the temperature from anywhere using your Apple devices, whether you’re at home or away. Forgot to turn down the heat before leaving for vacation? No problem. With HomeKit, you can make the necessary adjustments with a few taps on your phone.
- Automation and Customization: HomeKit allows you to create personalized scenes and automation routines involving your thermostat. You can set up schedules to automatically adjust the temperature throughout the day or create scenes that adjust multiple devices simultaneously. For example, you can create a “Good Night” scene that turns down the temperature, locks the doors, and dims the lights, all with a single command.
- Energy Efficiency: Using Apple HomeKit with a thermostat can help improve energy efficiency in your home. By utilizing automation and scheduling, you can optimize your thermostat settings to align with your daily routine. This means reducing energy consumption when you’re not at home or during hours when you typically don’t need as much heating or cooling.
- Seamless Integration: Apple HomeKit ensures compatibility and seamless integration with a wide range of devices. This means you can easily connect your thermostat with other HomeKit-enabled devices, such as lights, sensors, and smart plugs, to create a cohesive smart home ecosystem. The ability to control multiple devices from a single app simplifies the management of your home’s automation system.
- Voice Control: With Siri integration, you can control your thermostat using voice commands. Simply ask Siri to adjust the temperature or check the current settings, and it will execute the command. Voice control adds an extra layer of convenience, allowing for hands-free control of your thermostat.
- Enhanced Comfort: Apple HomeKit with a thermostat allows you to fine-tune and maintain your desired comfort levels effortlessly. Whether you prefer a specific temperature when you wake up, return home, or go to sleep, HomeKit makes it easy to set and maintain personalized comfort settings throughout the day.
- Remote Access: One of the standout features of Apple HomeKit is its remote access capability. With a compatible thermostat, you can remotely monitor and control your home’s temperature from anywhere in the world. This is particularly useful when you’re on vacation or away for an extended period.
By leveraging the power of Apple HomeKit with your thermostat, you can enjoy the convenience, energy efficiency, and enhanced control over your home’s temperature, making your living space more comfortable and environmentally friendly.
Factors to consider when choosing a thermostat for Apple HomeKit
When selecting a thermostat that is compatible with Apple HomeKit, there are several important factors to consider. These factors will ensure that you choose the right thermostat that not only integrates seamlessly with your HomeKit ecosystem but also meets your specific needs. Let’s explore the key factors to consider:
- Compatibility: The first and foremost factor to consider is the thermostat’s compatibility with Apple HomeKit. Not all thermostats are compatible, so it’s crucial to select a model that explicitly states its compatibility with HomeKit. This will ensure smooth integration with your existing smart home setup.
- Heating and Cooling Systems: Check the compatibility of the thermostat with your home’s heating and cooling systems. Different thermostats are designed to work with specific systems, such as single-stage, multi-stage, heat pump, or boiler systems. Make sure the thermostat you choose supports your specific HVAC setup to avoid any compatibility issues.
- User Interface: Consider the user interface of the thermostat. Is it easy to use and navigate? Does it have a touchscreen display or physical buttons? Look for a thermostat with an intuitive and user-friendly interface that allows you to adjust settings and access features effortlessly.
- Smart Features: Evaluate the smart features offered by the thermostat. Does it support geofencing, allowing the thermostat to adjust settings based on your location? Can it learn your temperature preferences over time? Look for features that align with your lifestyle and preferences in terms of automation and smart functionality.
- Energy Efficiency: Consider the energy-saving features of the thermostat. Look for models that offer energy usage reports, allow scheduling, and provide recommendations to help you optimize your energy consumption. Energy-saving features can help you reduce utility bills and make your home more environmentally friendly.
- Integration with Other Devices: If you already have other smart devices in your home, consider the compatibility and integration of the thermostat with these devices. Check if it can connect with other HomeKit-enabled devices to create a comprehensive smart home automation system.
- Design and Aesthetics: While not a critical factor, the design and aesthetics of the thermostat can be important, especially if it will be prominently displayed in your living space. Consider the size, color options, and overall design of the thermostat to ensure it fits seamlessly with your home’s decor.
- Price: Finally, consider your budget when choosing a thermostat. Thermostat prices can vary significantly depending on the brand, features, and capabilities. Set a budget and compare different models to find the best value for money without compromising on essential features.
By considering these factors, you can select a thermostat for Apple HomeKit that meets your specific requirements, integrates smoothly with your existing smart home setup, and enhances the comfort and energy efficiency of your home.
Compatibility with Apple HomeKit: A key feature to look out for
When selecting a thermostat for your Apple HomeKit ecosystem, one of the most crucial factors to consider is compatibility. Ensuring that the thermostat is compatible with Apple HomeKit is essential for seamless integration and optimal performance. Let’s explore why compatibility with Apple HomeKit is a key feature to look out for:
Seamless Integration: Apple HomeKit serves as a central hub for all your smart home devices. By choosing a thermostat that is compatible with HomeKit, you can easily integrate it into your existing ecosystem. This allows for centralized control, management, and automation of all your HomeKit-enabled devices, including your thermostat.
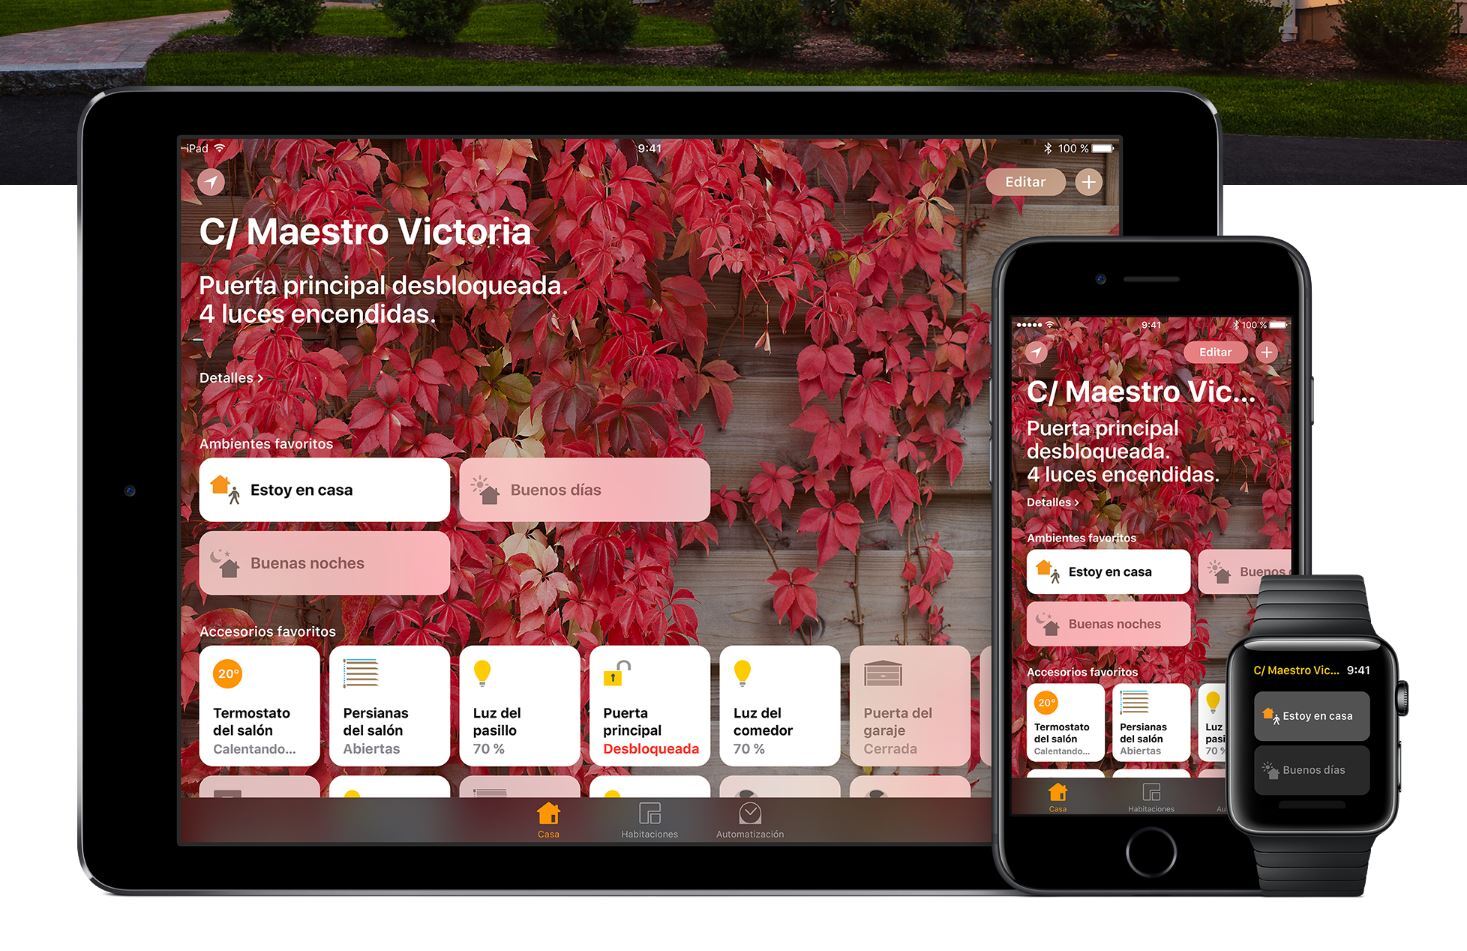
Single App Control: HomeKit integration offers the convenience of controlling multiple devices from a single app. With a compatible thermostat, you can adjust the temperature, create schedules, and manage settings alongside other smart devices directly from the Apple Home app. This streamlined interface simplifies the management of your smart home and eliminates the need for multiple apps.
Voice Control with Siri: Another significant advantage of compatibility with HomeKit is the ability to control your thermostat with Siri voice commands. By integrating your thermostat with Apple HomeKit, you can use simple voice commands to adjust the temperature, activate scenes, or check the status of your thermostat. This hands-free control adds convenience and enhances the user experience.
Automation and Scenes: HomeKit’s compatibility allows for advanced automation capabilities. By setting up scenes and automation routines, you can create customized rules and triggers involving your thermostat. For example, you can create a “Home” scene that sets the temperature to your preferred level, turns on specific lights, and opens the blinds when you arrive home. This level of automation enhances comfort and saves energy.
Enhanced Security: Apple places a strong emphasis on privacy and security, and the compatibility of a thermostat with HomeKit ensures that it meets Apple’s stringent security standards. This ensures that your data and device communications are encrypted and protected. You can have peace of mind knowing that your smart home ecosystem is secure.
Third-Party Integration: HomeKit compatibility opens doors to integrating your thermostat with other HomeKit-compatible devices. This allows for a cohesive smart home ecosystem, where different devices work together seamlessly. For example, you can create automation routines that adjust your thermostat based on motion sensor activity, door lock status, or even weather conditions.
By prioritizing compatibility with Apple HomeKit when selecting a thermostat, you can harness the full potential of a smart home ecosystem. Seamless integration, simplified control, enhanced security, and the ability to create personalized scenes and automation routines are just some of the benefits of choosing a thermostat that is compatible with Apple HomeKit.
Popular thermostats that work with Apple HomeKit
When it comes to choosing a thermostat that is compatible with Apple HomeKit, there are several popular options available in the market. Let’s take a look at some of the top thermostats that seamlessly integrate with Apple HomeKit:
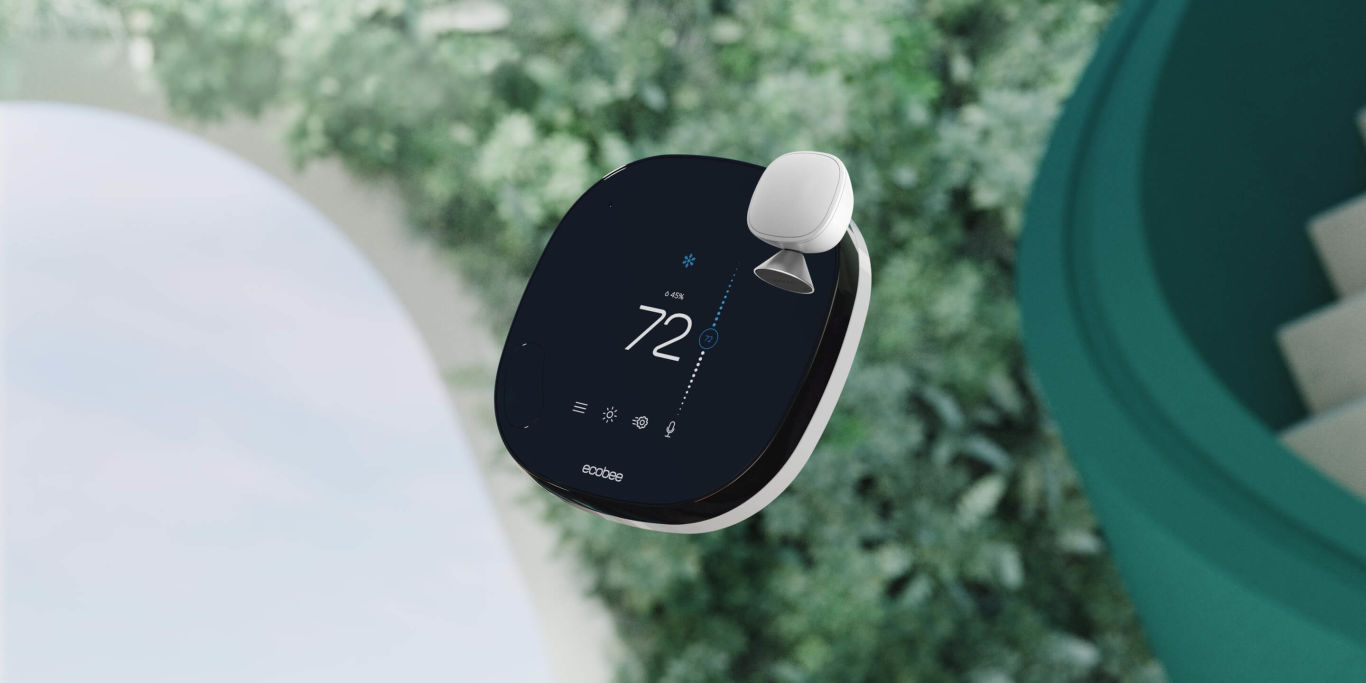
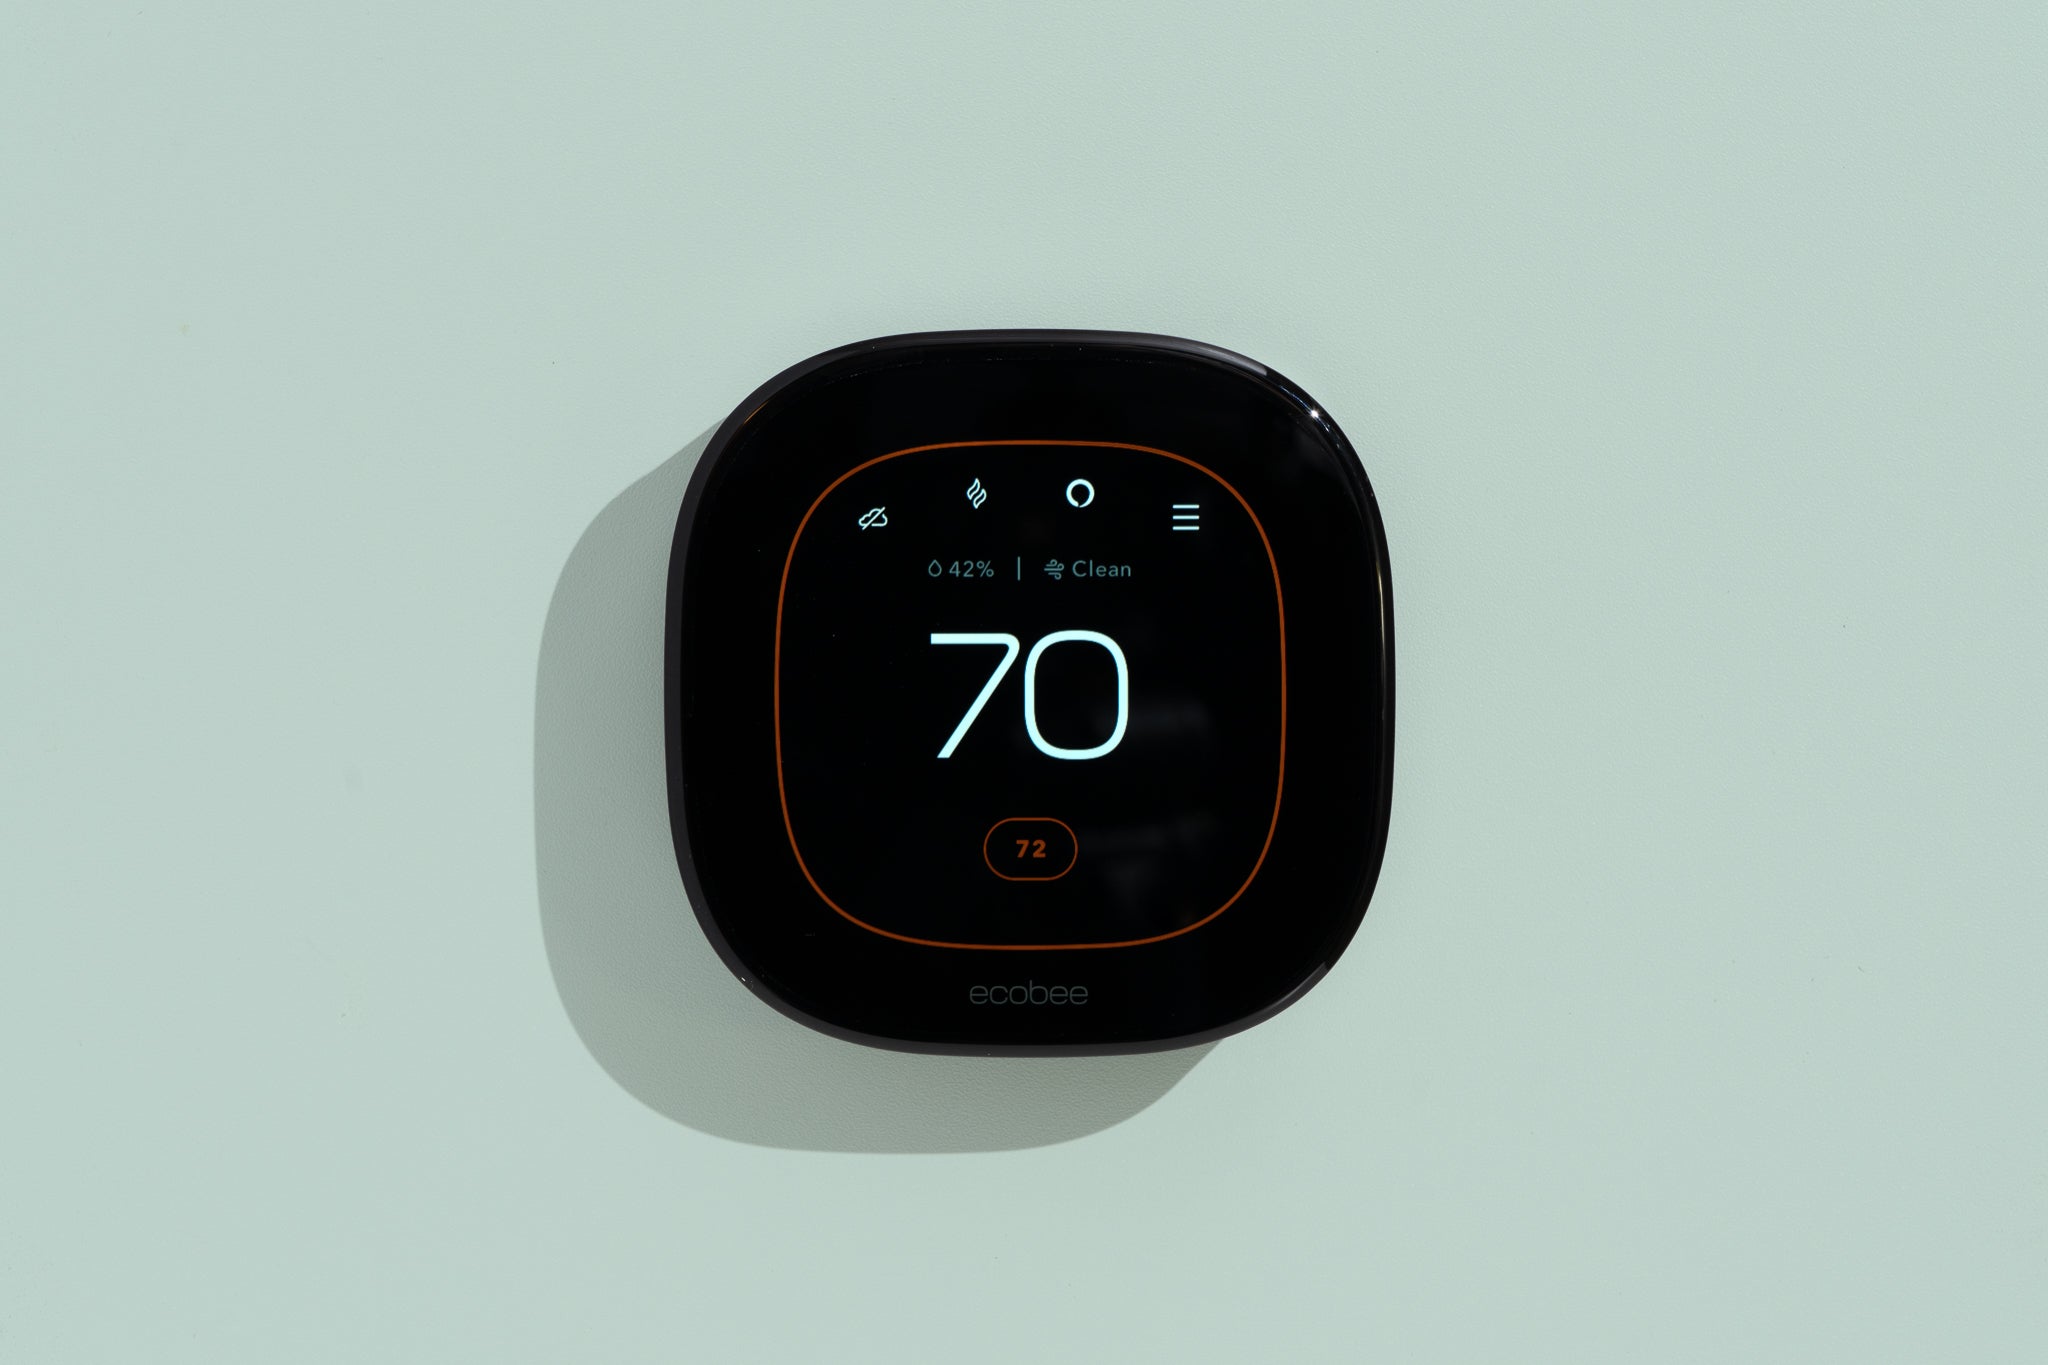
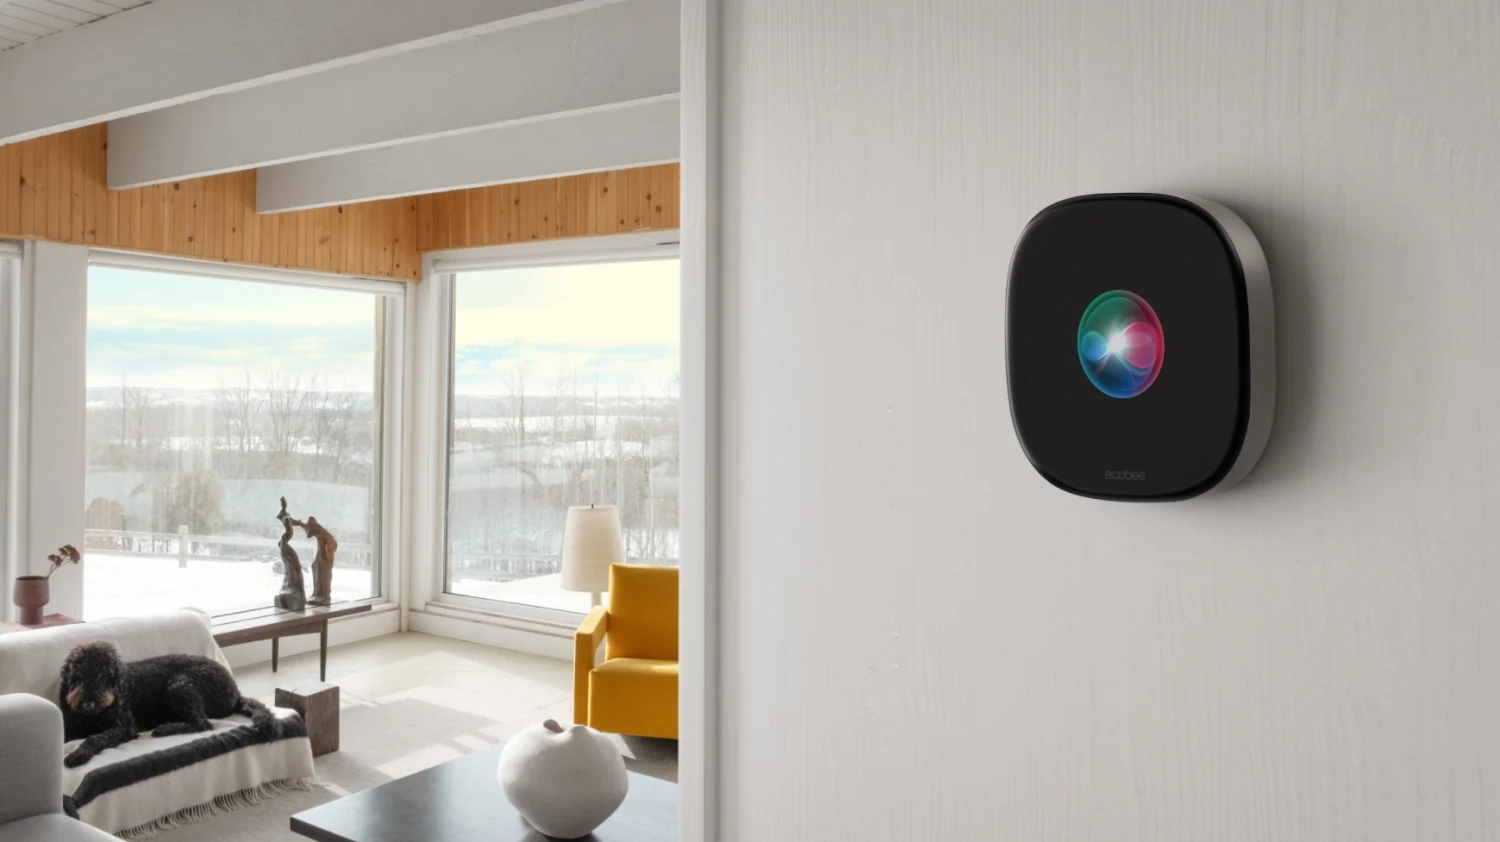
- Ecobee SmartThermostat: The Ecobee SmartThermostat is highly regarded for its integration with Apple HomeKit. Not only does it support HomeKit, but it also works with Alexa and Google Assistant. It features a sleek design, smart occupancy detection, and remote sensors to help optimize comfort throughout your home.
- Nest Learning Thermostat: The Nest Learning Thermostat is a popular choice known for its intelligent learning capabilities. While Nest thermostats do not natively support HomeKit, they can be integrated through third-party apps like Homebridge. This integration allows users to control and monitor their Nest thermostats alongside their other HomeKit devices.
- Honeywell Lyric T6 Pro: Honeywell’s Lyric T6 Pro offers compatibility with Apple HomeKit, allowing users to control their thermostat using Siri commands or the Home app. It features a customizable touchscreen display, flexible scheduling options, and geofencing for automatic temperature adjustments based on your location.
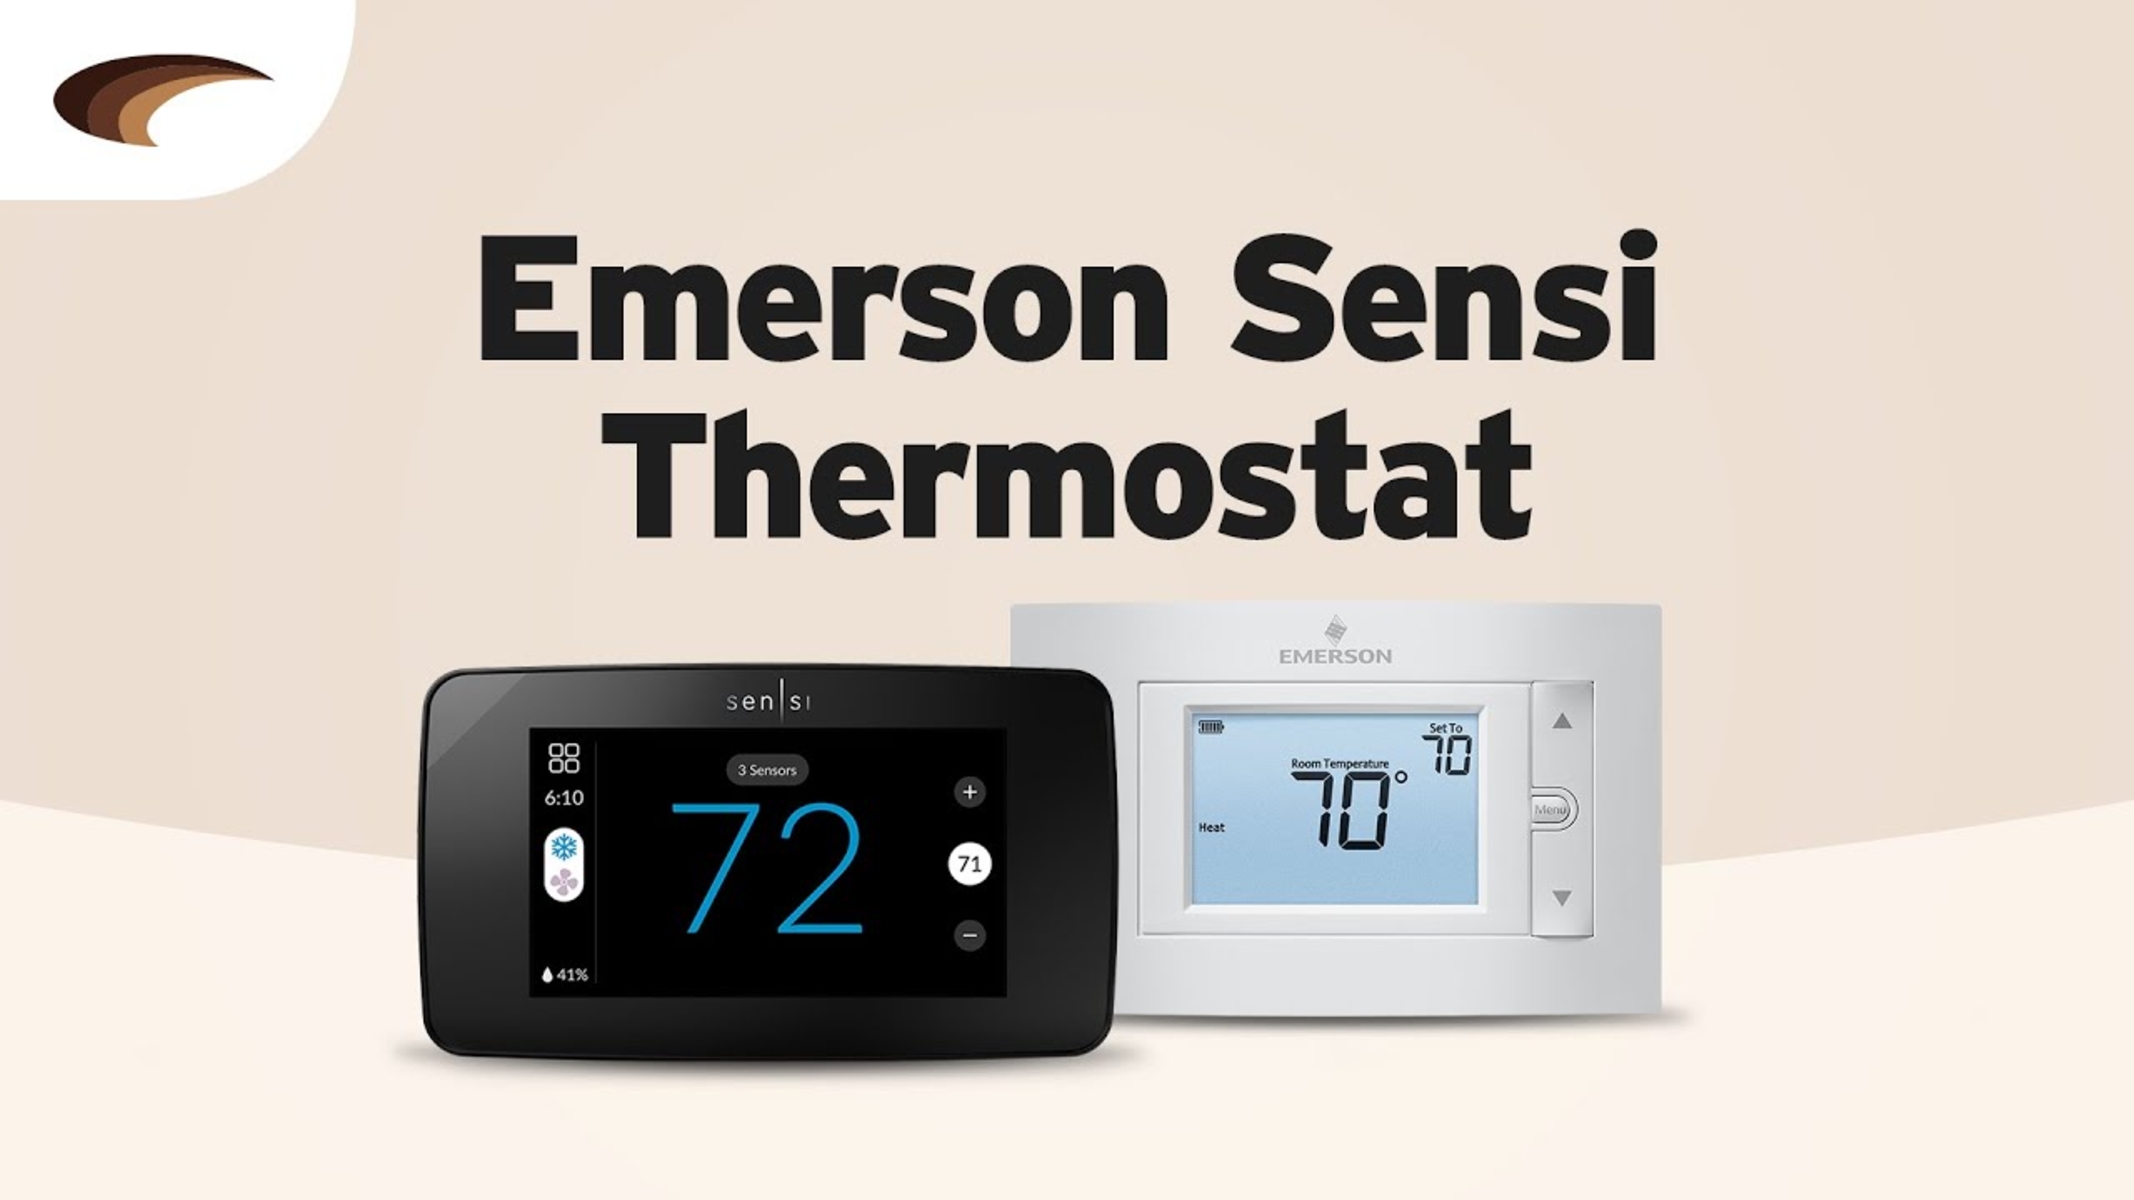
- Emerson Sensi Touch: The Emerson Sensi Touch thermostat is another popular option that works seamlessly with Apple HomeKit. It features a color touchscreen display, voice control compatibility with Siri, and offers energy-saving features like geofencing and flexible scheduling.
- Eve Thermo: The Eve Thermo is a HomeKit-exclusive smart thermostat that provides precise temperature control. It features touch controls, temperature scheduling, and integration with other HomeKit-enabled devices. The Eve Thermo offers a sleek and compact design, making it a great fit for modern interiors.
- Tado Smart Thermostat: The Tado Smart Thermostat offers compatibility with Apple HomeKit and a host of other smart home platforms. It features intelligent climate control, geofencing capabilities, and the ability to detect open windows to optimize energy efficiency. The Tado Smart Thermostat is known for its user-friendly app and energy-saving features.
- Netatmo Smart Thermostat: The Netatmo Smart Thermostat is a HomeKit-compatible option that offers precise temperature control and numerous energy-saving features. It utilizes AI algorithms to analyze your home’s insulation and adapt the heating schedule accordingly. The Netatmo Smart Thermostat can be controlled via the Home app or voice commands through Siri.
These are just a few examples of popular thermostats that work seamlessly with Apple HomeKit. Each thermostat has its own unique features, design, and price point. However, they all offer the convenience and integration of HomeKit, allowing you to control your thermostat, create automation routines, and optimize your home’s temperature with ease.
How to set up a thermostat with Apple HomeKit
Setting up a thermostat with Apple HomeKit is a straightforward process that allows you to control and manage your home’s temperature through the Home app and Siri. Follow these steps to set up a thermostat with Apple HomeKit:
- Ensure Compatibility: Before purchasing a thermostat, make sure it is compatible with Apple HomeKit. Check the manufacturer’s specifications or look for the “Works with Apple HomeKit” label on the packaging.
- Install the Thermostat: Follow the manufacturer’s instructions to physically install the thermostat and connect it to your HVAC system. Ensure that the thermostat is powered on and connected to Wi-Fi, as HomeKit requires internet connectivity for remote control.
- Open the Home App: On your iPhone, iPad, or iPod touch, open the Home app. If it’s your first time using the app, you will be guided through the initial setup process. If you’ve used the app before, tap on the “+” icon to add a new accessory.
- Scan the HomeKit Code: Locate the HomeKit setup code on the thermostat or in the manufacturer’s documentation. Scan the code using the camera on your device or manually enter the code when prompted in the Home app.
- Select a Room: Assign the thermostat to a specific room in your home, such as the living room or bedroom. This helps you organize and control your devices more efficiently within the Home app.
- Customize the Settings: Once the thermostat is added to the Home app, you can customize its settings. Set your preferred temperature ranges, create schedules, and adjust any other parameters provided by the thermostat’s manufacturer.
- Voice Control with Siri: To take full advantage of Apple HomeKit, enable Siri voice control for your thermostat. Open the Settings app on your device, go to “Siri & Search,” and ensure that Siri is enabled. You can then use Siri voice commands to control your thermostat, such as “Set the temperature to 72 degrees.”
- Create Automation: HomeKit allows you to create automation routines involving your thermostat. With the Home app, you can set up triggers and conditions to automate temperature adjustments based on factors like time, occupancy, or even weather conditions. Explore the Automation section in the Home app to create personalized automation for your thermostat.
With these steps, you can successfully set up a thermostat with Apple HomeKit and enjoy the convenience of controlling your home’s temperature through the Home app and Siri voice commands. Remember to refer to the manufacturer’s documentation or online resources for specific instructions relating to your thermostat model.
Tips for troubleshooting common issues with Apple HomeKit thermostats
While setting up and using Apple HomeKit thermostats is generally a smooth and hassle-free experience, you may encounter some common issues along the way. Here are some tips for troubleshooting common issues with Apple HomeKit thermostats:
- Check Wi-Fi Connectivity: Ensure that your thermostat is connected to Wi-Fi and has a stable internet connection. Poor internet connectivity can cause issues with remote control and communication with the Home app.
- Restart the Thermostat: Try restarting the thermostat by turning it off and then turning it back on. This simple step can sometimes resolve connectivity issues and restore proper functionality.
- Restart your Apple Device: If you’re experiencing issues with the Home app or Siri control, try restarting your Apple device. Sometimes, a simple restart can solve any temporary glitches or conflicts.
- Ensure Firmware is Up to Date: Check if there are any firmware updates available for your thermostat. Keeping your thermostat’s firmware up to date can address any bugs or compatibility issues that may arise.
- Re-pair the Thermostat: If you’re still experiencing issues, try removing the thermostat from the Home app and re-pairing it. Refer to the manufacturer’s documentation for specific instructions on how to reset and re-pair your thermostat.
- Reset HomeKit Configuration: If you’re encountering persistent problems with HomeKit connectivity, you can try resetting the HomeKit configuration on your Apple device. Go to the Settings app, select your Apple ID, tap on iCloud, and then toggle off the Home option. After a few moments, toggle it back on to reset the HomeKit configuration.
- Check for Interference: Wireless interference from other devices can sometimes disrupt the communication between your thermostat and Apple HomeKit. Try moving any potential sources of interference, such as cordless phones or baby monitors, away from your thermostat.
- Contact Manufacturer Support: If you’ve tried all the troubleshooting steps and continue to experience issues, reach out to the manufacturer’s support team for further assistance. They can provide specific guidance relating to your thermostat model and help resolve any persistent issues.
Remember to consult the manufacturer’s documentation and online resources for specific troubleshooting steps related to your particular thermostat model. By following these tips, you can troubleshoot common issues with Apple HomeKit thermostats and ensure smooth operation and optimal functionality of your smart home ecosystem.
Conclusion
Integrating a thermostat with Apple HomeKit offers numerous benefits, from convenient control and energy efficiency to enhanced comfort and automation. By choosing a thermostat compatible with Apple HomeKit, you can seamlessly integrate it into your smart home ecosystem and enjoy the convenience of controlling your thermostat through the Home app and Siri voice commands.
When selecting a thermostat, it’s crucial to consider factors like compatibility with Apple HomeKit, heating and cooling system support, user interface, smart features, energy efficiency, integration with other devices, design, and price. Evaluating these factors will ensure that you choose a thermostat that meets your specific needs and integrates seamlessly with your existing smart home setup.
Some popular thermostats that work with Apple HomeKit include the Ecobee SmartThermostat, Nest Learning Thermostat, Honeywell Lyric T6 Pro, Emerson Sensi Touch, Eve Thermo, Tado Smart Thermostat, and Netatmo Smart Thermostat. Each offers unique features and benefits, but all allow for seamless integration and control through the Home app and Siri voice commands.
Setting up a thermostat with Apple HomeKit is a straightforward process that involves ensuring compatibility, installing the thermostat, scanning the HomeKit code, assigning it to a room, customizing settings, enabling voice control with Siri, and creating automation routines. These steps allow you to fully utilize the convenience and automation capabilities of your Apple HomeKit thermostat.
Should you encounter any issues with your Apple HomeKit thermostat, troubleshooting common problems can generally be done by checking Wi-Fi connectivity, restarting the thermostat or Apple device, updating firmware, re-pairing the thermostat, resetting the HomeKit configuration, checking for interference, or seeking manufacturer support when necessary.
In conclusion, integrating a thermostat with Apple HomeKit adds convenience, energy efficiency, and automation to your smart home setup. By selecting a compatible thermostat, following the setup process, and troubleshooting common issues, you can fully harness the power of Apple HomeKit and enjoy the benefits of a seamlessly connected and controlled home environment.