Introduction
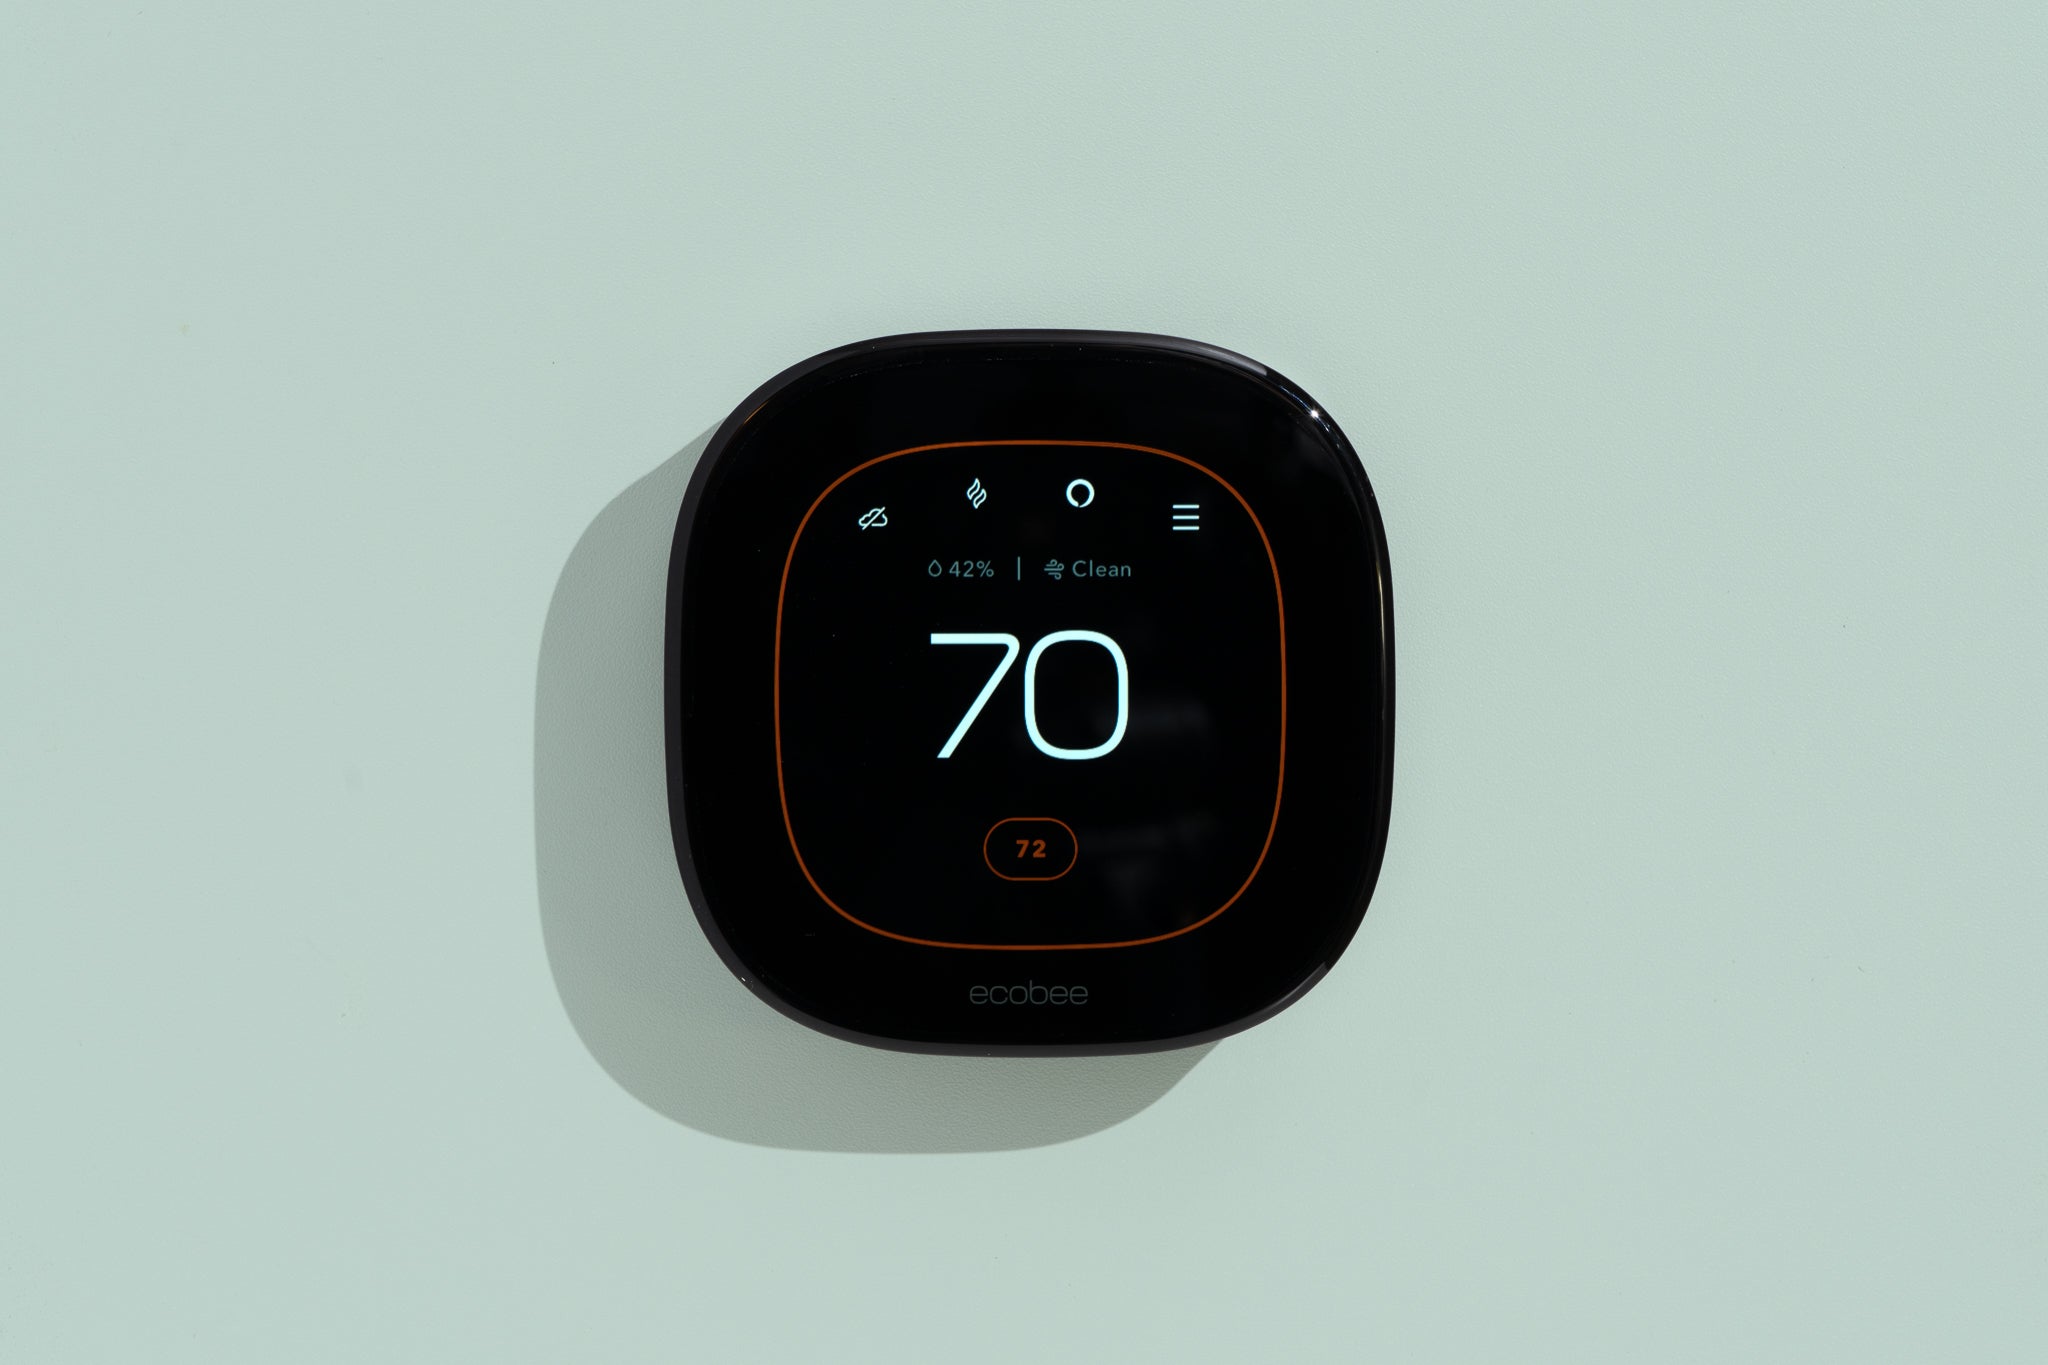
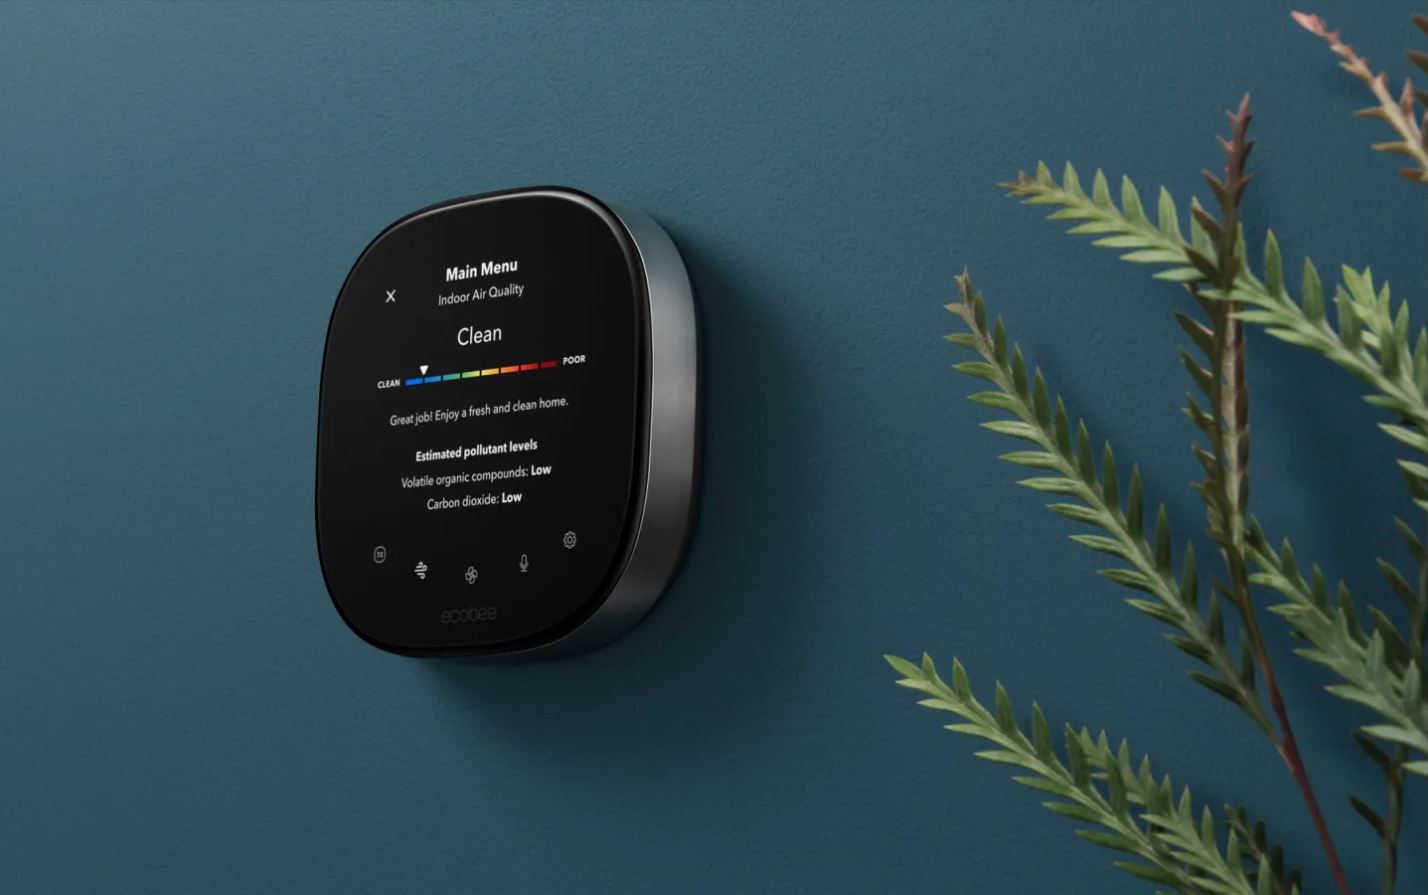
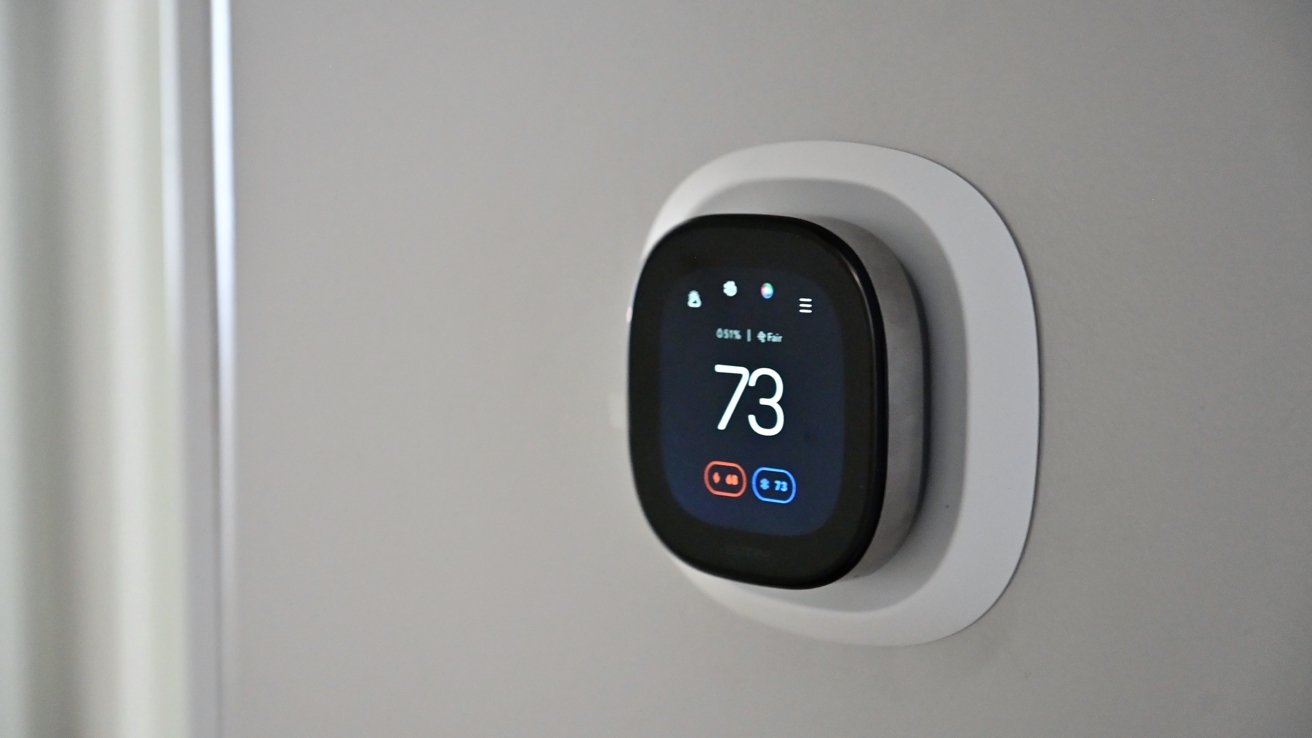
Welcome to the comprehensive guide on how to install the Ecobee3 Lite Smart Thermostat. If you’re looking to upgrade your home’s heating and cooling system, the Ecobee3 Lite is an excellent choice. With its sleek design, energy-saving features, and smartphone compatibility, this smart thermostat offers convenience, comfort, and cost savings.
Installing the Ecobee3 Lite may seem intimidating at first, especially if you’re not familiar with electrical systems. However, with the right tools and a step-by-step approach, you can easily replace your old thermostat and start enjoying the benefits of the Ecobee3 Lite in no time.
In this guide, we’ll walk you through the installation process, providing detailed instructions and tips along the way. Whether you’re a seasoned DIY enthusiast or a novice looking to take on your first home improvement project, we’ve got you covered.
Before we dive into the installation steps, let’s take a look at the tools and materials you’ll need to get started. Having everything prepared in advance will help make the installation process smoother and more efficient.
What You Will Need
Before you begin the installation process, it’s important to gather all the necessary tools and materials. Here’s a list of what you’ll need:
- Ecobee3 Lite Smart Thermostat
- Screwdriver
- Drill and drill bits
- Level
- Wire stripper
- Wire nuts
- Electrical tape
- Marker or pen
- Smartphone or tablet
- Wi-Fi network and password
Make sure you have all these items readily available before you begin the installation process. Having the necessary tools at hand will help ensure a smooth and efficient installation.
Additionally, it’s important to note that the Ecobee3 Lite Smart Thermostat is compatible with most heating and cooling systems. However, it’s always a good idea to check the compatibility of your system with the Ecobee3 Lite before purchasing it.
If you’re uncertain about the compatibility or have any specific questions about your system, it’s recommended to consult the Ecobee support team or a professional HVAC technician for guidance. They will be able to provide you with accurate information and any necessary recommendations for your specific setup.
Now that you have all the tools and knowledge about the compatibility, you’re ready to start the installation process. Let’s move on to the first step: turning off the power.
Step 1: Turn Off Power
Before you begin any electrical work, it’s crucial to turn off the power to your heating and cooling system. This step is essential for your safety and to avoid any damage to the system or yourself.
To turn off the power, locate the circuit breaker panel in your home. It is usually found in the basement, utility room, garage, or even outside. Open the panel door and look for the breaker labeled for your HVAC system or thermostat. Switch off the corresponding breaker to cut off the power supply.
Once the breaker is turned off, it’s recommended to use a voltage tester to ensure that there is no power flowing to the thermostat. This small and handy device will help you verify if the power is truly off before proceeding with the installation.
It’s important to note that if you have a heating system that relies on hot water or steam, you may have a separate power switch near the boiler or furnace. Make sure to turn off this switch as well before continuing.
After confirming that the power is off, leave a note or sign on the circuit breaker panel to notify others that you are working on the system and to avoid accidentally turning it back on while you’re working.
Now that you have safely turned off the power, you are ready to move on to the next step: removing the old thermostat.
Step 2: Remove Old Thermostat
Once you have successfully turned off the power, it’s time to remove the old thermostat. Follow these steps to safely remove it:
- Remove the thermostat cover: Most thermostats have a cover that can be easily removed. Gently pry off the cover using a flathead screwdriver or your fingers.
- Locate the mounting plate: The mounting plate is usually attached to the wall with screws. Use a screwdriver to remove the screws and detach the plate from the wall.
- Disconnect the wires: Carefully disconnect the wires from the terminals on the back of the thermostat. Take note of the colors and the terminals they were connected to. This will be helpful when connecting the wires to the new thermostat later on.
- Remove the mounting plate: Once the wires are disconnected, remove the mounting plate by unscrewing it from the wall. Keep the screws in a safe place as you’ll need them for the installation of the new thermostat.
- Inspect and clean: Take a moment to inspect the wiring and the wall behind the old thermostat. Look for any loose or damaged wires, and address any issues before proceeding.
It’s essential to handle the old thermostat and its wires with care to avoid any damage. Additionally, make sure to dispose of the old thermostat properly according to your local regulations or recycling programs.
With the old thermostat removed, you’re one step closer to installing the Ecobee3 Lite Smart Thermostat. The next step is to install the Ecobee backplate, which serves as the connection point for the new thermostat.
Step 3: Install the Ecobee Backplate
With the old thermostat removed, it’s time to install the Ecobee backplate. The backplate serves as the mounting base for the Ecobee3 Lite Smart Thermostat. Follow these steps for a successful installation:
- Prepare the backplate: Take the Ecobee backplate and ensure it is clean and free from any debris. If needed, use a soft cloth to wipe it down.
- Position the backplate: Align the backplate with the holes in the wall where the old thermostat was mounted. Ensure that the backplate is level by using a level tool. If necessary, adjust the position until it is perfectly level.
- Secure the backplate: Once the backplate is properly positioned, use the screws that were removed earlier from the old thermostat’s mounting plate to secure the Ecobee backplate in place. Tighten the screws gently to avoid damaging the wall.
- Connect the wires: Take the wires that were disconnected from the old thermostat and insert them into the corresponding terminals on the backplate. Refer to the notes you made earlier regarding the wire colors and the terminals they were connected to. Ensure that the wires are inserted securely and make good contact with the terminals.
- Attach the trim plate (if applicable): Some installations may require the use of a trim plate to cover any gaps or imperfections around the backplate. If included with your Ecobee3 Lite, align the trim plate with the backplate and secure it using the provided screws.
Once you have completed these steps, the Ecobee backplate should be firmly mounted and ready for the next stage of the installation process. The next step involves connecting the wires to the appropriate terminals on the Ecobee3 Lite thermostat itself, which we will cover in detail in the following section.
Step 4: Connect Wires
Now that the Ecobee backplate is securely installed, it’s time to connect the wires from your heating and cooling system to the Ecobee3 Lite thermostat. Follow these steps for a successful wiring connection:
- Refer to your wiring diagram: If you have a wiring diagram provided by your HVAC system manufacturer, consult it to ensure you connect the wires correctly. If you don’t have a diagram, don’t worry! The Ecobee3 Lite comes with a built-in wiring guide that can help you identify the correct terminals for your specific setup.
- Identify the wires: Take a close look at the wires that were connected to the backplate. Each wire is typically labeled by its assigned color or by a letter. Common wire colors include red (R), white (W), yellow (Y), green (G), and blue (C). If you have any additional wires, refer to the wiring guide accordingly.
- Match the wires to the Ecobee terminals: Locate the terminal labels on the Ecobee3 Lite thermostat. The terminals are typically labeled R, W, Y, G, C, and so on. Match each wire to its corresponding terminal on the Ecobee3 Lite. For example, if the red wire was connected to the R terminal on the backplate, connect it to the R terminal on the Ecobee thermostat.
- Secure the connections: Once the wires are correctly matched to their respective terminals, use a screwdriver or the provided terminal screws to secure the connections. Ensure that each wire is firmly fastened to its terminal.
- Double-check the connections: After securing all the connections, double-check each one to ensure they are properly seated and are making good contact with the terminals. This step is crucial to ensure the thermostat functions correctly.
Once you have successfully connected the wires to the Ecobee3 Lite thermostat, you are one step closer to enjoying the benefits of this smart thermostat. The next step involves connecting the thermostat to your Wi-Fi network for remote access and control, which we will cover in detail in the following section.
Step 5: Connect to Wi-Fi
Once you have successfully connected the wires, the next step is to connect your Ecobee3 Lite thermostat to your Wi-Fi network. This allows you to control and monitor your thermostat remotely through the Ecobee mobile app. Follow these steps to connect to Wi-Fi:
- Power on the thermostat: Turn on the power to your heating and cooling system by switching on the corresponding breaker at the circuit breaker panel.
- On the Ecobee thermostat, tap on the gear icon located in the lower-right corner to access the main menu.
- From the menu, select “Wi-Fi” and then choose “Network.” The thermostat will initiate a search for available Wi-Fi networks.
- Select your Wi-Fi network from the list of available networks. If your network is not displayed, select “Other” and manually enter the network name (SSID) and password.
- Enter your Wi-Fi network password when prompted. Use the on-screen keyboard to input each character of your password correctly.
- Once you have entered the correct password, the thermostat will attempt to connect to your Wi-Fi network. You may need to wait for a few moments as the connection is established.
- Once connected, the thermostat will display a message confirming the successful Wi-Fi connection. You will also see an indicator on the thermostat’s display showing the Wi-Fi status.
Congratulations! Your Ecobee3 Lite thermostat is now connected to your Wi-Fi network. This enables you to control and monitor your thermostat remotely using the Ecobee mobile app or through online platforms.
With the Wi-Fi connection established, you’re ready to move on to the next step: mounting the Ecobee3 Lite thermostat on the wall.
Step 6: Mount the Ecobee3 Lite
Now that your Ecobee3 Lite thermostat is connected to Wi-Fi, it’s time to mount it on the wall. Follow these steps for a successful mounting:
- Choose the mounting location: Select a location on the wall that is easily accessible and provides optimal coverage for temperature sensing. Avoid placing the thermostat near any heat sources, drafts, or direct sunlight, as this can affect its accuracy.
- Mark the mounting holes: Hold the Ecobee3 Lite against the wall in the desired location. Use a level to ensure it is straight. With a pencil or marker, mark the positions of the mounting holes on the wall.
- Drill pilot holes: With the marked positions, use a drill with an appropriate-sized bit to drill pilot holes at the marked locations. Take care not to damage any wiring or pipes behind the wall.
- Secure the backplate: Line up the holes on the backplate with the pilot holes in the wall. Insert the appropriate screws or anchors (if needed) through the backplate and into the wall. Use a screwdriver or drill to securely fasten the backplate to the wall.
- Attach the thermostat: Carefully align the thermostat with the backplate and gently press it into place. It will snap securely onto the backplate.
- Verify the mounting: Ensure that the Ecobee3 Lite is level and securely mounted on the wall. Give it a gentle tug to confirm that it is properly attached to the backplate.
Once the Ecobee3 Lite is mounted, it will display the current temperature and allow you to adjust the settings directly on the thermostat. However, to take full advantage of its smart features, it’s recommended to proceed to the next step and install the Ecobee mobile app.
Congratulations! You have successfully mounted your Ecobee3 Lite thermostat. Proceed to the next step to complete the installation process.
Step 7: Power On and Set Up
After successfully mounting the Ecobee3 Lite thermostat, it’s time to power it on and complete the initial setup. Follow these steps to ensure a smooth setup process:
- Turn on the power: Return to the circuit breaker panel and switch on the breaker for your heating and cooling system. This will supply power to the thermostat.
- Ecobee welcome screen: The Ecobee3 Lite thermostat will display a welcome screen once powered on. Follow the on-screen instructions to begin the setup process.
- Select language and location: Choose your preferred language and select your location from the provided options. This information will help customize the thermostat’s settings and features.
- Connect to the Ecobee app: Download and open the Ecobee mobile app on your smartphone or tablet. Follow the prompts to connect the thermostat to the app. This will enable remote control and access to additional features.
- Follow the app setup: The Ecobee app will guide you through the setup process, including connecting the thermostat to your Wi-Fi network, setting up your schedule, and configuring preferences such as temperature and comfort settings.
- Finalize and save settings: Review the settings and preferences you have entered. Once you are satisfied, save the changes and allow the thermostat to sync with the app.
- Explore additional features: Take some time to explore the various features offered by the Ecobee3 Lite thermostat and familiarize yourself with the app’s interface. This will allow you to fully maximize the benefits and convenience offered by this smart thermostat.
By completing these setup steps, you have successfully powered on the Ecobee3 Lite thermostat, connected it to the Ecobee app, and configured the initial settings. You are now ready to begin using the thermostat to monitor and control your home’s heating and cooling system.
Continue to the next step to install the Ecobee app on your smartphone or tablet for convenient remote access and control.
Step 8: Install Ecobee App
To take full advantage of the features and convenience offered by the Ecobee3 Lite thermostat, it’s recommended to install the Ecobee mobile app on your smartphone or tablet. Follow these steps to install the app:
- Open the app store: Open the app store on your device (such as the Apple App Store for iOS or Google Play Store for Android).
- Search for “Ecobee”: In the app store’s search bar, type “Ecobee” and tap the search button.
- Find the Ecobee app: Look for the official Ecobee app among the search results. It should have the Ecobee logo and the app name.
- Download and install the app: Tap on the Ecobee app and select the “Install” or “Get” button to begin the download and installation process. Depending on your device and internet connection, this process may take a few moments.
- Create an Ecobee account: Once the app is installed, open it and follow the on-screen instructions to create an Ecobee account. Provide the required information and set up a username and password for your account.
- Log in to the app: Once your account is created, log in to the Ecobee app using your username and password.
- Connect the thermostat to the app: Follow the prompts in the app to connect your Ecobee3 Lite thermostat to the app. This will enable remote control and access to the thermostat’s features.
- Grant necessary permissions: When prompted, grant any necessary permissions for the Ecobee app to access your location, allow notifications, and other relevant permissions required for optimal functionality.
With the Ecobee app installed on your device and your Ecobee3 Lite thermostat connected, you can now access and control your thermostat remotely. The app provides a user-friendly interface that allows you to adjust temperature settings, create schedules, and monitor energy usage from the convenience of your smartphone or tablet.
You’ve successfully installed the Ecobee app! The next step involves configuring the thermostat to fit your specific needs and preferences, which we will cover in detail in the following section.
Step 9: Configure the Thermostat
Now that you have installed the Ecobee app and connected your Ecobee3 Lite thermostat, it’s time to configure the thermostat to meet your specific needs and preferences. Follow these steps to customize and optimize your thermostat settings:
- Access thermostat settings: Open the Ecobee app on your smartphone or tablet. Tap on the thermostat icon to access the thermostat settings. Alternatively, you can also adjust the settings directly on the thermostat’s display.
- Set temperature preferences: Adjust the desired temperature settings for your home. You can set different temperatures for different times of the day or create custom comfort settings to accommodate your lifestyle.
- Create a schedule: Set up a schedule for your thermostat to automatically adjust temperature settings throughout the day. This allows you to optimize energy savings and ensure maximum comfort when you’re at home.
- Enable geofencing (optional): If desired, set up geofencing in the Ecobee app. This feature uses your device’s location to detect when you are away from home and automatically adjust the temperature to energy-saving levels. When you return, it can adjust the temperature back to your desired comfort settings.
- Explore additional features: Take some time to explore and familiarize yourself with the additional features offered by the Ecobee app and thermostat. This may include features such as weather forecasts, energy reports, and compatibility with smart home systems like Amazon Alexa or Google Assistant.
- Adjust advanced settings (optional): For more customization, you can explore the advanced settings in the Ecobee app or directly on the thermostat. This includes options like humidity control, furnace fan control, and temperature correction.
- Monitor energy usage: Use the Ecobee app to monitor your energy usage and track your home’s heating and cooling patterns. This can help you identify opportunities to save energy and reduce your utility bills.
- Tweak and fine-tune settings: Over time, you may want to make adjustments to your thermostat settings based on your preferences and changing seasons. Feel free to experiment and make changes as needed.
By following these steps and configuring your Ecobee3 Lite thermostat, you can ensure that it operates optimally and efficiently to provide comfort and energy savings for your home. Enjoy the convenience and control of managing your heating and cooling system right at your fingertips.
With the thermostat fully configured, you have completed the installation process and are now ready to enjoy the benefits of the Ecobee3 Lite Smart Thermostat in your home.
Conclusion
Congratulations on successfully installing your Ecobee3 Lite Smart Thermostat! By following the step-by-step instructions in this guide, you have transformed your home’s heating and cooling system into a smart, energy-efficient setup. The Ecobee3 Lite not only provides comfort and convenience but also helps reduce energy consumption and lower utility bills.
Throughout this installation process, you have learned how to turn off the power, remove the old thermostat, install the Ecobee backplate, connect the wires, connect to Wi-Fi, mount the Ecobee3 Lite, power on and set up the thermostat, install the Ecobee app, and configure the settings to your liking. With the Ecobee app, you now have the ability to control and monitor your thermostat remotely, ensuring comfort and energy efficiency even when you’re away from home.
Remember to periodically check and adjust your thermostat settings to maximize efficiency and comfort. Explore the advanced features and options available to tailor your thermostat to your specific requirements and take advantage of additional functionality like geofencing and energy tracking.
Should you ever encounter any issues or have questions about your Ecobee3 Lite thermostat, don’t hesitate to reach out to the Ecobee support team. They are available to assist you with any technical inquiries or concerns you may have.
Enjoy the benefits of your new Ecobee3 Lite Smart Thermostat, and embrace the comfort, convenience, and energy savings that come with it. Make sure to spread the word to friends and family so they too can enhance their home’s HVAC system with this innovative smart thermostat.


