Introduction
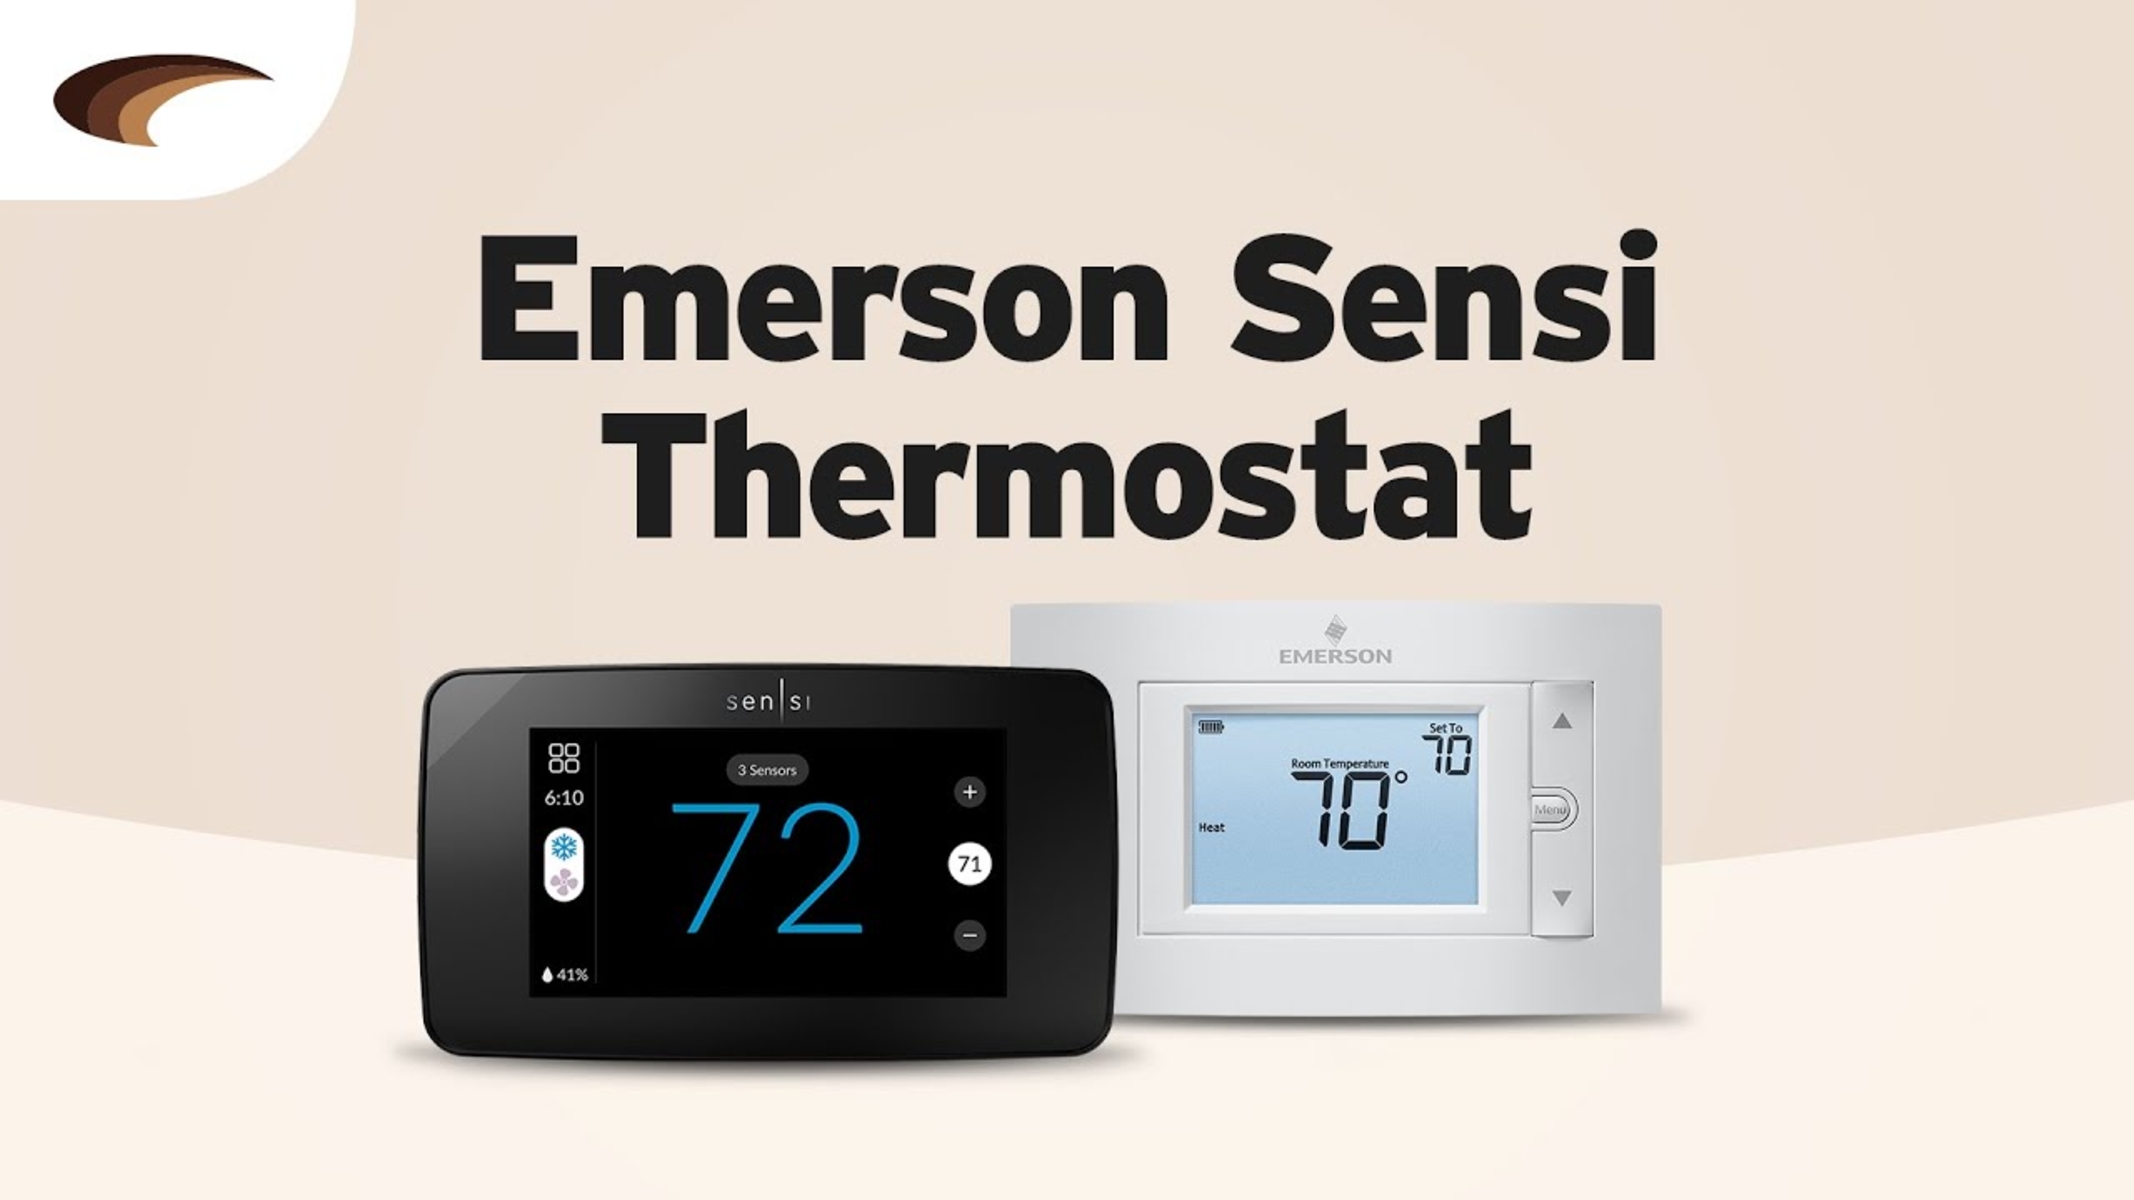
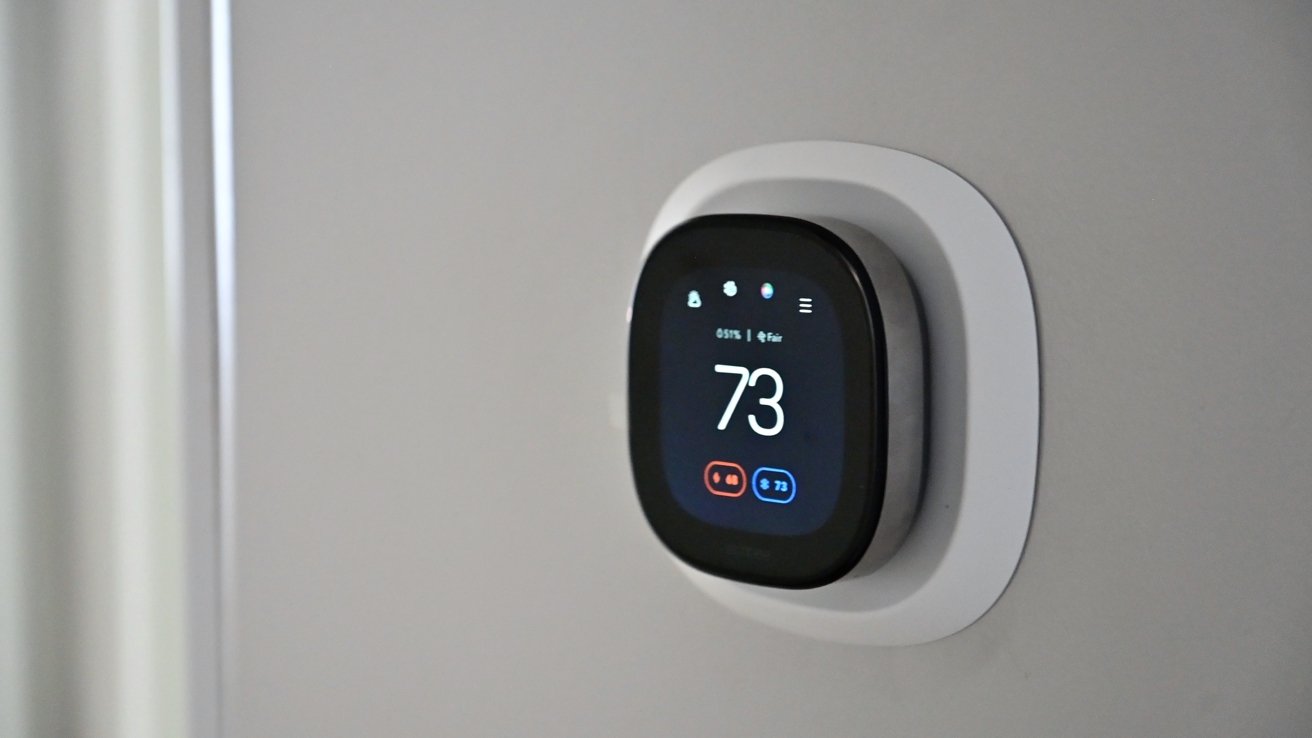
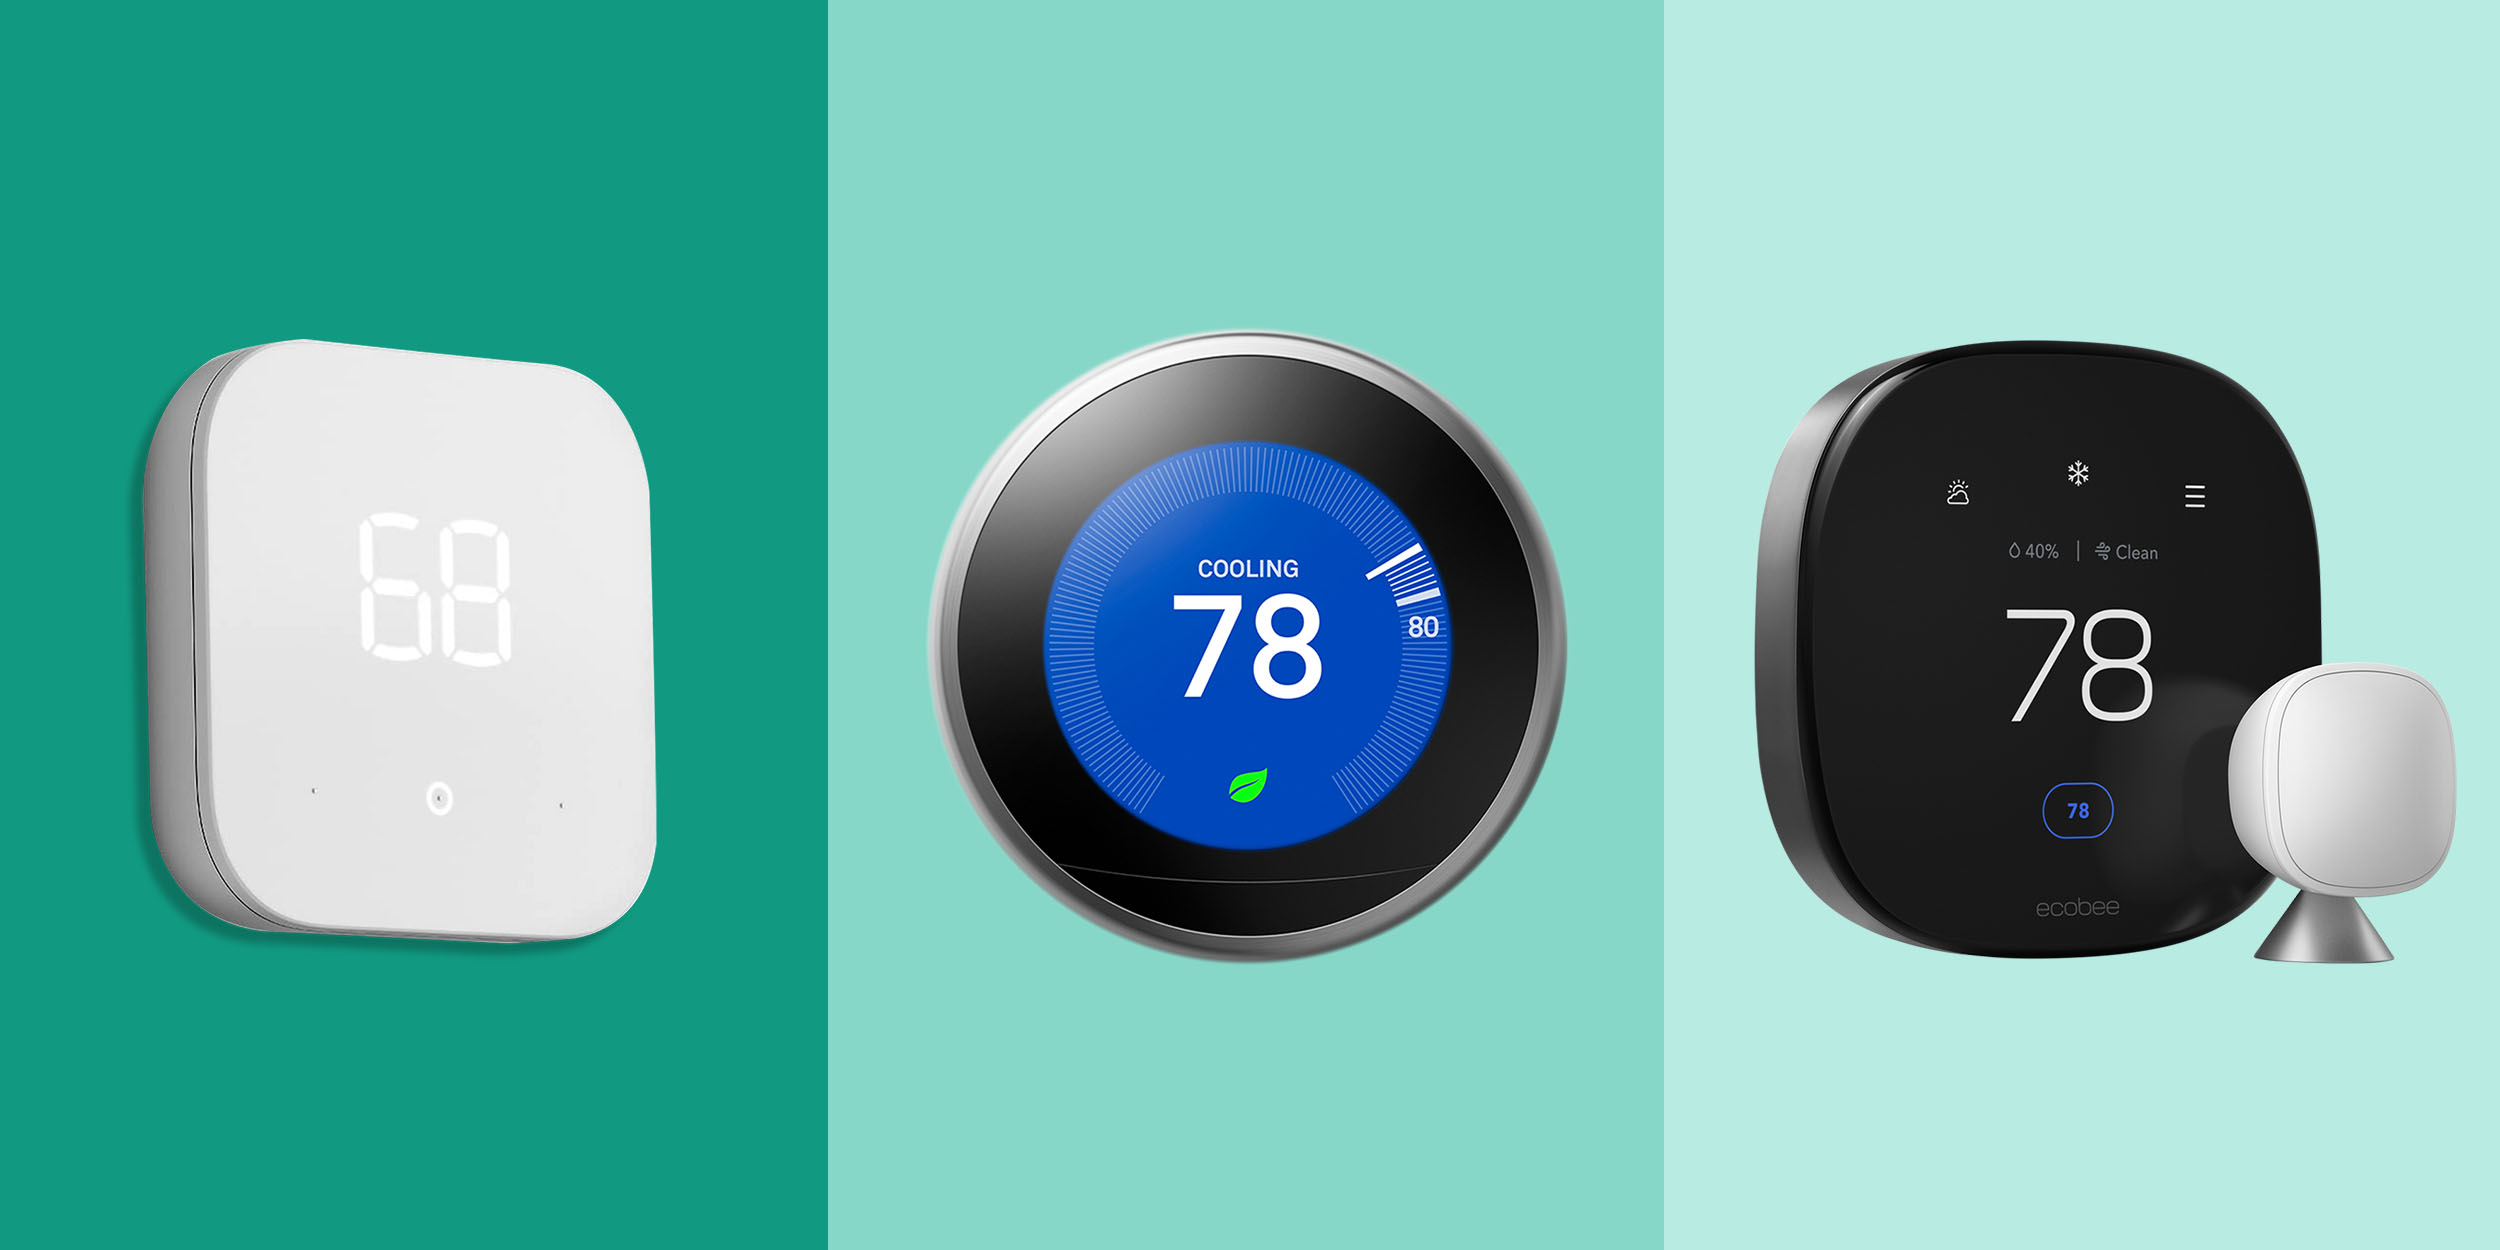
Welcome to our step-by-step guide on how to install a Sensi Touch Smart Thermostat. The Sensi Touch thermostat is not only stylish and sleek, but it also offers advanced features and remote control capabilities to help you effectively manage your home’s heating and cooling system.
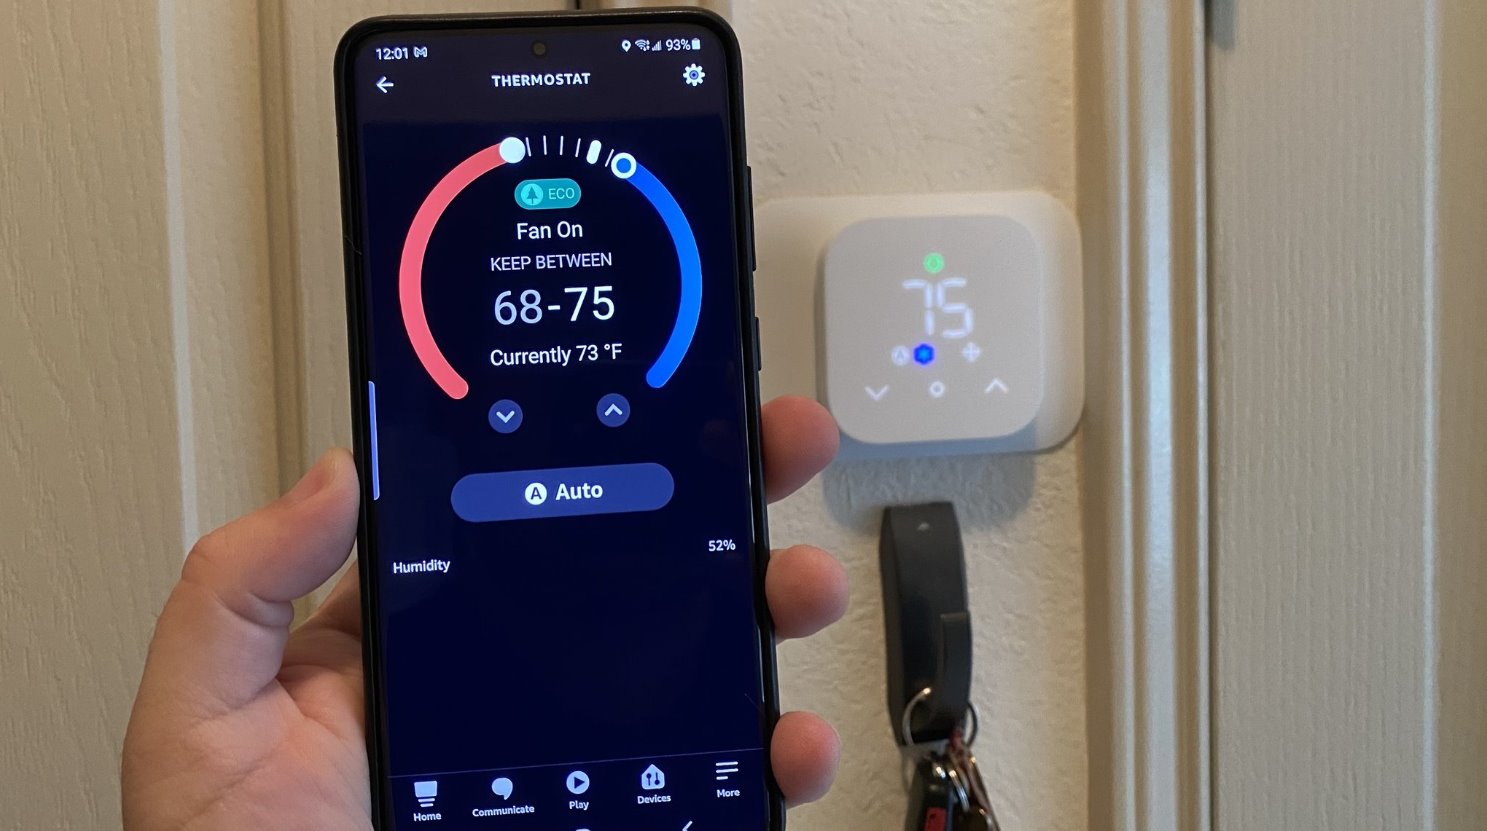
By installing the Sensi Touch thermostat, you can enjoy the convenience of adjusting the temperature from anywhere using your smartphone or tablet. Plus, with its user-friendly interface and intuitive controls, you can easily program it to create customized schedules that fit your lifestyle and save on energy costs.
In this guide, we will walk you through the installation process, providing you with clear instructions and tips to ensure a successful and hassle-free installation. Before we dive into the steps, let’s quickly go over the tools and materials you will need for this project.
So, if you’re ready to upgrade your thermostat and experience the benefits of a smart home, let’s get started with the installation process!
Required Tools and Materials
Before you begin the installation process, make sure you have the following tools and materials on hand:
- Flathead screwdriver
- Phillips screwdriver
- Wire cutters
- Electrical tape
- Drill and drill bits
- Level
- Stud finder
- Sensi Touch Smart Thermostat (make sure you have the correct model for your HVAC system)
- Mounting plate and screws
- Wire labels
- Wire nuts
- Power drill
- Wire stripper
It is important to have the necessary tools and materials ready before starting the installation. This will ensure that you have everything you need to complete the process without any delays or interruptions.
Remember, safety should always be a top priority when working with electrical components. If you are not comfortable with any aspect of the installation, it is recommended to seek professional assistance to avoid any potential hazards or damage to your HVAC system.
Now that you have gathered all the required tools and materials, let’s move on to the step-by-step installation process.
Step 1: Turn Off the Power
Before you begin any work on your thermostat, it is crucial to ensure your safety by turning off the power supply to your HVAC system. This step will help prevent any electrical accidents or damage as you proceed with the installation.
Here’s how to turn off the power:
- Locate the circuit breaker panel in your home.
- Identify the breaker that controls the HVAC system.
- Switch off the corresponding breaker to cut off the power supply to your HVAC system.
- It is important to double-check that the power is indeed turned off. You can do this by attempting to turn on your heating or cooling system from your thermostat. If it doesn’t turn on, then you have successfully disconnected the power.
By following these steps, you can ensure your safety and proceed with the installation process confidently.
Remember, if you are unsure about the location or identification of the breaker that controls your HVAC system, it is recommended to consult the user manual of your HVAC system or seek professional assistance. It is always better to be safe than sorry when dealing with electrical components.
Now that you have turned off the power to your HVAC system, you are ready to move on to the next step of removing the old thermostat.
Step 2: Remove the Old Thermostat
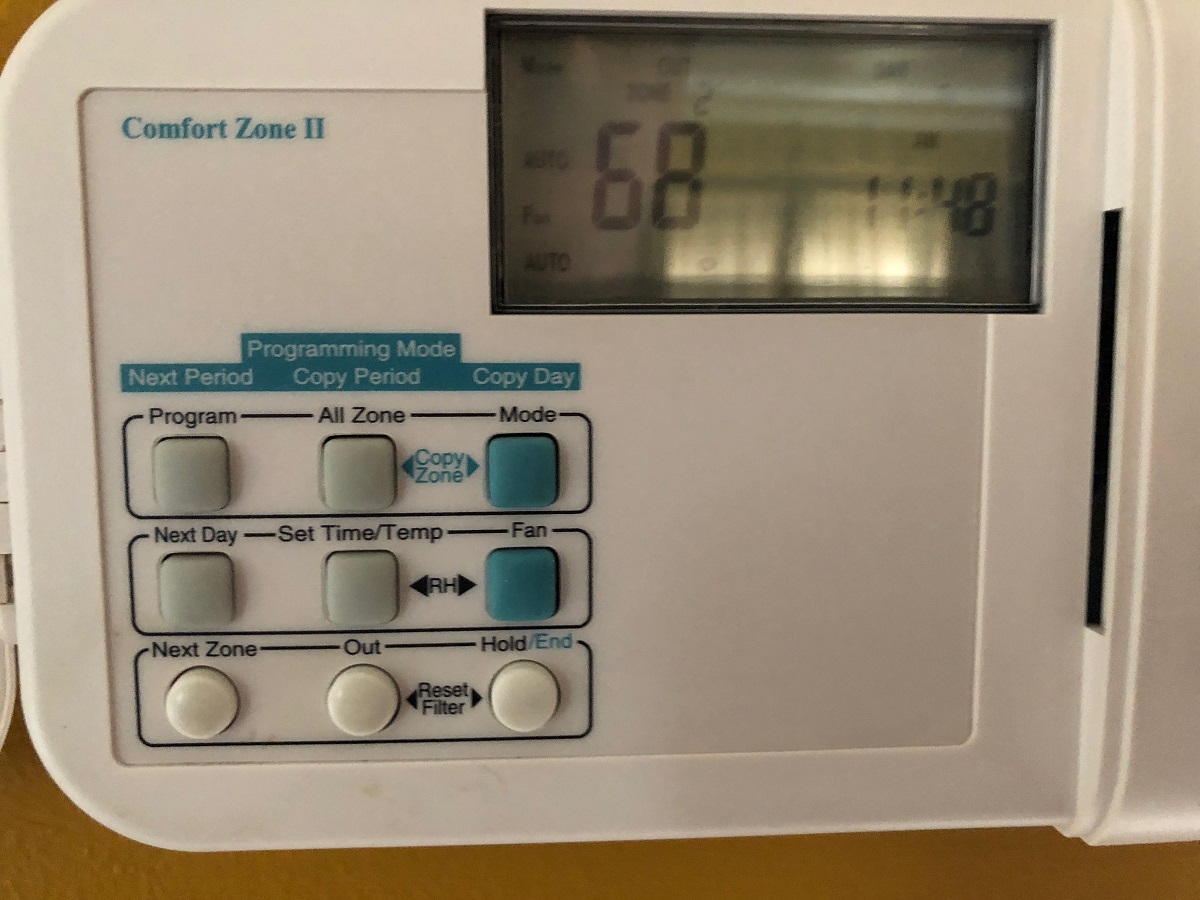
Now that you have turned off the power to your HVAC system, it’s time to remove the old thermostat from the wall. Follow these steps:
- Remove the thermostat cover by gently prying it off. In most cases, the cover should come off easily without the need for any tools.
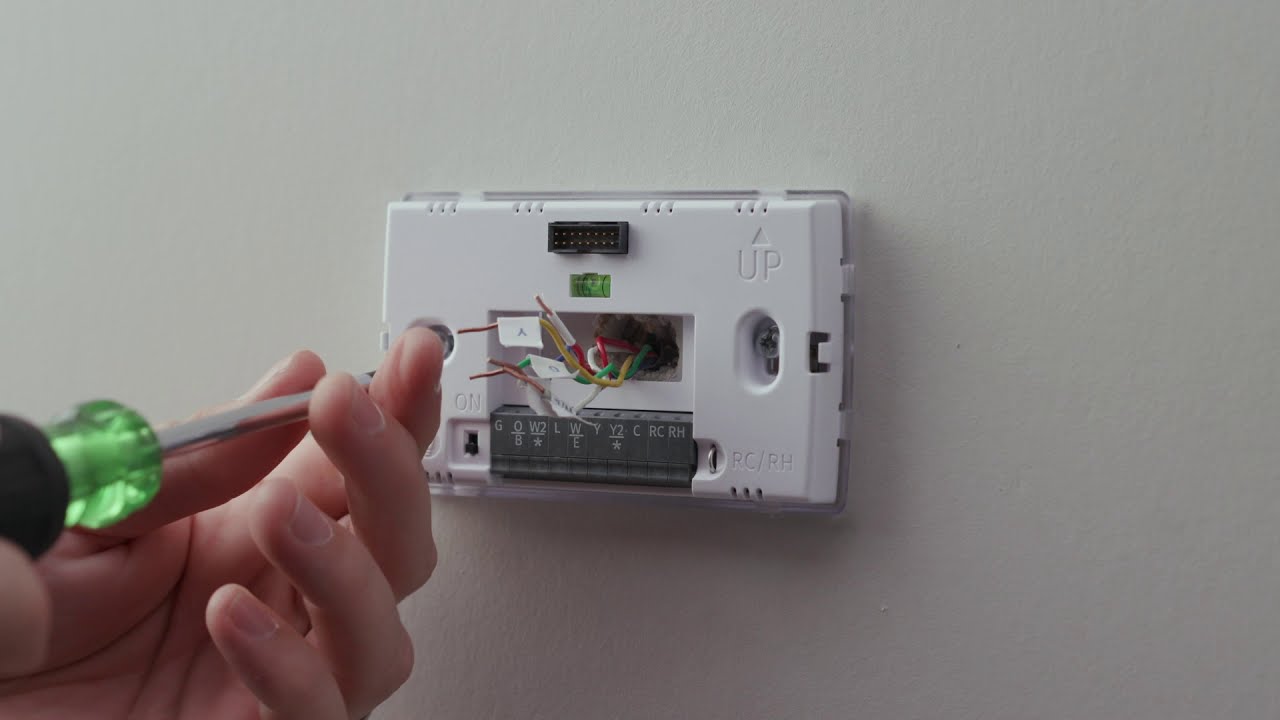
- Once the cover is removed, you will see the mounting plate and the wires connected to the thermostat.
- Using a screwdriver, carefully unscrew the mounting screws that hold the thermostat in place. You may need to use a flathead screwdriver or a Phillips screwdriver, depending on the type of screws used.
- Once the screws are removed, gently detach the old thermostat from the mounting plate.
- Inspect the wires connected to the thermostat. It’s important to note the colors and terminals to ensure proper connection later on.
- If the wires are tightly wound together, you can use wire cutters to separate them and make it easier to work with.
- For safety purposes, it’s a good idea to use electrical tape to cover the exposed ends of the wires to prevent any accidental contact.
- Once the old thermostat is detached and the wires are secured, you can set it aside or dispose of it properly.
Removing the old thermostat is a straightforward process, but it’s important to handle the wires and the thermostat with care to avoid any damage or injury. Take your time and be gentle during this step to ensure a smooth transition to the installation of the new Sensi Touch thermostat.
With the old thermostat removed, you’re now ready to move on to the next step, which involves labeling the wires for easy identification.
Step 3: Label the Wires
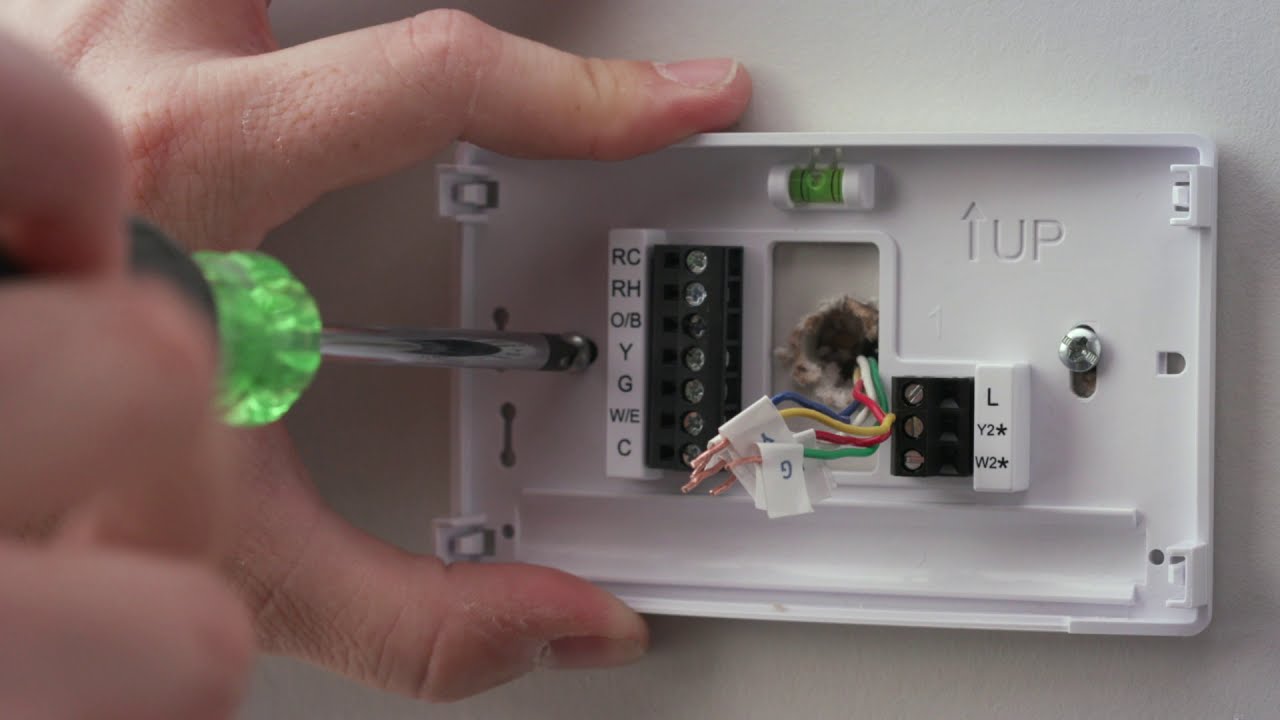
With the old thermostat removed, it’s time to label the wires to ensure an easy and accurate installation of the new Sensi Touch thermostat. Labeling the wires will help you identify the correct terminals and make the connection process much simpler. Follow these steps:
- Take a close look at the wires that were connected to your old thermostat. Each wire should be attached to a specific terminal marked with letters or labels.
- Using the wire labels provided or small pieces of tape, label each wire with the corresponding terminal letter. For example, label the wire connected to the “W” terminal as “W”.
- Make sure your labels are clear and easy to read. This will save you time and confusion during the installation process.
- Refer to the wiring diagram in the user manual of your Sensi Touch thermostat or the included instructions to determine the corresponding terminal letters on the new thermostat.
- Once you have labeled all the wires, double-check your labels to ensure accuracy. This step is crucial for a successful installation.
Labeling the wires may seem like a small and insignificant step, but it can save you a lot of time and frustration later on. It ensures that you can quickly and easily connect the wires to their respective terminals on the new thermostat without any confusion or guesswork.
With the wires properly labeled, you are now ready to move on to the next step, which involves installing the Sensi Touch thermostat base.
Step 4: Install the Sensi Touch Thermostat Base
Now that you have labeled the wires, it’s time to install the Sensi Touch thermostat base onto the wall. Follow these steps:
- Using a level, determine the ideal location for the thermostat base on the wall. Ensure that it is close to the HVAC system and easily accessible for programming and adjustments.
- Using a stud finder, locate the studs behind the wall where you will be installing the thermostat. Mark the positions of the studs with a pencil.
- If the thermostat base provides a built-in level, use it to ensure it is straight before proceeding.
- Once the location is determined, hold the base against the wall and align it with the marks you made for the studs.
- Using a drill, attach the base to the wall using the screws provided. Make sure to secure it firmly, but avoid over-tightening.
- Double-check that the base is level and securely attached to the wall.
Installing the Sensi Touch thermostat base is a critical step as it provides the foundation for the entire system. Ensuring that the base is securely attached to the wall will prevent any issues or instability when attaching the thermostat display later on.
Now that the base is installed, you can proceed to the next step of connecting the wires to the appropriate terminals on the thermostat base.
Step 5: Connect the Wires
With the Sensi Touch thermostat base securely installed, it’s time to connect the labeled wires to their corresponding terminals. Follow these steps:
- Refer to the labels you created in Step 3 to identify the correct terminal letters for each wire.
- Starting with one wire at a time, remove the wire nut from the corresponding terminal on the old thermostat and gently pull the wire free.
- Insert the end of the wire into the appropriate terminal on the Sensi Touch thermostat base. Use the wire labels as a guide to ensure accuracy.
- Tighten the terminal screws on the base to secure the wires in place. Ensure that each wire is securely fastened to its terminal.
- Repeat this process for all the wires, making sure to connect each one to its designated terminal.
It’s important to handle the wires with care and ensure they are properly connected to the terminals. A loose or incorrect connection can result in malfunctions or an ineffective operation of the thermostat.
Once all the wires are connected to their respective terminals on the Sensi Touch thermostat base, you can proceed to the next step, which involves attaching the Sensi Touch thermostat display.
Step 6: Attach the Sensi Touch Thermostat Display
Now that the wires are connected to the Sensi Touch thermostat base, it’s time to attach the thermostat display. Follow these steps:
- Align the Sensi Touch thermostat display with the base, ensuring that the pins on the display line up with the corresponding slots on the base.
- Gently push the display onto the base, applying even pressure until it clicks into place.
- Once attached, give the thermostat display a gentle tug to ensure it is securely connected to the base.
- If the display is not aligned properly or does not click into place, remove it and try attaching it again. It’s important to have a secure connection to ensure proper functionality.
Attaching the Sensi Touch thermostat display is a simple and straightforward process. The display should fit snugly onto the base, and you should feel a click to indicate that it is securely attached.
Now that the display is properly attached, you can move on to the next step, which involves restoring power to your HVAC system and connecting the thermostat to your Wi-Fi network.
Step 7: Restore Power and Connect to Wi-Fi
With the Sensi Touch thermostat display attached, it’s time to restore power to your HVAC system and connect the thermostat to your Wi-Fi network. Follow these steps:
- Go back to your circuit breaker panel and switch on the breaker that controls the power supply to your HVAC system.
- Wait for a few moments to allow the system to power up and initialize.
- On the Sensi Touch thermostat display, tap the power button to turn it on.
- Follow the on-screen instructions to connect the thermostat to your Wi-Fi network. This usually involves selecting your network from a list and entering the password.
- Once connected to Wi-Fi, the thermostat display should indicate a successful connection.
- Finally, follow any additional setup instructions provided by the Sensi app or the on-screen prompts to complete the setup process.
Restoring power and connecting the Sensi Touch thermostat to your Wi-Fi network is essential for full functionality and remote control capabilities. By connecting to Wi-Fi, you can conveniently adjust temperature settings and monitor your HVAC system from anywhere using your smartphone or tablet.
Once you have completed these steps and successfully connected the Sensi Touch thermostat to Wi-Fi, you’re ready to enjoy the convenience and benefits of a smart thermostat.
Step 8: Follow the Sensi App Setup Instructions
After connecting your Sensi Touch thermostat to Wi-Fi, it’s time to follow the setup instructions provided by the Sensi app. The app will guide you through the final steps to ensure a seamless integration and optimal performance. Follow these steps:
- Download the Sensi app from the App Store or Google Play Store, depending on your device.
- Open the Sensi app and create a new account if you don’t already have one. If you have an existing account, log in using your credentials.
- Select the option to add a new thermostat and follow the on-screen instructions.
- The app will prompt you to enter the unique code or scan the QR code on your Sensi Touch thermostat display to pair it with the app.
- Once the pairing process is complete, you will be able to access and control your thermostat through the Sensi app.
- Follow any additional setup instructions or prompts provided by the app to customize your settings, create schedules, and explore the various features and options available.
- Take some time to familiarize yourself with the app’s interface and functions. It offers a range of features, including temperature adjustments, energy-saving modes, and remote access.
Following the Sensi app setup instructions is crucial for maximizing the functionalities and capabilities of your Sensi Touch thermostat. The app provides a user-friendly interface that allows you to effortlessly control and monitor your thermostat from anywhere, ensuring optimal comfort and energy management.
Once you have completed the setup process and familiarized yourself with the Sensi app, you are now ready to enjoy the convenience and control offered by your newly installed Sensi Touch Smart Thermostat.
Conclusion
Congratulations on successfully installing your Sensi Touch Smart Thermostat! By following the step-by-step guide outlined in this article, you have taken a significant step towards enhancing the comfort and energy efficiency of your home.
The Sensi Touch thermostat not only offers a sleek and stylish design but also provides advanced features and remote control capabilities. With the ability to adjust and program your thermostat from anywhere using your smartphone or tablet, you can easily manage your home’s heating and cooling system to match your lifestyle and save on energy costs.
We started by ensuring your safety by turning off the power to your HVAC system. Then, we guided you through the process of removing the old thermostat, labeling the wires, and installing the Sensi Touch thermostat base. Next, we connected the wires and attached the thermostat display, followed by restoring power and connecting to your Wi-Fi network. Finally, we concluded by instructing you to follow the Sensi app setup instructions.
Now that your Sensi Touch thermostat is installed and connected, you can enjoy the convenience of controlling your home’s temperature settings with the touch of a button. The Sensi app provides additional features and customization options to suit your preferences and optimize energy usage.
We hope that this guide has been informative and helpful in your journey to install the Sensi Touch Smart Thermostat. Remember, if you have any questions or encounter any issues during the installation process, it is always recommended to consult the user manual or seek professional assistance.
Enjoy the benefits of a smart home and the comfort provided by your new Sensi Touch thermostat!


