Introduction
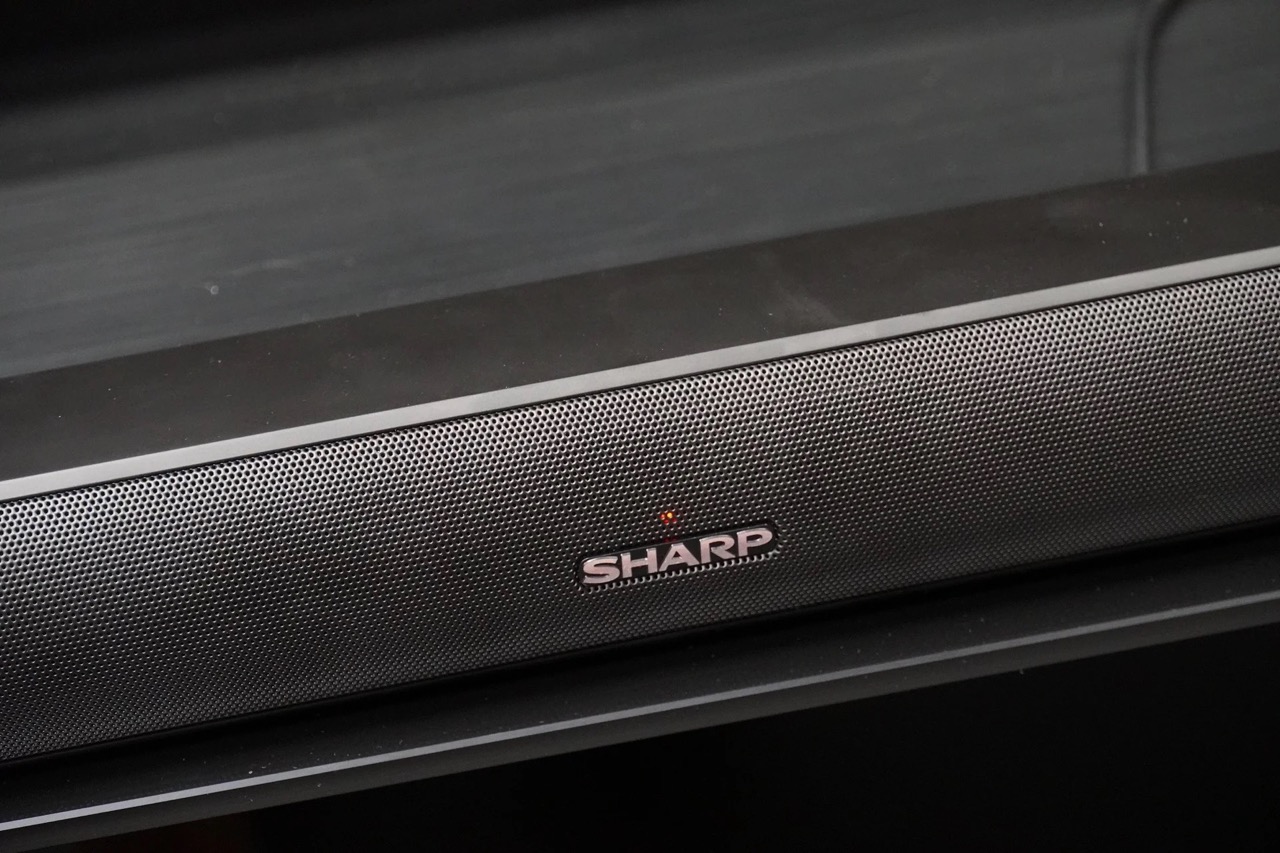
Welcome to this guide on how to connect your Sharp soundbar to your TV. Soundbars are a popular choice for enhancing the audio quality of your television viewing experience, providing clearer dialogue and immersive sound effects. Whether you’re a movie enthusiast or enjoy gaming, connecting a soundbar to your TV can greatly enhance your audio experience.
Before jumping into the steps, it’s important to understand that the process of connecting a soundbar to a TV can vary depending on the specific models and features of your devices. This guide will provide a general overview that should work for most Sharp soundbars and TVs, but it’s always a good idea to consult the user manuals for your specific devices for any additional instructions or compatibility considerations.
It’s also worth noting that soundbars can connect to TVs through a variety of methods, such as HDMI, optical, or RCA cables. In this guide, we will focus on the most common and recommended methods for connecting a Sharp soundbar to a TV. So, without further ado, let’s dive into the steps!
Step 1: Check Compatibility
Before you begin the process of connecting your Sharp soundbar to your TV, it’s important to ensure that both devices are compatible with each other. Checking compatibility is an essential step to avoid any frustrating issues or incompatibility problems down the line.
Start by consulting the user manuals of both your soundbar and TV. Look for any specific requirements or recommendations regarding compatibility. Check the model numbers and make sure they are compatible with each other. Look for indications that the soundbar supports the audio formats provided by your TV, such as Dolby Digital or DTS.
Additionally, consider the available connectivity options on both your soundbar and TV. Common options include HDMI, optical, and RCA connections. Make sure that both devices have the necessary ports for the desired connection method.
If your soundbar and TV are not compatible, you may need to consider alternative connection options or even purchasing a new soundbar or TV that are compatible with each other.
Once you have confirmed that your Sharp soundbar and TV are compatible, you can proceed to the next step, where we will gather the required cables and accessories.
Step 2: Gather Required Cables and Accessories
Now that you have confirmed the compatibility of your Sharp soundbar and TV, it’s time to gather the necessary cables and accessories for the connection process. Depending on the specific models and connection options available, you may need different cables or adapters.
First, refer to the user manuals of your soundbar and TV to identify the recommended cables for the connection. Commonly used cables include HDMI, optical, and RCA cables. Check if these cables are included with your soundbar or if you need to purchase them separately.
If your TV and soundbar have HDMI ARC (Audio Return Channel) capability, it is recommended to use an HDMI cable that supports ARC. This allows for both audio playback from the TV to the soundbar and control of the soundbar using your TV remote. If your TV does not have an ARC-enabled HDMI port, you can use an optical or RCA cable for the connection.
Additionally, you may need a power cable for the soundbar, which is often included in the package. Make sure to have an available power outlet near your TV setup to plug in the soundbar.
If your soundbar or TV requires any specific adapters or converters to establish the connection, make sure to acquire them as well. Adapters may be needed if the soundbar or TV has different types of audio ports that need to be connected.
Once you have gathered all the necessary cables and accessories, you are ready to proceed to the next step: identifying the audio output ports on your TV.
Step 3: Identify the Audio Output Ports on Your TV
Before connecting your Sharp soundbar to your TV, you need to identify the audio output ports on your TV. The location and types of audio output ports can vary depending on the TV model.
Common audio output ports on TVs include HDMI ARC, optical, and RCA ports. To find these ports, consult your TV’s user manual or look for labeled and color-coded ports on the back or side of your TV.
If your TV has an HDMI ARC port, it is recommended to use this port for the connection. HDMI ARC not only transmits audio signals but also allows for control of the soundbar with your TV remote. Look for the “HDMI ARC” label near the HDMI port on your TV.
If your TV doesn’t have an HDMI ARC port, you can use the optical or RCA output ports. The optical port is a small, square-shaped port that uses a digital optical cable for audio transmission. The RCA ports are usually red and white (or red and black) and require an RCA cable with corresponding connectors.
Once you have identified the audio output ports on your TV, you can proceed to the next step: connecting the soundbar to the TV using the appropriate cables.
Step 4: Connect the Soundbar to the TV Using the Included Cables
With the necessary cables and the knowledge of your TV’s audio output ports, it’s time to connect your Sharp soundbar to your TV. Follow these steps to establish the connection:
- Locate the corresponding audio input ports on your soundbar. These ports are usually labeled and color-coded to match the cables you’ll be using.
- Connect the appropriate cable to the audio output port on your TV. If your TV has an HDMI ARC port, connect the HDMI cable to the HDMI ARC port on both the TV and the soundbar.
If you’re using an optical or RCA cable, insert one end of the cable into the corresponding output port on the TV, and the other end into the respective input port on the soundbar. - Ensure that the cables are securely plugged in and that there are no loose connections.
- If you’re using an HDMI ARC connection, turn on the HDMI-CEC (Consumer Electronics Control) feature on both the TV and the soundbar if available. This enables the TV and soundbar to communicate and simplifies the control process.
- Now, connect the power cable to the soundbar and plug it into a power outlet.
Once the cables are connected and the soundbar is powered on, you should see a confirmation display or indicator lights on the soundbar, indicating that it is receiving audio signals from the TV.
If you’re using an HDMI ARC connection, the TV might automatically recognize the soundbar and switch the audio output. In some cases, you may need to adjust the audio settings on your TV to ensure the soundbar is selected as the audio output device.
Now that the soundbar is successfully connected to your TV, you can move on to the next step: adjusting the sound settings on your TV.
Step 5: Adjust Sound Settings on Your TV
After connecting your Sharp soundbar to your TV, it’s important to properly adjust the sound settings on your TV to ensure optimal audio performance. Here are the steps to adjust the sound settings:
- Access the settings menu on your TV. This can usually be done by pressing the “Menu” button on your TV remote.
- Navigate to the audio settings or sound options. The exact location and terminology of these settings may vary depending on your TV model.
- Select the audio output to “External Speaker” or “Soundbar”. This ensures that the TV sends audio signals to the connected soundbar instead of the built-in speakers.
- Adjust the sound settings such as bass, treble, and balance according to your preference. This allows you to fine-tune the audio output to suit your listening environment and personal taste.
- Enable any additional audio features or enhancements, such as virtual surround sound or dialogue enhancement, if available and desired. These features can further enhance your audio experience.
- Test the audio output by playing a video or audio source on your TV. Make sure the sound is coming from the soundbar and not the TV speakers.
During this step, it’s essential to refer to the user manual of your TV to understand the specific sound settings and options available. The process of adjusting sound settings may differ slightly between TVs.
By fine-tuning the sound settings on your TV, you can ensure that the audio output through your Sharp soundbar is optimized for your viewing and listening pleasure.
Once you have adjusted the sound settings to your satisfaction, you can move on to the final step: testing the soundbar connection.
Step 6: Test the Soundbar Connection
After connecting the Sharp soundbar to your TV and adjusting the sound settings, it’s crucial to test the soundbar connection to ensure everything is working correctly. Follow these steps to test the connection:
- Select a movie, TV show, or any audio source on your TV.
- Play the selected content and listen for the sound output.
- Check if the audio is coming from the soundbar instead of the TV’s built-in speakers.
- Adjust the volume of the soundbar using the soundbar’s remote control. Ensure that the volume increases or decreases as expected.
- Pay attention to the overall sound quality and clarity. Confirm that the soundbar is producing clear dialogue, balanced audio, and immersive sound effects.
- If you’re using an HDMI ARC connection, test the TV remote control to adjust the soundbar’s volume or to turn it off. This verifies that the HDMI-CEC feature is working correctly.
If you encounter any issues during the testing phase, double-check the connections and settings:
- Ensure that the cables are securely plugged in and properly connected between the soundbar and the TV.
- Confirm that the soundbar is receiving power and turned on.
- Revisit the sound settings on your TV and ensure that the correct audio output is selected.
- If necessary, consult the user manuals for your TV and soundbar for troubleshooting tips specific to your models.
Once the soundbar connection has been successfully tested and you’re satisfied with the audio performance, congratulations! You have successfully connected your Sharp soundbar to your TV.
Now, sit back, relax, and enjoy your favorite movies, shows, and games with the enhanced audio quality provided by your Sharp soundbar.
Conclusion
Connecting your Sharp soundbar to your TV can greatly enhance your audio experience, providing clearer dialogue and immersive sound effects. By following the steps outlined in this guide, you can easily connect your soundbar to your TV and enjoy improved audio quality.
Remember to check the compatibility of your devices, gather the required cables and accessories, identify the audio output ports on your TV, and connect the soundbar using the included cables. Adjust the sound settings on your TV to optimize the audio output, and thoroughly test the soundbar connection to ensure everything is working correctly.
If you encounter any challenges during the process, consult the user manuals for your specific devices or seek assistance from the manufacturer’s support team. Every TV and soundbar model can have slight variations in the connection and setup process.
With your Sharp soundbar successfully connected to your TV, you can now enjoy a more immersive and enjoyable audio experience while watching your favorite movies, shows, or playing games. The enhanced sound quality will add depth and richness to your entertainment.
Remember to experiment with different audio settings to find the perfect balance that suits your preferences and listening environment. Whether you’re hosting a movie night, gaming with friends, or simply enjoying a quiet evening at home, the soundbar will elevate your audio experience.
Now, sit back, relax, and enjoy the enhanced audio experience provided by your Sharp soundbar and TV connection!


