Introduction
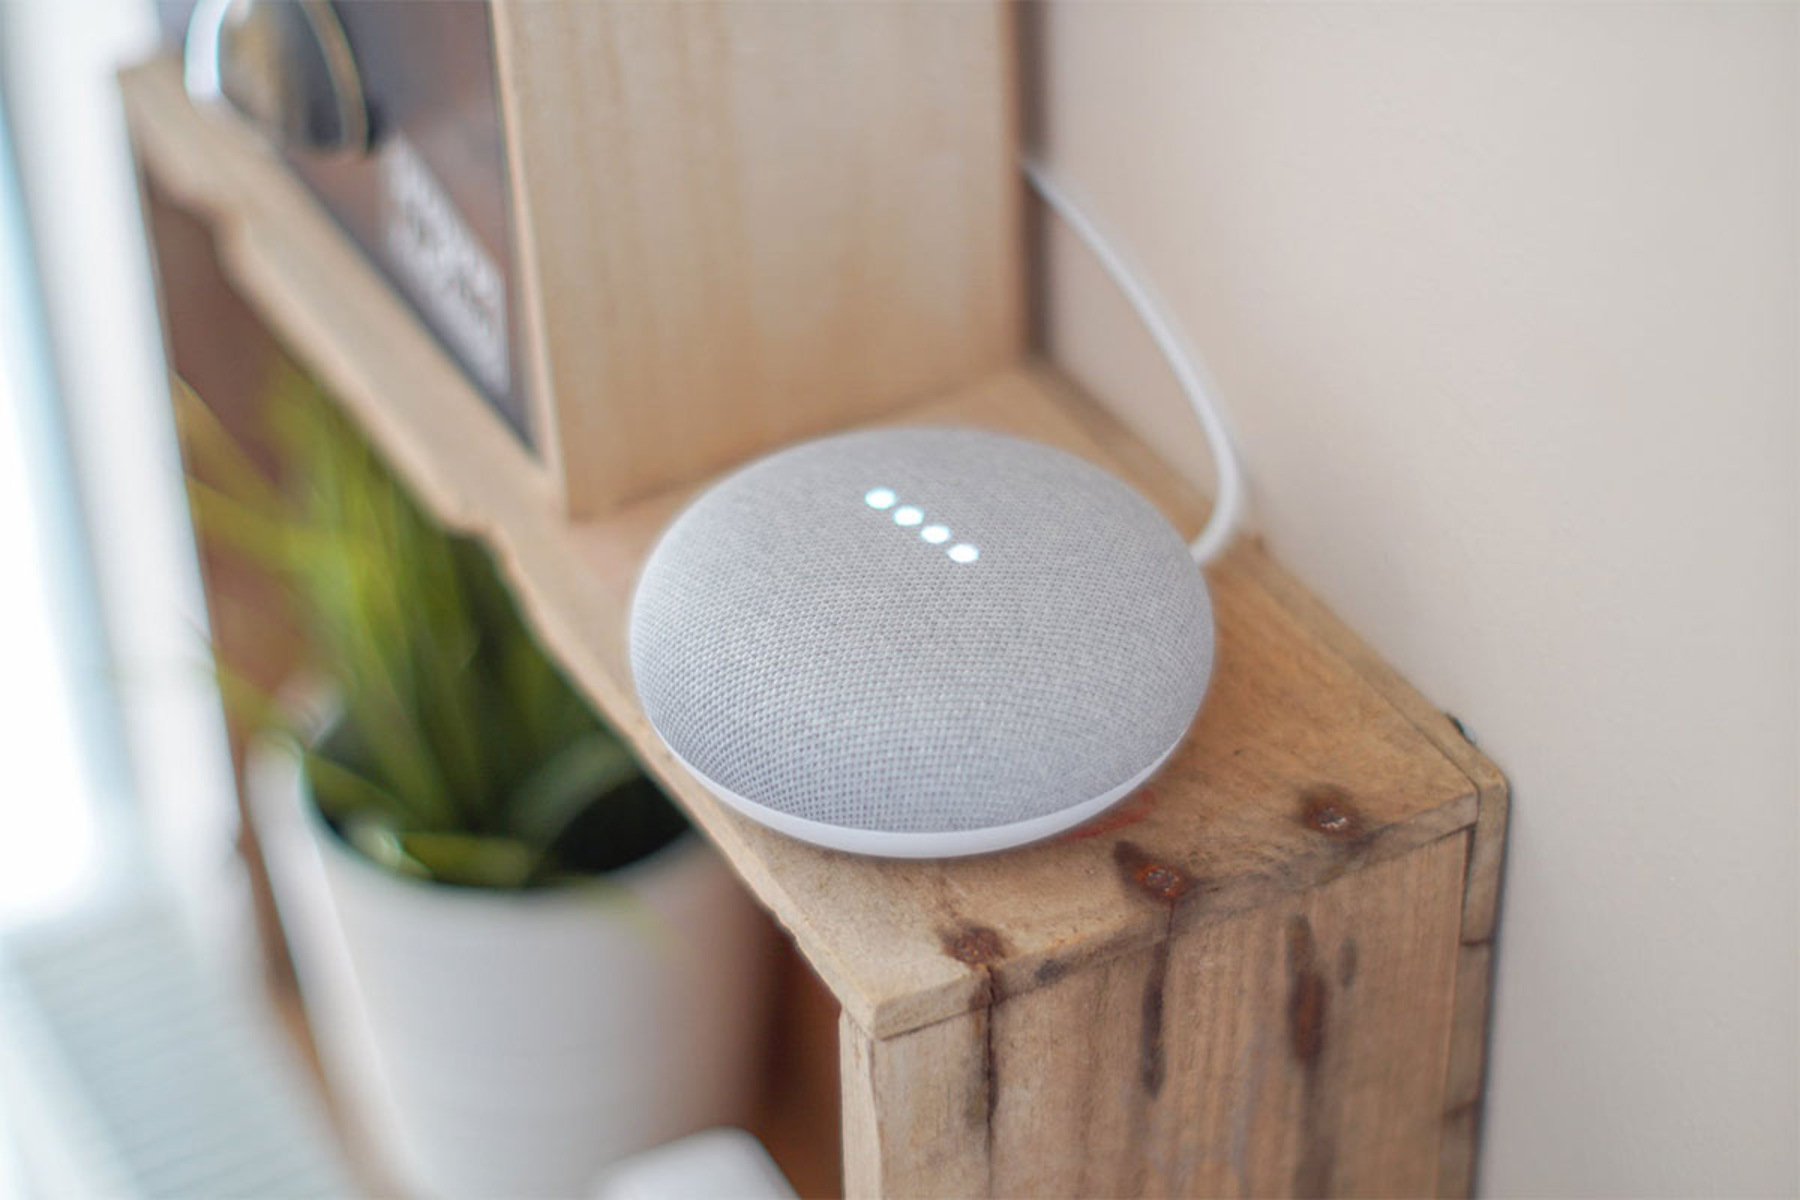
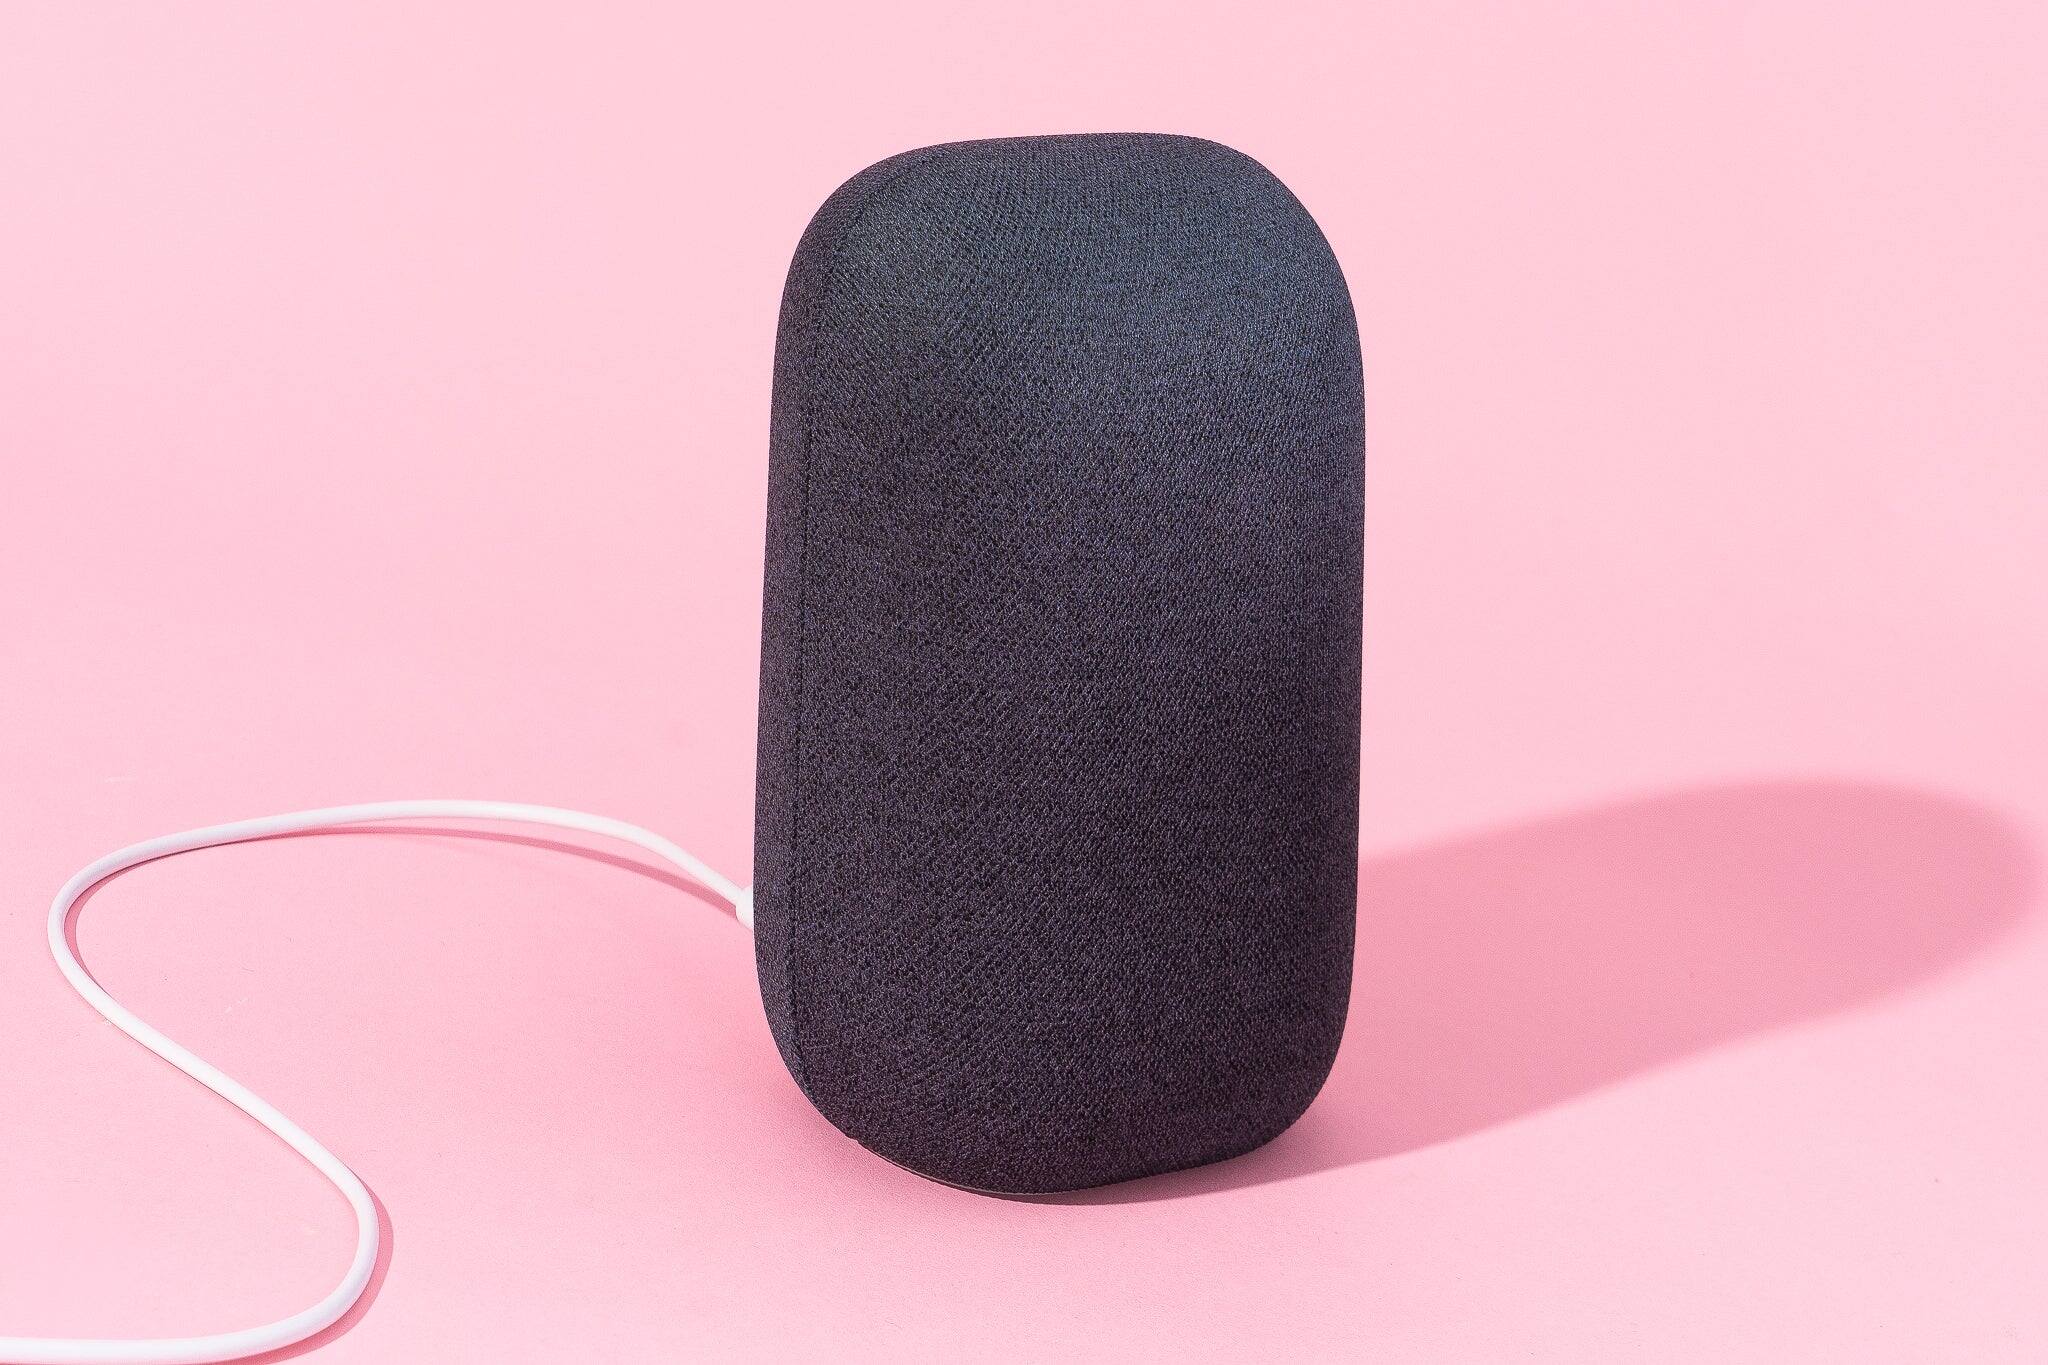
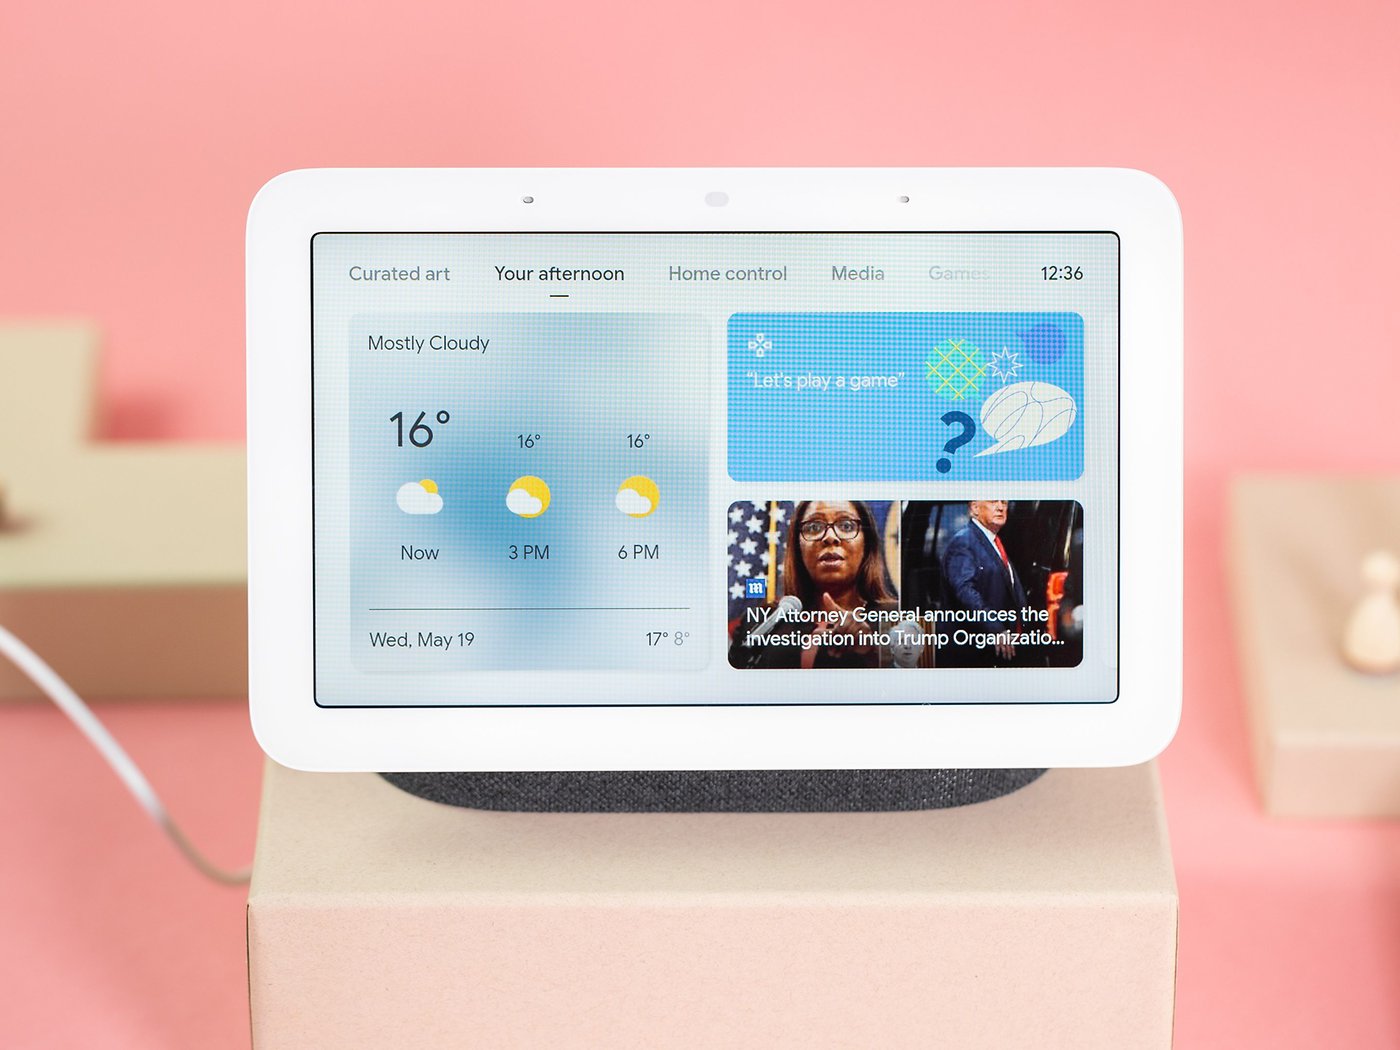
Welcome to the world of smart speakers! Smart speakers have become increasingly popular, with the ability to control various devices and stream music on command. One such smart speaker is the Google Smart Speaker, powered by the intelligent Google Assistant. Whether you’re a tech-savvy individual or a newcomer to the world of smart home devices, connecting your Google Smart Speaker to Wi-Fi is a crucial step to unlock its full potential.
In this guide, we will walk you through the process of connecting your Google Smart Speaker to Wi-Fi, so you can enjoy seamless voice commands, music streaming, and more. With just a few simple steps, you’ll be able to unleash the power of Google Assistant and integrate it into your smart home ecosystem.
Before we delve into the step-by-step process, make sure you have the necessary equipment and a stable internet connection. You’ll need your Google Smart Speaker, a compatible smartphone or tablet, and access to the Google Home app, which we’ll be using to complete the setup.
Once you have everything ready, let’s dive into the exciting world of Google Smart Speaker setup!
Step 1: Power on your Google Smart Speaker
The first step in connecting your Google Smart Speaker to Wi-Fi is to power on the device. Locate the power cable that came with your smart speaker and plug it into a power outlet. Then, connect the other end of the cable to the back of the speaker. Once the power is connected, you should see lights or indicators on the device indicating that it is powered on and ready to be set up.
It’s important to note that different models of Google Smart Speakers may have slightly varied power buttons and indicators. For example, some models have physical buttons that need to be pressed, while others have touch-sensitive controls. Please refer to the user manual specific to your smart speaker model for detailed instructions on how to power it on properly.
Once your Google Smart Speaker is powered on, it will go through a brief startup process. During this time, you may hear a startup sound or the device’s lights may flash. This is normal behavior, and it means that the speaker is initializing and getting ready for setup.
Now that your Google Smart Speaker is powered on and ready to go, let’s move on to the next step: downloading the Google Home app.
Step 2: Download the Google Home app
In order to connect your Google Smart Speaker to Wi-Fi, you’ll need to download and install the Google Home app on your smartphone or tablet. The Google Home app is available for both iOS and Android devices and can be easily found in the respective app stores.
To proceed with the setup process, follow these steps:
- Unlock your smartphone or tablet and navigate to the app store (Google Play Store for Android or the App Store for iOS).
- In the search bar, type “Google Home” and select the official Google Home app from the search results.
- Tap the “Install” or “Get” button to download and install the app on your device.
- Once the installation is complete, locate the Google Home app icon on your device’s home screen or app drawer and tap on it to launch the app.
If you already have the Google Home app installed on your device, make sure it is up to date by checking for any available app updates in the app store. Keeping the app updated ensures that you have access to the latest features and improvements.
The Google Home app serves as a central hub for managing and controlling your connected devices, including the Google Smart Speaker. Through this app, you can configure settings, set up routines, and connect your smart speaker to your Wi-Fi network seamlessly.
Now that you have the Google Home app installed on your device, let’s move on to the next step: launching the app and preparing for the setup process.
Step 3: Launch the Google Home app
Now that you have downloaded and installed the Google Home app on your smartphone or tablet, it’s time to launch the app and prepare for the setup process.
Follow these steps to open the Google Home app:
- Locate the Google Home app icon on your device’s home screen or app drawer.
- Tap on the icon to open the app.
Upon launching the Google Home app, you will be greeted with a welcome screen and prompted to sign in with your Google account. It’s essential to use the same Google account that you want to associate with your Google Smart Speaker. If you have multiple Google accounts, select the one you want to use or add a new account if necessary.
Once signed in, the app will guide you through an initial setup process, providing information about the app’s features and permissions it requires. Review and grant the necessary permissions to continue.
In some cases, the app may ask for location permission. Granting this permission allows the Google Home app to provide you with personalized recommendations and information based on your geographical location. It is recommended to enable this permission for a better user experience.
After granting the permissions, you will be presented with the Google Home app’s main interface, which showcases various settings and options for managing your connected devices.
Now that you have successfully launched the Google Home app and signed in with your Google account, you are ready to proceed to the next step: adding a device to the app.
Step 4: Choose the Google account to associate with the smart speaker
Now that you’ve launched the Google Home app, it’s time to choose the Google account that you want to associate with your Google Smart Speaker. Associating a Google account with your smart speaker allows you to personalize the device and access your personalized settings, preferences, and content.
Follow these steps to associate your Google account:
- If prompted, select the option to set up a new device or add a new device to the Google Home app.
- On the account selection screen, you will see a list of the Google accounts that are currently signed in on your device. Choose the Google account that you want to associate with your smart speaker by tapping on it.
It’s important to note that the Google account you choose should be the same one that you use for other Google services, such as Gmail, Google Calendar, and Google Photos. This ensures that your Google Smart Speaker integrates seamlessly with your other Google devices and services.
Once you have selected the Google account, the app will proceed to the next steps in the setup process. These steps may include granting additional permissions, confirming your Wi-Fi network, and customizing settings for your smart speaker.
By associating your Google account with the smart speaker, you will be able to access personalized features, such as receiving tailored responses and reminders, accessing your personal calendar, and even controlling compatible smart home devices through voice commands.
Now that you have selected the Google account to associate with your smart speaker, let’s move on to the next step: adding the device to the Google Home app.
Step 5: Tap on the “+” sign to add a device
With the Google Home app open and your Google account selected, it’s time to add your Google Smart Speaker to the app. This step allows the app to recognize and configure the device for use with your Wi-Fi network.
Follow these steps to add your smart speaker:
- In the Google Home app’s main interface, look for the “+” (plus) sign located in the top-left corner or at the bottom-center of the screen.
- Tap on the “+” sign to initiate the device setup process.
By tapping on the “+” sign, you will be presented with various options for adding devices to the Google Home app, including speakers, lights, thermostats, and more. Since we are focusing on adding a Google Smart Speaker, select the appropriate option when prompted.
Once you have selected the device type, the app will guide you through the next steps of the setup process. This may include confirming your Google account, verifying your Wi-Fi connection, and customizing settings specific to your smart speaker model.
During this step, make sure your Google Smart Speaker is powered on and within range of your Wi-Fi network. This ensures that the app can establish a secure and stable connection between the device and your home network.
After completing the device setup process, your Google Smart Speaker will be successfully added to the Google Home app, and you will have access to a range of features and controls for the device.
Now that you have added your smart speaker to the app, let’s move on to the next step: selecting the “Set up device” option to continue the setup process.
Step 6: Select “Set up device” option
After tapping the “+” sign to add your Google Smart Speaker, the next step is to select the “Set up device” option in the Google Home app. This option allows you to configure and customize the settings of your smart speaker to ensure seamless integration with your Wi-Fi network and other connected devices.
Follow these steps to select the “Set up device” option:
- In the Google Home app, you will be presented with a list of options for adding devices. Look for the “Set up device” option and tap on it.
- From the list of available device types, select the appropriate option that corresponds to your Google Smart Speaker model.
It’s important to choose the correct device type to ensure that the setup process and instructions presented in the app are relevant to your specific smart speaker model.
Once you have selected the “Set up device” option, the Google Home app will guide you through the remaining steps of the setup process. These steps may include connecting your smart speaker to your Wi-Fi network, installing any necessary updates, and configuring personalized settings such as the device’s name or location.
During this step, make sure your smart speaker is within range of your Wi-Fi network and that you have the necessary network credentials (SSID and password) readily available. This will allow the app to establish a secure connection between your speaker and the network.
By selecting the “Set up device” option, you are taking a significant step towards completing the setup process and making your Google Smart Speaker ready for use.
Now that you have selected the “Set up device” option, let’s move on to the next step: choosing “New devices” in the app to continue the setup process.
Step 7: Choose “New devices” from the options
After selecting the “Set up device” option in the Google Home app, the next step is to choose “New devices” from the available options. This selection will prompt the app to search for any new devices that can be added to your smart home ecosystem, including your Google Smart Speaker.
Follow these steps to choose “New devices” from the options:
- In the Google Home app, you will see a list of device setup options. Look for the “New devices” option and tap on it.
By selecting “New devices,” the Google Home app will begin scanning for any nearby devices that can be connected. This includes devices that are compatible with the app and are within the range of your smartphone or tablet.
Make sure that your Google Smart Speaker is powered on and ready for setup. It should be located close enough to your smartphone or tablet for a successful connection. It’s also important to ensure that both devices are connected to the same Wi-Fi network.
During this step, the app may also prompt you to initiate the pairing process for your smart speaker. This could involve pressing certain buttons or entering a specific code on the device to establish a secure connection.
Once the app successfully detects your Google Smart Speaker, it will guide you through the remaining steps to complete the setup. This may include confirming the device’s identification, choosing a room for the smart speaker, and customizing additional settings according to your preferences.
By choosing “New devices” from the options, you are allowing the Google Home app to actively search for and add your Google Smart Speaker to your smart home ecosystem.
Now that you have chosen “New devices” from the options, let’s move on to the next step: following the on-screen instructions provided by the app to continue the setup process.
Step 8: Follow the on-screen instructions
After choosing “New devices” in the Google Home app, the next step is to follow the on-screen instructions provided by the app. These instructions will guide you through the remaining steps of the setup process for your Google Smart Speaker, ensuring a seamless and hassle-free connection to your Wi-Fi network.
Follow these steps to proceed with the on-screen instructions:
- Once your Google Smart Speaker is detected by the app, it will display a series of on-screen instructions for you to follow.
- Read and carefully follow each instruction step by step.
- The instructions may involve specific actions to be performed on the smart speaker, such as pressing certain buttons or confirming identification codes on both the speaker and the app.
- Make sure to complete each step as instructed before moving on to the next.
Throughout this step, the Google Home app will work in tandem with your Google Smart Speaker to ensure a secure and successful connection to your Wi-Fi network. It may prompt you to enter your Wi-Fi network name (SSID) and password to establish the connection.
It’s crucial to provide accurate information and carefully input your Wi-Fi credentials to avoid any connectivity issues. Double-check to ensure that you have entered the correct Wi-Fi network password to establish a stable connection.
Once the on-screen instructions are followed, the Google Home app will initiate the connection process between your smart speaker and your Wi-Fi network. This process may take a few moments, during which the app will display relevant information and progress updates.
By following the on-screen instructions, you are ensuring that your Google Smart Speaker is correctly configured and connected to your Wi-Fi network, setting the stage for seamless integration with your smart home devices and access to the full range of features.
Now that you are following the on-screen instructions, let’s proceed to the next step: connecting the smart speaker to your Wi-Fi network to complete the setup process.
Step 9: Connect the smart speaker to your Wi-Fi network
After following the on-screen instructions in the Google Home app, the next step is to connect your Google Smart Speaker to your Wi-Fi network. This step is crucial as it allows your smart speaker to access the internet, respond to voice commands, and provide you with a seamless smart home experience.
Follow these steps to connect your smart speaker to your Wi-Fi network:
- On the Google Home app, carefully enter your Wi-Fi network name (SSID) in the provided field.
- Next, enter the corresponding password for your Wi-Fi network.
Ensure that you enter the correct Wi-Fi network name and password to establish a successful connection. Double-check for any typos or errors to avoid any connectivity issues.
Once you have entered the required information, tap on the “Connect” or “Continue” button within the app to proceed with connecting your smart speaker to your Wi-Fi network.
The Google Home app will send the network details to your Google Smart Speaker, and the device will attempt to establish a connection with the provided Wi-Fi network. This connection process may take a few moments as the speaker connects to your network and obtains an IP address.
During this step, make sure that your Google Smart Speaker is within range of your Wi-Fi router for a strong and stable connection. Additionally, ensure that your Wi-Fi password is correctly entered and that your network is operational.
Once the connection is established, the Google Home app will notify you that your Google Smart Speaker is successfully connected to your Wi-Fi network. This means that the speaker is now ready to respond to your voice commands, stream music, and interact with other connected devices in your smart home ecosystem.
Now that your smart speaker is connected to your Wi-Fi network, let’s move on to the final step: completing the setup process and enjoying the features of your Google Smart Speaker.
Step 10: Complete the setup process
Congratulations! You’ve reached the final step of connecting your Google Smart Speaker to Wi-Fi. Now, it’s time to complete the setup process and ensure that everything is in place for you to fully enjoy the features and capabilities of your smart speaker.
Follow these steps to complete the setup process:
- In the Google Home app, carefully review the final setup details and confirm that all the information, including the Wi-Fi network name and device settings, is accurate.
- If everything looks correct, tap on the “Finish” or “Complete” button within the app to finalize the setup process for your Google Smart Speaker.
By completing the setup process, the Google Home app will update your smart speaker with the necessary configurations and settings. After the setup is complete, you will have access to a wide range of features, including voice control, music streaming, personalized responses, and the ability to control compatible smart home devices.
Once the setup process is finished, take a moment to familiarize yourself with the controls and capabilities of your Google Smart Speaker. Experiment with different voice commands, explore the options in the Google Home app, and integrate your speaker with other compatible devices to maximize its functionality.
Remember, you can always revisit the Google Home app to adjust settings, add new devices, or personalize your experience further. Additionally, keep the app up to date to ensure you have access to the latest features and improvements.
With your Google Smart Speaker successfully connected to your Wi-Fi network and the setup process complete, you’re now ready to enjoy the convenience and possibilities that it brings to your smart home ecosystem.
Now it’s time to sit back, relax, and let your Google Smart Speaker enhance your everyday life with its voice control and smart home capabilities.
Conclusion
Connecting your Google Smart Speaker to Wi-Fi is a simple yet essential process that unlocks the full potential of this intelligent device. Through the Google Home app, you can seamlessly integrate your speaker into your smart home ecosystem and enjoy a multitude of features and conveniences.
In this guide, we have walked you through the step-by-step process that takes you from powering on your smart speaker to completing the setup process. We covered important steps such as downloading the Google Home app, selecting the Google account to associate with the speaker, adding the device to the app, and connecting it to your Wi-Fi network.
By carefully following these steps and paying attention to the on-screen instructions, you can easily and successfully connect your Google Smart Speaker to Wi-Fi, ensuring a seamless and enjoyable smart home experience.
Remember to keep your Google Home app up to date to access the latest features and enhancements. Additionally, don’t hesitate to explore the various settings and options available through the app to personalize your smart speaker’s functionality according to your preferences.
Now that you have completed the setup process, you can take advantage of voice commands, music streaming, personalized responses, and convenient control over compatible smart home devices. Enjoy the convenience, entertainment, and productivity that your Google Smart Speaker brings to your daily life.
So go ahead, start interacting with your smart speaker, and discover new ways to simplify your routines, stay connected, and entertain yourself at the command of your voice.
Thank you for choosing the Google Smart Speaker, and we hope this guide has been helpful in getting you started on your journey to a smarter home.


