Introduction
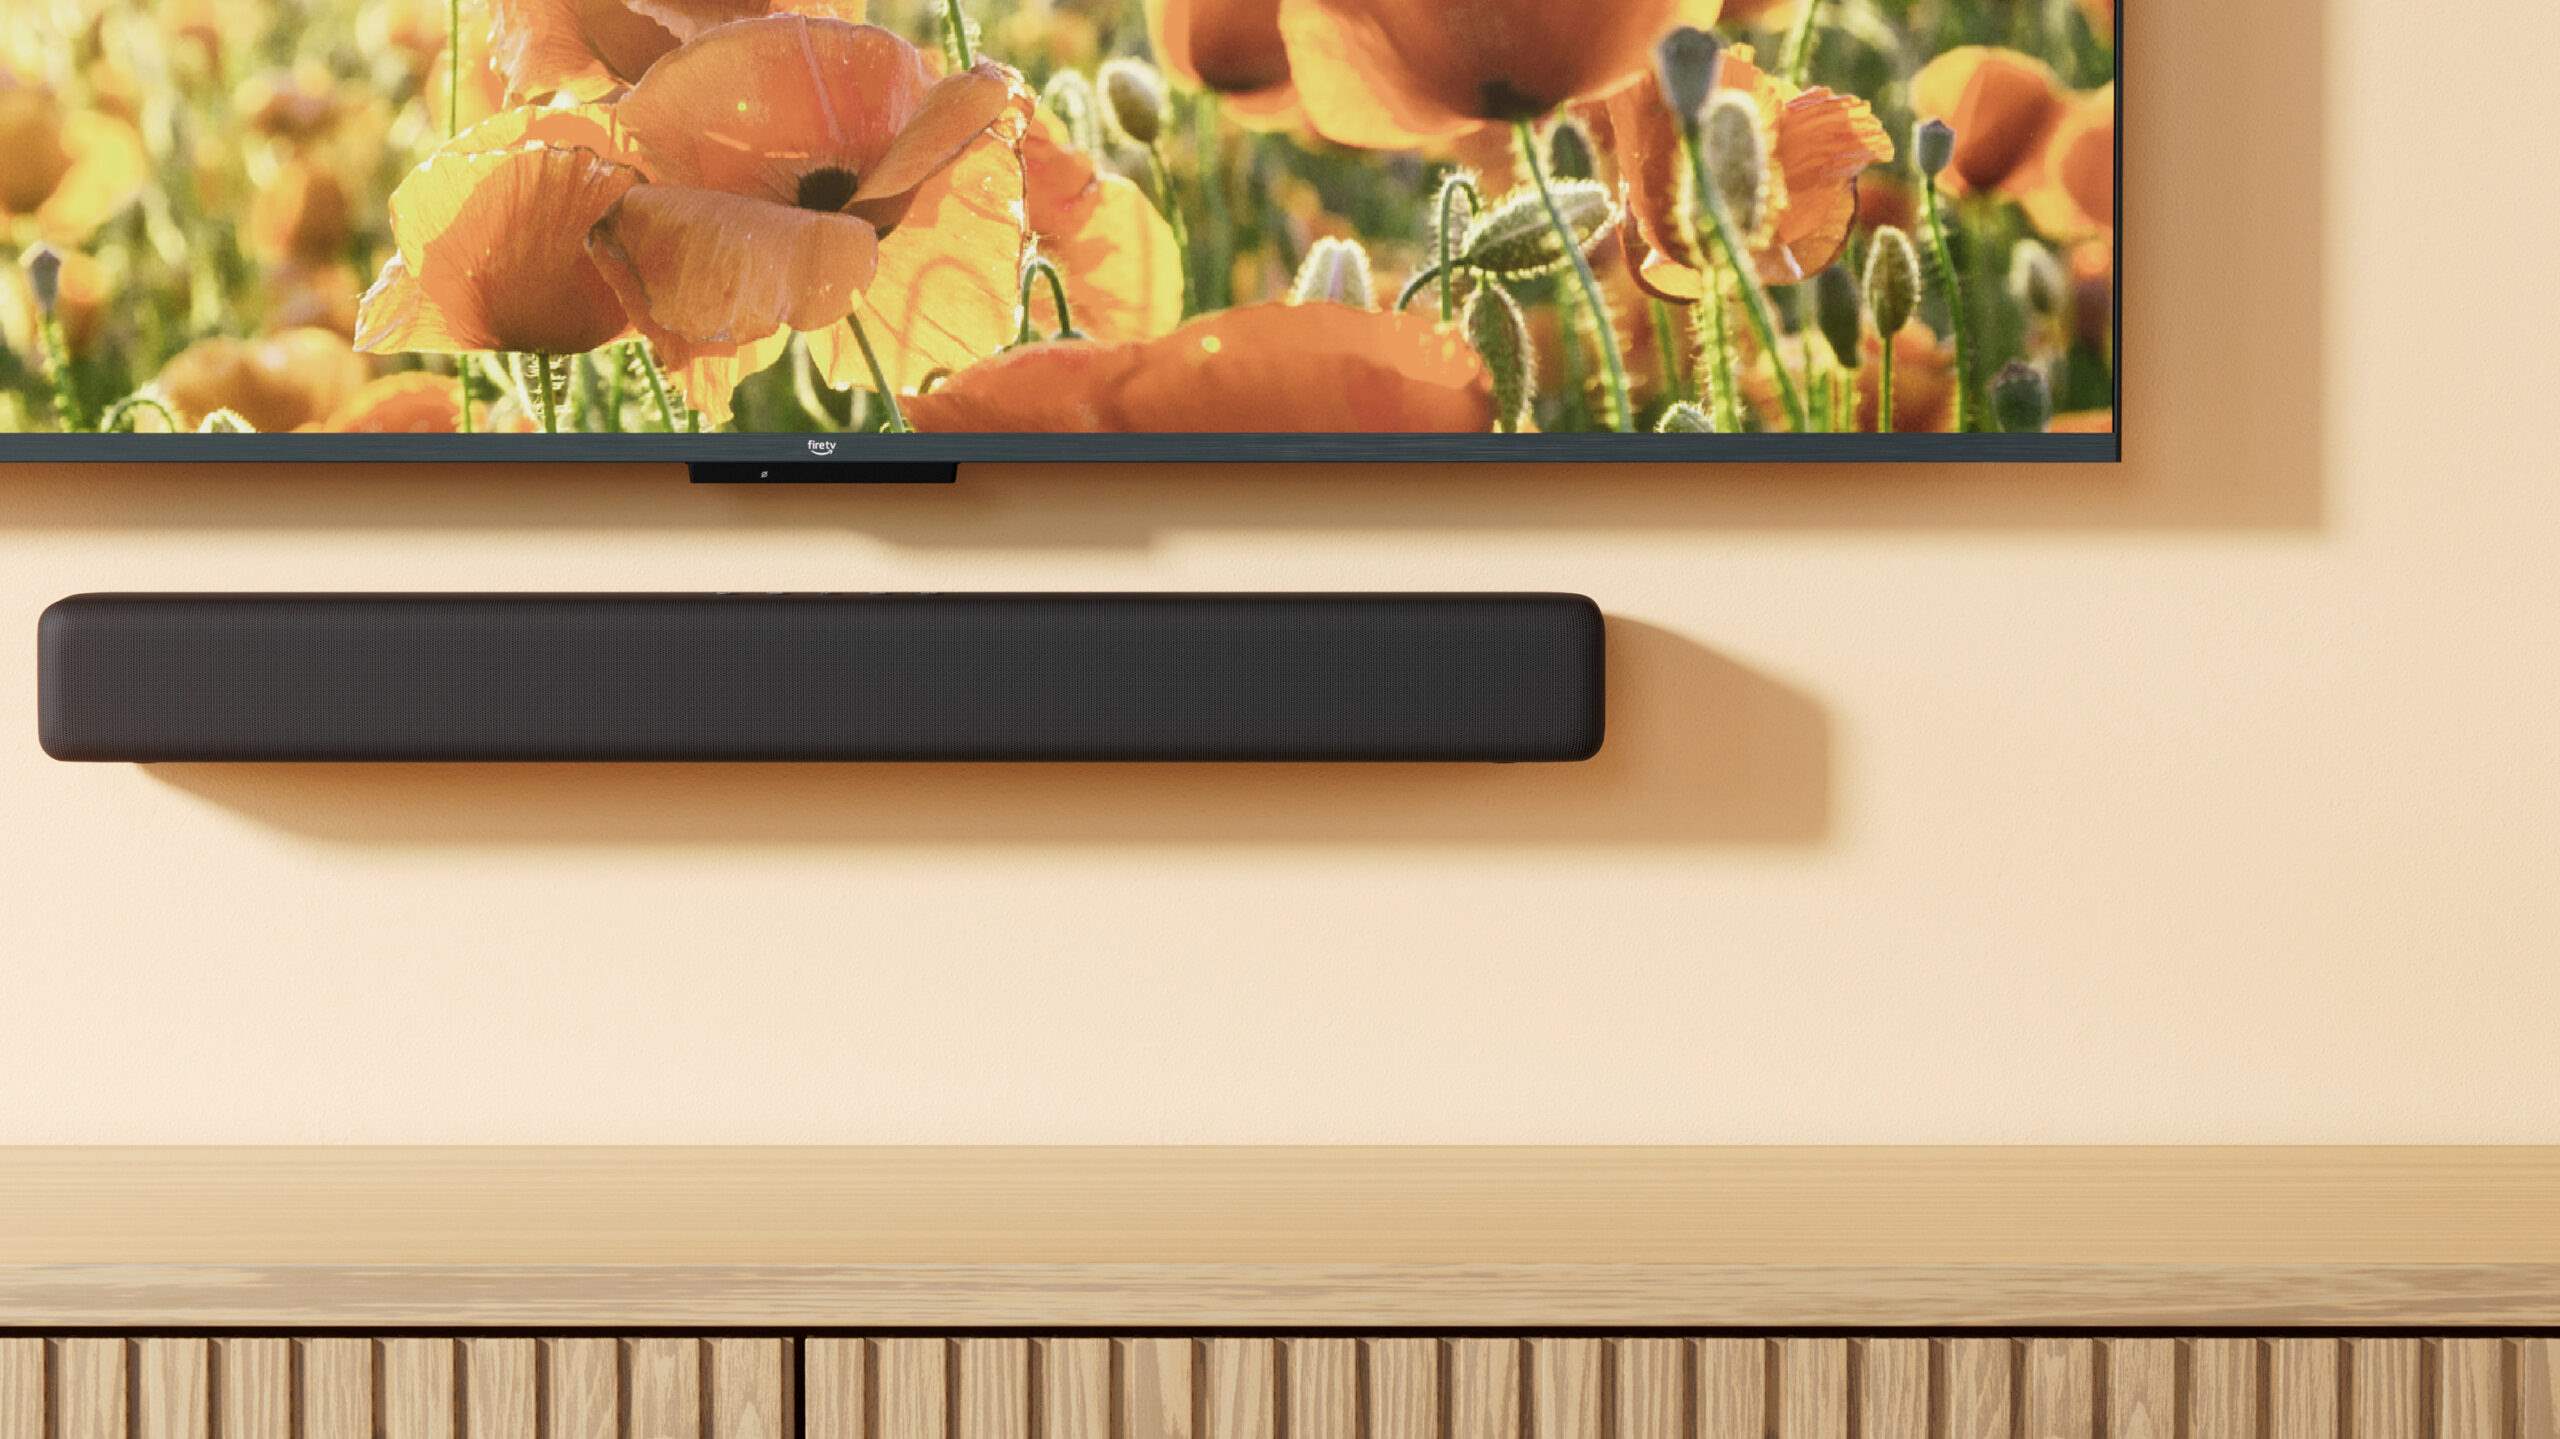
Connecting your Fire TV to a soundbar is a great way to enhance your home theater experience. Whether you want to enjoy your favorite movies, TV shows, or games with immersive audio, connecting a soundbar can significantly improve the sound quality of your Fire TV device.
In this guide, we will walk you through the steps to connect your Fire TV to a soundbar. There are multiple ways to accomplish this, depending on the audio output options of your Fire TV device and the available input connections on your soundbar. We will cover the three most common methods: HDMI, optical audio cable, and 3.5mm audio cable.
Before we jump into the steps, it’s important to note that the process might vary slightly depending on the specific model of your Fire TV device and soundbar. It’s always a good idea to consult the user manuals for your devices for more detailed instructions.
Now, let’s get started and find out how you can connect your Fire TV to a soundbar to enjoy an immersive audio experience like never before.
Step 1: Determine the audio output options of your Fire TV device
The first step in connecting your Fire TV to a soundbar is to determine the audio output options available on your Fire TV device. This will help you identify the best method for connecting the two devices.
Most Fire TV devices have multiple audio output options, including HDMI, optical audio, and 3.5mm audio. Here’s how you can determine the available audio output options on your Fire TV device:
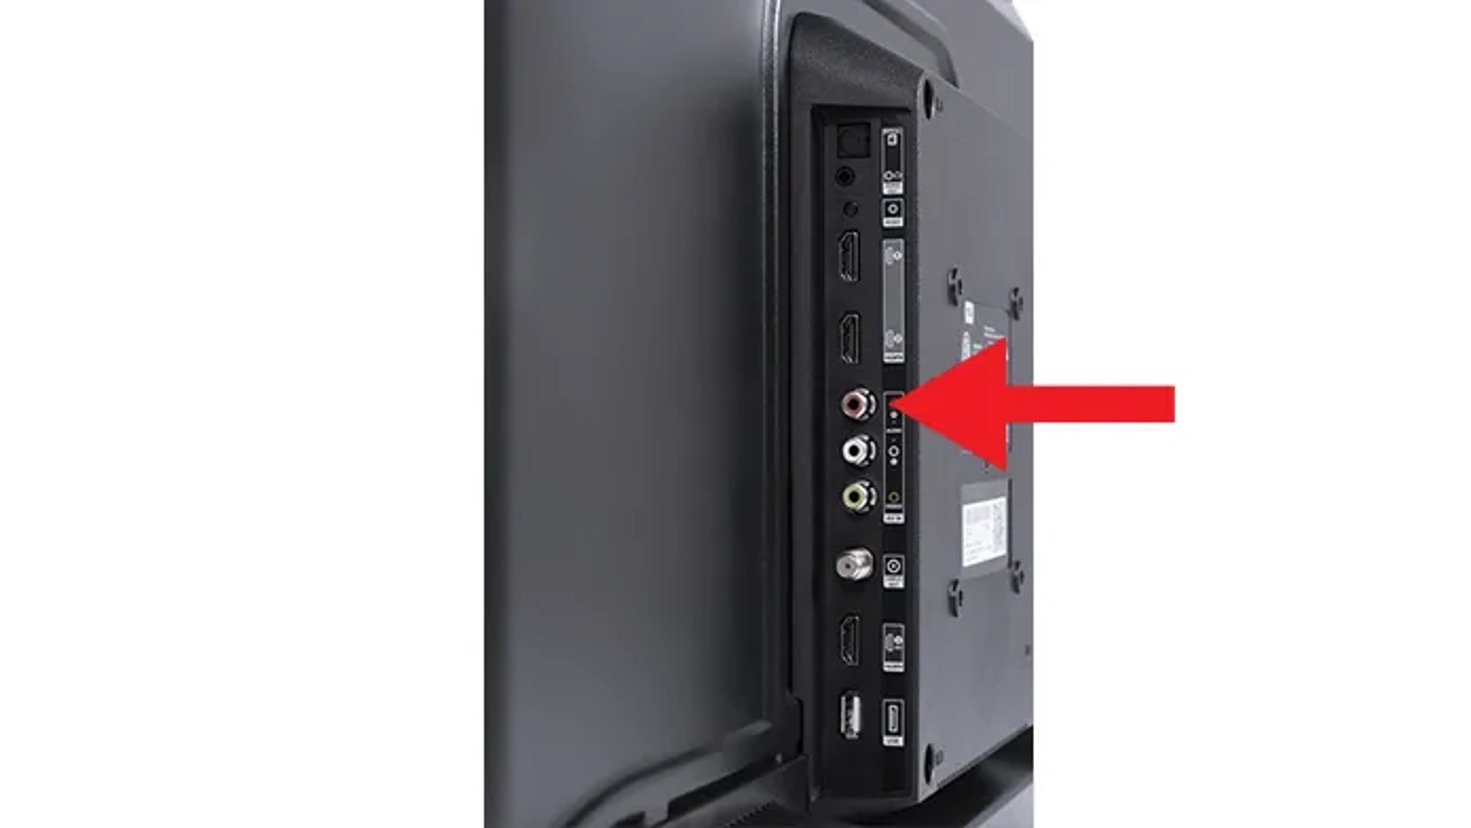
- Check the ports on your Fire TV device: Take a look at the back or side of your Fire TV device and identify the available ports. Look for an HDMI port, an optical audio port, or a 3.5mm audio jack. The presence of these ports indicates that the corresponding audio output options are supported by your device.
- Consult the user manual: If you’re unsure about the available audio output options or can’t identify the ports on your Fire TV device, refer to the user manual. The manual will provide detailed information on the audio output options and their locations on the device.
- Check the device settings: Navigate to the settings menu on your Fire TV device and look for the audio settings. Within the audio settings, you should find information about the available audio output options. This will confirm the options supported by your device.
Once you have determined the audio output options of your Fire TV device, you can proceed to the next step of connecting it to a soundbar. In the following sections, we will cover the different connection methods using HDMI, optical audio cable, and 3.5mm audio cable.
Step 2: Connect the Fire TV device to the soundbar using an HDMI cable
One of the most common and convenient ways to connect your Fire TV device to a soundbar is by using an HDMI cable. This method allows for both video and audio signals to be transmitted through a single cable, simplifying the setup process. Here’s how you can do it:
- Identify the HDMI ports: Locate the HDMI ports on both your Fire TV device and the soundbar. Most soundbars have an HDMI input labeled as “ARC” (Audio Return Channel) or designated for connecting external devices. On your Fire TV device, it will usually be labeled as “HDMI Out” or simply “HDMI”.
- Connect the HDMI cable: Insert one end of the HDMI cable into the HDMI output port of your Fire TV device. Then, plug the other end into the HDMI input port of your soundbar. Ensure that both ends are securely connected.
- Switch the soundbar input: Use the soundbar’s remote or control panel to switch the input source to the HDMI input that you connected your Fire TV device to. Each soundbar model may have a different method for selecting the input source, so refer to the user manual if needed.
- Configure Fire TV audio settings: Go to the settings menu on your Fire TV device and navigate to the audio settings. Make sure that the audio output is set to HDMI or HDMI ARC, depending on the available options. This will ensure that the audio is correctly routed through the HDMI connection.
- Test the connection: Play a video or audio content on your Fire TV device to verify that the sound is coming from the soundbar. Adjust the volume levels on both the Fire TV device and the soundbar to your desired settings.
Connecting your Fire TV to a soundbar using an HDMI cable offers a straightforward and high-quality audio experience. It eliminates the need for multiple cables and allows for seamless integration between your devices. If your Fire TV device and soundbar both support HDMI ARC, you may also benefit from additional functionality such as volume control using the TV remote.
If your Fire TV device or soundbar does not have an HDMI port or if you prefer a different connection method, don’t worry. There are still other options available, which we will explore in the following sections.
Step 3: Connect the Fire TV device to the soundbar using an optical audio cable
If your Fire TV device or soundbar does not have an HDMI port, or if you prefer an alternative connection method, you can use an optical audio cable to connect them. An optical audio cable, also known as a TOSLINK cable, transmits digital audio signals from your Fire TV device to the soundbar. Here’s how you can do it:
- Locate the optical audio ports: Find the optical audio ports on both your Fire TV device and the soundbar. The optical audio port on your Fire TV device may be labeled as “Optical Out” or “Digital Out,” while the optical audio input port on your soundbar could be labeled as “Optical In” or “Digital In.”
- Connect the optical audio cable: Take one end of the optical audio cable and plug it into the optical audio output port on your Fire TV device. Then, connect the other end to the optical audio input port on your soundbar. Ensure a secure connection at both ends.
- Switch the soundbar input: Use the soundbar’s remote or control panel to switch the input source to the optical audio input that you connected your Fire TV device to. Consult the user manual if you’re unsure about the specific steps to select the input source.
- Configure Fire TV audio settings: Access the audio settings on your Fire TV device and navigate to the audio output options. Select the optical audio or digital audio option to ensure that the audio is transmitted through the optical connection.
- Test the connection: Play a video or audio content on your Fire TV device to confirm that the sound is coming from the soundbar. Adjust the volume levels on both the Fire TV device and the soundbar as desired.
Connecting your Fire TV to a soundbar using an optical audio cable provides a reliable and high-quality audio transmission. While it may require an additional cable, the optical connection supports digital audio signals, ensuring optimal audio performance. Keep in mind that some soundbars may have limited features when connected through the optical input, so refer to the soundbar’s user manual for specific details.
If neither the HDMI nor optical audio connection is available on your Fire TV device or soundbar, there is still one more option we can explore in the next section – connecting using a 3.5mm audio cable.
Step 4: Connect the Fire TV device to the soundbar using a 3.5mm audio cable
If your Fire TV device and soundbar both have a 3.5mm audio jack, you can use a 3.5mm audio cable to connect them. This method is commonly used when other audio output options, such as HDMI or optical, are not available or preferred. Here’s how you can do it:
- Locate the 3.5mm audio jacks: Find the 3.5mm audio jack on both your Fire TV device and the soundbar. They’re usually labeled as “Audio Out” or “Line Out” on the Fire TV device and “Audio In” or “Line In” on the soundbar.
- Connect the 3.5mm audio cable: Take one end of the 3.5mm audio cable and plug it into the audio output jack on your Fire TV device. Then, connect the other end to the audio input jack on your soundbar. Ensure a firm connection at both ends.
- Adjust the volume levels: Before moving to the next step, make sure to set the volume levels on both your Fire TV device and the soundbar to a moderate level. This will prevent any sudden loud audio when testing the connection.
- Switch the soundbar input: Use the soundbar’s remote or control panel to switch the input source to the 3.5mm audio input. Consult the user manual if you’re unsure about the specific steps to select the input source.
- Configure Fire TV audio settings: Access the audio settings on your Fire TV device and navigate to the audio output options. Select the 3.5mm audio or analog audio option to ensure that the audio is transmitted through the cable connection.
- Test the connection: Play a video or audio content on your Fire TV device to verify that the sound is coming from the soundbar. Adjust the volume levels on both the Fire TV device and the soundbar as desired.
Connecting your Fire TV to a soundbar using a 3.5mm audio cable is a reliable option when other connections are not available. However, it’s important to note that the audio quality may not be as high as HDMI or optical connections. Additionally, some soundbars may have a separate 3.5mm audio input specifically for connecting to external devices, so refer to the soundbar’s user manual for any specific requirements.
Now that you know how to connect your Fire TV to a soundbar using a 3.5mm audio cable, you can enjoy an improved audio experience while watching your favorite movies, TV shows, and games.
Step 5: Adjust the audio settings on the Fire TV device
Once you have successfully connected your Fire TV device to the soundbar, it’s important to adjust the audio settings on your Fire TV device to ensure optimal sound quality. By fine-tuning the audio settings, you can customize the audio output to your liking. Here’s how you can do it:
- Access the Fire TV settings: Navigate to the settings menu on your Fire TV device. You can usually find the settings icon in the top menu bar or by pressing the Home button on your Fire TV remote.
- Select “Sound & Display” options: Within the settings menu, locate the “Sound & Display” or “Audio” options. Select this option to access the audio settings.
- Adjust the sound output: In the audio settings, you may find options to adjust the sound output, such as volume levels, equalizer settings, audio modes, and surround sound effects. Explore these options and customize them according to your preferences.
- Enable audio passthrough: If available, you may have the option to enable audio passthrough. This allows your Fire TV device to directly pass the audio signal to your soundbar or home theater system, preserving the original audio quality. Consult the user manual for your Fire TV device to see if this feature is supported.
- Test the audio: While in the audio settings, play some content on your Fire TV device to test the audio output. Adjust the volume levels on both the Fire TV device and the soundbar to achieve an optimal balance.
Adjusting the audio settings on your Fire TV device allows you to personalize the audio experience and fine-tune it according to your preference. By making these adjustments, you can ensure that you are getting the best possible sound quality from your connected soundbar.
Remember, the available audio settings may vary depending on the model of your Fire TV device. Some advanced options, such as Dolby Atmos support or audio transcoding, may also be available on select Fire TV models.
Once you have adjusted the audio settings to your liking, sit back, relax, and enjoy a captivating audio experience while streaming your favorite content on your Fire TV device.
Conclusion
Connecting your Fire TV device to a soundbar opens up a whole new level of audio experience for your home theater setup. Whether you chose to connect using an HDMI cable, optical audio cable, or a 3.5mm audio cable, the result is a more immersive and enhanced audio quality that complements your viewing experience.
Throughout this guide, we have covered the steps to connect your Fire TV device to a soundbar using different methods. By determining the audio output options of your Fire TV device, you can identify the best connection method for your setup. From there, it’s a matter of selecting the appropriate cables and adjusting the audio settings to suit your preferences.
Remember, it’s always a good idea to consult the user manuals for your Fire TV device and soundbar for any specific instructions or details that may be unique to your devices. This will ensure a seamless and successful connection process.
Once you have successfully connected your Fire TV to a soundbar, you can enjoy an immersive audio experience like never before. Sit back, relax, and let the powerful sound from the soundbar enhance your favorite movies, TV shows, and games.
Now that you have the knowledge and steps to connect your Fire TV to a soundbar, go ahead and elevate your home theater experience. Enjoy crisp, clear, and immersive audio that brings your entertainment to life.