Introduction
Connecting a wireless soundbar to your TV can greatly improve your audio experience, allowing you to enjoy immersive sound without the hassle of wires. Whether you’re watching movies, playing games, or listening to music, a wireless soundbar can enhance the overall audio quality and provide a cinematic experience right in your living room.
In this article, we will guide you step by step on how to connect a wireless soundbar to your TV. We will cover the required equipment, the necessary preparations, and the actual connection process. By following these simple steps, you’ll be able to enjoy high-quality audio in no time.
Before we dive into the steps, it’s important to note that the specific instructions may vary depending on the brand and model of your TV and soundbar. Therefore, it’s always recommended to refer to the user manuals provided by the manufacturers for more detailed instructions and troubleshooting tips.
Now, let’s get started with the essential equipment you’ll need for the wireless soundbar connection.
Step 1: Gather the necessary equipment
Before starting the soundbar connection process, it’s important to ensure that you have all the required equipment. Here’s what you’ll need:
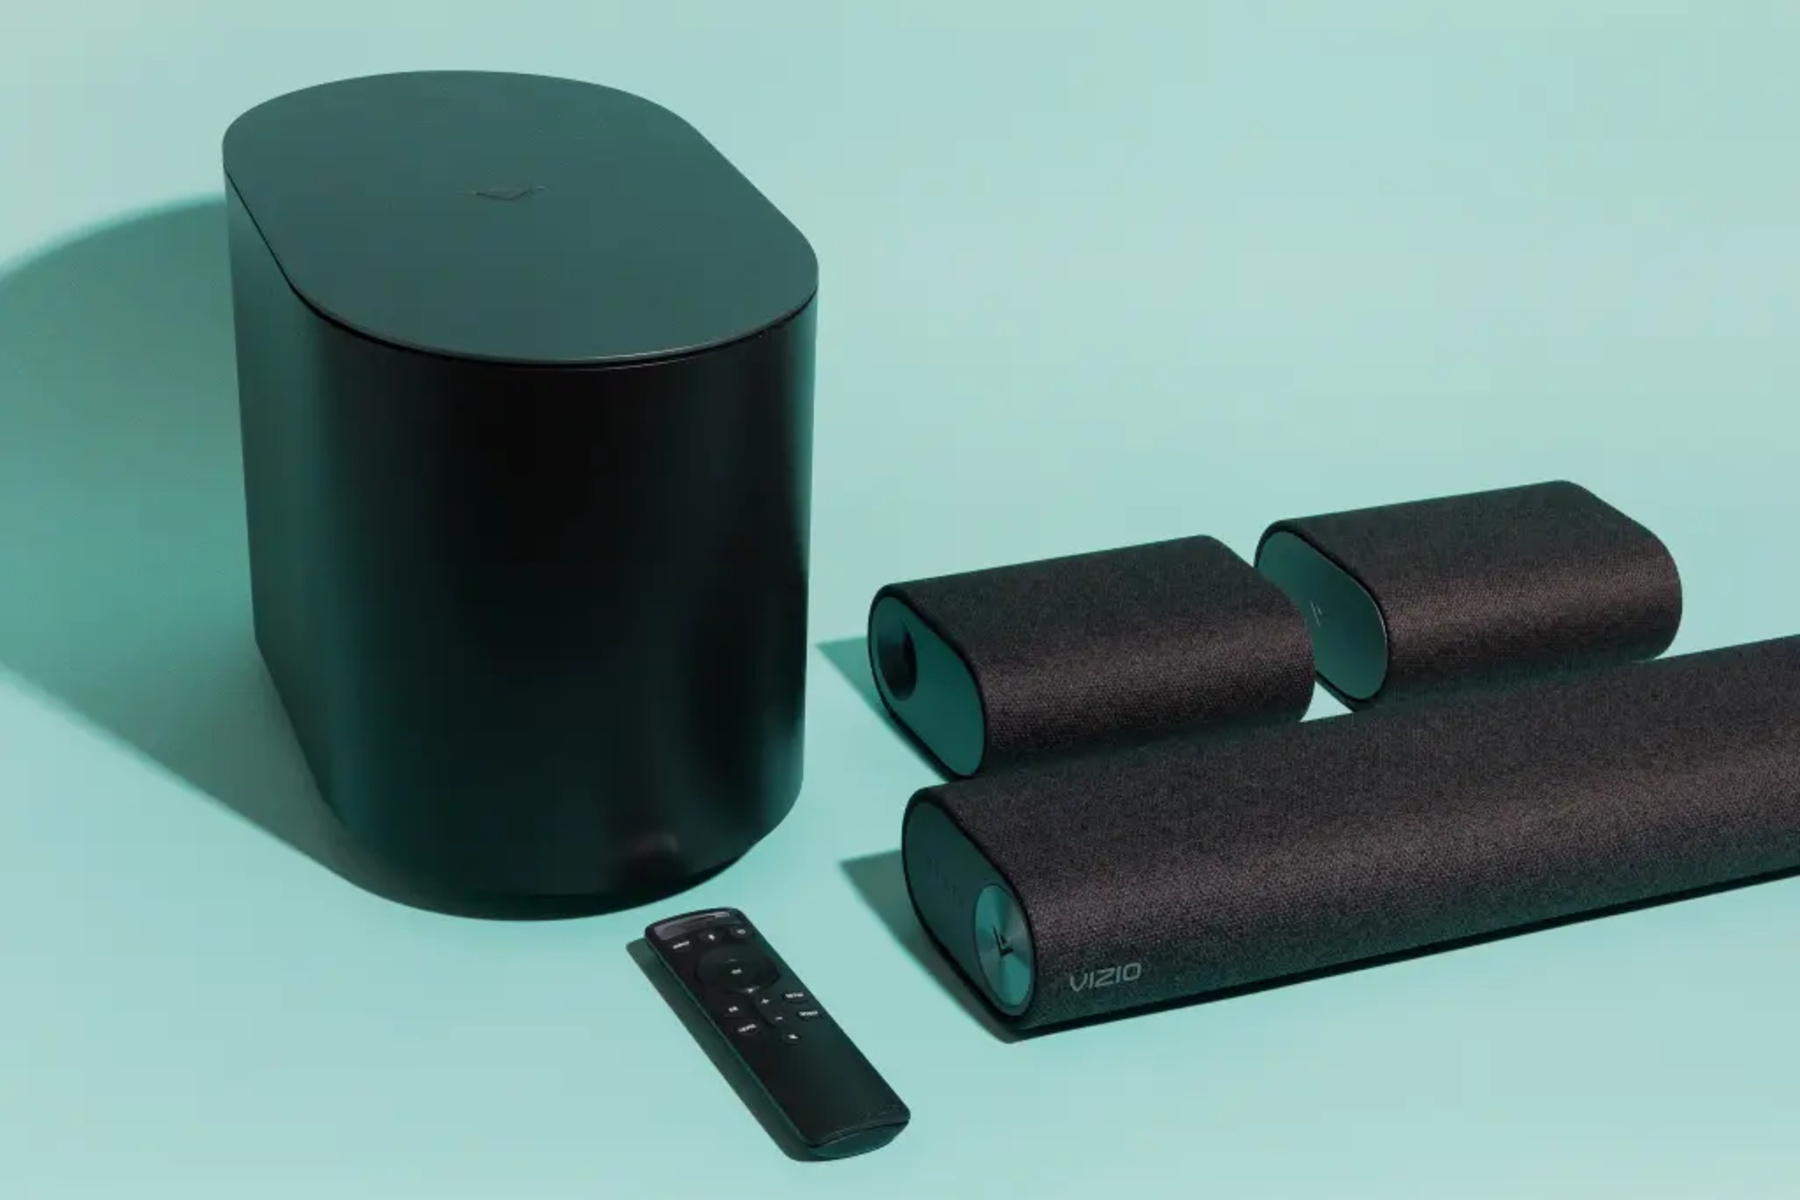
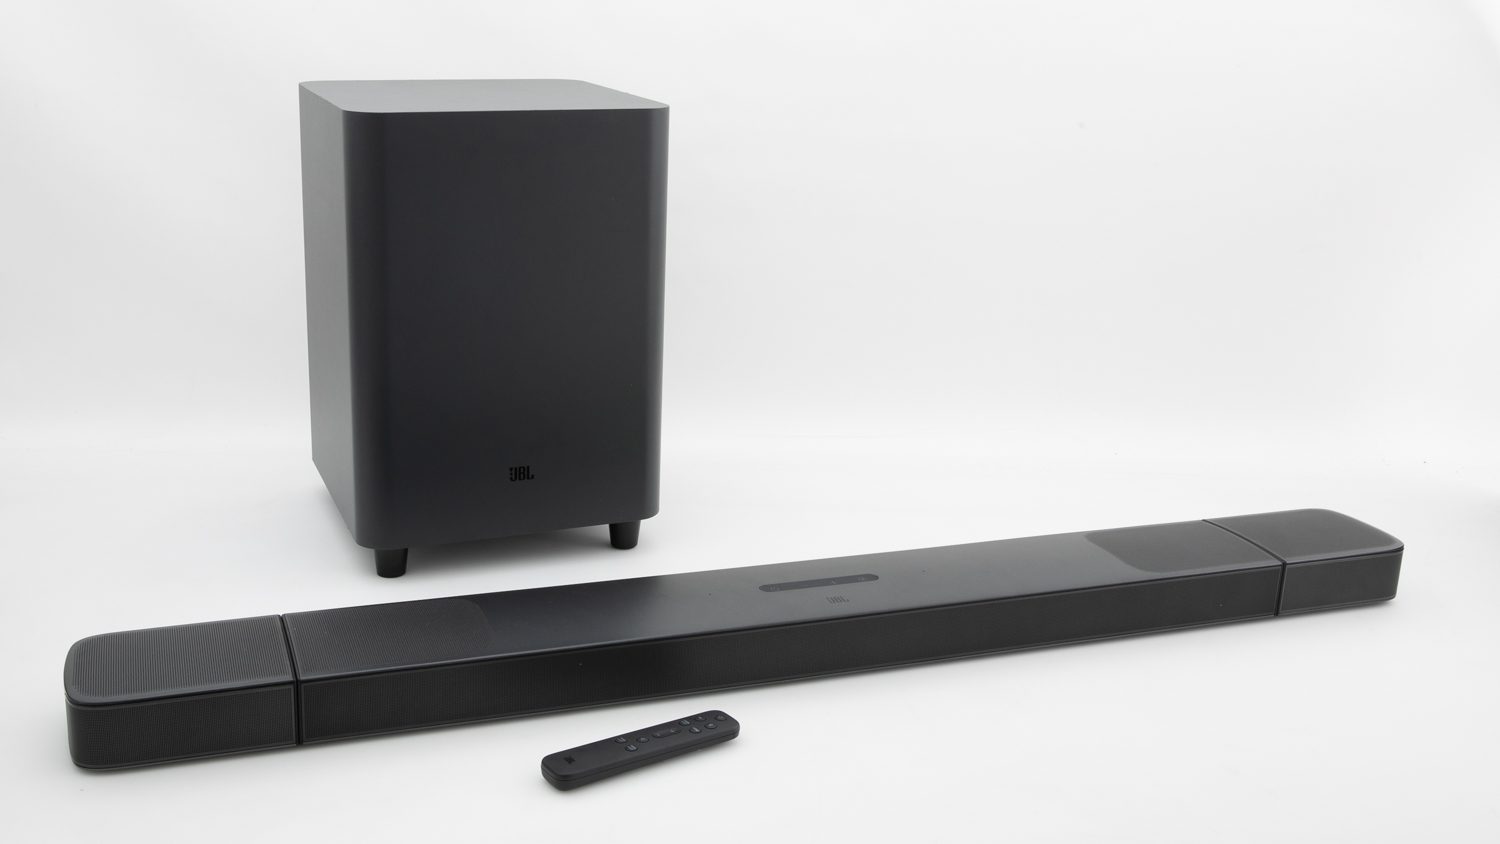
- Wireless soundbar: Choose a soundbar that is compatible with your TV and meets your audio requirements. Look for a soundbar that supports wireless connectivity to eliminate the need for messy cables.
- HDMI cable: You’ll need an HDMI cable to establish the connection between your TV and soundbar. Make sure to choose a high-speed HDMI cable that supports the latest specifications for optimal performance.
- TV with HDMI ARC: Your TV should have an HDMI ARC (Audio Return Channel) port, which allows for two-way communication between the TV and soundbar. Most modern TVs come equipped with HDMI ARC, but it’s worth double-checking to ensure compatibility.
- Remote control: Keep your TV remote handy, as you may need it to navigate the settings and adjust the audio output.
- User manuals: Retrieve the user manuals for your TV and soundbar. These manuals contain valuable information specific to your devices, including troubleshooting tips and detailed setup instructions.
Once you have gathered all the necessary equipment, you can proceed to the next step – preparing your soundbar for connection.
Step 2: Prepare your soundbar for connection
Before you can connect your soundbar to your TV, it’s important to prepare the soundbar for the connection process. Here are the steps to follow:
- Find the appropriate location: Choose a suitable location for your soundbar that is near your TV. Ideally, it should be within reach of the HDMI cable and power source. Take into consideration factors such as the size of your soundbar and aesthetic preferences.
- Power on the soundbar: Connect the power cord to the soundbar and plug it into an electrical outlet. Power on the soundbar using the designated power button or remote control. Wait for the soundbar to fully boot up and enter the setup mode if required.
- Access the soundbar settings: Depending on the model of your soundbar, you may need to access the settings menu to enable the wireless connectivity and HDMI ARC functionality. Refer to the user manual for specific instructions on how to access the settings menu.
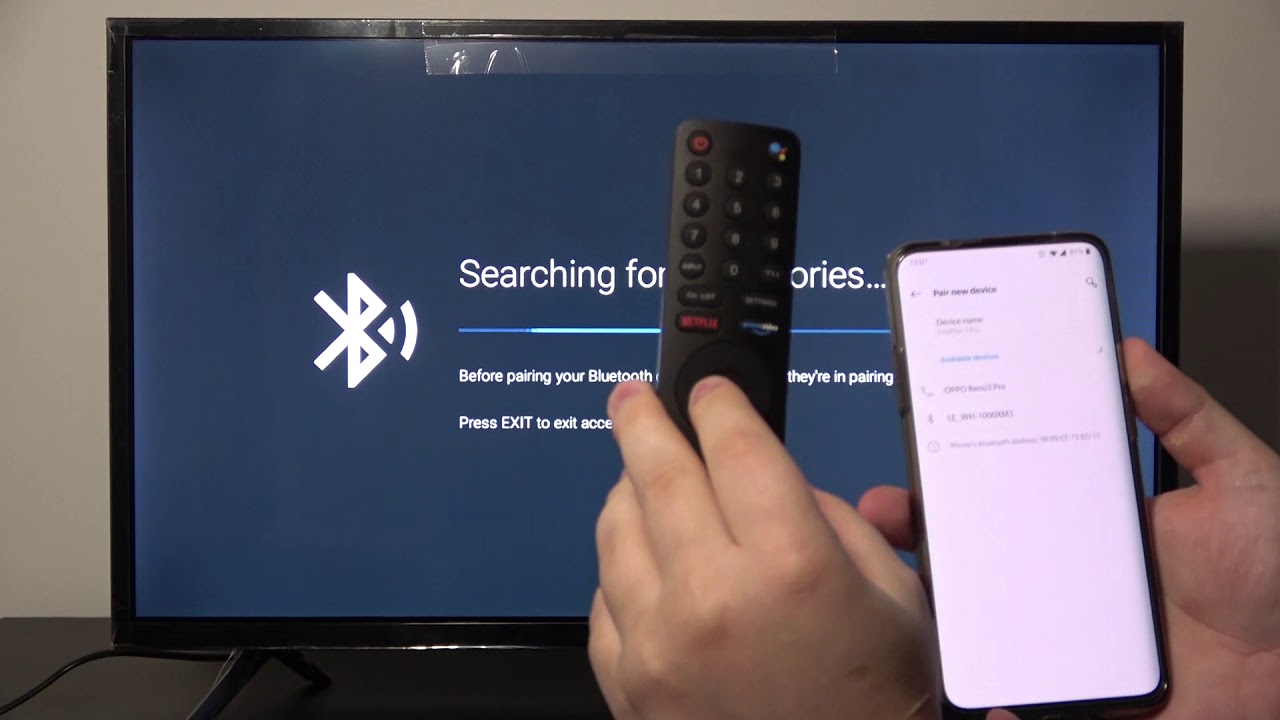
- Enable wireless connectivity: If your soundbar has a wireless connectivity option, make sure it is enabled. This will allow your soundbar to connect to your TV wirelessly. Navigate through the soundbar settings and locate the wireless connectivity option. Follow the on-screen prompts to enable it.
- Enable HDMI ARC: Ensure that the HDMI ARC functionality is enabled on your soundbar. This will enable two-way communication between your TV and soundbar, allowing for seamless audio transmission. Check the soundbar settings to find the HDMI ARC option and enable it if necessary.
Once you have prepared your soundbar for connection, you can proceed to the next step – connecting it to your TV via an HDMI cable.
Step 3: Connect your soundbar to your TV via HDMI cable
Now that you have prepared your soundbar, it’s time to establish the physical connection between your soundbar and TV using an HDMI cable. Follow these steps:
- Locate the HDMI ARC port: On the back of your TV, find the HDMI ARC port. It is usually labeled as “HDMI ARC” or “ARC”. Make sure to identify the correct port to ensure a proper connection.
- Connect one end of the HDMI cable: Take one end of the HDMI cable and insert it into the HDMI ARC port on your TV. Make sure it is securely plugged in to guarantee a stable connection.
- Connect the other end of the HDMI cable: Take the other end of the HDMI cable and insert it into the HDMI ARC port on your soundbar. Again, ensure a secure connection by pushing the cable all the way in.
- Power on your devices: Turn on both your TV and soundbar. Allow them a few seconds to detect and establish the HDMI connection.
- Select the correct HDMI input: On your TV’s remote control, locate the “Input” or “Source” button. Press it to access the input menu. Choose the HDMI input that corresponds to the port you have connected your soundbar to.
At this point, your soundbar should be successfully connected to your TV via the HDMI cable. Next, we will move on to the setup process, where we will ensure that the soundbar and TV are properly configured for optimal audio performance.
Step 4: Set up the soundbar and TV connection
After the physical connection between your soundbar and TV is established, it’s time to set up the connection and configure the settings. Here’s what you need to do:
- Access the soundbar settings: Using the remote control or buttons on the soundbar, access the settings menu. Look for the audio-related settings that allow you to adjust the soundbar’s volume, equalizer, and other audio enhancements.
- Configure the soundbar settings: Customize the sound settings according to your preferences. Experiment with different settings and audio modes to find the best sound quality that suits your needs. Some soundbars also offer presets for specific audio content such as movies, music, or gaming.
- Access the TV audio settings: On your TV’s remote control, navigate to the audio settings menu. Look for the sound output or speakers option and select the soundbar as the audio output device. This will ensure that the TV sends the audio signal to the soundbar instead of its built-in speakers.
- Adjust the TV audio settings: Depending on your TV’s settings, you may also need to adjust the audio format or other sound-related options. Consult your TV’s user manual for specific instructions on maximizing the audio performance when using an external soundbar.
- Sync the TV remote with the soundbar (optional): Some soundbars support the ability to control basic functions using your TV’s remote control. Refer to the user manual to learn how to sync the soundbar with your TV’s remote, simplifying your overall home theater setup.
By setting up the soundbar and TV connection properly, you can optimize the audio output and enjoy a more immersive sound experience. Next, we’ll move on to adjusting the audio settings on your TV.
Step 5: Adjust the audio settings on your TV
Now that the soundbar and TV are connected, it’s important to fine-tune the audio settings on your TV to further enhance the sound quality. Follow these steps to adjust the audio settings:
- Access the TV audio settings: Using your TV’s remote control, navigate to the audio settings menu. Look for options related to sound, audio output, or equalizer settings.
- Choose the appropriate audio output format: Depending on your TV, you may have various audio output formats to choose from, such as Dolby Digital or DTS. Select the format that is compatible with your soundbar to ensure optimal audio performance.
- Adjust the volume leveling: Some TVs offer volume leveling options that help balance the audio levels between different sources or channels. Enable this feature if available to prevent sudden volume changes while watching TV shows or switching between inputs.
- Enhance the sound quality: Explore additional audio settings on your TV, such as bass and treble adjustments, virtual surround sound, or dialogue enhancement. Experiment with these settings to find the best audio balance for your preferences.
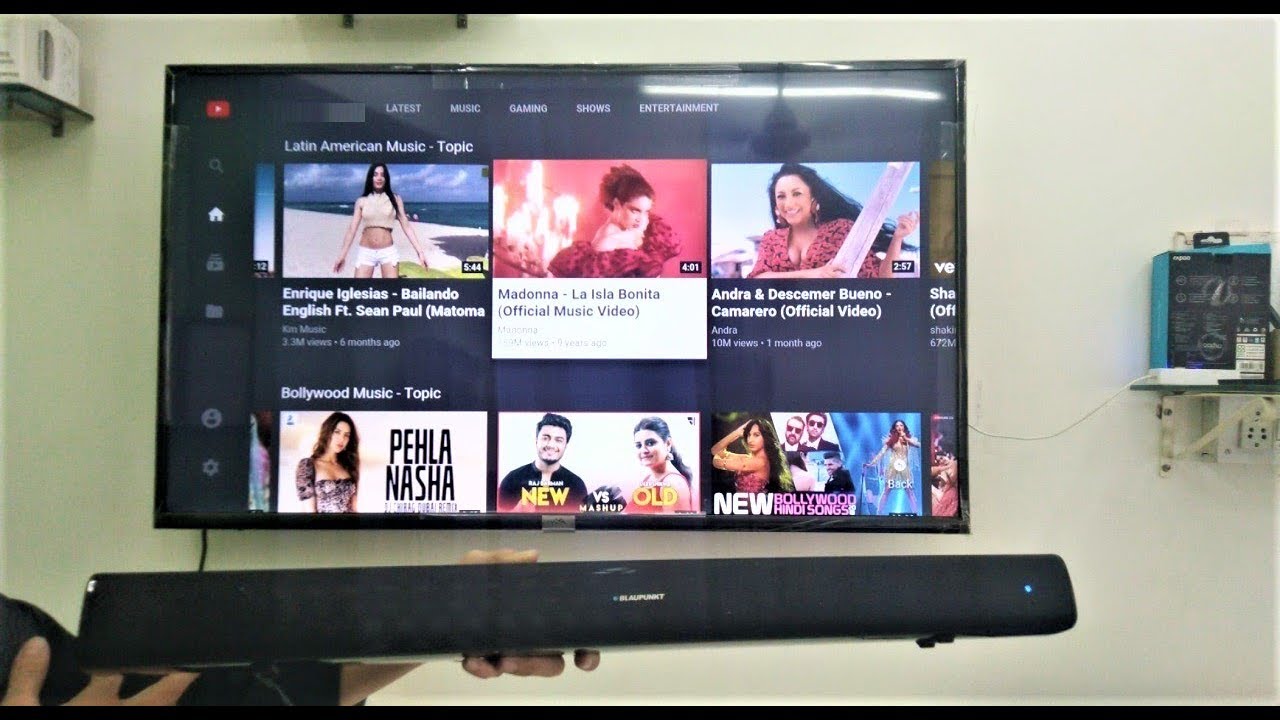
- Test the audio: Play different types of content, such as movies, music, or TV shows, to test the sound quality. Make sure the audio is coming from the soundbar and not the TV’s built-in speakers. Adjust the volume levels as needed.
Take your time to adjust the audio settings according to your personal preferences. Every TV model is different, so it’s essential to refer to your TV’s user manual for specific instructions on accessing and adjusting the audio settings.
Now that you have adjusted the audio settings on your TV, it’s time to test the soundbar’s audio quality to ensure everything is working properly.
Step 6: Test the soundbar’s audio quality
After setting up and adjusting the audio settings, it’s crucial to test the soundbar’s audio quality to ensure that everything is working as expected. Follow these steps to test the soundbar:
- Play different types of content: Use your preferred media source, such as a Blu-ray player, streaming device, or cable/satellite TV, to play various types of audio content. This can include movies with dynamic sound effects, music with different genres, or TV shows that have dialogue-heavy scenes.
- Listen to the sound quality: Pay careful attention to the audio quality produced by the soundbar. Look out for overall clarity, depth, and immersive soundstage. Check if the dialogue is clear and distinguishable, and if the sound effects are well-balanced and impactful.
- Adjust the sound settings if necessary: If you find that certain elements of the sound are not to your liking, you can go back to the soundbar and TV settings to make further adjustments. Fine-tune the bass, treble, or other audio enhancements as needed to achieve your desired sound quality.
- Test different audio modes: Some soundbars offer different audio modes or presets for specific content types, such as movie, music, or gaming. Try out these modes to see if they enhance your audio experience based on the content you’re enjoying.
- Check for audio synchronization: While watching content, pay attention to any audio delays or synchronization issues between the video and audio. If you notice any noticeable delays, refer to your TV’s user manual to adjust the audio synchronization settings.
By thoroughly testing the soundbar’s audio quality, you can ensure that it meets your expectations and delivers an immersive experience for your entertainment needs.
If you encounter any issues or have further questions about the soundbar setup, don’t hesitate to consult the user manuals provided by the manufacturers or seek assistance from their customer support. Enjoy your enhanced audio experience with your newly connected soundbar!
Conclusion
Connecting a wireless soundbar to your TV can elevate your audio experience to new heights. By following the steps outlined in this guide, you can easily set up a wireless soundbar and enjoy immersive sound without the hassle of wires. Remember to refer to the user manuals provided by the manufacturers for specific instructions related to your TV and soundbar models.
Throughout this article, we covered the necessary equipment you’ll need for the connection process, including a wireless soundbar, HDMI cable, TV with HDMI ARC, remote control, and user manuals. We then walked through the steps of preparing your soundbar, connecting it to your TV via an HDMI cable, setting up the connection, adjusting the audio settings on your TV, and testing the soundbar’s audio quality.
By properly configuring the audio settings and ensuring a seamless connection between your soundbar and TV, you can achieve optimal audio performance and enjoy a more immersive entertainment experience. Take the time to experiment with different settings and audio modes to find the perfect balance for your preferences.
If you encounter any issues during the setup process or have further questions, don’t hesitate to consult the manufacturer’s support resources or reach out to their customer support for assistance. They will be able to provide you with specific troubleshooting steps or answer any queries you may have.
With your wireless soundbar connected to your TV, get ready to immerse yourself in rich, high-quality audio while watching movies, playing games, or listening to music. Elevate your home theater experience and enjoy an enhanced audio journey right from the comfort of your living room!