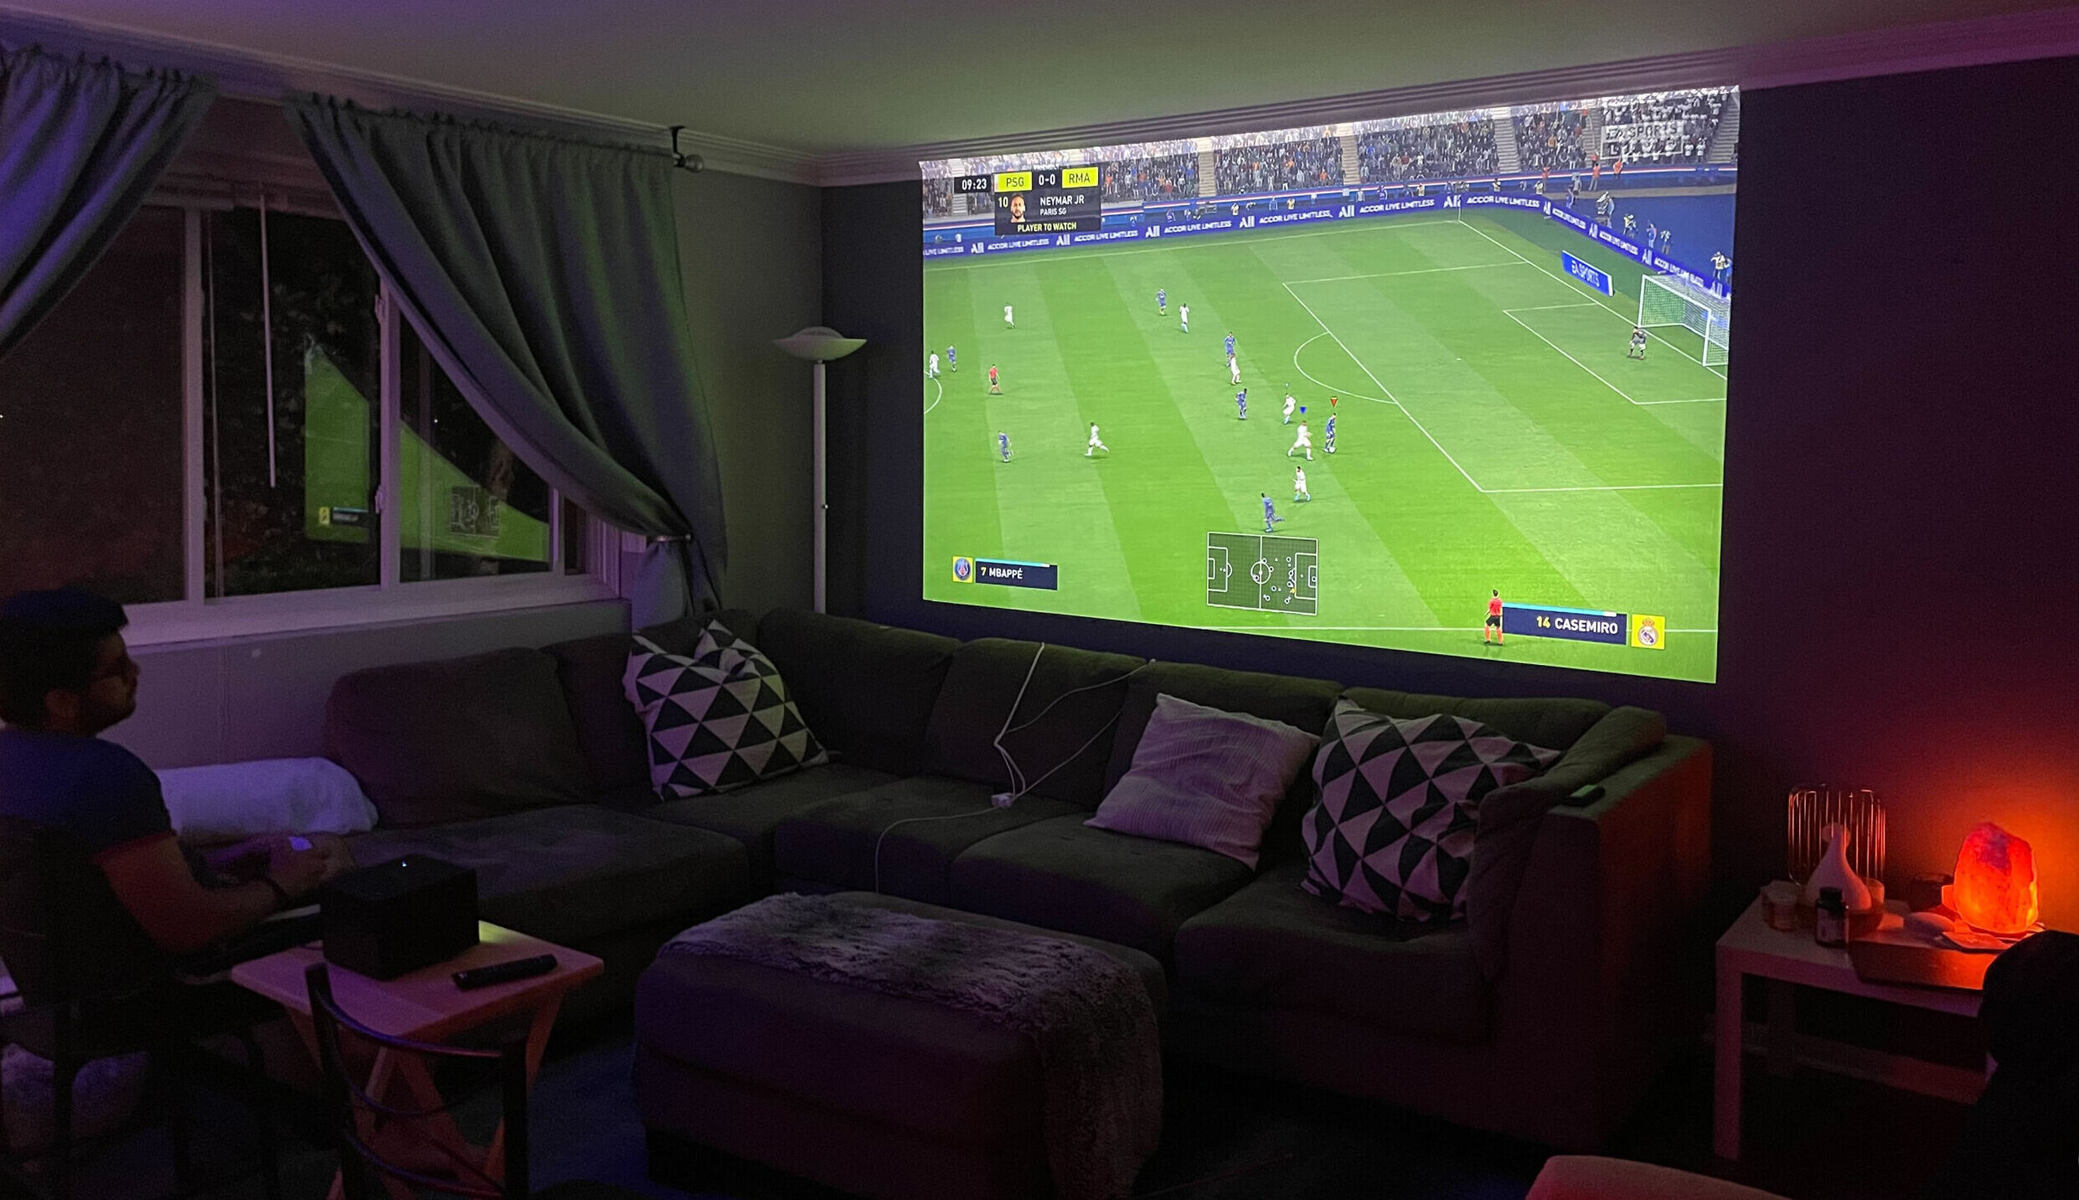
Introduction
Connecting a soundbar to a projector can greatly enhance your overall audio experience when watching movies or giving presentations. While projectors are known for their exceptional video quality, their built-in speakers often leave much to be desired in terms of sound quality and volume. This is where a soundbar comes in – it offers immersive sound and amplifies the audio to match the impressive visuals.
In this guide, we will walk you through the steps to successfully connect a soundbar to a projector. Whether you’re a movie enthusiast or a professional presenter, this process will help you achieve a cinematic audio experience or crystal-clear sound during your presentations. We will cover various connection options, including HDMI, optical cable, and RCA cable, to ensure that you can choose the most suitable method based on your projector and soundbar compatibility.
Please note that the specific steps may vary depending on the model and brand of your projector and soundbar. Always refer to the user manuals provided by the manufacturers for detailed instructions tailored to your devices.
Now, let’s dive into the world of soundbars and projectors and discover how you can connect them seamlessly to elevate your audiovisual experience.
Components You Will Need
Before you begin the process of connecting a soundbar to a projector, it’s important to gather all the necessary components. Here are the items you will need:
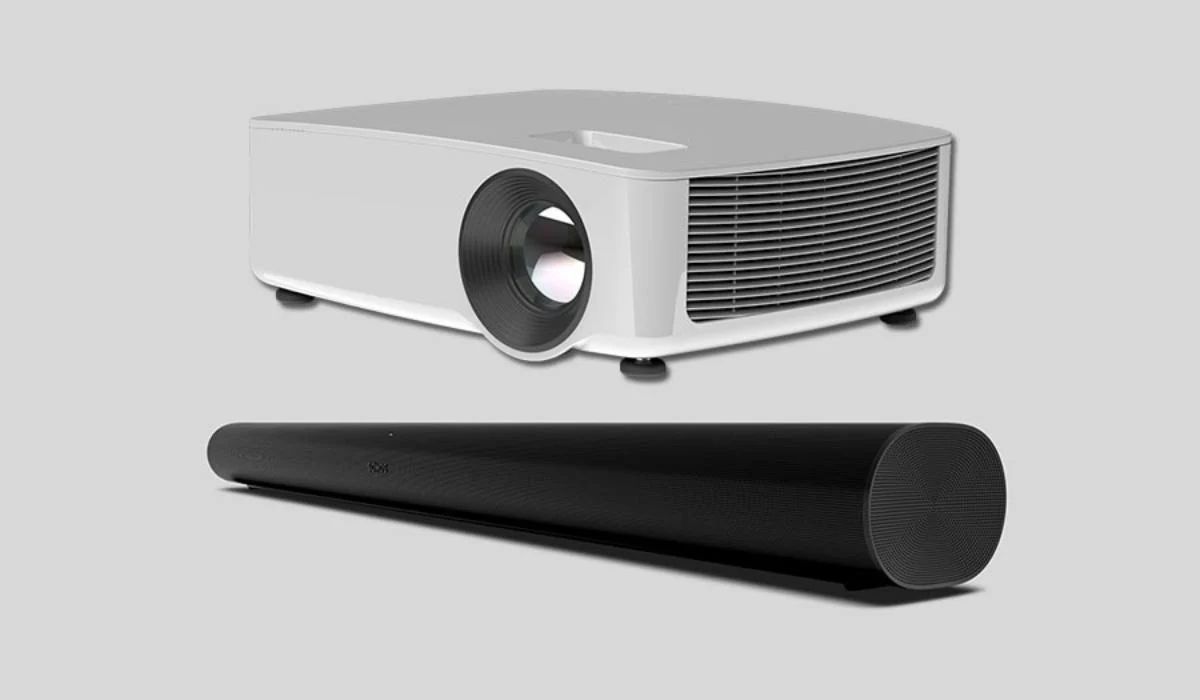
- A projector: This is the main device that will display your visuals. Make sure it has the necessary audio output options, such as HDMI, optical, or RCA.
- A soundbar: This is the audio device that will enhance the sound quality of your projector. Choose a soundbar that fits your budget and provides the desired audio features and connectivity options.
- HDMI cable: If your projector and soundbar both have HDMI ports, you will need an HDMI cable. Ensure that the cable is long enough to reach the distance between the devices.
- Optical cable: If your projector and soundbar have optical audio ports, an optical cable will be required. Check the compatibility of your devices to ensure they have this type of connection.
- RCA cable: If your projector and soundbar have RCA (red and white) audio ports, you will need an RCA cable. This type of cable is commonly used for analog audio connections.
- Power cords: Make sure you have the appropriate power cords for both the projector and soundbar. It’s important to have a power source for each device.
- Remote controls: Ensure that you have the remote controls for both the projector and soundbar. This will make it easier to adjust the settings and volume during the setup process.
By having these components ready, you can proceed with the connection process smoothly and efficiently. Take a moment to check if you have all the necessary items before moving on to the next steps.
Step 1: Check the Connection Options
Before you start connecting your soundbar to the projector, it’s crucial to familiarize yourself with the connection options available on both devices. This will ensure that you choose the most suitable method based on your specific projector and soundbar models.
First, locate the audio output ports on your projector. Most projectors come with HDMI, optical, or RCA audio outputs. Look for the corresponding labels or symbols next to the ports to identify which connection options are available.
Next, examine your soundbar to find its audio input ports. Typically, soundbars have multiple input options, including HDMI, optical, and RCA. Make a note of the available input ports on your soundbar.
Now that you are familiar with the connection options on both devices, you can determine which method will work best for your setup. Keep in mind that the ideal method may vary depending on the capabilities and compatibility of your projector and soundbar.
If your projector and soundbar both have HDMI ports, this is usually the recommended connection option. HDMI allows for high-quality audio and video transmission in a single cable. It supports digital audio and can carry surround sound formats like Dolby Digital and DTS.
If your devices don’t have HDMI ports or if you prefer an alternative option, you can consider using optical or RCA cables. Optical cables transmit audio signals using light, providing a reliable and high-quality connection. RCA cables, on the other hand, use analog signals and are suitable for older projectors and soundbars that lack digital audio capabilities.
Understanding the available connection options will help you choose the best method for connecting your soundbar to the projector. Once you have identified the most suitable option, you can proceed to the next step with confidence and ensure a successful setup process.
Step 2: Determine the Type of Soundbar
Before proceeding with the connection process, it’s important to determine the type of soundbar you have. This will help you understand its compatibility and available connectivity options.
There are primarily three types of soundbars: basic soundbars, soundbars with built-in subwoofers, and surround sound soundbars.
Basic soundbars: These are compact and simple soundbars that provide an upgrade over the built-in speakers of your projector. They usually have a limited number of input options, such as HDMI or optical.
Soundbars with built-in subwoofers: These soundbars come with an integrated subwoofer, which enhances the bass and overall audio quality. They may have additional connectivity options like Bluetooth or Wi-Fi.
Surround sound soundbars: These soundbars provide a more immersive audio experience by using multiple speakers strategically placed in your room. They often come with separate rear speakers and a subwoofer for a true surround sound setup. These advanced soundbars may have various connection options, including HDMI ARC (Audio Return Channel) for seamless integration with your projector.
Once you have determined the type of soundbar you have, refer to its user manual or specifications to understand the available connectivity options and recommended setup configurations. This will ensure that you make the most out of your soundbar’s capabilities during the connection process.
Additionally, it’s important to check if your soundbar supports the audio formats required for your projector, such as Dolby Digital or DTS. Some soundbars may not be compatible with certain audio formats, which could impact the quality of the audio output.
By knowing the type of soundbar you have and its features, you can proceed to the next step with a clear understanding of its compatibility and the available options for connecting it to your projector.
Step 3: Connect the Soundbar to the Projector Using HDMI
If both your projector and soundbar have HDMI ports, connecting them using an HDMI cable is often the simplest and most effective method.
Here’s how you can connect the soundbar to the projector using HDMI:
- Locate the HDMI output port on your projector. It is usually labeled “HDMI Out” or “HDMI ARC.”
- Connect one end of the HDMI cable to the HDMI output port on the projector.
- Locate the HDMI input port on your soundbar. It is typically labeled “HDMI In” or “HDMI – Input.”
- Connect the other end of the HDMI cable to the HDMI input port on the soundbar.
- Turn on both the projector and soundbar.
- Use the remote control of the soundbar to select the HDMI input that corresponds to the HDMI port you connected the cable to.
- Adjust the volume levels on your soundbar and projector to achieve the desired audio level.
That’s it! Your soundbar is now connected to the projector using HDMI, and you should be able to enjoy enhanced audio quality while watching movies or giving presentations.
Keep in mind that some soundbars may have multiple HDMI inputs or support HDMI ARC. HDMI ARC allows the soundbar to transmit audio back to the projector, so you can control the soundbar’s volume using the projector’s remote control. Consult your soundbar’s user manual to explore any advanced features or settings related to the HDMI connection.
If you encounter any issues with the HDMI connection, ensure that you have selected the correct HDMI input on the soundbar and that both the projector and soundbar are set to output audio through HDMI. Additionally, check that the HDMI cables are securely connected and that they are of good quality.
Once you have successfully connected your soundbar to the projector using HDMI, you can proceed to the next step to explore alternative connection options for different scenarios.
Step 4: Connect the Soundbar to the Projector Using Optical Cable
If your projector and soundbar have optical audio ports, you can connect them using an optical cable. This method allows for high-quality audio transmission using light.
Follow these steps to connect the soundbar to the projector using an optical cable:
- Locate the optical audio output port on your projector. It is typically labeled “Optical Out” or “Digital Audio Out.”
- Connect one end of the optical cable to the optical audio output port on the projector.
- Locate the optical audio input port on your soundbar. It is usually labeled “Optical In” or “Digital Audio In.”
- Connect the other end of the optical cable to the optical audio input port on the soundbar.
- Turn on both the projector and soundbar.
- Using the soundbar’s remote control, switch the input source to the optical input that corresponds to the optical port you connected the cable to.
- Adjust the volume levels on your soundbar and projector to achieve the desired audio level.
With the optical cable successfully connected, your soundbar should now receive the audio signal from the projector, providing improved sound quality for your viewing or presentation experience.
When using an optical cable, ensure that it is securely connected and that there are no kinks or damage to the cable, as this can affect the audio signal. Additionally, remember to select the appropriate optical input on your soundbar to ensure it receives the audio signal correctly.
If your projector or soundbar does not have an optical audio port, you can explore other available connection options, such as HDMI or RCA cable. These alternatives are discussed in the following steps.
By understanding and utilizing different connection options, you can adapt to various device configurations and successfully enhance the audio capabilities of your projector.
Step 5: Connect the Soundbar to the Projector Using RCA Cable
If your projector and soundbar have RCA audio ports, you can connect them using an RCA cable. Although RCA cables are analog and provide a lower-quality audio connection compared to HDMI or optical cables, they can still be used as an alternative when other options are not available.
Here’s how you can connect the soundbar to the projector using an RCA cable:
- Locate the RCA audio output ports on your projector. They are usually labeled “Audio Out” or “Line Out” and may be color-coded (red and white).
- Connect the red and white connectors of the RCA cable to the corresponding audio output ports on the projector. The red connector should be inserted into the red port, and the white connector into the white port.
- Locate the RCA audio input ports on your soundbar. They are typically labeled “Audio In” or “Line In” and may also be color-coded to match the RCA cable.
- Connect the red and white connectors of the RCA cable to the corresponding audio input ports on the soundbar, matching the colors.
- Turn on both the projector and soundbar.
- Adjust the volume levels on your soundbar and projector to achieve the desired audio level.
When using an RCA cable, keep in mind that it provides analog audio transmission, which may result in a loss of audio quality compared to digital connections like HDMI or optical. However, it can still be a suitable option for older projectors and soundbars that lack digital audio ports.
It’s important to note that some soundbars may not have RCA audio input ports. In such cases, you may need to use an RCA to 3.5mm adapter or RCA to AUX cable to connect the soundbar to the projector.
Once the RCA cable is securely connected and the proper input source is selected on your soundbar, you should be able to enjoy enhanced audio from your projector through the soundbar.
If none of the connection options discussed so far are available on your projector or soundbar, check the user manuals for any additional audio output options they may have. Adapters or converters may be required to connect the devices using alternative methods.
By exploring different connection options, you can find a suitable solution to connect your soundbar to the projector and enhance your audio experience.
Step 6: Adjust the Volume and Audio Settings
Once you have successfully connected your soundbar to the projector, it’s essential to adjust the volume and audio settings to optimize your audio experience. This will ensure that the soundbar produces the desired audio output and complements the visuals from the projector.
Here are the steps to adjust the volume and audio settings:
- Refer to the soundbar’s user manual to locate the volume control buttons on the soundbar or its remote control. You can use these buttons to increase or decrease the volume level.
- Using the projector’s remote control, navigate to the audio settings menu. The exact location of the audio settings may vary depending on the projector’s brand and model.
- Adjust the projector’s volume level. Some projectors may have separate volume controls for the built-in speakers and external audio devices. Make sure the projector’s volume is set to an appropriate level that complements the audio output from the soundbar.
- Explore additional audio settings on the projector, such as equalizer settings or audio presets, to fine-tune the sound quality according to your preferences.
- If your soundbar has built-in audio enhancement features, such as a virtual surround sound mode or equalizer settings, experiment with these settings to achieve the audio experience you desire.
- Test the audio output by playing different types of content, such as movies, music, or presentations. Adjust the volume levels and audio settings accordingly to ensure an immersive and balanced sound experience.
It’s important to note that the optimal volume and audio settings may vary depending on the content you are playing and the environment in which you are using the projector and soundbar. Experiment with different settings to find the right balance between the audio output and your specific requirements.
Lastly, it’s worth mentioning that some soundbars may have additional customization options accessible through companion mobile apps or software. These options can include advanced audio tweaking, room calibration, or personalized sound profiles. Consult your soundbar’s user manual for instructions on accessing and utilizing any such features.
By adjusting the volume and audio settings according to your preferences, you can maximize the potential of your soundbar and create an immersive audio experience that perfectly complements the visuals from your projector.
Step 7: Test the Soundbar
After completing the connection and adjustment process, it’s important to test the soundbar to ensure that it is functioning as expected and providing the desired audio quality. Testing the soundbar will help you identify any issues and make any necessary adjustments before enjoying your favorite content.
Here are the steps to test the soundbar:
- Choose a piece of audio or video content that showcases a range of sound frequencies, such as a movie with action scenes or a music track with various instruments.
- Play the selected content on your projector while ensuring that the sound is routed through the soundbar.
- Listen for clarity, balance, and overall sound quality. Pay attention to details such as dialogue clarity, bass response, and surround sound effects if applicable.
- Adjust the volume levels on both the projector and soundbar as needed to achieve the desired sound level and balance.
- Take note of any issues or areas for improvement. If the sound appears distorted, unbalanced, or lacking in certain frequencies, consider adjusting the audio settings on both the projector and soundbar.
- Play around with different audio settings and test the soundbar with different types of content to ensure it performs well in various scenarios.
If you encounter any issues with the sound quality or connectivity, double-check all the connections to ensure they are secure. Also, refer to the user manuals of both the projector and soundbar for troubleshooting tips specific to your devices.
During the testing phase, it’s a good idea to involve multiple viewers or listeners, if possible, to gather feedback and ensure that the soundbar is delivering an enjoyable audio experience for everyone.
By thoroughly testing the soundbar and making any necessary adjustments, you can rest assured that you have properly connected and optimized your audio setup.
Now that you have completed the testing phase, you can sit back, relax, and enjoy your favorite movies, music, or presentations with an enhanced audio experience delivered by your soundbar.
Conclusion
Connecting a soundbar to a projector can greatly enhance your audio experience, whether you’re watching movies, playing music, or delivering presentations. By following the steps outlined in this guide, you can successfully connect your soundbar to the projector using HDMI, optical, or RCA cables depending on the available connection options on both devices.
Start by checking the connection options on your projector and soundbar and determining the type of soundbar you have. Then, proceed to connect the devices using the recommended method. Adjust the volume, audio settings, and test the soundbar to ensure optimal sound quality and performance.
Remember, each projector and soundbar may have specific requirements and settings, so always refer to the user manuals provided by the manufacturers for detailed instructions tailored to your devices.
By connecting a soundbar to your projector, you can enjoy immersive sound, enhanced bass, and improved audio clarity, elevating your overall viewing or presentation experience. Whether you’re hosting a movie night, giving a business presentation, or enjoying your favorite music, the combination of a projector and soundbar can take your audiovisual experience to new heights.
So go ahead, connect your soundbar to your projector and immerse yourself in a captivating audio experience that complements the stunning visuals!