Introduction
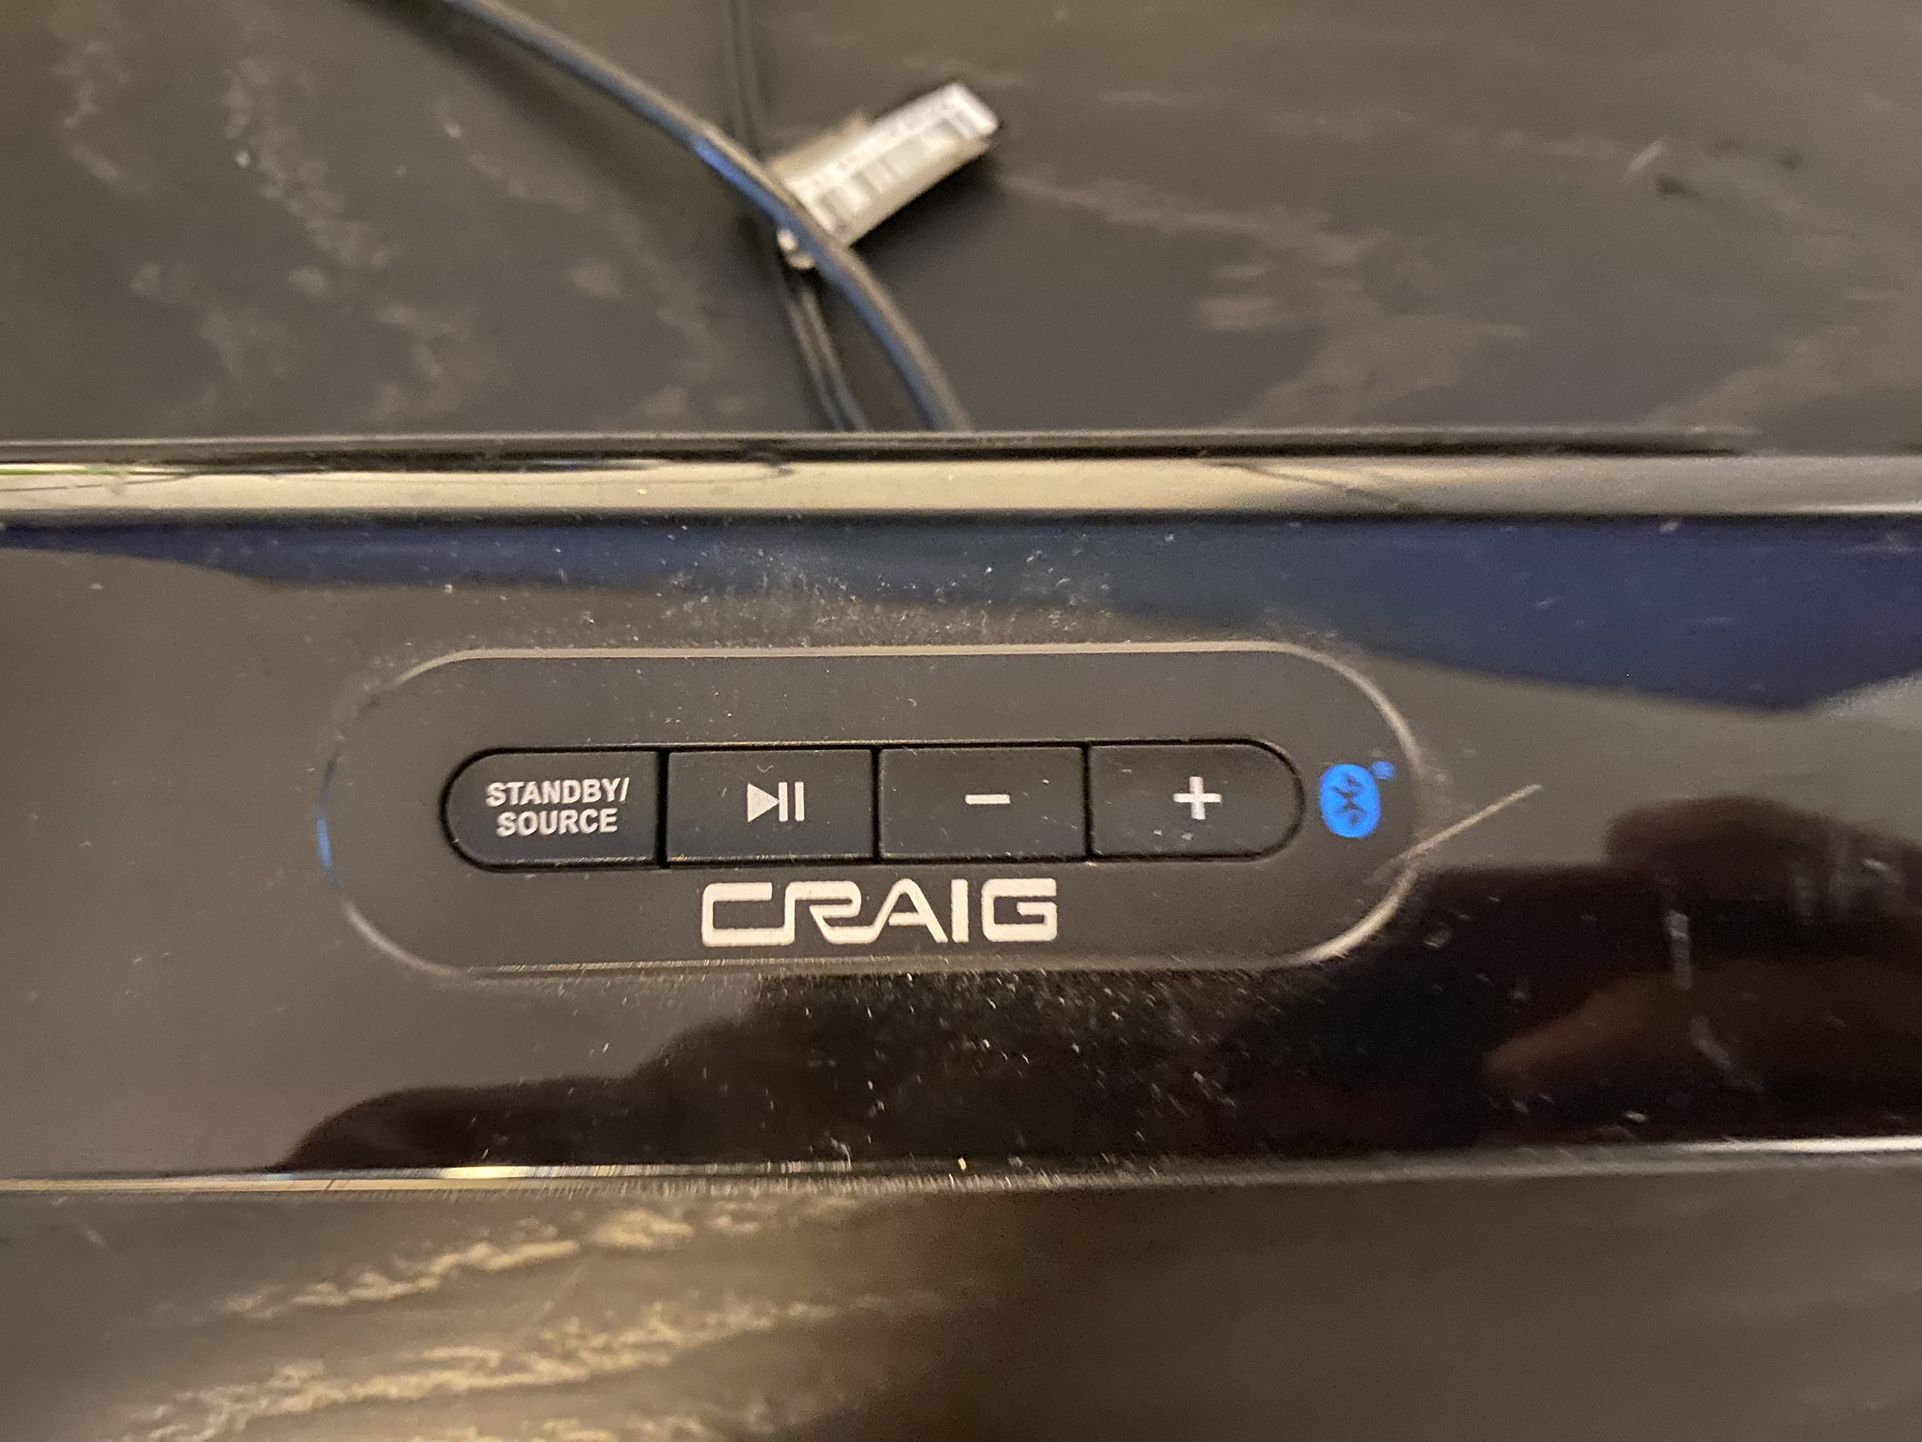
Connecting a Craig soundbar to your TV can greatly enhance your audio experience, allowing you to enjoy immersive sound while watching your favorite shows and movies. Whether you have a Craig soundbar with HDMI, optical, or RCA connectivity options, the process of connecting it to your TV is relatively straightforward.
In this guide, we will walk you through the steps to connect your Craig soundbar to your TV using different available ports. We will discuss the equipment you’ll need, the ports to look for on your TV and soundbar, and the various connection methods.
By following these steps, you’ll be able to enjoy high-quality audio from your soundbar, complementing the stunning visuals on your TV.
Before we dive into the details, it’s important to note that the specific steps may vary slightly depending on the model of your Craig soundbar and TV. It’s always a good idea to consult the user manuals for both devices for any specific instructions.
Now, let’s get started with the first step: gathering the necessary equipment.
Step 1: Gather the necessary equipment
Before you begin the process of connecting your Craig soundbar to your TV, ensure that you have the necessary equipment on hand. This will allow for a smooth and hassle-free setup. Here’s what you’ll need:
- A Craig soundbar: Make sure you have a Craig soundbar that is compatible with your TV and has the desired connectivity options. This could include HDMI, optical, or RCA connections.
- TV with compatible ports: Check your TV to ensure it has the available ports for connecting the soundbar. Common ports include HDMI, optical, and RCA.
- HDMI cable: If you’re planning to use the HDMI connection, make sure you have an HDMI cable that is long enough to reach both the TV and the soundbar. Ensure the HDMI cable is capable of transmitting audio signals.
- Optical cable: If you prefer the optical connection, make sure you have an optical cable that can connect the TV and soundbar. It should have the appropriate connectors on both ends.
- RCA cables (optional): If your TV and soundbar have RCA ports, you may need RCA cables to connect the two devices. RCA cables have red and white connectors, representing the right and left audio channels.
- Power cables: Ensure you have the power cables for both the TV and the soundbar. It’s important to have a power source for each device to operate.
- Remote control: Keep the remote control for your soundbar nearby. You may need it later to adjust settings or switch between different audio modes.
Once you have gathered all the necessary equipment, you’re ready to proceed to the next step. Now, we’ll identify the available ports on your TV and soundbar.
Step 2: Identify the available ports on your TV and soundbar
Before connecting your Craig soundbar to your TV, it’s important to identify the available ports on both devices. This step will help you determine the appropriate connection method based on the available ports. Here’s what you need to do:
- Examine your TV: Take a close look at the back or side panel of your TV. Look for the audio output ports. Common audio output ports include HDMI, optical (sometimes labeled as “TOSLINK” or “S/PDIF”), and RCA.
- Inspect your soundbar: Similarly, examine the back or side panel of your soundbar. Look for the audio input ports. Many soundbars have HDMI, optical, and RCA input ports to accommodate various connection options.
- Take note of the available ports: Once you have identified the ports on both the TV and the soundbar, make a note of which ones are available. This information will be crucial in determining the appropriate connection method in the next steps.
By identifying the available ports, you will have a better understanding of which connection method to use. Whether it’s HDMI, optical, or RCA, knowing the available options will streamline the setup process. Once you have noted the available ports, we can move on to the next step: connecting the soundbar to the TV using HDMI.
Step 3: Connect the soundbar to the TV using HDMI
If both your Craig soundbar and TV have HDMI ports, connecting them using an HDMI cable is often the simplest and most convenient option. Follow these steps to establish the HDMI connection:
- Locate the HDMI ports: Identify the HDMI input port on your TV and the HDMI output port on your soundbar. Usually, the HDMI ports are labeled to indicate their purpose. If necessary, refer to the user manual for further guidance.
- Plug in the HDMI cable: Take one end of the HDMI cable and insert it into the HDMI output port on the soundbar. Ensure a snug and secure connection.
- Connect to the TV: Connect the other end of the HDMI cable to the HDMI input port on your TV. Again, make sure the connection is tight.
- Select the HDMI input: Using your TV remote or the input selection button on your soundbar remote, select the HDMI input corresponding to the HDMI port you connected to.
Once the HDMI connection is established, the audio from your TV should automatically be routed to the soundbar. You may need to adjust the audio settings on your TV to ensure it recognizes the soundbar as the audio output device.
It’s also worth mentioning that some TVs have ARC (Audio Return Channel) HDMI ports. If your TV and soundbar both support ARC, connecting them using an ARC HDMI port can simplify the setup, allowing you to control the soundbar volume with your TV remote.
Now that you’ve successfully connected the soundbar to the TV using HDMI, you can move on to the next step: connecting the soundbar to the TV using an optical cable, which we’ll discuss in detail in the following step.
Step 4: Connect the soundbar to the TV using an optical cable
If your Craig soundbar and TV have optical audio ports, connecting them using an optical cable is another reliable option. Follow these steps to establish the optical connection:
- Locate the optical ports: Identify the optical output port on your TV and the optical input port on your soundbar. These ports are usually labeled as “TOSLINK” or “S/PDIF,” but refer to your device’s manual for precise labeling.
- Insert the optical cable: Take one end of the optical cable and insert it into the optical output port on your TV. Ensure a secure fit by aligning the connector and gently pushing it in.
- Connect to the soundbar: Insert the other end of the optical cable into the optical input port on your soundbar. Again, make sure the connection is secure.
- Switch to the optical input: Using your TV remote or the input selection button on your soundbar remote, switch the soundbar to the optical input mode.
Once the optical connection is established, your TV’s audio should be transmitted to the soundbar. Remember to adjust the audio settings on your TV to ensure it recognizes the soundbar as the audio output device.
Connecting your soundbar to the TV using an optical cable provides high-quality digital audio transmission. It’s an excellent choice if HDMI connectivity is not available on your devices or if you prefer to keep the HDMI port free for other devices.
Now that you’ve successfully connected the soundbar to the TV using an optical cable, you can move on to the next step: connecting the soundbar to the TV using RCA cables, which we’ll discuss in detail in the following step.
Step 5: Connect the soundbar to the TV using RCA cables
If your Craig soundbar and TV have RCA ports, you can connect them using RCA cables. Follow these steps to establish the RCA connection:
- Identify the RCA ports: Look for the RCA output ports on your TV. These are usually color-coded as red and white, representing the right and left audio channels.
- Check the soundbar: Examine the soundbar to find the RCA input ports. These are also color-coded according to the red and white channels.
- Connect the cables: Take the RCA cables and plug the red connector into the red output port on the TV. Plug the white connector into the white output port. Ensure a snug fit for each connection.
- Connect to the soundbar: Connect the other ends of the RCA cables to the corresponding red and white input ports on the soundbar.
- Select the correct input: Using your TV remote or the input selection button on your soundbar remote, choose the RCA input option to route the audio signal to the soundbar.
Once the RCA connection is established, the audio from your TV should be transmitted to the soundbar. Adjust the audio settings on your TV to make sure it recognizes the soundbar as the audio output device.
Connecting your soundbar to the TV using RCA cables is a reliable analog option when HDMI or optical connections are not available. While RCA cables may not provide the same audio quality as digital connections, they still offer a decent audio experience.
Now that you’ve successfully connected the soundbar to the TV using RCA cables, you can move on to the next step: confirming the connection and adjusting settings, which we’ll discuss in detail in the following step.
Step 6: Confirm the Connection and Adjust Settings
After connecting your Craig soundbar to your TV using your preferred method, it’s essential to confirm the connection and make any necessary adjustments to optimize the audio experience. Follow these steps to confirm the connection and adjust settings:
- Power on both devices: Ensure that both your TV and soundbar are powered on.
- Test the audio: Play a video or audio content on your TV to check if the sound is coming through the soundbar. If you hear sound from the soundbar, it indicates a successful connection.
- Adjust the volume: Use the volume control on your soundbar remote to adjust the audio level. Similarly, you can adjust the TV’s volume to control the audio output level.
- Explore sound settings: Some soundbars offer different audio modes or presets that can optimize the sound for specific content, such as movies, music, or dialogue. Use the soundbar’s remote to navigate through the settings and choose the appropriate audio mode for your preference.
- Sync audio and video (if needed): If you notice any audio lag or delay between the sound and video, you may need to adjust the audio delay settings on the soundbar or TV. Refer to the user manuals for specific instructions on adjusting audio synchronization.
By confirming the connection and adjusting the settings, you can ensure that the audio is being properly transmitted from your TV to the soundbar. Take the time to explore the sound settings and customize them according to your preference for the best audio experience.
Congratulations! You have successfully connected your Craig soundbar to your TV and optimized your audio setup. Now sit back, relax, and enjoy your favorite shows and movies with enhanced sound quality.
Conclusion
Connecting your Craig soundbar to your TV can significantly enhance your audio experience, taking your entertainment to the next level. Whether you used an HDMI, optical, or RCA connection, following the steps outlined in this guide should have helped you establish a successful connection.
By gathering the necessary equipment, identifying the available ports, and properly connecting the soundbar to the TV, you can enjoy immersive audio that complements the stunning visuals on your screen. Adjusting the settings and exploring different audio modes on your soundbar can further enhance your listening experience.
Remember to consult the user manuals for your specific devices if you encounter any difficulties or need further guidance during the setup process. Each soundbar and TV model may have slight variations in their connectivity options and settings.
Now that you have successfully connected your Craig soundbar to your TV, sit back, relax, and enjoy captivating sound quality as you immerse yourself in your favorite movies, TV shows, and music.
Thank you for following this guide, and we hope you have an incredible audio experience with your Craig soundbar!


