Introduction
Welcome to the world of immersive sound experience with your new Samsung soundbar. As you unbox the sleek and stylish device, you’re probably eager to set it up and start enjoying enhanced audio quality with your TV. In this guide, we will walk you through the process of adjusting your Samsung soundbar to make sure you get the best possible sound for your viewing pleasure.
Whether you’re a movie lover, a sports enthusiast, or a music aficionado, the right sound can completely transform your entertainment experience. The Samsung soundbar is designed to elevate the audio quality of your TV, providing you with crisp dialogue, deep bass, and immersive surround sound.
Before we dive into the nitty-gritty details, it’s important to note that every Samsung soundbar model may have slightly different features and settings. While the overall setup and adjustment process remains similar, it’s recommended to refer to the user manual specific to your soundbar model for any model-specific instructions.
Now, let’s get started on unboxing your soundbar and setting it up for optimal audio performance. By the end of this guide, you’ll not only have your soundbar connected to your TV but also have the settings adjusted to your liking, ensuring an incredible audio experience every time you turn on your Samsung soundbar.
Step 1: Unboxing and Initial Setup
Congratulations on your new Samsung soundbar! The first step is to carefully unbox the soundbar and ensure that all the necessary components are included. Typically, your Samsung soundbar package will include the soundbar itself, a remote control, power cables, and any additional accessories.
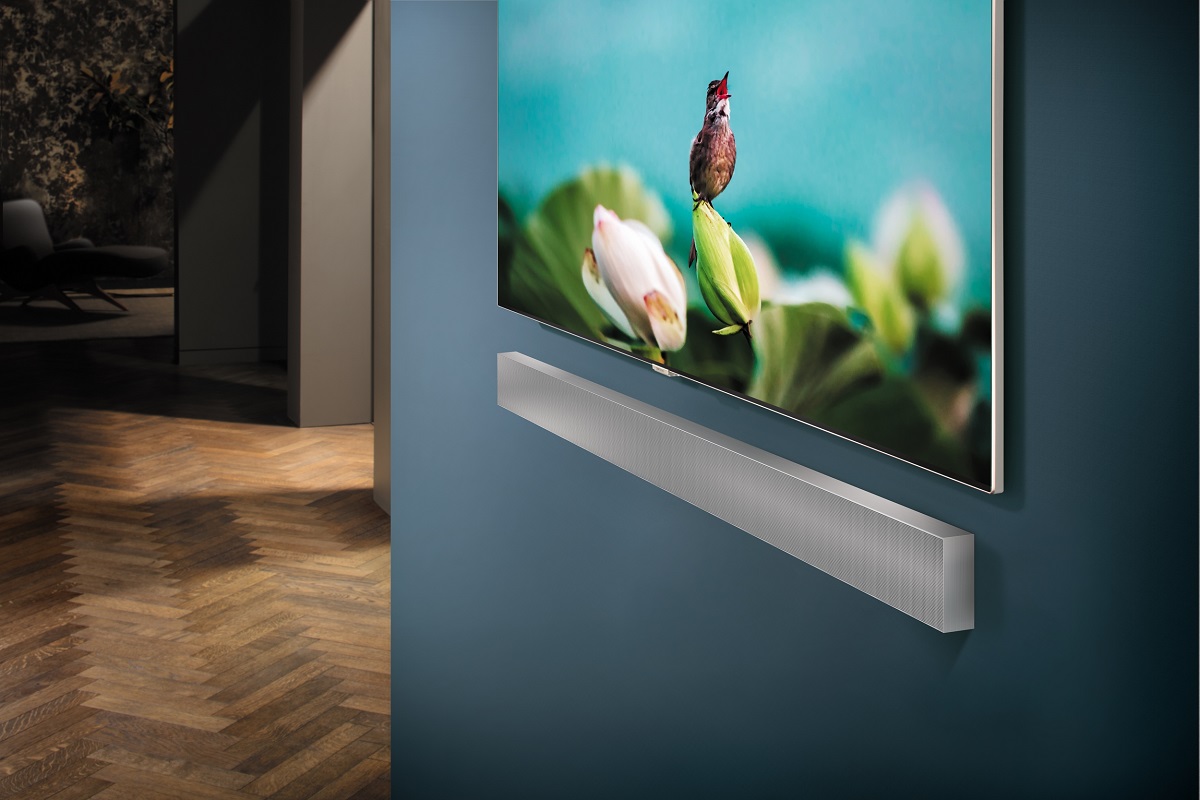
Once you have everything unboxed, find the ideal location for your soundbar. It’s important to place it in a spot that allows for clear sound projection and enhances the overall audio experience. Here are a few things to consider when choosing the placement of your soundbar:
- Position the soundbar in front of your TV: Placing it below or above your TV will ensure that the audio output is synced with the visual content.
- Avoid obstructions: Make sure there are no objects blocking the soundbar’s speakers, as this can affect sound quality.
- Center positioning: If possible, position the soundbar in the center to create an immersive soundstage.
Once you have determined the ideal location, it’s time to connect the various cables. Start by connecting one end of the power cable to the soundbar and the other end to a power outlet. Ensure that the power cable is securely plugged in.
Next, connect your soundbar to your TV. Depending on your TV model and soundbar, you may have different connectivity options such as HDMI, optical, or Bluetooth. HDMI is usually the preferred method as it offers the best audio quality and allows for seamless control through your TV’s remote. Simply connect one end of the HDMI cable to the HDMI ARC (Audio Return Channel) port on your TV and the other end to the HDMI ARC port on your soundbar.
If your TV doesn’t have an HDMI ARC port, you can use an optical cable instead. Connect one end of the optical cable to the optical audio output on your TV and the other end to the corresponding optical audio input on your soundbar.
After connecting the necessary cables, turn on your TV and soundbar. You may need to switch the input source on your TV to the corresponding HDMI or optical input to get the audio signal from your soundbar. Refer to your TV’s user manual for instructions on switching the input source.
With the initial setup complete, you’re now ready to move on to the next steps in adjusting your Samsung soundbar to maximize its performance. In the following sections, we will focus on fine-tuning the soundbar’s settings and optimizing the audio quality to suit your preferences.
Step 2: Connecting the Soundbar to Your TV
Now that you have completed the initial setup, it’s time to connect your Samsung soundbar to your TV. Properly establishing this connection is crucial for enjoying the enhanced audio experience provided by your soundbar.
There are several ways to connect your soundbar to your TV, depending on the available ports and capabilities of both devices. Let’s explore the most common connection methods:
HDMI Connection
Using an HDMI cable is the preferred method for connecting your soundbar to your TV as it provides the best audio quality and allows for seamless control through your TV’s remote.
- Locate the HDMI ARC (Audio Return Channel) port on your TV and the HDMI ARC port on your soundbar.
- Connect one end of the HDMI cable to the HDMI ARC port on your soundbar, and the other end to the HDMI ARC port on your TV.
Note: If your TV does not have an HDMI ARC port, you can connect the soundbar to your TV’s HDMI input port instead. However, in this case, you will need to use the soundbar’s remote control to adjust the volume and other settings.
Optical Connection
If your TV does not have HDMI ARC capabilities, an optical connection is the next best option for connecting your soundbar.
- Locate the optical audio output on your TV and the corresponding optical audio input on your soundbar.
- Connect one end of the optical cable to the optical audio output on your TV, and the other end to the optical audio input on your soundbar.
Bluetooth Connection
If both your TV and soundbar support Bluetooth connectivity, you can pair them wirelessly. This eliminates the need for any physical cables but may result in a slight loss in audio quality compared to HDMI or optical connections.
- On your soundbar, enable Bluetooth mode by pressing the Bluetooth button on your soundbar’s remote control or using the soundbar’s control panel.
- Access the Bluetooth settings on your TV and scan for available devices.
- Select your soundbar from the list of discovered devices on your TV’s Bluetooth menu.
Once the connection is established, you should hear audio coming from your soundbar when watching content on your TV. If not, make sure you have selected the correct input source on your soundbar and adjusted the volume accordingly.
Now that your soundbar is connected to your TV, it’s time to move on to the next step and adjust the soundbar’s settings to optimize your audio experience. We will explore various settings and configurations in the upcoming section, so stay tuned!
Step 3: Adjusting the Soundbar’s Settings
Now that your Samsung soundbar is successfully connected to your TV, it’s time to dive into adjusting its settings to ensure the best audio performance. By fine-tuning the soundbar’s settings, you can customize the sound to your liking and make it perfectly suit your preferences.
Here are some key settings and adjustments you can make on your Samsung soundbar:
Sound Modes
Most Samsung soundbars come with a variety of sound modes that are designed to enhance specific types of content, such as movies, music, or sports. These sound modes adjust the sound output to provide an immersive experience tailored to the content you are watching or listening to.
To access the sound modes, use the remote control that came with your soundbar or the control panel on the soundbar itself. Browse through the available options and select the mode that best suits your current audio needs.
Equalizer Settings
The equalizer settings on your soundbar allow you to manually adjust the sound frequencies to your liking. This can be particularly useful if you prefer more bass, treble, or want to balance out the overall sound.
Access the equalizer settings on your soundbar and experiment with different frequency levels to find the sound profile that suits your preferences. You can also explore preset equalizer presets or create and save your custom equalizer settings for quick access.
Volume Control
Adjusting the volume levels on your soundbar is essential to ensure a comfortable listening experience. Depending on your soundbar model, you may have separate volume controls for the soundbar and the TV.
For the best control over your soundbar’s volume, it’s recommended to use the soundbar’s remote control. This way, you can have precise control over the audio levels and easily adjust them to your desired volume.
Virtual Surround Sound
If your Samsung soundbar supports virtual surround sound technology, you can enable it to create a more immersive audio experience. This feature simulates a surround sound effect, making it feel like the sound is coming from various directions and adding depth to the audio.
Check the soundbar’s user manual or settings menu to find the virtual surround sound options. Enable this feature and experience a more enveloping soundstage, especially when watching movies or playing games.
Additional Settings
Depending on your soundbar model, there may be additional settings and options to explore. These could include features like adaptive sound control, dialogue enhancement, night mode, and more.
Take some time to browse through the available settings and explore what your soundbar has to offer. Adjust each setting according to your preferences until you achieve the optimal audio quality that enhances your viewing or listening experience.
By adjusting the soundbar’s settings to your liking, you can transform your ordinary TV audio into an immersive and captivating sound experience. Spend some time experimenting with these settings and find the perfect configuration that delivers the audio quality you desire.
Now that you have fine-tuned the settings of your Samsung soundbar, it’s time to move on to the next step and optimize the audio quality for an even more exceptional auditory experience.
Step 4: Optimizing Audio Quality
Now that you have adjusted the settings on your Samsung soundbar, it’s time to focus on optimizing the audio quality to achieve the best possible sound experience. By following these tips, you can make sure that you are maximizing the capabilities of your soundbar:
Positioning and Placement
Ensure that your soundbar has a clear line of sight to the listening area. Avoid placing any objects or obstructions in front of the soundbar that may block or muffle the sound. Additionally, positioning the soundbar at ear level or slightly above can help create a more immersive audio experience.
Room Acoustics
Consider the acoustics of the room where your soundbar is located. If your room has hard surfaces and minimal soft furnishings, it may result in sound reflections and echoes. To minimize this, you can add soft furnishings, such as rugs, curtains, or acoustic panels, to absorb excess sound reflections and improve the overall audio quality.
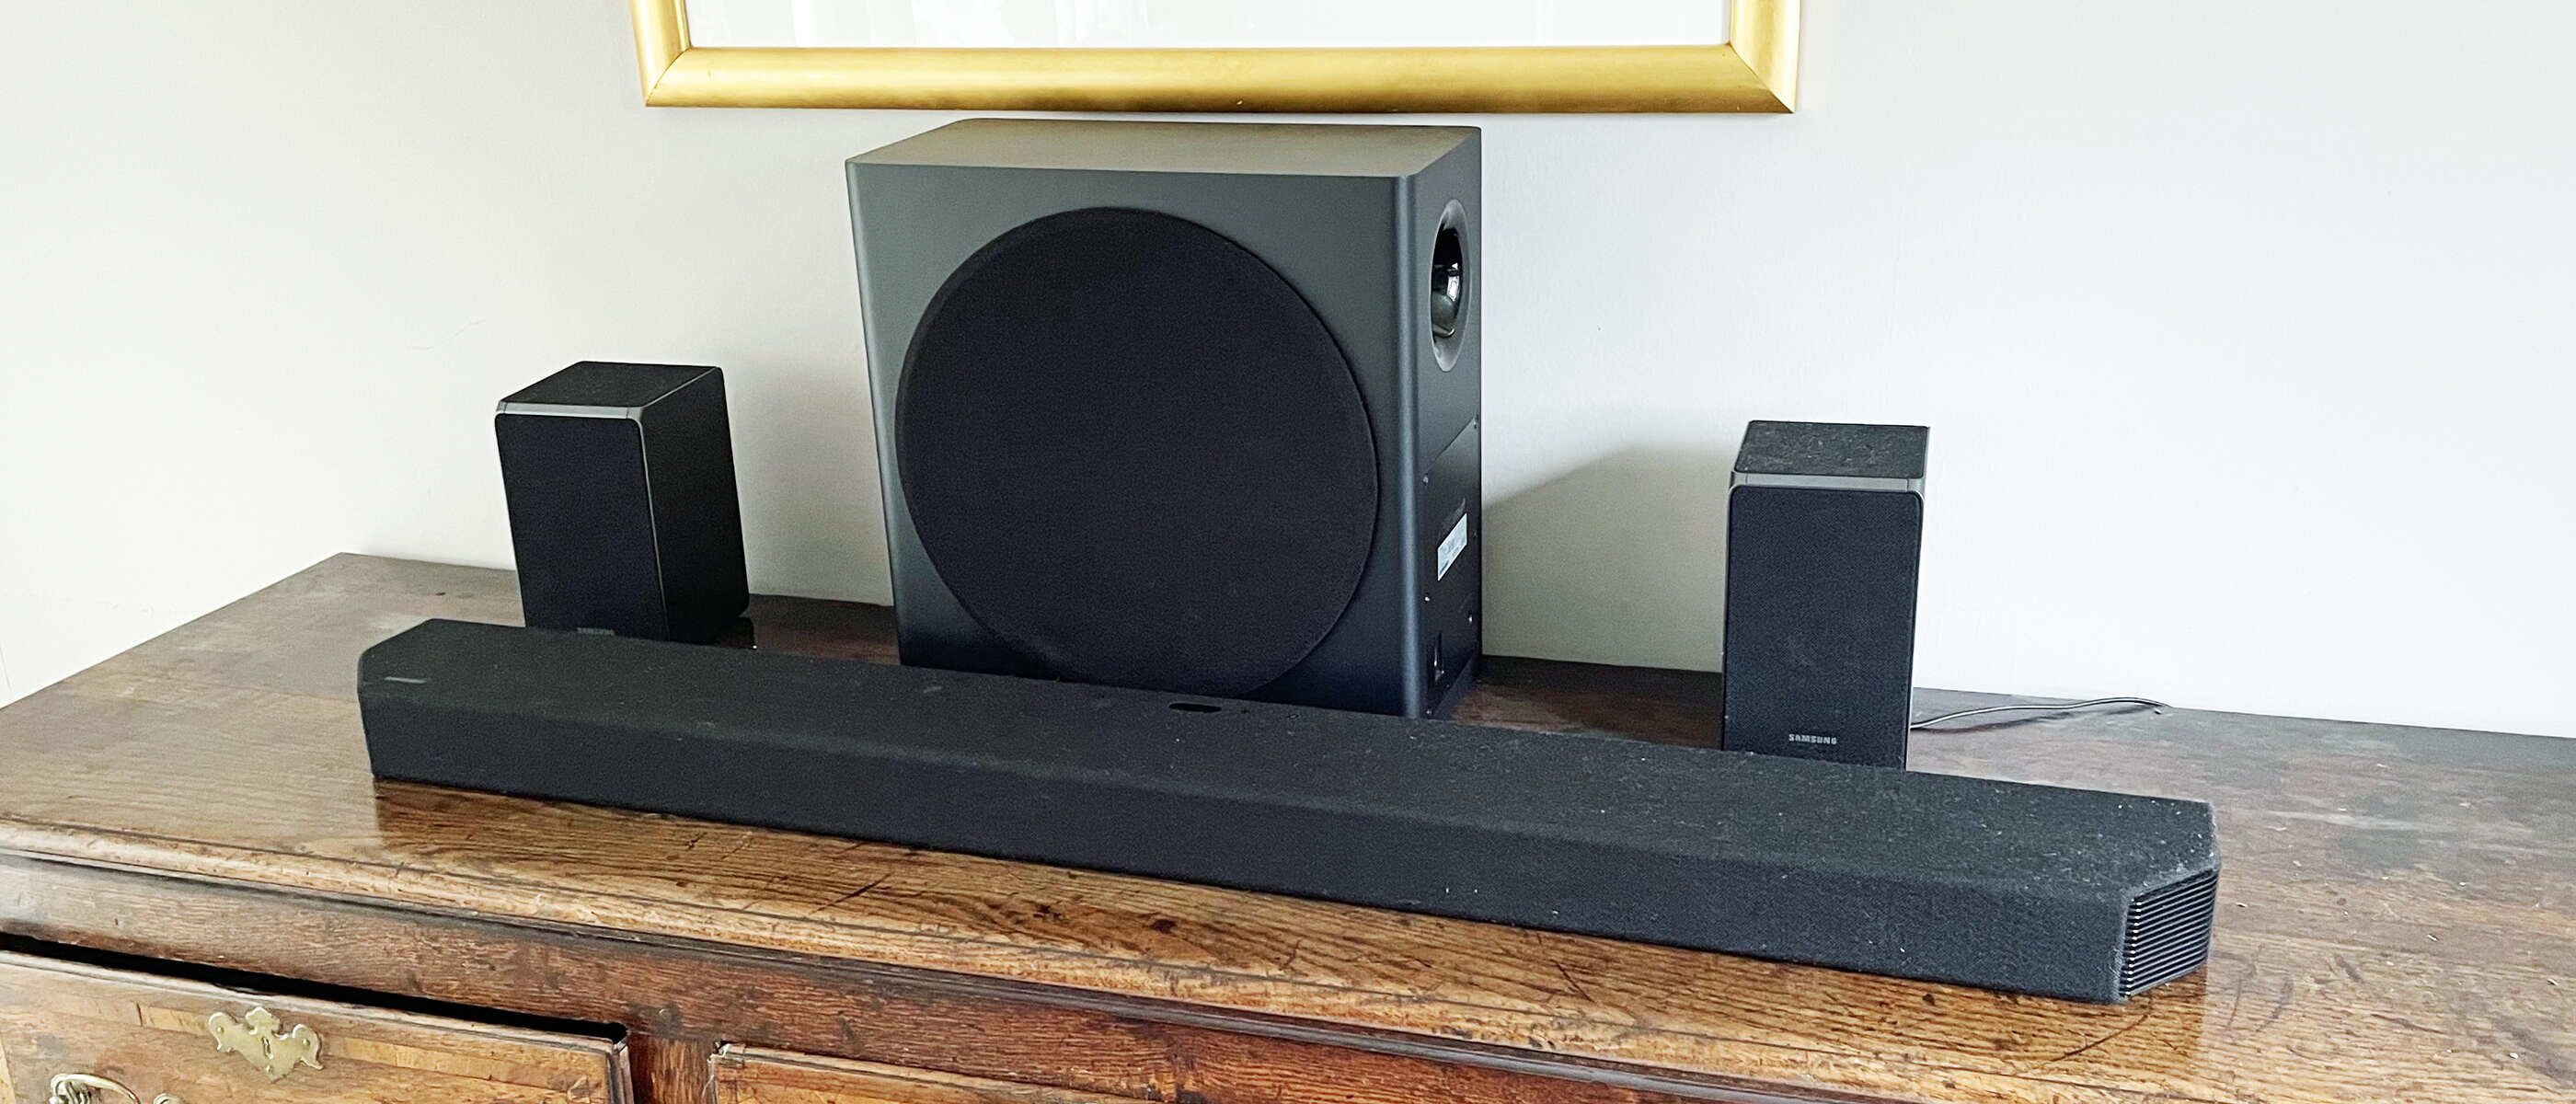
Subwoofer Placement
If your soundbar comes with a separate subwoofer, experiment with its placement to find the best bass response. Placing it near a wall or corner can help enhance the low-frequency output. However, avoid placing it too close to other objects that may cause vibrations or distortions in the sound.
Audio Calibration
Some Samsung soundbars come with built-in audio calibration features that automatically analyze the acoustic characteristics of your room and adjust the soundbar’s settings accordingly. This can help optimize the audio performance based on your specific room environment.
Refer to your soundbar’s user manual or settings menu to explore if it has an audio calibration feature. Follow the instructions provided to run the calibration process and optimize the audio quality based on your room’s acoustics.
Source Quality
Remember that the audio quality of your soundbar is also dependent on the quality of the source content. If you’re streaming music or watching movies, ensure that you are using high-quality audio sources. Look for higher bitrate audio files or choose streaming services that offer high-quality audio streaming options.
Furthermore, some Samsung soundbars support advanced audio technologies such as Dolby Atmos or DTS:X. If you have access to content that is encoded with these formats, make sure to enable the corresponding settings on your soundbar to fully benefit from the immersive audio experience they provide.
Regular Maintenance
To ensure consistent audio quality, regularly clean your soundbar and perform any necessary maintenance. Dust or debris accumulation can affect the performance of the speakers. Use a soft cloth to gently clean the soundbar’s surfaces, and refer to the user manual for any specific maintenance recommendations.
By implementing these optimization techniques, you can elevate the audio quality of your Samsung soundbar and fully immerse yourself in a rich and captivating audio experience.
Now that you have optimized the audio quality of your soundbar, let’s address any potential issues or troubleshooting tips in the next section.
Step 5: Troubleshooting Common Issues
While Samsung soundbars are designed to provide a seamless audio experience, there may be times when you encounter common issues. Don’t worry! Here are some troubleshooting tips to help you resolve these issues:
No Sound
If you’re experiencing no sound from your soundbar, first double-check the connections. Ensure that all cables are securely connected to the correct ports on both the soundbar and the TV. Also, make sure the soundbar is powered on and the volume is not muted.
If you’re using an HDMI connection, ensure that your TV’s audio output is set to the correct HDMI input. Some TVs may have multiple HDMI ports, so it’s important to select the one connected to your soundbar.
If you’re using an optical connection, check if the optical cable is properly inserted into both the TV and the soundbar.
Poor Audio Quality or Distorted Sound
If you’re experiencing poor audio quality or distorted sound, first check the audio settings on your soundbar. Make sure the sound mode is appropriate for the content you’re watching or listening to. Adjust the equalizer settings to balance the sound frequencies and eliminate any distortion.
Ensure that the audio source is of high quality. If you’re streaming, check your internet connection and consider using a higher bit rate streaming service for better audio quality.
If you’re using a separate subwoofer, make sure it is positioned correctly and not causing vibrations or distortions.
Remote Control Issues
If you’re having trouble with your soundbar’s remote control, first check the batteries. Replace them if they’re weak or not working properly. Make sure there are no obstructions between the remote and the soundbar that may hinder the signal.
If the remote control is still not working, try resetting the soundbar to its factory settings. Refer to the user manual for instructions on how to perform a factory reset, as the process may vary depending on the soundbar model.
Bluetooth Connectivity Problems
If you’re experiencing issues with Bluetooth connectivity, start by ensuring that the soundbar and your device are within close proximity to each other. Make sure that the soundbar is in Bluetooth pairing mode and that your device has Bluetooth turned on.
If the connection is still not working, try unpairing the soundbar from your device and then re-pairing them. This can help establish a fresh connection and resolve any temporary connection issues.
If you continue to experience problems with Bluetooth connectivity, check your device’s Bluetooth settings for any compatibility issues or firmware updates that may be required.
Consulting the User Manual
If the above troubleshooting tips do not resolve your issue, consult the user manual specific to your soundbar model. User manuals often provide specific instructions and troubleshooting steps tailored to your soundbar’s features and functionalities.
If the issue persists, contact Samsung customer support for further assistance. They will be able to provide you with expert guidance and solutions to any specific issues you may be facing.
By following these troubleshooting steps, you can resolve common issues and ensure that your Samsung soundbar delivers the exceptional audio experience you desire.
Congratulations! You have successfully adjusted and optimized your Samsung soundbar. Now sit back, relax, and enjoy the immersive sound quality while watching your favorite movies, TV shows, or listening to music.
Conclusion
Congratulations on successfully setting up and adjusting your Samsung soundbar! With the proper installation, optimized settings, and troubleshooting tips, you can now enjoy an immersive audio experience that enhances your TV viewing and audio enjoyment.
Throughout this guide, we covered the essential steps to unbox and set up your soundbar, connect it to your TV, adjust its settings, optimize audio quality, and troubleshoot common issues. By following these steps, you have taken full advantage of the capabilities of your Samsung soundbar.
Remember, every Samsung soundbar model may have slightly different features and settings, so it’s always beneficial to refer to the user manual specific to your model for any model-specific instructions or additional features.
By positioning your soundbar correctly, optimizing room acoustics, adjusting sound modes and equalizer settings, and ensuring proper connectivity, you have created an ideal audio setup for your entertainment space. Regular maintenance and troubleshooting will help you address any issues that may arise and ensure consistent audio performance.
Now, sit back, relax, and enjoy the immersive sound quality that your Samsung soundbar provides. Whether you’re watching movies, sports, or listening to music, you can now enjoy enhanced audio that brings your entertainment to life.
Thank you for choosing Samsung and investing in a high-quality soundbar. We hope this guide has been helpful in maximizing your soundbar’s potential and providing you with a truly satisfying audio experience. Enjoy your newfound audio bliss!