Introduction
Welcome to the world of Thunderbolt docks. In this digital age, we are constantly looking for ways to enhance our productivity and streamline our workflow. Whether you are a professional working on complex projects or a student juggling multiple assignments, having a Thunderbolt dock can be a game-changer.
But what exactly is a Thunderbolt dock? How can it benefit you? And how do you set it up? These are the questions we will address in this article.
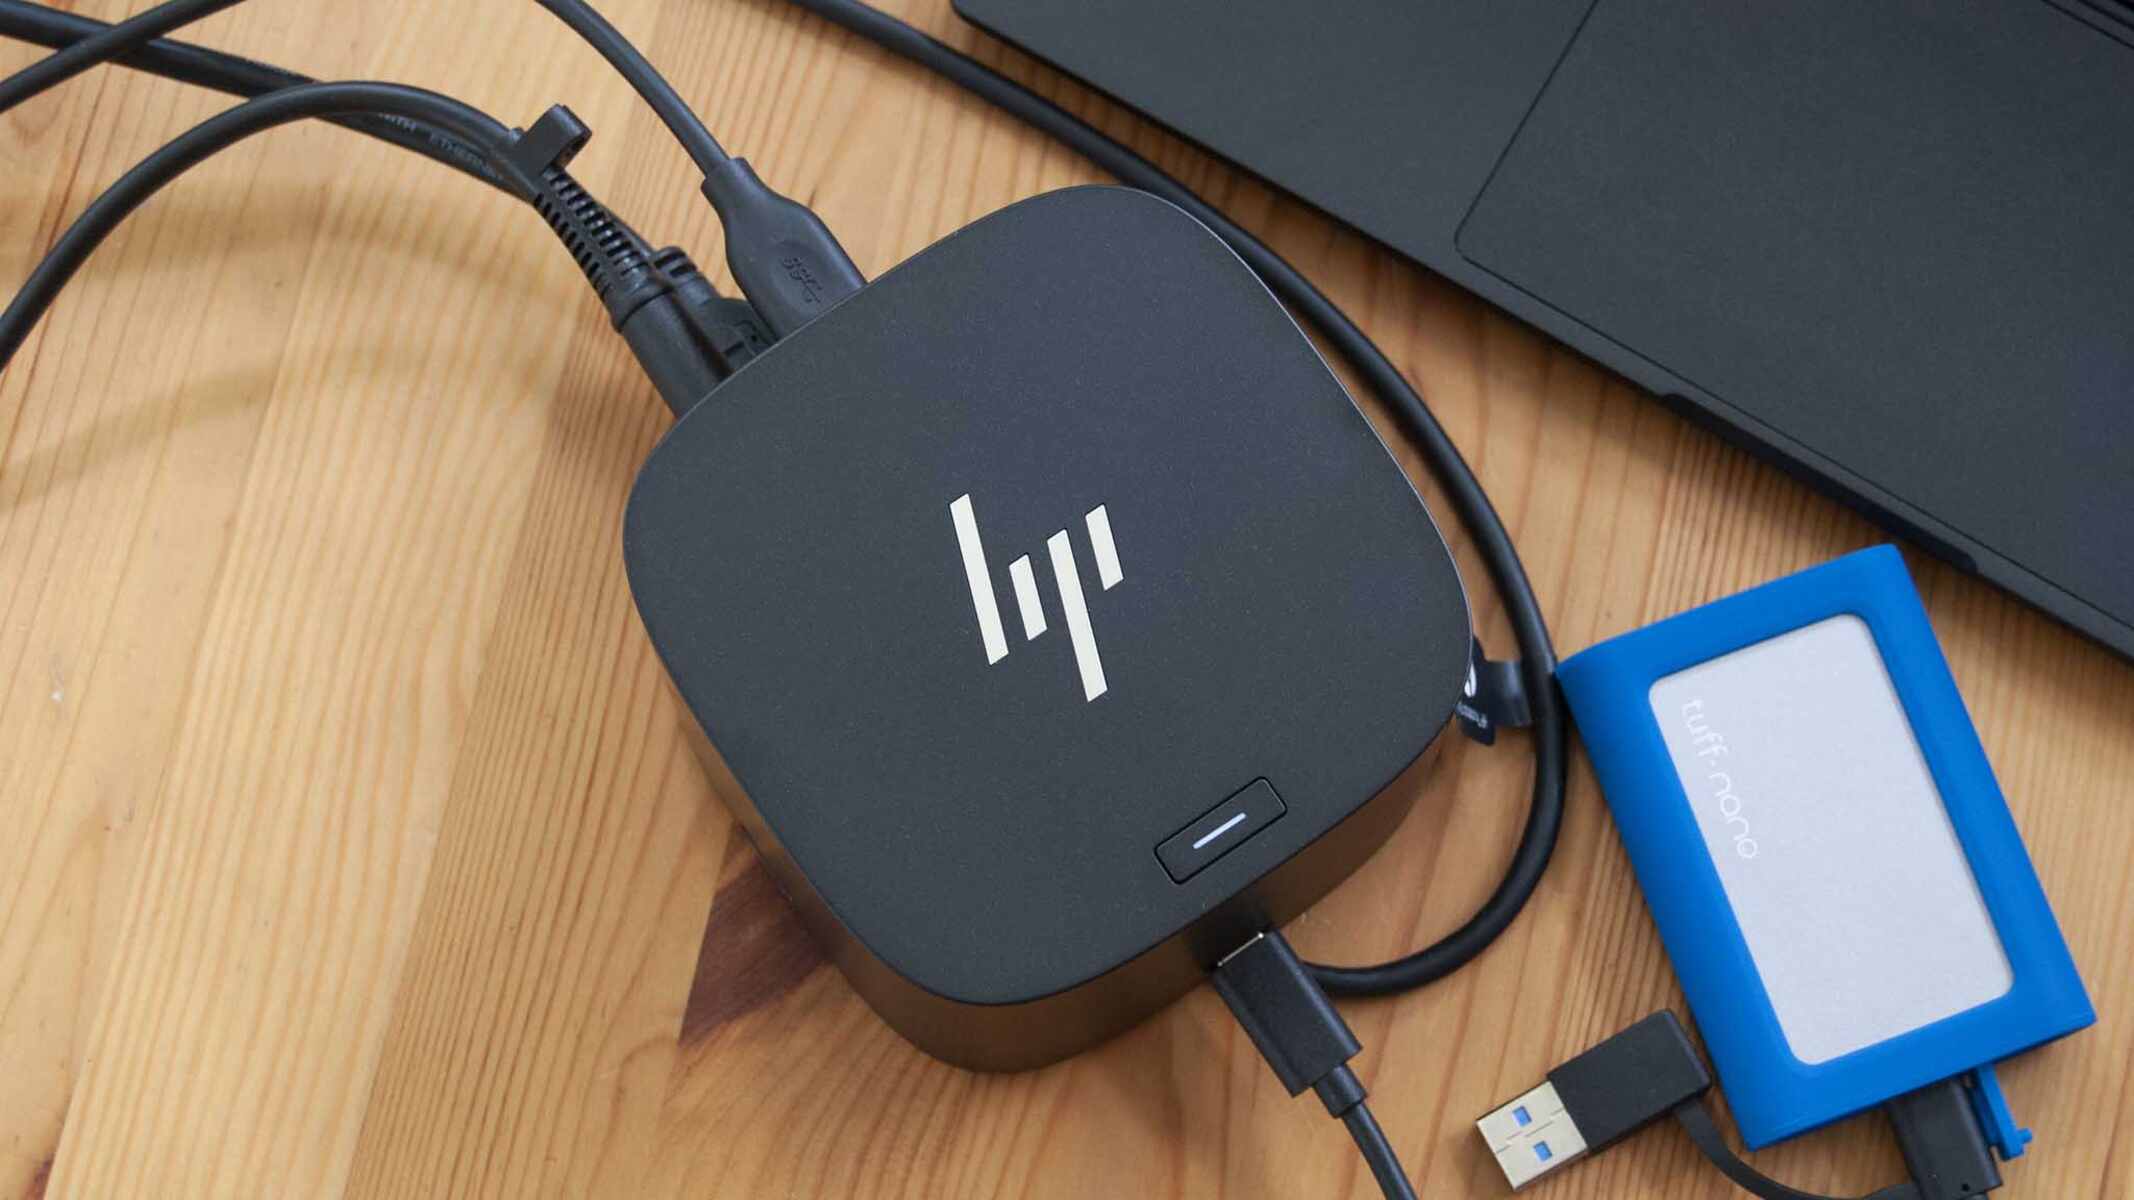
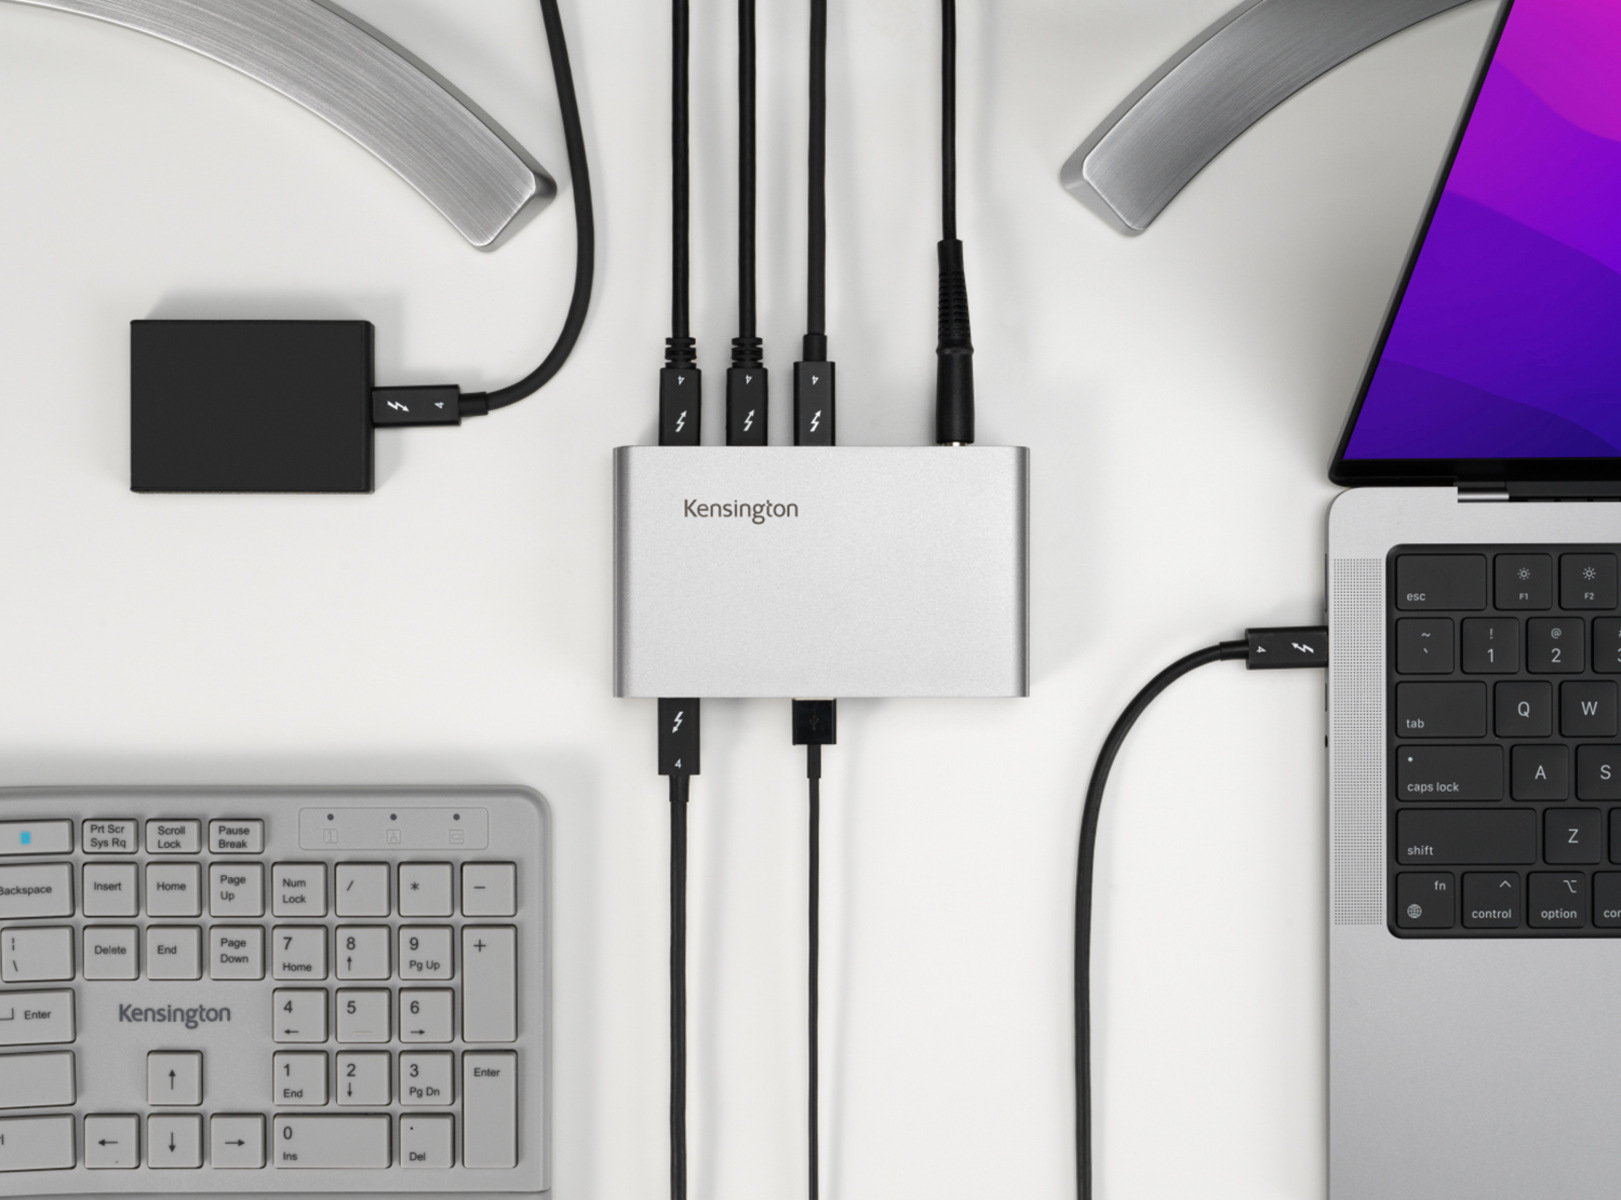
A Thunderbolt dock is a device that expands the connectivity options of your computer. It allows you to connect multiple peripherals such as monitors, external storage devices, keyboards, mice, and more to your computer using a single Thunderbolt cable. This eliminates the need for multiple cables and adapters, simplifying your setup and reducing clutter on your desk.
Now, let’s delve into the benefits of using a Thunderbolt dock. First and foremost, it provides a seamless and efficient way to connect all your peripherals to your computer. Instead of fumbling with multiple cables and ports, you can simply plug everything into the dock and connect a single Thunderbolt cable to your computer. Not only does this save time and reduce frustration, but it also helps to keep your workspace neat and organized.
Another significant advantage of Thunderbolt docks is the high data transfer speeds they offer. Thunderbolt technology boasts blazing fast speeds that allow for quick and efficient file transfers between your computer and external devices. This is especially beneficial if you work with large files, such as high-resolution videos or complex design projects. With a Thunderbolt dock, you can transfer data in a matter of seconds, significantly improving your productivity and workflow.
Furthermore, Thunderbolt docks often come equipped with multiple USB ports, enabling you to connect a wide range of USB devices simultaneously. This means you can connect your external hard drives, printers, cameras, and other USB peripherals without the need for additional hubs or adapters. It provides a convenient and efficient way to expand the connectivity options of your computer, making it a versatile tool for various work environments.
In the next few sections, we will guide you through the process of choosing the right Thunderbolt dock for your needs, unboxing and connecting the dock to your computer, installing the necessary drivers and software, and testing its functionality. So, let’s get started on setting up your Thunderbolt dock and unlock the full potential of your computer!
What is a Thunderbolt Dock?
A Thunderbolt dock is a versatile device that expands the connectivity options of your computer. It serves as a central hub where you can connect multiple peripherals and devices using a single Thunderbolt cable. This not only simplifies your setup but also provides a seamless and efficient way to manage your workspace.
At its core, Thunderbolt technology is a high-speed interface developed by Intel in collaboration with Apple. It delivers lightning-fast data transfer speeds and allows for daisy-chaining multiple devices together. Thunderbolt docks leverage this technology to bring a host of benefits to your computing experience.
So, what can you connect to a Thunderbolt dock? The possibilities are endless. You can connect external displays, USB devices, Ethernet cables, audio devices, SD card readers, and even power your laptop through the same Thunderbolt cable. This means you can transform your laptop into a full-fledged workstation with a single connection.
One of the key advantages of a Thunderbolt dock is the daisy-chaining capability. This means you can connect multiple Thunderbolt devices in series, reducing the number of cables cluttering your workspace. With daisy-chaining, you can link devices like external hard drives, monitors, and even another Thunderbolt dock to expand your connectivity options further.
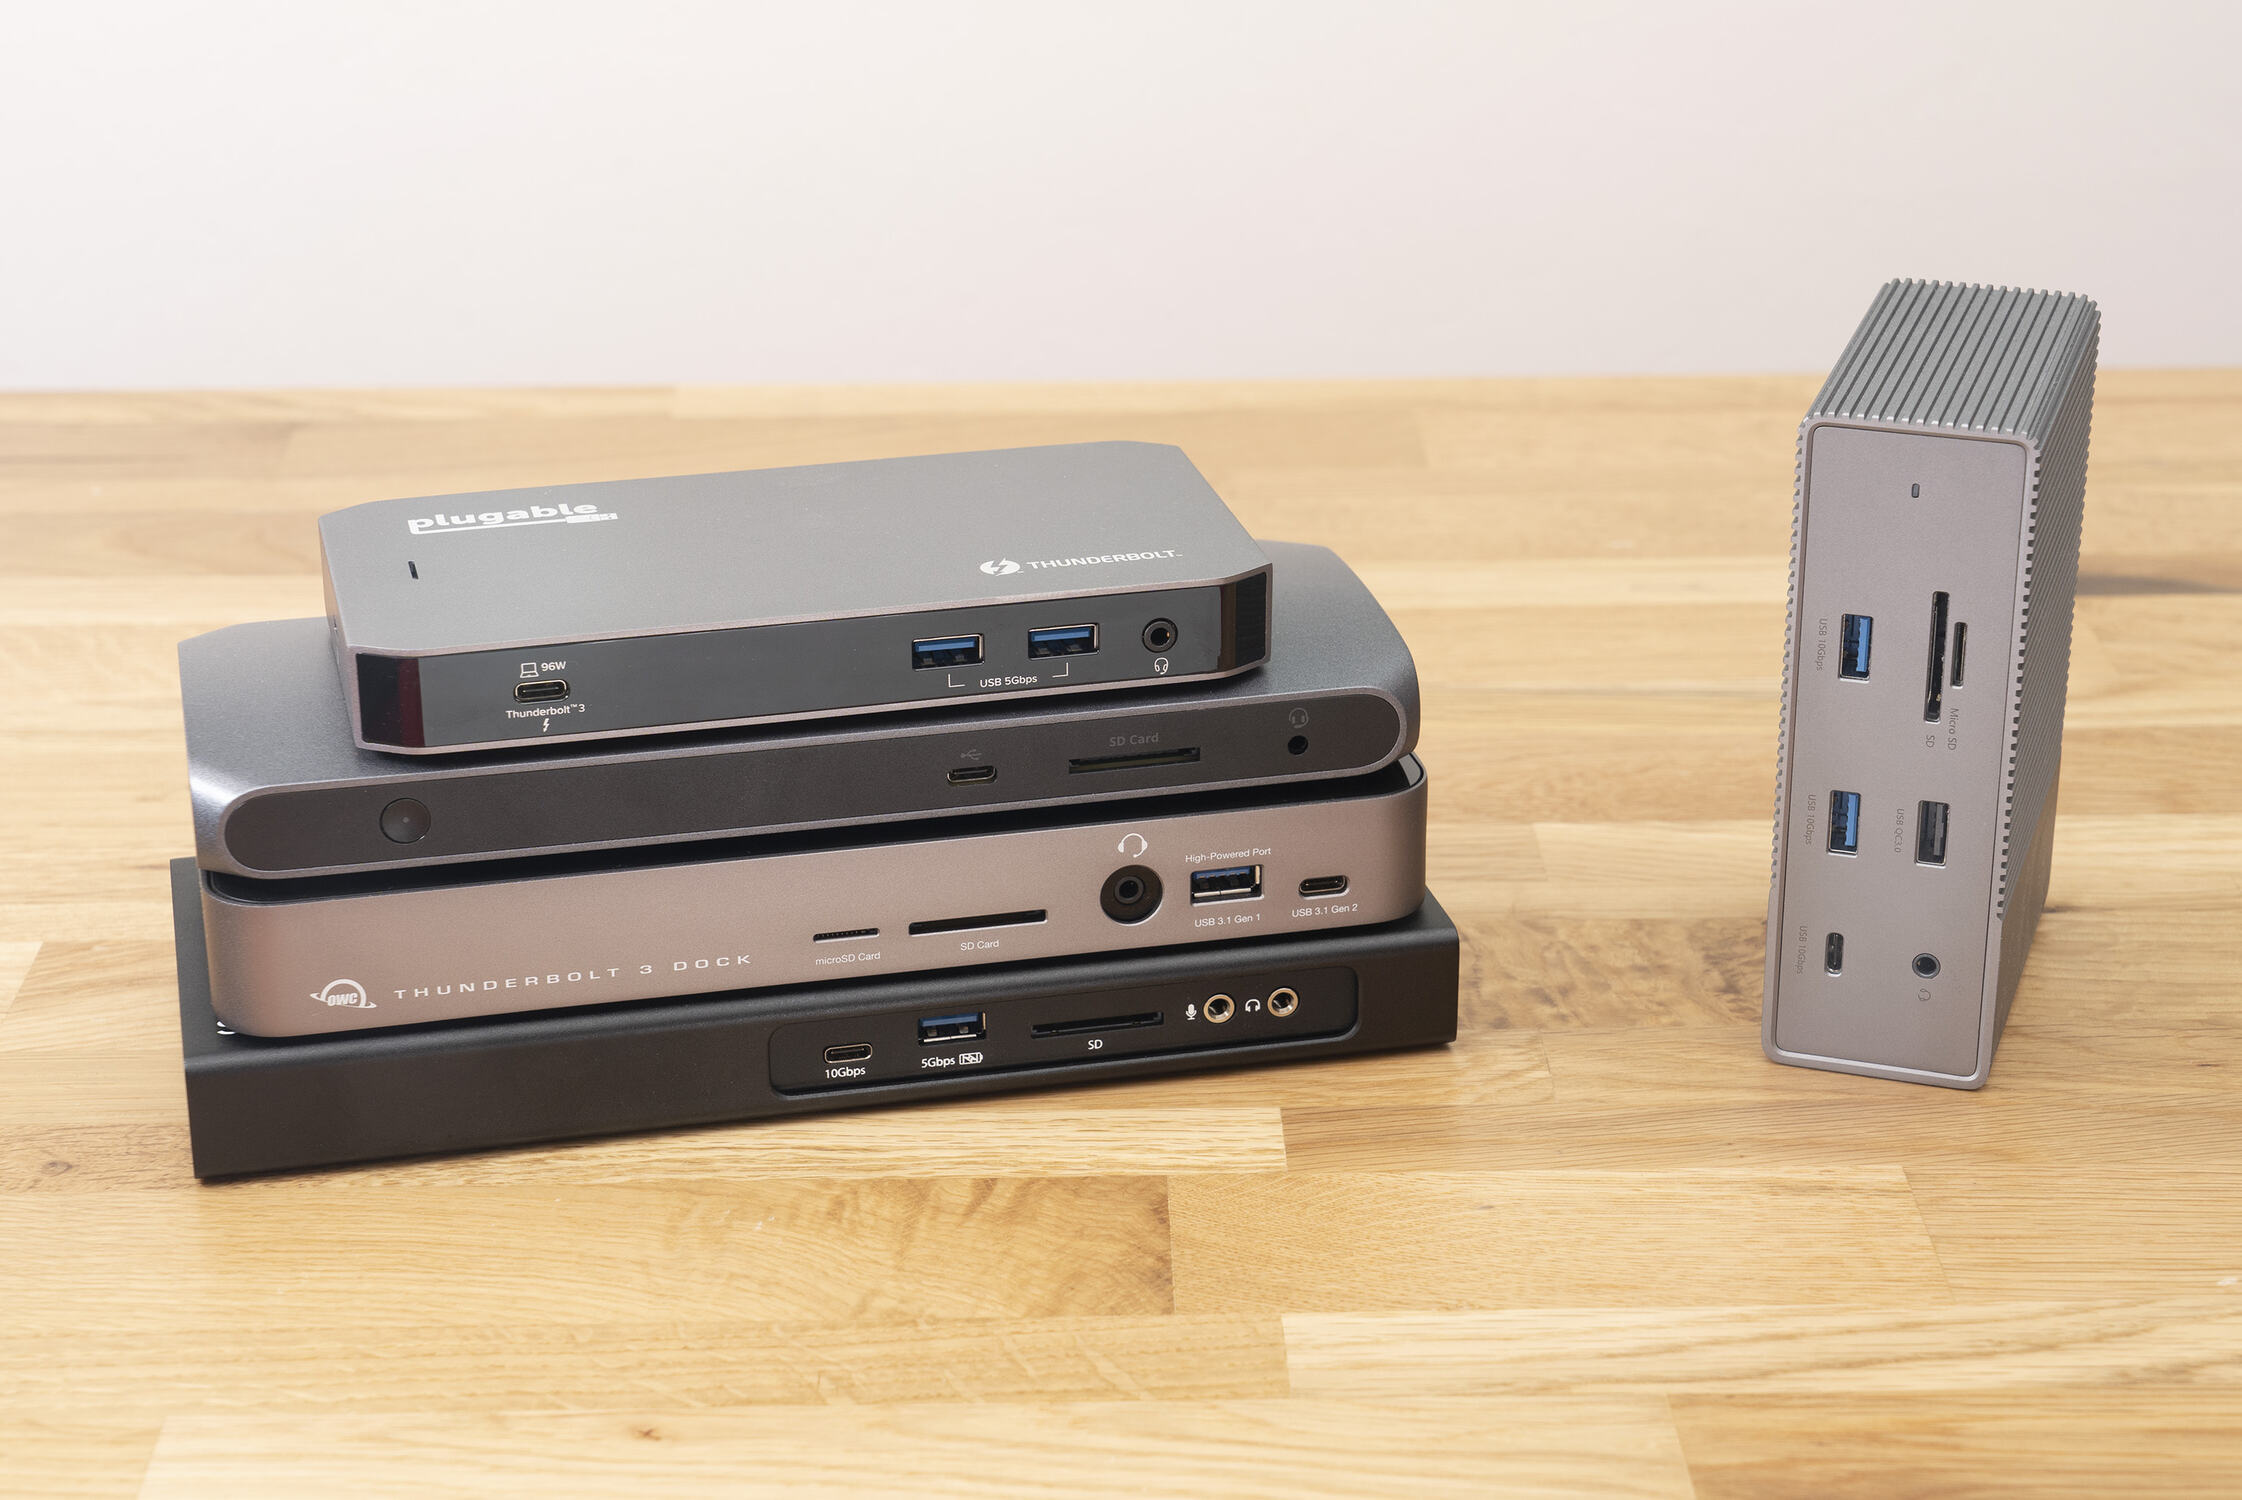
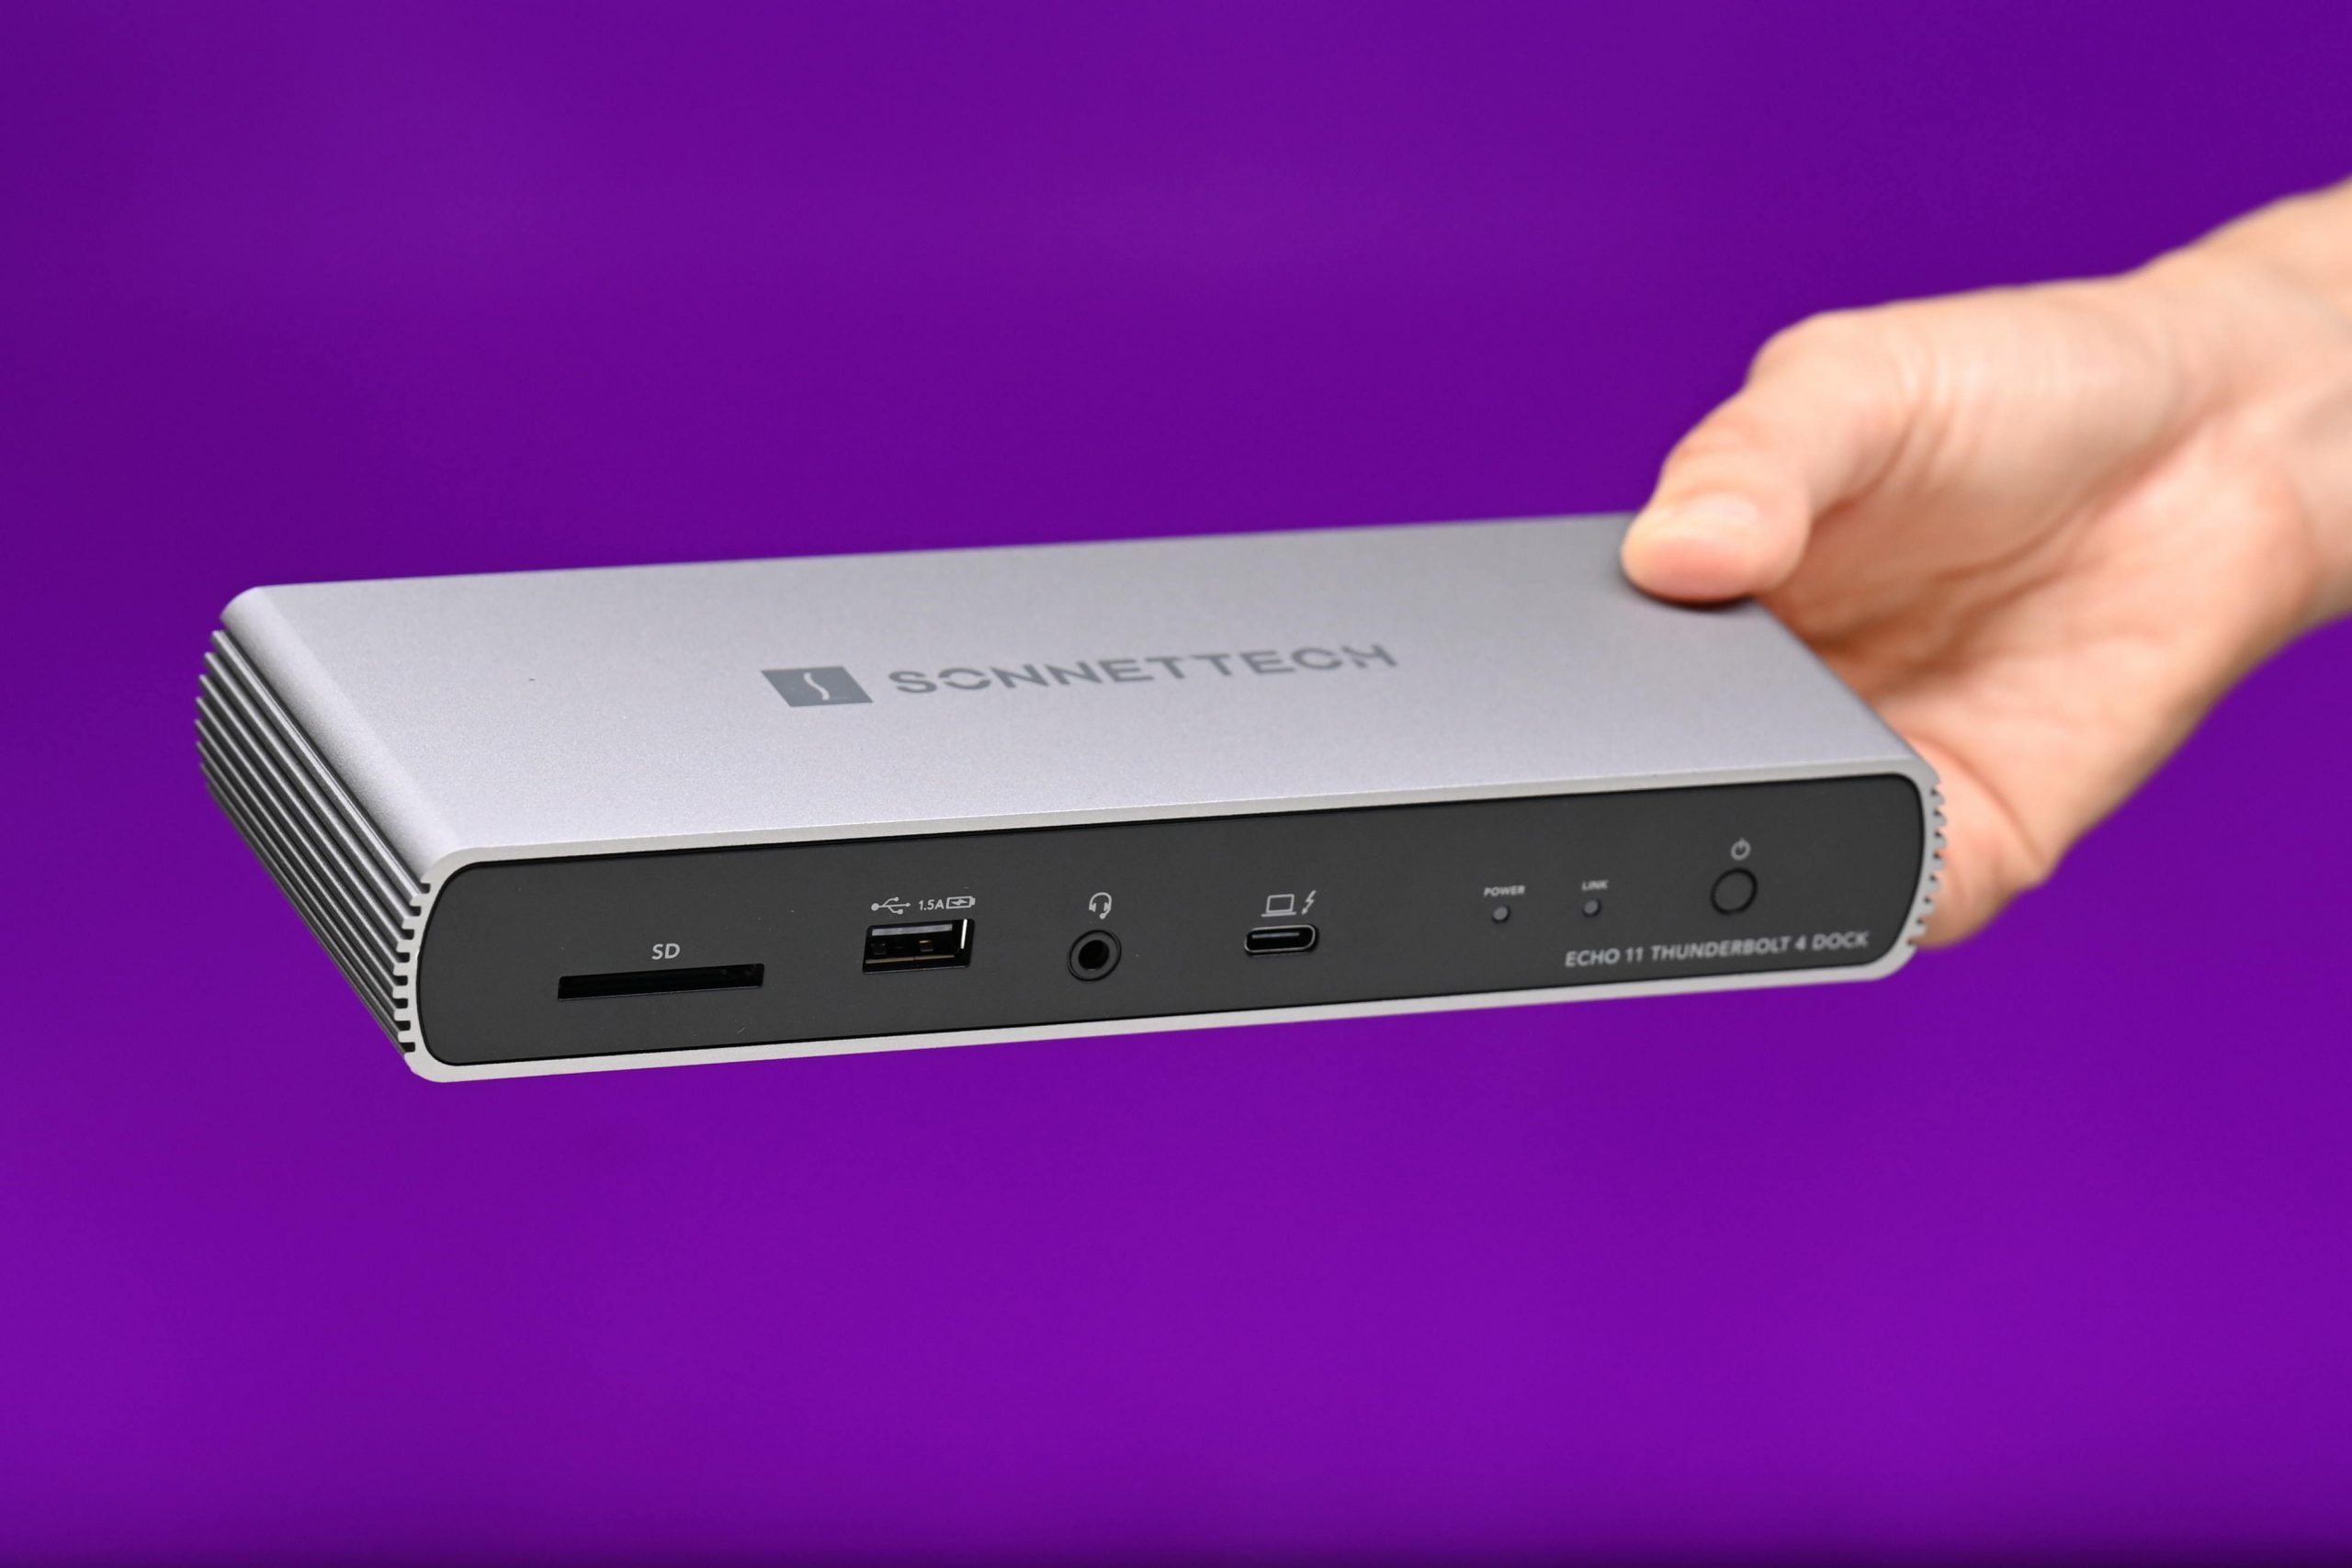
Thunderbolt docks are available in various configurations to meet different user requirements. Some come with a single Thunderbolt port, while others offer multiple ports to accommodate a wider range of peripherals. They also come equipped with USB ports, HDMI or DisplayPort outputs, audio jacks, and more, providing a versatile solution for connecting all your devices.
Not only do Thunderbolt docks offer connectivity options, but they also provide power delivery to compatible devices. With Power Delivery (PD) support, you can charge your laptop, tablet, or smartphone directly from the dock, eliminating the need for separate chargers and adapters.
Overall, a Thunderbolt dock enhances the functionality of your computer by simplifying connectivity and offering super-fast data transfer speeds. It eliminates the hassle of plugging and unplugging cables, tidies up your workspace, and provides a seamless user experience.
In the next section, we will explore the benefits of using a Thunderbolt dock and how it can improve your productivity. So, let’s discover all the advantages awaiting you with this powerful device.
Benefits of using a Thunderbolt Dock
Using a Thunderbolt dock offers numerous advantages that can greatly enhance your computing experience. Let’s take a closer look at the key benefits that come with incorporating a Thunderbolt dock into your setup.
1. Streamlined Connectivity: One of the major advantages of a Thunderbolt dock is that it streamlines the connectivity process. Instead of dealing with multiple cables and adapters, you can connect all your peripherals to the dock and then simply connect a single Thunderbolt cable to your computer. This makes it incredibly convenient and ensures a clutter-free workspace.
2. Expanded Connectivity Options: Thunderbolt docks offer a wide variety of ports to accommodate various devices. You can connect multiple displays, USB devices, Ethernet cables, audio devices, and more. Whether you need to connect external monitors for increased productivity or external storage devices for expanded storage, a Thunderbolt dock provides the necessary ports to meet your needs.
3. High-Speed Data Transfer: Thunderbolt technology delivers lightning-fast data transfer speeds, making it ideal for tasks that involve transferring large files. Whether you are transferring high-resolution videos, working with complex design files, or backing up your data, a Thunderbolt dock ensures fast and efficient file transfers, saving you valuable time.
4. Power Delivery: Many Thunderbolt docks come equipped with Power Delivery (PD) support, allowing you to charge your devices directly from the dock. This eliminates the need for additional chargers and adapters, making it a convenient solution, especially for laptops, tablets, and smartphones.
5. Simplified Workspace: With a Thunderbolt dock, you can reduce cable clutter on your desk. Instead of having separate cables for each peripheral, you can connect them all to the dock. This not only tidies up your workspace but also makes it easier to manage your devices, leading to improved organization and productivity.
6. Flexibility and Versatility: Thunderbolt docks offer versatility in terms of connecting different types of devices. They support various peripherals, including displays, storage devices, audio equipment, and more. This flexibility allows you to customize your setup according to your specific requirements, making it suitable for different work environments.
7. Daisy-Chaining: Thunderbolt docks allow for daisy-chaining, which means you can connect multiple Thunderbolt devices in a series. This expands your connectivity options even further, allowing you to connect additional displays or external storage devices without the need for extra cables or ports.
By leveraging these benefits, a Thunderbolt dock can significantly improve your productivity and workflow. It simplifies the process of connecting and managing peripherals, provides fast data transfer speeds, and enhances your overall computing experience.
In the next section, we will explore how to choose the right Thunderbolt dock for your specific needs. So, let’s dive into the selection process and find the perfect Thunderbolt dock for you.
Choosing the Right Thunderbolt Dock for Your Needs
When it comes to choosing a Thunderbolt dock, there are several factors to consider to ensure that you select the right one for your specific needs. Let’s explore the key considerations that will help you make an informed decision:
1. Compatibility: Before purchasing a Thunderbolt dock, it’s crucial to ensure that it is compatible with your computer. Check the specifications of your computer to see if it supports Thunderbolt technology and determine the specific version of Thunderbolt it supports.
2. Ports and Connectivity: Consider the number and type of ports you require. Assess the peripherals you currently use or plan to use in the future and ensure that the Thunderbolt dock has the necessary ports to connect them. Look for docks that offer a diverse range of ports, such as USB ports, HDMI, DisplayPort, Ethernet, and audio jacks.
3. Power Delivery: If you rely on your Thunderbolt dock to charge your devices, make sure that it supports Power Delivery (PD) and provides sufficient power to charge your devices effectively. Check the maximum wattage supported by the dock to ensure compatibility with your devices.
4. Display Support: If you work with multiple monitors or require high-resolution displays, confirm that the Thunderbolt dock supports the number of displays and the resolution you need. Some docks support a single display, while others may support multiple monitors with different resolutions.
5. Data Transfer Speed: Thunderbolt docks offer different data transfer speeds depending on the version of Thunderbolt they support. If you regularly work with large files or require fast data transfer, consider opting for a dock that supports higher data transfer speeds to ensure optimal performance.
6. Brand and Reviews: Research the reputation and reliability of different brands that offer Thunderbolt docks. Read customer reviews and feedback to gain insights into the performance and durability of the docks you are considering. Choosing a reputable brand can give you peace of mind and ensure a quality product.
7. Budget: Consider your budget and determine how much you are willing to invest in a Thunderbolt dock. Prices can vary depending on the brand, features, and specifications. Evaluate the value you will receive from the dock based on your specific needs to make an informed decision that aligns with your budget.
Keep in mind that your specific requirements may differ based on your work or personal needs. Take the time to assess your needs thoroughly and prioritize the features that are most important to you.
By considering these factors, you can choose a Thunderbolt dock that meets your needs and provides a seamless and efficient connectivity solution for your computer setup.
Now that you have an idea of what to look for in a Thunderbolt dock, the next section will guide you through the process of unboxing and connecting your Thunderbolt dock to your computer. Let’s move onto the next step in setting up your Thunderbolt dock!
Unboxing your Thunderbolt Dock
Congratulations on your new Thunderbolt dock! Now, it’s time to unbox and set it up. Follow these steps to ensure a smooth unboxing experience:
1. Gather the necessary tools: Before you begin unboxing, make sure you have all the necessary tools on hand. This typically includes a pair of scissors or a box cutter to open the packaging.
2. Carefully unpack the box: Use your scissors or box cutter to open the packaging. Take your time and be cautious to avoid damaging any of the contents. Remove all items from the box and place them on a clean surface.
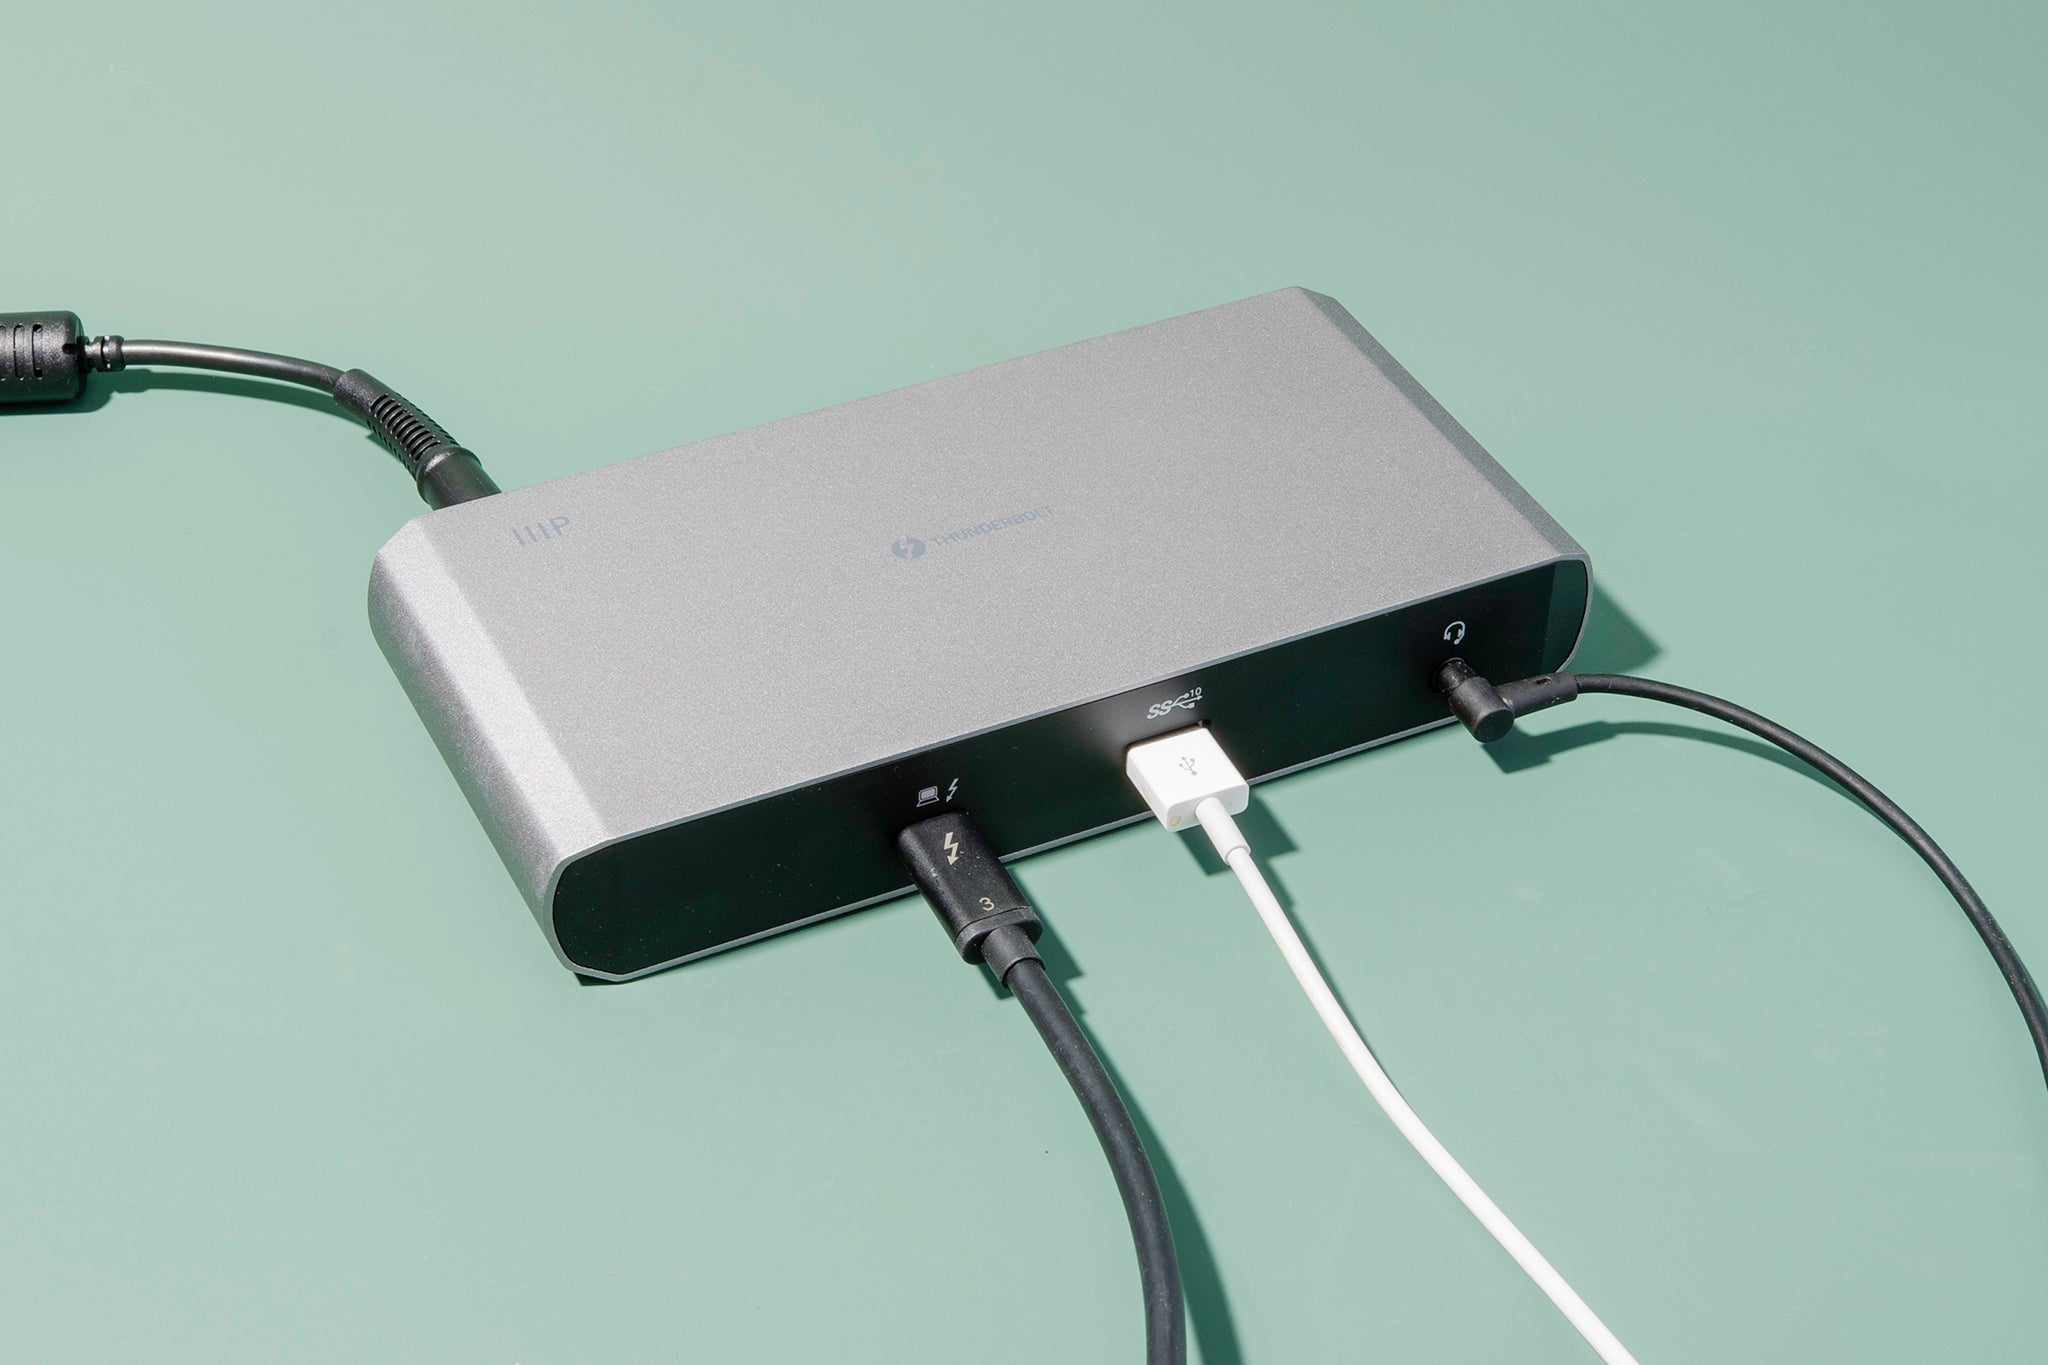
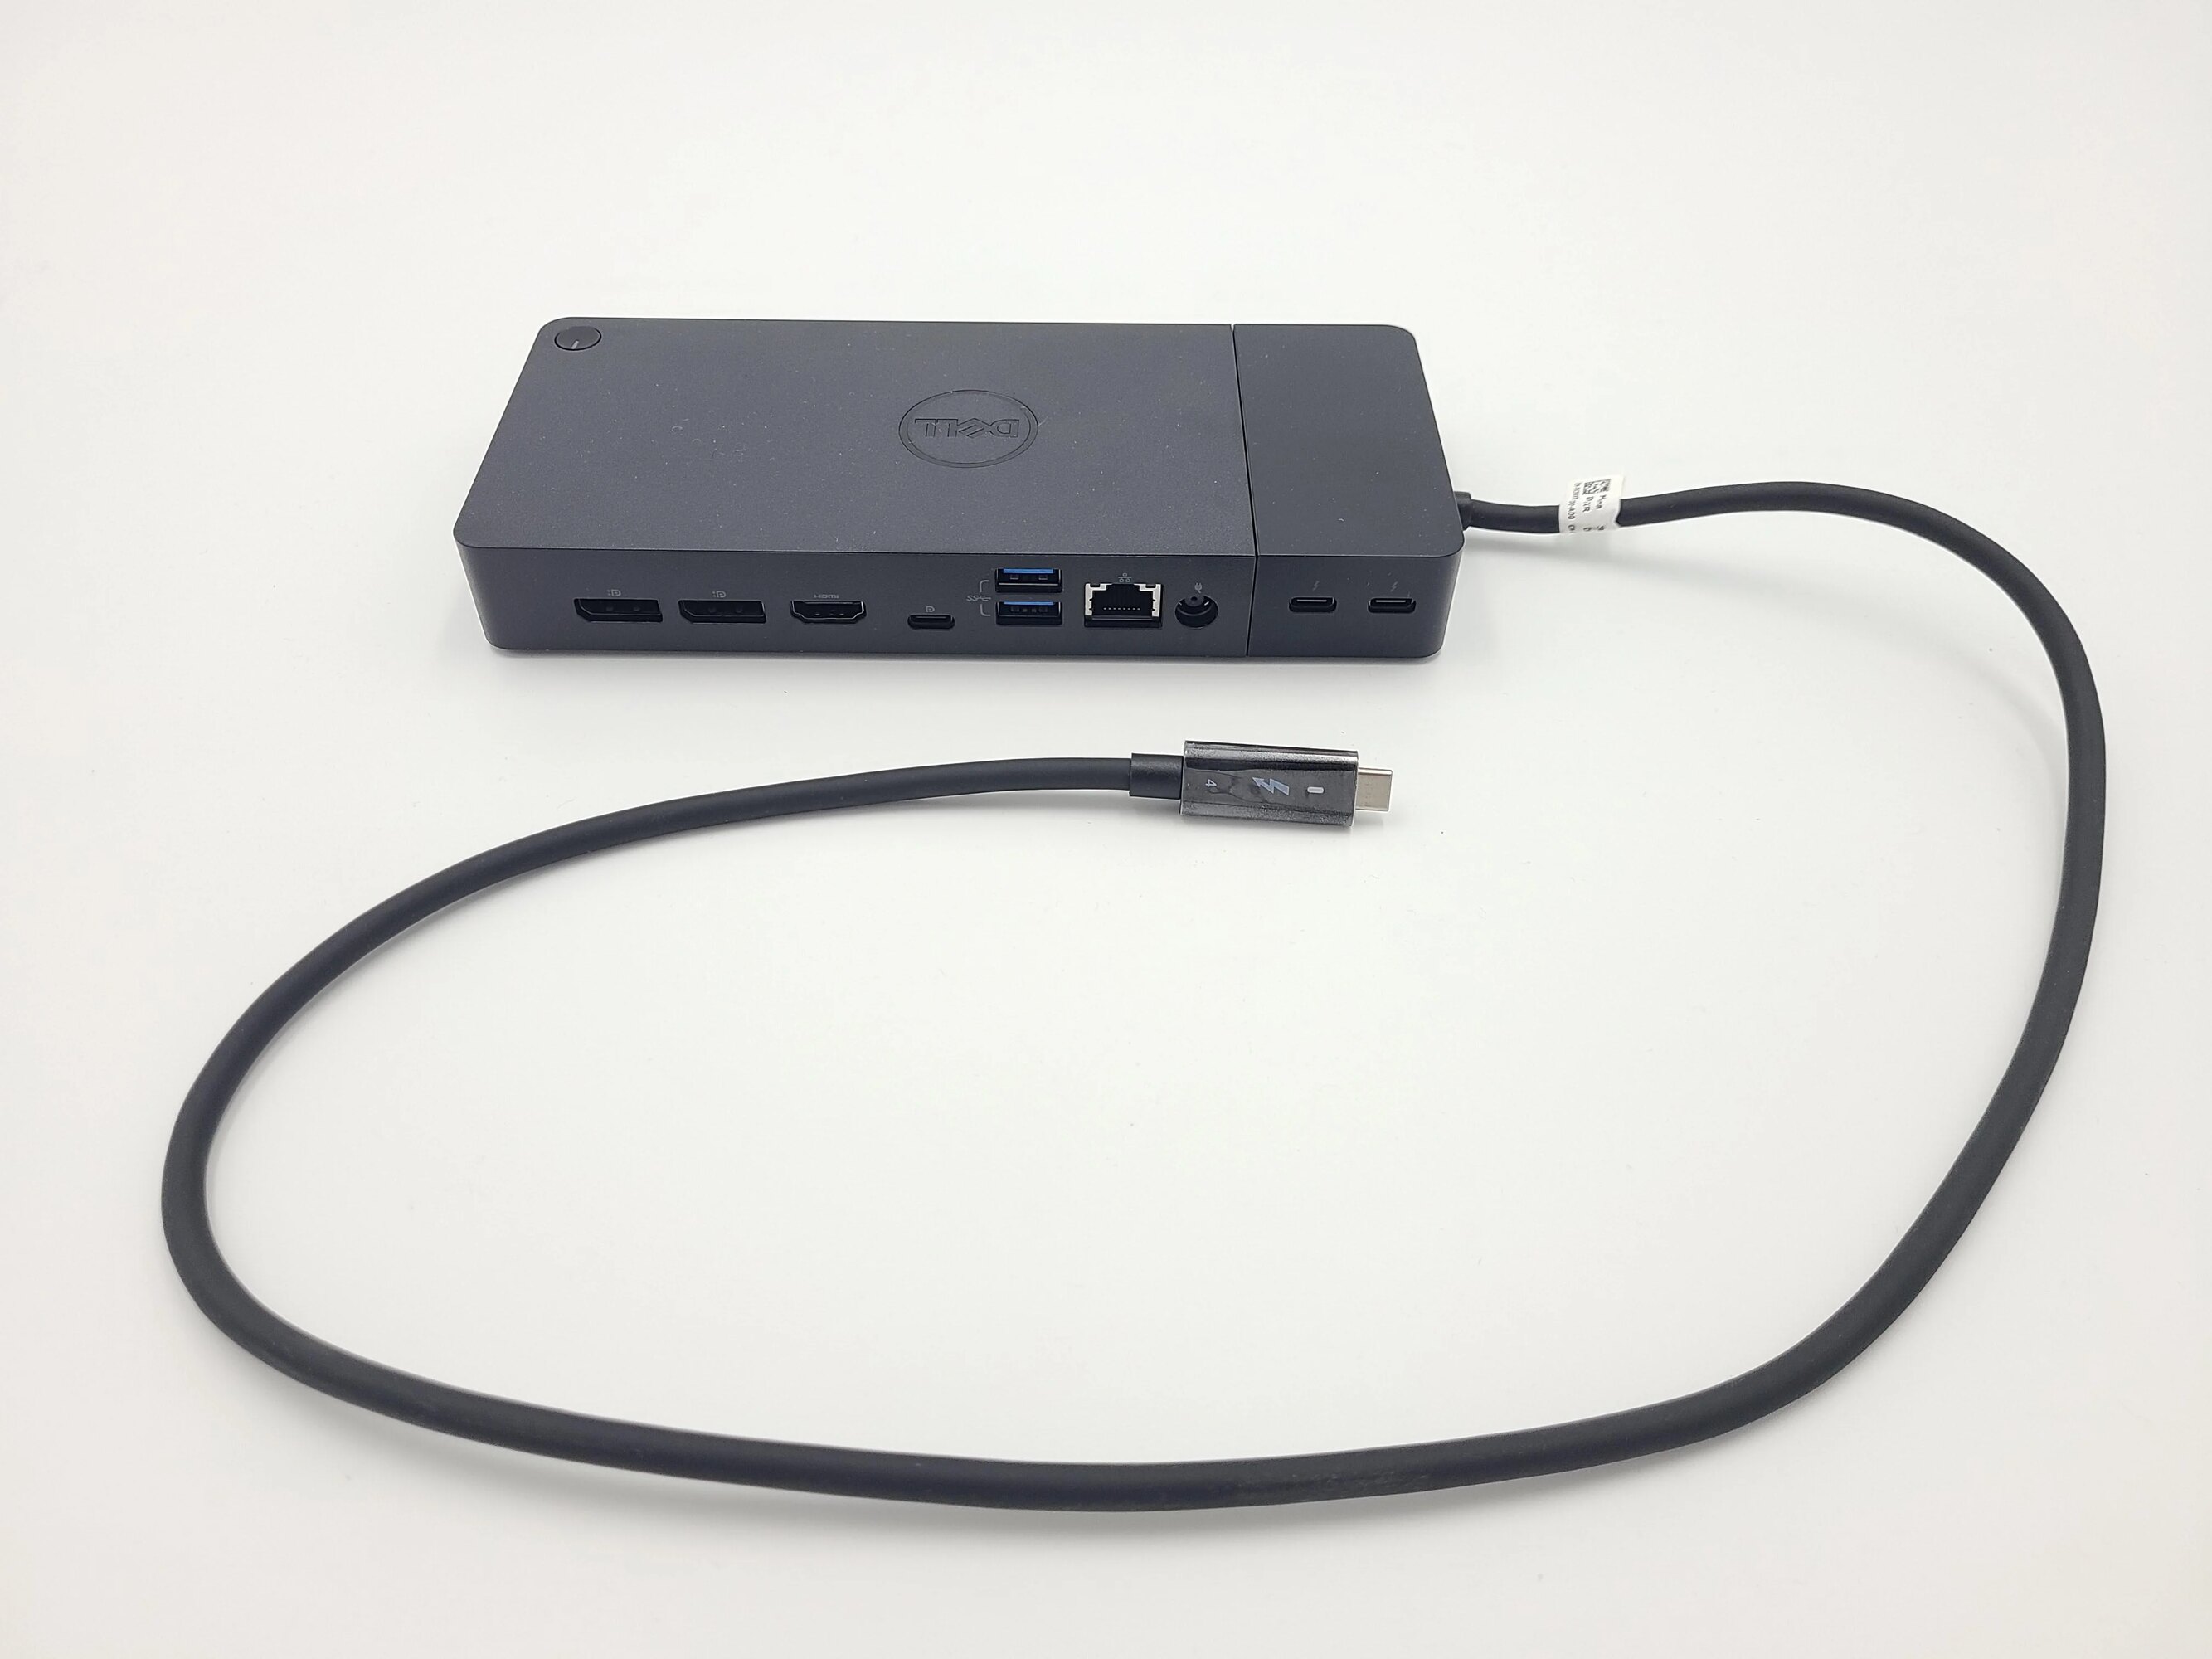
3. Check the contents: Take a moment to inspect the contents of the box. Along with the Thunderbolt dock, you should find a power adapter, a Thunderbolt cable, and any additional accessories that may have been included.
4. Read the user manual: Locate the user manual or setup guide that is included in the packaging. Read through it carefully to familiarize yourself with the dock’s features, instructions for setup, and any specific requirements or recommendations from the manufacturer.
5. Connect the power adapter: Plug one end of the power adapter into the Thunderbolt dock and the other end into a power outlet. Ensure that the power adapter is securely connected and that the dock’s power indicator lights up, indicating that it is receiving power.
6. Connect the Thunderbolt cable: Take the Thunderbolt cable and connect one end to the Thunderbolt dock. The Thunderbolt port on the dock is typically labeled with a Thunderbolt symbol. Ensure that the cable is inserted securely into the port.
7. Connect the other end of the Thunderbolt cable: Connect the other end of the Thunderbolt cable to your computer’s Thunderbolt port. Again, ensure that the cable is inserted securely into the port.
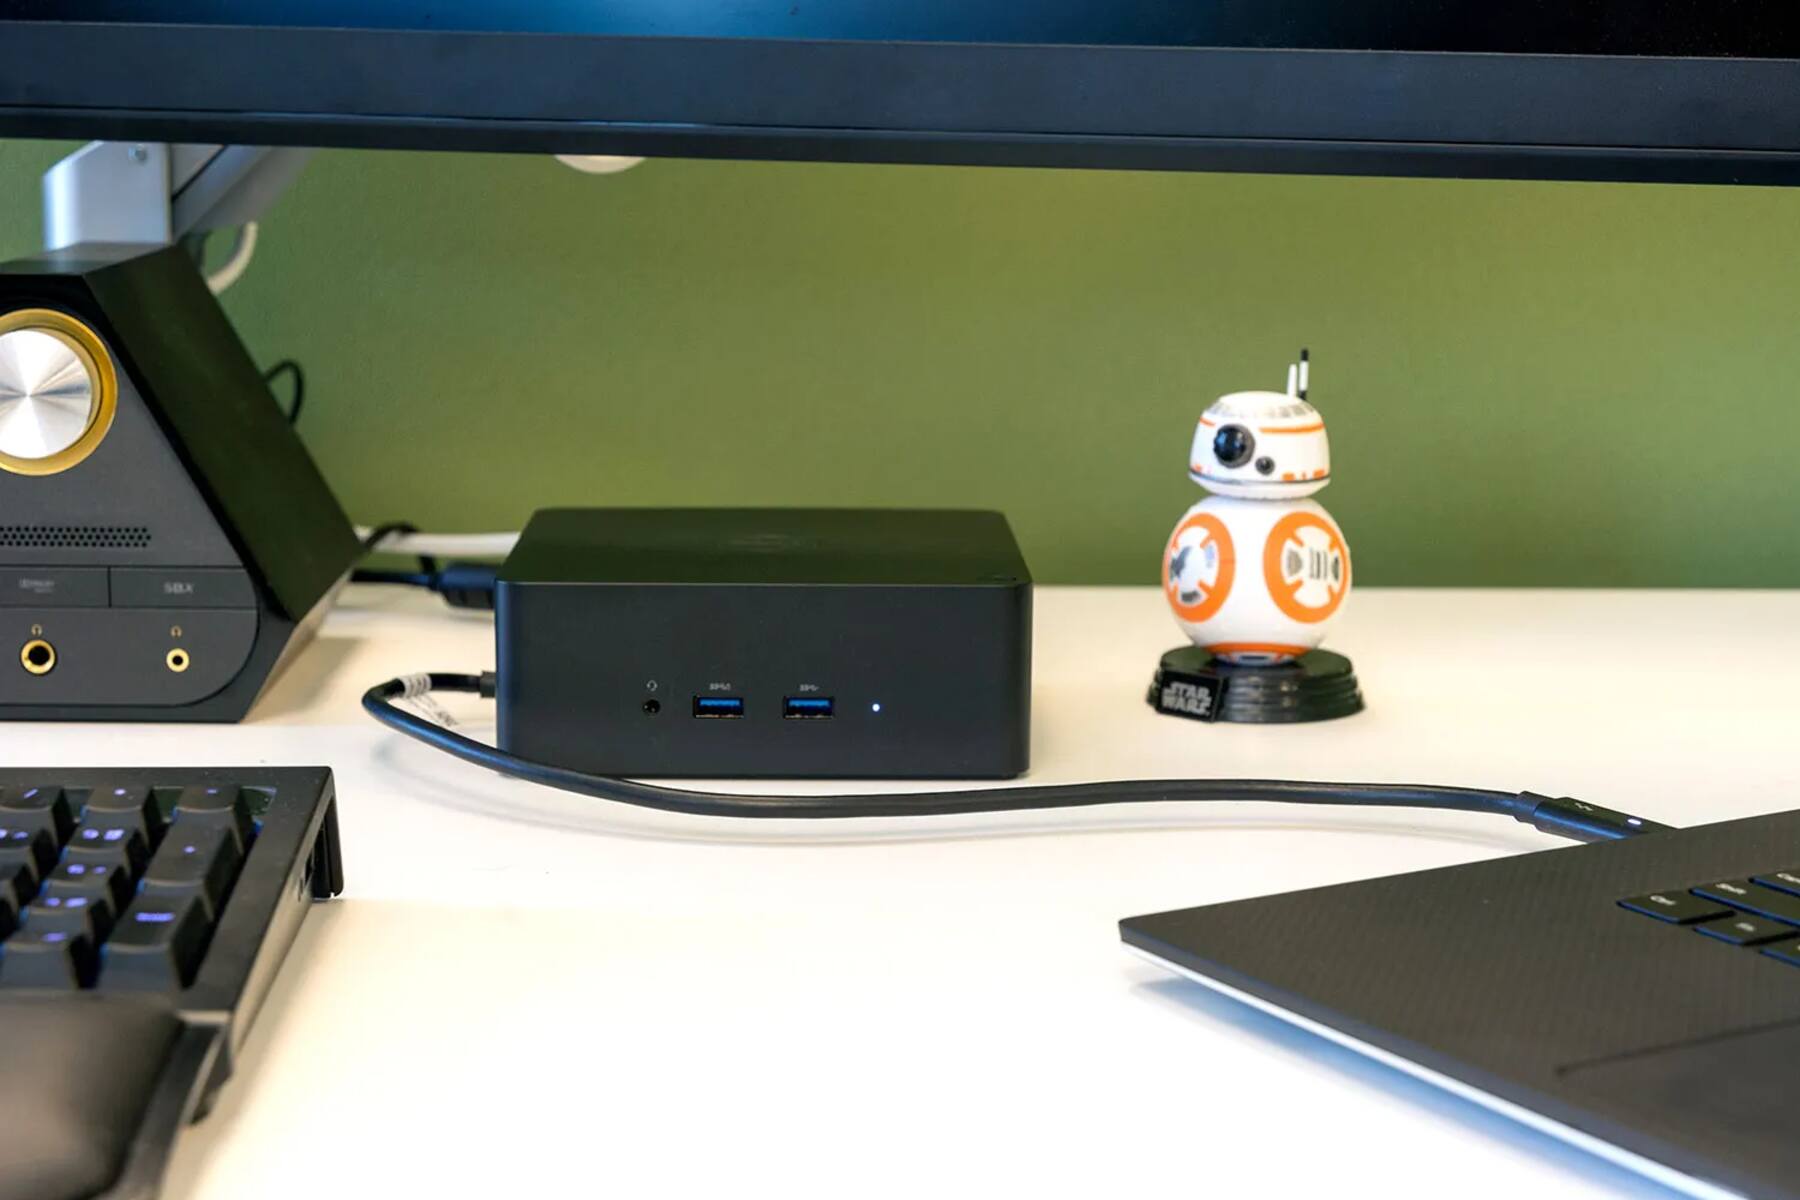
8. Position the Thunderbolt dock: Find a suitable location for your Thunderbolt dock near your computer. Ideally, it should be within reach and easily accessible. Ensure that there is enough space for the dock and its connected peripherals.
9. Power on the Thunderbolt dock: Once all the connections are secure, power on the Thunderbolt dock by flipping the power switch, if applicable. Some docks may have an automatic power-on feature, in which case you can skip this step.
10. Check for device recognition: Once the Thunderbolt dock is powered on, check your computer to see if it recognizes the dock and its connected peripherals. If necessary, install any drivers or software provided by the manufacturer to ensure proper functionality.
That’s it! Your Thunderbolt dock is now unboxed and connected to your computer. Take a moment to marvel at your newly expanded connectivity options and the seamless integration of your peripherals.
In the next section, we will guide you through the process of installing the necessary drivers and software for your Thunderbolt dock. Let’s move on to the next step in setting up your Thunderbolt dock!
Connecting the Thunderbolt Dock to your computer
Now that you have unboxed your Thunderbolt dock, it’s time to connect it to your computer. Follow these steps to establish a connection between your Thunderbolt dock and your computer:
1. Identify the Thunderbolt port: Locate the Thunderbolt port on your computer. It is usually marked with a Thunderbolt symbol. If you are unsure, refer to your computer’s user manual or specifications to find the Thunderbolt port.
2. Plug in the Thunderbolt cable: Take one end of the Thunderbolt cable and plug it into the Thunderbolt port on your computer. Ensure that the cable is inserted securely and that it is properly aligned with the port.
3. Connect the other end of the Thunderbolt cable to the Thunderbolt port on the dock: Find the Thunderbolt port on the Thunderbolt dock, usually labeled with a Thunderbolt symbol. Connect the other end of the Thunderbolt cable to this port. Again, ensure that the connection is secure and properly aligned.
4. Power on the Thunderbolt dock: If the Thunderbolt dock has a power switch, turn it on now. If it doesn’t have a switch, the dock may automatically power on when connected to your computer.
5. Check for device recognition: Once the Thunderbolt dock is powered on and the Thunderbolt cable is connected, check your computer to see if it recognizes the dock and the peripherals connected to it. Your computer should detect and display the connected devices.
6. Install drivers and software (if necessary): Depending on your Thunderbolt dock model and your computer’s operating system, you may need to install drivers or software provided by the dock manufacturer. These drivers and software ensure proper functionality and compatibility with your computer. Check the user manual or manufacturer’s website for any required downloads or installation instructions.
7. Test the connectivity: Once the drivers and software are installed (if required), test the connectivity. Connect your peripherals, such as monitors, external storage devices, keyboards, and mice, to the Thunderbolt dock. Check that they are recognized by your computer and are functioning as expected.
8. Adjust display settings (if necessary): If you have connected external monitors to your Thunderbolt dock, you may need to adjust the display settings on your computer. Go to your computer’s display settings and configure the resolution, orientation, and other display preferences as needed.
Congratulations! You have successfully connected your Thunderbolt dock to your computer. Enjoy the expanded connectivity and convenience that your Thunderbolt dock provides.
In the next section, we will guide you through the process of installing the necessary drivers and software for your Thunderbolt dock. Let’s move on to the next step in setting up your Thunderbolt dock!
Installing the Necessary Drivers and Software
Once you have connected your Thunderbolt dock to your computer, it’s important to ensure that you have the necessary drivers and software installed to maximize its functionality. Follow these steps to install the required drivers and software:
1. Identify the manufacturer: Determine the manufacturer of your Thunderbolt dock. This information can usually be found on the product packaging or in the user manual.
2. Visit the manufacturer’s website: Go to the manufacturer’s website using your preferred web browser. Look for the support or downloads section of the website.
3. Locate the drivers and software: Navigate through the manufacturer’s website to find the drivers and software specifically designed for your Thunderbolt dock model. Look for downloads related to Thunderbolt connectivity or dock functionality.
4. Download the drivers and software: Once you have located the drivers and software for your Thunderbolt dock, download them to your computer. Make sure to select the correct drivers and software for your operating system.
5. Run the installer: Locate the downloaded driver and software files on your computer and run the installer. Follow the on-screen instructions to complete the installation process. Depending on the manufacturer and the specific dock model, the installation process may vary.
6. Restart your computer (if necessary): In some cases, you may be prompted to restart your computer after the installation is complete. Follow the on-screen instructions and restart your computer if required.
7. Connect your peripherals: Once the installation is complete and your computer has restarted (if necessary), connect your peripherals to the Thunderbolt dock. This includes devices such as monitors, external storage devices, keyboards, mice, and any other compatible peripherals.
8. Test the functionality: After connecting your peripherals, ensure that they are recognized by your computer and are functioning properly. Test the connectivity and functionality of each peripheral to make sure they are working as expected.
If you encounter any difficulties during the installation process or experience issues with the functionality of your Thunderbolt dock, consult the manufacturer’s support documentation or contact their customer support for further assistance.
By installing the necessary drivers and software, you ensure that your Thunderbolt dock operates optimally and provides you with the desired functionality. Enjoy the expanded connectivity and convenience that your Thunderbolt dock offers!
In the next section, we will guide you through the process of configuring the settings of your Thunderbolt dock. Let’s proceed to the next step in setting up your Thunderbolt dock!
Configuring the Thunderbolt Dock Settings
Configuring the settings of your Thunderbolt dock allows you to customize its behavior and optimize its performance based on your specific needs. Follow these steps to configure the settings of your Thunderbolt dock:
1. Launch the Thunderbolt dock software: Some Thunderbolt docks come with dedicated software that allows you to configure and manage the settings. Locate and launch the software on your computer. If you are unsure where to find the software, refer to the user manual or visit the manufacturer’s website for instructions.
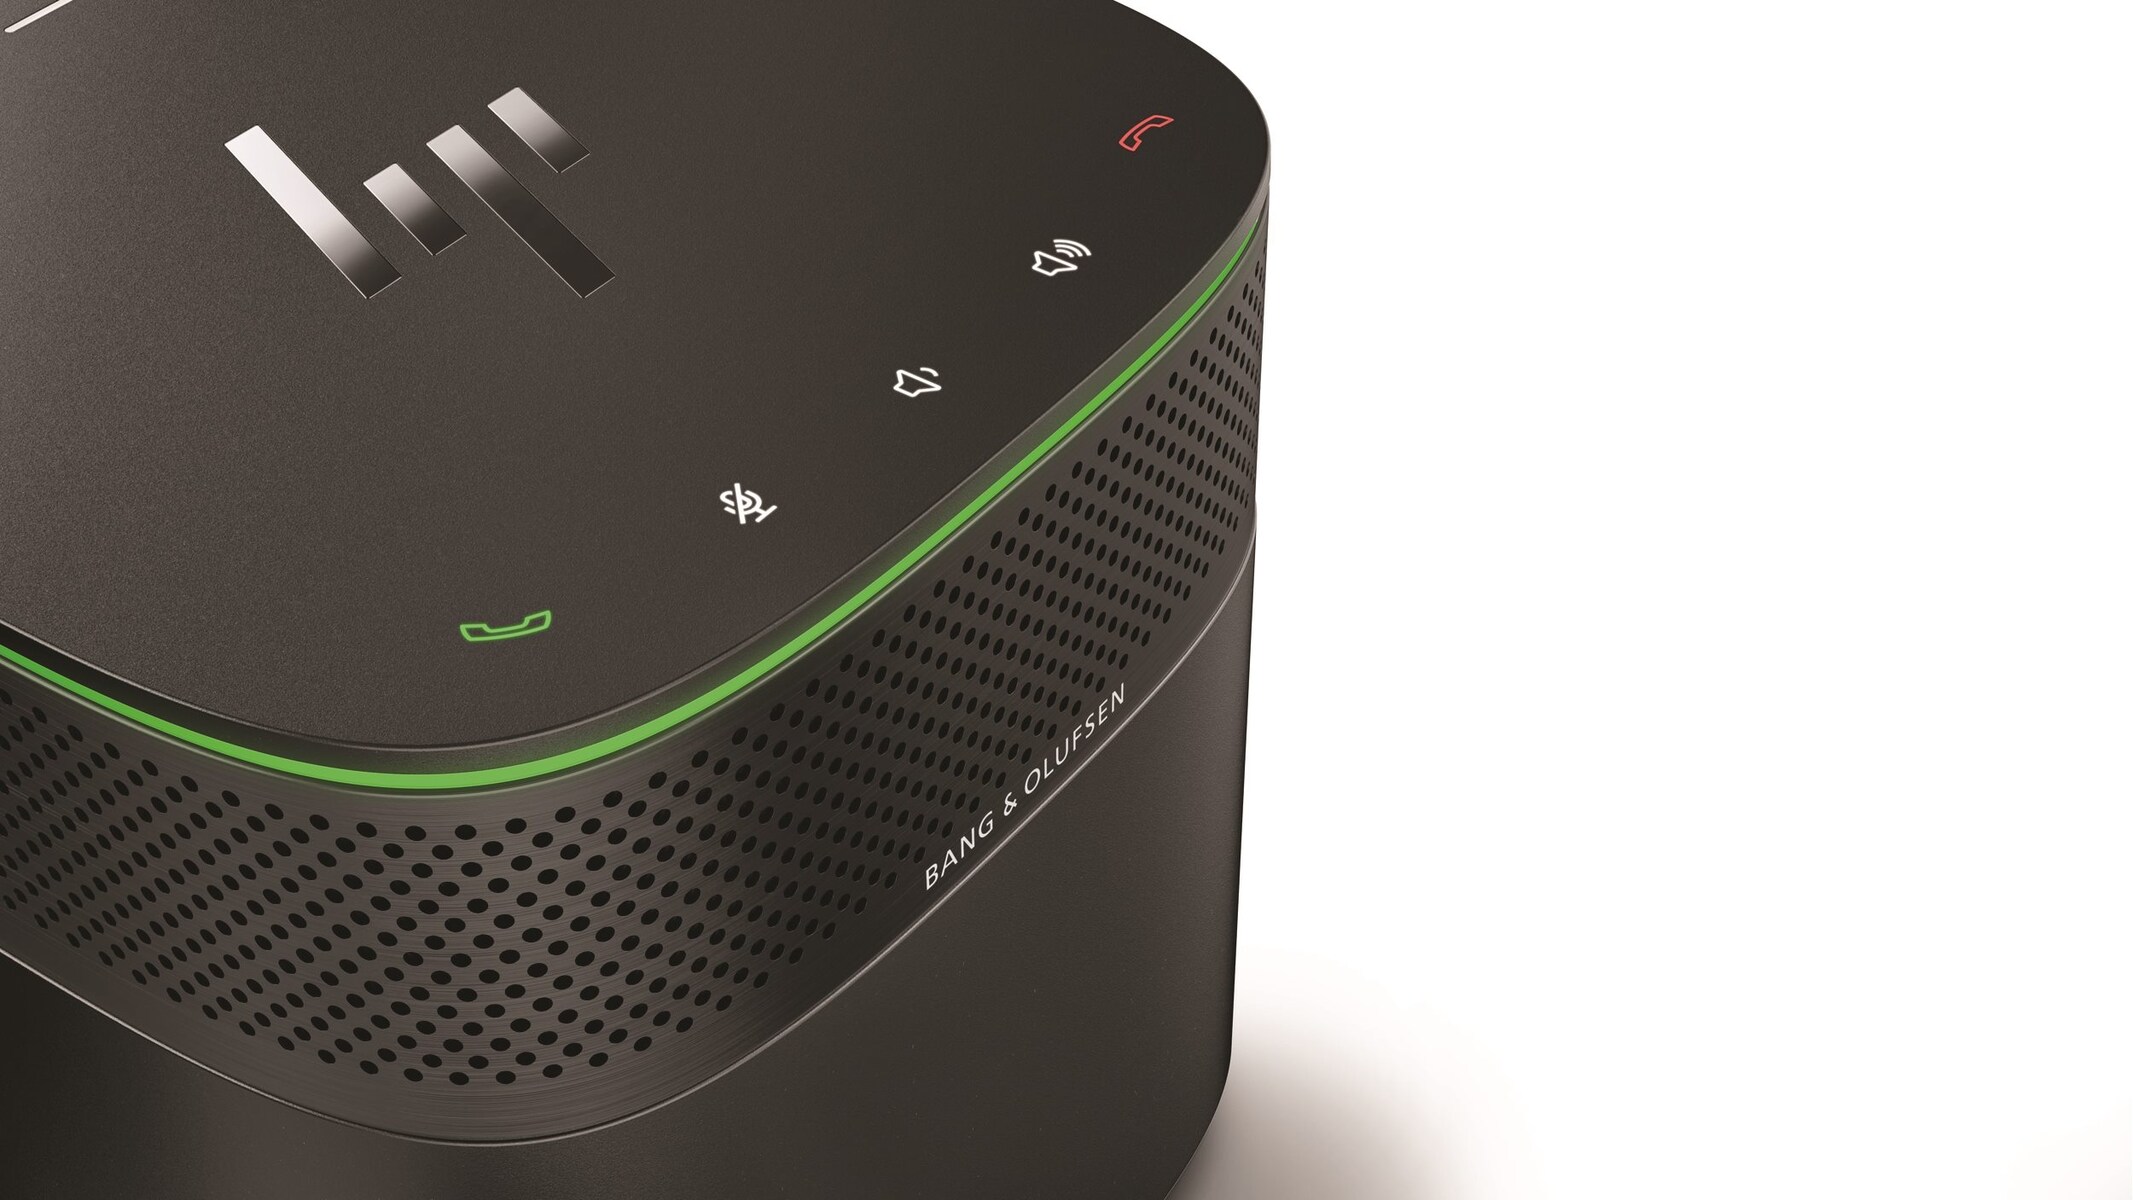
2. Explore the available settings: Once the software is launched, explore the different settings and options available. These can vary depending on the manufacturer and the specific dock model. Common settings include display settings, power delivery options, audio settings, and device management.
3. Adjust display settings: If your Thunderbolt dock supports external displays, you can use the software to adjust various display settings such as resolution, orientation, and color calibration. Customize these settings to ensure an optimal visual experience on your connected monitors.
4. Configure power delivery options: If your Thunderbolt dock supports Power Delivery (PD) and can charge your devices, use the software to configure the power delivery options. You may have the ability to adjust the power output to match the requirements of your devices or enable/disable power delivery altogether.
5. Manage audio settings: If your Thunderbolt dock has audio ports or supports audio functionality, the software may provide options for managing audio input and output settings. Adjust volume levels, select audio sources, and configure other audio-related settings according to your preferences.
6. Customize device management: Depending on the software and the dock features, you may have the ability to manage connected devices, configure hotkeys, set up profiles, or create device-specific settings. Explore these options and customize them as per your requirements.
7. Apply changes and save settings: After making the desired configuration changes, apply the settings and save them if applicable. This ensures that your settings are retained even after restarting your computer or disconnecting and reconnecting the Thunderbolt dock.
8. Test the functionality: Once you have configured the settings of your Thunderbolt dock, test the functionality to ensure that the changes you made are applied correctly and that your connected peripherals are functioning as expected.
Remember, the available settings and options may vary depending on your Thunderbolt dock model and the software provided by the manufacturer. Consult the user manual or the manufacturer’s support documentation for detailed information specific to your Thunderbolt dock.
By customizing the settings of your Thunderbolt dock, you can optimize its functionality and tailor it to your specific requirements, enhancing your computing experience and productivity.
In the next section, we will discuss how to test the functionality of your Thunderbolt dock to ensure that it is working properly. Let’s proceed to the final step in setting up your Thunderbolt dock!
Testing the Thunderbolt Dock’s Functionality
After setting up and configuring your Thunderbolt dock, it’s essential to test its functionality to ensure that it is working properly. Follow these steps to perform a thorough test of your Thunderbolt dock:
1. Test peripheral connectivity: Connect your peripherals to the Thunderbolt dock, including monitors, external storage devices, keyboards, mice, and any other devices you regularly use. Confirm that they are recognized by your computer and that you can access their functionality as intended.
2. Check data transfer speeds: If you frequently transfer large files, test the data transfer speeds of your Thunderbolt dock. Copy a large file from your computer to an external storage device connected to the dock and vice versa. Monitor the transfer speeds and ensure they are within the expected range for Thunderbolt technology.
3. Verify display functionality: If you are using external displays connected to your Thunderbolt dock, verify that they are functioning properly. Check the display settings on your computer and ensure that the correct resolutions, orientations, and refresh rates are applied. Move windows between monitors to confirm smooth and accurate display transitions.
4. Test audio functionality: If your Thunderbolt dock supports audio functionality, play audio through the dock’s audio ports. Plug in headphones or speakers and verify that the audio output is clear without any distortions or issues. Test the microphone input, if available, to ensure it captures sound accurately.
5. Evaluate charging capability: If your Thunderbolt dock supports Power Delivery (PD) and can charge devices, connect a compatible device to the dock and verify that it charges correctly. Monitor the charging speed and ensure it aligns with the specifications of your device.
6. Assess network connectivity: If your Thunderbolt dock has an Ethernet port, connect an Ethernet cable and verify that the network connection is stable. Run a speed test or perform tasks that require an internet connection to ensure that the Ethernet functionality of the dock is working properly.
7. Test daisy-chaining (if applicable): If your Thunderbolt dock supports daisy-chaining, connect another Thunderbolt device to the dock and confirm that it is recognized by your computer. Test the functionality of the daisy-chained device to ensure seamless data transfer and compatibility.
8. Monitor system stability: Keep an eye on your computer’s overall performance and stability while using the Thunderbolt dock. Pay attention to any abnormal behavior, such as freezes, crashes, or peripherals disconnecting without reason. Address any issues promptly for a smooth computing experience.
By performing these tests, you can ensure that your Thunderbolt dock is functioning as intended and that all connected peripherals are working correctly. If you encounter any issues during testing, refer to the user manual, manufacturer’s support documentation, or reach out to their customer support for assistance.
With a fully tested and functional Thunderbolt dock, you can enjoy the convenience and enhanced productivity that it brings to your computing setup.
In the final section, we will address common issues that users may encounter with Thunderbolt docks and provide troubleshooting tips. Let’s explore the troubleshooting process to ensure that you can resolve any potential problems with your Thunderbolt dock.
Troubleshooting Common Issues
While Thunderbolt docks are generally reliable and easy to set up, you may encounter some common issues during the installation or usage process. Here are a few troubleshooting tips to help resolve these issues:
1. Verify cable connections: Double-check all cable connections between your computer, Thunderbolt dock, and peripherals. Ensure they are securely plugged in and properly aligned. Sometimes, loose or improperly connected cables can cause connectivity problems.
2. Update drivers and software: Ensure that you have the latest drivers and software for your Thunderbolt dock installed on your computer. Visit the manufacturer’s website and download any available updates. Outdated drivers and software can lead to compatibility issues and performance problems.
3. Restart your computer: Restarting your computer can often resolve minor connectivity or recognition issues. Try restarting your computer after connecting the Thunderbolt dock to refresh the system and establish a proper connection.
4. Check Thunderbolt port compatibility: Verify that your computer’s Thunderbolt port is compatible with the Thunderbolt dock you are using. Some older computers may have limitations on Thunderbolt version or power delivery capabilities that could cause compatibility issues.
5. Disable and re-enable Thunderbolt: On some computers, disabling and re-enabling Thunderbolt in the system settings can help re-establish the connection between your computer and the Thunderbolt dock. Access your computer’s Thunderbolt settings and toggle the option off and then on again.
6. Reset the Thunderbolt dock: If you are experiencing persistent issues, try resetting the Thunderbolt dock. Consult the user manual or the manufacturer’s support documentation for instructions on how to perform a reset. This will restore the dock to its default settings and may resolve any underlying problems.
7. Test with different peripherals and cables: If you are experiencing issues with specific peripherals, try connecting different ones to the Thunderbolt dock to determine if the issue is device-specific. Additionally, testing with different cables can help identify any faulty or inadequate cables that may be causing problems.
8. Check for firmware updates: Some Thunderbolt docks have firmware that can be updated for improved performance and bug fixes. Check the manufacturer’s website for any available firmware updates and follow the instructions to update the dock’s firmware if necessary.
If you have tried these troubleshooting tips and are still experiencing issues with your Thunderbolt dock, it’s recommended to reach out to the manufacturer’s customer support. They can provide further assistance and guidance tailored to your specific situation.
By troubleshooting common issues, you can ensure that your Thunderbolt dock operates smoothly, providing you with the seamless connectivity and enhanced productivity that it promises.
In the final section, we will wrap up our guide on setting up a Thunderbolt dock. Let’s conclude this guide with a summary of the key points covered.
Conclusion
Setting up a Thunderbolt dock is a great way to streamline your workspace and enhance your productivity. By connecting multiple peripherals to a single hub, you can simplify cable management and enjoy the benefits of high-speed data transfer, expanded connectivity options, and streamlined device charging.
In this guide, we covered the essentials of setting up a Thunderbolt dock. We began by explaining what a Thunderbolt dock is and the benefits it offers, including simplified connectivity, high-speed data transfer, and expanded device compatibility. We then provided guidance on choosing the right Thunderbolt dock for your needs, unboxing it, connecting it to your computer, installing essential drivers and software, configuring the dock’s settings, testing its functionality, and troubleshooting common issues.
Throughout the setup process, it’s important to refer to the user manual and support documentation provided by the manufacturer for your specific Thunderbolt dock model. This will ensure that you follow the correct procedures and address any manufacturer-specific requirements.
Remember to regularly check for firmware updates and keep your Thunderbolt dock’s drivers and software up to date. This will ensure optimal performance, compatibility with your computer, and access to the latest features and improvements.
With a properly set up Thunderbolt dock, you can enjoy a clutter-free workspace, seamless connectivity, and a boost in productivity. Take advantage of the versatility and convenience that your Thunderbolt dock offers as you connect and manage your peripherals with ease.
We hope this guide has provided you with valuable insights and step-by-step instructions to set up your Thunderbolt dock successfully. Now, go ahead and unleash the full potential of your computer setup with the power of Thunderbolt technology!