Introduction
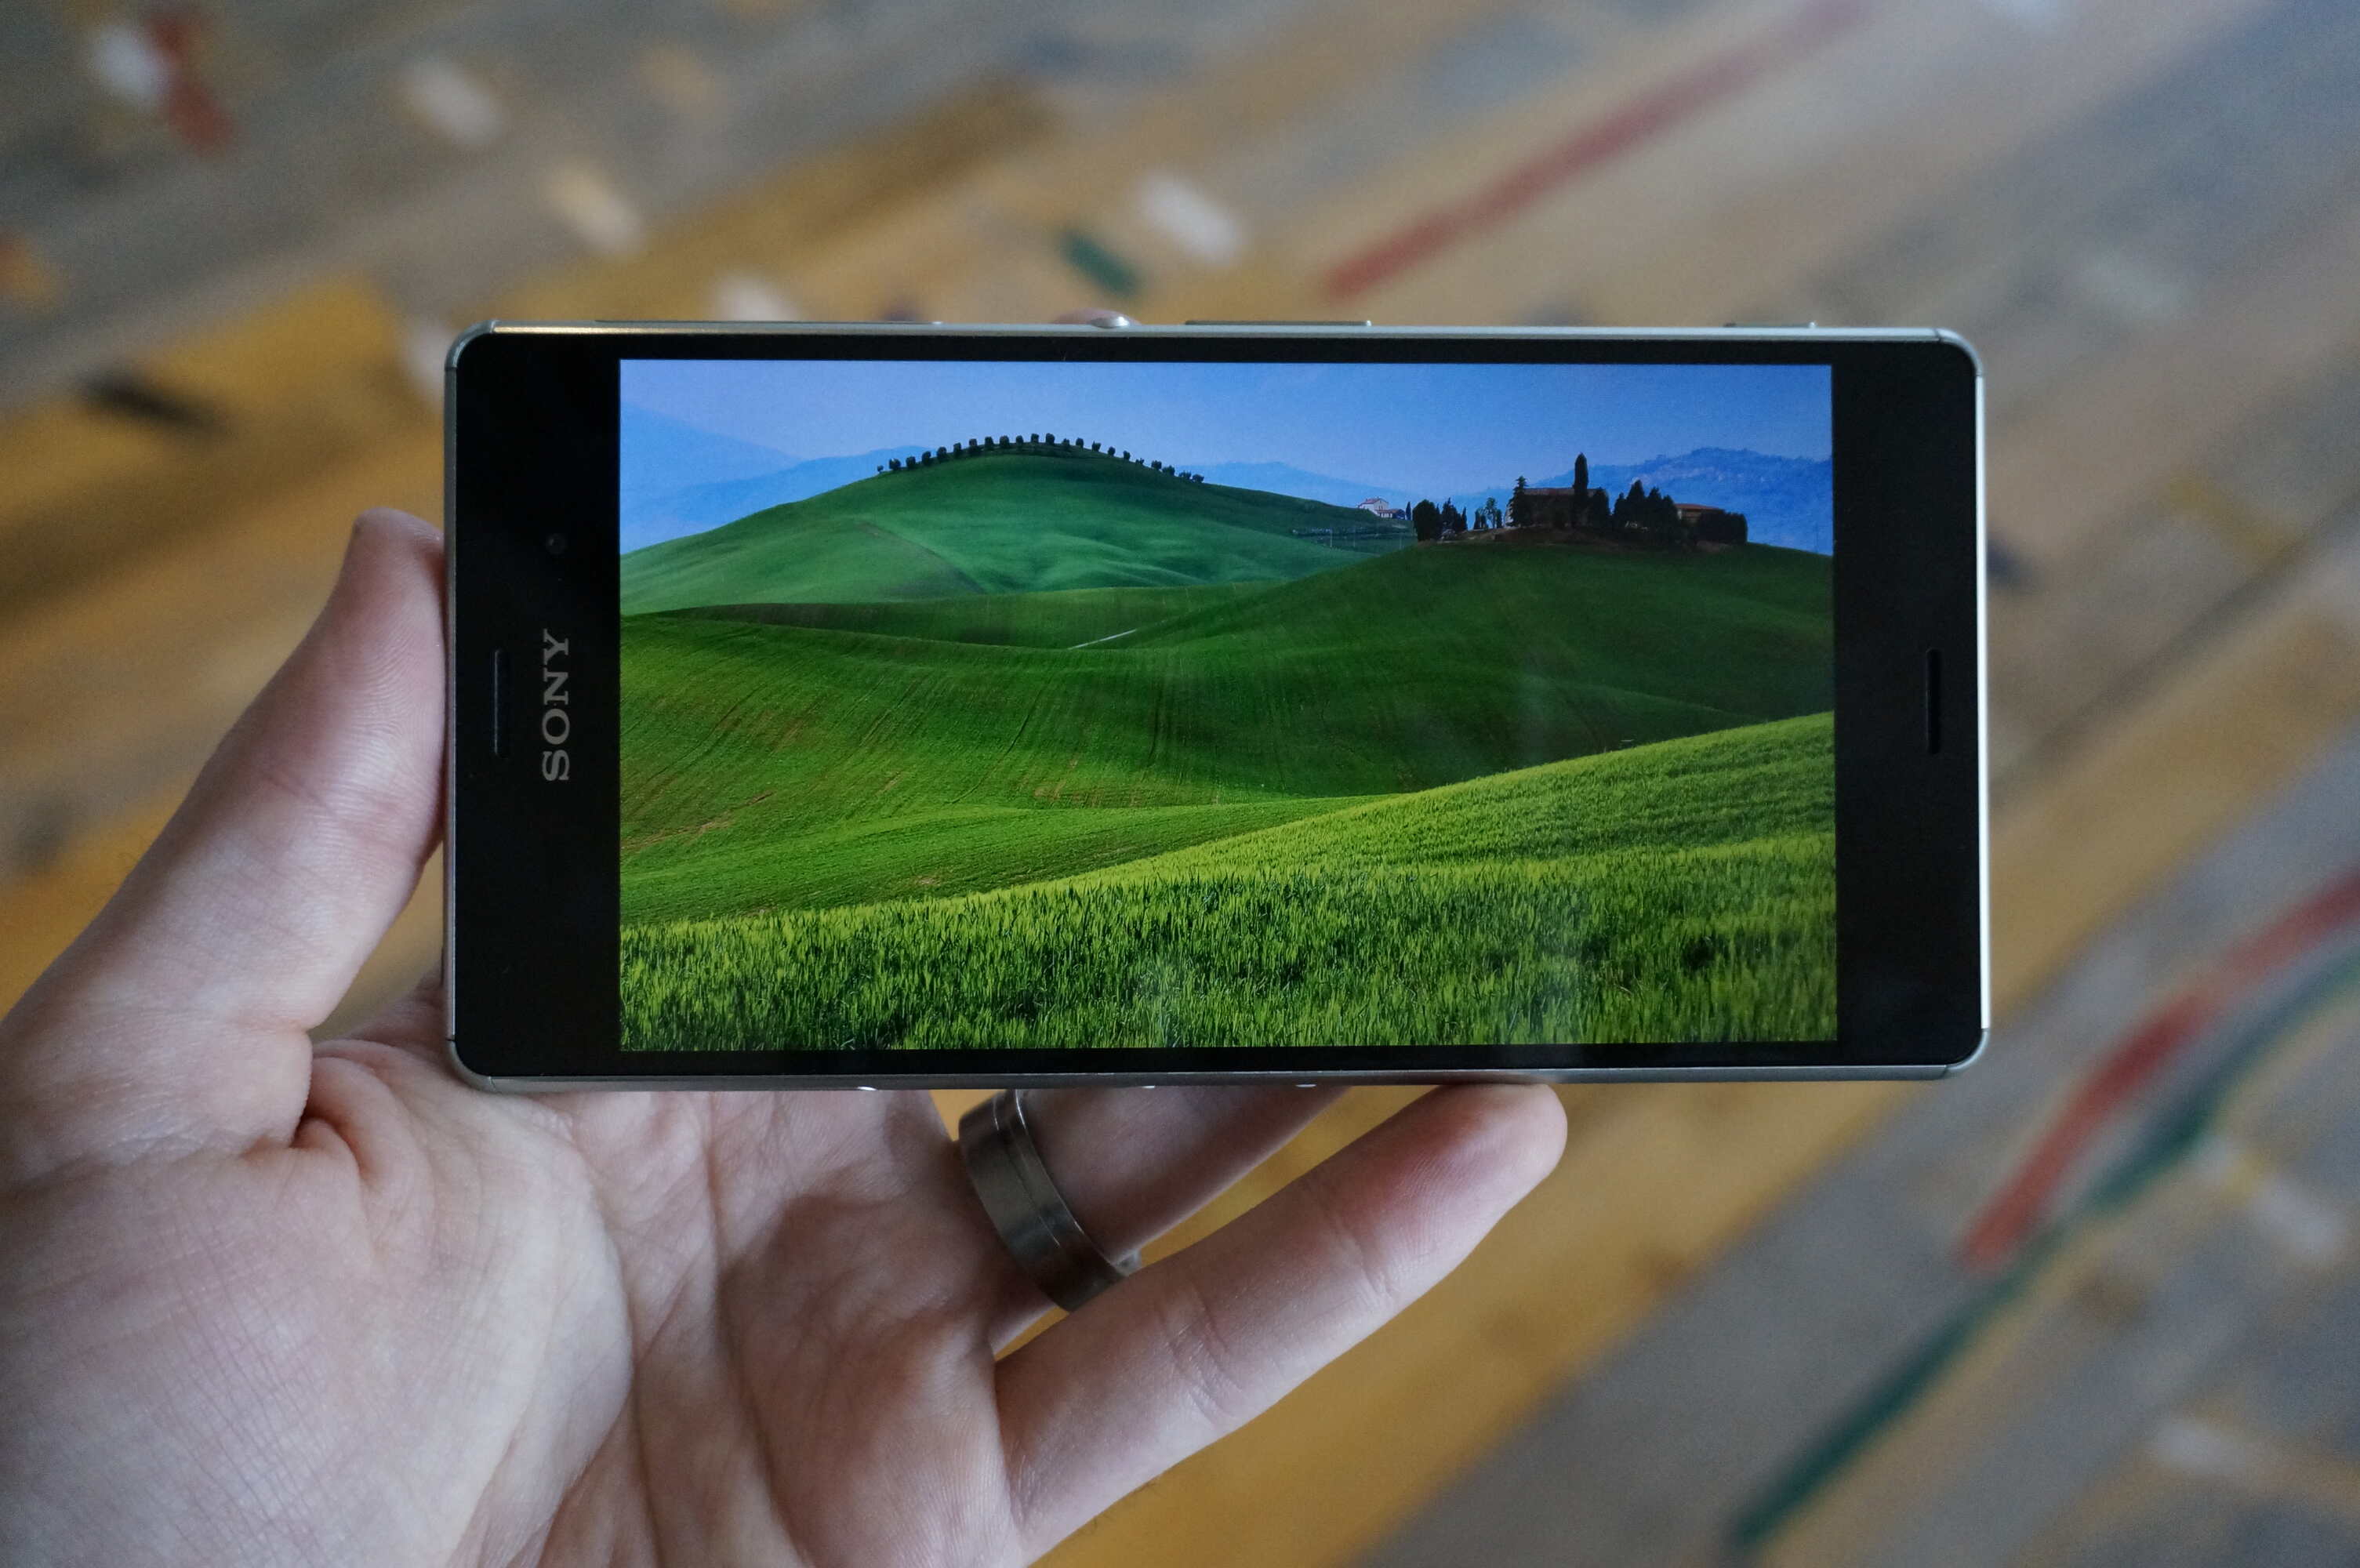
The Xperia Z3, a flagship device from Sony, has garnered a loyal following due to its impressive performance and sleek design. With the release of the Android Marshmallow update, Xperia Z3 users can look forward to enhanced features, improved security, and a smoother overall user experience. In this comprehensive guide, we will walk you through the step-by-step process of updating your Xperia Z3 to the latest Android version, ensuring that you can make the most of the new functionalities and optimizations.
The Android Marshmallow update brings a host of exciting features to the Xperia Z3, including Doze mode, which intelligently manages power consumption when the device is not in use, and app permissions that allow users to have more control over the information accessed by applications. Additionally, the update introduces Google Now on Tap, a feature that provides contextual information within apps, and a revamped app drawer for easier navigation and organization of applications.
By following the instructions outlined in this guide, you can seamlessly transition your Xperia Z3 to the Marshmallow update, unlocking the full potential of your device and staying ahead of the curve in terms of performance and security. Let's dive into the step-by-step process to ensure a smooth and successful update for your Xperia Z3.
Step 1: Check for Software Updates
Before embarking on the process of updating your Xperia Z3 to Android Marshmallow, it is crucial to ensure that your device is running the latest available software. This step is essential as it sets the foundation for a seamless and successful update process.
To check for software updates on your Xperia Z3, follow these simple steps:
-
Navigate to the Settings Menu: Access the settings menu on your Xperia Z3 by tapping the Settings icon on the home screen or by swiping down from the top of the screen and selecting the gear-shaped settings icon.
-
Scroll Down and Tap on "About Phone": Within the settings menu, scroll down to find the "About Phone" option and tap on it to proceed.
-
Select "Software Update": Once you are in the "About Phone" section, locate and select the "Software Update" option. Your Xperia Z3 will then check for available updates.
-
Download and Install Any Available Updates: If a software update is available for your Xperia Z3, you will be prompted to download and install it. Ensure that your device is connected to a stable Wi-Fi network to facilitate the download process. Additionally, it is advisable to have your device connected to a power source to prevent any interruptions during the update installation.
By following these steps, you can verify if there are any software updates available for your Xperia Z3. It is important to stay up to date with the latest software releases to benefit from performance enhancements, bug fixes, and security patches provided by Sony.
Checking for software updates is the first crucial step in preparing your Xperia Z3 for the Android Marshmallow update. Once you have confirmed that your device is running the latest available software, you can proceed with confidence to the next steps in the update process.
Step 2: Back Up Your Data
Ensuring the safety of your personal data is paramount when preparing for a major software update such as the transition to Android Marshmallow on your Xperia Z3. Backing up your data serves as a safeguard against potential data loss during the update process, providing peace of mind and a seamless recovery option in case of unforeseen circumstances.
To initiate the data backup process for your Xperia Z3, follow these essential steps:
-
Utilize Built-in Backup Features: Sony Xperia devices offer built-in backup and restore features that simplify the process of safeguarding your data. Access the Settings menu on your Xperia Z3 and navigate to the "Backup & reset" section. From there, you can select the option to back up your data to the cloud or an external storage device. Ensure that all essential data, including contacts, photos, videos, and app data, are included in the backup.
-
Sync with Google Account: Leveraging the power of your Google account, you can effortlessly sync your contacts, calendar events, and app data to the cloud. By doing so, you can rest assured that your crucial information is securely stored and can be easily retrieved after the update. To enable synchronization, navigate to the Accounts section in the Settings menu and select your Google account. Ensure that the appropriate data categories are set to sync with your Google account.
-
Transfer Media to External Storage: Prior to initiating the Android Marshmallow update, it is advisable to transfer your media files, such as photos, videos, and music, to an external storage device or cloud service. This precautionary measure ensures that your cherished media content remains intact and accessible after the update process is complete.
By diligently backing up your data using the aforementioned methods, you can safeguard your personal information and media content, mitigating the risk of data loss during the update to Android Marshmallow. This proactive approach empowers you to proceed with the update process confidently, knowing that your data is securely preserved and ready for seamless restoration post-update.
With your data safely backed up, you are well-prepared to embark on the next steps in the update process, ensuring a smooth transition to the enhanced features and optimizations offered by Android Marshmallow on your Xperia Z3.
Step 3: Connect to a Stable Wi-Fi Network
Connecting your Xperia Z3 to a stable Wi-Fi network is a crucial preparatory step before initiating the update to Android Marshmallow. This ensures a seamless and uninterrupted download and installation process, allowing you to leverage the full potential of the new software without encountering connectivity issues or excessive data usage.
When selecting a Wi-Fi network for the update process, prioritize stability and reliability to facilitate a smooth transition to Android Marshmallow. Here's a detailed guide on connecting to a stable Wi-Fi network:
-
Access the Wi-Fi Settings: Navigate to the Settings menu on your Xperia Z3 and select the "Wi-Fi" option. Alternatively, you can swipe down from the top of the screen to access the quick settings panel and tap on the Wi-Fi icon to enter the Wi-Fi settings.
-
Select a Stable Network: Upon entering the Wi-Fi settings, your Xperia Z3 will display a list of available Wi-Fi networks. Choose a network with a strong and stable signal strength, preferably one that you have used reliably in the past. Avoid networks with weak signals or intermittent connectivity to ensure a consistent download and installation process.
-
Enter the Wi-Fi Password: If the selected Wi-Fi network is secured with a password, enter the credentials to establish a secure connection. Double-check the password to ensure accuracy and prevent any connectivity issues during the update process.
-
Verify the Connection: Once the Wi-Fi network is selected and the password is entered, verify that your Xperia Z3 has successfully connected to the network. A stable Wi-Fi connection is indicated by the Wi-Fi icon in the status bar, typically displayed as a series of curved lines or bars.
-
Ensure Adequate Signal Strength: Before proceeding with the update download and installation, confirm that your Xperia Z3 maintains a strong and consistent Wi-Fi signal. This is essential to prevent interruptions or delays during the update process, ensuring a seamless transition to Android Marshmallow.
By following these steps to connect your Xperia Z3 to a stable Wi-Fi network, you establish the foundation for a successful update to Android Marshmallow. A reliable Wi-Fi connection is instrumental in facilitating the download and installation of the update, allowing you to experience the enhanced features and optimizations offered by the latest Android version without connectivity-related hindrances.
Step 4: Download and Install the Update
With your Xperia Z3 connected to a stable Wi-Fi network and your data securely backed up, you are now ready to proceed with the pivotal step of downloading and installing the Android Marshmallow update. This step marks the transition to the latest Android version, unlocking a myriad of new features and optimizations for your Xperia Z3.
To initiate the download and installation of the update, follow these essential steps:
-
Access the System Update Section: Navigate to the Settings menu on your Xperia Z3 and select the "About Phone" or "System" option. Within this section, locate and tap on the "Software Update" or "System Update" option to initiate the update process.
-
Check for Available Updates: Upon entering the System Update section, your Xperia Z3 will automatically check for available updates. If the Android Marshmallow update is ready for download, your device will prompt you to proceed with the installation. Ensure that your device is adequately charged or connected to a power source to prevent any interruptions during the update process.
-
Download the Update: If the Android Marshmallow update is available for your Xperia Z3, proceed to download the update by tapping on the corresponding option. The download size may vary, so it is advisable to perform this step when connected to a stable Wi-Fi network to minimize data usage and facilitate a swift download process.
-
Install the Update: Once the download is complete, your Xperia Z3 will prompt you to install the update. Tap on the "Install" or "Update" option to commence the installation process. Your device will restart and begin the installation of the Android Marshmallow update, optimizing system performance and introducing new features.
-
Patience During Installation: The installation process may take some time, during which your Xperia Z3 will reboot and apply the update. It is crucial to exercise patience and refrain from interrupting the installation to ensure a successful transition to Android Marshmallow.
-
Verification and Completion: After the installation is complete, your Xperia Z3 will reboot, signaling the successful transition to Android Marshmallow. You can verify the update by accessing the Settings menu and navigating to the "About Phone" or "System" section, where the updated Android version will be displayed.
By following these steps to download and install the Android Marshmallow update, you empower your Xperia Z3 with the latest enhancements and optimizations, ensuring a seamless and efficient user experience. The transition to Android Marshmallow brings forth a host of new features and performance improvements, elevating the capabilities of your Xperia Z3 and enriching your overall mobile experience.
Step 5: Restart Your Device
After successfully installing the Android Marshmallow update on your Xperia Z3, the final step in the update process involves restarting your device. This seemingly simple yet crucial step ensures that the new software configurations and optimizations are fully integrated, allowing your Xperia Z3 to operate seamlessly with the updated Android version.
To restart your device after the update, follow these straightforward steps:
-
Completion of Installation: Once the Android Marshmallow update installation process is complete, your Xperia Z3 will prompt you to restart the device. Alternatively, you can manually initiate the restart by pressing and holding the power button until the power options menu appears on the screen.
-
Select "Restart": From the power options menu, select the "Restart" option to commence the device reboot. This action triggers a complete shutdown and subsequent startup of your Xperia Z3, allowing the new software configurations to take effect.
-
Patience During Restart: As your Xperia Z3 restarts, it undergoes a comprehensive reboot process to finalize the integration of the Android Marshmallow update. It is essential to exercise patience during this phase, allowing the device to complete the restart sequence without interruption.
-
Verification of Update: Once the device has restarted, navigate to the Settings menu and access the "About Phone" or "System" section to verify the successful update to Android Marshmallow. The updated Android version and associated software enhancements should be prominently displayed, confirming the seamless integration of the new software.
-
Optimized Performance: With the device successfully restarted, your Xperia Z3 is now equipped with the latest Android Marshmallow features and optimizations. The restart ensures that the updated software operates at its full potential, delivering enhanced performance, improved security, and a refined user experience.
By following these steps to restart your device after the Android Marshmallow update, you complete the essential process of integrating the new software configurations and optimizations. The restart serves as the final touchpoint in the update journey, ensuring that your Xperia Z3 is primed to deliver an elevated mobile experience with the latest Android version.
The successful restart of your device marks the culmination of the update process, empowering you to explore and enjoy the enhanced functionalities and performance improvements brought forth by Android Marshmallow on your Xperia Z3.
Conclusion
Congratulations! By following this comprehensive step-by-step guide, you have successfully updated your Xperia Z3 to the latest Android Marshmallow version. This significant achievement unlocks a plethora of new features, performance enhancements, and security optimizations, elevating the capabilities of your Xperia Z3 and enriching your overall mobile experience.
The transition to Android Marshmallow empowers your Xperia Z3 with the innovative Doze mode, which intelligently manages power consumption during periods of inactivity, extending battery life and enhancing overall efficiency. Additionally, the revamped app permissions provide you with greater control over the information accessed by applications, bolstering your privacy and security.
The integration of Google Now on Tap introduces contextual information within apps, offering seamless access to relevant details without disrupting your workflow. Furthermore, the updated app drawer streamlines navigation and organization, ensuring a more intuitive and efficient app management experience.
As you navigate through the updated Android Marshmallow interface on your Xperia Z3, you will discover a refined user interface, enhanced system performance, and a seamless integration of new functionalities. The update represents a significant leap forward in optimizing your device's capabilities, ensuring that you stay ahead of the curve in terms of performance, security, and user experience.
With the successful update to Android Marshmallow, your Xperia Z3 is now poised to deliver an enhanced and optimized mobile experience, catering to your diverse needs and preferences. Whether it's improved battery management, enhanced privacy controls, or streamlined app navigation, the Android Marshmallow update brings a host of benefits that enrich your daily interactions with your Xperia Z3.
As you explore the updated features and optimizations, remember to leverage the full potential of your Xperia Z3 with Android Marshmallow. Stay informed about additional updates and optimizations that Sony may release in the future, ensuring that your device remains at the forefront of performance and innovation.
Thank you for entrusting us with the guidance to update your Xperia Z3 to Android Marshmallow. We hope that this comprehensive guide has not only facilitated a seamless update process but also enriched your understanding of the new features and enhancements that await you on your Xperia Z3. Embrace the power of Android Marshmallow and enjoy the enhanced capabilities of your Xperia Z3 to the fullest!


