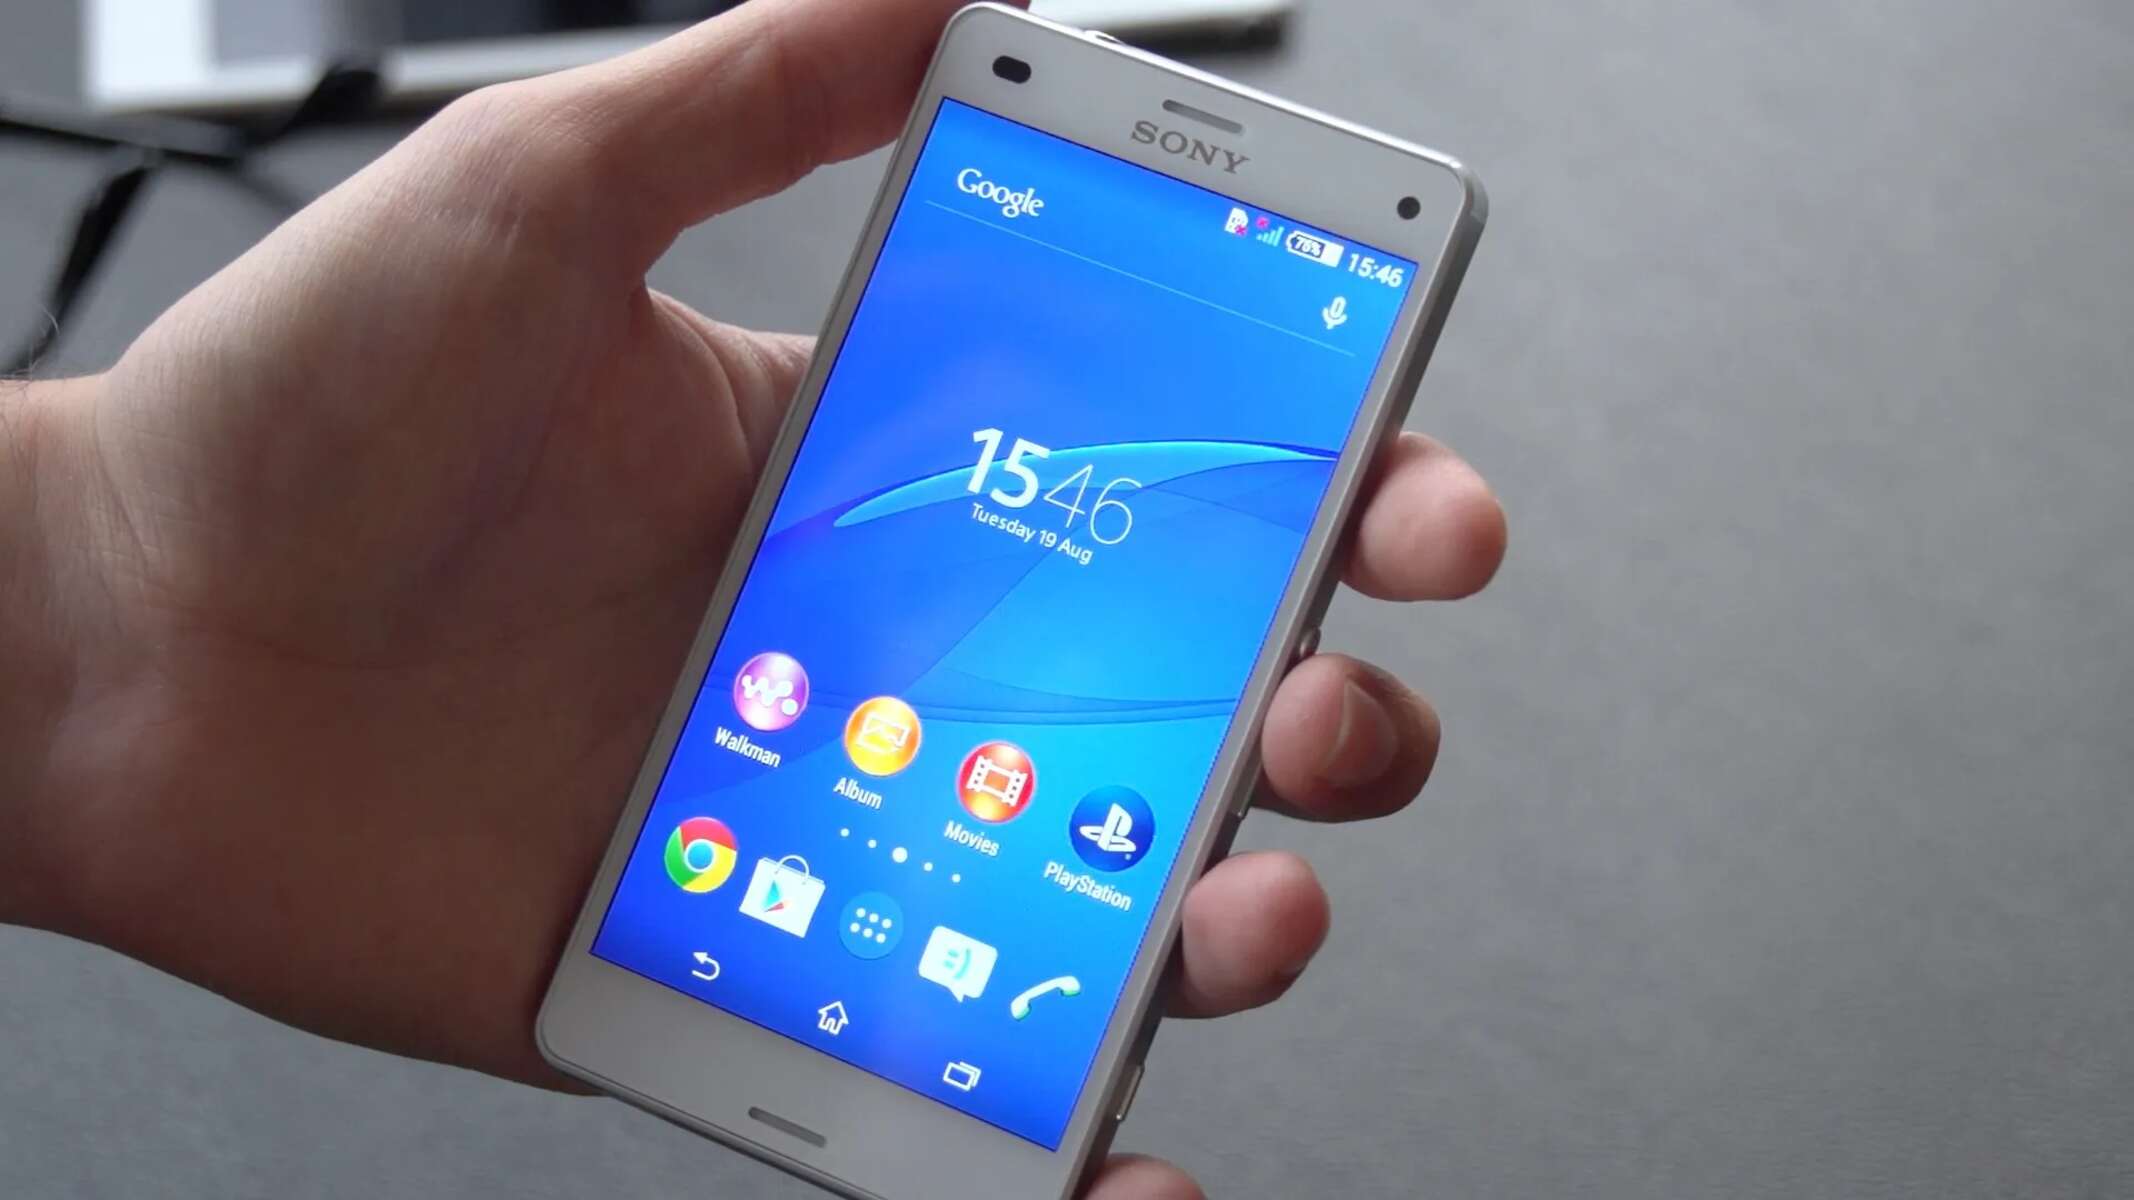
Introduction
Installing a custom recovery on your Xperia Z3 can unlock a world of possibilities, allowing you to customize and optimize your device in ways that were previously inaccessible. By following this step-by-step guide, you can gain the ability to flash custom ROMs, create full device backups, and perform system maintenance tasks that are not possible with the stock recovery. This process requires careful attention to detail, but the rewards are well worth the effort.
Custom recoveries provide a gateway to a realm of advanced Android customization, enabling you to take full control of your Xperia Z3. Whether you're looking to enhance performance, customize the user interface, or explore new features, a custom recovery is the key to unlocking the full potential of your device. This guide will walk you through the process of installing a custom recovery on your Xperia Z3, empowering you to take your Android experience to the next level.
The steps outlined in this guide are designed to be accessible to users with varying levels of technical expertise. By following each step carefully, you can successfully install a custom recovery on your Xperia Z3 and open the door to a world of customization options. With the right tools and a clear understanding of the process, you can confidently embark on this journey to elevate your Android experience.
Now, let's dive into the step-by-step process of installing a custom recovery on your Xperia Z3, unlocking the potential for a personalized and optimized Android experience.
Step 1: Unlocking the Bootloader
Unlocking the bootloader is the first crucial step in the process of installing a custom recovery on your Xperia Z3. The bootloader acts as a security checkpoint, preventing unauthorized software from being loaded onto the device. By unlocking the bootloader, you gain the ability to install custom firmware and recovery images, opening the door to a wide range of customization options.
Before proceeding, it's important to understand that unlocking the bootloader will erase all data on your Xperia Z3. Therefore, it's essential to back up any important files and data before initiating the unlocking process. Once you've safeguarded your data, you can begin the bootloader unlocking process.
To start, you'll need to enable Developer Options on your Xperia Z3. This can be done by navigating to the "Settings" menu, selecting "About Phone," and tapping on the "Build Number" multiple times until you see a message confirming that Developer Options have been enabled.
Once Developer Options are enabled, you can access the menu and enable "OEM unlocking" and "USB debugging." These settings are crucial for the bootloader unlocking process, as they allow your device to communicate with the necessary tools and software.
With the necessary settings enabled, you can proceed to the next step, which involves connecting your Xperia Z3 to a computer via USB. This will allow you to use ADB (Android Debug Bridge) and Fastboot commands to unlock the bootloader.
Using ADB and Fastboot commands, you can initiate the bootloader unlocking process by entering specific commands in a command prompt or terminal window on your computer. These commands will instruct your Xperia Z3 to unlock its bootloader, paving the way for the installation of a custom recovery.
It's important to note that unlocking the bootloader may void the warranty of your Xperia Z3. Additionally, it's a process that should be approached with caution, as improper execution can lead to device malfunctions. Therefore, it's crucial to carefully follow the instructions provided by the manufacturer or reputable sources to ensure a smooth and successful bootloader unlocking process.
By successfully unlocking the bootloader of your Xperia Z3, you've cleared the path for the next steps in the custom recovery installation process. With the bootloader unlocked, you're one step closer to harnessing the full potential of your device and embarking on a journey of Android customization and optimization.
Step 2: Downloading the Recovery Image
Downloading the recovery image is a pivotal step in the process of installing a custom recovery on your Xperia Z3. The recovery image, also known as a custom recovery, is a specialized bootable partition that provides advanced system management and customization options for your device. It serves as a gateway to a multitude of features and functionalities that are not available with the stock recovery provided by the manufacturer.
Before proceeding with the download, it's essential to choose a reputable source for the custom recovery image. There are several custom recovery options available for the Xperia Z3, with TWRP (Team Win Recovery Project) and CWM (ClockworkMod Recovery) being popular choices. It's important to select a recovery image that is compatible with your specific Xperia Z3 model to ensure compatibility and functionality.
Once you've identified the custom recovery image that suits your requirements, you can proceed to download it onto your computer. It's crucial to obtain the recovery image from a trusted and verified source to mitigate the risk of downloading corrupted or incompatible files. Reputable Android development forums, official project websites, and trusted repositories are reliable sources for obtaining custom recovery images.
When downloading the recovery image, it's important to verify that the file is intended for your Xperia Z3 model and that it corresponds to the specific version of the Android operating system installed on your device. This ensures that the custom recovery image is tailored to your device's specifications, minimizing the risk of compatibility issues or functional limitations.
After successfully downloading the custom recovery image, it's advisable to verify the integrity of the file by checking its digital signature or hash value, if provided by the source. This additional step helps ensure that the recovery image has not been tampered with and is free from any alterations that could compromise its functionality or security.
By obtaining the custom recovery image from a trusted source and verifying its compatibility and integrity, you are well-prepared to proceed with the next steps in the installation process. With the recovery image securely downloaded and validated, you are one step closer to unlocking the full potential of your Xperia Z3 and embarking on a journey of advanced Android customization and optimization.
Step 3: Installing ADB and Fastboot
Installing ADB (Android Debug Bridge) and Fastboot is a crucial step in the process of installing a custom recovery on your Xperia Z3. ADB and Fastboot are essential command-line tools that facilitate communication between your computer and Android device, enabling you to execute commands and perform various tasks during the custom recovery installation process.
To begin, you'll need to download the Android SDK (Software Development Kit) platform tools, which include ADB and Fastboot. The Android SDK is provided by Google and serves as a comprehensive set of development tools for Android app development, but for our purposes, we will focus specifically on the platform tools.
Once you've downloaded the Android SDK platform tools package, you can extract the contents to a location on your computer. It's important to choose a location that is easily accessible, as you will need to navigate to this directory when using ADB and Fastboot commands.
After extracting the platform tools, you can proceed to install ADB and Fastboot on your computer. This involves adding the platform tools directory to your system's PATH environment variable, which allows you to execute ADB and Fastboot commands from any location in the command prompt or terminal window.
On Windows, you can add the platform tools directory to the PATH by modifying the system environment variables. On macOS and Linux, you can achieve this by updating the .bash_profile or .bashrc file with the appropriate PATH configuration.
Once the platform tools directory has been added to the PATH, you can verify the successful installation of ADB and Fastboot by opening a command prompt or terminal window and entering "adb version" and "fastboot version" commands. If the installation was successful, you will receive the respective version numbers of ADB and Fastboot, confirming that the tools are ready for use.
By installing ADB and Fastboot, you have equipped your computer with the essential tools for communicating with your Xperia Z3 during the custom recovery installation process. These tools enable you to execute commands, transfer files, and interact with the device's bootloader, laying the foundation for the subsequent steps in the installation journey. With ADB and Fastboot in place, you are well-prepared to proceed with the next stages of installing a custom recovery on your Xperia Z3, unlocking the potential for advanced Android customization and optimization.
Step 4: Connecting Xperia Z3 to Computer
Connecting your Xperia Z3 to a computer is a pivotal step in the process of installing a custom recovery, as it establishes the communication link necessary for executing commands and transferring files between the devices. This step lays the groundwork for the subsequent stages of the installation process, enabling you to interact with the Xperia Z3's bootloader and initiate the custom recovery installation.
To begin, ensure that your Xperia Z3 is powered on and unlocked, allowing access to the device's interface. Next, using a compatible USB cable, connect your Xperia Z3 to a USB port on your computer. It's essential to use a high-quality USB cable to ensure a stable and reliable connection between the devices.
Upon connecting your Xperia Z3 to the computer, you may be prompted to authorize the connection on your device. If prompted, grant the necessary permissions to establish the USB debugging connection, which is essential for utilizing ADB and Fastboot commands during the custom recovery installation process.
Once the connection is established, you can verify the successful recognition of your Xperia Z3 by the computer. This can be done by opening a command prompt or terminal window and entering the "adb devices" command. If the connection is successful, your Xperia Z3's device serial number should be displayed, indicating that the device is recognized and ready for communication.
It's important to ensure that the USB connection is stable throughout the custom recovery installation process to prevent interruptions or communication errors. Avoid disconnecting the USB cable or disturbing the connection while executing commands or transferring files, as this can disrupt the installation process and potentially lead to complications.
By establishing a secure and stable connection between your Xperia Z3 and the computer, you have set the stage for the subsequent steps in the custom recovery installation journey. This connection enables you to interact with the device's bootloader, transfer the custom recovery image, and execute essential commands to initiate the installation process. With the connection in place, you are well-prepared to proceed with the next stages of installing a custom recovery on your Xperia Z3, unlocking the potential for advanced Android customization and optimization.
Step 5: Flashing the Recovery Image
Flashing the recovery image is the pivotal step that culminates the process of installing a custom recovery on your Xperia Z3. This step involves transferring the custom recovery image from your computer to the Xperia Z3 and then installing it onto the device, thereby replacing the stock recovery with the custom recovery of your choice.
To begin the flashing process, ensure that your Xperia Z3 is connected to your computer via a stable USB connection, as established in the previous step. With the connection in place, navigate to the directory on your computer where the custom recovery image is located. It's essential to verify that the recovery image file is intact and has not been corrupted during the download process.
Next, open a command prompt or terminal window and navigate to the directory where the ADB and Fastboot tools are located. This is the same directory where you added the platform tools to the system's PATH during the installation of ADB and Fastboot. Once in the appropriate directory, you can proceed to execute the commands necessary to flash the custom recovery image onto your Xperia Z3.
The specific command for flashing the recovery image may vary depending on the custom recovery you have chosen. For instance, if you are using TWRP (Team Win Recovery Project) as your custom recovery, the command to flash the recovery image may be "fastboot flash recovery <recovery_image_filename.img>". If you have opted for CWM (ClockworkMod Recovery), the command may differ accordingly.
After entering the appropriate command, initiate the flashing process, and closely monitor the command prompt or terminal window for any feedback or status updates. The flashing process involves transferring the custom recovery image from your computer to the Xperia Z3's bootloader, where it is then installed as the new recovery partition.
Upon successful completion of the flashing process, you will receive confirmation in the command prompt or terminal window, indicating that the custom recovery image has been successfully flashed onto your Xperia Z3. This signifies the successful installation of the custom recovery, unlocking a myriad of advanced customization and optimization options for your device.
With the custom recovery now installed on your Xperia Z3, you have effectively replaced the stock recovery with a powerful tool that grants you unprecedented control over your device. This marks the culmination of the installation process, opening the door to a world of possibilities for customizing, optimizing, and enhancing your Android experience on the Xperia Z3.
Conclusion
In conclusion, the process of installing a custom recovery on your Xperia Z3 is a transformative journey that empowers you to unlock the full potential of your device. By following the step-by-step guide outlined in this article, you have embarked on a path that leads to advanced Android customization, optimization, and enhanced control over your Xperia Z3.
The installation of a custom recovery opens a gateway to a realm of possibilities, allowing you to explore features and functionalities that were previously inaccessible with the stock recovery provided by the manufacturer. With a custom recovery in place, you gain the ability to flash custom ROMs, create full device backups, and perform system maintenance tasks that elevate your Android experience to new heights.
Throughout this installation process, you have navigated through crucial steps, including unlocking the bootloader, downloading the recovery image, installing ADB and Fastboot, connecting your Xperia Z3 to the computer, and ultimately flashing the custom recovery image onto your device. Each step has contributed to the foundation of a robust and versatile Android customization platform, tailored to your preferences and requirements.
As you reflect on the journey you've undertaken, it's important to recognize the newfound capabilities and opportunities that come with a custom recovery. Whether you're seeking to optimize performance, personalize the user interface, or delve into advanced system modifications, the custom recovery serves as a catalyst for realizing your Android customization aspirations.
Furthermore, the successful installation of a custom recovery on your Xperia Z3 signifies a significant milestone in your Android journey. It represents a commitment to exploring the depths of Android customization, embracing the freedom to tailor your device to your unique preferences, and harnessing the power of advanced system management tools.
With the custom recovery in place, you are poised to embark on a journey of discovery, experimentation, and innovation within the realm of Android customization. The possibilities are vast, and the potential for personalization and optimization knows no bounds.
In essence, the installation of a custom recovery on your Xperia Z3 marks the beginning of a new chapter in your Android experience. It's a testament to your willingness to venture beyond the confines of standard device configurations and embrace the boundless opportunities for customization and optimization that await you.
As you move forward with your newly empowered Xperia Z3, may the custom recovery serve as a springboard for creativity, innovation, and a truly personalized Android experience that reflects your unique preferences and aspirations. Embrace the journey ahead, and revel in the freedom to shape your Android experience according to your vision.