Introduction
Transferring your SIM card to another iPhone is a straightforward process that allows you to seamlessly switch to a new device while retaining your existing mobile number and cellular plan. Whether you are upgrading to the latest iPhone model, replacing a damaged device, or simply switching to a different iPhone in your possession, understanding how to transfer your SIM card is essential. This comprehensive guide will walk you through the necessary steps to ensure a smooth transition without any disruption to your mobile service.
By following this guide, you will learn how to back up your current iPhone, remove the SIM card, insert it into the new iPhone, set up the new device, and restore your data from the backup. Each step is crucial in ensuring that your new iPhone is fully functional and configured with your personal data, contacts, and settings. Whether you are a tech-savvy individual or a novice iPhone user, this guide will provide you with the knowledge and confidence to complete the SIM card transfer process with ease.
As you embark on this journey to transfer your SIM card, it's important to note that the process may vary slightly depending on the iPhone models involved and the cellular carrier you are subscribed to. However, with the guidance provided in this article, you will be equipped to navigate through the transfer process regardless of these variables. Embracing the seamless transfer of your SIM card to a new iPhone will ensure that you can continue to stay connected, make calls, send texts, and access mobile data without any interruptions.
Now, let's delve into the step-by-step process of transferring your SIM card to another iPhone, empowering you to make a smooth transition to your new device.
Step 1: Back Up Your Current iPhone
Before embarking on the process of transferring your SIM card to a new iPhone, it is crucial to create a comprehensive backup of your current device. This step ensures that all your important data, including contacts, photos, messages, and app settings, are securely preserved and can be seamlessly transferred to the new device. Additionally, having a backup serves as a safety net in case of unforeseen issues during the transfer process.
Option 1: iCloud Backup
One of the most convenient methods to back up your iPhone is through iCloud. To initiate an iCloud backup, ensure that your device is connected to a Wi-Fi network and plugged into a power source. Navigate to "Settings," tap on your Apple ID at the top of the screen, select "iCloud," and then tap "iCloud Backup." Finally, tap "Back Up Now" to initiate the backup process. It is important to allow the backup to complete successfully before proceeding to the next steps.
Option 2: iTunes Backup
Alternatively, you can create a backup of your iPhone using iTunes. Simply connect your iPhone to a computer, open iTunes, and select your device. Under the "Summary" tab, click on "Back Up Now." This method stores a copy of your iPhone's data on your computer, providing an additional layer of security for your information.
Verification of Backup
Regardless of the backup method chosen, it is prudent to verify that the backup is complete and up to date. This can be done by accessing "Settings," tapping on your Apple ID, selecting "iCloud," then "iCloud Backup," and ensuring that the "Last Backup" timestamp reflects the recent backup completion. For iTunes backups, you can verify the backup by navigating to iTunes Preferences and selecting the "Devices" tab.
By diligently backing up your current iPhone using either iCloud or iTunes, you can proceed with confidence to the next steps of transferring your SIM card to a new iPhone. This proactive approach ensures that your valuable data is safeguarded and ready to be seamlessly transferred to your new device, setting the stage for a smooth and worry-free transition.
Remember, the backup process is a critical foundation for a successful SIM card transfer, and it is an essential practice for maintaining the security and continuity of your digital life.
Step 2: Remove the SIM Card from Your Current iPhone
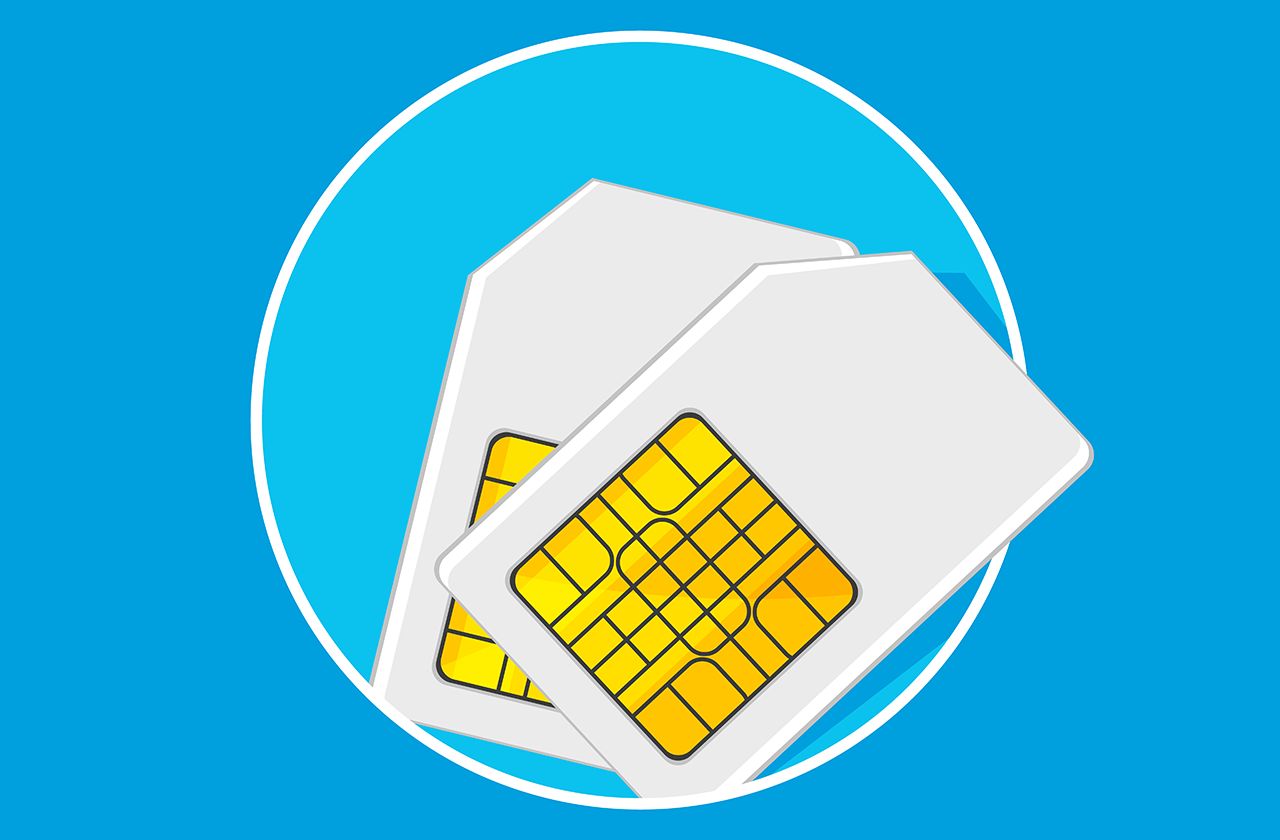
Removing the SIM card from your current iPhone is a pivotal step in the process of transferring it to a new device. The SIM card, which stands for Subscriber Identity Module, is a small, removable card that stores your mobile subscriber information. This includes your unique identification number, network authorization details, and personal contacts. As you prepare to transition to a new iPhone, it is essential to carefully remove the SIM card from your current device while ensuring that it remains undamaged and ready for insertion into the new iPhone.
Locate the SIM Card Tray
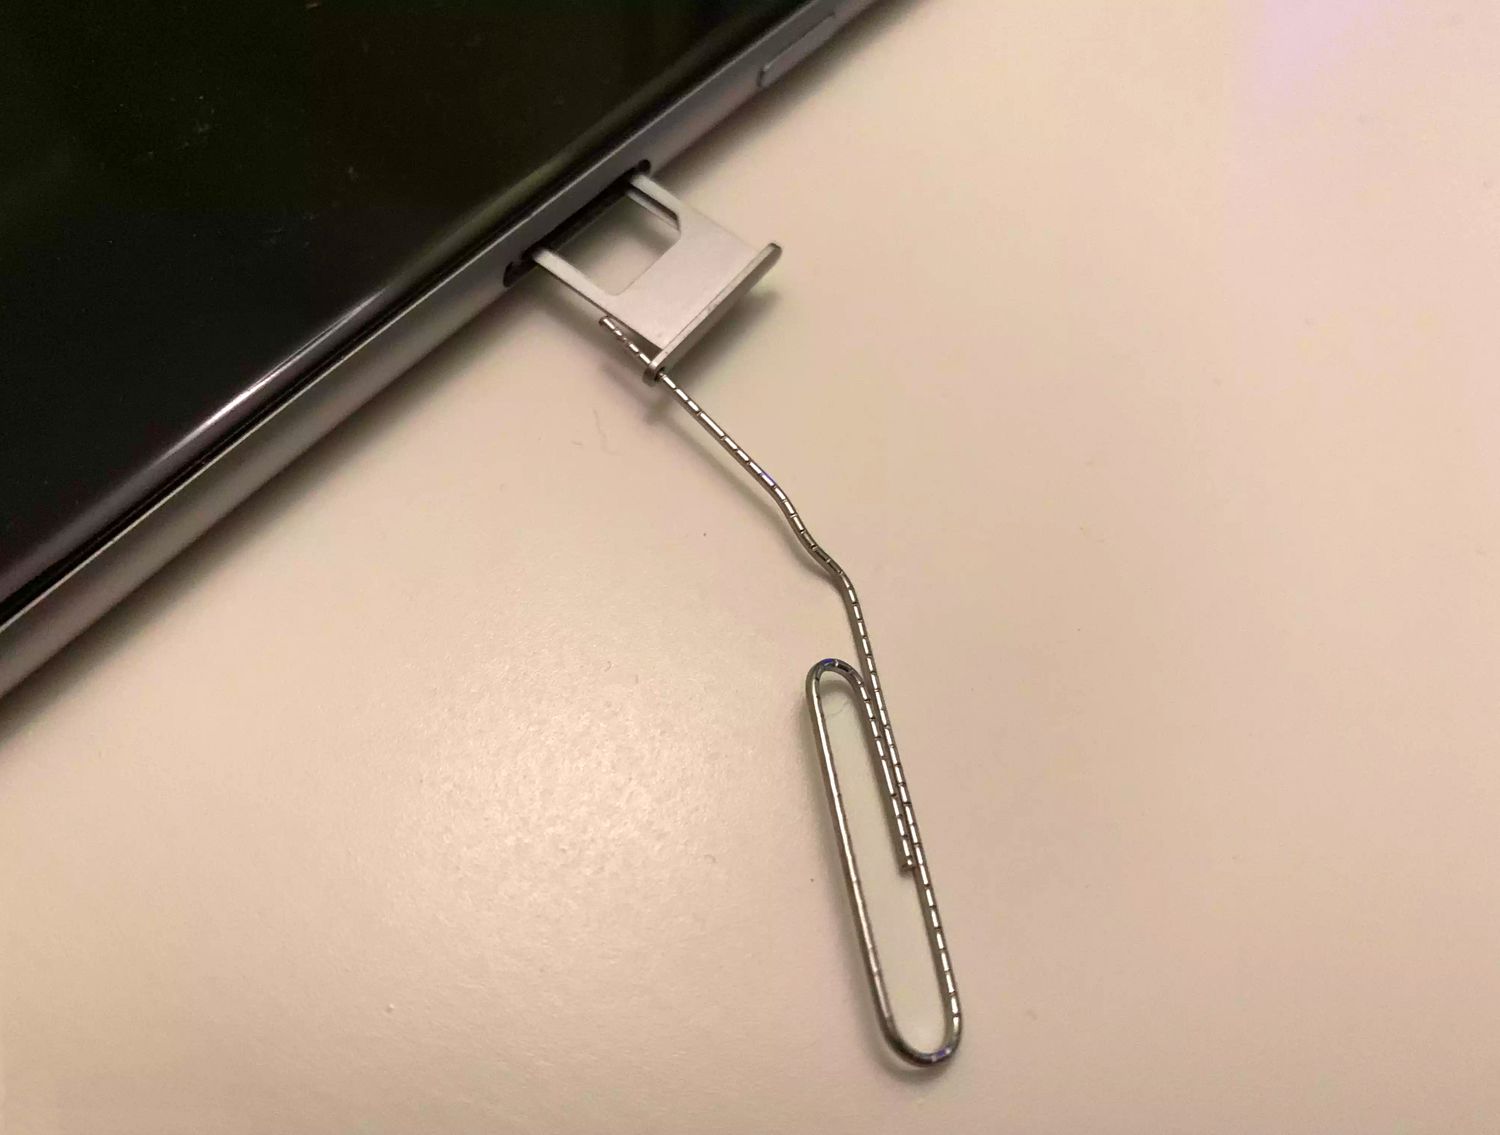
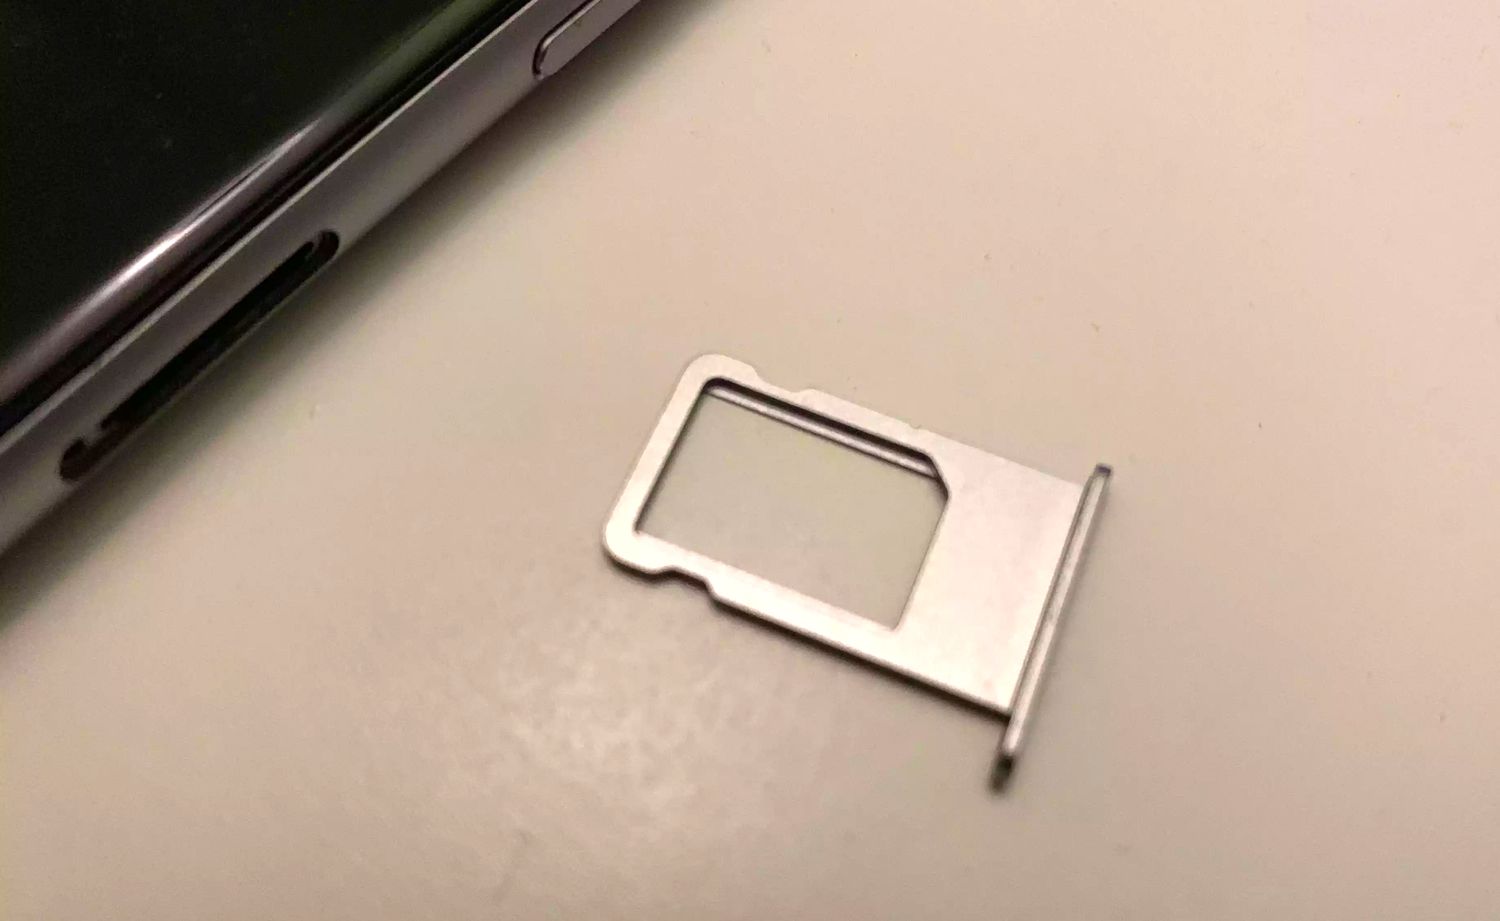
The SIM card tray is typically located on the side of your iPhone. The exact placement may vary depending on the iPhone model, but it is commonly found on the right-hand side of the device. In some older models, such as the iPhone 4 and 4s, the SIM card tray is situated at the top of the device. To access the tray, you will need a SIM card removal tool or a small paperclip.
Ejecting the SIM Card Tray
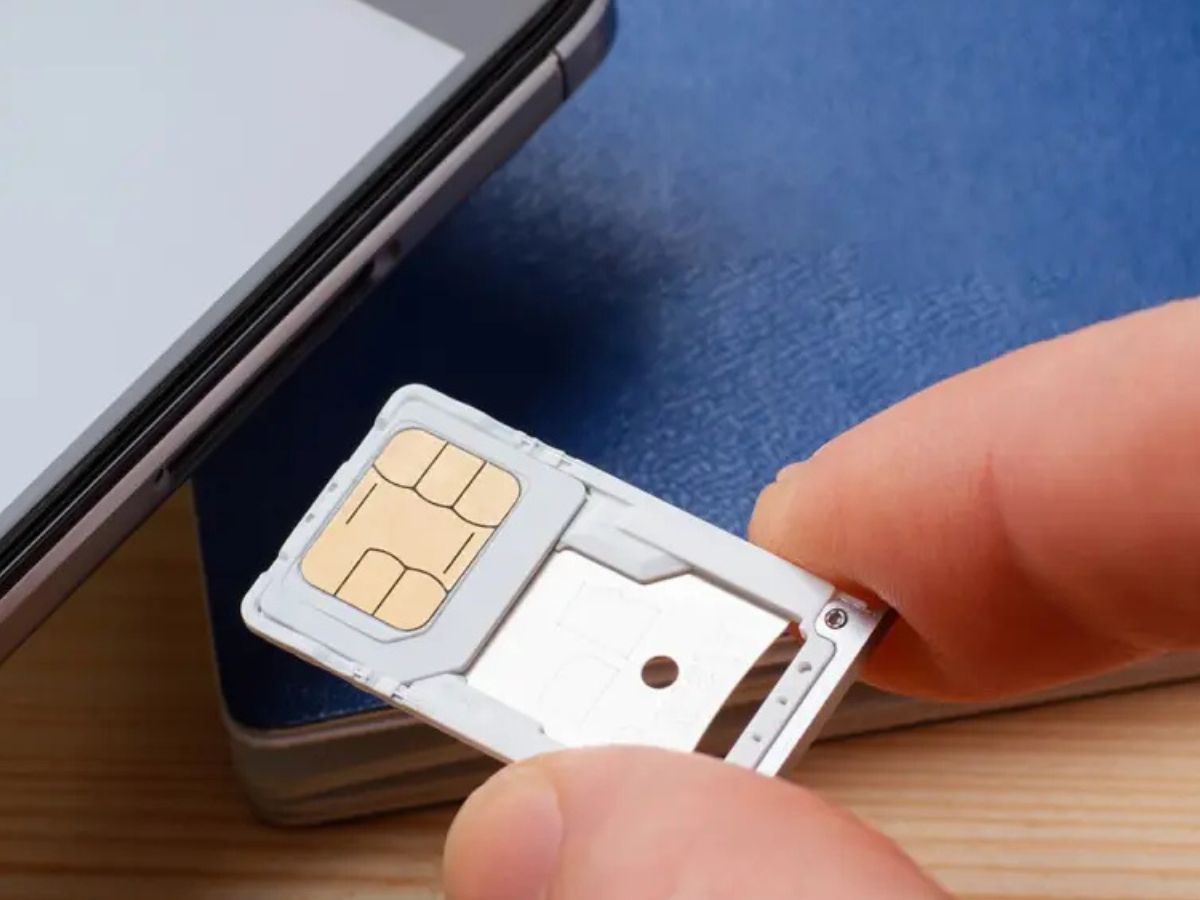
Insert the SIM card removal tool or straightened paperclip into the small pinhole located next to the SIM card tray. Gently apply pressure to the tool, and the tray will pop out slightly. Carefully pull the tray out of the iPhone, ensuring that it does not dislodge abruptly. Once the tray is fully extended, remove the SIM card from the tray by gently pushing it out or tipping the tray to allow the SIM card to slide out.
Handling the SIM Card
As you remove the SIM card from the tray, it is important to handle it with care. The SIM card is a delicate electronic component, and any damage to its surface or connectors can impede its functionality. Avoid touching the metal contacts on the SIM card, and refrain from bending or scratching it. Place the SIM card in a safe and easily accessible location, as you will need it for the subsequent steps of the transfer process.
Storing the SIM Card Tray
While the focus is on the SIM card, it is equally important to keep track of the SIM card tray. This small component is easy to misplace, so it is advisable to store it in a secure place during the transition process. By safeguarding the SIM card tray, you ensure that it is readily available when it is time to insert the SIM card into your new iPhone.
Wrapping Up
With the SIM card safely removed from your current iPhone, you are now ready to proceed to the next step of inserting it into your new device. This careful handling of the SIM card and tray sets the stage for a seamless transfer, allowing you to maintain continuity in your mobile service and connectivity. As you prepare to embark on the next phase of the transfer process, it is essential to keep the SIM card and tray in a secure and easily accessible location, ensuring that they are readily available when needed.
Step 3: Insert the SIM Card into the New iPhone
With the SIM card safely removed from your current iPhone, the next crucial step in the process of transferring it to a new device is to insert it into the new iPhone. This step is pivotal in ensuring that your new device is equipped with the necessary subscriber information and network authorization, allowing you to seamlessly transition your mobile service and connectivity. As you prepare to insert the SIM card into your new iPhone, it is essential to handle the card with care and precision to avoid any damage and ensure a successful transfer.
Identifying the SIM Card Slot
The location of the SIM card slot varies depending on the iPhone model. In most cases, the SIM card slot is situated on the right-hand side of the device. To access the slot, you will need to use the SIM card removal tool or a small paperclip to eject the tray. Some iPhone models, such as the iPhone 4 and 4s, have the SIM card slot located at the top of the device. Carefully identify the position of the SIM card slot on your new iPhone before proceeding.
Inserting the SIM Card
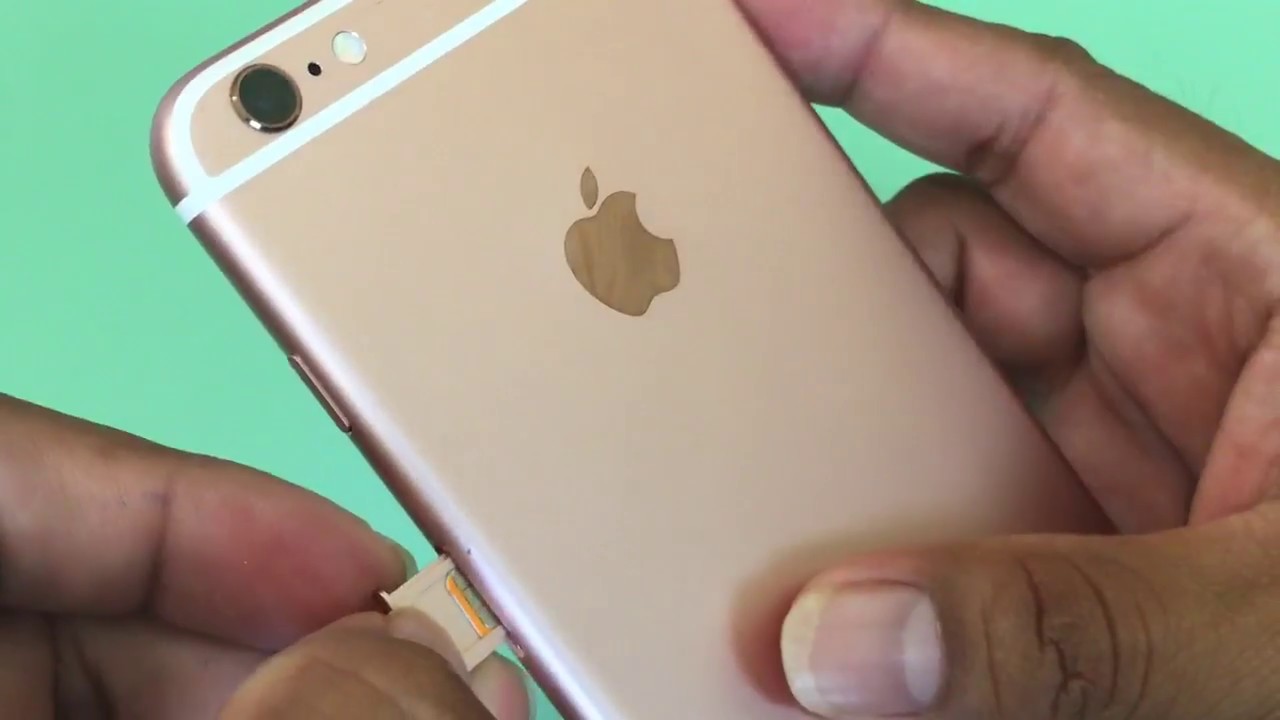
Using the SIM card removal tool or a paperclip, gently insert it into the pinhole next to the SIM card slot. Apply light pressure to eject the SIM card tray from the new iPhone. Once the tray is partially extended, carefully place the SIM card onto the tray, ensuring that the gold contacts on the card align with the corresponding connectors inside the slot. Gently push the tray back into the iPhone until it is flush with the device's frame.
Verifying the Connection
After inserting the SIM card into the new iPhone, it is important to verify that it is securely in place. Ensure that the tray is fully inserted, and there are no obstructions preventing it from closing properly. Once the tray is securely in position, power on your new iPhone to initiate the setup process. As the device activates, it will recognize the inserted SIM card and establish the necessary network connection.
Safeguarding the SIM Card Tray
As you complete the insertion process, it is essential to store the SIM card removal tool and the SIM card tray in a safe and easily accessible location. By keeping these components secure, you ensure that they are readily available for future use, such as when you need to remove or replace the SIM card in your iPhone.
By following these detailed steps to insert the SIM card into your new iPhone, you are one step closer to completing the transfer process. With the SIM card securely in place, your new iPhone is poised to seamlessly integrate with your mobile service, allowing you to stay connected and enjoy the full functionality of your device.
Step 4: Set Up Your New iPhone
Setting up your new iPhone is an exciting and pivotal phase in the process of transferring your SIM card to a new device. As you unbox your pristine iPhone, you are greeted with the promise of a seamless and personalized user experience. The setup process not only configures your device to your preferences but also ensures that your new iPhone is ready to accommodate the transferred SIM card, enabling you to harness the full potential of your mobile service and connectivity.
Upon powering on your new iPhone, you will be guided through a series of prompts to configure essential settings and personalize your device. The initial steps involve selecting your preferred language and region, connecting to a Wi-Fi network, and enabling location services. These foundational settings establish the framework for your iPhone's functionality and connectivity.
Subsequently, you will be prompted to set up Touch ID or Face ID, depending on the model of your iPhone. These biometric authentication features provide an added layer of security and convenience, allowing you to unlock your device and authorize transactions with ease.
The setup process also encompasses the creation or restoration of your Apple ID, a fundamental component that grants access to the App Store, iCloud, and a myriad of Apple services. By signing in with your Apple ID, you seamlessly integrate your existing digital ecosystem into your new iPhone, ensuring continuity and accessibility to your purchased apps, media, and cloud storage.
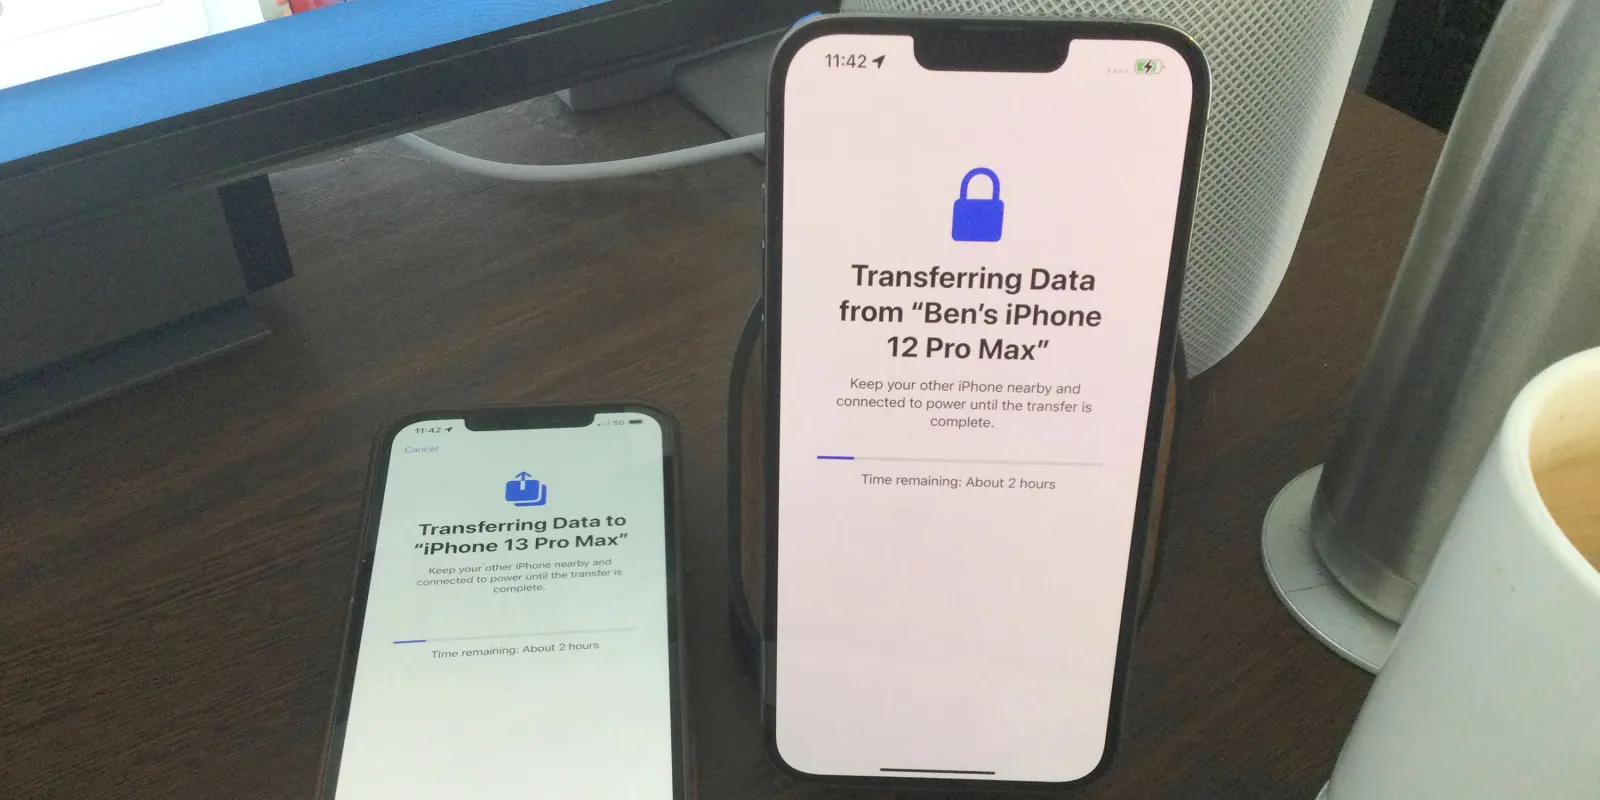
As you progress through the setup prompts, you will have the opportunity to restore your iPhone from the previously created backup. Whether you opted for an iCloud or iTunes backup, this step enables you to seamlessly transfer your data, settings, and personalized preferences from your previous iPhone to the new device. The restoration process ensures that your contacts, photos, messages, app data, and device settings are preserved, allowing you to pick up where you left off with minimal disruption.
Additionally, the setup process presents the option to enable services such as Siri, Apple Pay, and iCloud Keychain, enhancing the functionality and security of your new iPhone. By customizing these services to align with your preferences, you tailor your device to suit your lifestyle and optimize its capabilities.
Navigating through the setup process with attentiveness and precision ensures that your new iPhone is primed to accommodate your SIM card seamlessly. By configuring essential settings, personalizing your device, and restoring your data, you set the stage for a smooth and uninterrupted transition to your new iPhone, empowering you to embark on a seamless mobile experience with your transferred SIM card.
Completing the setup process marks a significant milestone in the transfer journey, positioning your new iPhone as a personalized and functional extension of your digital life. With the setup complete, you are poised to seamlessly integrate your SIM card into your new device, fostering continuity in your mobile service and connectivity.
Step 5: Restore Your Data from the Backup
After successfully setting up your new iPhone, the final and crucial step in the process of transferring your SIM card involves restoring your data from the previously created backup. This pivotal step ensures that your contacts, photos, messages, app data, and device settings seamlessly transition to your new device, allowing you to pick up where you left off with minimal disruption. Whether you opted for an iCloud or iTunes backup, the restoration process is designed to preserve the continuity of your digital life, empowering you to harness the full potential of your new iPhone.
To initiate the data restoration process, navigate to the "Apps & Data" screen during the setup of your new iPhone. Select the option to "Restore from iCloud Backup" or "Restore from iTunes Backup," depending on the method you used to create the backup. If you chose an iCloud backup, you will be prompted to sign in to your iCloud account and select the most recent backup from the list of available backups. For iTunes backups, ensure that your new iPhone is connected to the computer with which you created the backup, and follow the on-screen prompts to initiate the restoration process.
As the restoration progresses, your new iPhone diligently retrieves the data from the selected backup, populating the device with your personal content and settings. This includes your contacts, calendar events, photos and videos, app data, and device preferences. It is important to ensure that your new iPhone remains connected to a stable Wi-Fi network throughout the restoration process, allowing for the seamless transfer of data from the backup to the device.
Once the restoration is complete, your new iPhone will reboot, and you will be greeted with a familiar interface that mirrors the layout and content of your previous device. Your contacts, messages, and app data will be readily accessible, and your device settings will reflect the configurations from your previous iPhone. This meticulous restoration process ensures that your new iPhone is a true reflection of your digital identity, fostering a sense of continuity and familiarity as you transition to the new device.
With your data successfully restored, your new iPhone is now fully equipped to accommodate your SIM card, enabling you to seamlessly resume your mobile service and connectivity. By diligently following the restoration process, you have preserved the integrity of your digital ecosystem, ensuring that your new iPhone seamlessly integrates with your personal and professional life, and allowing you to embark on a seamless and uninterrupted mobile experience.
This meticulous restoration process ensures that your new iPhone is a true reflection of your digital identity, fostering a sense of continuity and familiarity as you transition to the new device. With your data successfully restored, your new iPhone is now fully equipped to accommodate your SIM card, enabling you to seamlessly resume your mobile service and connectivity. By diligently following the restoration process, you have preserved the integrity of your digital ecosystem, ensuring that your new iPhone seamlessly integrates with your personal and professional life, and allowing you to embark on a seamless and uninterrupted mobile experience.
Conclusion
In conclusion, the process of transferring your SIM card to another iPhone is a journey that encompasses meticulous preparation, careful handling of components, and a seamless integration of your digital identity into a new device. By following the comprehensive guide outlined in this article, you have gained the knowledge and confidence to navigate through each step of the transfer process with precision and ease.
From the initial foundation of backing up your current iPhone to the final restoration of your data on the new device, every aspect of the transfer process has been meticulously addressed. The proactive approach of creating a comprehensive backup ensures that your valuable data is safeguarded and ready to be seamlessly transferred to your new iPhone. The careful removal and insertion of the SIM card, coupled with the personalized setup and restoration of your data, sets the stage for a smooth and uninterrupted transition to your new device.
As you embark on this journey, it is essential to recognize the significance of maintaining continuity in your mobile service and connectivity. The seamless transfer of your SIM card to a new iPhone ensures that you can continue to stay connected, make calls, send texts, and access mobile data without any interruptions. This continuity empowers you to seamlessly integrate your digital ecosystem into your new device, fostering a sense of familiarity and enabling you to pick up where you left off with minimal disruption.
Furthermore, the transfer process encapsulates the essence of preserving your digital identity and seamlessly transitioning it to a new device. By meticulously handling your SIM card, safeguarding your backup, and restoring your data, you have ensured that your new iPhone is a true reflection of your personal and professional life. This seamless integration fosters a sense of continuity and familiarity, empowering you to embark on a seamless and uninterrupted mobile experience.
In essence, the transfer of your SIM card to a new iPhone is not merely a technical process but a pivotal milestone in your digital journey. It symbolizes the seamless transition of your mobile service and connectivity, ensuring that your new device seamlessly integrates with your digital identity. The knowledge and insights gained from this guide have equipped you to embrace this transition with confidence, empowering you to harness the full potential of your new iPhone while preserving the continuity of your digital life.


