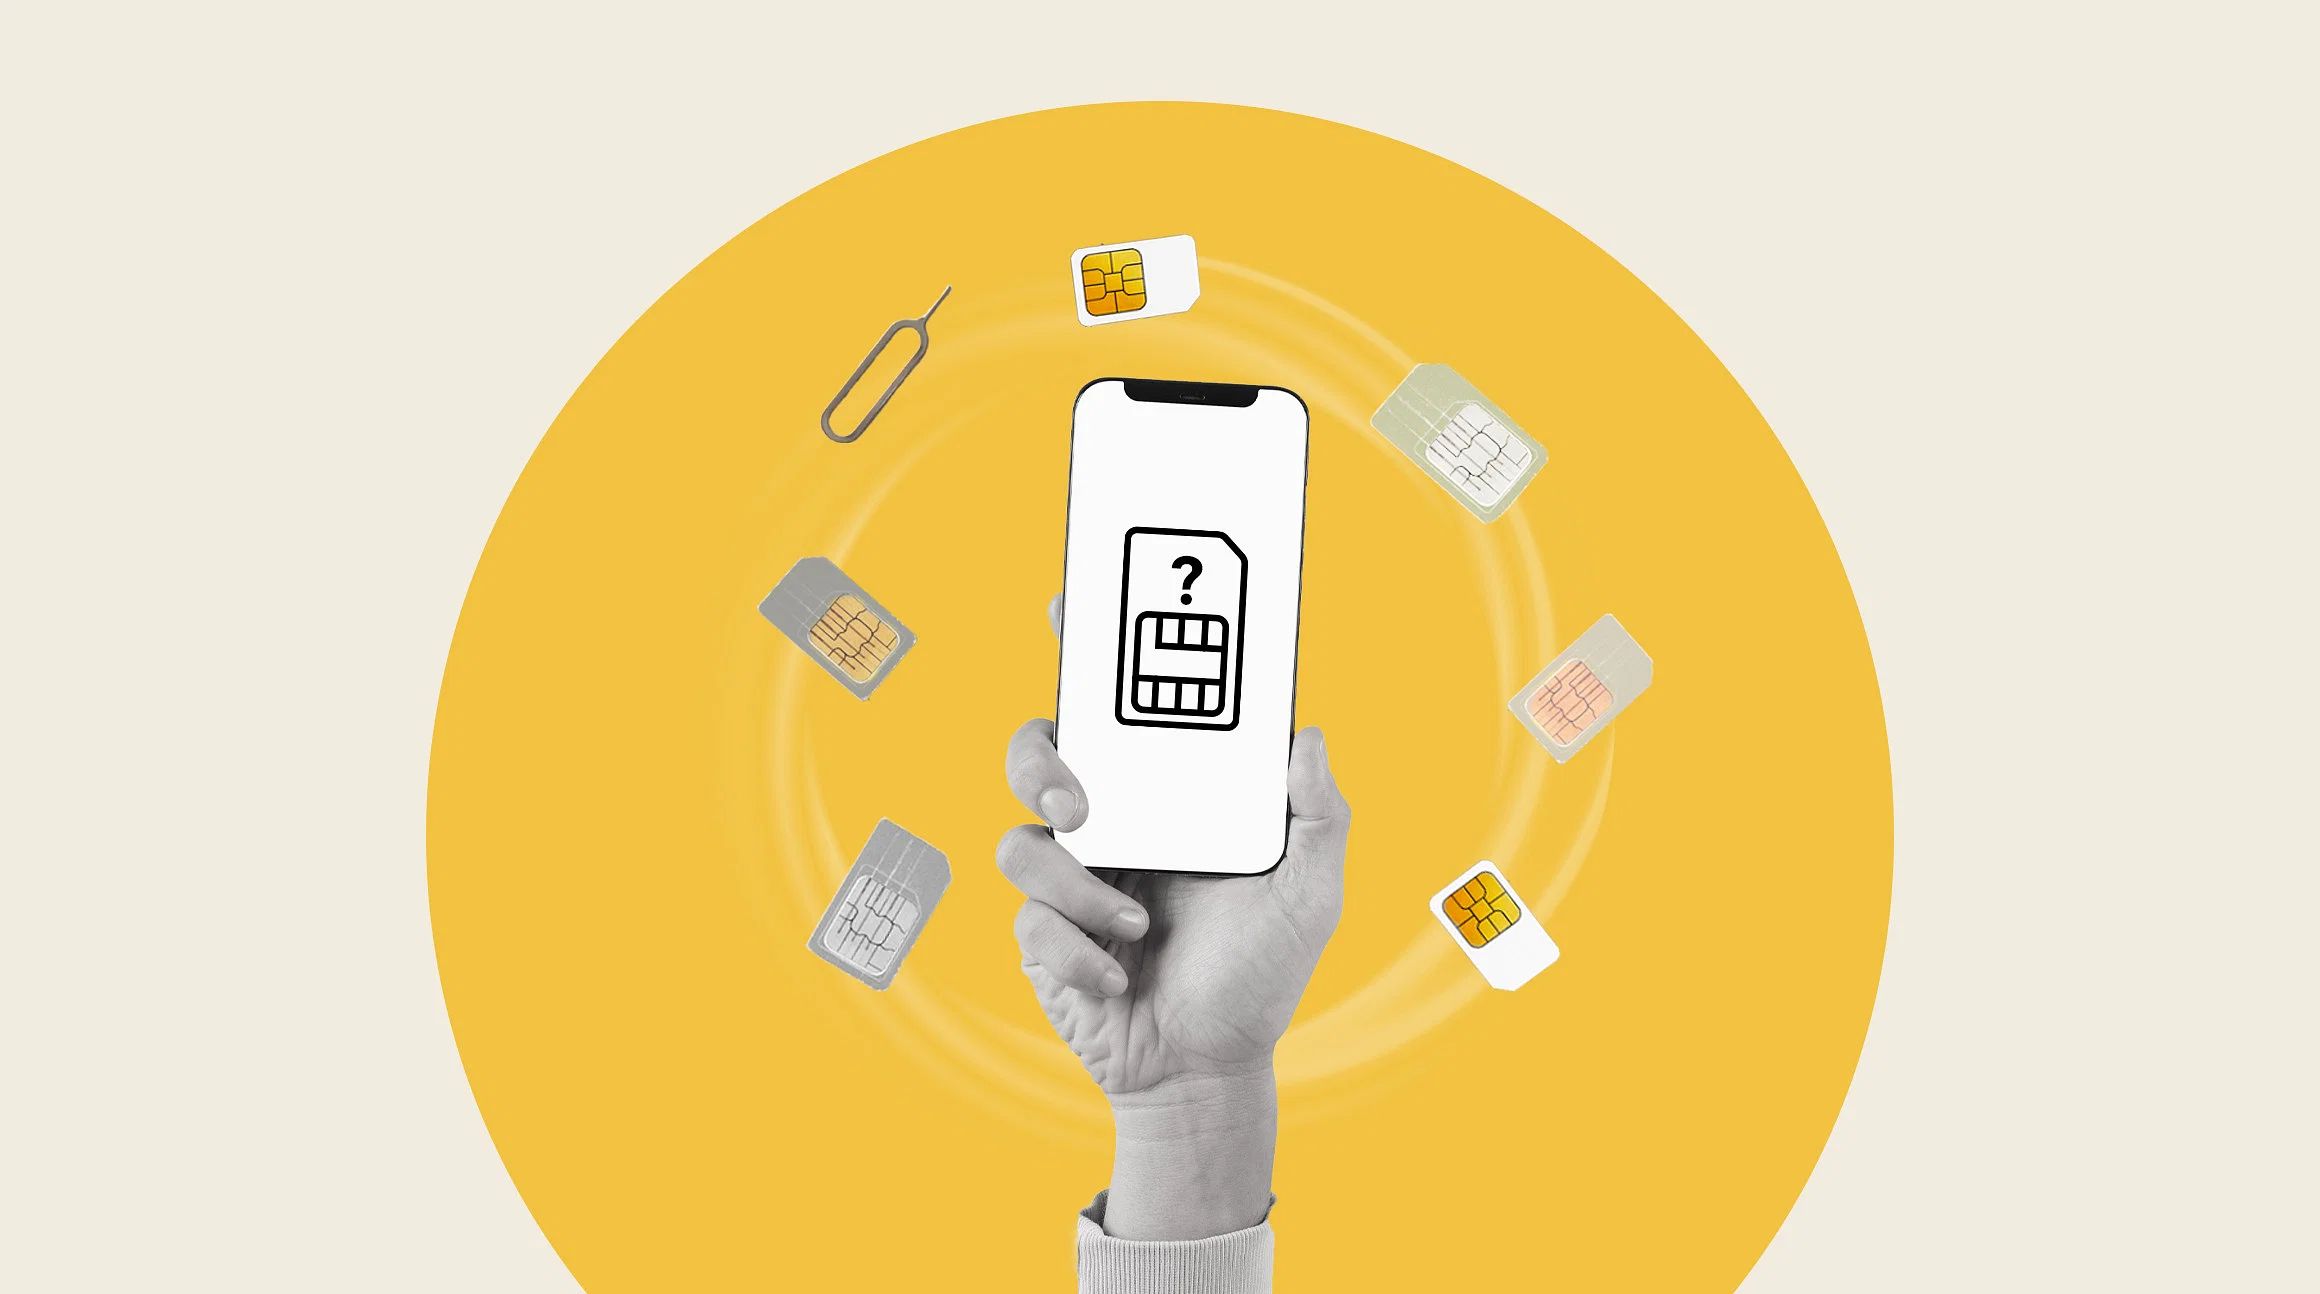
Introduction
Transferring your SIM card to a new iPhone is a crucial step in the process of upgrading to a new device. This simple yet significant task ensures that your new iPhone is connected to your mobile network, allowing you to make calls, send messages, and access mobile data. Whether you are upgrading to the latest model or replacing a damaged device, understanding the process of transferring your SIM card is essential for a seamless transition.
By following a few straightforward steps, you can transfer your SIM card to your new iPhone without any hassle. This process involves backing up your old iPhone, removing the SIM card from the old device, inserting it into the new iPhone, and setting up the new device. Each step is vital in ensuring that your new iPhone is fully functional and ready to use with your existing mobile plan.
In this guide, we will walk you through each step of the process, providing clear instructions and helpful tips to make the transition as smooth as possible. Whether you are a seasoned iPhone user or a first-time upgrader, this guide will equip you with the knowledge and confidence to transfer your SIM card to your new iPhone with ease. Let's dive into the essential steps that will enable you to seamlessly transition to your new device.
Step 1: Backing up your old iPhone
Backing up your old iPhone is the crucial first step in the process of transferring your SIM card to a new iPhone. This step ensures that all your important data, including contacts, photos, messages, and apps, are safely stored and ready to be transferred to your new device. Apple provides users with two convenient methods for backing up their iPhones: iCloud and iTunes.
iCloud Backup
Using iCloud to back up your iPhone is a seamless and wireless process. To initiate an iCloud backup, ensure that your device is connected to a Wi-Fi network and plugged into a power source. Once these prerequisites are met, follow these simple steps:
- Open the "Settings" app on your iPhone.
- Tap on your name at the top of the screen, then select "iCloud."
- Scroll down and tap "iCloud Backup."
- Toggle the "iCloud Backup" switch to enable it.
- Tap "Back Up Now" and wait for the backup process to complete.
iTunes Backup
If you prefer to back up your iPhone using your computer, iTunes provides a reliable solution. To create an iTunes backup, follow these steps:
- Connect your iPhone to your computer using a USB cable and launch the iTunes application.
- Select your iPhone when it appears in iTunes.
- Click on "Summary" in the left-hand sidebar.
- Under the "Backups" section, choose "This computer" and click "Back Up Now."
Regardless of the method you choose, it's essential to ensure that your backup is complete before proceeding to the next step. You can verify the completion of the backup by checking the backup status in the "Settings" app for iCloud backups or in the iTunes application for computer backups.
By diligently backing up your old iPhone, you can rest assured that all your valuable data is securely stored and ready to be transferred to your new device. This proactive approach minimizes the risk of data loss and ensures that your new iPhone will be set up with your familiar content and settings, creating a seamless and familiar user experience from the moment you power on your new device.
Step 2: Removing the SIM card from your old iPhone
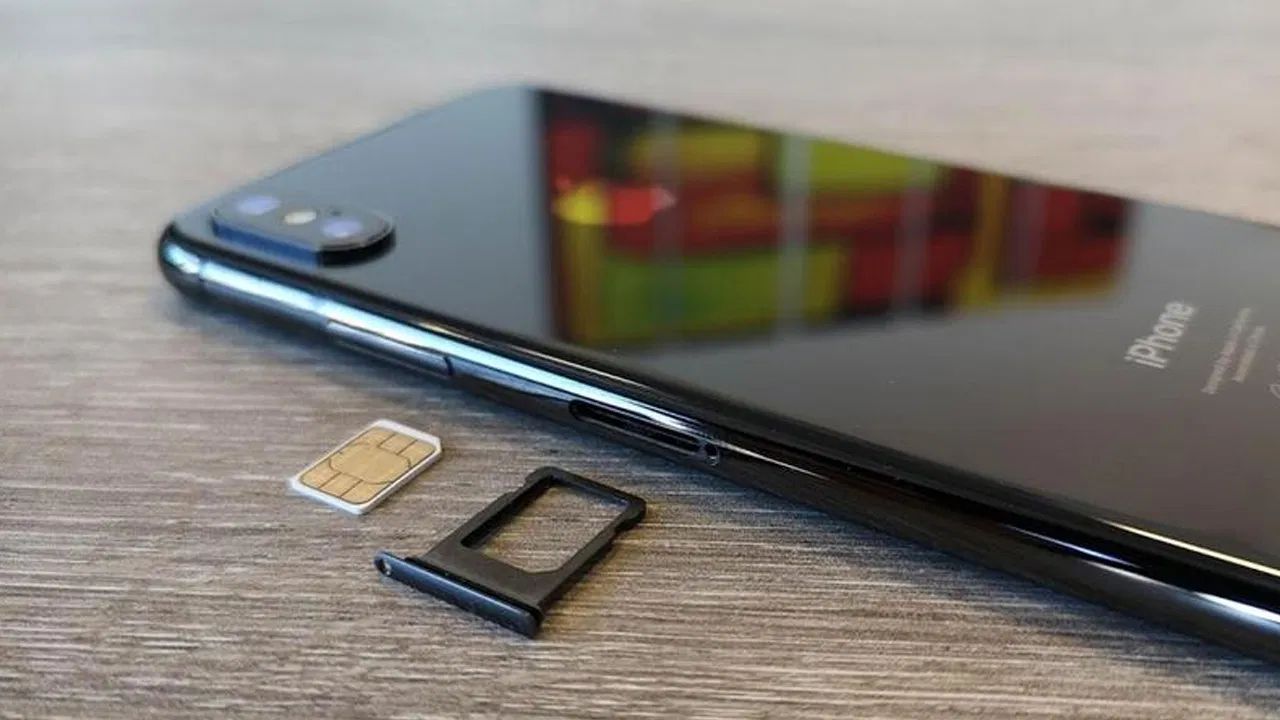
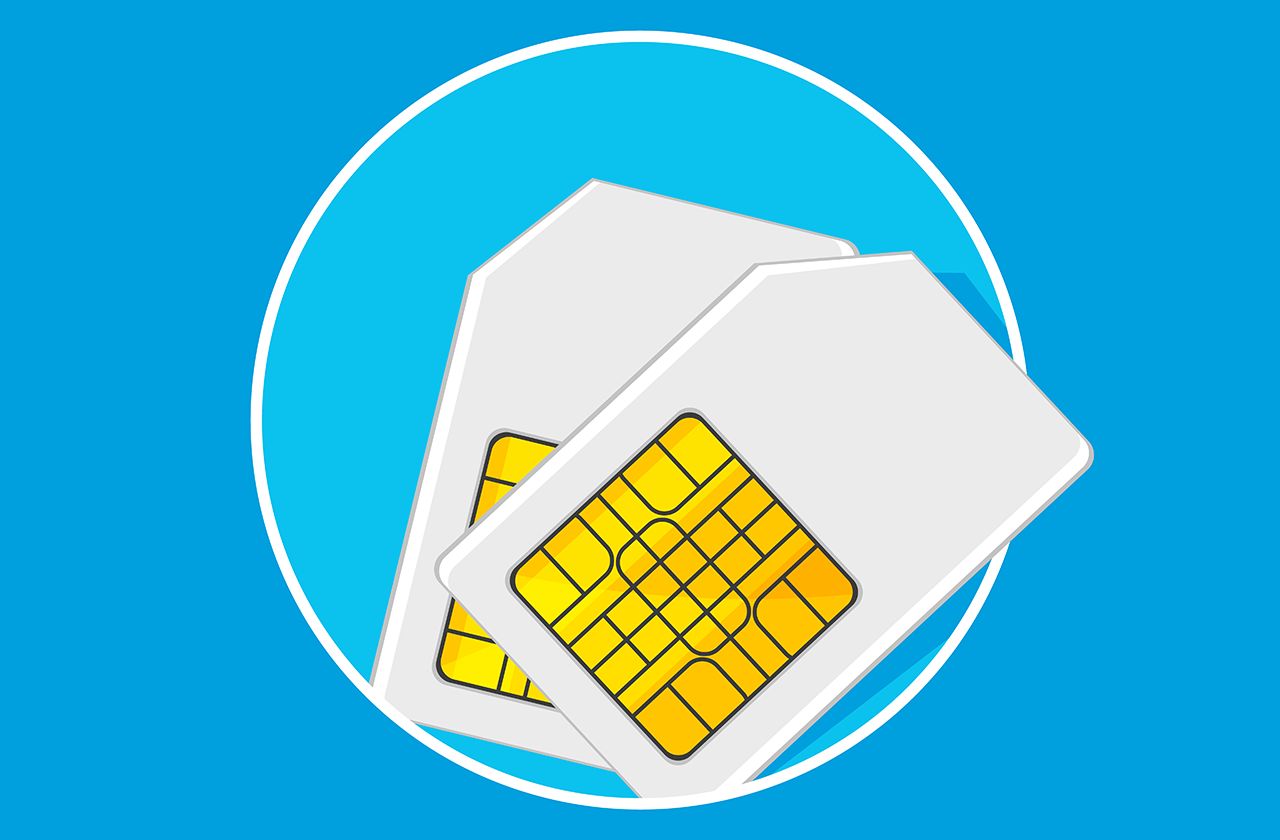
Once you have successfully backed up your old iPhone, the next crucial step in the process of transferring your SIM card to a new iPhone is to remove the SIM card from your old device. The SIM card, which stands for Subscriber Identity Module, is a small, removable card that stores your mobile network subscriber information. This includes details such as your phone number, carrier information, and other essential data that enables your device to connect to the mobile network.
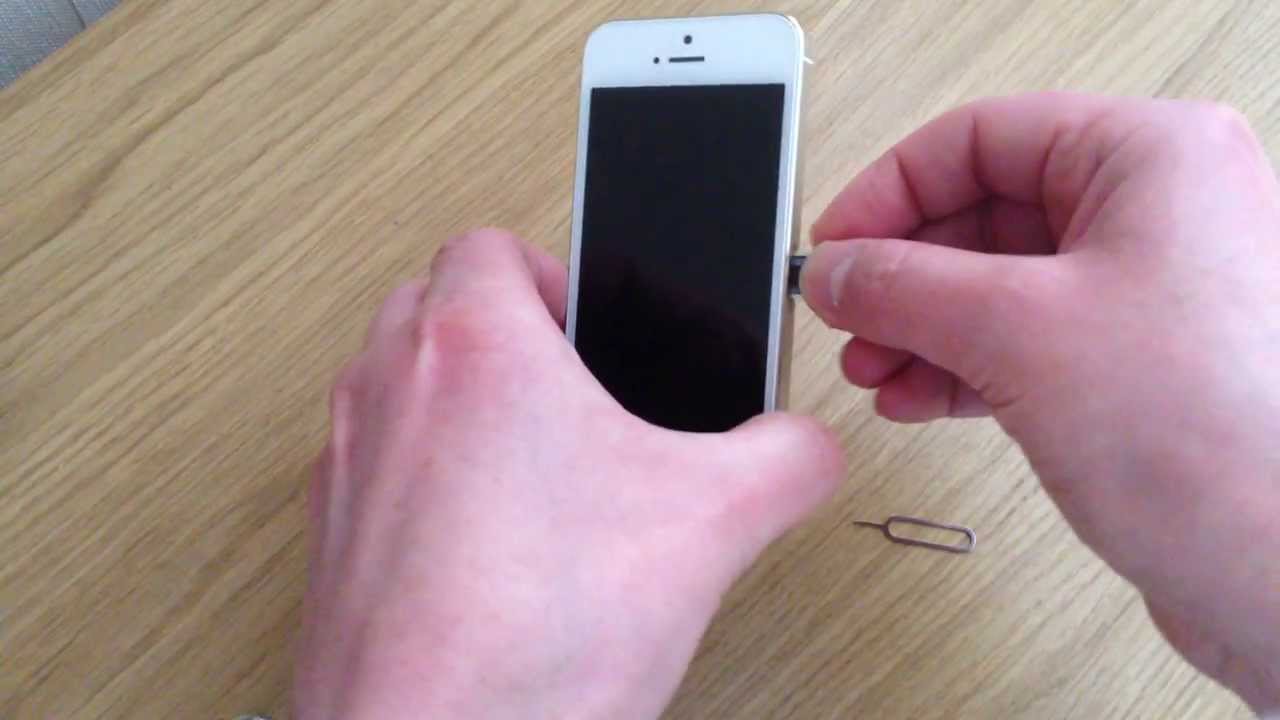
To remove the SIM card from your old iPhone, follow these simple steps:
-
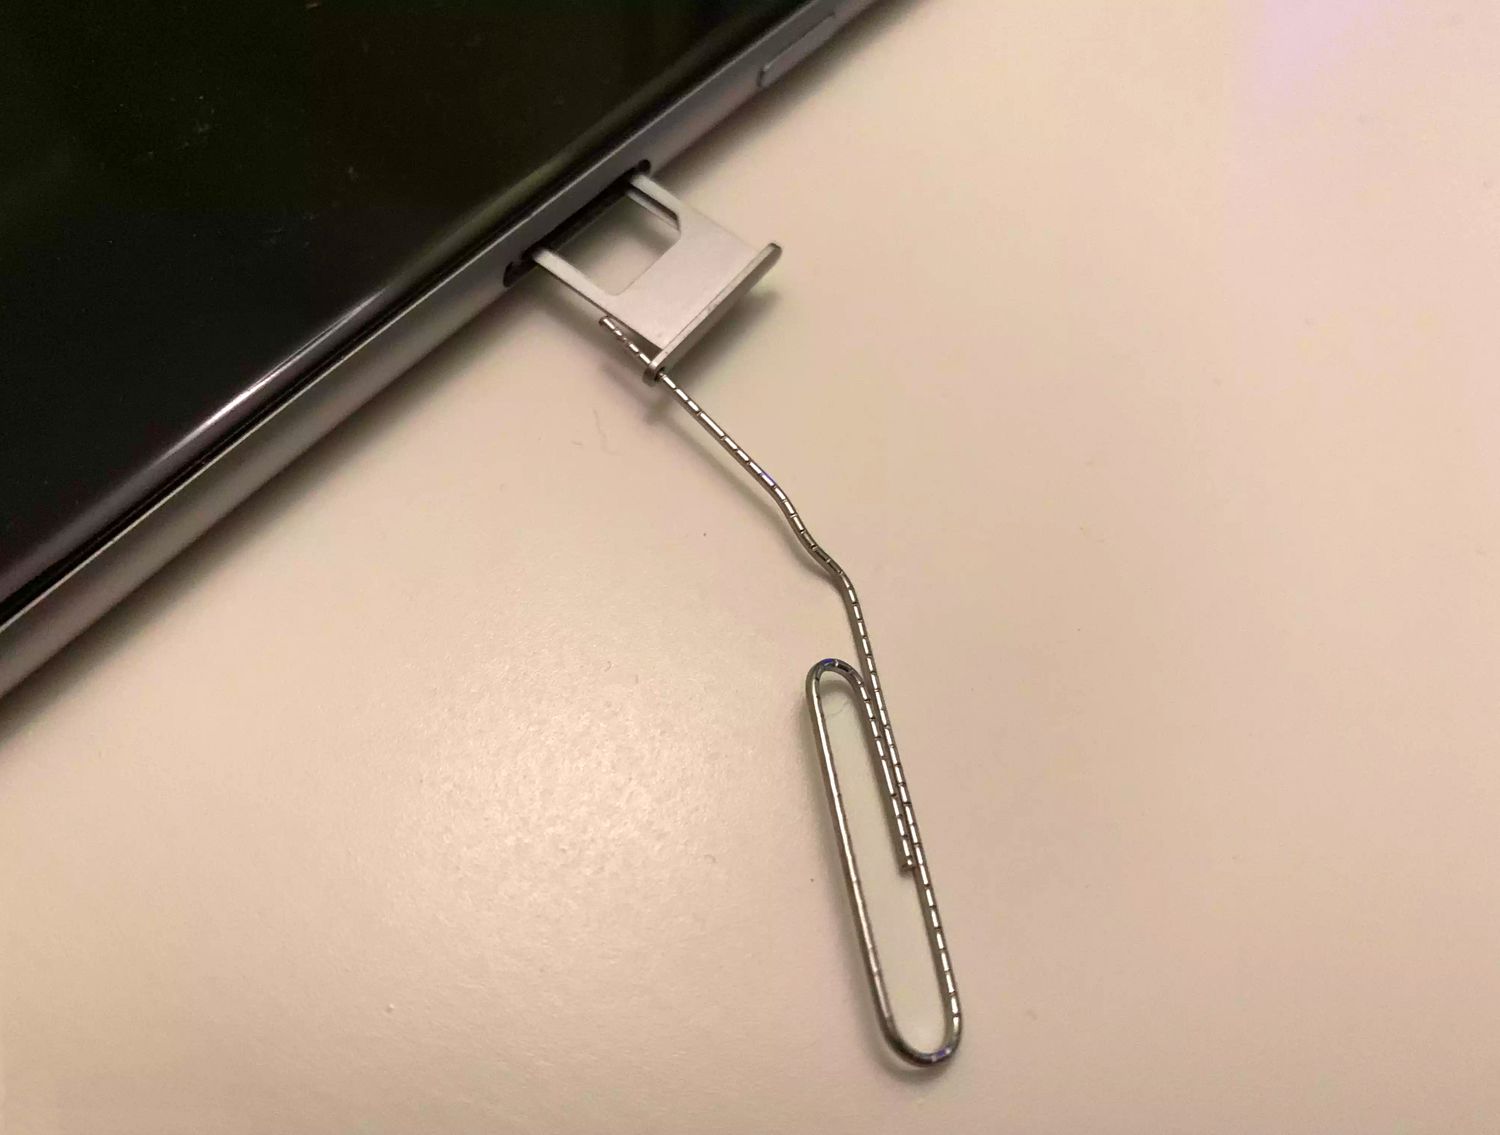
Locate the SIM Card Tray: Depending on your iPhone model, the location of the SIM card tray may vary. In most cases, the SIM card tray is located on the side of the device. Look for a small pinhole or a tiny slot near the edge of the iPhone.
-
Eject the SIM Card Tray: Insert the provided SIM card removal tool or a paperclip into the pinhole or slot. Apply gentle pressure to eject the SIM card tray from the iPhone. Once the tray is partially ejected, carefully pull it out from the device.
-
Remove the SIM Card: With the SIM card tray removed, gently tip it over to allow the SIM card to slide out. Handle the SIM card with care, holding it by the edges to avoid damaging the delicate electronic components.
-
Inspect the SIM Card: Take a moment to inspect the SIM card for any signs of damage or wear. If the SIM card appears to be in good condition, proceed to the next step. However, if you notice any damage, such as a bent or scratched surface, it is advisable to contact your mobile carrier for a replacement SIM card.
By following these steps, you can safely remove the SIM card from your old iPhone, preparing it for transfer to your new device. It is important to handle the SIM card with care to prevent any damage that could affect its functionality. Once the SIM card has been removed, you are ready to proceed to the next step of inserting it into your new iPhone.
Removing the SIM card from your old iPhone is a straightforward process that plays a pivotal role in ensuring a smooth transition to your new device. With the SIM card safely in your possession, you are one step closer to completing the transfer process and enjoying the full functionality of your new iPhone.
Step 3: Inserting the SIM card into your new iPhone
With the SIM card safely removed from your old iPhone, the next crucial step in the process of transferring your SIM card to a new iPhone is to insert the SIM card into your new device. This simple yet essential task ensures that your new iPhone is connected to your mobile network, allowing you to make calls, send messages, and access mobile data using your existing mobile plan.
To insert the SIM card into your new iPhone, follow these straightforward steps:
-
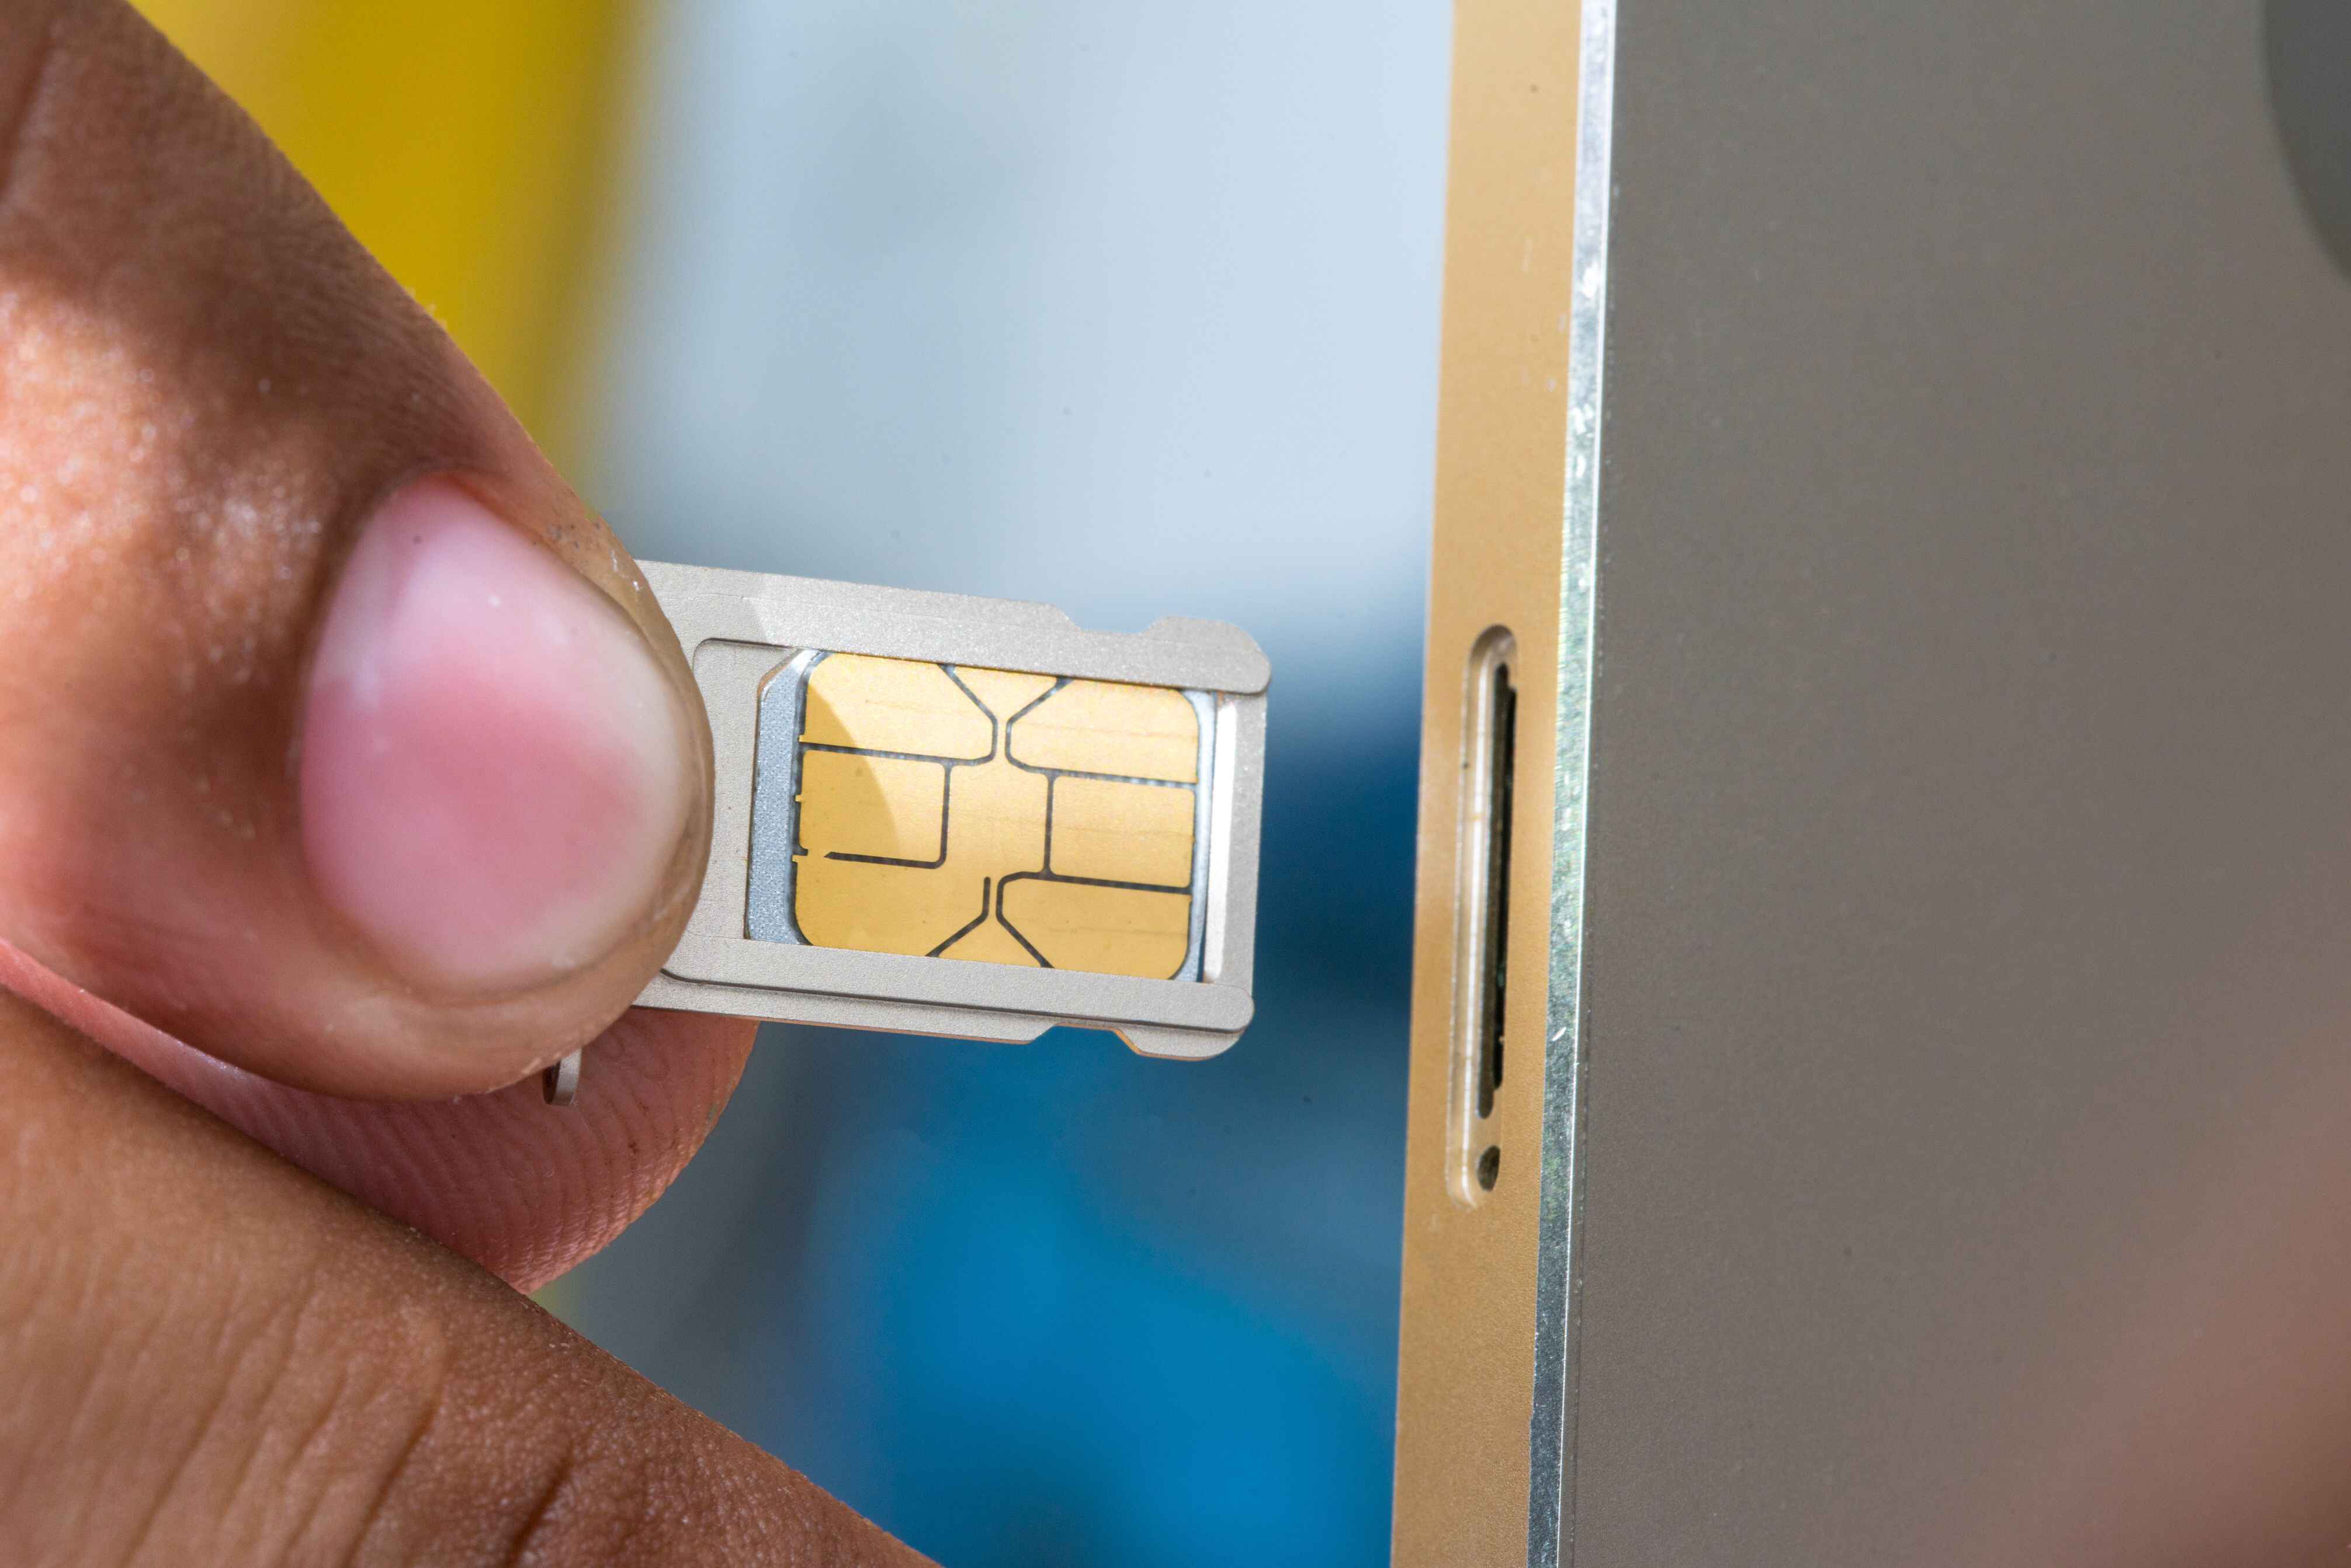
Locate the SIM Card Tray: Depending on your iPhone model, the location of the SIM card tray may vary. In most cases, the SIM card tray is located on the side of the device. Look for a small pinhole or a tiny slot near the edge of the iPhone.
-
Eject the SIM Card Tray: Insert the provided SIM card removal tool or a paperclip into the pinhole or slot. Apply gentle pressure to eject the SIM card tray from the iPhone. Once the tray is partially ejected, carefully pull it out from the device.
-
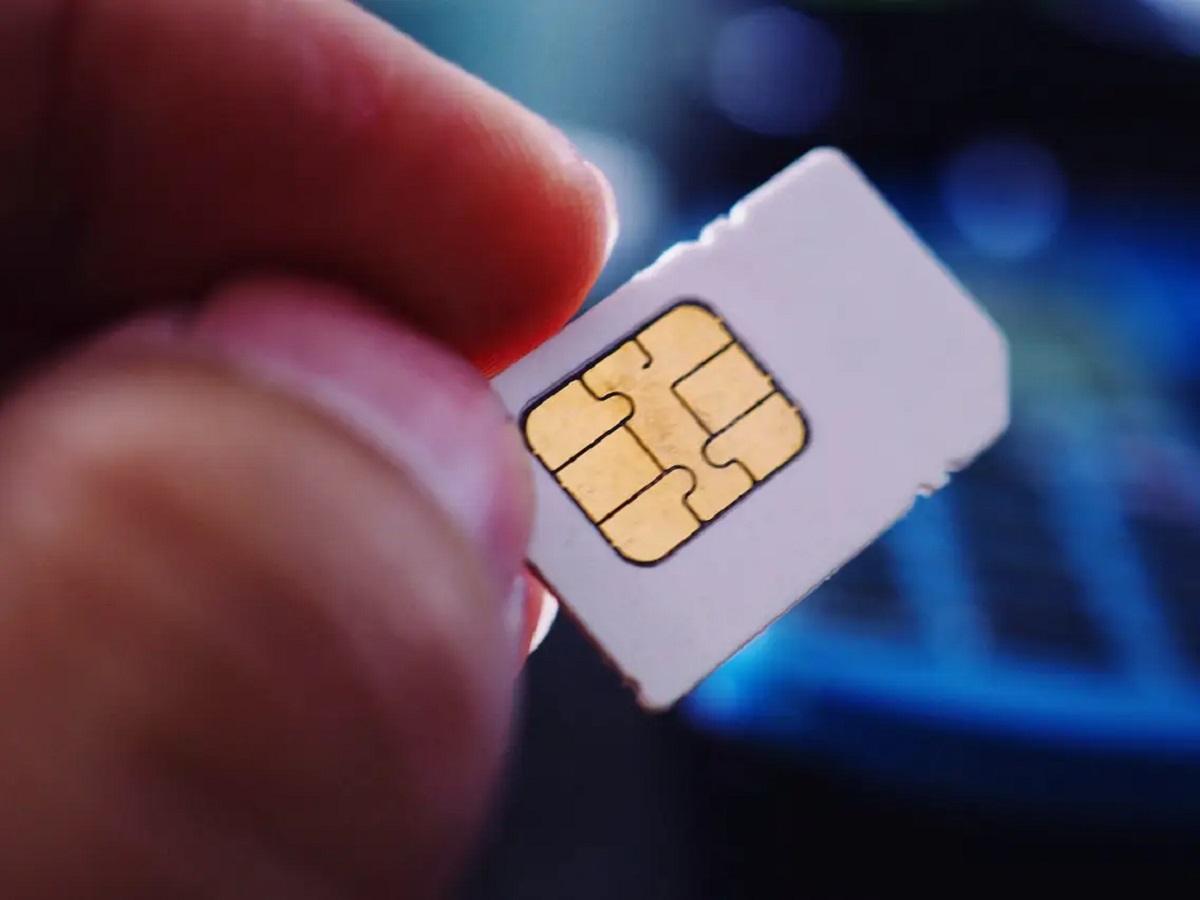
Position the SIM Card: Carefully place the SIM card into the SIM card tray, ensuring that it aligns with the designated slot. The SIM card has a notched corner that matches the shape of the slot, allowing for proper alignment.
-
Insert the SIM Card Tray: Once the SIM card is securely placed in the tray, gently slide the tray back into the iPhone until it is fully seated. Ensure that the tray is inserted in the correct orientation to prevent any damage to the SIM card or the device.
-
Power on your iPhone: With the SIM card successfully inserted, power on your new iPhone and allow it to initialize. The device will detect the presence of the SIM card and establish a connection to your mobile network.
By following these steps, you can seamlessly insert the SIM card into your new iPhone, ensuring that your device is ready to connect to your mobile network and access essential communication services. It is essential to handle the SIM card and the SIM card tray with care to prevent any damage during the insertion process.
Once the SIM card is securely in place, your new iPhone will be fully equipped to utilize your existing mobile plan, enabling you to stay connected and enjoy the full functionality of your device. With the SIM card successfully inserted, you are one step closer to completing the transition to your new iPhone and embarking on a seamless and familiar user experience.
Step 4: Setting up your new iPhone
Setting up your new iPhone is an exciting and pivotal step in the process of transitioning to a new device. This step involves configuring essential settings, transferring your data from the backup, and personalizing your device to suit your preferences. By following the straightforward setup process, you can ensure that your new iPhone is ready to deliver a seamless and personalized user experience from the moment you power it on.
Upon powering on your new iPhone, you will be greeted with the "Hello" screen, marking the beginning of the setup process. Follow these essential steps to set up your new iPhone:
-
Select Your Language and Region: Begin by selecting your preferred language and region. This ensures that your device's interface and services are tailored to your specific linguistic and geographical preferences.
-
Connect to Wi-Fi or Cellular Network: To proceed with the setup, connect your new iPhone to a Wi-Fi network or insert your SIM card to establish a cellular connection. This connectivity is essential for completing the setup process and enabling various features and services on your device.
-
Set Up Touch ID or Face ID: Depending on your iPhone model, you will have the option to set up Touch ID (fingerprint recognition) or Face ID (facial recognition) for secure and convenient device access. Follow the on-screen instructions to register your biometric data and enhance the security of your device.
-
Restore from Backup: If you backed up your old iPhone using iCloud or iTunes, you can choose to restore your data from the backup during the setup process. This allows you to seamlessly transfer your contacts, photos, apps, and settings to your new device, preserving your familiar user experience.
-
Sign in with Your Apple ID: Sign in with your Apple ID or create a new one to access the App Store, iCloud, iMessage, FaceTime, and other Apple services. Your Apple ID is essential for managing your device, downloading apps, and securely storing your data in the cloud.
-
Enable or Disable Services: During the setup, you will have the opportunity to enable or disable various services such as Siri, Location Services, and iCloud Keychain based on your preferences and privacy considerations.
-
Customize Display and Accessibility: Customize your display settings, including brightness and text size, to optimize your viewing experience. Additionally, explore accessibility features that cater to your specific needs, such as visual, auditory, or motor impairments.
-
Set Up Apple Pay: If you wish to use Apple Pay for secure and convenient payments, you can set it up during the device setup. This feature allows you to add credit or debit cards to your device and make contactless payments at supported retailers.
By meticulously following these setup steps, you can ensure that your new iPhone is configured to meet your specific needs and preferences. The setup process not only establishes the functionality of your device but also allows you to seamlessly transition from your old iPhone to a new and personalized user experience. With your new iPhone fully set up, you are ready to explore its features, download your favorite apps, and stay connected in style.
Conclusion
Congratulations! You have successfully completed the process of transferring your SIM card to your new iPhone. By meticulously following the essential steps outlined in this guide, you have ensured that your new device is seamlessly connected to your mobile network and ready to deliver a familiar and personalized user experience.
The journey began with the crucial step of backing up your old iPhone, ensuring that all your valuable data, including contacts, photos, messages, and apps, was securely stored and ready to be transferred to your new device. Whether you opted for an iCloud backup for a wireless and convenient solution or an iTunes backup for a computer-based approach, the thorough backup process laid the foundation for a smooth transition to your new iPhone.
Next, you carefully removed the SIM card from your old iPhone, acknowledging its significance as the gateway to your mobile network connectivity. By delicately handling the SIM card and tray, you ensured that the card was in prime condition for its transfer to the new device. This step not only facilitated the physical transfer of the SIM card but also emphasized the importance of handling delicate components with care.
With the SIM card in hand, you then proceeded to insert it into your new iPhone, aligning it with the designated slot and securing it in the SIM card tray. This simple yet essential task established the vital connection between your new device and your mobile network, allowing you to make calls, send messages, and access mobile data using your existing mobile plan.
Finally, the setup process personalized your new iPhone, configuring essential settings, restoring your data from the backup, and enabling features that cater to your specific needs and preferences. By seamlessly transitioning from your old iPhone to your new device, you have ensured that your user experience remains familiar and optimized to suit your individual requirements.
As you power on your new iPhone and explore its features, you can take pride in the successful completion of the SIM card transfer process. Your new device is now fully equipped to keep you connected, organized, and entertained, reflecting your unique digital lifestyle.
With the SIM card transfer process behind you, you can look forward to embracing the full potential of your new iPhone, enjoying its advanced capabilities, and staying connected with confidence. As you embark on this new chapter with your upgraded device, may it bring you convenience, productivity, and endless possibilities in the palm of your hand. Cheers to your new iPhone and the seamless transition that awaits you!