Introduction
The Samsung Galaxy S20 is a remarkable device that has redefined the smartphone experience with its cutting-edge features and sleek design. However, like any electronic device, the battery of the Samsung S20 may need to be replaced due to wear and tear over time. Whether you are looking to replace a faulty battery or simply want to gain access to the internals of your device, it's essential to understand the process of removing the battery safely and effectively.
In this comprehensive guide, we will walk you through the step-by-step process of removing the battery from your Samsung S20. By following these instructions carefully, you can ensure that the battery removal process is carried out smoothly without causing any damage to your device. Additionally, this guide will equip you with the knowledge and confidence to perform the battery removal procedure with ease, empowering you to take control of the maintenance and repair of your Samsung S20.
Understanding the intricacies of your device and being able to perform basic maintenance tasks such as battery removal can not only save you time and money but also provide a sense of accomplishment and self-reliance. Whether you are a tech enthusiast, a DIY aficionado, or simply someone who wants to learn more about their smartphone, this guide is designed to cater to your needs.
So, without further ado, let's delve into the tools required and the step-by-step process of removing the battery from your Samsung S20. Get ready to embark on a journey of discovery and empowerment as we unravel the inner workings of this remarkable device.
Tools Required
Before embarking on the battery removal process for your Samsung S20, it's crucial to gather the necessary tools to ensure a smooth and efficient procedure. Here are the essential tools you will need:
-
Precision Screwdriver Set: A precision screwdriver set is indispensable for accessing the internal components of your Samsung S20. It typically includes a variety of screwdriver heads, such as Phillips and Torx, which are commonly used in electronic devices. These precision screwdrivers allow you to remove the screws securing the back cover and the battery, enabling you to proceed with the battery removal process seamlessly.
-
Plastic Opening Tools: To safely pry open the back cover of your Samsung S20 without causing damage, plastic opening tools are essential. These tools are designed to gently separate the back cover from the device's body, preventing scratches or dents. Their non-conductive properties also reduce the risk of accidental short circuits during the battery removal process.
-
Anti-Static Wrist Strap (Optional): While not mandatory, an anti-static wrist strap can be beneficial in dissipating any static electricity from your body, minimizing the risk of electrostatic discharge (ESD) that could potentially damage sensitive electronic components. If you have access to an anti-static wrist strap, wearing it during the battery removal process can provide an added layer of protection for your Samsung S20.
-
Heat Gun or Hair Dryer (Optional): In some cases, the adhesive securing the battery to the device may require gentle heating to facilitate safe removal. A heat gun or hair dryer can be used to apply controlled heat to the back cover and battery, softening the adhesive and making it easier to detach the battery without causing damage to the device.
By ensuring that you have these essential tools at your disposal, you can proceed with confidence, knowing that you are well-equipped to carry out the battery removal process for your Samsung S20. With the right tools in hand, you are ready to move on to the next step and begin the journey of accessing and removing the battery from your device.
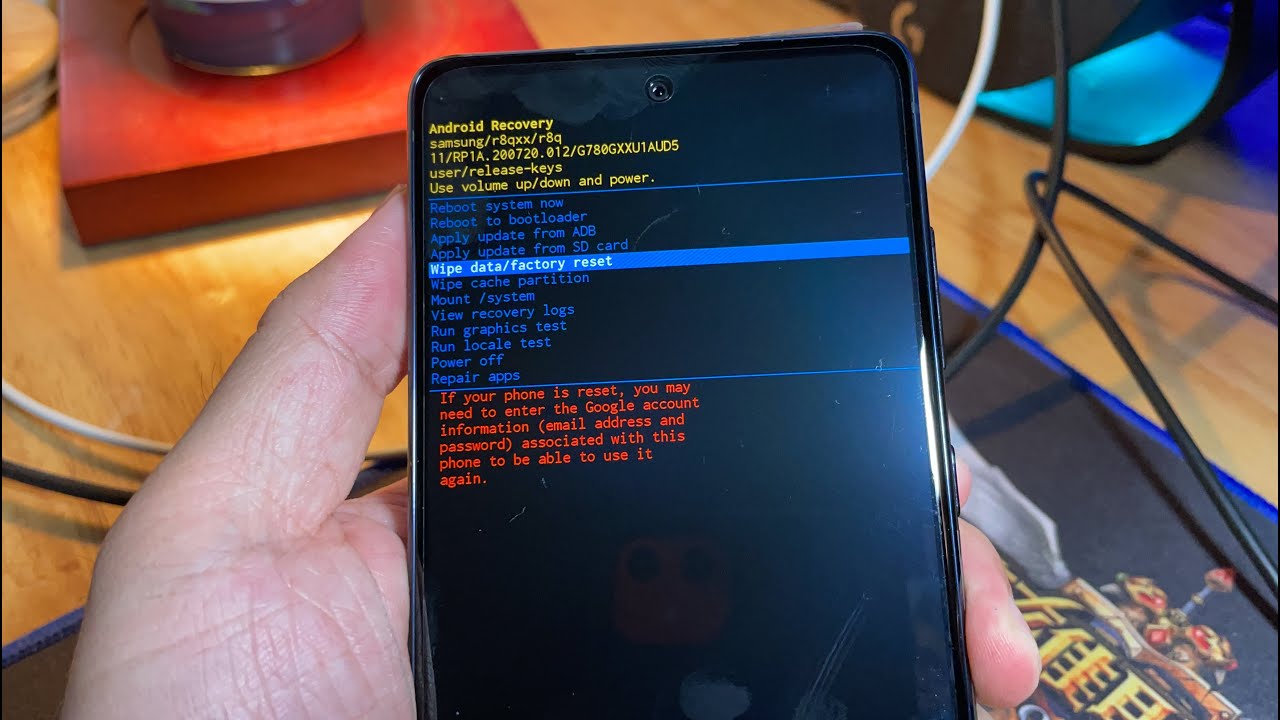
Step 1: Power Off the Device
Before initiating the battery removal process for your Samsung S20, it is imperative to power off the device to ensure safety and prevent any potential damage. By following these steps, you can effectively power off your device in preparation for the subsequent battery removal procedure.
-
Unlock the Device: If your Samsung S20 is currently locked, unlock it by entering your PIN, pattern, or using the biometric authentication method, such as fingerprint or facial recognition.
-
Press and Hold the Power Button: Located on the right side of the device, the power button is used to turn the device on and off. Press and hold the power button until the power off menu appears on the screen.
-
Select "Power Off": Once the power off menu is displayed, tap on the "Power Off" option to initiate the shutdown process. This action prompts the device to begin powering down, ensuring that all active processes are safely terminated.
-
Wait for the Device to Power Off: Allow the device to complete the power-off sequence. You may notice the screen turning off, indicating that the device is successfully powered down.
-
Verify Power Off: To confirm that the device is powered off, briefly press the power button to ensure that the screen remains inactive and unresponsive.
By meticulously following these steps, you have successfully powered off your Samsung S20, setting the stage for the subsequent stages of the battery removal process. This crucial initial step ensures that the device is in a safe and inactive state, minimizing the risk of electrical hazards and facilitating a smooth and secure battery removal procedure.
With the device powered off, you are now prepared to proceed to the next step, which involves removing the back cover of your Samsung S20 to gain access to the internal components, including the battery. This marks the beginning of an insightful journey into the intricate workings of your device, empowering you to take charge of its maintenance and repair with confidence and precision.
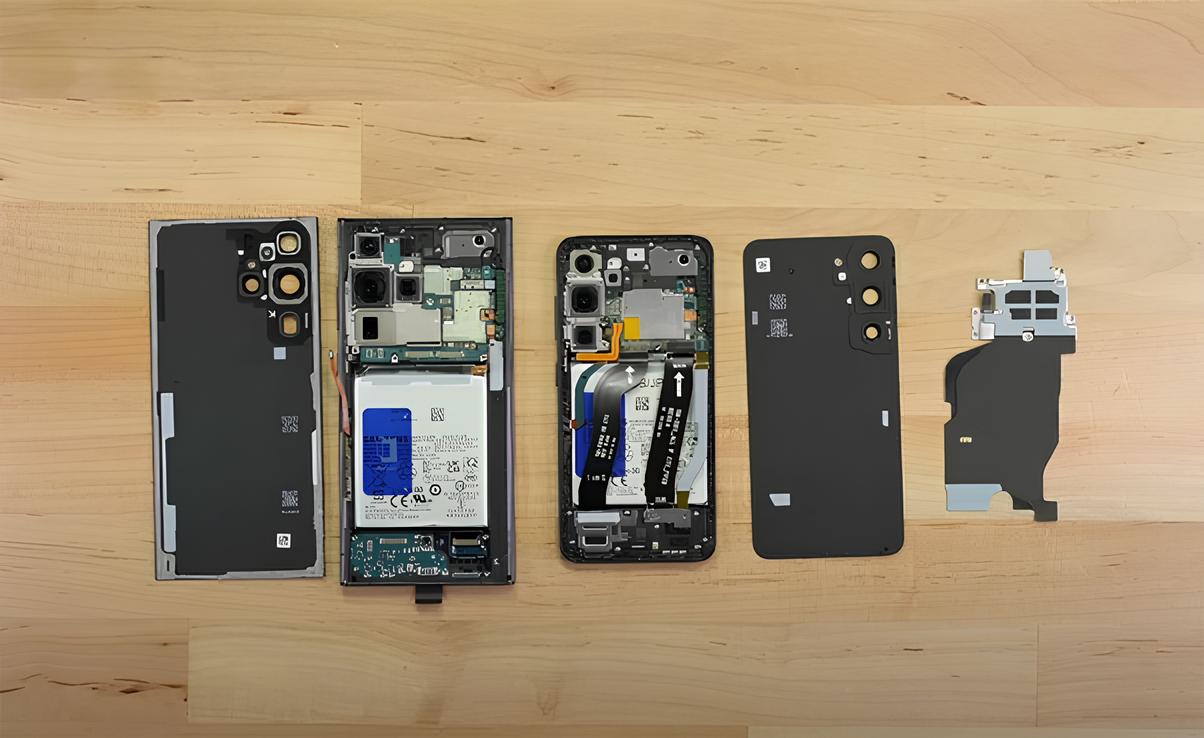
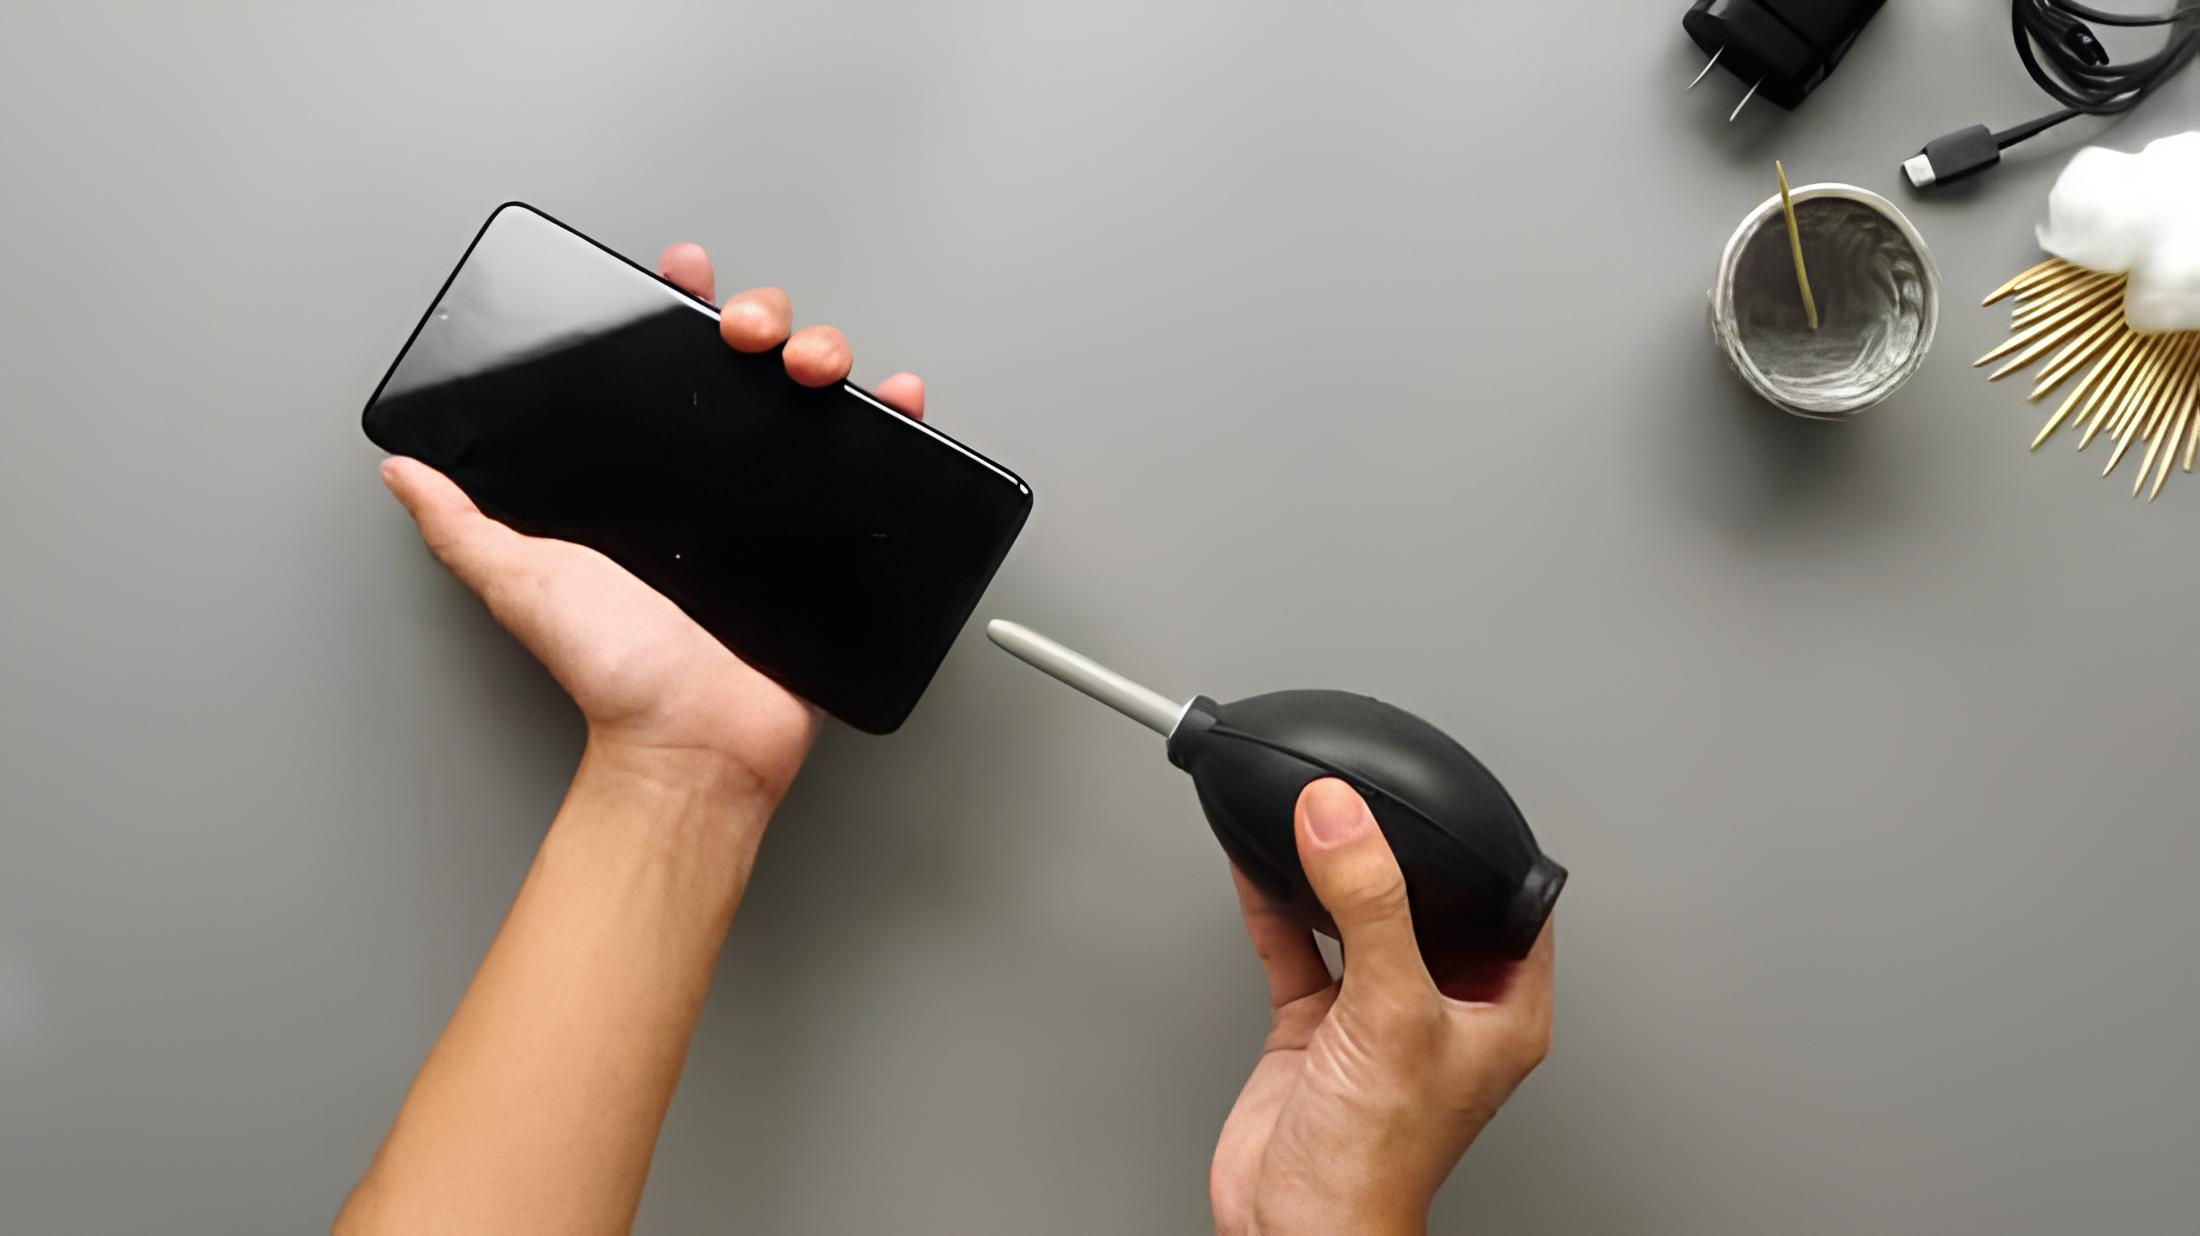
Step 2: Remove the Back Cover
Removing the back cover of your Samsung S20 is a crucial step in gaining access to the internal components, including the battery. This process requires precision and care to ensure that the back cover is detached without causing any damage to the device. By following the steps outlined below, you can effectively remove the back cover of your Samsung S20 in preparation for accessing the battery and proceeding with the battery removal process.
-
Power Off Confirmation: Before proceeding with the back cover removal, it is essential to confirm that the device is powered off. Ensure that the screen remains inactive and unresponsive by briefly pressing the power button. This step reaffirms the safe and inactive state of the device, minimizing the risk of electrical hazards during the back cover removal process.
-
Identify the Notch: Examine the edges of the back cover to locate the small notch or groove that allows for the separation of the back cover from the device's body. The notch is typically positioned along the seam where the back cover meets the frame of the device.
-
Utilize Plastic Opening Tools: To prevent damage to the back cover or the device's body, carefully insert a plastic opening tool into the identified notch. Gently apply pressure to create a slight separation between the back cover and the device's frame. It is crucial to exercise patience and caution during this step to avoid bending or warping the back cover.
-
Gradual Separation: Once the initial separation is achieved, gradually slide the plastic opening tool along the edges of the device, maintaining gentle and consistent pressure to gradually detach the back cover. As you progress along the edges, you will hear the subtle sounds of the adhesive releasing, indicating that the back cover is being successfully separated from the device.
-
Repeat the Process: Continue using the plastic opening tool to navigate around the perimeter of the device, ensuring that the back cover is being uniformly detached without applying excessive force to any specific area. This methodical approach minimizes the risk of damage to the back cover or the internal components housed within the device.
-
Lift Off the Back Cover: Once the back cover is sufficiently detached from the device's body, carefully lift it off, ensuring that no cables or connectors are still attached. Take note of any adhesive or clips that may be securing the back cover in place, and gently maneuver the back cover to disengage it completely from the device.
By meticulously following these steps, you have successfully removed the back cover of your Samsung S20, paving the way for accessing the internal components, including the battery. This pivotal stage sets the foundation for the subsequent steps involved in disconnecting and removing the battery from your device, empowering you to delve deeper into the maintenance and repair of your Samsung S20 with confidence and precision.
Step 3: Disconnect the Battery
With the back cover successfully removed, the next critical step in the battery removal process for your Samsung S20 involves disconnecting the battery from the device's internal circuitry. This step is essential to ensure the safety of the battery removal procedure and prevent any potential electrical mishaps. By following the detailed steps outlined below, you can effectively disconnect the battery from your Samsung S20, setting the stage for the subsequent removal of the battery from the device.
-
Identify the Battery Connector: Upon gaining access to the internal components of your Samsung S20, locate the battery connector, which is typically positioned near the lower portion of the device. The battery connector is a small, rectangular component with a cable attached to it, serving as the interface between the battery and the device's circuitry.
-
Use Plastic Opening Tools: To disconnect the battery, carefully utilize plastic opening tools to gently lift the connector from its socket. Exercise caution and precision to avoid applying excessive force or causing damage to the connector or the surrounding components. The goal is to create a clean separation between the battery and the device's circuitry without compromising the integrity of the connector.
-
Avoid Tugging on the Cable: When disconnecting the battery connector, ensure that you are exclusively manipulating the connector itself and not tugging on the attached cable. By focusing on the connector, you can minimize the risk of damaging the cable or the connector's housing, preserving the functionality of the battery and the device's internal components.
-
Verify Disconnection: Once the battery connector has been lifted from its socket, visually inspect the connection to confirm that it is fully disconnected. Ensure that there are no residual signs of attachment between the connector and the socket, indicating a successful disconnection of the battery from the device's circuitry.
-
Exercise Caution: Throughout the battery disconnection process, exercise patience and precision to avoid any abrupt movements or unintended stress on the connector or the surrounding components. By approaching the disconnection with care and attention to detail, you can safeguard the integrity of the battery and the device's internal circuitry.
By meticulously following these steps, you have effectively disconnected the battery from your Samsung S20, laying the groundwork for the subsequent phase of removing the battery from the device. This pivotal stage underscores the importance of precision and caution in handling the internal components of your device, empowering you to navigate the battery removal process with confidence and expertise.
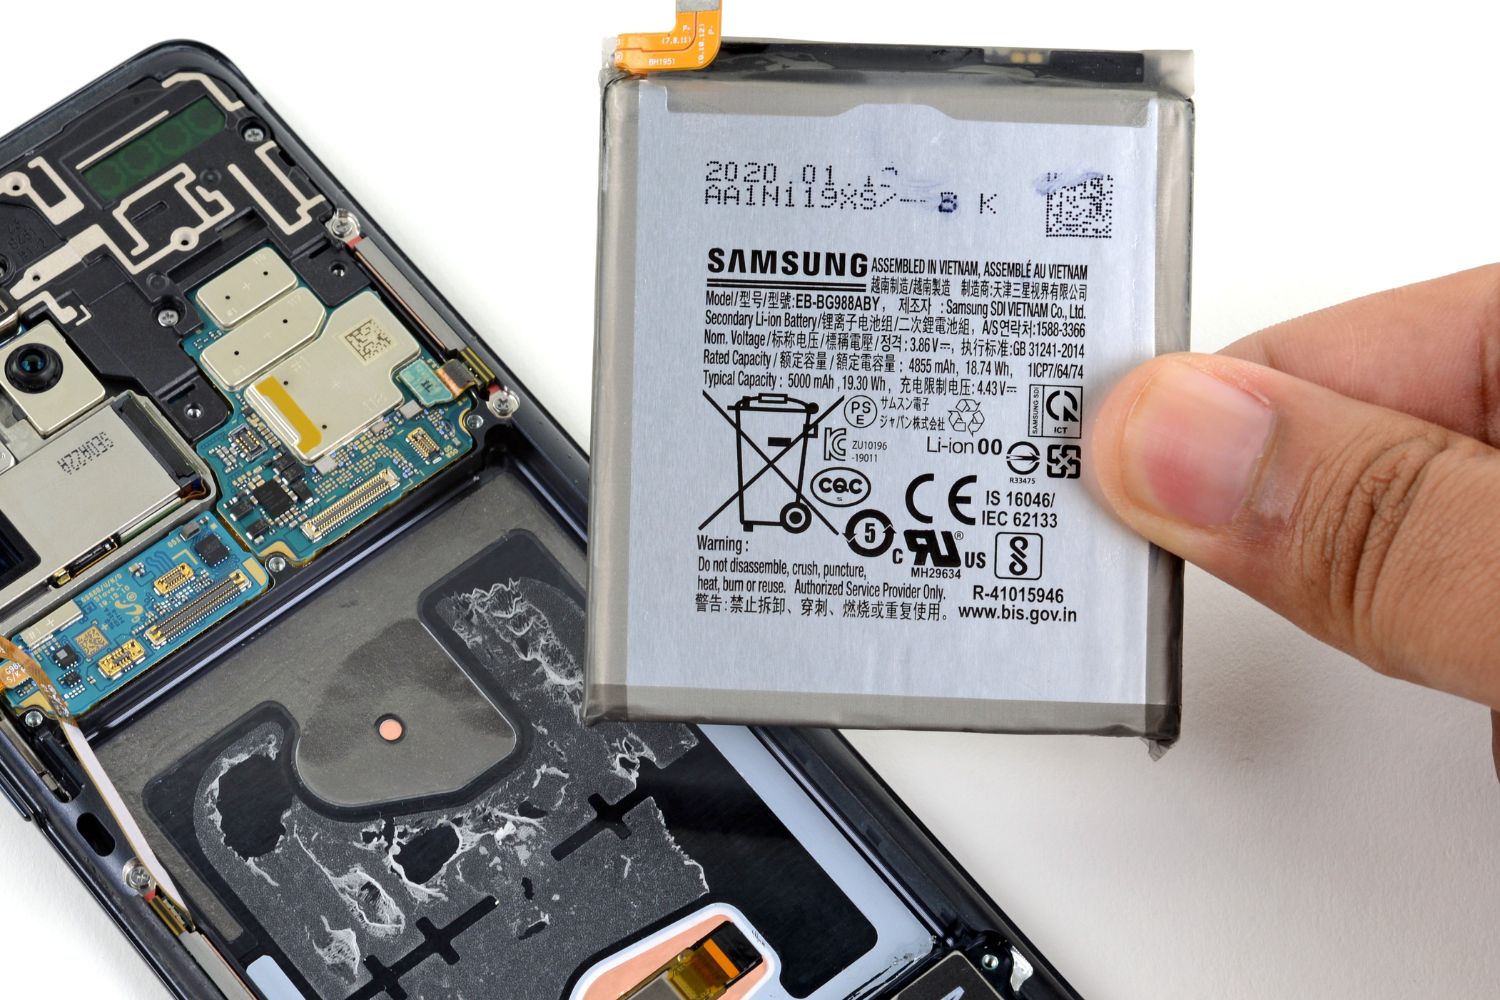
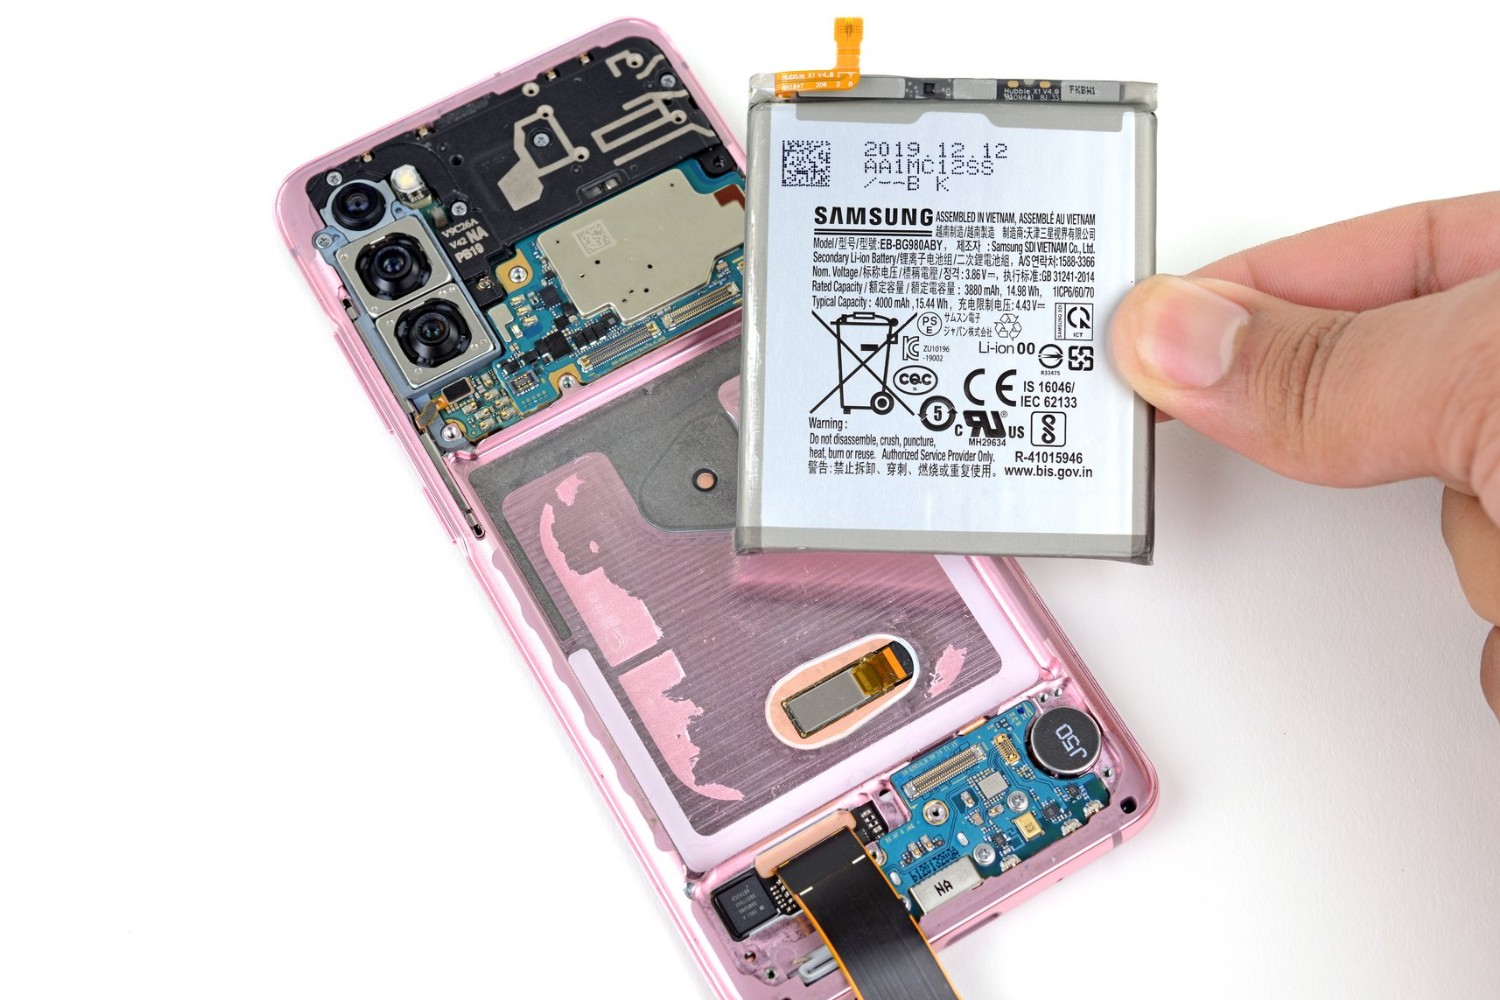
Step 4: Remove the Battery
With the battery successfully disconnected from the device's internal circuitry, the subsequent and final step in the battery removal process for your Samsung S20 involves the careful extraction of the battery from its housing within the device. This step requires precision, patience, and attention to detail to ensure that the battery is removed safely and without causing any damage to the device's internal components. By following the detailed steps outlined below, you can effectively remove the battery from your Samsung S20, completing the essential process of accessing and extracting the device's power source.
-
Identify the Battery Location: Upon disconnecting the battery connector, locate the position of the battery within the device. The battery is typically situated near the center or lower portion of the device's internal structure, secured in place by adhesive and possibly retaining brackets.
-
Utilize Plastic Opening Tools: To begin the battery removal process, carefully insert plastic opening tools underneath the edge of the battery, ensuring that the tools are positioned to provide gentle leverage without exerting undue pressure on the battery or the surrounding components. Slow and deliberate movements are crucial to prevent accidental damage during the extraction process.
-
Gradual Lifting and Maneuvering: With the plastic opening tools in place, gradually apply upward pressure to lift the battery from its housing. Exercise caution and patience to navigate around any adhesive or retaining brackets that may be securing the battery in place. It is essential to maintain a steady and controlled approach to prevent sudden movements that could potentially damage the battery or the device's internal structure.
-
Inspect for Adhesive and Retaining Brackets: As the battery is being lifted, visually inspect the area surrounding the battery to identify any residual adhesive or retaining brackets that may require attention. If adhesive is present, gentle heating using a heat gun or hair dryer can be employed to soften the adhesive, facilitating the safe removal of the battery without causing damage to the device.
-
Complete Battery Extraction: Once any adhesive or retaining brackets have been addressed, continue lifting the battery until it is fully extracted from the device. Exercise caution to ensure that no cables or connectors are still attached to the battery, allowing for a seamless and secure removal process.
By meticulously following these steps, you have successfully removed the battery from your Samsung S20, completing the comprehensive process of accessing, disconnecting, and extracting the device's power source. This pivotal stage marks the culmination of the battery removal procedure, empowering you with the knowledge and expertise to navigate the intricate internal components of your device with confidence and precision.
Conclusion
Congratulations on successfully completing the comprehensive battery removal process for your Samsung S20. By meticulously following the step-by-step guide, you have gained valuable insights into the intricate internal workings of your device and empowered yourself to undertake essential maintenance tasks with confidence and precision.
As you reflect on the journey of accessing, disconnecting, and extracting the battery from your Samsung S20, it's important to acknowledge the sense of accomplishment that comes with mastering fundamental device maintenance. The knowledge and skills acquired through this process not only enable you to address battery-related issues but also instill a deeper understanding of your device's construction and functionality.
Furthermore, the ability to perform the battery removal procedure equips you with a level of self-reliance, allowing you to take charge of the maintenance and repair of your Samsung S20 without solely relying on external assistance. This sense of empowerment fosters a deeper connection with your device, transforming it from a mere tool into a platform for exploration and learning.
It's essential to recognize the significance of safety and precision throughout the battery removal process. By exercising caution, patience, and attention to detail, you have safeguarded the integrity of your device and its internal components, ensuring that the battery removal procedure was carried out smoothly and without incident.
As you reassemble your Samsung S20 and power it back on, take pride in the newfound knowledge and expertise you have acquired. Whether you embarked on this journey out of necessity or curiosity, the experience has undoubtedly enriched your understanding of mobile device maintenance and empowered you to approach future challenges with confidence.
Remember that the skills you have honed through this process extend beyond battery removal; they embody a mindset of curiosity, exploration, and self-sufficiency. Embrace this newfound capability and continue to delve into the world of device maintenance and repair, knowing that you have the knowledge and expertise to navigate it with finesse.
As you embark on future endeavors with your Samsung S20, may the knowledge gained from this experience serve as a foundation for further exploration and mastery. Your journey of discovery and empowerment has only just begun, and the skills acquired through this process will undoubtedly continue to enrich your relationship with your device in the days to come.