Introduction
Replacing the battery of a Samsung S20 can breathe new life into your beloved device, ensuring that it continues to serve you faithfully. Over time, the battery of any smartphone naturally degrades, leading to diminished performance and reduced battery life. By following a few simple steps, you can equip your Samsung S20 with a fresh battery, restoring its vitality and longevity.
In this comprehensive guide, we will walk you through the process of replacing the battery in your Samsung S20. Whether you are experiencing rapid battery drain, unexpected shutdowns, or simply want to revitalize your device, this step-by-step tutorial will empower you to take matters into your own hands and perform the battery replacement with confidence.
By the end of this guide, you will have the knowledge and skills necessary to safely and effectively replace the battery in your Samsung S20, saving you the time and expense of seeking professional assistance. So, gather your tools and let's embark on this empowering journey to rejuvenate your Samsung S20!
Step 1: Gather the necessary tools and materials
Before embarking on the battery replacement journey for your Samsung S20, it's essential to gather the tools and materials required for a smooth and successful process. Here's a comprehensive list of what you'll need:
Tools:
- Screwdriver Set: Ensure you have a precision screwdriver set with various interchangeable heads, as it will be instrumental in removing the screws securing the back cover and internal components of your Samsung S20.
- Plastic Spudger or Opening Tool: This non-conductive tool will aid in prying open the back cover without causing damage to the device's delicate components.
- Tweezers: A pair of fine-point tweezers will come in handy for handling small screws and connectors during the battery replacement process.
- Heat Gun or Hair Dryer: To soften the adhesive securing the back cover, a heat gun or hair dryer can be used to gently warm the surface of the device.
Materials:
- Replacement Battery: Ensure that you have a compatible replacement battery specifically designed for the Samsung S20 model. It's crucial to acquire a high-quality battery from a reputable source to guarantee optimal performance and safety.
- Adhesive Strips: You may need adhesive strips to reattach the new battery securely to the device's frame.
- Cleaning Cloth: A soft, lint-free cloth will be useful for wiping any dust or fingerprints from the internal components and the back cover.
- Work Surface: Prepare a clean and spacious work surface with ample lighting to comfortably carry out the battery replacement process.
By gathering these essential tools and materials, you'll be well-prepared to proceed with confidence, knowing that you have everything required to successfully replace the battery in your Samsung S20. With these items at your disposal, you're ready to power off your device and begin the next step of the battery replacement process.
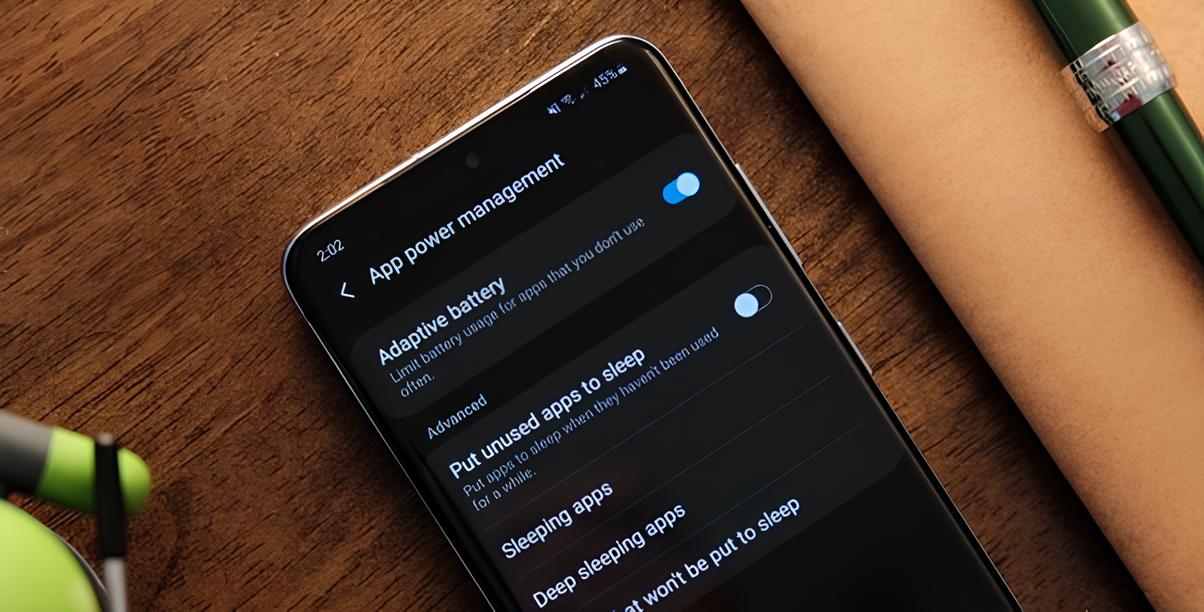
Step 2: Power off the Samsung S20
Before delving into the intricate process of replacing the battery in your Samsung S20, it's crucial to power off the device to ensure safety and prevent any potential damage. Follow these steps to gracefully power down your Samsung S20:
-
Unlock the Device: If your Samsung S20 is locked, unlock it by entering your PIN, pattern, or using the fingerprint sensor.
-
Press and Hold the Power Button: Located on the right side of the device, the power button should be pressed and held until the power off menu appears on the screen.
-
Select "Power Off": Once the power off menu is displayed, tap on "Power Off" and confirm the action if prompted. This initiates the shutdown process, allowing the device to power down completely.
-
Wait for Shutdown: Allow the Samsung S20 to complete the shutdown process, ensuring that all active processes are safely terminated before proceeding with the battery replacement.
By following these simple steps, you have successfully powered off your Samsung S20, preparing it for the subsequent stages of the battery replacement process. With the device safely powered down, you can proceed with confidence, knowing that you have taken the necessary precautions to ensure a smooth and secure battery replacement experience.
Step 3: Remove the back cover
With the Samsung S20 powered off, the next crucial step in the battery replacement process is to delicately remove the back cover of the device. This step requires precision and patience to avoid causing any damage to the phone's components. Here's a detailed guide on how to safely remove the back cover of your Samsung S20:
-
Locate the Screws: Using a suitable screwdriver from your set, identify and remove the screws securing the back cover of the Samsung S20. These screws are typically located along the edges of the device and may be of varying sizes, so it's important to keep track of which screws belong to specific positions for reassembly later.
-
Apply Heat (If Necessary): In some instances, the back cover may be adhered to the device with strong adhesive. If this is the case, gently warm the back cover using a heat gun or hair dryer set to a low heat setting. Be cautious not to overheat the device, as excessive heat can cause damage.
-
Use a Spudger or Opening Tool: Once the screws are removed and any adhesive is loosened, carefully insert a plastic spudger or opening tool into the seam between the back cover and the device's frame. Slowly and methodically work your way around the edges, gently prying the back cover away from the phone. Exercise patience and avoid using excessive force to prevent unintended damage.
-
Lift Off the Back Cover: As the adhesive and clips are released, the back cover should gradually separate from the Samsung S20. Take care not to rush this process, as there may be delicate flex cables and connectors attached to the back cover that need to be disconnected before fully removing it.
-
Disconnect Any Attached Cables: Once the back cover is partially lifted, carefully identify and disconnect any cables or connectors that may be securing the cover to the device's internal components. Use tweezers or your fingers to gently detach these connections, ensuring that no undue force is applied.
By following these meticulous steps, you can successfully remove the back cover of your Samsung S20, gaining access to the internal components and, most importantly, the battery. With the back cover safely removed, you are now ready to proceed to the next stage of the battery replacement process.
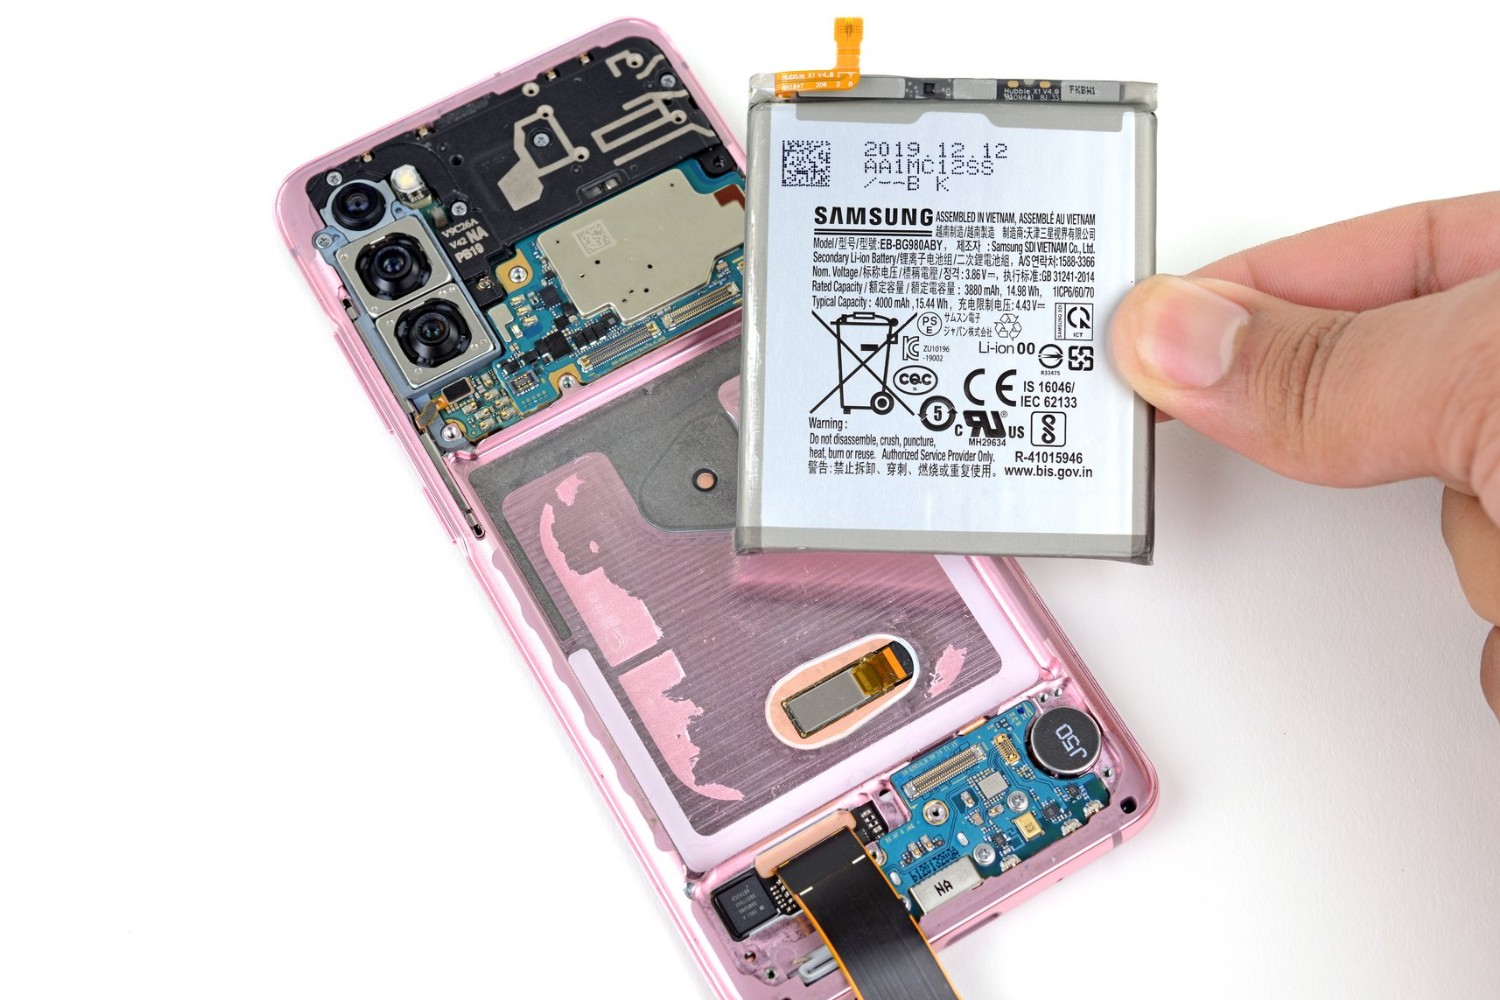
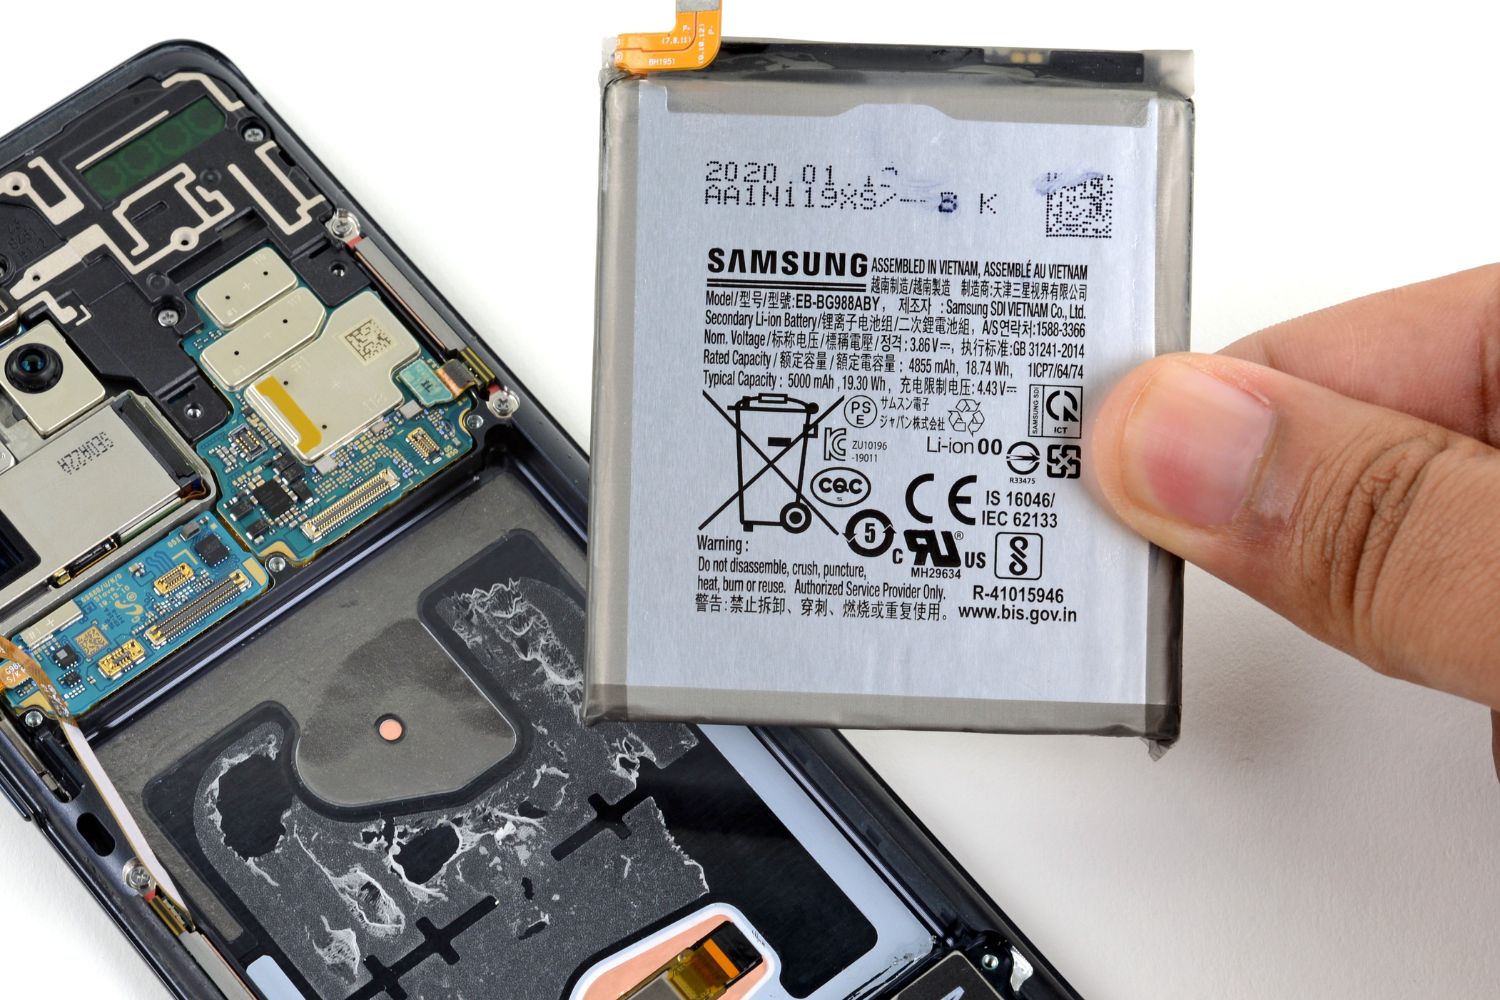
Step 4: Disconnect the battery
With the back cover of your Samsung S20 delicately removed, the next critical step in the battery replacement process is to disconnect the existing battery from the device's internal circuitry. This step requires precision and caution to ensure the safe removal of the old battery and pave the way for the installation of the new one. Here's a detailed guide on how to effectively disconnect the battery from your Samsung S20:
-
Locate the Battery Connector: Within the internal components of the Samsung S20, identify the battery connector, which is typically situated near the lower portion of the device. The connector may be secured with adhesive or a small clip, so carefully inspect the area to determine the best approach for disconnecting it.
-
Use a Spudger or Opening Tool: Gently insert a plastic spudger or opening tool beneath the battery connector, ensuring that you have a firm but delicate grip. Slowly and steadily pry the connector upward, taking care not to apply excessive force that could damage the connector or the surrounding components.
-
Disconnect the Battery: Once the battery connector is loosened, delicately disconnect it from the device's circuit board. Exercise caution and precision during this step, as the connector is sensitive and must be handled with care to avoid any damage.
-
Inspect for Additional Connections: While disconnecting the battery, be mindful of any additional cables or connectors that may be attached to the battery or its housing. These connections may vary depending on the specific model of the Samsung S20, so carefully examine the area to ensure that all relevant components are safely disconnected.
-
Secure the Disconnected Battery: After the battery is successfully disconnected, take care to secure any loose cables or connectors to prevent them from inadvertently reattaching to the device's internal circuitry. This precautionary measure ensures a smooth transition when installing the new battery in the subsequent step.
By meticulously following these steps, you can effectively disconnect the existing battery from your Samsung S20, setting the stage for the seamless installation of the new battery. With the old battery safely disconnected, you are now prepared to proceed to the pivotal stage of installing the replacement battery, rejuvenating your Samsung S20 and restoring its vitality.
Step 5: Install the new battery
With the old battery safely disconnected from your Samsung S20, it's time to embark on the pivotal stage of the battery replacement process – installing the new battery. This step is crucial in reviving the performance and longevity of your device, and it requires precision and attention to detail to ensure a successful outcome. Here's a comprehensive guide on how to effectively install the new battery in your Samsung S20:
-
Prepare the Replacement Battery: Before proceeding with the installation, carefully inspect the replacement battery to ensure it is compatible with your Samsung S20 model. Verify that the battery's connectors and dimensions align with the specifications of your device, and confirm that it is sourced from a reputable supplier to guarantee optimal performance and safety.
-
Align the New Battery: Position the new battery in the designated area within the device, ensuring that it aligns correctly with the battery housing and connector. Take care to orient the battery in the same manner as the original one, aligning any contact points and connectors to facilitate a seamless connection with the device's internal circuitry.
-
Reconnect the Battery: Delicately reconnect the battery to the device's circuit board, ensuring that the connector is securely and properly seated. Exercise caution and precision during this step, as the battery connector is sensitive and must be handled with care to avoid any damage. Gently press the connector into place, ensuring a snug and secure connection without applying excessive force.
-
Secure the New Battery: Once the battery is reconnected, ensure that it is securely positioned within the device's housing. Avoid any unnecessary movement or jostling that could dislodge the battery or its connectors. If the replacement battery includes adhesive strips, carefully apply them to secure the battery in place, maintaining stability and preventing any unintended shifting during use.
-
Inspect the Installation: After installing the new battery, take a moment to inspect the area and ensure that all connections are secure, and there are no loose components. Verify that the battery is properly seated and aligned within the device, with no obstructions or misalignments that could impede its functionality.
By meticulously following these steps, you can effectively install the new battery in your Samsung S20, setting the stage for a rejuvenated and reliable device. With the replacement battery securely in place, you are now prepared to proceed to the final stage of reassembling your Samsung S20, culminating in a successful battery replacement that breathes new life into your cherished device.
Step 6: Reassemble the Samsung S20
With the new battery successfully installed in your Samsung S20, the final and crucial step in the battery replacement process is to reassemble the device, ensuring that all components are securely and meticulously restored to their original positions. This step demands patience, precision, and attention to detail to guarantee that the device functions optimally and cosmetically appears as good as new. Here's a comprehensive guide on how to effectively reassemble your Samsung S20 after replacing the battery:
-
Reconnect Any Detached Cables: Carefully identify any cables or connectors that were detached during the battery replacement process. With precision, reconnect these cables to their respective ports, ensuring that each connection is secure and properly seated. Exercise caution to avoid applying excessive force that could damage the delicate connectors.
-
Position the Back Cover: Align the back cover with the device's frame, taking care to position it correctly and ensuring that it fits snugly without any gaps. If adhesive strips were used during the initial removal of the back cover, ensure that they are in place to secure the cover to the device's frame. Gently press down on the back cover to ensure a uniform and secure attachment.
-
Reinstall the Screws: Using the appropriate screwdriver from your set, carefully reinstall the screws that secure the back cover to the Samsung S20. Ensure that each screw is placed in its correct position, as indicated during the initial removal, and tighten them securely without over-tightening, which could potentially damage the threads or the back cover.
-
Perform a Visual Inspection: Once the back cover is reattached and the screws are in place, perform a visual inspection of the device to ensure that all components are properly aligned and secured. Check for any gaps or misalignments that may indicate incomplete reassembly, and make any necessary adjustments to achieve a uniform and professional finish.
-
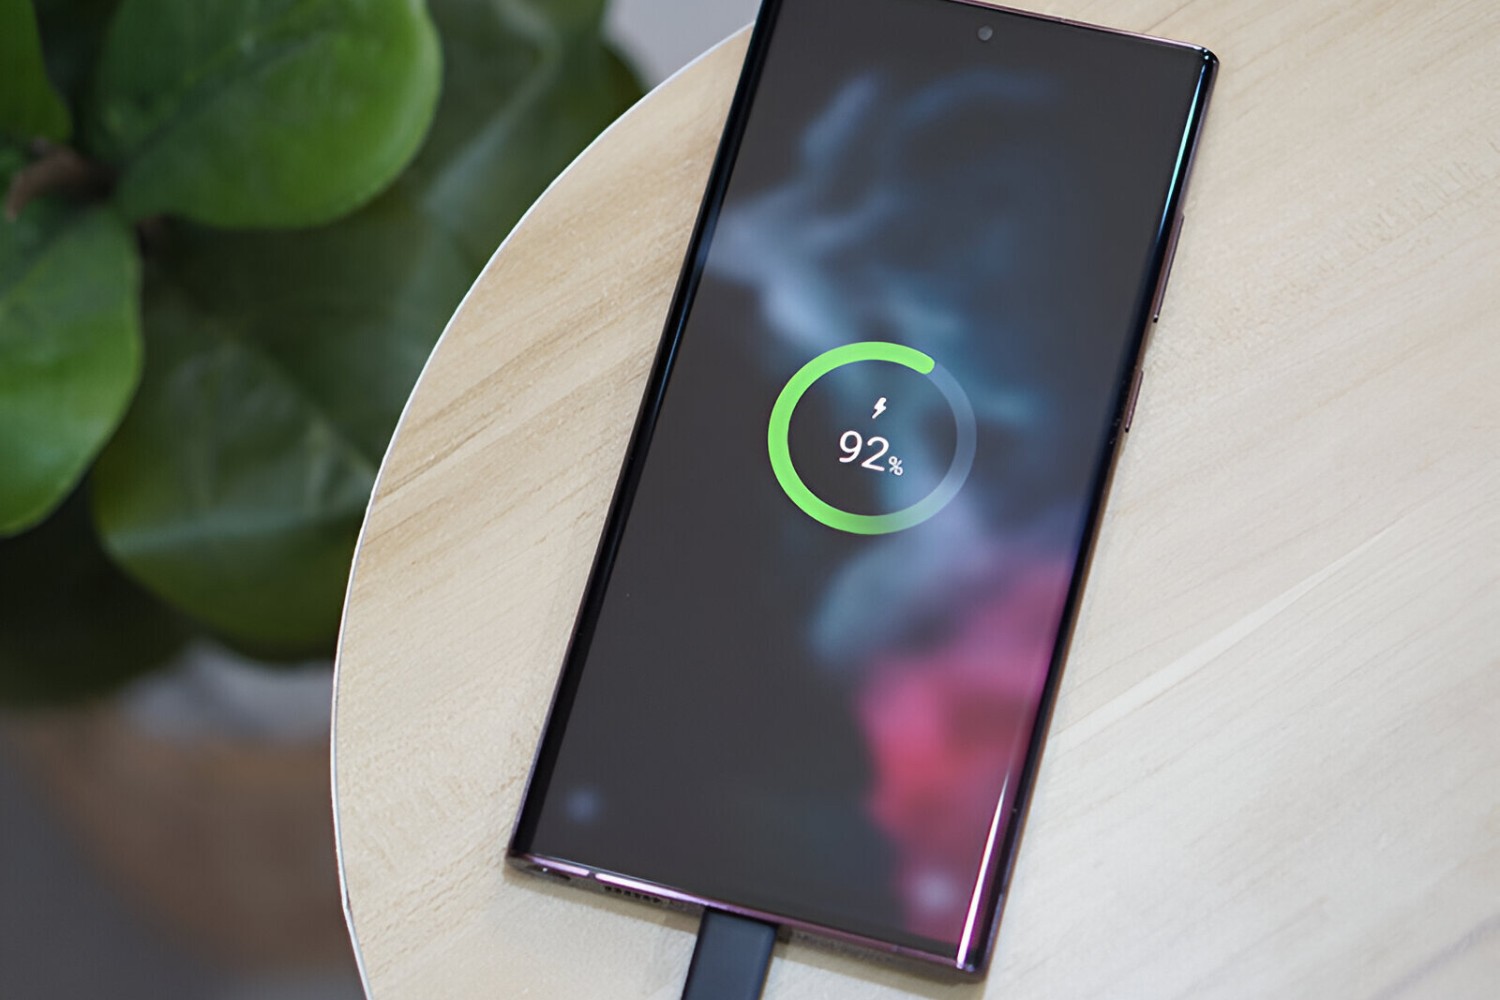
Power On and Test: After reassembling the Samsung S20, power on the device to verify that the new battery is functioning as expected. Ensure that the device boots up without issues and that all functions, including the touchscreen, camera, and connectivity features, are operational. This step confirms the successful reassembly and functionality of the device after the battery replacement.
By meticulously following these steps, you can effectively reassemble your Samsung S20 after replacing the battery, culminating in a successful and rejuvenating experience. With the device fully reassembled and the new battery seamlessly integrated, you can now enjoy an enhanced and revitalized Samsung S20, ready to serve you faithfully for an extended period.
Conclusion
Congratulations on successfully replacing the battery in your Samsung S20! By following this comprehensive guide, you have not only revitalized your device but also gained valuable insight into the intricate process of smartphone maintenance. The journey to rejuvenate your Samsung S20 has empowered you with the knowledge and skills necessary to take charge of your device's well-being, saving time and expenses associated with professional assistance.
As you reflect on the battery replacement process, it's essential to acknowledge the significance of regular maintenance and care for your smartphone. The gradual degradation of the battery is a natural occurrence in any electronic device, and being proactive in addressing this issue ensures that your Samsung S20 continues to deliver reliable performance and extended battery life.
Furthermore, the process of replacing the battery serves as a testament to your ability to engage with technology at a deeper level, fostering a sense of empowerment and self-sufficiency. By embracing the opportunity to delve into the inner workings of your device, you have not only extended its lifespan but also expanded your own understanding of smartphone functionality.
Moving forward, it's advisable to maintain a proactive approach to device maintenance, periodically assessing the performance of your Samsung S20 and addressing any potential issues promptly. Additionally, staying informed about the latest advancements in smartphone technology and battery care can further enhance your ability to optimize the performance and longevity of your device.
As you reacquaint yourself with your newly revitalized Samsung S20, take pride in the knowledge that you have successfully navigated the intricate process of battery replacement, breathing new life into your device. Embrace the enhanced performance and extended battery life, and revel in the satisfaction of a job well done.
With your Samsung S20 now equipped with a fresh battery, you are poised to embark on countless adventures, capture cherished memories, and stay connected with confidence. Your proactive approach to device maintenance exemplifies a commitment to maximizing the potential of your smartphone, ensuring that it remains a reliable companion in your daily endeavors.
As you bid farewell to the battery replacement process, carry forward the newfound expertise and confidence, knowing that you are capable of overcoming technological challenges and nurturing the optimal performance of your Samsung S20. Embrace the journey of smartphone maintenance with enthusiasm, and let your revitalized device be a testament to your dedication to excellence in device care and maintenance.