Preparation before removing SIM card
Before removing the SIM card from your Galaxy S5, it's crucial to take a few preparatory steps to ensure a smooth and safe process. Here's what you need to do:
-
Power Off the Device: Start by turning off your Galaxy S5. This simple step is often overlooked, but it's essential for preventing any potential damage to the SIM card or the device itself.
-
Gather Necessary Tools: To safely remove the SIM card, you'll need a SIM card removal tool or a small, pointed object such as a paperclip. Ensure that you have this tool on hand before proceeding.
-
Find a Well-Lit and Stable Surface: Locate a well-lit and stable surface to work on. Adequate lighting will help you see the small components clearly, while a stable surface will prevent any unnecessary movement that could lead to accidents.
-
Take Note of the SIM Card Slot Location: Familiarize yourself with the location of the SIM card slot on your Galaxy S5. Typically, it is located on the side of the device and can be accessed by using the SIM card removal tool or a paperclip.
-
Handle the Device with Care: Throughout the process, handle your Galaxy S5 with care to avoid any accidental drops or impacts. This will help prevent damage to both the device and the SIM card.
By taking these preparatory steps, you'll set the stage for a safe and successful removal of the SIM card from your Galaxy S5. These simple precautions can make a significant difference in ensuring that the process goes smoothly without any mishaps.
Steps to safely remove SIM card from Galaxy S5
Removing the SIM card from your Galaxy S5 requires a delicate touch and attention to detail. By following these steps, you can safely extract the SIM card without causing any damage to the device or the card itself.
-
Power Off the Device: Begin by powering off your Galaxy S5. This is a crucial initial step to prevent any potential damage to the SIM card or the device. To power off the device, press and hold the Power button, then select "Power off" from the options that appear on the screen.
-
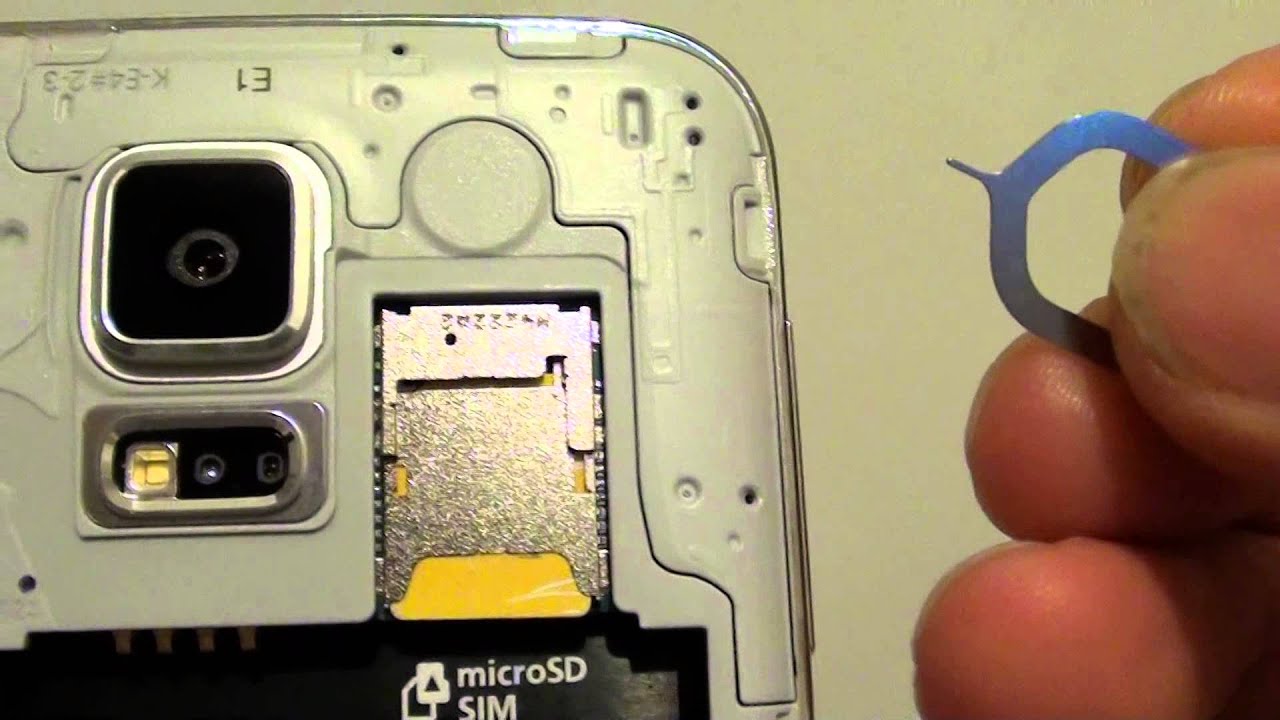
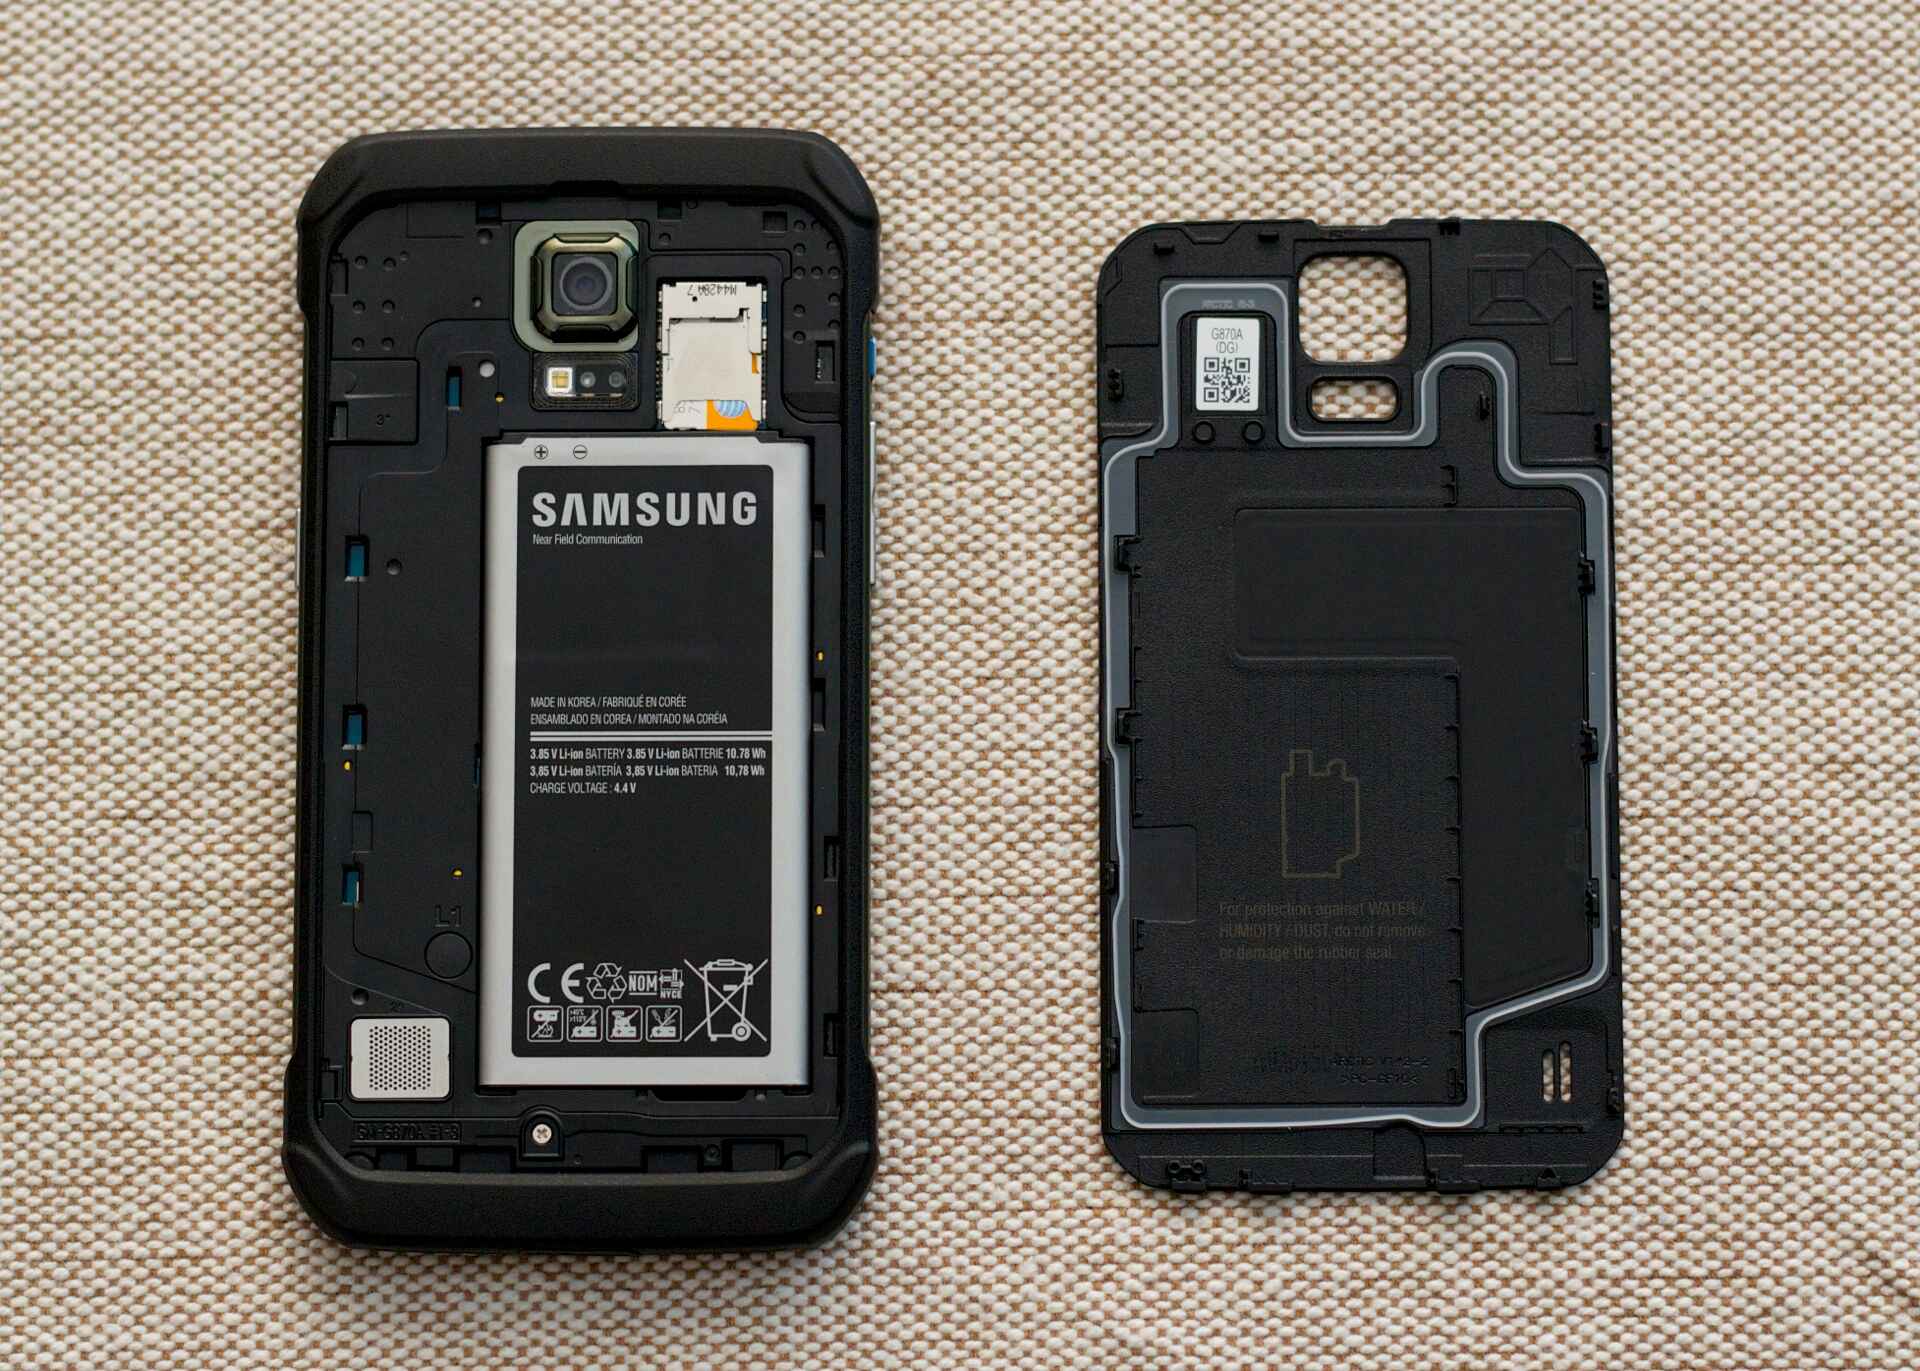
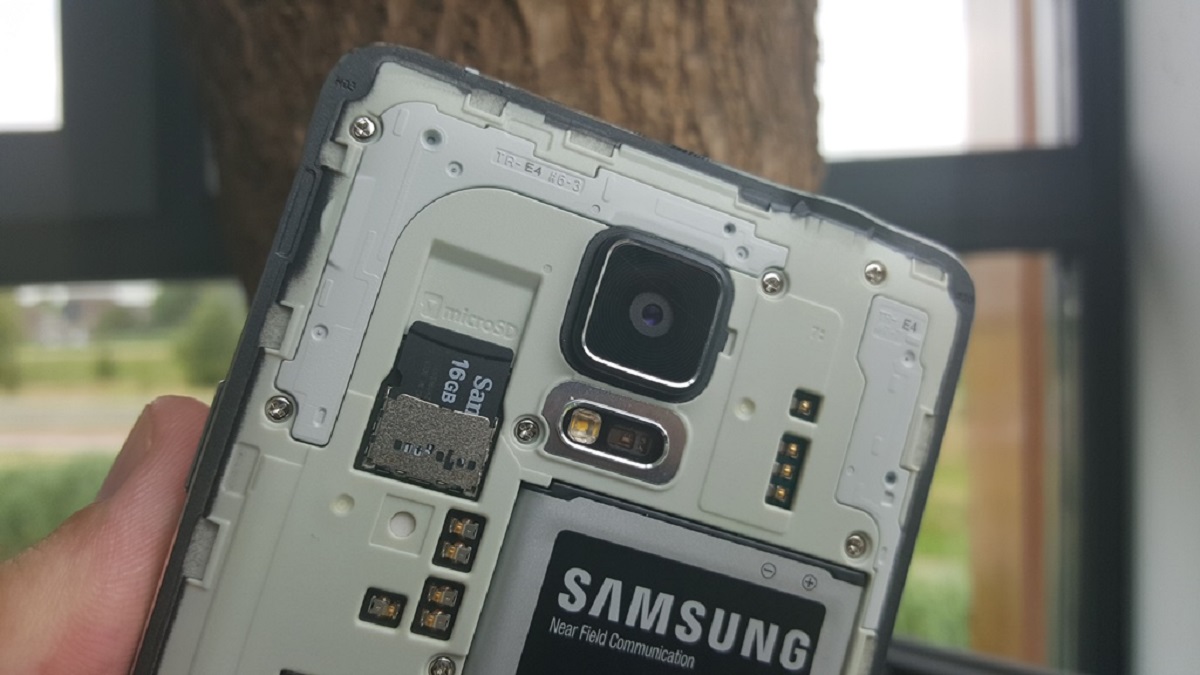
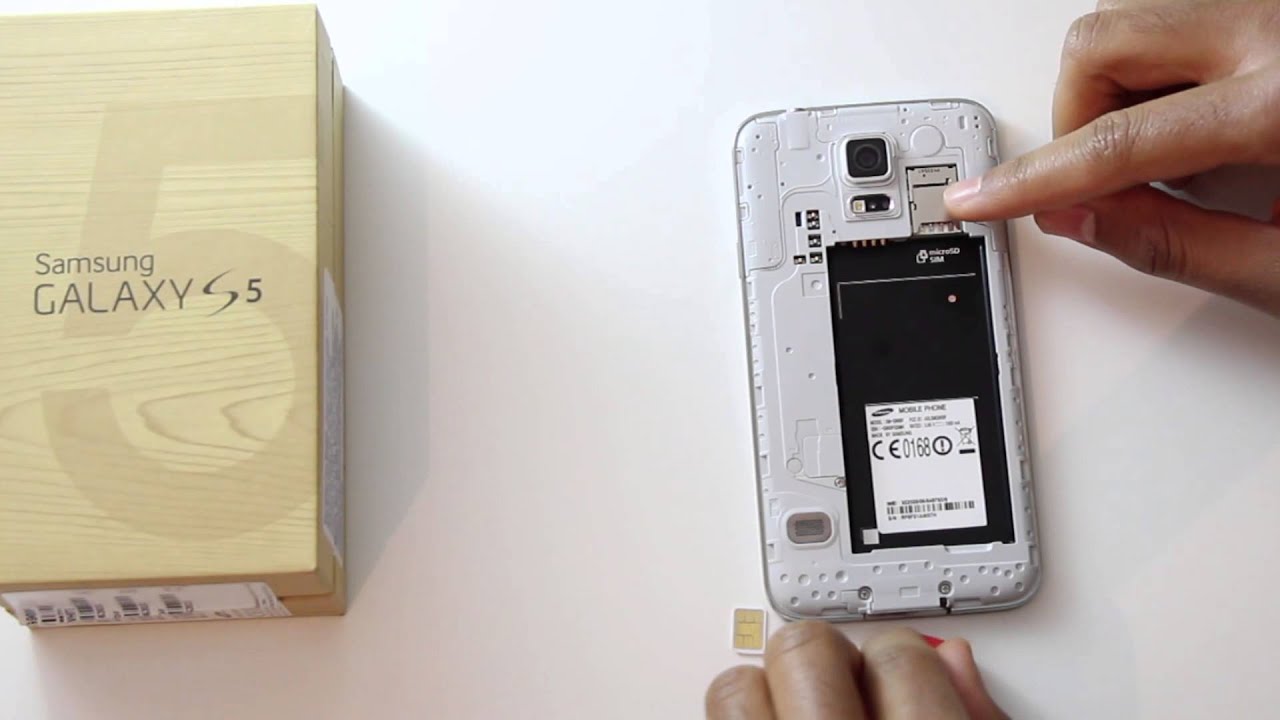
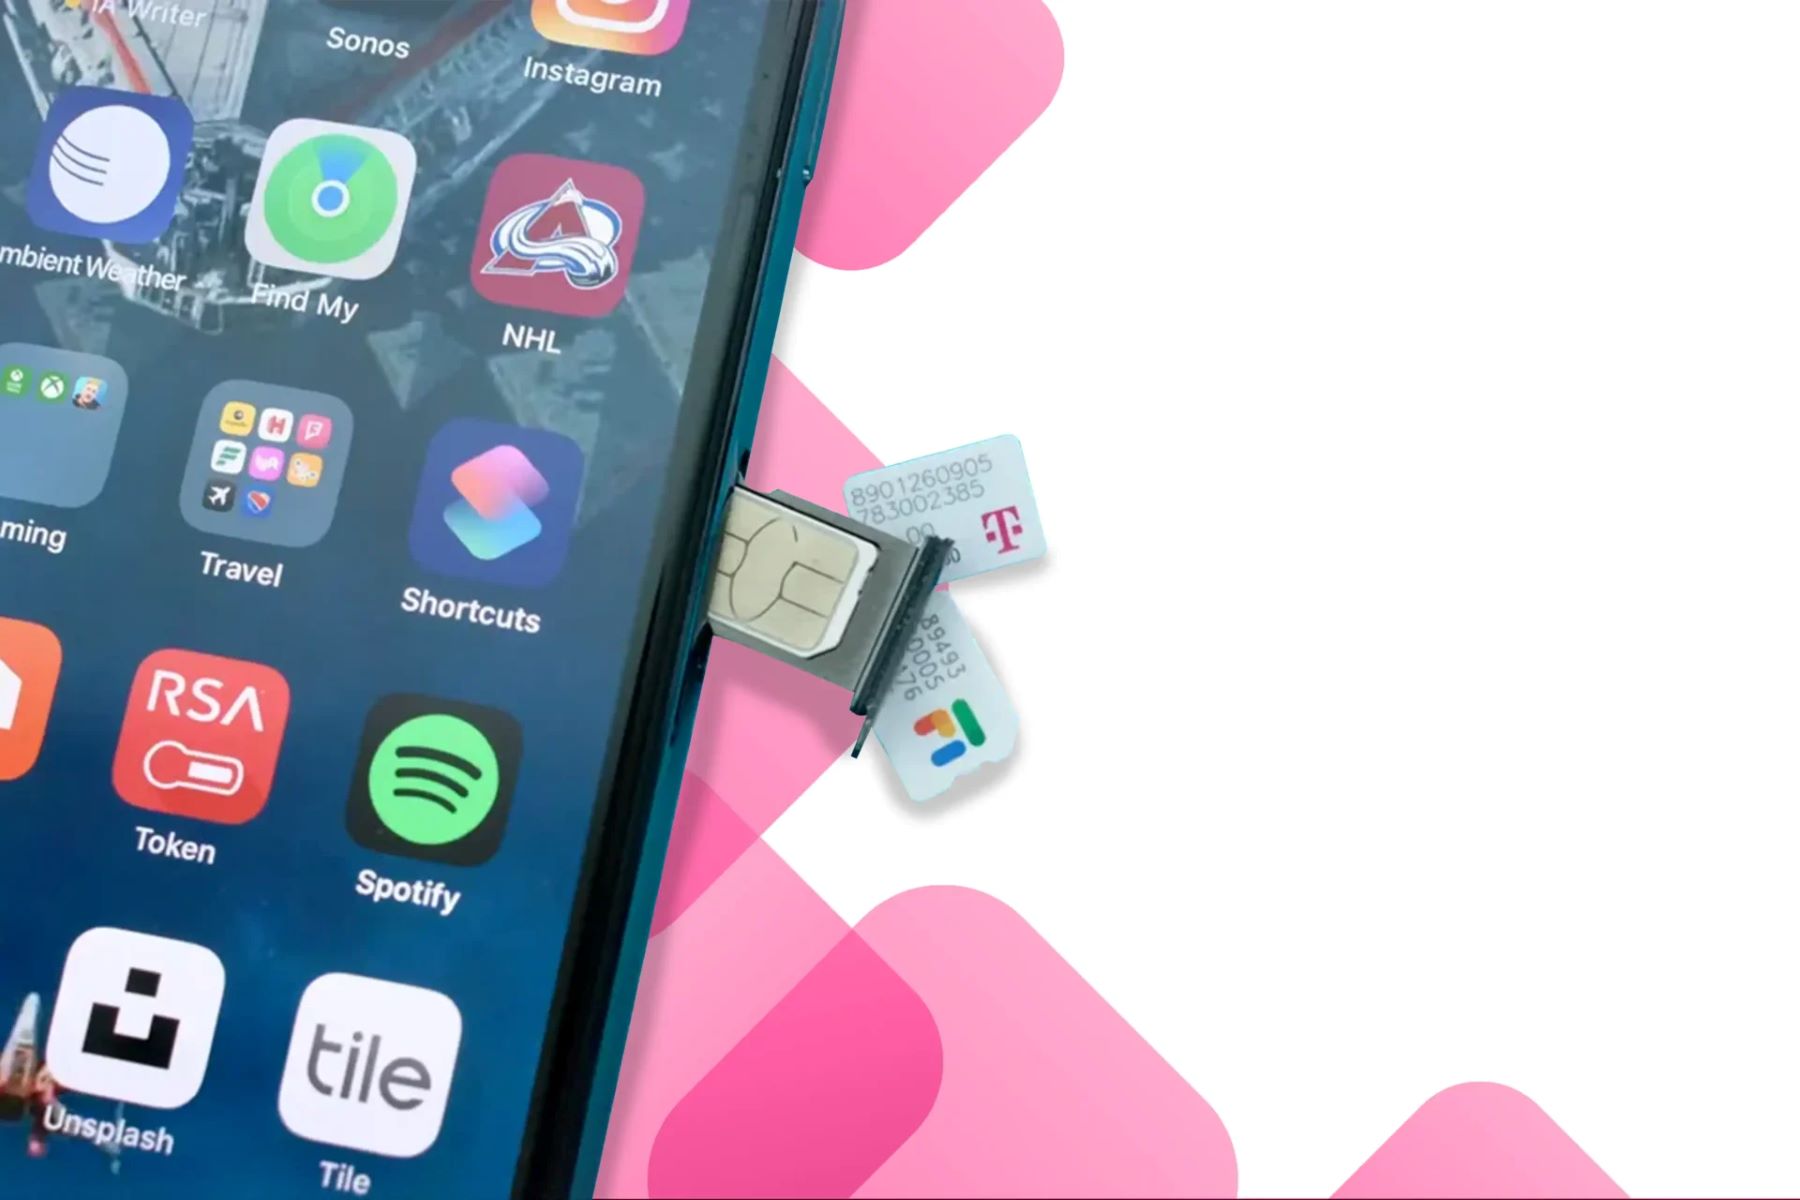
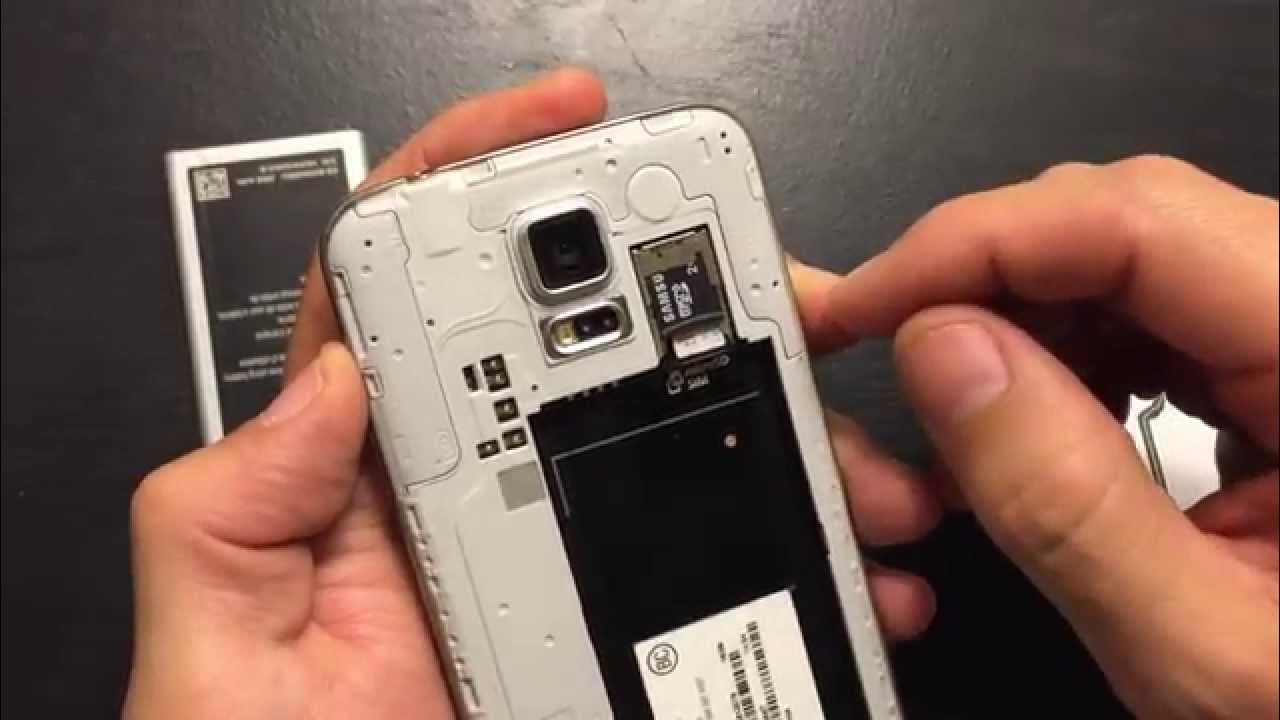
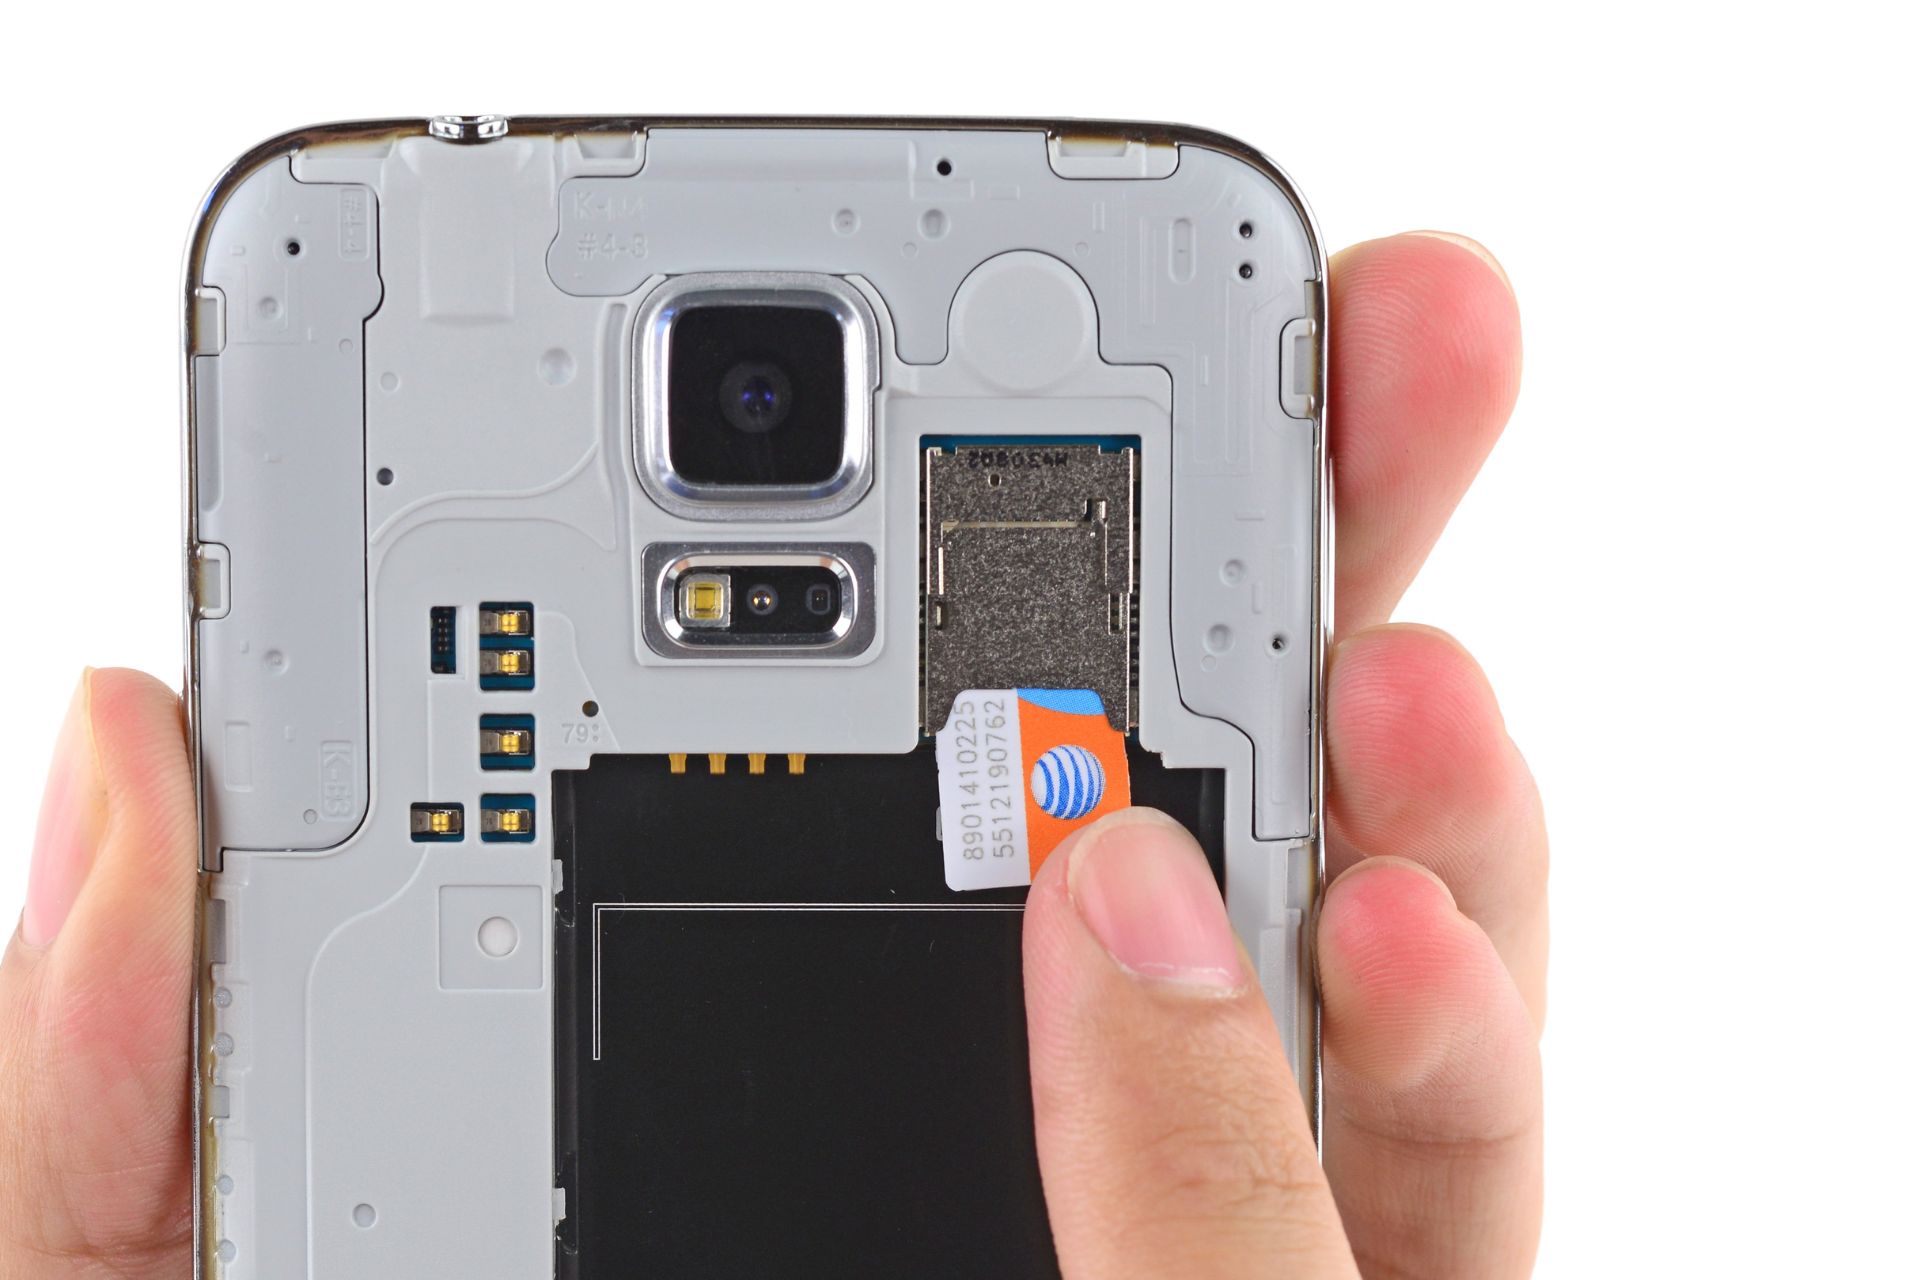
Locate the SIM Card Slot: Once the device is powered off, locate the SIM card slot on your Galaxy S5. The SIM card slot is typically located on the side of the device. It can be accessed by using the SIM card removal tool or a small, pointed object such as a paperclip.
-
Insert the Removal Tool: Insert the SIM card removal tool into the small pinhole located next to the SIM card slot. Gently press the tool into the pinhole until the SIM card tray is ejected from the device. If you don't have a SIM card removal tool, a paperclip can be used as an alternative.
-
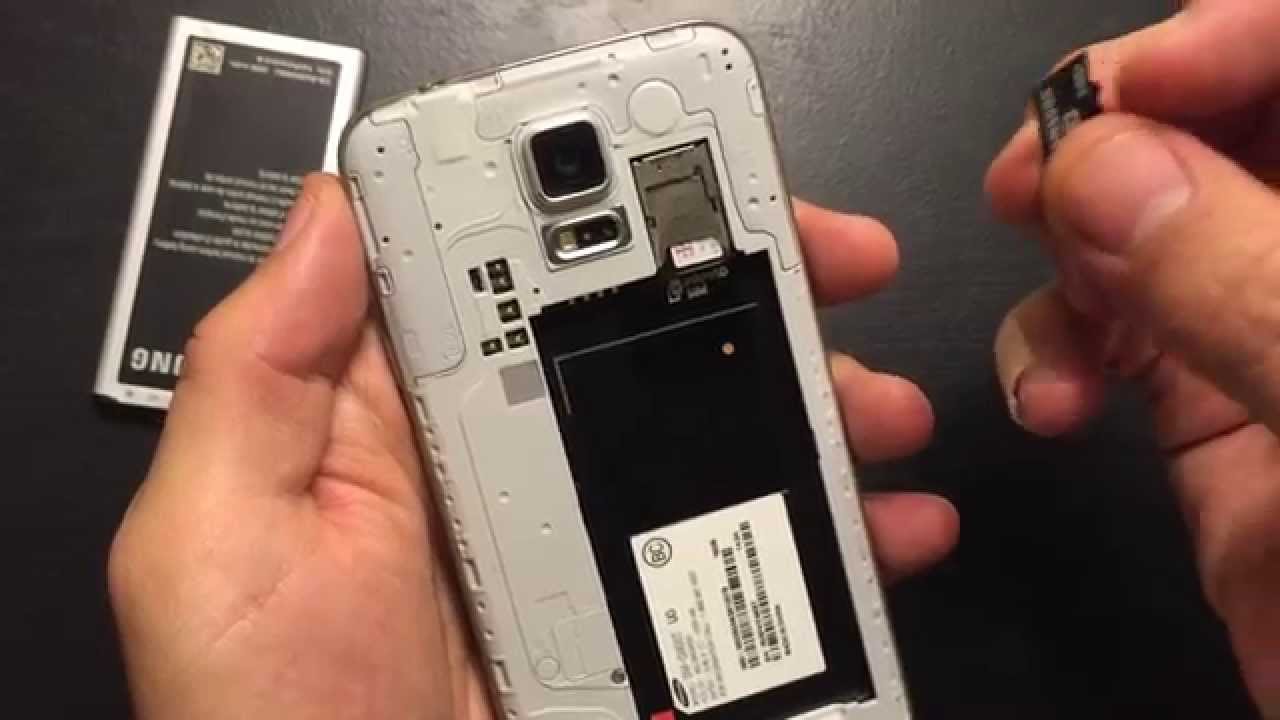
Remove the SIM Card Tray: Carefully pull out the SIM card tray from the device once it is ejected. Take your time and handle the tray with care to avoid any damage to the SIM card or the tray itself.
-
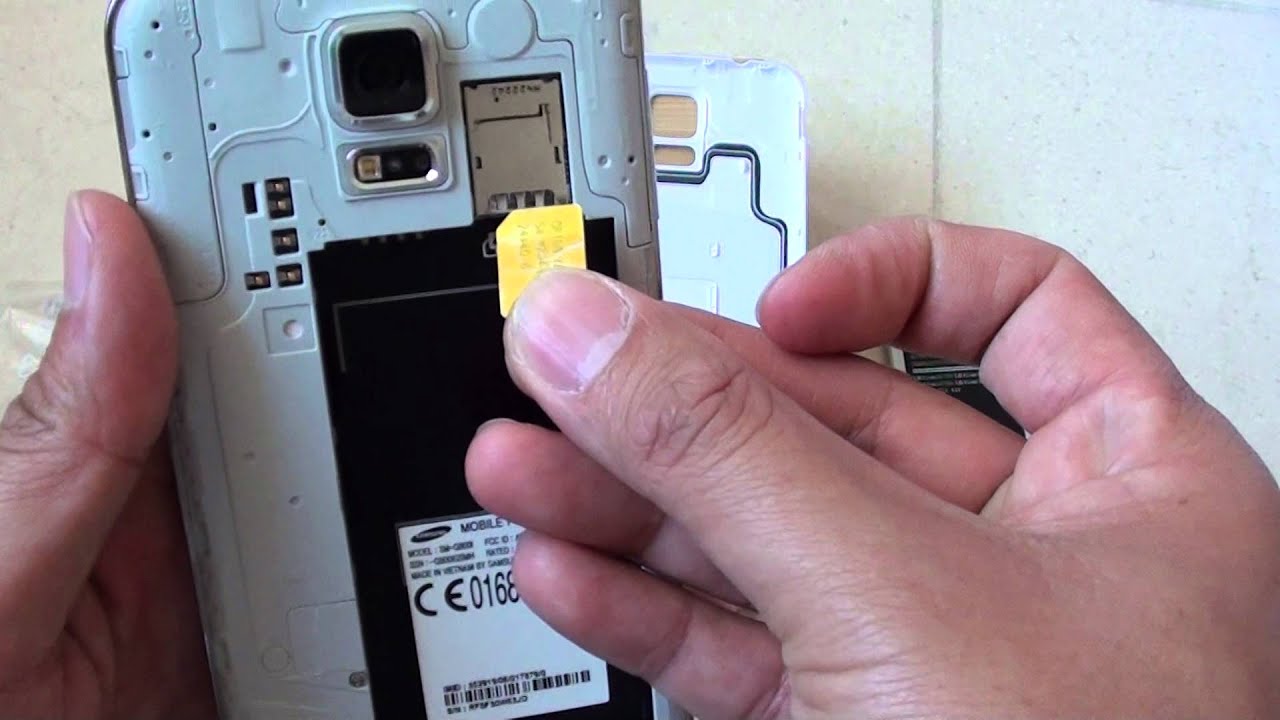
Extract the SIM Card: Once the SIM card tray is removed, gently take out the SIM card from the tray. Hold the SIM card by its edges to avoid touching the metal contacts.
-
Reinsert the SIM Card Tray: If you're not replacing the SIM card immediately, ensure that the SIM card tray is securely reinserted into the device. Press it firmly to ensure that it sits flush with the device.
By following these steps, you can safely remove the SIM card from your Galaxy S5. Remember to handle the SIM card and the device with care throughout the process to prevent any accidental damage. Following these steps will help maintain the integrity of both the SIM card and your Galaxy S5.
Tips for handling SIM card carefully
Handling the SIM card with care is essential to prevent any damage to its delicate components. Here are some valuable tips to ensure that you handle the SIM card with the utmost care and precision:
-
Avoid Touching the Metal Contacts: When handling the SIM card, it's crucial to avoid touching the metal contacts on the card. The metal contacts are sensitive and can be easily damaged by fingerprints or debris. Hold the SIM card by its edges to prevent any contact with the metal components.
-
Store the SIM Card Safely: If you are not immediately reinstalling the SIM card, it's important to store it in a safe place. Opt for a SIM card holder or a small, secure container to prevent the card from getting lost or damaged. Avoid placing the SIM card on surfaces where it can easily slip or be exposed to potential harm.
-
Keep the SIM Card Clean: Ensure that the SIM card remains clean and free from dust, dirt, or moisture. If necessary, use a soft, dry cloth to gently wipe the SIM card, removing any particles that may have accumulated. Avoid using any cleaning agents or liquids, as they can potentially damage the card.
-
Avoid Bending or Flexing the SIM Card: The SIM card is designed to be rigid and should not be bent or flexed. Any excessive force applied to the SIM card can lead to permanent damage, rendering it unusable. Handle the SIM card with a gentle touch and avoid any actions that may compromise its structural integrity.
-
Insert the SIM Card Correctly: When reinserting the SIM card into the device, ensure that it is positioned correctly in the SIM card tray. Align the notched corner of the SIM card with the corresponding notch in the tray to ensure a proper fit. Insert the tray back into the device carefully, without forcing it.
-
Avoid Exposing the SIM Card to Extreme Conditions: Protect the SIM card from exposure to extreme temperatures, moisture, or direct sunlight. These environmental factors can adversely affect the performance and lifespan of the SIM card. Store the SIM card in a cool, dry place when it's not in use.
By adhering to these tips, you can handle the SIM card with the necessary caution and safeguard its functionality. Taking these precautions will help maintain the integrity of the SIM card and ensure a seamless reinstallation process when needed.