Introduction
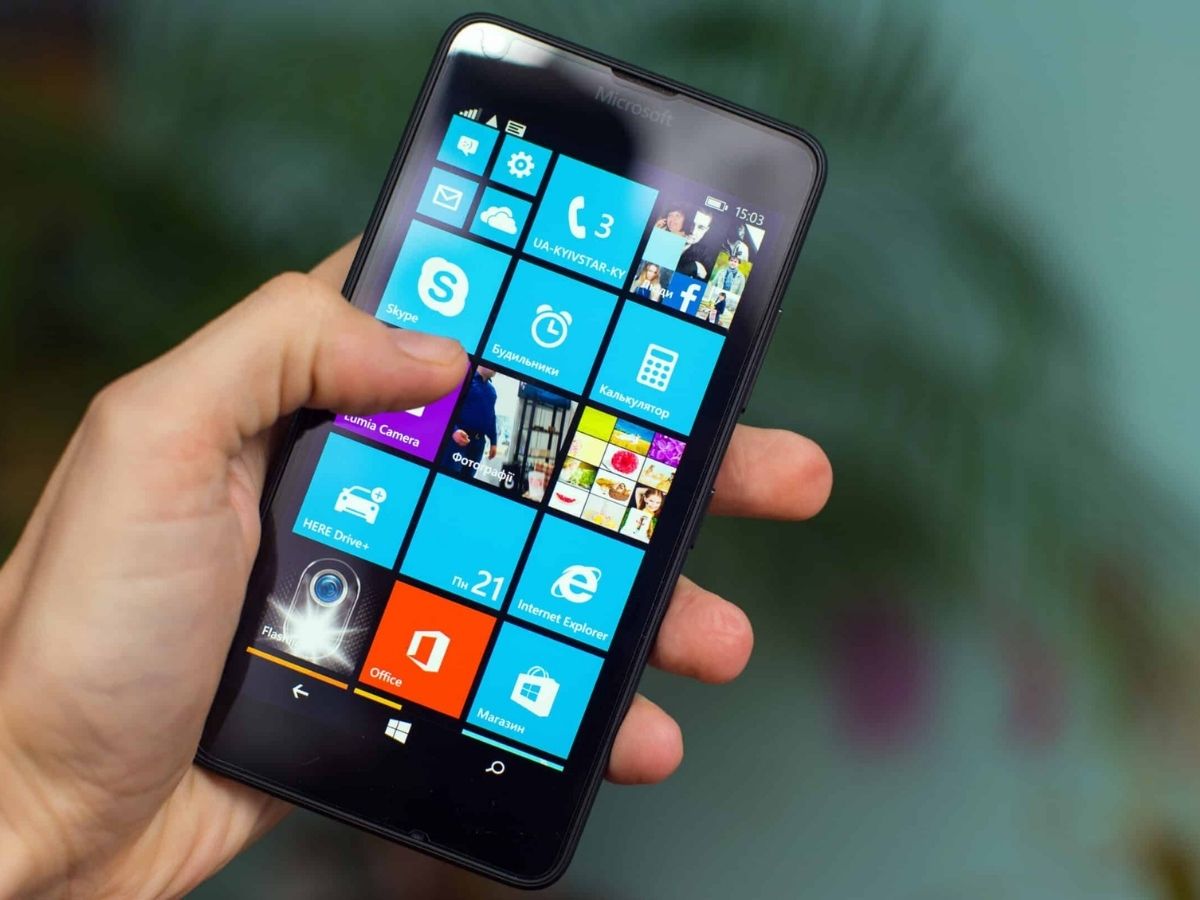
Removing a SIM card from a Windows Phone is a straightforward process, but it's essential to understand the steps involved to ensure a smooth transition. Whether you're switching to a new device, troubleshooting connectivity issues, or simply exploring the inner workings of your smartphone, this comprehensive guide will walk you through the necessary steps with clarity and precision.
The SIM card, short for Subscriber Identity Module, plays a crucial role in enabling cellular connectivity on your Windows Phone. It securely stores essential information, such as your phone number, network authentication details, and contacts, making it an indispensable component of your device.
By following the steps outlined in this guide, you'll gain a deeper understanding of your Windows Phone's hardware and learn how to handle the SIM card with confidence. Whether you're a tech enthusiast or a casual user seeking to expand your knowledge, this guide will equip you with the expertise to manage your device effectively.
Now, let's delve into the step-by-step process of removing the SIM card from your Windows Phone, empowering you to navigate this aspect of mobile device management with ease and proficiency.
Step 1: Power off the Windows Phone
Before embarking on the task of removing the SIM card from your Windows Phone, it is crucial to power off the device. This preliminary step ensures the safety of both the phone and the SIM card during the removal process.
To power off your Windows Phone, locate the power button, typically situated on the right-hand side or the top of the device. Press and hold the power button until the power-off screen appears. This screen often displays options such as "Slide down to power off" or "Power off" to initiate the shutdown process.
Once the power-off option is displayed, swipe or tap the screen as directed to power off the device. Alternatively, if your Windows Phone features physical navigation buttons, hold down the power button until the shutdown process initiates.
It is important to wait for the phone to completely power off before proceeding to the next step. This ensures that the SIM card and the internal components of the device are not active, minimizing the risk of damage during the SIM card removal process.
By powering off your Windows Phone before removing the SIM card, you take a proactive approach to safeguarding the integrity of both the device and the SIM card. This simple yet essential step sets the stage for a seamless SIM card removal process, allowing you to proceed with confidence and peace of mind.
With the Windows Phone powered off, you are now ready to progress to the next step in the SIM card removal process, which involves locating the SIM card tray. This pivotal stage marks the beginning of the physical extraction process, bringing you one step closer to successfully removing the SIM card from your Windows Phone.
Step 2: Locate the SIM card tray
Locating the SIM card tray is a crucial step in the process of removing the SIM card from your Windows Phone. The SIM card tray, often situated on the side or top of the device, serves as the gateway to accessing and manipulating the SIM card. By identifying the precise location of the SIM card tray, you set the stage for a smooth and efficient SIM card removal process.
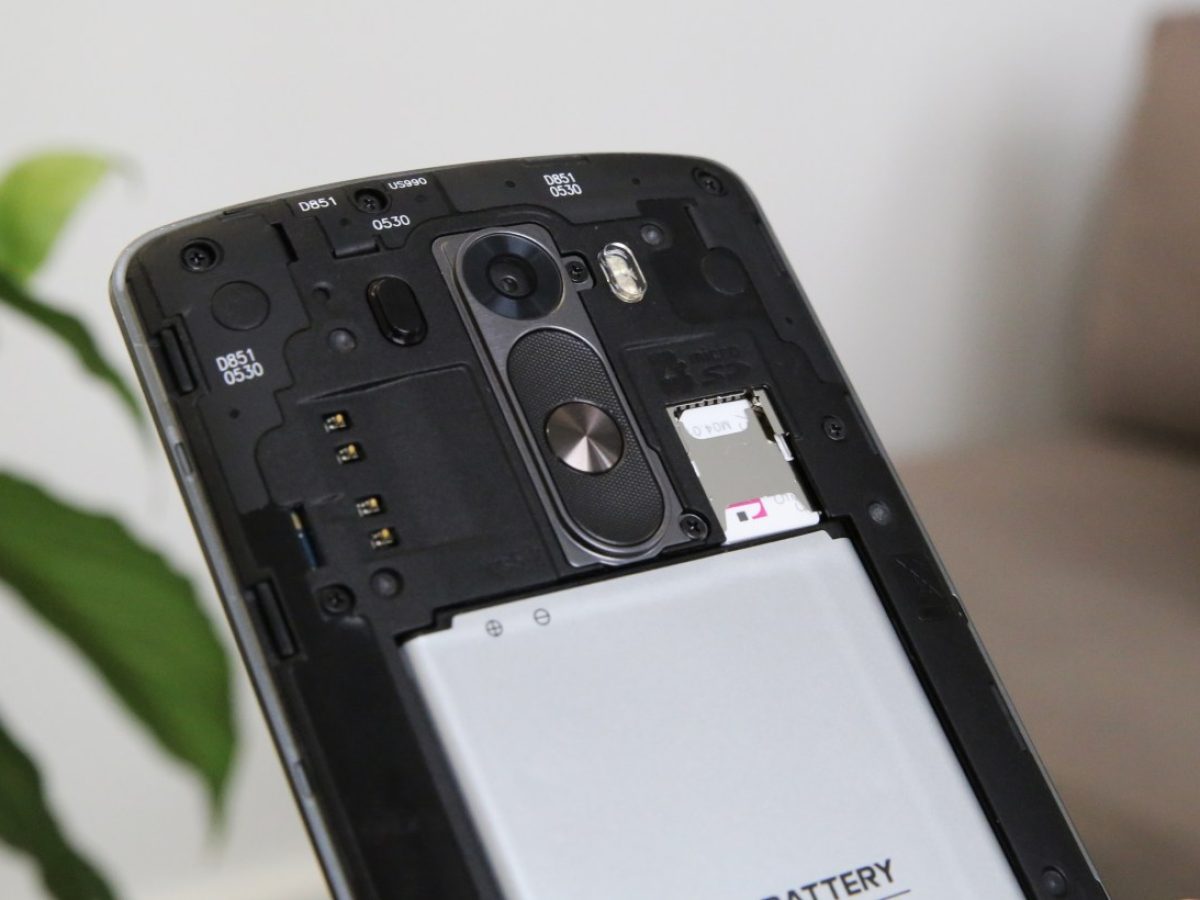
To locate the SIM card tray on your Windows Phone, begin by visually inspecting the sides and top of the device. The exact location of the SIM card tray may vary depending on the model of your Windows Phone, but it is commonly positioned along the edges of the device. Look for a small, discreet slot or compartment that is designed to house the SIM card tray.
In most cases, the SIM card tray is equipped with a small pinhole or a tiny indentation that facilitates its removal. This feature allows you to access the SIM card tray using a SIM card ejection tool or a suitable alternative, such as a paperclip or a thin, pointed object. By identifying this distinctive feature, you can pinpoint the precise location of the SIM card tray, guiding you towards the next steps in the SIM card removal process.
Furthermore, consulting the user manual or online resources specific to your Windows Phone model can provide valuable insights into the location of the SIM card tray. Manufacturers often provide detailed diagrams and instructions to aid users in identifying and accessing essential components, including the SIM card tray.
Once you have successfully located the SIM card tray, take a moment to familiarize yourself with its position and any accompanying features, such as the ejection mechanism. This preparatory step ensures that you are well-equipped to proceed with confidence, setting the stage for a seamless transition to the subsequent stages of the SIM card removal process.
By carefully locating the SIM card tray on your Windows Phone, you lay the groundwork for a successful SIM card removal experience. This foundational step empowers you to proceed with precision and clarity, bringing you closer to the ultimate goal of removing the SIM card from your Windows Phone.
With the SIM card tray identified, you are now ready to progress to the next stage, where you will engage the ejection mechanism to release the SIM card tray from your Windows Phone, setting the stage for the physical extraction of the SIM card.
Step 3: Eject the SIM card tray
Ejecting the SIM card tray is a pivotal step in the process of removing the SIM card from your Windows Phone. This step involves utilizing the ejection mechanism to release the SIM card tray from its secured position within the device, allowing for the subsequent removal of the SIM card.
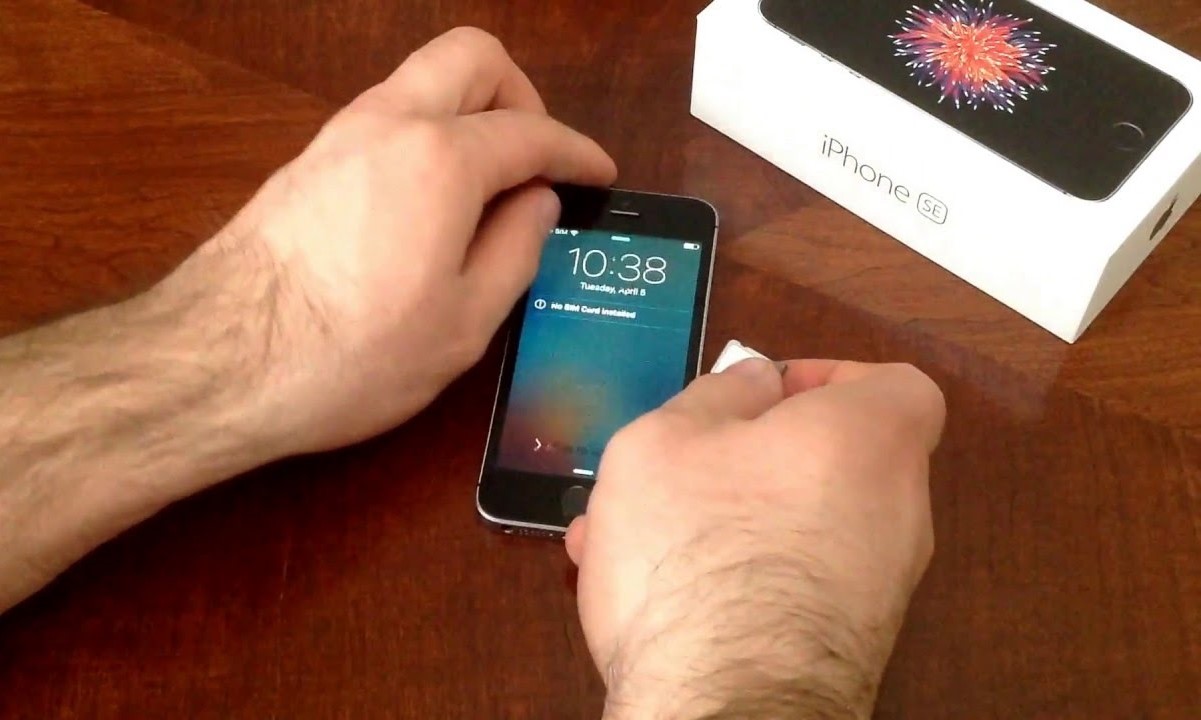
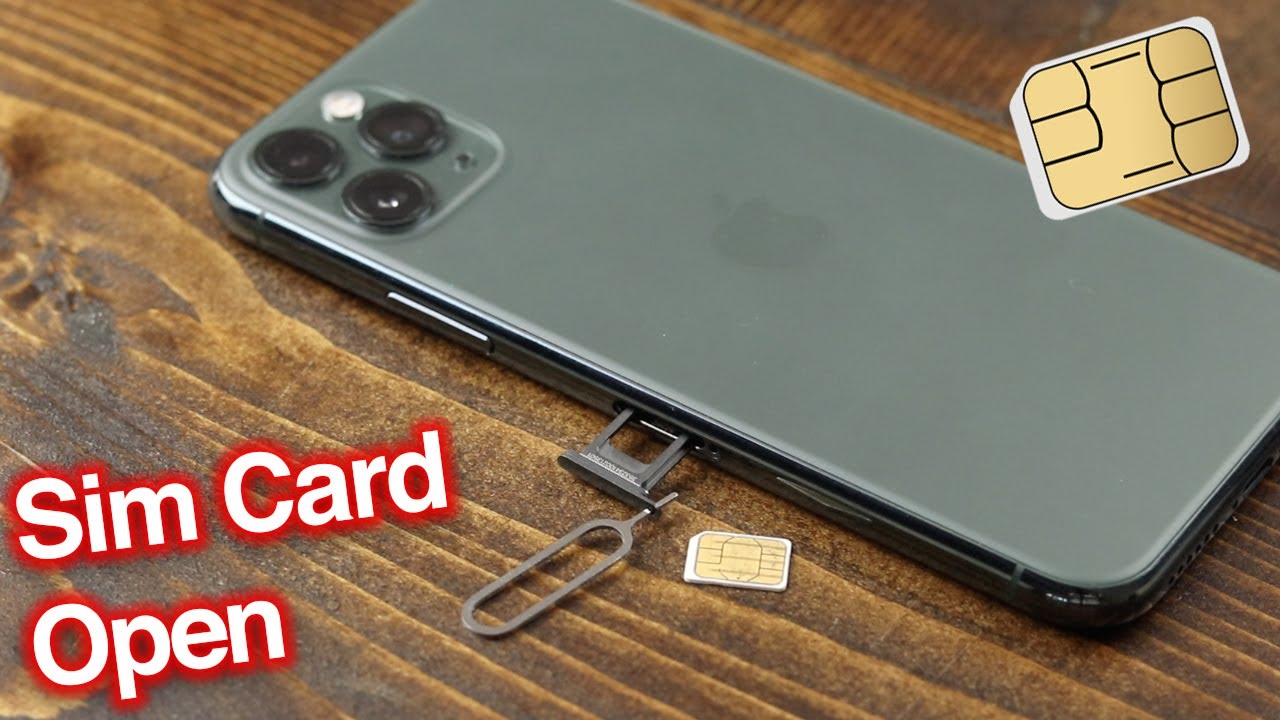
To eject the SIM card tray, you will need to use a SIM card ejection tool or a suitable alternative, such as a paperclip or a thin, pointed object. These tools are designed to engage with the small pinhole or indentation located on the SIM card tray, initiating the release mechanism.
Begin by identifying the pinhole or indentation on the SIM card tray, typically located adjacent to the tray itself. Once located, insert the SIM card ejection tool or the chosen alternative into the pinhole with gentle pressure. Apply steady and even force to the tool, ensuring that it engages with the internal mechanism of the SIM card tray.
As you exert pressure on the ejection tool, you will feel a slight resistance, indicating that the tool is interacting with the ejection mechanism. Continue to apply gentle pressure until you sense a subtle release, signifying that the SIM card tray is disengaging from its position within the device.
Upon successful engagement with the ejection mechanism, the SIM card tray will begin to protrude slightly from the device, facilitated by the internal release mechanism. Carefully grasp the exposed edge of the SIM card tray and gently pull it out of the device, allowing it to slide out smoothly.
It is crucial to exercise caution and precision during this step, ensuring that the SIM card tray is extracted smoothly and without force. Avoid applying excessive pressure or abrupt movements, as this may lead to damage to the SIM card tray or the device itself.
By effectively ejecting the SIM card tray from your Windows Phone, you have completed a critical stage in the process of removing the SIM card. This accomplishment brings you one step closer to the final phase of physically removing the SIM card from the tray, setting the stage for a seamless transition to the subsequent step.
With the SIM card tray successfully ejected, you are now prepared to proceed to the next stage, where you will extract the SIM card from the tray, marking a significant milestone in the overall process of removing the SIM card from your Windows Phone.
Step 4: Remove the SIM card
With the SIM card tray now accessible, the next pivotal step in the process of removing the SIM card from your Windows Phone is the extraction of the SIM card itself. This step involves carefully removing the SIM card from the tray, ensuring precision and delicacy to safeguard the integrity of both the SIM card and the device.
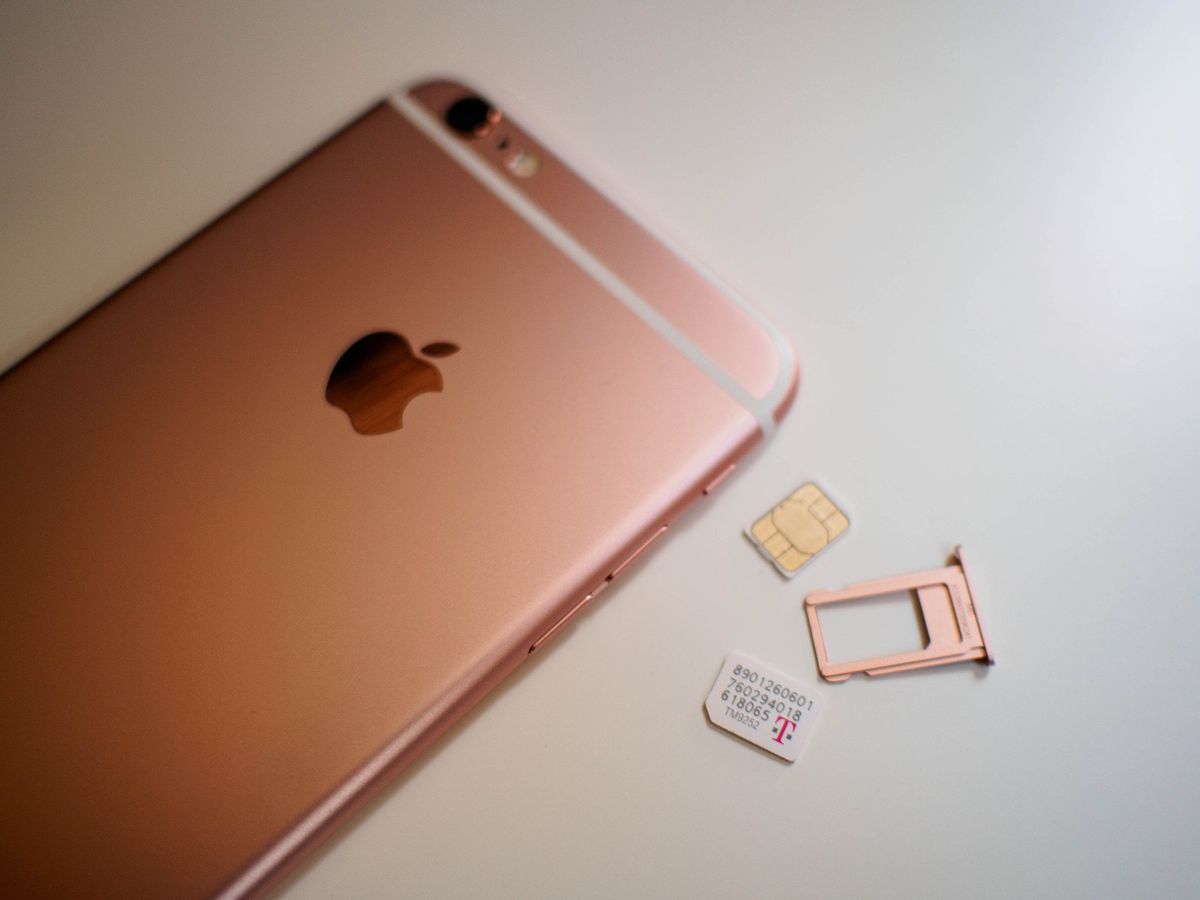
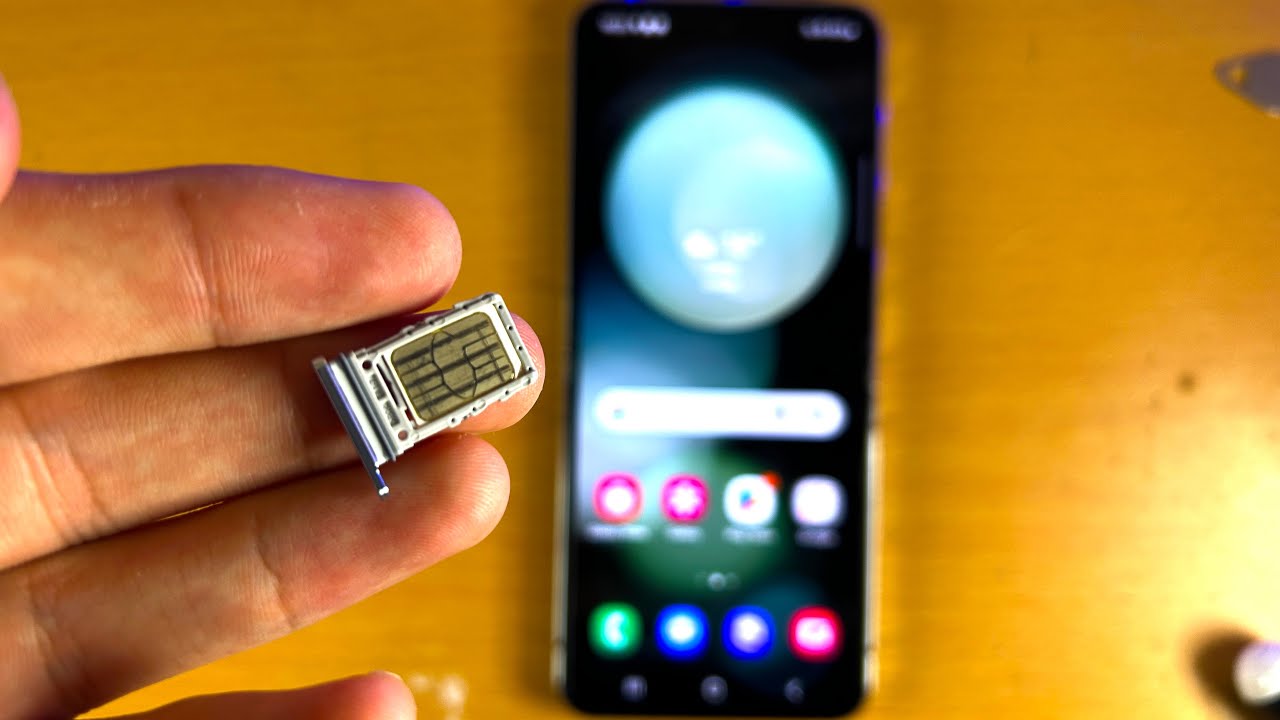
Upon ejecting the SIM card tray, you will notice the SIM card securely positioned within the tray. Gently examine the orientation of the SIM card, taking note of its positioning and any accompanying markings or indicators. It is essential to handle the SIM card with care, avoiding any excessive bending or rough handling that may compromise its functionality.
To remove the SIM card from the tray, delicately slide it out, taking care to maintain a steady and controlled grip. The SIM card should glide smoothly out of the tray without resistance, facilitated by its designed dimensions and the accommodating structure of the tray. Exercise patience and precision during this process, ensuring that the SIM card is extracted smoothly and without undue force.
As the SIM card is removed from the tray, take a moment to inspect its surface for any signs of damage or irregularities. Check for scratches, dents, or discolorations that may impact the functionality of the SIM card. Additionally, examine the metal contacts on the SIM card, ensuring that they are clean and free from debris that could impede connectivity.
Once the SIM card has been successfully removed from the tray, place it in a secure location, such as a SIM card holder or a designated compartment in your personal belongings. It is advisable to store the SIM card in a protective casing to prevent damage and minimize the risk of misplacement.
By effectively removing the SIM card from the tray, you have accomplished a crucial phase in the process of managing your Windows Phone's hardware. This achievement brings you one step closer to the successful completion of the SIM card removal process, marking a significant milestone in your journey to navigate the intricacies of mobile device maintenance.
With the SIM card safely extracted from the tray, you are now prepared to progress to the subsequent step, where you will reinsert the SIM card tray into your Windows Phone, culminating in the final phase of the SIM card removal process.
Step 5: Reinsert the SIM card tray
After successfully removing the SIM card from your Windows Phone, the next crucial step is to reinsert the SIM card tray back into the device. This step ensures the secure placement of the SIM card tray, facilitating the seamless restoration of cellular connectivity and the overall functionality of your Windows Phone.
Begin by carefully aligning the SIM card tray with the corresponding slot on your Windows Phone. Take note of the orientation of the tray, ensuring that it is positioned correctly to facilitate a smooth insertion process. The tray should fit snugly into the designated slot, aligning with the surrounding contours of the device.
Once the SIM card tray is aligned with the slot, gently guide it back into the device, exerting controlled pressure to facilitate its insertion. Ensure that the tray slides back into place smoothly, without encountering resistance or misalignment. Exercise patience and precision during this process, allowing the tray to seamlessly integrate with the internal components of the device.
As the SIM card tray is reinserted into your Windows Phone, listen for a subtle clicking sound or feel for a reassuring engagement, indicating that the tray has securely returned to its original position. This tactile or auditory feedback serves as confirmation that the tray is properly seated within the device, setting the stage for the reestablishment of cellular connectivity.
Upon successful reinsertion of the SIM card tray, power on your Windows Phone to initiate the device's startup sequence. As the device powers up, observe the display for indicators of cellular network connectivity, such as signal bars or network provider information. These visual cues signify the successful restoration of cellular functionality, affirming that the SIM card has been securely reinstalled.
With the SIM card tray seamlessly reinserted into your Windows Phone, you have completed a pivotal phase in the process of managing your device's hardware. This accomplishment marks the culmination of the SIM card removal and reinstallation process, empowering you to navigate the intricacies of mobile device maintenance with confidence and proficiency.
By effectively reinserting the SIM card tray and restoring cellular connectivity to your Windows Phone, you have demonstrated a proactive approach to managing the essential components of your device. This achievement underscores your ability to engage with the hardware aspects of your Windows Phone, fostering a deeper understanding of its functionality and maintenance requirements.
With the SIM card tray securely reinserted and cellular connectivity restored, you have successfully navigated the comprehensive process of removing and reinserting the SIM card in your Windows Phone. This accomplishment highlights your capacity to manage the hardware elements of your device effectively, empowering you to maintain its optimal performance and functionality.
Conclusion
In conclusion, the process of removing a SIM card from a Windows Phone encompasses a series of carefully orchestrated steps that culminate in the successful extraction and reinsertion of the SIM card. By following this comprehensive guide, you have gained valuable insights into the intricacies of managing your device's hardware, empowering you to navigate the SIM card removal process with confidence and proficiency.
Throughout this guide, you have embarked on a journey that delves into the fundamental aspects of mobile device maintenance, from powering off the Windows Phone to locating the SIM card tray and engaging the ejection mechanism. Each step has provided a nuanced understanding of the physical and technical elements involved in SIM card removal, fostering a deeper appreciation for the inner workings of your Windows Phone.
The meticulous process of removing the SIM card from the tray, ensuring precision and delicacy, has underscored the importance of handling essential components with care and attention to detail. By prioritizing the integrity of the SIM card and the device itself, you have demonstrated a proactive approach to mobile device management, setting a standard for responsible and informed hardware maintenance.
Moreover, the seamless reinsertion of the SIM card tray and the restoration of cellular connectivity exemplify your ability to engage with the hardware elements of your Windows Phone effectively. By embracing the process of removing and reinserting the SIM card, you have expanded your technical proficiency and equipped yourself with the expertise to manage essential device components with ease.
As you reflect on the journey of removing a SIM card from your Windows Phone, consider the invaluable knowledge and practical skills you have acquired. From powering off the device to reestablishing cellular connectivity, each step has contributed to your holistic understanding of mobile device maintenance, positioning you as a capable and informed user.
In essence, the act of removing a SIM card from a Windows Phone transcends a mere technical task; it embodies a proactive engagement with the hardware aspects of your device, fostering a deeper connection with its functionality and maintenance requirements. Your successful navigation of this process signifies a milestone in your journey as a conscientious and empowered user of mobile technology.


