Introduction
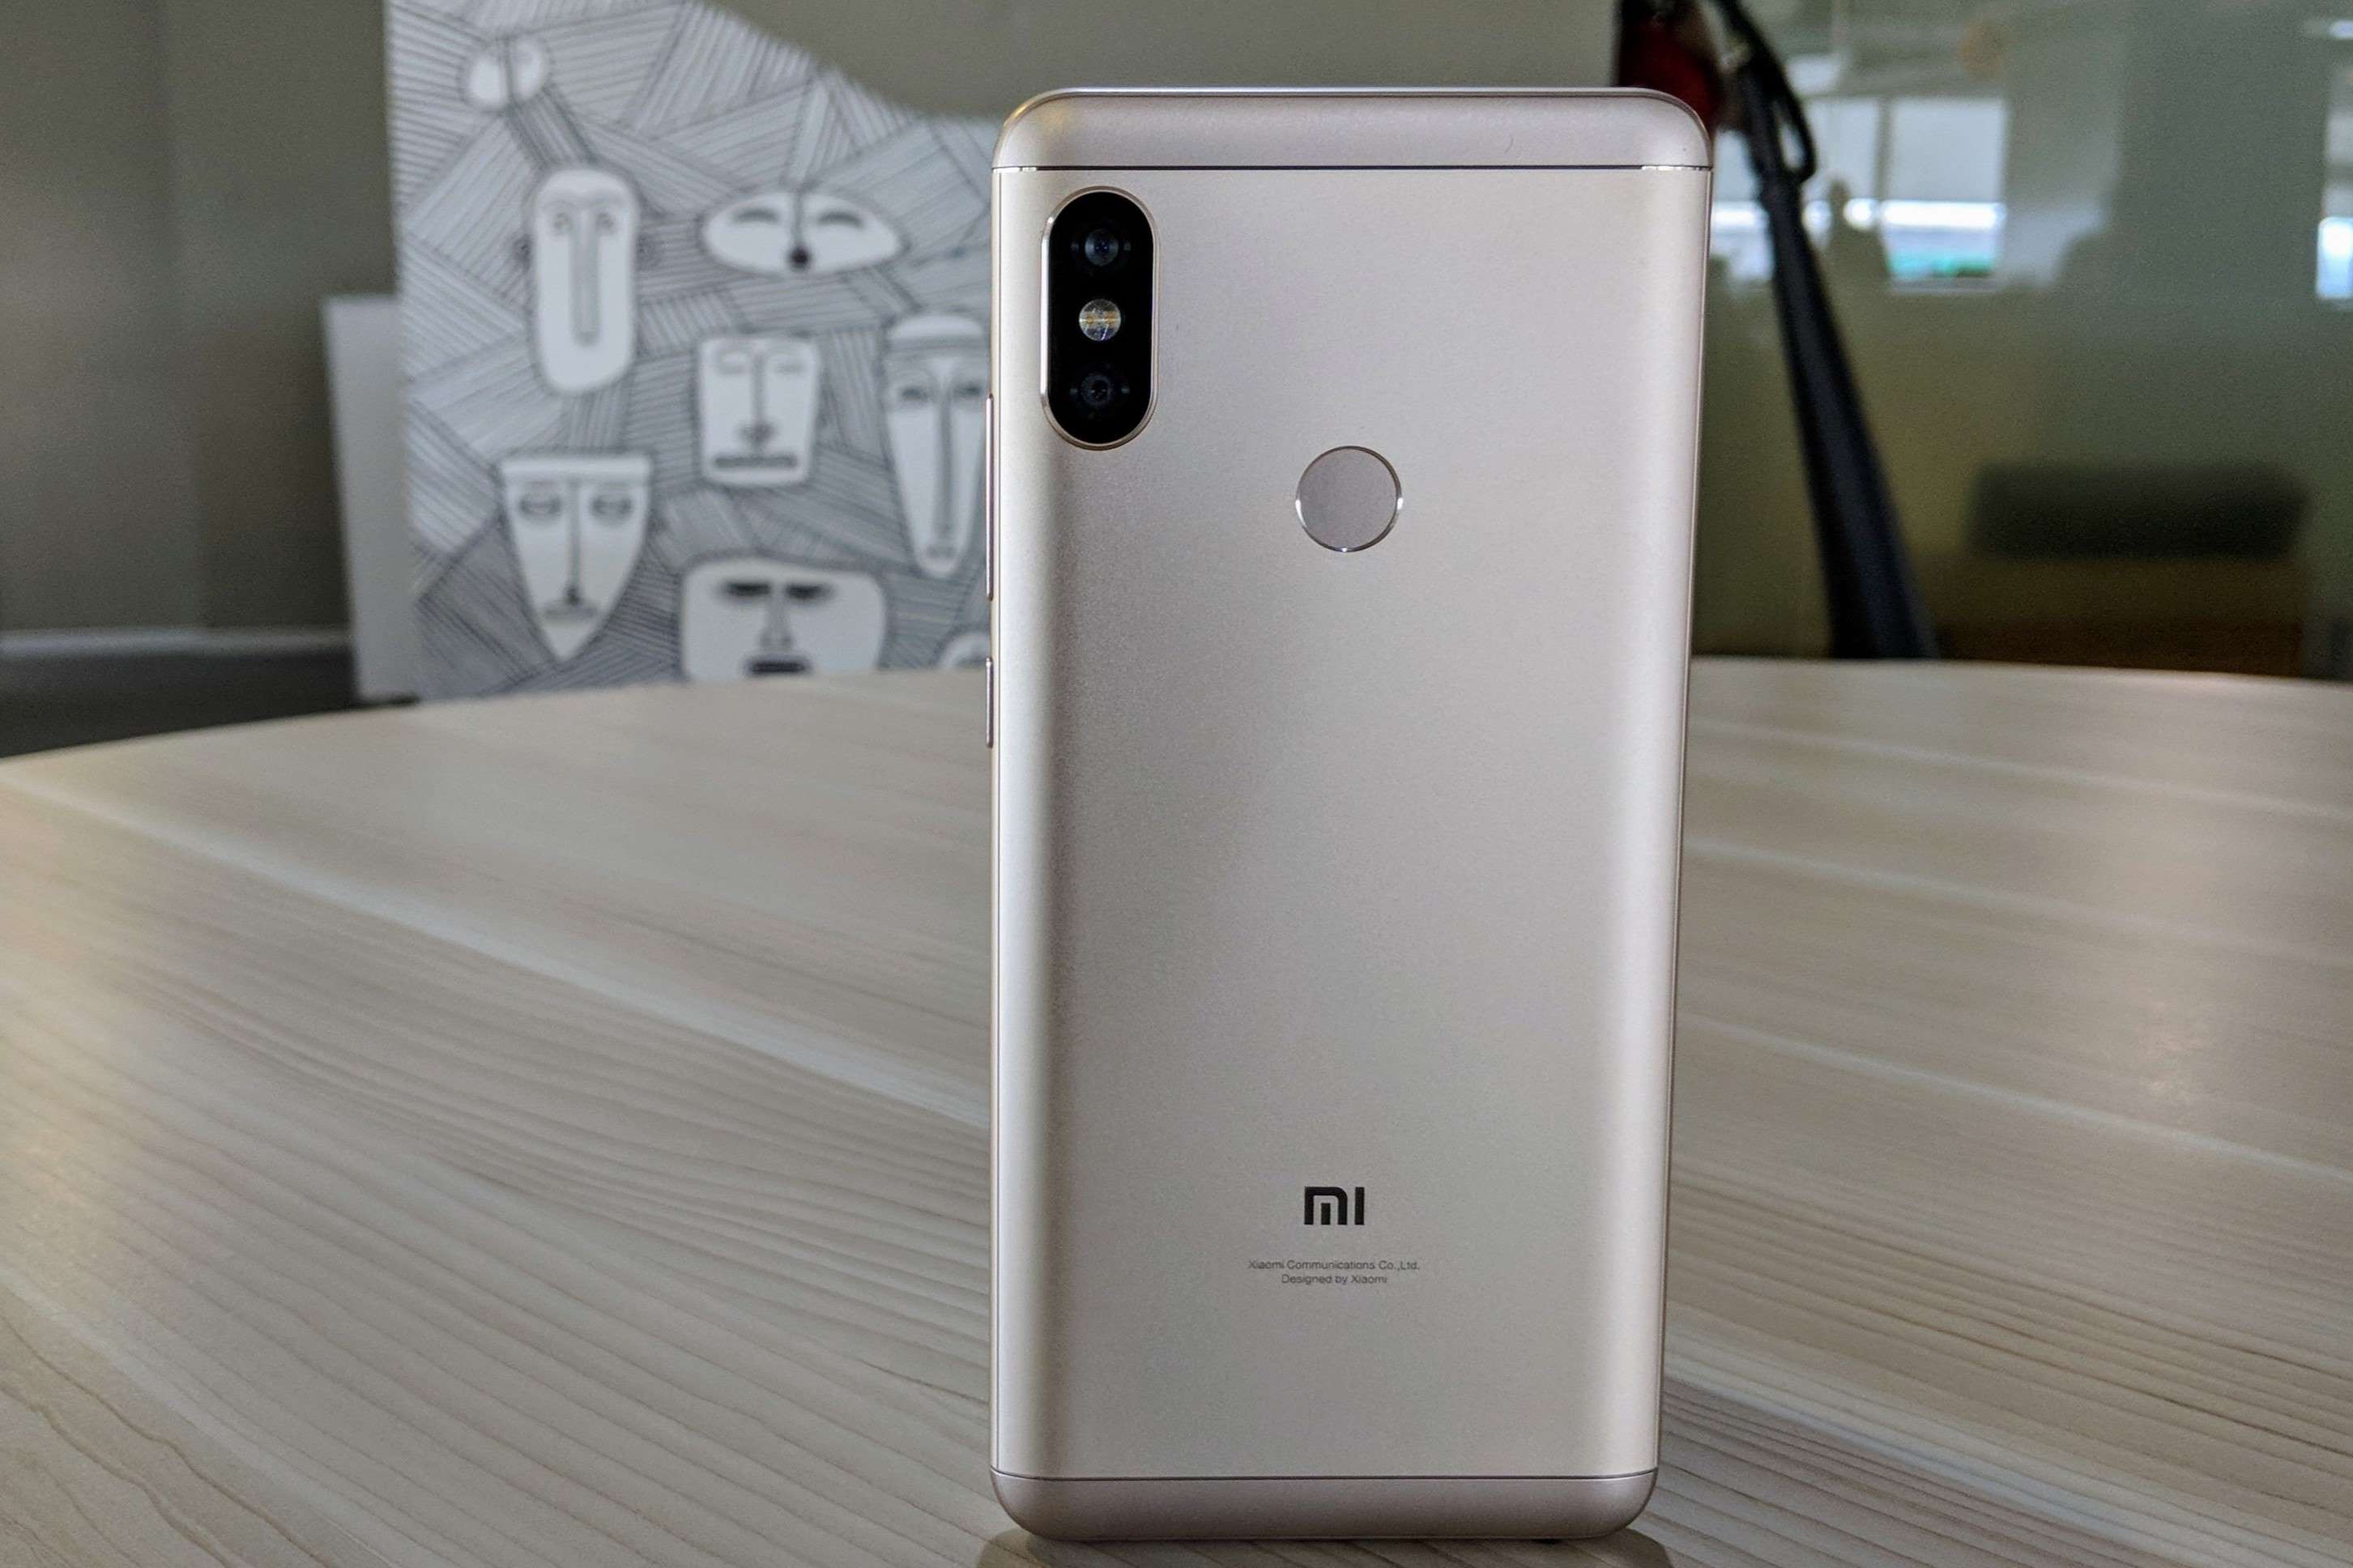
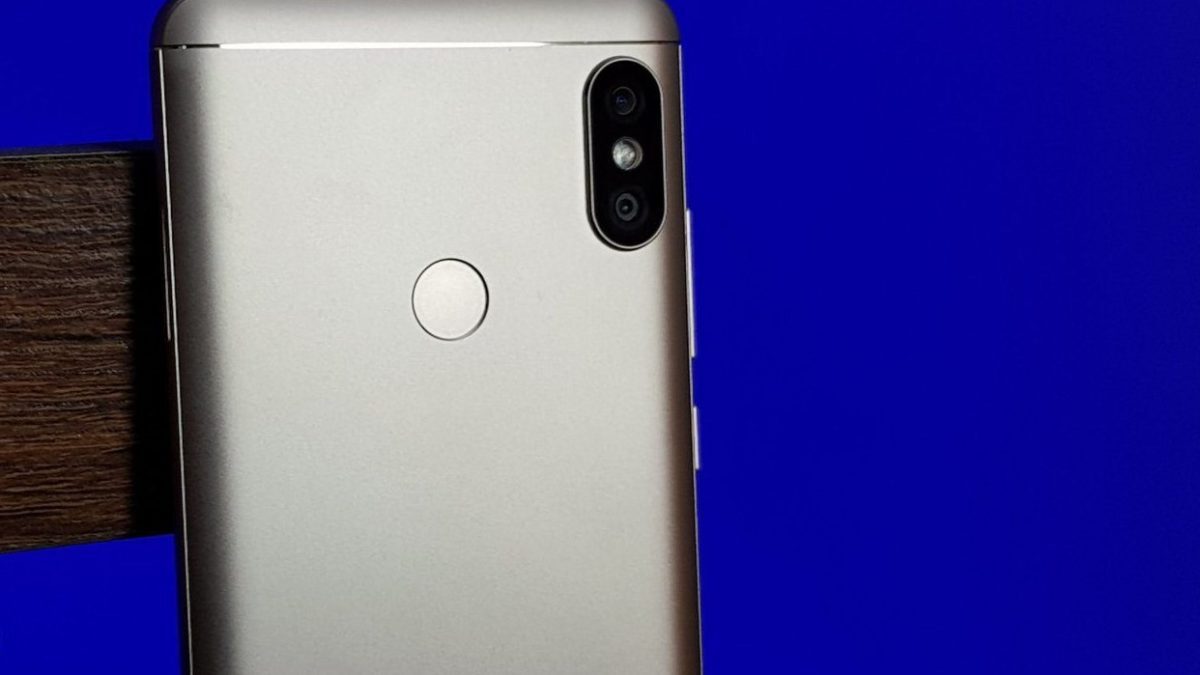
The Redmi Note 5 Pro is a remarkable device that offers impressive camera capabilities, but many users seek to enhance their photography experience by installing the Google Camera (GCam) app. This popular third-party camera app, developed by Google, is renowned for its advanced features and superior image processing algorithms. By installing GCam on the Redmi Note 5 Pro, users can unlock a new level of photography potential, including improved low-light performance, enhanced dynamic range, and access to features not available in the stock camera app.
In this comprehensive guide, we will walk you through the process of installing Google Camera on your Redmi Note 5 Pro. From enabling unknown sources to configuring the app for optimal performance, each step is carefully outlined to ensure a seamless and successful installation. Whether you're a photography enthusiast or simply seeking to elevate your smartphone photography game, this guide will equip you with the knowledge and tools to harness the power of Google Camera on your Redmi Note 5 Pro.
Are you ready to take your photography to the next level? Let's dive into the step-by-step process of installing and configuring Google Camera on your Redmi Note 5 Pro.
Step 1: Enable Unknown Sources
Before installing the Google Camera (GCam) app on your Redmi Note 5 Pro, it's essential to enable the "Unknown Sources" option in the device settings. This step is necessary because the GCam app is not available on the Google Play Store and requires permission to install apps from sources other than the official app store.
Here's a detailed guide on how to enable Unknown Sources on your Redmi Note 5 Pro:
-
Access Settings: Begin by unlocking your Redmi Note 5 Pro and navigating to the home screen. Locate and tap the "Settings" app, which is represented by a gear icon. The Settings app is where you can access various system and device-specific configurations.
-
Security Settings: Within the Settings menu, scroll down to find and select the "Security" option. This section contains essential security and privacy-related settings for your device.
-
Unknown Sources: Once you're in the Security settings, look for the "Unknown Sources" option. It may also be labeled as "Install unknown apps" on some devices. Tap on this option to enable the installation of apps from sources other than the Google Play Store.
-
Enable Unknown Sources: After selecting the "Unknown Sources" option, you will be presented with a prompt explaining the potential risks associated with installing apps from unknown sources. To proceed, toggle the switch to enable Unknown Sources. This action indicates that you understand the risks and wish to allow app installations from sources other than the official app store.
-
Confirmation: Depending on the device's specific software version, you may be required to confirm your selection by tapping "OK" or a similar confirmation prompt. This step ensures that you are intentionally enabling the installation of apps from unknown sources.
By following these steps, you have successfully enabled the "Unknown Sources" option on your Redmi Note 5 Pro, allowing you to proceed with the installation of the Google Camera (GCam) app. With this crucial setting in place, you are now ready to download the GCam APK and begin the installation process, which we will cover in the next step.
Enabling Unknown Sources is a straightforward yet essential step that empowers users to expand their app installation options beyond the confines of the Google Play Store. With this setting enabled, you can confidently proceed to download and install the Google Camera app, unlocking a wealth of advanced photography features on your Redmi Note 5 Pro.
Step 2: Download Google Camera (GCam) APK
Now that you have successfully enabled the "Unknown Sources" option on your Redmi Note 5 Pro, you are ready to download the Google Camera (GCam) APK. The GCam APK file serves as the installation package for the Google Camera app and can be obtained from trusted sources online. It's important to note that due to the nature of third-party app installations, it's crucial to download the GCam APK from reputable sources to ensure the authenticity and integrity of the file.
Here's a detailed guide on how to download the Google Camera (GCam) APK for your Redmi Note 5 Pro:
-
Open a Web Browser: Unlock your device and launch a web browser of your choice. Whether you prefer Google Chrome, Mozilla Firefox, or any other browser, navigate to the search engine's homepage to begin your search for the GCam APK.
-
Search for Google Camera (GCam) APK: In the browser's search bar, enter "Google Camera APK download" or a similar query to initiate the search for the GCam installation file. Be sure to include the specific version or compatibility details for the Redmi Note 5 Pro to find the most suitable APK file.
-
Select a Trusted Source: As the search results populate, carefully evaluate the sources offering the GCam APK for download. Opt for reputable websites or forums known for hosting reliable APK files. It's advisable to prioritize well-established tech communities and forums where users share verified APK files.
-
Download the GCam APK: Once you've identified a trusted source, navigate to the download page for the Google Camera APK. Look for the download button or link associated with the latest version of the GCam app compatible with the Redmi Note 5 Pro. Tap the download button to initiate the download process.
-
Verify the Download: After the download is complete, locate the GCam APK file in your device's storage. Before proceeding with the installation, it's recommended to verify the file's integrity by checking its size and comparing it to the official APK size provided by Google.
By following these steps, you can securely download the Google Camera (GCam) APK for your Redmi Note 5 Pro, paving the way for the next phase of the installation process. With the APK file in your possession, you are one step closer to unlocking the advanced photography capabilities offered by the Google Camera app on your device.
Step 3: Install Google Camera (GCam)
With the Google Camera (GCam) APK successfully downloaded to your Redmi Note 5 Pro, you are now poised to proceed with the installation of this powerful third-party camera app. The installation process involves a few simple yet crucial steps to ensure the seamless integration of GCam into your device's camera ecosystem.
Here's a detailed guide on how to install the Google Camera (GCam) APK on your Redmi Note 5 Pro:
-
Locate the GCam APK: Begin by navigating to the directory or folder where the Google Camera (GCam) APK file is stored on your device. This can typically be found in the "Downloads" folder or the location specified during the download process.
-
Initiate the Installation: Tap on the GCam APK file to initiate the installation process. Depending on your device's settings, you may be prompted to grant specific permissions or confirm your intent to install the app.
-
Security Prompt: If this is your first time installing an app from an APK file, your device may display a security prompt highlighting the potential risks associated with installing apps from unknown sources. As you have already enabled the "Unknown Sources" option in the previous step, you can confidently proceed by tapping "Install" to commence the installation of Google Camera (GCam).
-
Installation Progress: The installation process typically takes a few moments to complete. During this time, your device will display a progress indicator, and you may observe the app being installed in the background.
-
Completion Confirmation: Once the installation is complete, you will receive a confirmation message indicating that Google Camera (GCam) has been successfully installed on your Redmi Note 5 Pro. At this point, you can choose to either open the app directly or access it later from your device's app drawer.
By following these straightforward steps, you have successfully installed the Google Camera (GCam) app on your Redmi Note 5 Pro. With GCam now integrated into your device, you are one step closer to experiencing the advanced photography features and enhanced image processing capabilities that this popular third-party camera app has to offer.
The successful installation of Google Camera (GCam) marks a significant milestone in your quest to elevate your smartphone photography experience. With the app now at your fingertips, you are ready to explore its diverse range of features and unleash the full potential of your Redmi Note 5 Pro's camera system.
Step 4: Configure Google Camera (GCam)
After successfully installing the Google Camera (GCam) app on your Redmi Note 5 Pro, the next crucial step is to configure the app to optimize its performance and unlock its full potential. Configuring GCam involves customizing various settings and options to align the app with your preferences and harness its advanced features for an enhanced photography experience.
Here's a comprehensive guide on how to configure Google Camera (GCam) on your Redmi Note 5 Pro:
-
Access the Settings: Upon opening the Google Camera app for the first time, navigate to the app's settings by tapping on the menu icon or the settings gear icon, typically located in the top or bottom corner of the app interface.
-
Explore Camera Modes: Within the settings menu, familiarize yourself with the available camera modes and features offered by GCam. This includes options such as Night Sight, Portrait Mode, HDR+, and various other advanced shooting modes designed to elevate your photography capabilities.
-
Adjust Image Quality Settings: Dive into the image quality settings to fine-tune the app's image processing algorithms. Depending on your preferences, you can adjust parameters such as HDR+ control, image resolution, and other advanced settings to achieve the desired balance between image quality and file size.
-
Customize Camera Controls: Take advantage of the customizable camera controls to tailor the app's interface to your shooting style. This may involve rearranging on-screen buttons, enabling grid lines for composition assistance, or configuring gesture controls for seamless navigation within the app.
-
Explore Advanced Features: Delve into the advanced features offered by GCam, such as Astrophotography mode, Super Res Zoom, and other cutting-edge functionalities that set this app apart from traditional camera apps. Familiarize yourself with these features and experiment with their settings to unleash their full potential.
-
Fine-Tune Night Sight and Low-Light Settings: Given the Redmi Note 5 Pro's impressive low-light photography capabilities, it's essential to explore the Night Sight and low-light settings within GCam. Adjusting these settings can significantly enhance the device's performance in challenging lighting conditions, allowing you to capture stunning nightscapes and low-light scenes with remarkable clarity.
By meticulously configuring Google Camera (GCam) to align with your preferences and shooting style, you can harness the full potential of this powerful third-party camera app on your Redmi Note 5 Pro. With its advanced features and customizable settings, GCam empowers you to elevate your smartphone photography to new heights, capturing breathtaking moments with unparalleled clarity and detail.
Conclusion
Congratulations! By following this comprehensive guide, you have successfully installed and configured the Google Camera (GCam) app on your Redmi Note 5 Pro, unlocking a wealth of advanced photography features and capabilities. With GCam now seamlessly integrated into your device, you are poised to embark on a captivating photography journey, capturing stunning moments with enhanced clarity, dynamic range, and low-light performance.
The installation of Google Camera on your Redmi Note 5 Pro represents a significant milestone in your quest to elevate your smartphone photography experience. By enabling the "Unknown Sources" option, downloading the GCam APK from trusted sources, and navigating through the installation process, you have demonstrated a keen commitment to exploring innovative avenues for capturing and preserving life's precious moments.
As you delve into the world of Google Camera, take the time to familiarize yourself with its diverse range of features, including Night Sight for captivating low-light photography, Portrait Mode for stunning bokeh effects, and HDR+ for vibrant and detailed images. Experiment with the app's advanced settings and shooting modes to unleash its full potential, allowing you to express your creativity and vision through captivating photographs.
Furthermore, the seamless integration of GCam on your Redmi Note 5 Pro underscores the device's versatility and adaptability, showcasing its ability to harness the power of third-party camera apps to deliver exceptional photography experiences. Whether you're capturing breathtaking landscapes, candid portraits, or vibrant cityscapes, the advanced capabilities of Google Camera will undoubtedly elevate your photography endeavors to new heights.
As you navigate through the app's settings and features, remember to embrace experimentation and exploration, allowing your creativity to flourish through the lens of your Redmi Note 5 Pro. Whether you're an avid photography enthusiast or simply seeking to enhance your smartphone photography skills, Google Camera empowers you to capture the world around you with unparalleled clarity and artistry.
In conclusion, the successful installation and configuration of Google Camera (GCam) on your Redmi Note 5 Pro open the door to a world of photographic possibilities. Embrace this newfound capability with enthusiasm and creativity, and let your unique perspective shine through each captivating image you capture. With Google Camera at your fingertips, every moment becomes an opportunity to create timeless visual stories, preserving cherished memories with unparalleled detail and artistry.


