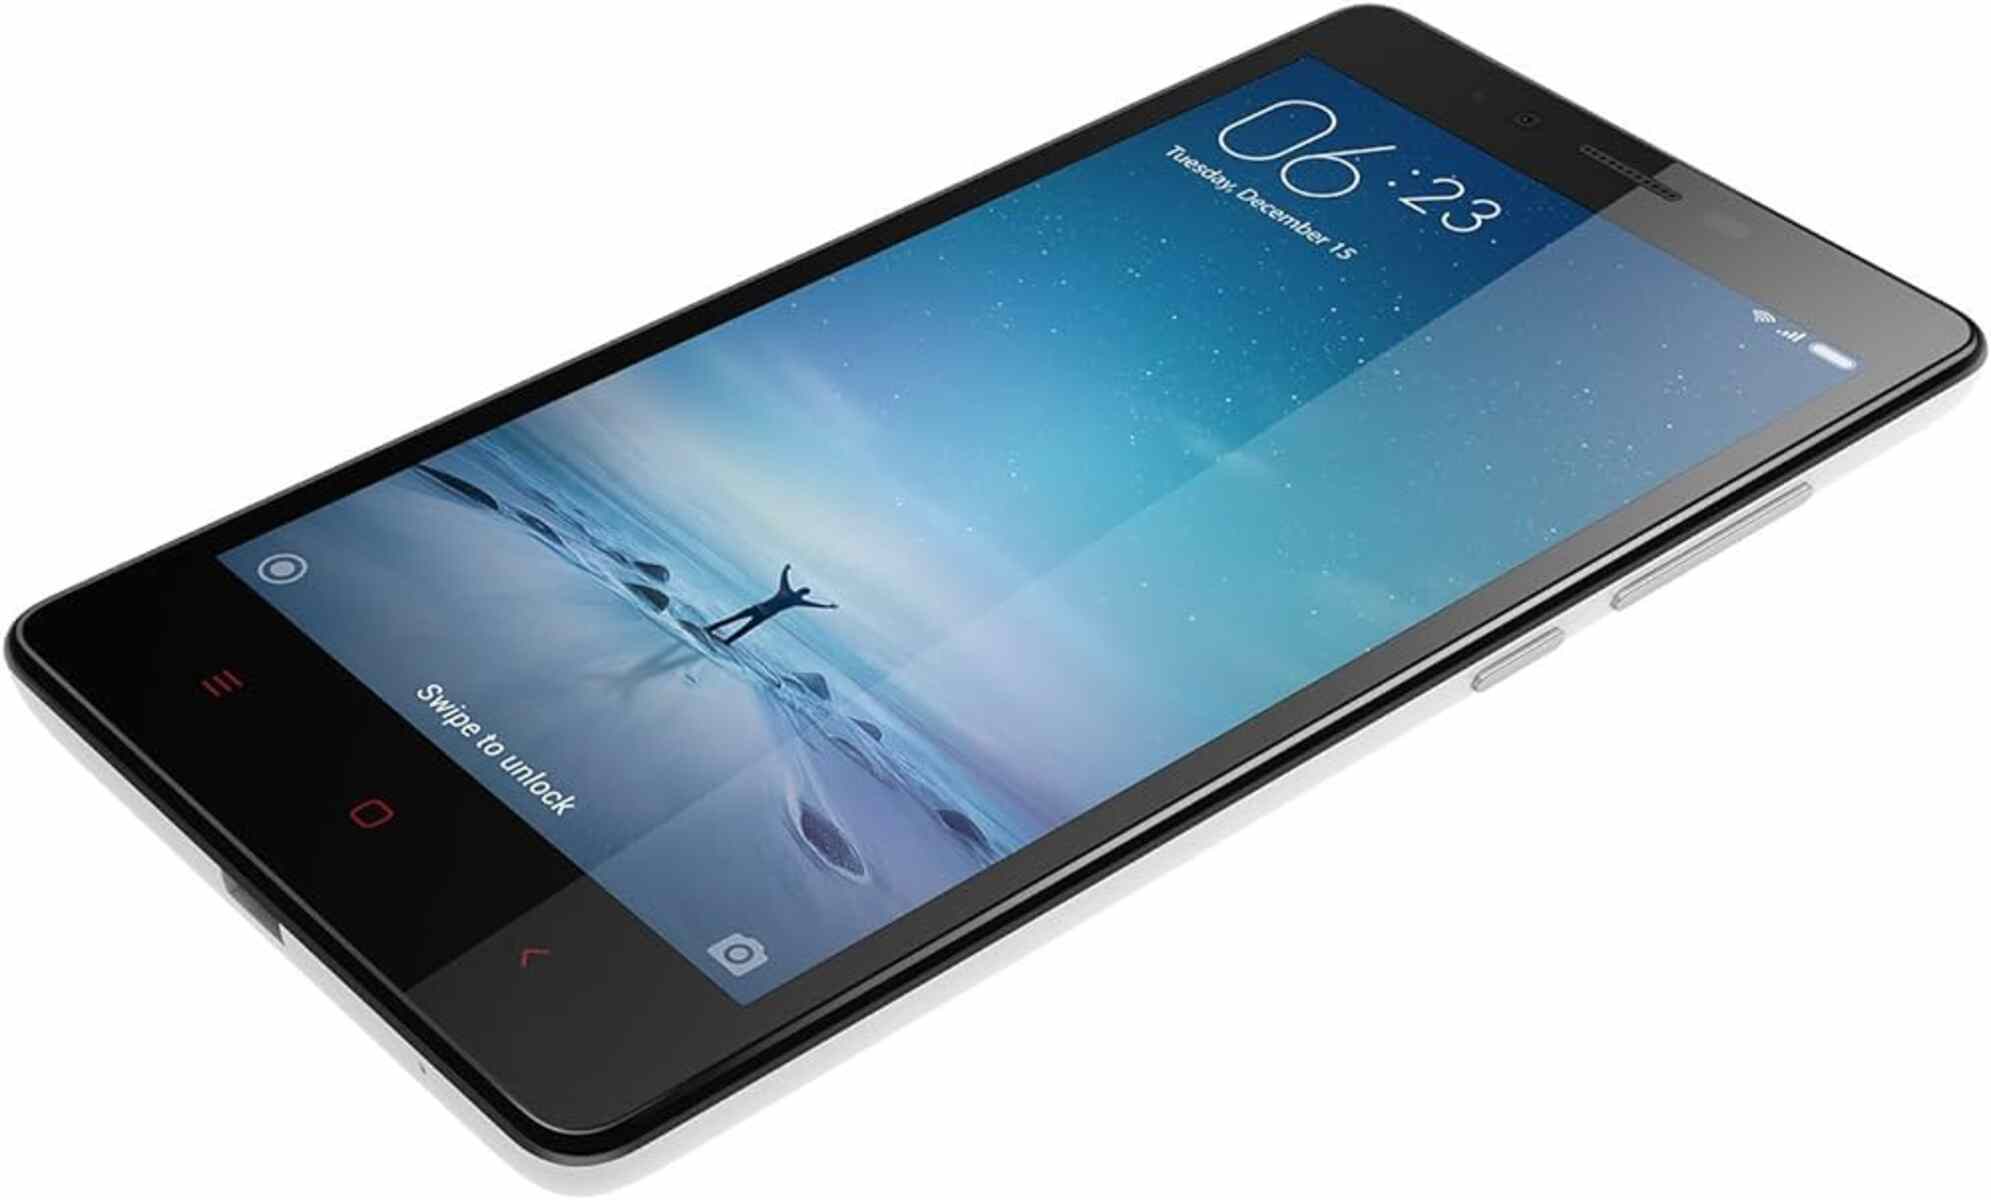
Introduction
Formatting your Redmi 4A can be a crucial step in optimizing its performance and resolving various issues. Whether you're experiencing sluggishness, app crashes, or storage problems, a thorough formatting process can often work wonders in restoring your device to its peak functionality. However, it's essential to approach this task with caution, as formatting will erase all data on your device. Therefore, it's imperative to back up your data before proceeding.
In this quick guide, we'll walk you through the necessary steps to format your Redmi 4A effectively. From backing up your data to formatting the SD card and internal storage, we'll cover each stage comprehensively, ensuring that you can navigate this process with confidence. By following these steps, you can revitalize your Redmi 4A and address any persistent issues that may be hindering its performance.
Let's dive into the step-by-step process, ensuring that you're equipped with the knowledge and guidance needed to format your Redmi 4A successfully.
Step 1: Backing Up Your Data
Before embarking on the formatting process for your Redmi 4A, it's crucial to safeguard your valuable data. This step is paramount as formatting will erase all data on your device, including photos, videos, contacts, and app data. By backing up your data, you can ensure that none of your important information is lost during the formatting process.
Backing Up Photos and Videos
Start by securing your precious memories captured in photos and videos. You can easily back up these files by utilizing cloud storage services such as Google Photos, Dropbox, or OneDrive. These platforms offer seamless integration with your Redmi 4A, allowing you to automatically sync and store your media content in the cloud. Additionally, you can transfer your photos and videos to a computer using a USB cable, providing an extra layer of security for your visual memories.
Safeguarding Contacts and Calendars
Preserving your contacts and calendar events is essential for maintaining seamless communication and organization. To back up your contacts, you can utilize the built-in feature of your Redmi 4A to sync contacts with your Google account. This ensures that your contacts are securely stored in the cloud and can be easily retrieved after the formatting process. Similarly, syncing your calendar with your Google account will safeguard your important events and appointments.
Securing App Data
Many apps on your Redmi 4A store valuable data, including settings, preferences, and in-app content. To ensure that none of this information is lost, consider using the backup functionality within individual apps, if available. Additionally, you can use the built-in backup feature on your device to create a complete backup of your app data, providing peace of mind that your preferences and in-app content are preserved.
By diligently backing up your photos, videos, contacts, calendars, and app data, you can proceed with the formatting process knowing that your valuable information is securely stored. This proactive approach will enable you to restore your data seamlessly after formatting, ensuring a smooth transition without any loss of important content.
Step 2: Factory Reset
Performing a factory reset on your Redmi 4A is a pivotal step in the formatting process, as it effectively restores the device to its original state, erasing all user data and settings. This comprehensive reset can resolve persistent software issues, eliminate clutter, and optimize the overall performance of your device. However, it's essential to approach this step with caution, as it irreversibly wipes all data from your device. Here's a detailed walkthrough of the factory reset process for your Redmi 4A:
Accessing the Settings Menu
To initiate the factory reset, begin by accessing the Settings menu on your Redmi 4A. This can typically be achieved by tapping the "Settings" app icon, which is represented by a gear or cogwheel symbol. Once inside the Settings menu, navigate to the "Additional settings" or "System & Device" section, where you'll find the option to perform a factory reset.
Initiating the Factory Reset
Within the "Additional settings" or "System & Device" section, locate the "Backup & reset" or "System" option, which houses the factory reset feature. Upon selecting this option, you'll be presented with the "Factory data reset" or "Erase all data (factory reset)" function. It's crucial to carefully review the implications of this action, as all data on your device will be permanently erased. Once you've acknowledged the consequences, proceed with initiating the factory reset.
Confirming the Reset
After selecting the "Factory data reset" or "Erase all data (factory reset)" function, your Redmi 4A will prompt you to confirm the action. This confirmation typically involves entering your device's PIN, pattern, or password to authenticate the reset process. Once confirmed, the factory reset will commence, and your device will undergo a thorough erasure of all user data and settings.
Completing the Reset
Upon confirmation, your Redmi 4A will proceed with the factory reset, systematically erasing all user data and restoring the device to its original state. This process may take several minutes to complete, during which your device will reboot and finalize the reset. Once the reset is finished, your Redmi 4A will be devoid of any user-installed apps, personal data, and customized settings, effectively returning it to its factory-fresh condition.
By meticulously following these steps, you can execute a factory reset on your Redmi 4A with confidence, paving the way for a comprehensive formatting process that rejuvenates the performance and functionality of your device.
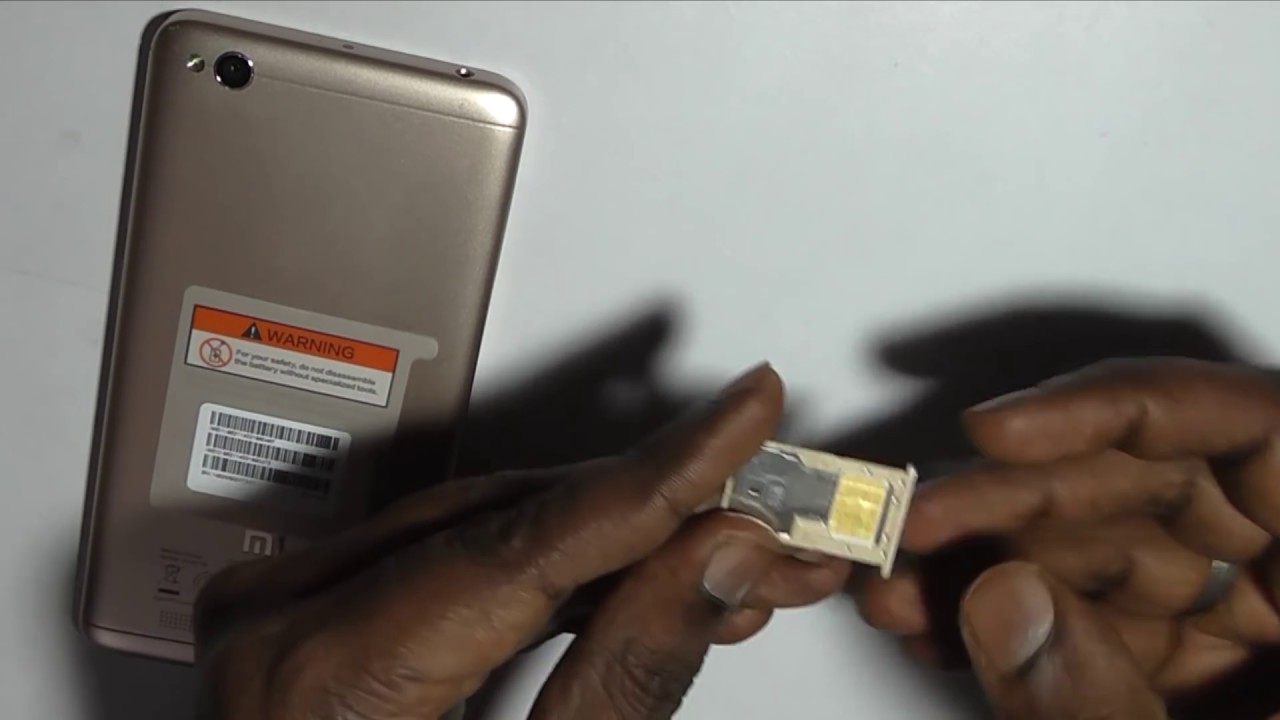
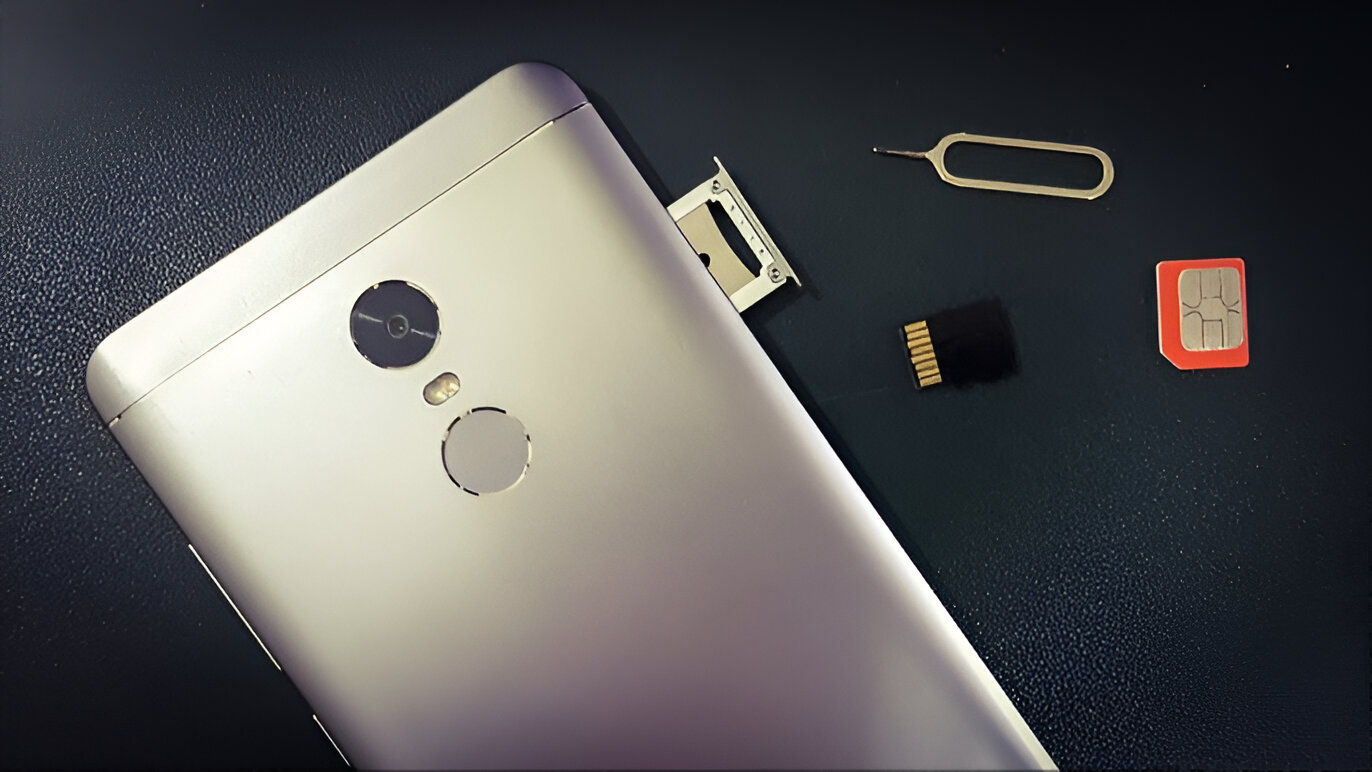
Step 3: Formatting SD Card
Formatting the SD card in your Redmi 4A is a crucial aspect of the overall formatting process, as it ensures that the external storage is optimized for seamless functionality within your device. By formatting the SD card, you can resolve potential file system errors, remove unnecessary data, and prepare the card for efficient usage. Here's a detailed guide on how to format the SD card in your Redmi 4A:
-
Accessing the Storage Settings: Begin by accessing the Settings menu on your Redmi 4A. From the main Settings screen, navigate to the "Storage" or "Storage & memory" section. This is where you'll find detailed information about the internal storage and any inserted SD card.
-
Selecting the SD Card: Within the "Storage" or "Storage & memory" section, locate the option that pertains to the inserted SD card. This will typically display the SD card's capacity, usage, and available space. Tap on the SD card option to access its specific settings and management functions.
-
Initiating the Format: Once inside the SD card settings, look for the "Format" or "Format SD card" option. This function is designed to erase all data on the SD card and prepare it for use with your Redmi 4A. It's important to note that formatting the SD card will permanently delete all data stored on it, so ensure that you have backed up any important files before proceeding.
-
Confirming the Format: Upon selecting the "Format" or "Format SD card" option, your Redmi 4A will prompt you to confirm the action. This confirmation typically involves a warning message indicating that all data on the SD card will be erased. Carefully review this warning and proceed only if you are certain that you have backed up any essential data from the SD card.
-
Completing the Format: After confirming the format, your Redmi 4A will initiate the formatting process for the SD card. This may take a few moments to complete, during which the device will erase all existing data on the SD card and prepare it for optimal functionality within the device.
By following these steps, you can effectively format the SD card in your Redmi 4A, ensuring that it is primed for seamless integration and efficient usage within your device. This process can help resolve potential issues related to the SD card's file system and ensure that it operates smoothly within your Redmi 4A.
Step 4: Formatting Internal Storage
Formatting the internal storage of your Redmi 4A is a critical step in the overall formatting process, as it involves erasing all data and settings from the device's built-in storage. This comprehensive reset can effectively address persistent software issues, optimize the device's performance, and create a clean slate for a fresh start. However, it's important to approach this process with caution, as formatting the internal storage will irreversibly erase all data on your device. Here's a detailed guide on how to format the internal storage of your Redmi 4A:
-
Accessing the Settings Menu: Begin by accessing the Settings menu on your Redmi 4A. From the main Settings screen, navigate to the "Storage" or "Storage & Memory" section. This is where you'll find detailed information about the device's internal storage, including its capacity, usage, and available space.
-
Initiating the Format: Within the "Storage" or "Storage & Memory" section, locate the option that pertains to the internal storage of your Redmi 4A. This will typically display the device's built-in storage capacity, usage, and available space. Tap on the internal storage option to access its specific settings and management functions.
-
Selecting the Format Option: Once inside the internal storage settings, look for the "Format" or "Erase internal storage" option. This function is designed to erase all data on the internal storage and reset the device to its factory state. It's crucial to understand that formatting the internal storage will permanently delete all data and settings, so ensure that you have backed up any essential information before proceeding.
-
Confirming the Format: Upon selecting the "Format" or "Erase internal storage" option, your Redmi 4A will prompt you to confirm the action. This confirmation typically involves a warning message indicating that all data and settings on the internal storage will be permanently erased. Carefully review this warning and proceed only if you are certain that you have backed up any crucial data from the device.
-
Completing the Format: After confirming the format, your Redmi 4A will initiate the formatting process for the internal storage. This process may take some time to complete, during which the device will systematically erase all existing data and settings from its built-in storage. Once the format is finished, your Redmi 4A will be restored to its factory-fresh state, devoid of any user-installed apps, personal data, and customized settings.
By following these steps, you can effectively format the internal storage of your Redmi 4A, paving the way for a comprehensive rejuvenation of the device's performance and functionality. This process creates a clean slate for your device, allowing you to address persistent issues and optimize its overall operation.
Step 5: Rebooting Your Redmi 4A
After completing the formatting process for your Redmi 4A, the final step involves rebooting the device to ensure that all changes take effect and the system is refreshed. Rebooting, also known as restarting, your Redmi 4A can help finalize the formatting procedures and ensure that the device operates optimally. Here's a detailed guide on how to reboot your Redmi 4A effectively:
-
Accessing the Power Menu: To initiate the reboot, begin by pressing and holding the power button on your Redmi 4A. This button is typically located on the right-hand side or the top of the device, depending on its orientation. After holding the power button for a few seconds, the power menu will appear on the screen, presenting various options for managing the device's power state.
-
Selecting the Restart Option: Within the power menu, look for the "Restart" or "Reboot" option. This function is designed to gracefully shut down the device and then power it back on, allowing for a complete system refresh. Tap on the "Restart" option to initiate the reboot process for your Redmi 4A.
-
Confirming the Restart: Upon selecting the "Restart" option, your Redmi 4A will prompt you to confirm the action. This confirmation typically involves a message asking if you're sure you want to restart the device. Confirm the restart, and your Redmi 4A will proceed with shutting down and then booting up again.
-
Completing the Reboot: After confirming the restart, your Redmi 4A will power down and then initiate the boot sequence, effectively restarting the device. This process may take a minute or two to complete, during which the device's system is refreshed, and all formatting changes are fully implemented.
By following these steps, you can effectively reboot your Redmi 4A, ensuring that the formatting procedures are finalized, and the device is ready for optimal performance. Rebooting your device after formatting can help clear any residual system processes and ensure that the device operates smoothly, providing a fresh start for your Redmi 4A's renewed functionality.