Introduction
Inserting a SIM card into your iPhone 11 is a fundamental step in setting up your device for cellular connectivity. Whether you're upgrading to a new device or simply need to replace your current SIM card, understanding the proper method for inserting a SIM card in your iPhone 11 is essential. This process ensures that your device can access the mobile network, enabling you to make calls, send messages, and access mobile data.
In this comprehensive guide, we will walk you through the step-by-step process of inserting a SIM card into your iPhone 11. By following these instructions, you can ensure a smooth and hassle-free experience, allowing you to seamlessly transition to your new device or replace your existing SIM card.
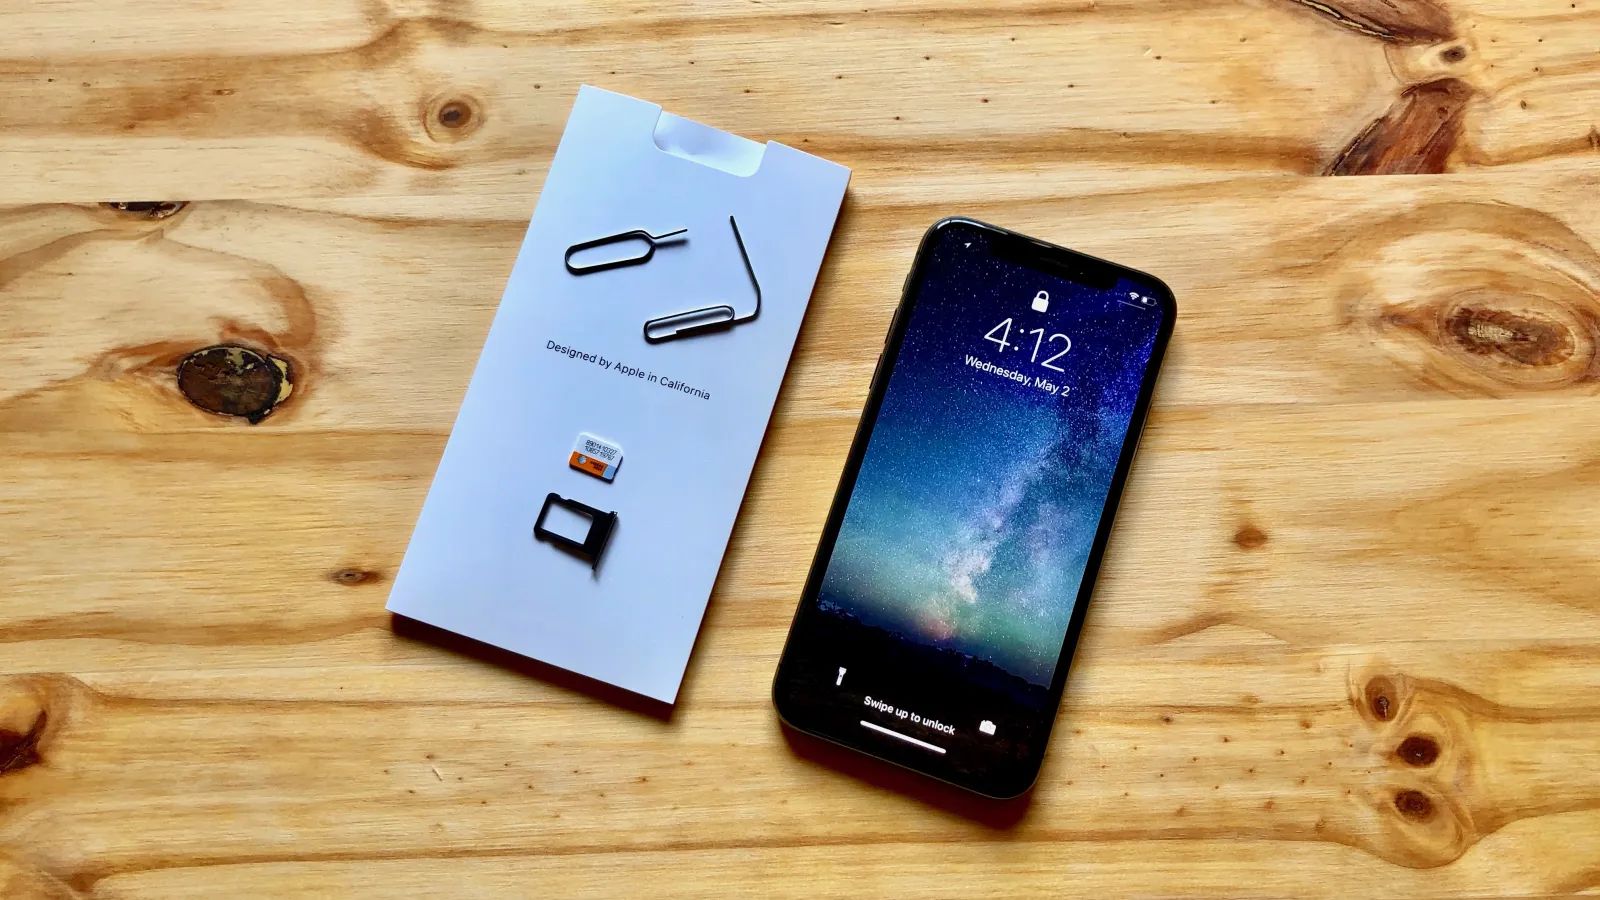
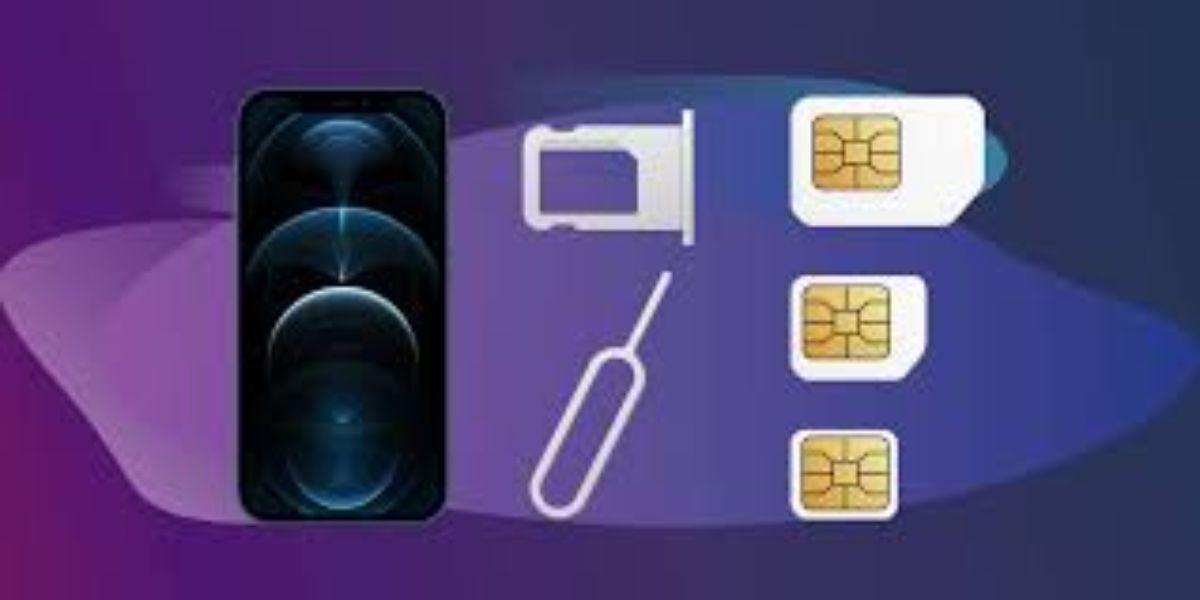
Before proceeding with the SIM card insertion process, it's important to gather the necessary tools, including the SIM card eject tool provided by Apple or a small paperclip. Additionally, you should have your iPhone 11 readily available to follow along with the instructions. With these preparations in place, you'll be well-equipped to complete the SIM card insertion process with ease.
Whether you're a first-time iPhone user or a seasoned Apple enthusiast, mastering the art of inserting a SIM card into your iPhone 11 is a valuable skill that will serve you well in your mobile device endeavors. So, without further ado, let's dive into the step-by-step instructions for properly inserting a SIM card into your iPhone 11.
Step 1: Locate the SIM Card Tray
The first step in the process of inserting a SIM card into your iPhone 11 is to locate the SIM card tray. This tray is designed to securely hold the SIM card and ensure proper connectivity to the mobile network. To begin, you'll need to identify the precise location of the SIM card tray on your device.
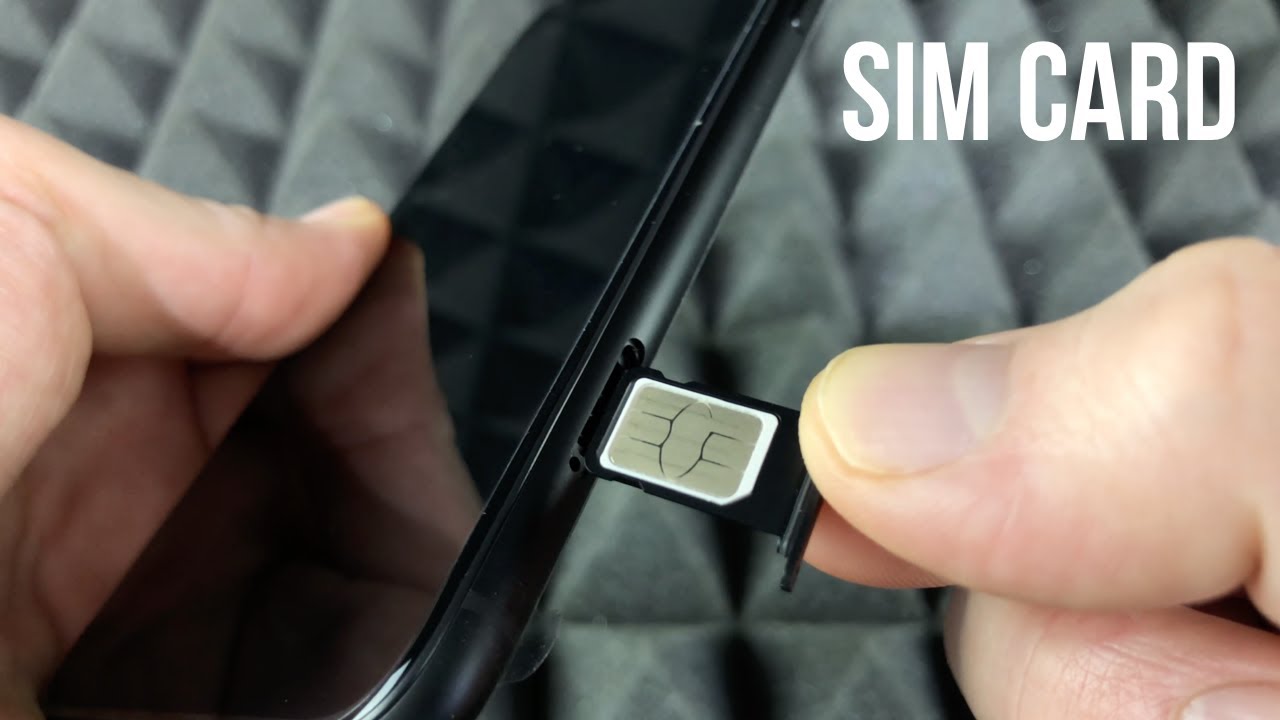
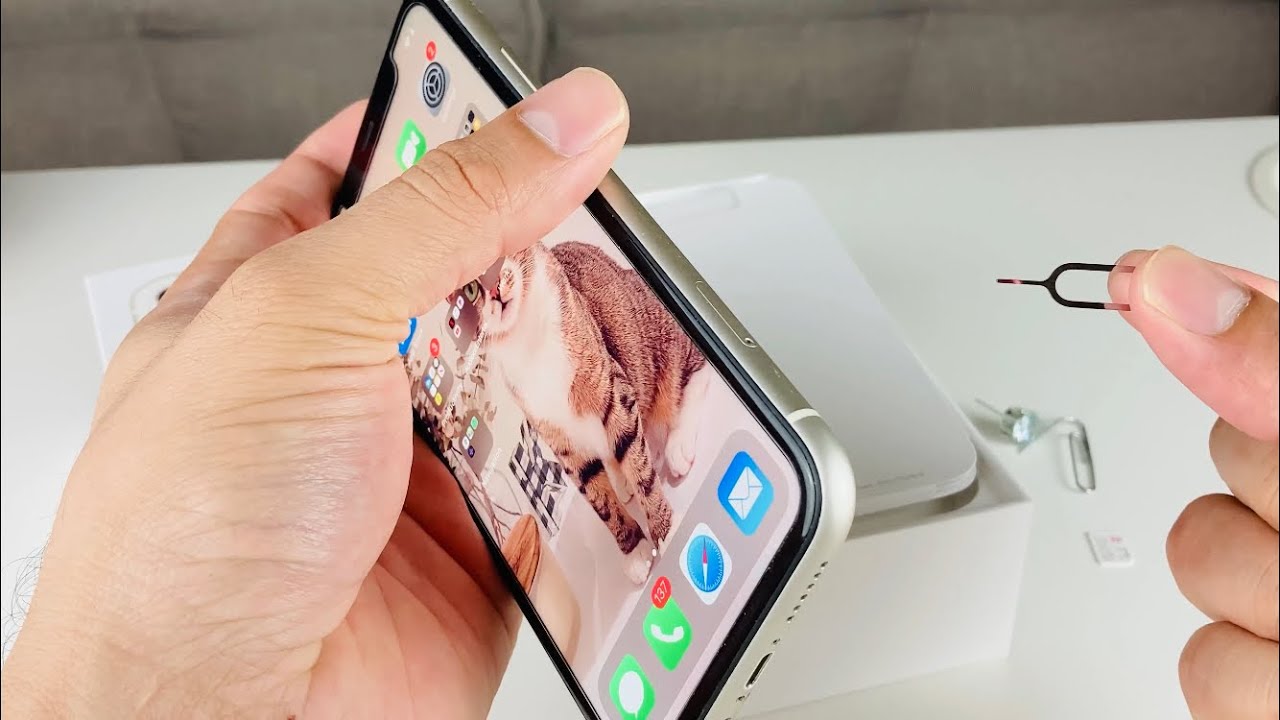
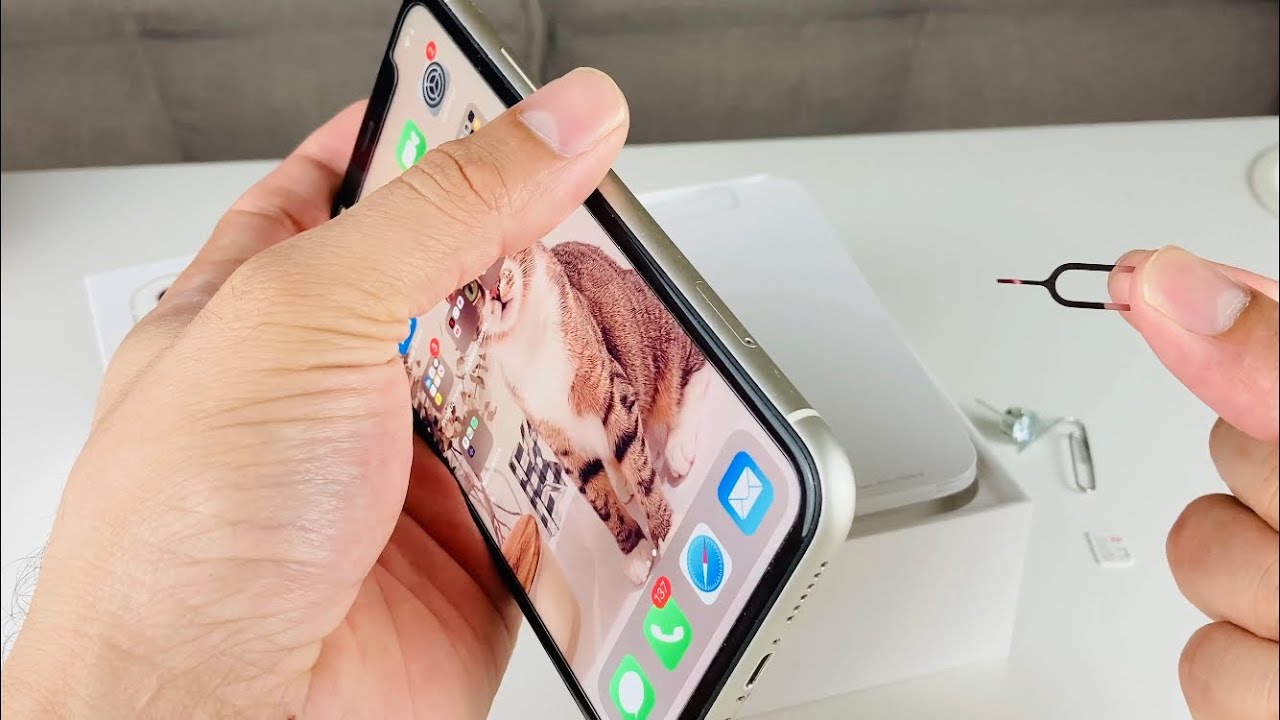
On the right side of your iPhone 11, you will notice a small, rectangular slot. This slot is the access point to the SIM card tray. It's important to handle your device with care and precision during this step to avoid any accidental damage.
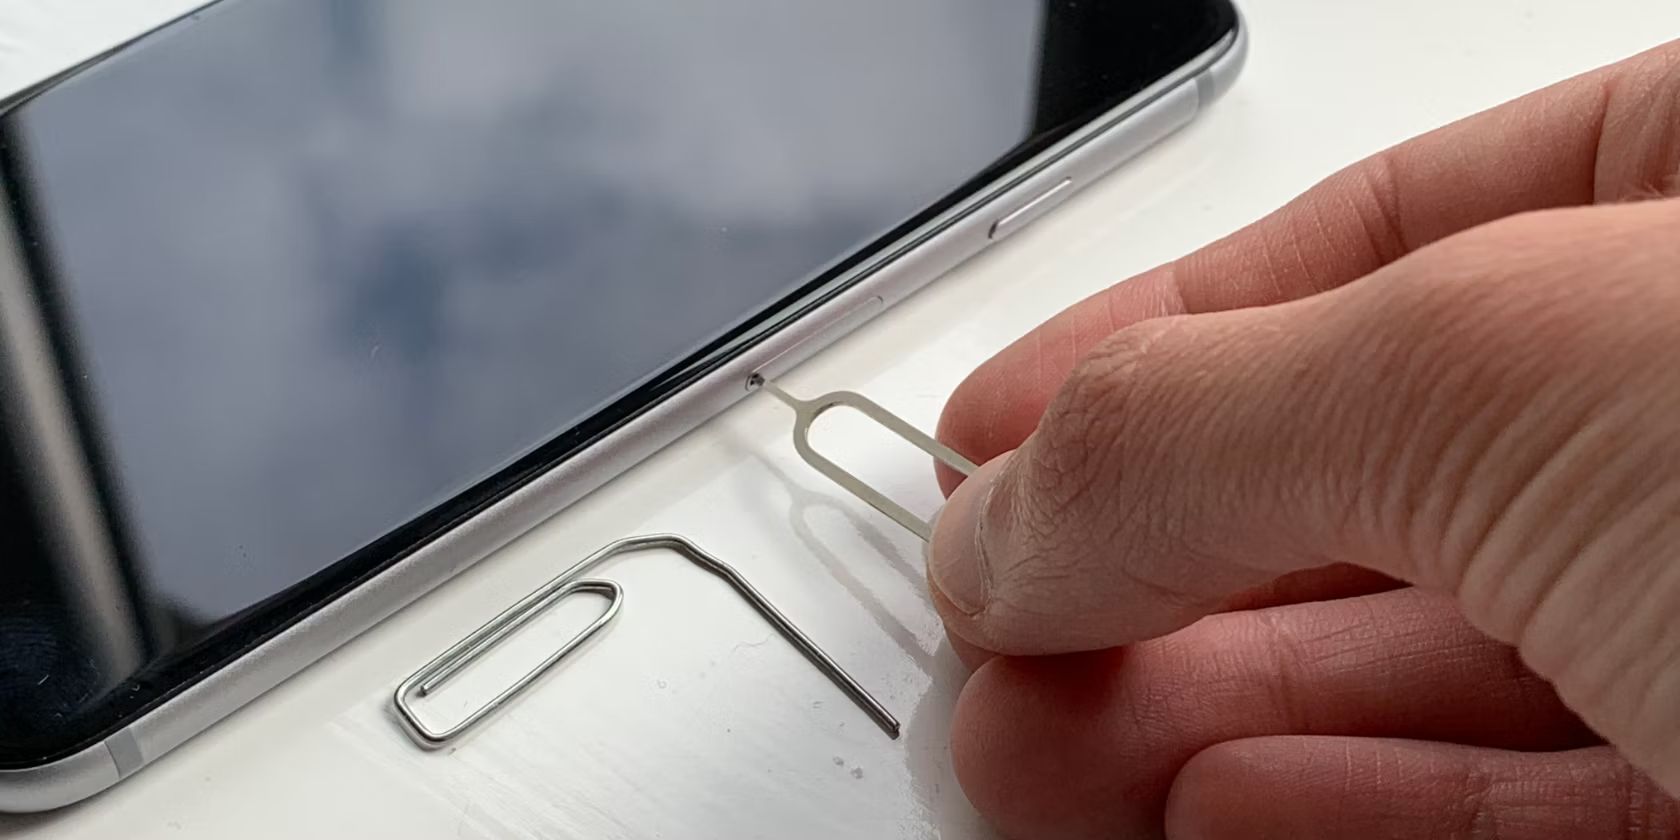
Once you've located the slot, you can proceed to retrieve the SIM card eject tool provided by Apple or a small paperclip. This tool is essential for safely ejecting the SIM card tray without causing any damage to your device. With the eject tool in hand, you're ready to move on to the next step in the process.
Locating the SIM card tray is a crucial initial step that sets the stage for the seamless insertion of your SIM card. By taking the time to identify the precise location of the tray, you can ensure that the subsequent steps unfold smoothly, allowing you to complete the SIM card insertion process with confidence.
With the SIM card tray now within reach, you're well on your way to successfully inserting a SIM card into your iPhone 11. This foundational step paves the way for the subsequent actions, ultimately leading to the activation of your device's cellular capabilities.
Now that you've successfully located the SIM card tray, it's time to proceed to the next step: ejecting the SIM card tray from your iPhone 11. This pivotal action will prepare the tray for the insertion of your SIM card, bringing you one step closer to enjoying seamless connectivity on your device.
Step 2: Eject the SIM Card Tray
Ejecting the SIM card tray from your iPhone 11 is a crucial step that prepares the device for the seamless insertion of your SIM card. This process requires precision and care to ensure that the tray is safely removed without causing any damage to your device.
To begin, take the SIM card eject tool provided by Apple or a small paperclip. Hold the tool firmly and locate the tiny pinhole next to the SIM card slot on the right side of your iPhone 11. Insert the tool into the pinhole and apply gentle pressure. You will feel a slight resistance as the tool engages with the internal mechanism of the SIM card tray.
Once the tool is inserted, exert a steady and gentle force to push the tool further into the pinhole. This action will trigger the release mechanism, causing the SIM card tray to protrude slightly from the device. It's important to proceed with caution and avoid applying excessive force, as this could potentially damage the internal components of your device.
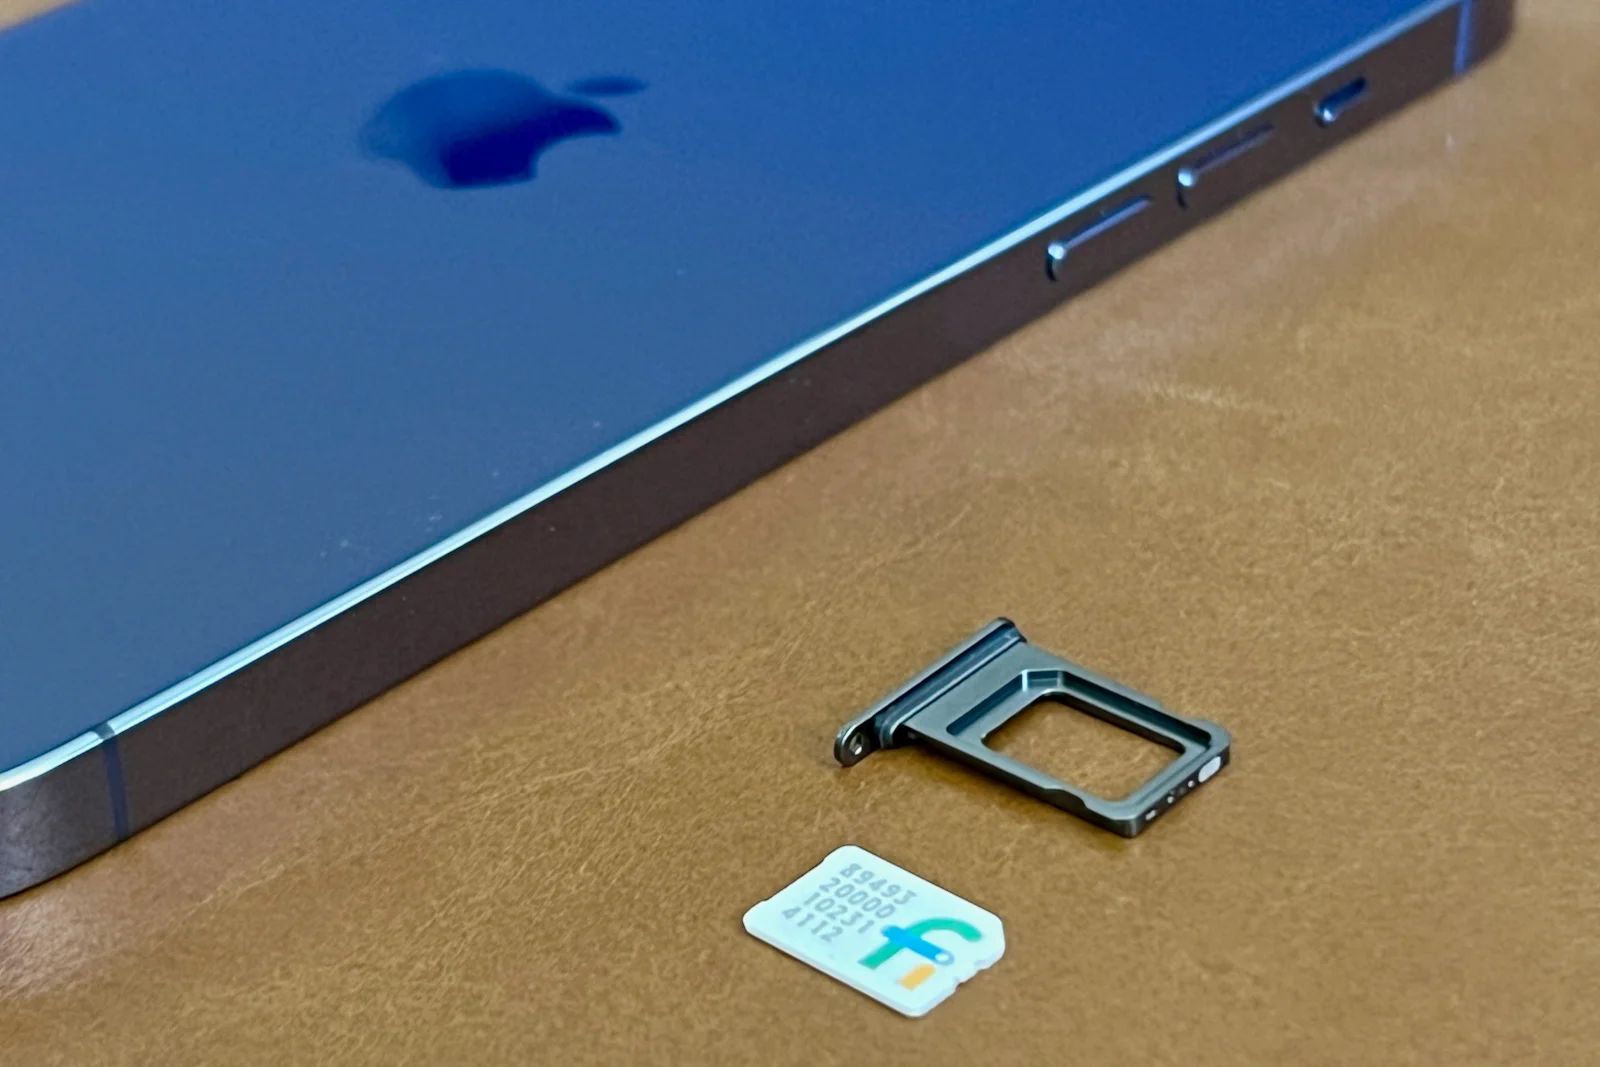
With the SIM card tray partially ejected, carefully grasp the tray and pull it out from the device. Exercise caution to ensure that the tray slides out smoothly without any obstructions. As the tray emerges, you will notice the neatly recessed compartment where the SIM card will be placed.
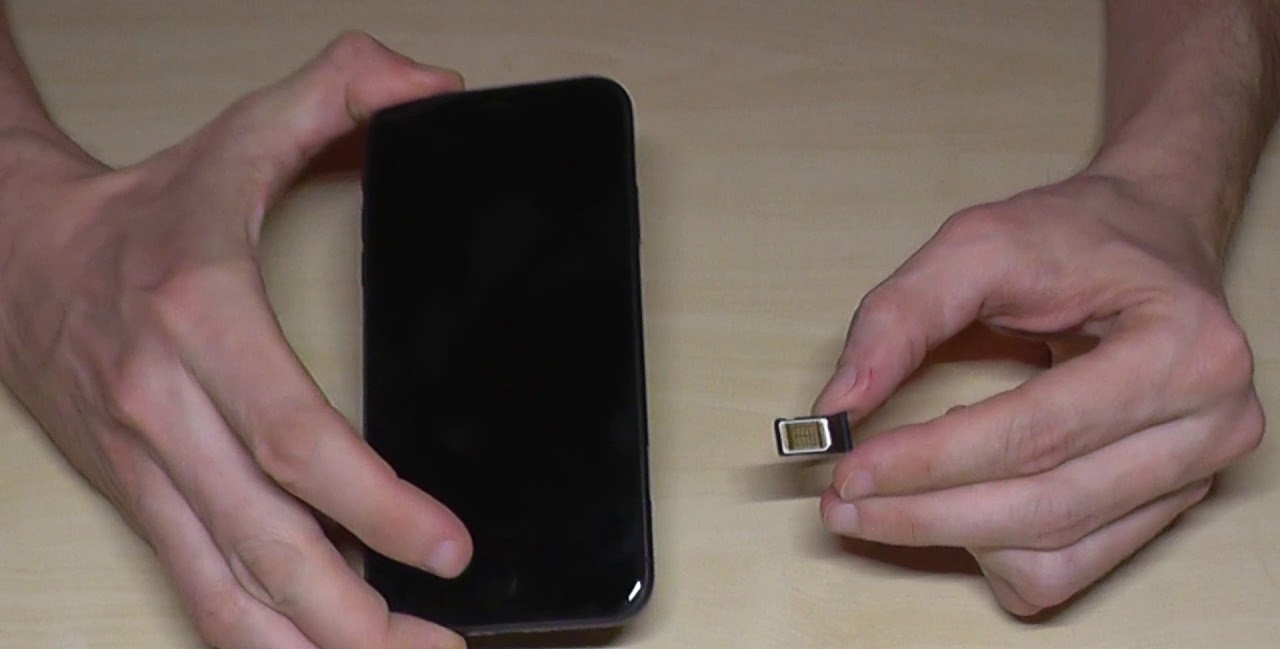
Upon successfully removing the SIM card tray, set it aside in a secure location. Take a moment to inspect the tray and its internal slot, ensuring that there are no obstructions or debris that could interfere with the insertion of your SIM card. This brief examination will help guarantee a seamless and uninterrupted SIM card insertion process.
Ejecting the SIM card tray from your iPhone 11 is a pivotal step that sets the stage for the subsequent insertion of your SIM card. By following these detailed instructions with precision and care, you can confidently proceed to the next step, where you will carefully insert your SIM card into the designated slot on the tray.
Step 3: Insert the SIM Card
With the SIM card tray successfully ejected from your iPhone 11, the next crucial step is to insert the SIM card into the designated slot on the tray. This process requires precision and attention to detail to ensure that the SIM card is securely placed, enabling seamless connectivity on your device.
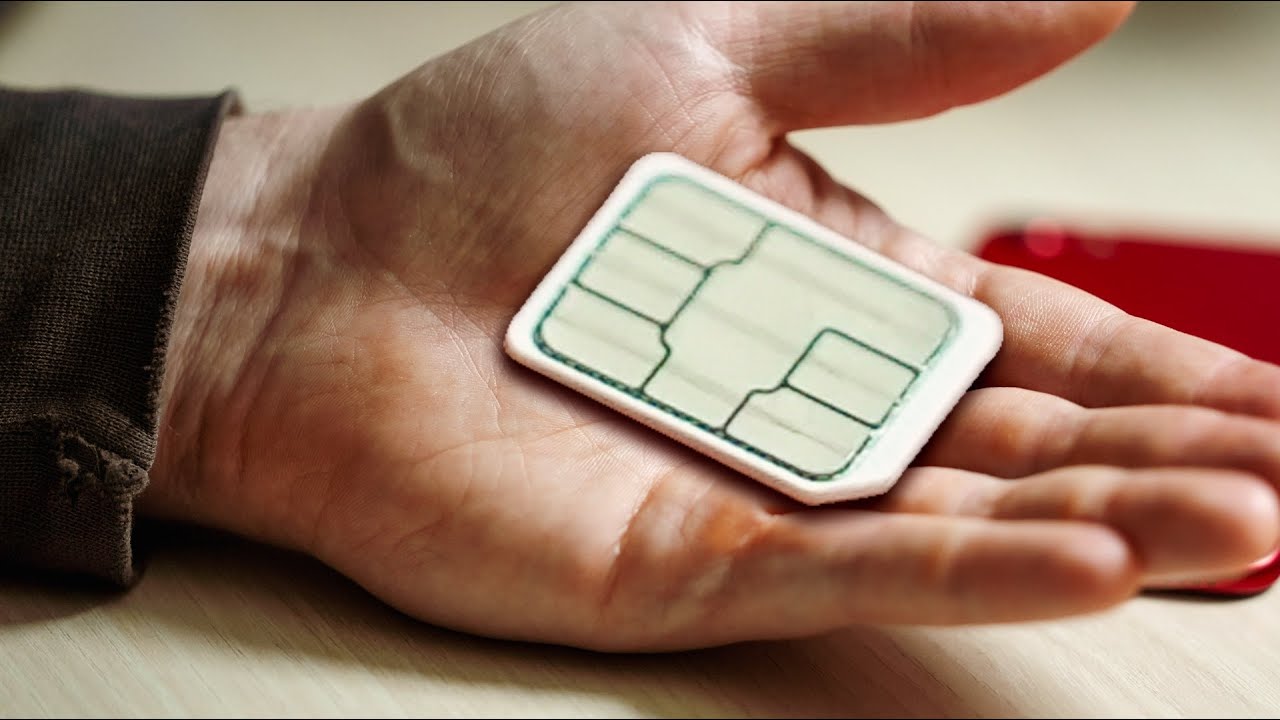
Begin by carefully removing the SIM card from its packaging. Take a moment to inspect the card, ensuring that it is free from any damage or deformities. It's essential to handle the SIM card with care, avoiding any bending or rough handling that could compromise its functionality.
Next, orient the SIM card tray in a stable position, ensuring that it is level and free from any obstructions. Take the SIM card and position it so that the notched corner aligns with the corresponding notch on the tray. This alignment is crucial for ensuring that the SIM card fits seamlessly into the designated slot, establishing a secure connection for cellular functionality.
Gently place the SIM card onto the tray, ensuring that it sits flush and level within the designated slot. Exercise caution to avoid applying excessive pressure, as this could potentially damage the SIM card or the internal components of the tray. With steady and deliberate movements, carefully guide the SIM card into the slot, ensuring that it is seated securely and without any misalignment.
Once the SIM card is positioned within the slot, take a moment to verify that it is securely seated and aligned correctly. A brief visual inspection will help confirm that the SIM card is in place, ready to facilitate cellular connectivity on your iPhone 11.
With the SIM card securely inserted into the tray, the next step is to carefully re-insert the tray back into your device, finalizing the SIM card insertion process and preparing your iPhone 11 for seamless mobile connectivity. This pivotal action will enable you to enjoy the full range of cellular features on your device, empowering you to stay connected and productive in today's dynamic digital landscape.
Step 4: Re-insert the SIM Card Tray
With the SIM card securely placed in the designated slot on the tray, the final step in the SIM card insertion process for your iPhone 11 is to re-insert the tray back into the device. This critical action ensures that the SIM card is properly integrated with your device, setting the stage for seamless cellular connectivity and enabling you to make calls, send messages, and access mobile data.
Begin by carefully aligning the SIM card tray with the corresponding slot on the side of your iPhone 11. Take a moment to position the tray correctly, ensuring that it is oriented in the proper direction for insertion. It's essential to handle the tray with care, avoiding any abrupt movements that could potentially dislodge the SIM card or cause damage to the internal components of your device.
Once the tray is aligned with the slot, gently guide it back into the device, applying steady and even pressure to ensure a smooth insertion. Exercise caution to avoid forcing the tray into the slot, as this could lead to misalignment or potential damage to the SIM card and the device itself.
As the tray slides back into place, you will feel a subtle click, indicating that it has been securely re-inserted into your iPhone 11. Take a moment to verify that the tray sits flush with the device, with no protrusions or misalignments. This brief inspection will help confirm that the tray is securely integrated, ready to facilitate seamless connectivity on your device.
With the SIM card tray successfully re-inserted, you have completed the essential steps for properly inserting a SIM card into your iPhone 11. This meticulous process ensures that your device is equipped to access the mobile network, empowering you to stay connected and productive in today's fast-paced digital world.
By following these detailed instructions with precision and care, you have taken a significant step towards unleashing the full potential of your iPhone 11's cellular capabilities. With the SIM card securely in place, you can now enjoy the convenience and connectivity that mobile technology has to offer, allowing you to make the most of your device in both personal and professional settings.
Conclusion
Congratulations! You have successfully mastered the art of inserting a SIM card into your iPhone 11. By diligently following the step-by-step instructions outlined in this guide, you have equipped your device with the essential component for seamless cellular connectivity. The process of locating the SIM card tray, ejecting the tray, inserting the SIM card, and re-inserting the tray has been meticulously executed, ensuring that your iPhone 11 is primed and ready to harness the power of the mobile network.
As you reflect on this accomplishment, it's important to recognize the significance of this foundational task. By properly inserting a SIM card into your iPhone 11, you have paved the way for a myriad of mobile experiences, from making crystal-clear calls to staying connected with friends and colleagues through messaging apps. Additionally, with the SIM card securely in place, you can tap into the vast world of mobile data, accessing information, entertainment, and productivity tools at your fingertips.
Beyond the technical aspect, this process embodies a sense of empowerment and readiness. By taking charge of the SIM card insertion process, you have demonstrated a proactive approach to optimizing your device's functionality. This hands-on engagement with your iPhone 11 sets the stage for a seamless transition into the world of mobile connectivity, positioning you to embrace the full spectrum of features and capabilities that your device has to offer.
Furthermore, this achievement underscores your adaptability and readiness to embrace new technologies. As you embark on this journey with your iPhone 11, the successful insertion of the SIM card serves as a testament to your ability to navigate and master the intricacies of modern mobile devices. This foundational step marks the beginning of a dynamic relationship with your device, empowering you to leverage its capabilities to enhance your personal and professional endeavors.
In closing, the proper insertion of a SIM card into your iPhone 11 is not merely a technical task; it is a gateway to a world of connectivity, productivity, and innovation. With this fundamental process completed, you are now poised to embark on a seamless mobile experience, fully equipped to harness the power of your iPhone 11. As you journey forward with your device, may this accomplishment serve as a reminder of your capacity to adapt, learn, and thrive in the ever-evolving landscape of mobile technology.


