Introduction
Inserting a SIM card into your iPhone 12 is a fundamental step in setting up your device for seamless communication. Whether you're switching from another device or activating a new line, this process is essential for accessing cellular networks and enjoying the full range of features on your iPhone 12. In this guide, we will walk you through the simple yet crucial steps to properly insert a SIM card into your iPhone 12. By following these instructions, you will ensure that your device is ready to make calls, send messages, and connect to mobile data networks.
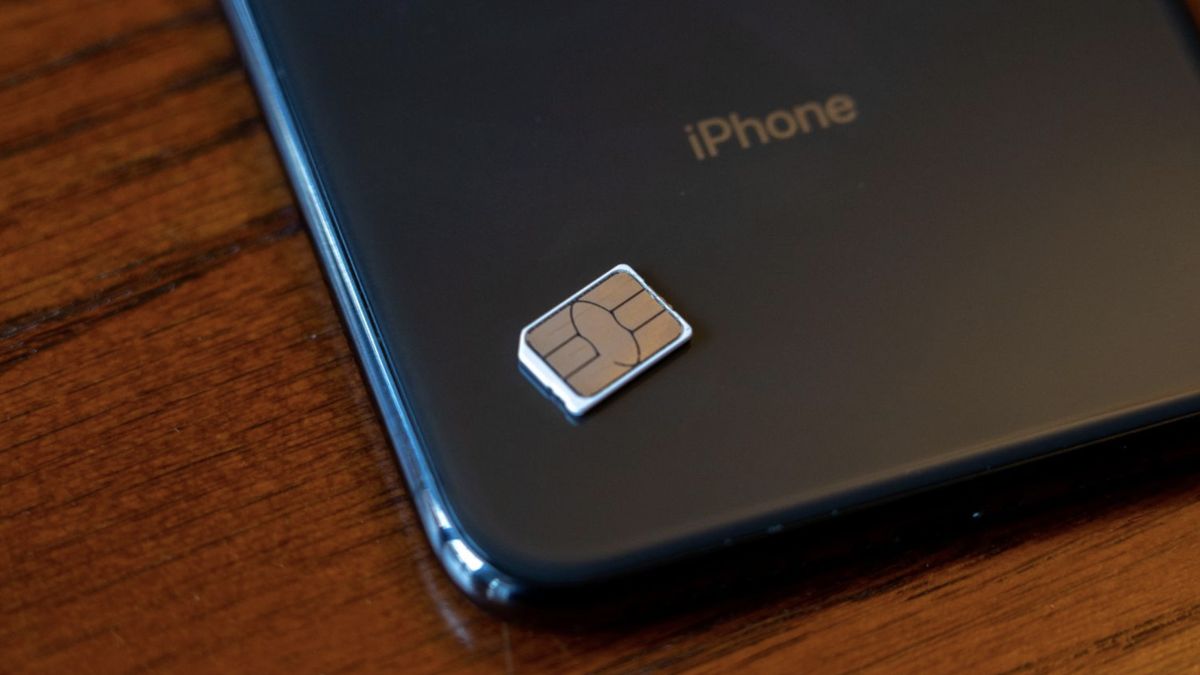
The SIM card, or Subscriber Identity Module, plays a pivotal role in enabling your iPhone 12 to connect to a mobile network. It contains essential information, such as your phone number, network authorization details, and contact information. Without a properly inserted SIM card, your iPhone 12 would be unable to make or receive calls, send text messages, or access mobile data services.
Whether you're a first-time iPhone user or upgrading from an older model, understanding how to correctly insert a SIM card into your iPhone 12 is crucial. This process ensures that your device is fully operational and ready to keep you connected with the world around you. So, let's dive into the step-by-step instructions to seamlessly insert a SIM card into your iPhone 12 and get your device up and running in no time.
Step 1: Locate the SIM card tray
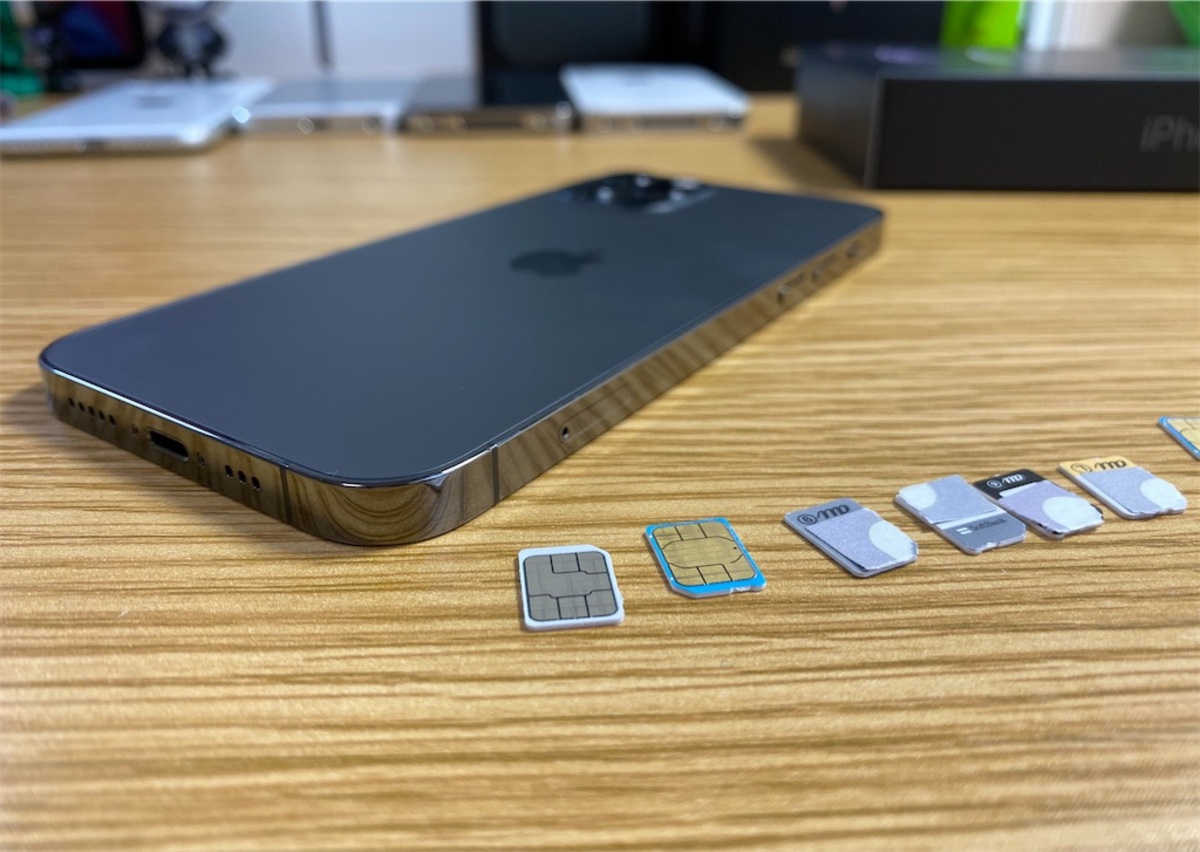
Locating the SIM card tray is the first step in the process of inserting a SIM card into your iPhone 12. The SIM card tray is a small, discreet slot on the side of your device that houses the SIM card. To begin, you will need to identify the exact location of this tray on your iPhone 12.
The SIM card tray on the iPhone 12 is typically located on the right-hand side of the device. It is important to note that the exact placement may vary slightly depending on the specific model of your iPhone 12. However, the general positioning remains consistent across most variations of the device.
To locate the SIM card tray, gently examine the right-hand side of your iPhone 12. You should be looking for a small, rectangular slot with a pinhole. This pinhole is the key to unlocking the SIM card tray and accessing the compartment where the SIM card will be inserted.
Once you have identified the SIM card tray, you are ready to proceed to the next step in the process of inserting your SIM card. Understanding the precise location of the tray is essential for a smooth and successful insertion process. With this knowledge in hand, you are now prepared to move on to the next step and continue setting up your iPhone 12 for seamless connectivity.
By carefully following these instructions and taking the time to locate the SIM card tray, you are ensuring that you are well-prepared to proceed with the subsequent steps in the process of inserting your SIM card into your iPhone 12. Now that you have successfully located the SIM card tray, you are ready to move on to the next step and continue the process of setting up your device for optimal functionality.
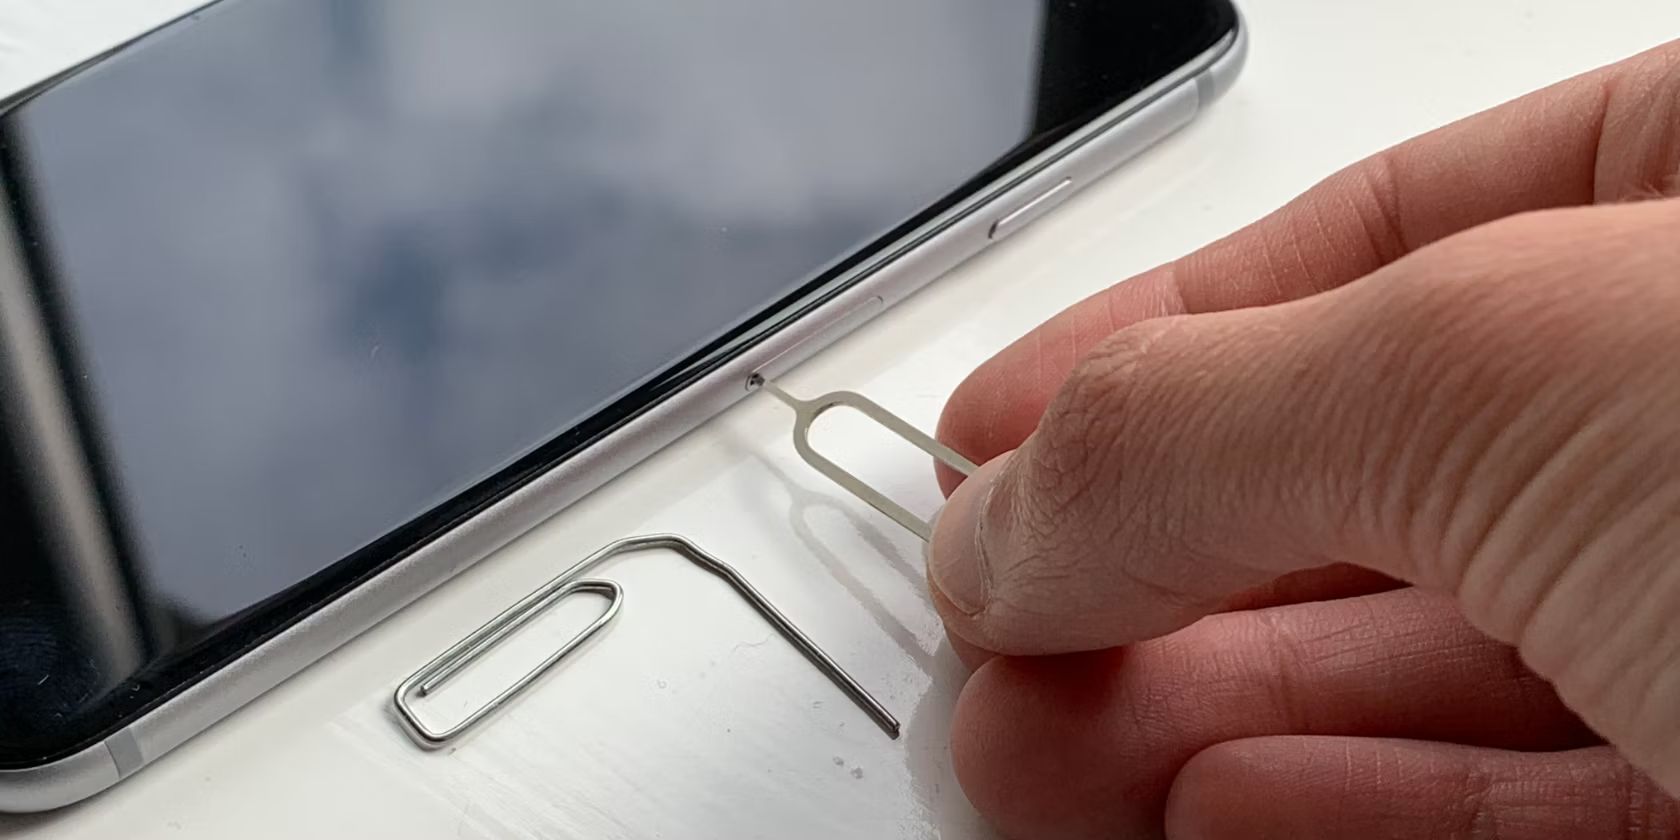
Step 2: Eject the SIM card tray
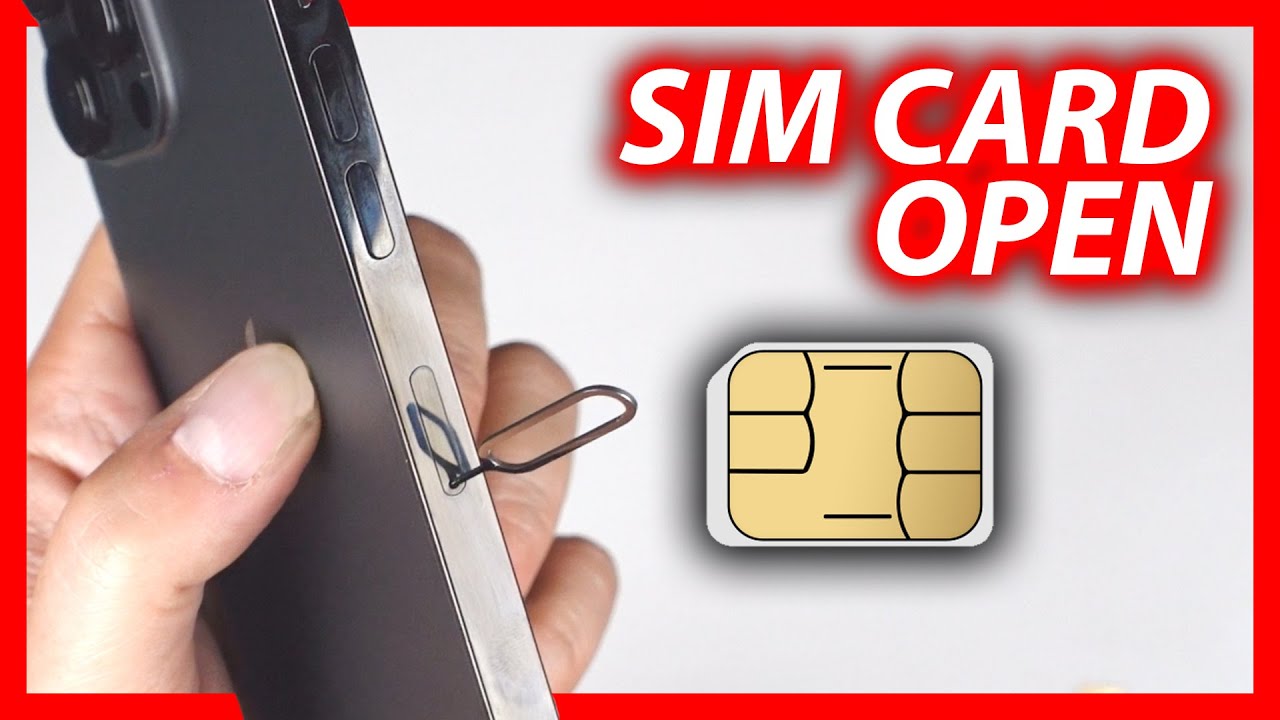
Ejecting the SIM card tray is a crucial step in preparing your iPhone 12 to receive the SIM card. This process is designed to safely and securely access the SIM card slot, allowing for the seamless insertion of the SIM card. To eject the SIM card tray, follow these simple yet essential steps:
-
Begin by locating the small pinhole on the SIM card tray. This pinhole is strategically placed to facilitate the ejection of the tray and should be easily visible on the right-hand side of your iPhone 12.
-
Once you have identified the pinhole, take the SIM eject tool that came with your iPhone 12 or a small paperclip. Insert the tip of the tool or paperclip into the pinhole, applying gentle pressure.
-
As you apply pressure, you will feel a slight resistance, indicating that the SIM card tray is being released. Continue to exert gentle pressure until the tray pops out slightly from the device.
-
Carefully grasp the edge of the SIM card tray and pull it out of the iPhone 12. The tray should slide out smoothly, revealing the slot where the SIM card will be inserted.
It's important to exercise caution and precision during this process to avoid damaging the SIM card tray or the device itself. By following these steps, you can safely and effectively eject the SIM card tray from your iPhone 12, setting the stage for the next crucial step: inserting the SIM card.
With the SIM card tray successfully ejected, you are now ready to proceed to the next step and seamlessly insert the SIM card into your iPhone 12. This simple yet essential process paves the way for your device to access cellular networks, make calls, send messages, and harness the full potential of mobile connectivity.
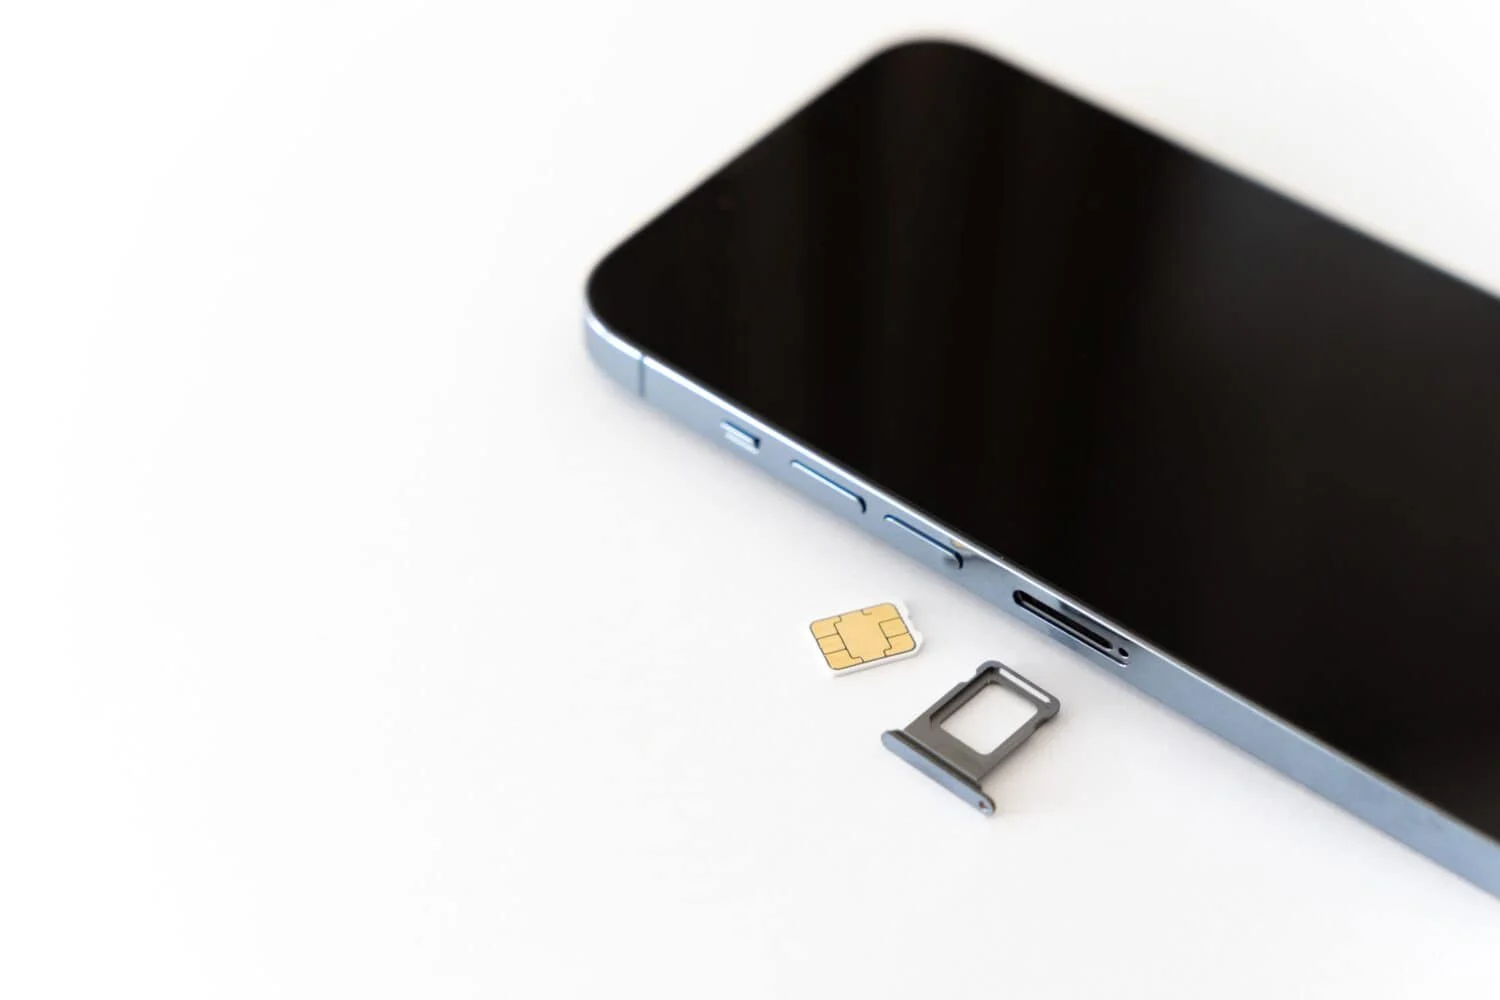
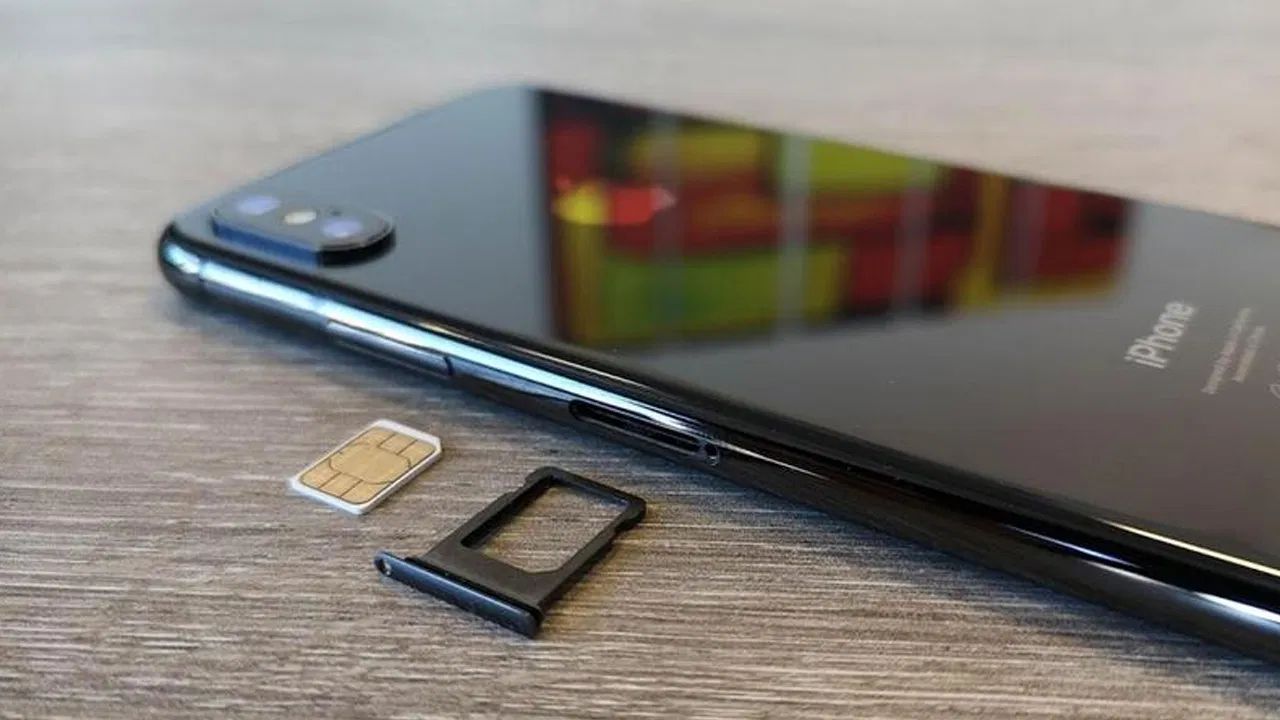
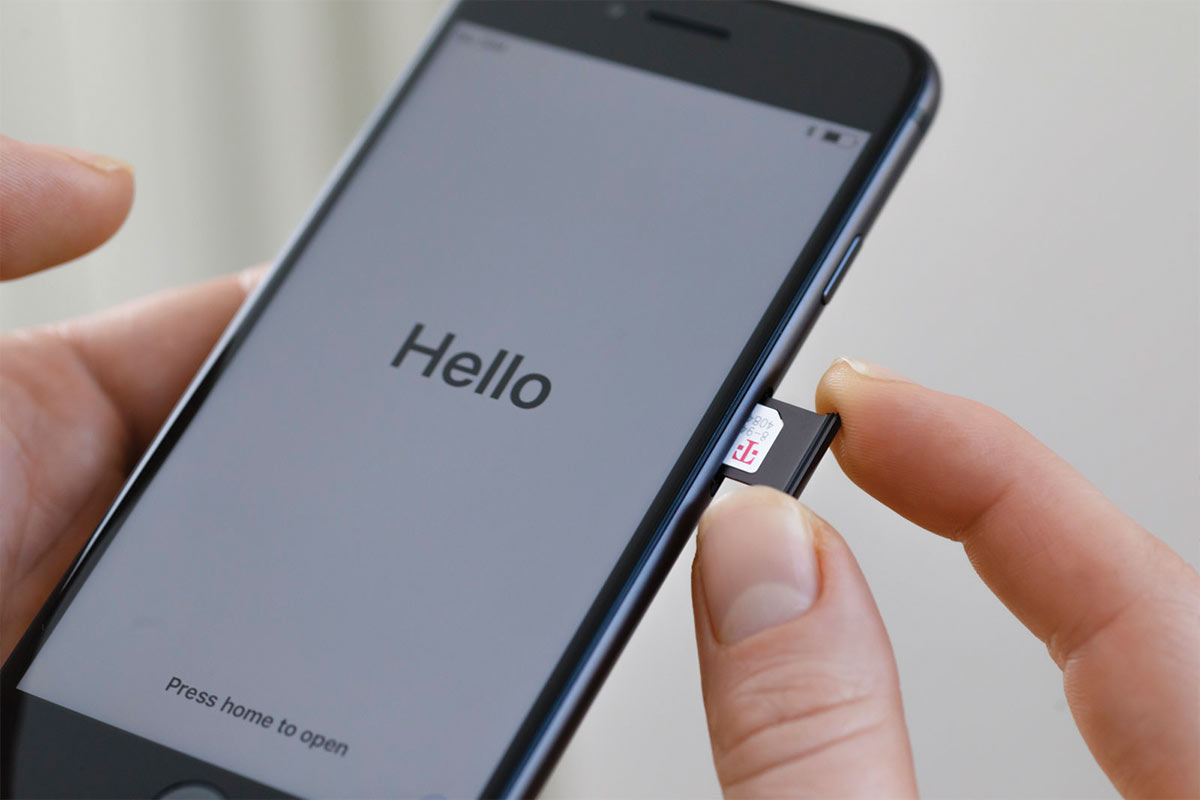
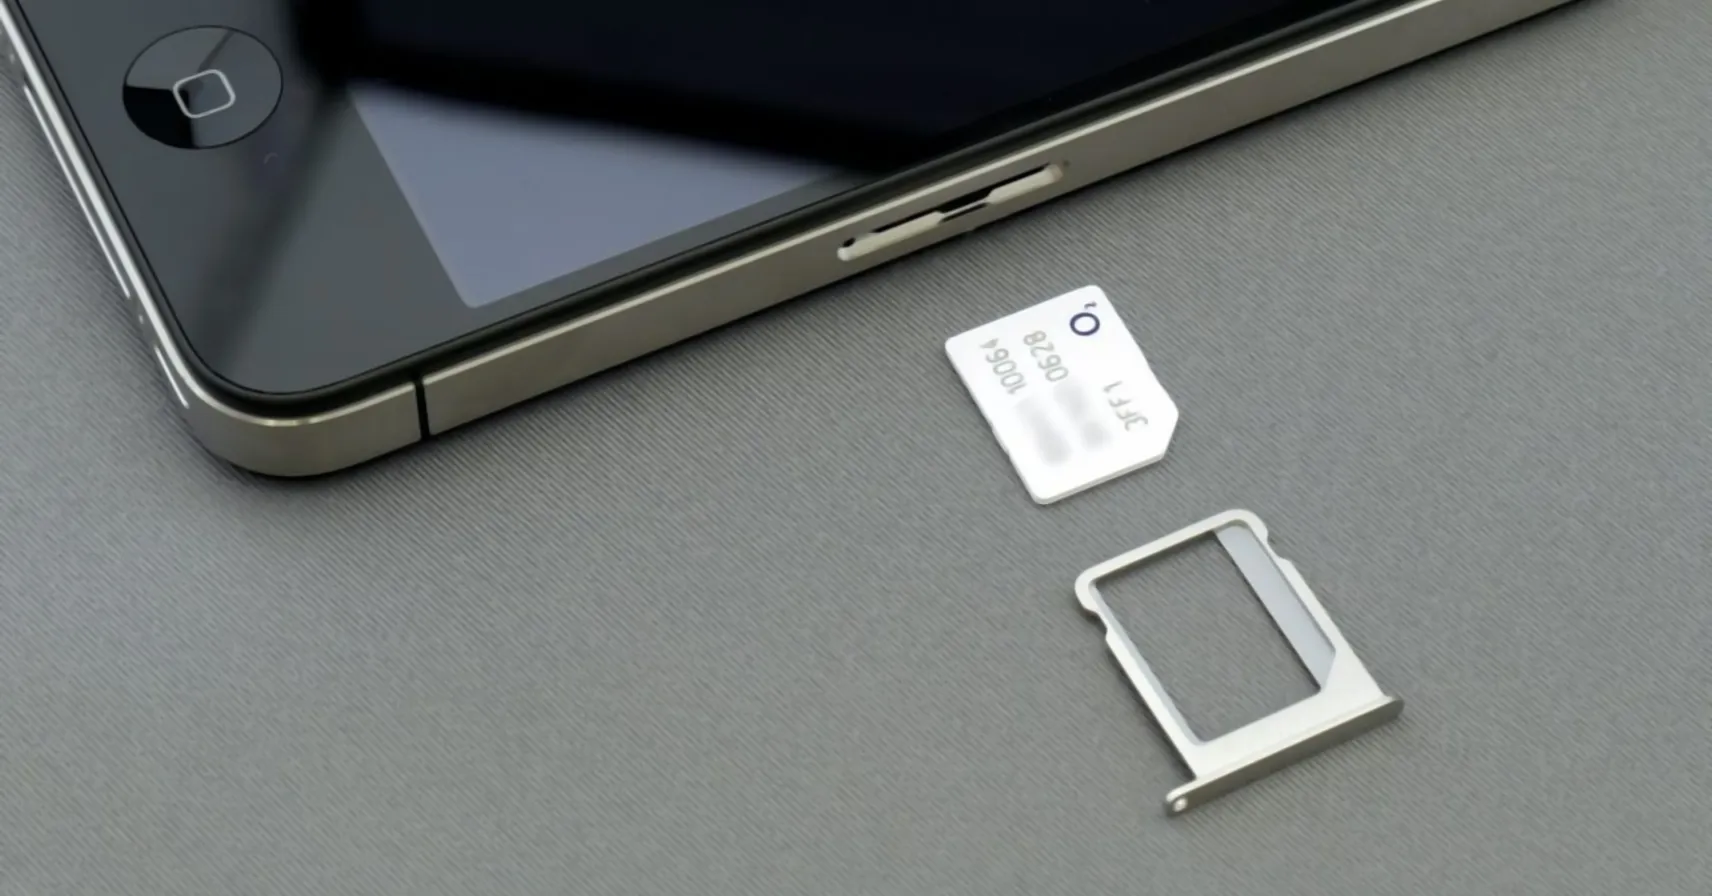
Step 3: Insert the SIM card
With the SIM card tray now accessible, it's time to proceed with the pivotal step of inserting the SIM card into your iPhone 12. This process is straightforward, yet it requires precision to ensure that the SIM card is properly aligned and securely placed within the device. Follow these steps to seamlessly insert the SIM card into your iPhone 12:
-
Prepare the SIM card: Before inserting the SIM card, ensure that it is free from any visible damage and is compatible with your iPhone 12. Most SIM cards are designed to be easily detachable from a larger card, so carefully detach it if necessary.
-
Position the SIM card: Take the SIM card and gently position it on the tray, ensuring that the gold contacts on the SIM card align with the corresponding contacts within the SIM card slot. The SIM card should fit neatly into the designated space on the tray.
-
Place the SIM card tray back into the device: Once the SIM card is securely positioned on the tray, carefully reinsert the tray back into the iPhone 12. Ensure that the tray slides smoothly back into place without any resistance.
-
Secure the SIM card tray: Gently push the SIM card tray back into the device until it sits flush with the side of the iPhone 12. It's essential to ensure that the tray is fully inserted to maintain a secure connection between the SIM card and the device.
By following these steps, you have successfully inserted the SIM card into your iPhone 12. This crucial process sets the stage for your device to establish a connection with your mobile network provider and access a wide range of communication and data services. With the SIM card securely in place, your iPhone 12 is now primed to keep you connected and engaged with the world around you.
The successful insertion of the SIM card into your iPhone 12 marks a significant milestone in the setup process, ensuring that your device is fully equipped to harness the power of mobile connectivity. With the SIM card securely in place, your iPhone 12 is now ready to make calls, send messages, and access mobile data services, empowering you to stay connected and engaged wherever you go.
Step 4: Reinsert the SIM card tray
After successfully inserting the SIM card into your iPhone 12, the final step is to reinsert the SIM card tray back into the device. This seemingly simple yet crucial step ensures that the SIM card is securely housed within the iPhone 12, establishing a stable connection with the mobile network and enabling seamless communication and data access.
To reinsert the SIM card tray, follow these straightforward steps:
-
Align the SIM card tray: Take the SIM card tray and position it carefully against the slot on the side of your iPhone 12. Ensure that the tray aligns perfectly with the slot, allowing for a smooth insertion process.
-
Gently slide the tray into place: With the tray properly aligned, gently slide it back into the device. Exercise caution to ensure that the tray enters the slot smoothly and without resistance.
-
Secure the tray in place: Once the tray is fully inserted, gently press it into the device until it sits flush with the side of the iPhone 12. It's essential to ensure that the tray is securely in place to maintain a stable connection between the SIM card and the device.
By reinserting the SIM card tray, you are completing the final step in the process of setting up your iPhone 12 for optimal functionality. This step ensures that the SIM card is securely housed within the device, allowing for seamless communication and data access.
With the SIM card tray securely reinserted, your iPhone 12 is now fully equipped to connect to your mobile network provider and access a wide range of services, including making calls, sending messages, and utilizing mobile data. This pivotal step marks the culmination of the process of inserting a SIM card into your iPhone 12, ensuring that your device is ready to keep you connected and engaged with the world around you.
The successful reinsertion of the SIM card tray signifies that your iPhone 12 is fully prepared to harness the power of mobile connectivity, enabling you to stay connected, informed, and engaged in the digital age. With the SIM card securely housed within the device, your iPhone 12 is now poised to empower you with seamless communication and connectivity, enhancing your ability to stay connected and engaged wherever life takes you.
Conclusion
In conclusion, the process of inserting a SIM card into your iPhone 12 is a fundamental step that ensures your device is fully equipped to connect to mobile networks, make calls, send messages, and access a wide range of communication and data services. By following the step-by-step instructions outlined in this guide, you have successfully prepared your iPhone 12 to harness the power of mobile connectivity, enabling you to stay connected and engaged with the world around you.
The journey began with locating the SIM card tray, a crucial step that familiarized you with the physical layout of your iPhone 12 and set the stage for the subsequent steps. Ejecting the SIM card tray was the next pivotal step, allowing you to safely access the SIM card slot and prepare for the insertion process. With precision and care, you successfully inserted the SIM card into your iPhone 12, ensuring that it is securely positioned and ready to establish a connection with your mobile network provider.
The final act of reinserting the SIM card tray back into the device marked the culmination of the setup process, signifying that your iPhone 12 is fully equipped to access cellular networks, make calls, send messages, and harness the full potential of mobile connectivity. With the SIM card securely housed within the device, your iPhone 12 is now primed to keep you connected and engaged wherever life takes you.
By understanding and executing the process of inserting a SIM card into your iPhone 12, you have taken a significant step toward unlocking the full capabilities of your device. Whether you are activating a new line or transferring your existing SIM card to your iPhone 12, this process ensures that your device is fully operational and ready to serve as your gateway to seamless communication and connectivity.
As you embark on your journey with your iPhone 12, equipped with a securely inserted SIM card, you are poised to stay connected, informed, and engaged in the digital age. Whether it's making important calls, sending timely messages, or accessing mobile data services, your iPhone 12 is now fully prepared to empower you with seamless communication and connectivity, enhancing your ability to stay connected and engaged wherever life takes you.