Introduction
Removing the SIM card from your iPhone 12 may seem like a simple task, but it's important to follow the correct steps to avoid any potential issues. Whether you're switching to a new device, troubleshooting connectivity problems, or preparing your phone for repair or resale, knowing how to safely remove the SIM card is essential.
The SIM card, which stands for Subscriber Identity Module, is a small, removable card that identifies your mobile device on a specific network. It stores crucial information, including your phone number, contacts, and text messages. Therefore, handling it with care is paramount to prevent damage or loss of data.
In this comprehensive guide, we will walk you through the step-by-step process of safely removing the SIM card from your iPhone 12. By following these instructions, you can ensure that the SIM card is extracted without any mishaps, allowing for a smooth transition to a new device or the resolution of any connectivity issues.
Let's dive into the detailed steps to safely remove the SIM card from your iPhone 12 and ensure that the process is completed seamlessly.
Step 1: Power off your iPhone 12
Before you begin the process of removing the SIM card from your iPhone 12, it's crucial to power off the device. This step is essential to prevent any potential damage to the SIM card or the phone itself. By turning off your iPhone 12, you minimize the risk of disrupting the internal components and ensure a safe removal of the SIM card.
To power off your iPhone 12, follow these simple steps:
- Press and hold the Side button along with either the Volume Up or Volume Down button until the power off slider appears on the screen.
- Slide the power off slider from left to right to shut down your iPhone 12.
By powering off your iPhone 12, you create a stable and safe environment for the subsequent steps of removing the SIM card. This precautionary measure minimizes the risk of damage to the SIM card and the device, allowing for a smooth and hassle-free removal process.
Ensuring that your iPhone 12 is powered off before proceeding further sets the stage for a seamless SIM card removal experience. With the device safely powered down, you can confidently move on to the next step of locating the SIM card tray.
Taking the time to power off your iPhone 12 demonstrates a mindful approach to handling the device and its components. This simple yet important step lays the foundation for a successful SIM card removal process, safeguarding both the SIM card and your iPhone 12.
Now that your iPhone 12 is powered off, let's move on to the next step of locating the SIM card tray.
Next, we will delve into the process of locating the SIM card tray on your iPhone 12, setting the stage for the subsequent steps of safely removing the SIM card.
Step 2: Locate the SIM card tray
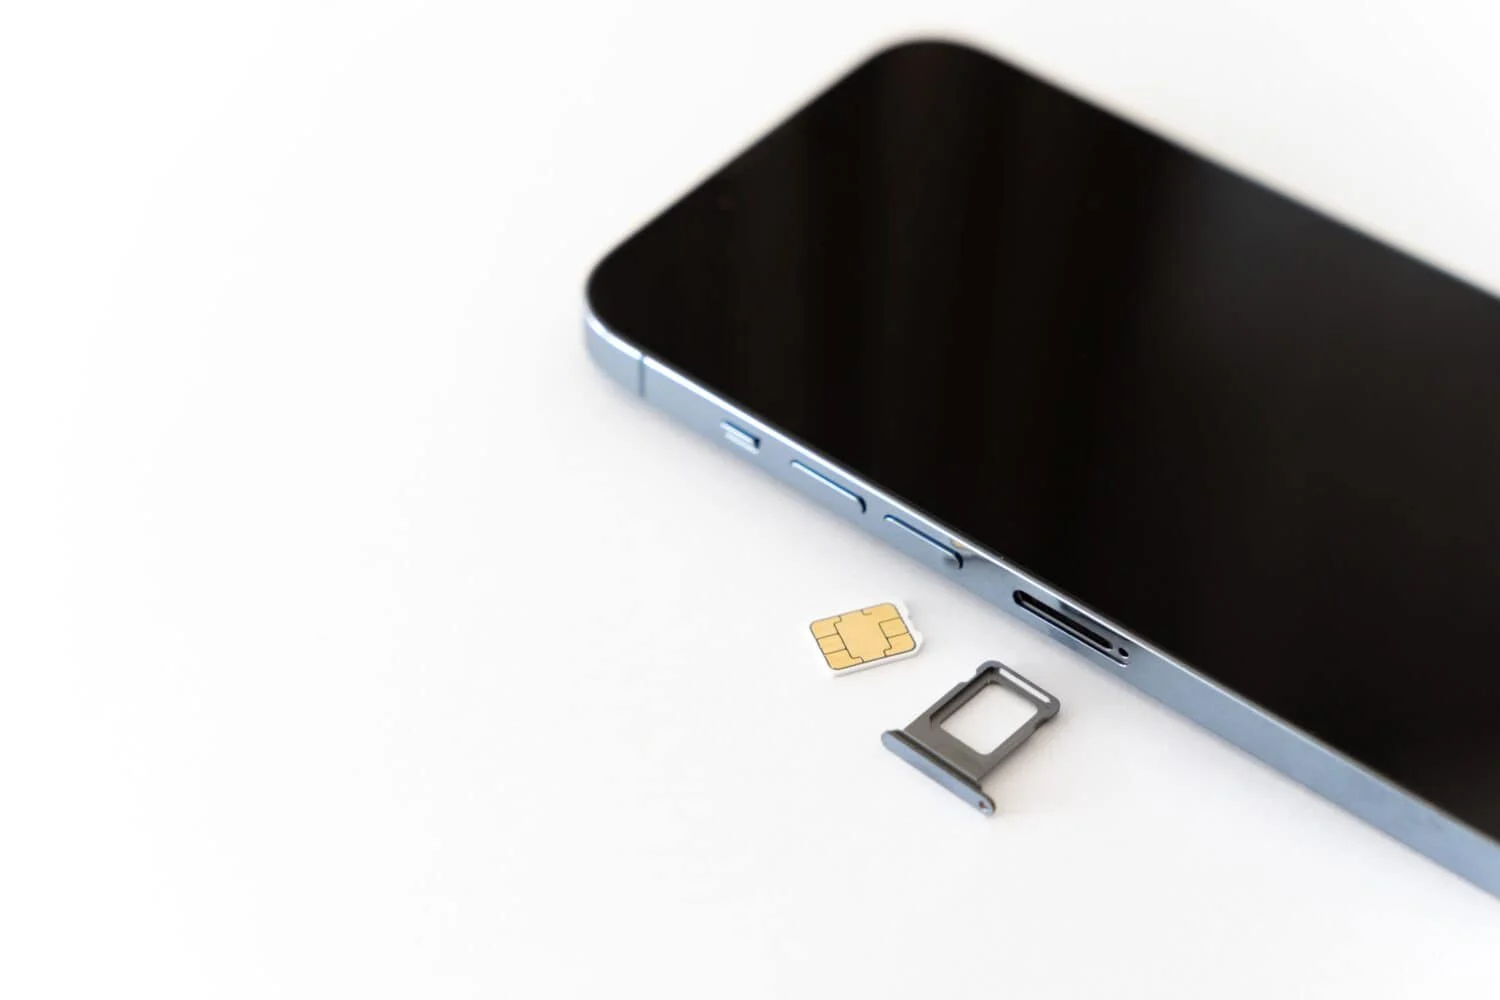
Locating the SIM card tray on your iPhone 12 is the next crucial step in the process of safely removing the SIM card. The SIM card tray is a small, discreet component of the device, and knowing its precise location is essential for a smooth extraction process.
To locate the SIM card tray on your iPhone 12, follow these detailed steps:
-
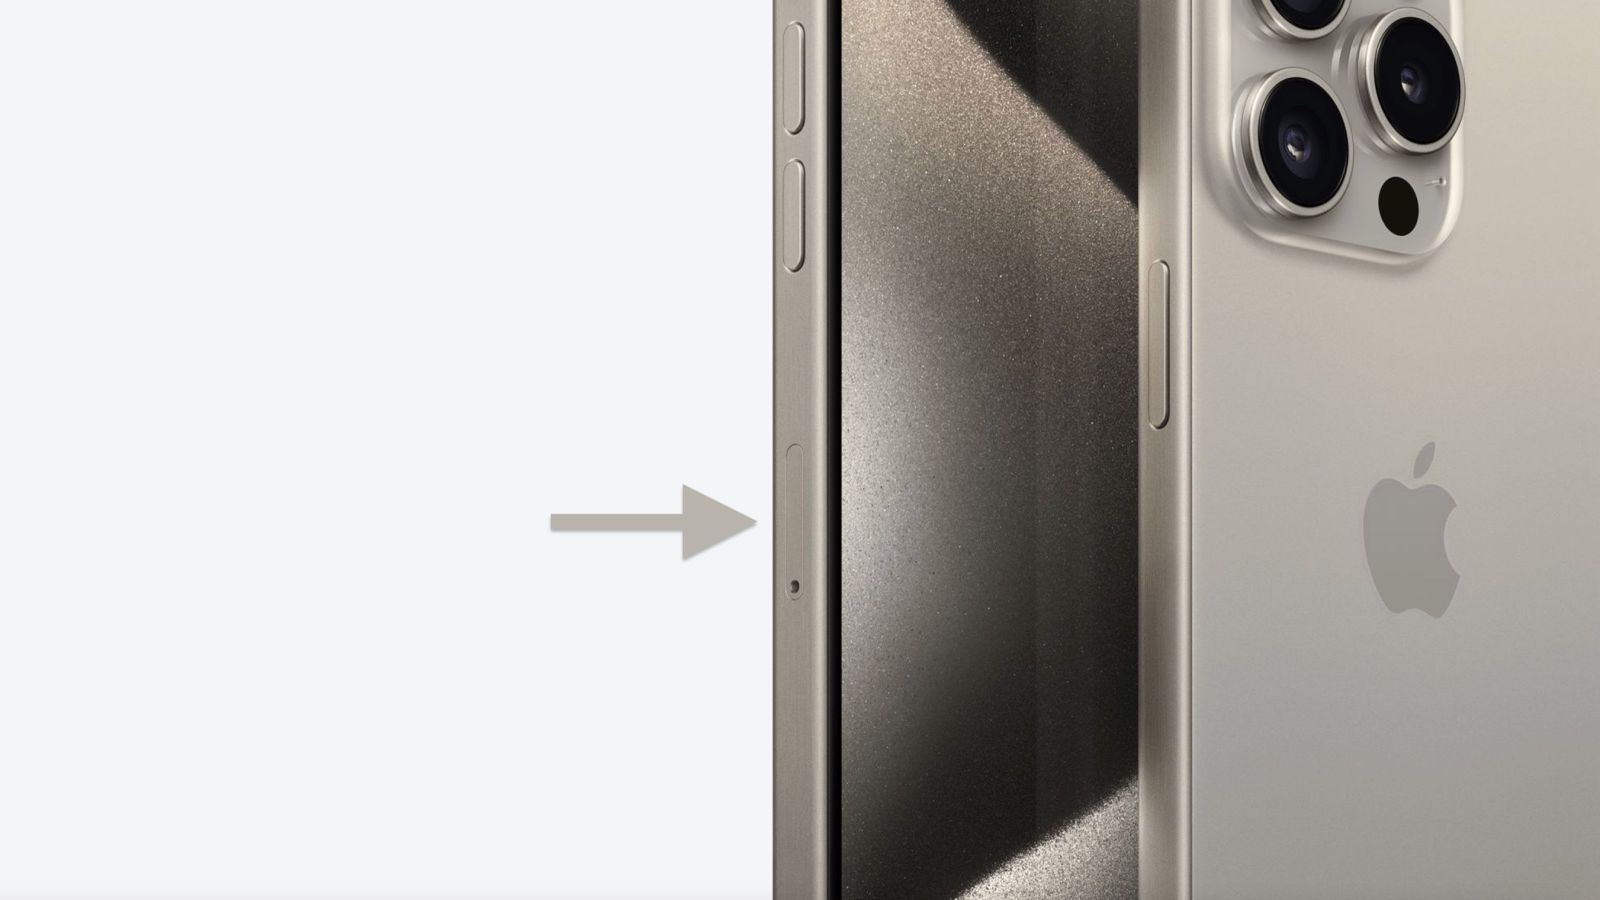
Identify the SIM Card Tray Slot: The SIM card tray slot is typically located on the right-hand side of the iPhone 12. It is important to note that the exact placement may vary depending on the model and design of your device. Look for a small pinhole or a narrow slot along the edge of the device, usually near the middle or towards the top.
-
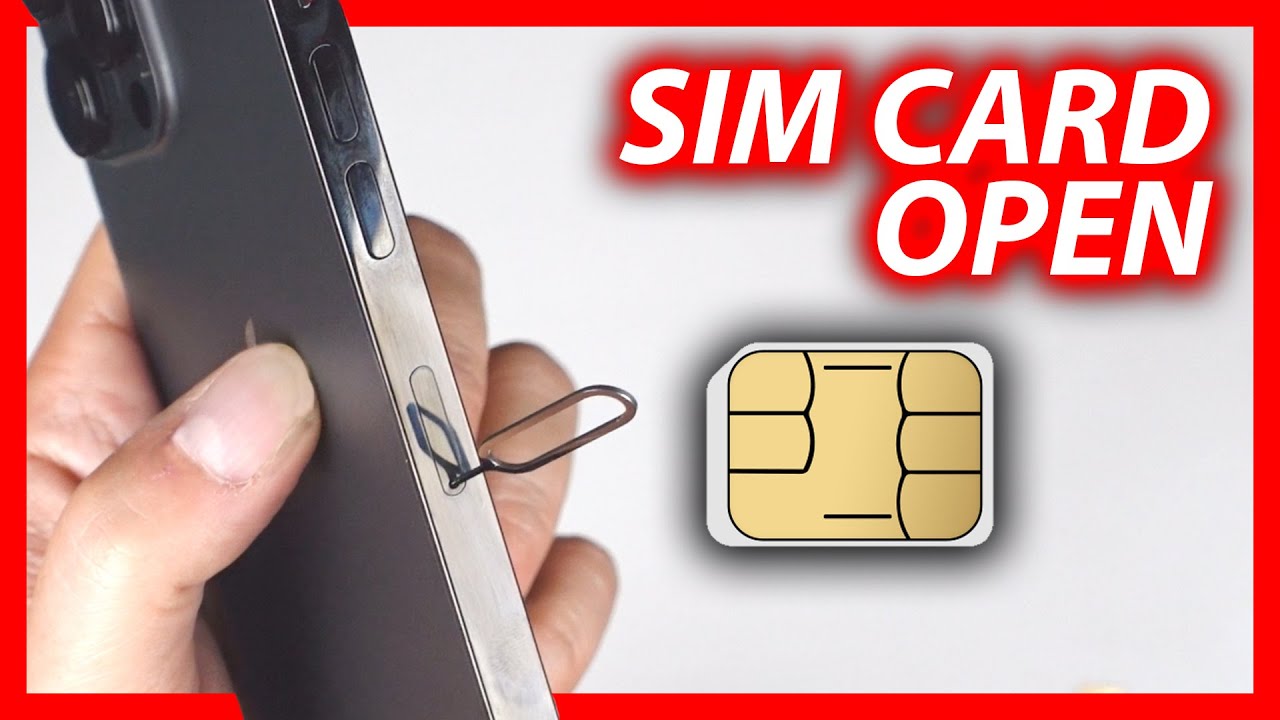
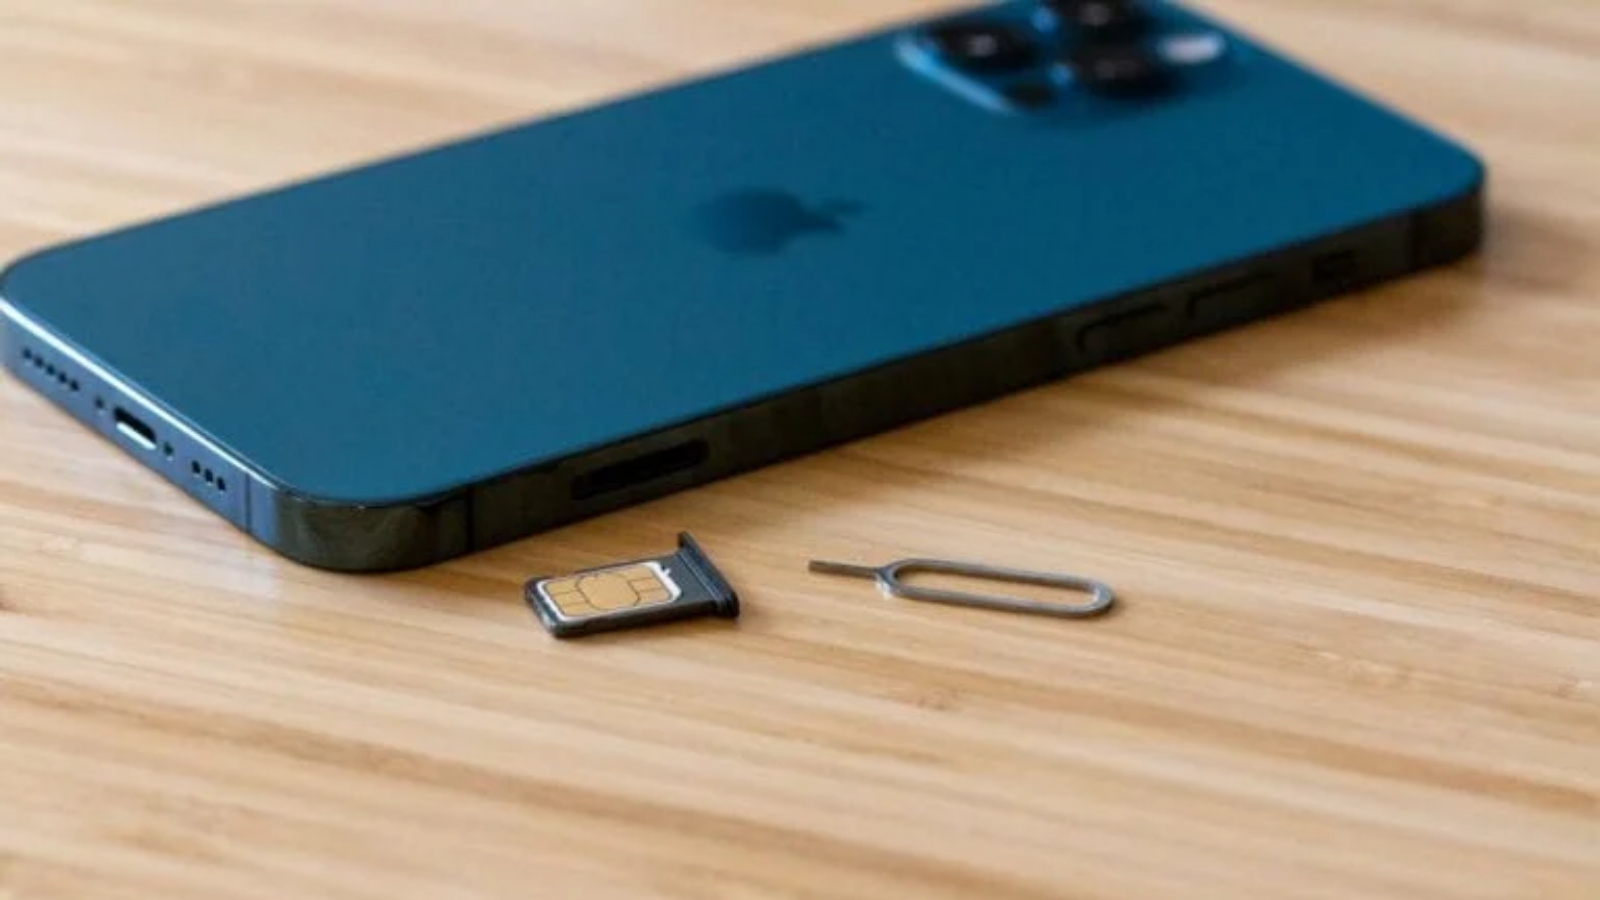
Use the SIM Card Ejector Tool: Apple provides a SIM card ejector tool with the iPhone 12, designed specifically for removing the SIM card tray. The ejector tool is a small, metal pin that fits into the pinhole or slot on the SIM card tray. If you don't have the original ejector tool, a straightened paperclip can serve as an alternative, ensuring a secure fit into the pinhole.
-
Exercise Caution: When locating the SIM card tray and using the ejector tool, it's important to handle the device with care. Avoid applying excessive force or using sharp objects that could cause damage to the SIM card tray or the device itself.
By carefully following these steps, you can successfully locate the SIM card tray on your iPhone 12, setting the stage for the subsequent steps of safely removing the SIM card.
With the SIM card tray now identified, you are ready to proceed to the next step of ejecting the SIM card tray from your iPhone 12. This careful and deliberate approach ensures that the SIM card removal process is carried out with precision and attention to detail, safeguarding both the SIM card and the device.
Step 3: Eject the SIM card tray
Ejecting the SIM card tray from your iPhone 12 is a pivotal step in the process of safely removing the SIM card. This step requires precision and attention to detail to ensure that the SIM card is extracted smoothly without causing any damage to the device or the card itself.
To eject the SIM card tray from your iPhone 12, follow these detailed steps:
-
Insert the Ejector Tool: Take the SIM card ejector tool provided by Apple or a straightened paperclip and gently insert it into the pinhole or slot located next to the SIM card tray. Apply light pressure to ensure that the tool fits securely into the opening.
-
Apply Even Pressure: Once the ejector tool is inserted, apply even pressure to gently push into the pinhole. This action activates the internal mechanism that releases the SIM card tray from its slot. It's important to exert steady and controlled pressure to avoid any abrupt movements that could potentially damage the SIM card tray or the device.
-
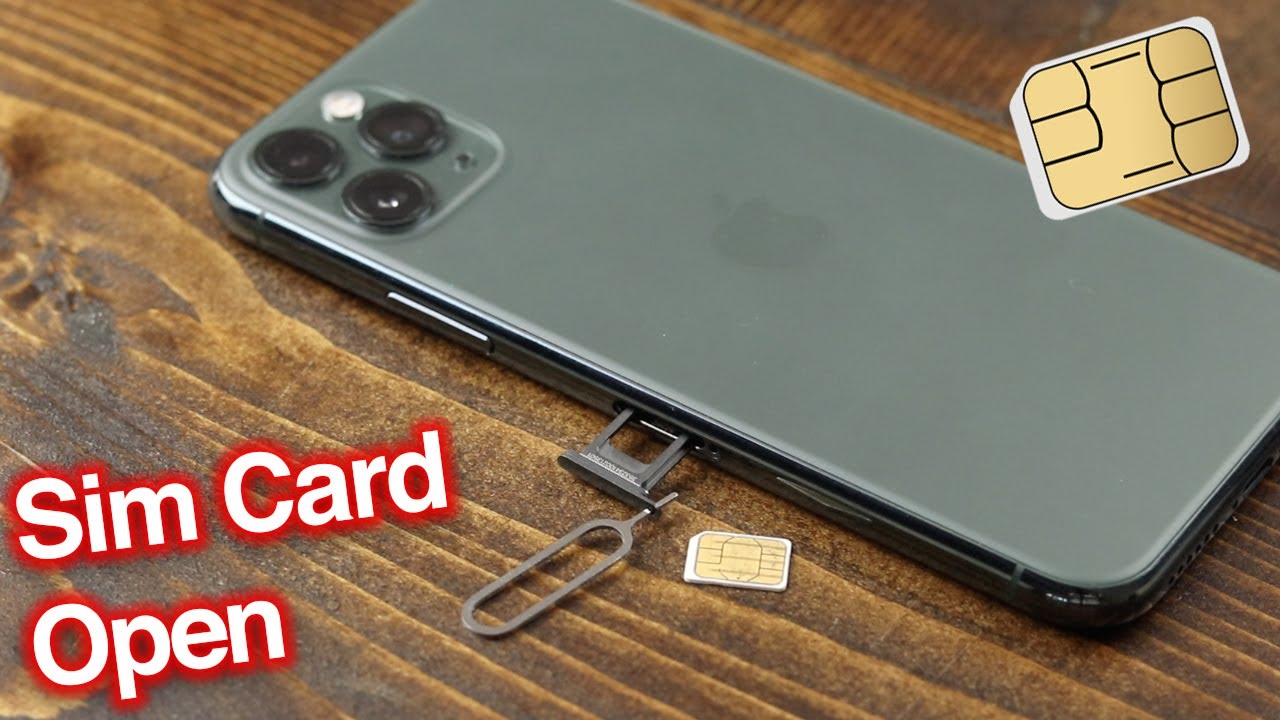
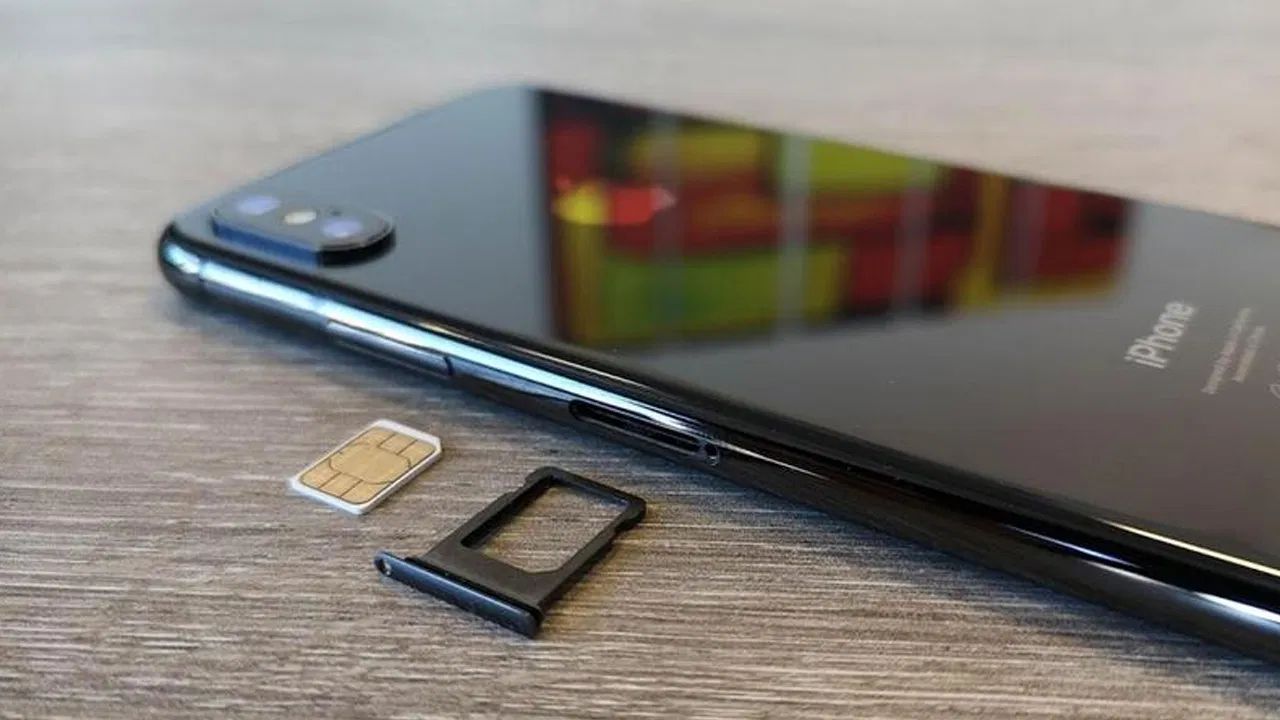
Retrieve the SIM Card Tray: As the internal mechanism is activated, the SIM card tray will protrude slightly from the device. Carefully pull the tray out of the iPhone 12, ensuring a smooth and steady motion. Be mindful of the SIM card that is seated within the tray, and handle it with care to prevent any accidental damage.
-
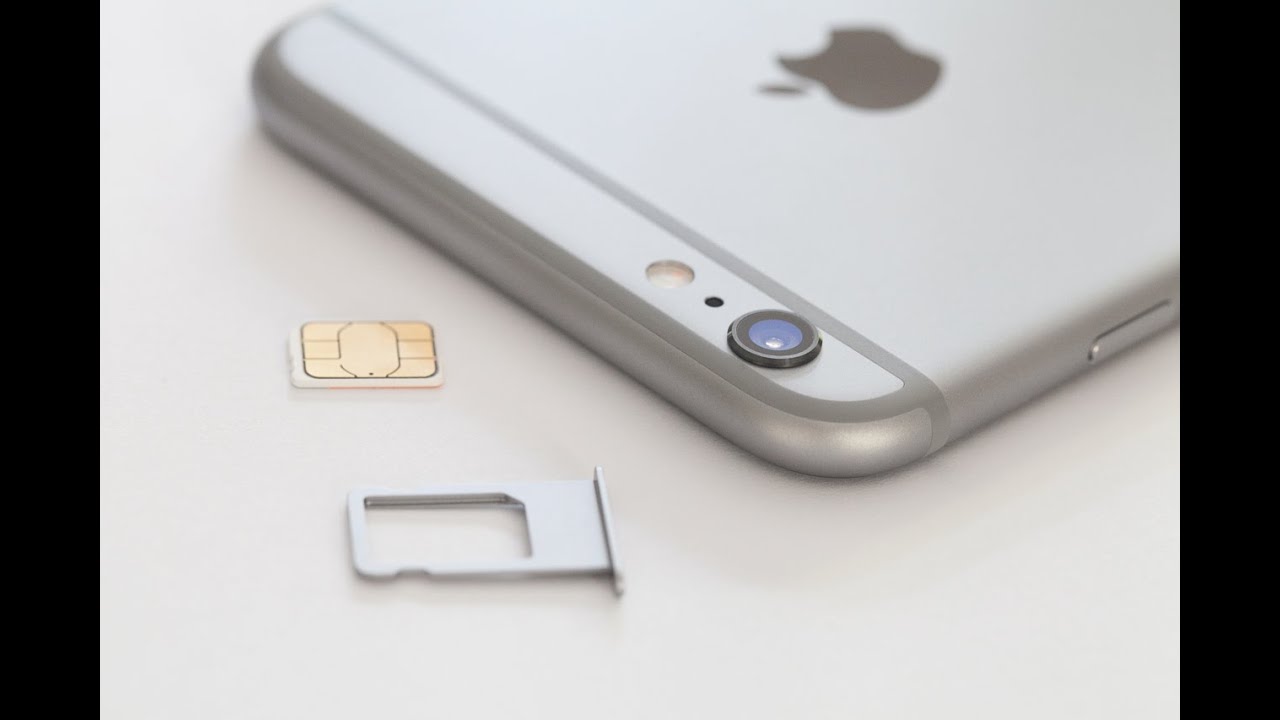
Inspect the SIM Card Tray: Upon removing the SIM card tray, take a moment to inspect the tray and the SIM card. Ensure that there are no visible signs of damage or debris that could hinder the reinsertion process. This inspection allows you to address any potential issues before proceeding to the next step.
By following these meticulous steps, you can successfully eject the SIM card tray from your iPhone 12, setting the stage for the subsequent and final step of removing the SIM card from the tray. This deliberate and cautious approach ensures that the SIM card removal process is carried out with precision, safeguarding both the SIM card and the device.
Now that the SIM card tray has been ejected, you are ready to proceed to the next step of removing the SIM card from the tray, completing the process of safely extracting the SIM card from your iPhone 12.
Step 4: Remove the SIM card
With the SIM card tray successfully ejected from your iPhone 12, the next critical step is to carefully remove the SIM card from the tray. This process requires precision and attention to detail to ensure that the SIM card is extracted smoothly without causing any damage to the card or the tray.
To remove the SIM card from the tray, follow these detailed steps:
-
Identify the SIM Card: The SIM card is typically nestled within the SIM card tray. It is a small, rectangular card with a metallic chip and a notch on one of its corners. Take note of the orientation of the SIM card within the tray to ensure that it is reinserted correctly if needed.
-
Gently Remove the SIM Card: Using your fingertips, carefully grasp the SIM card and gently lift it out of the tray. Exercise caution to avoid applying excessive pressure or bending the card, as it is a delicate component that stores vital information related to your mobile service.
-
Inspect the SIM Card: As you remove the SIM card from the tray, take a moment to inspect it for any signs of damage or debris. Ensure that the metallic contacts on the back of the SIM card are clean and free from any obstructions that could interfere with its functionality.
-
Handle with Care: Throughout the process of removing the SIM card, it is crucial to handle it with care. Avoid touching the metallic contacts or exposing the SIM card to moisture or extreme temperatures, as these factors can potentially compromise its functionality.
By meticulously following these steps, you can successfully remove the SIM card from the tray, ensuring that it is handled with the utmost care and attention. This methodical approach safeguards the integrity of the SIM card and prepares it for potential reinsertion into a new device or storage in a safe location.
Now that the SIM card has been safely removed from the tray, you are ready to proceed to the final step of reinserting the SIM card tray into your iPhone 12, completing the process of safely extracting the SIM card from your device.
Step 5: Reinsert the SIM card tray
After safely removing the SIM card from your iPhone 12, the final step involves reinserting the SIM card tray back into the device. This step is crucial, especially if you plan to continue using the same SIM card or if you are preparing the device for repair or resale. Properly reinserting the SIM card tray ensures that the SIM card is securely placed within the device, allowing for seamless connectivity and functionality.
To reinsert the SIM card tray into your iPhone 12, follow these detailed steps:
-
Position the SIM Card Tray: Take the SIM card tray and ensure that it is oriented correctly for reinsertion. Align the tray with the corresponding slot on the side of your iPhone 12, ensuring a precise fit.
-
Gently Insert the Tray: Carefully guide the SIM card tray back into the designated slot on the device. Apply gentle pressure to slide the tray into place, ensuring that it sits flush with the edge of the iPhone 12.
-
Verify the Secure Fit: Once the SIM card tray is reinserted, verify that it is securely positioned within the device. Ensure that the tray sits evenly and does not protrude from the edge of the iPhone 12, indicating a proper fit.
-
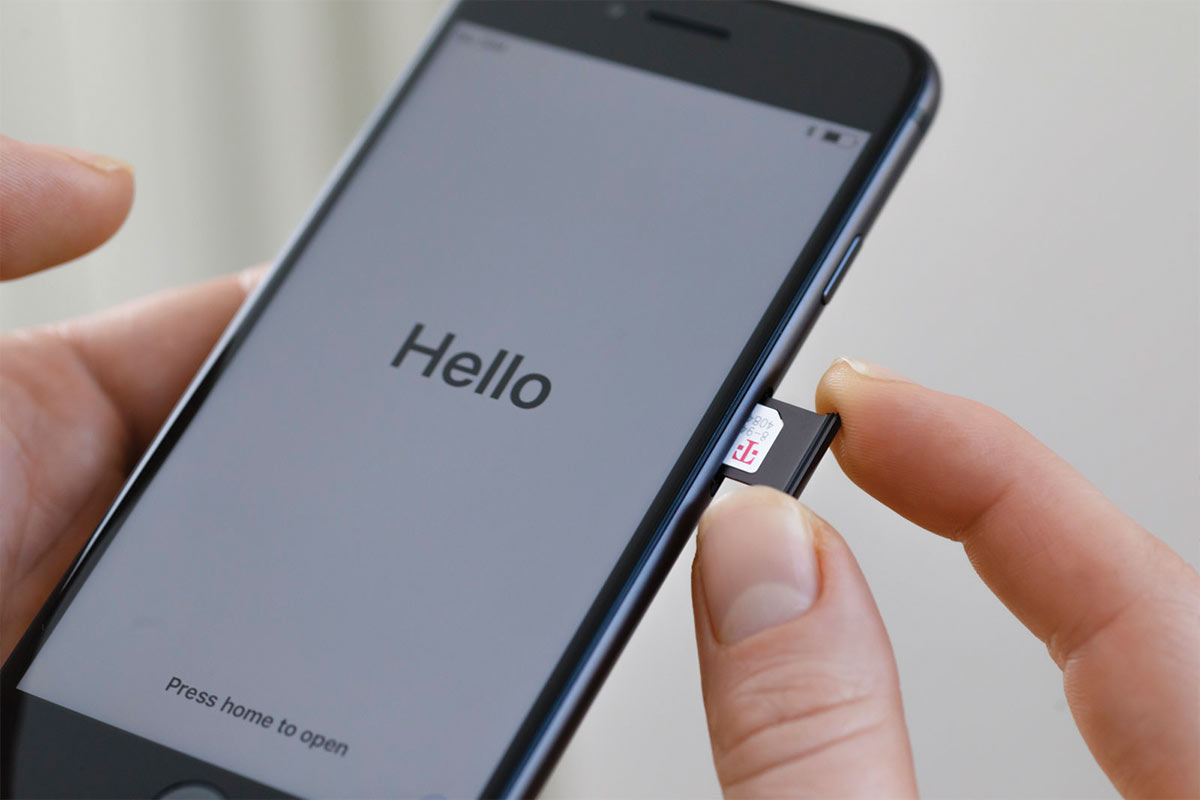
Power On Your iPhone 12: After reinserting the SIM card tray, power on your iPhone 12 by pressing and holding the Side button until the Apple logo appears on the screen. This step ensures that the device recognizes the reinserted SIM card and establishes connectivity.
By following these meticulous steps, you can successfully reinsert the SIM card tray into your iPhone 12, completing the process of safely extracting and reinserting the SIM card. This careful and deliberate approach ensures that the SIM card is securely placed within the device, allowing for uninterrupted mobile service and seamless functionality.
With the SIM card tray securely reinserted, your iPhone 12 is now ready to resume normal operation, ensuring that the SIM card is properly seated and ready to facilitate communication and connectivity. This final step concludes the process of safely removing and reinserting the SIM card from your iPhone 12, allowing you to proceed with confidence in using or preparing the device for further use.
Conclusion
In conclusion, safely removing the SIM card from your iPhone 12 is a straightforward yet essential process that requires careful attention to detail and precision. By following the comprehensive guide outlined above, you can ensure that the SIM card extraction and reinsertion are carried out seamlessly, safeguarding both the SIM card and your device.
The step-by-step approach, beginning with powering off the iPhone 12 and culminating in the reinsertion of the SIM card tray, emphasizes the importance of handling the device and its components with care. Each stage of the process is designed to minimize the risk of damage to the SIM card and the device itself, allowing for a smooth transition when switching to a new device, troubleshooting connectivity issues, or preparing the iPhone 12 for repair or resale.
By adhering to the detailed instructions for locating the SIM card tray, ejecting the tray, removing the SIM card, and reinserting the tray, you can confidently navigate the SIM card removal process without encountering any unexpected complications. This meticulous approach ensures that the SIM card is handled with the utmost care, preserving its integrity and safeguarding the information it contains.
Furthermore, the emphasis on inspecting the SIM card and tray at each stage of the process underscores the importance of thoroughness and attention to detail. By taking the time to examine these components, you can address any potential issues and ensure that the SIM card is free from damage or debris, ready to be reinserted for continued use or safely stored for future use.
Ultimately, the knowledge and understanding gained from safely removing the SIM card from your iPhone 12 empower you to handle the device with confidence and care. Whether you are upgrading to a new device, troubleshooting connectivity issues, or preparing your iPhone 12 for repair or resale, the ability to safely extract and reinsert the SIM card ensures a seamless transition and uninterrupted mobile service.
By following the comprehensive guide provided, you have equipped yourself with the necessary skills to navigate the process of safely removing the SIM card from your iPhone 12, demonstrating a mindful and meticulous approach to device maintenance and care.