Introduction
Inserting a SIM card into a Samsung Z Fold 3 is a fundamental step in setting up your device for mobile connectivity. The SIM card serves as the gateway to your cellular network, enabling you to make calls, send text messages, and access mobile data. While the process may seem daunting at first, it is a straightforward procedure that can be easily accomplished with a few simple steps. Whether you're a tech enthusiast exploring the latest innovations or a new Samsung Z Fold 3 owner eager to get started, this comprehensive guide will walk you through the process of inserting a SIM card with ease.
The Samsung Z Fold 3, with its cutting-edge technology and innovative design, represents a new era in mobile devices. As a foldable smartphone, it seamlessly combines the functionality of a traditional smartphone with the versatility of a tablet, offering users a unique and immersive experience. With its advanced features and robust capabilities, the Samsung Z Fold 3 is a device that caters to the needs of modern consumers who seek seamless connectivity and powerful performance.
By understanding the process of inserting a SIM card into your Samsung Z Fold 3, you can harness the full potential of your device and stay connected wherever you go. This guide aims to provide clear and concise instructions, ensuring that you can complete the task with confidence. Whether you're preparing to use your Samsung Z Fold 3 for the first time or simply need to replace your SIM card, this guide will equip you with the knowledge to carry out the process smoothly.
As we delve into the steps for inserting a SIM card into the Samsung Z Fold 3, it's essential to approach the task with a sense of curiosity and excitement. Embracing the technological advancements of this device and understanding its inner workings can enhance your overall experience. So, let's embark on this journey together, as we unravel the steps to seamlessly insert a SIM card into the Samsung Z Fold 3, empowering you to make the most of your mobile connectivity.
Step 1: Locate the SIM card tray
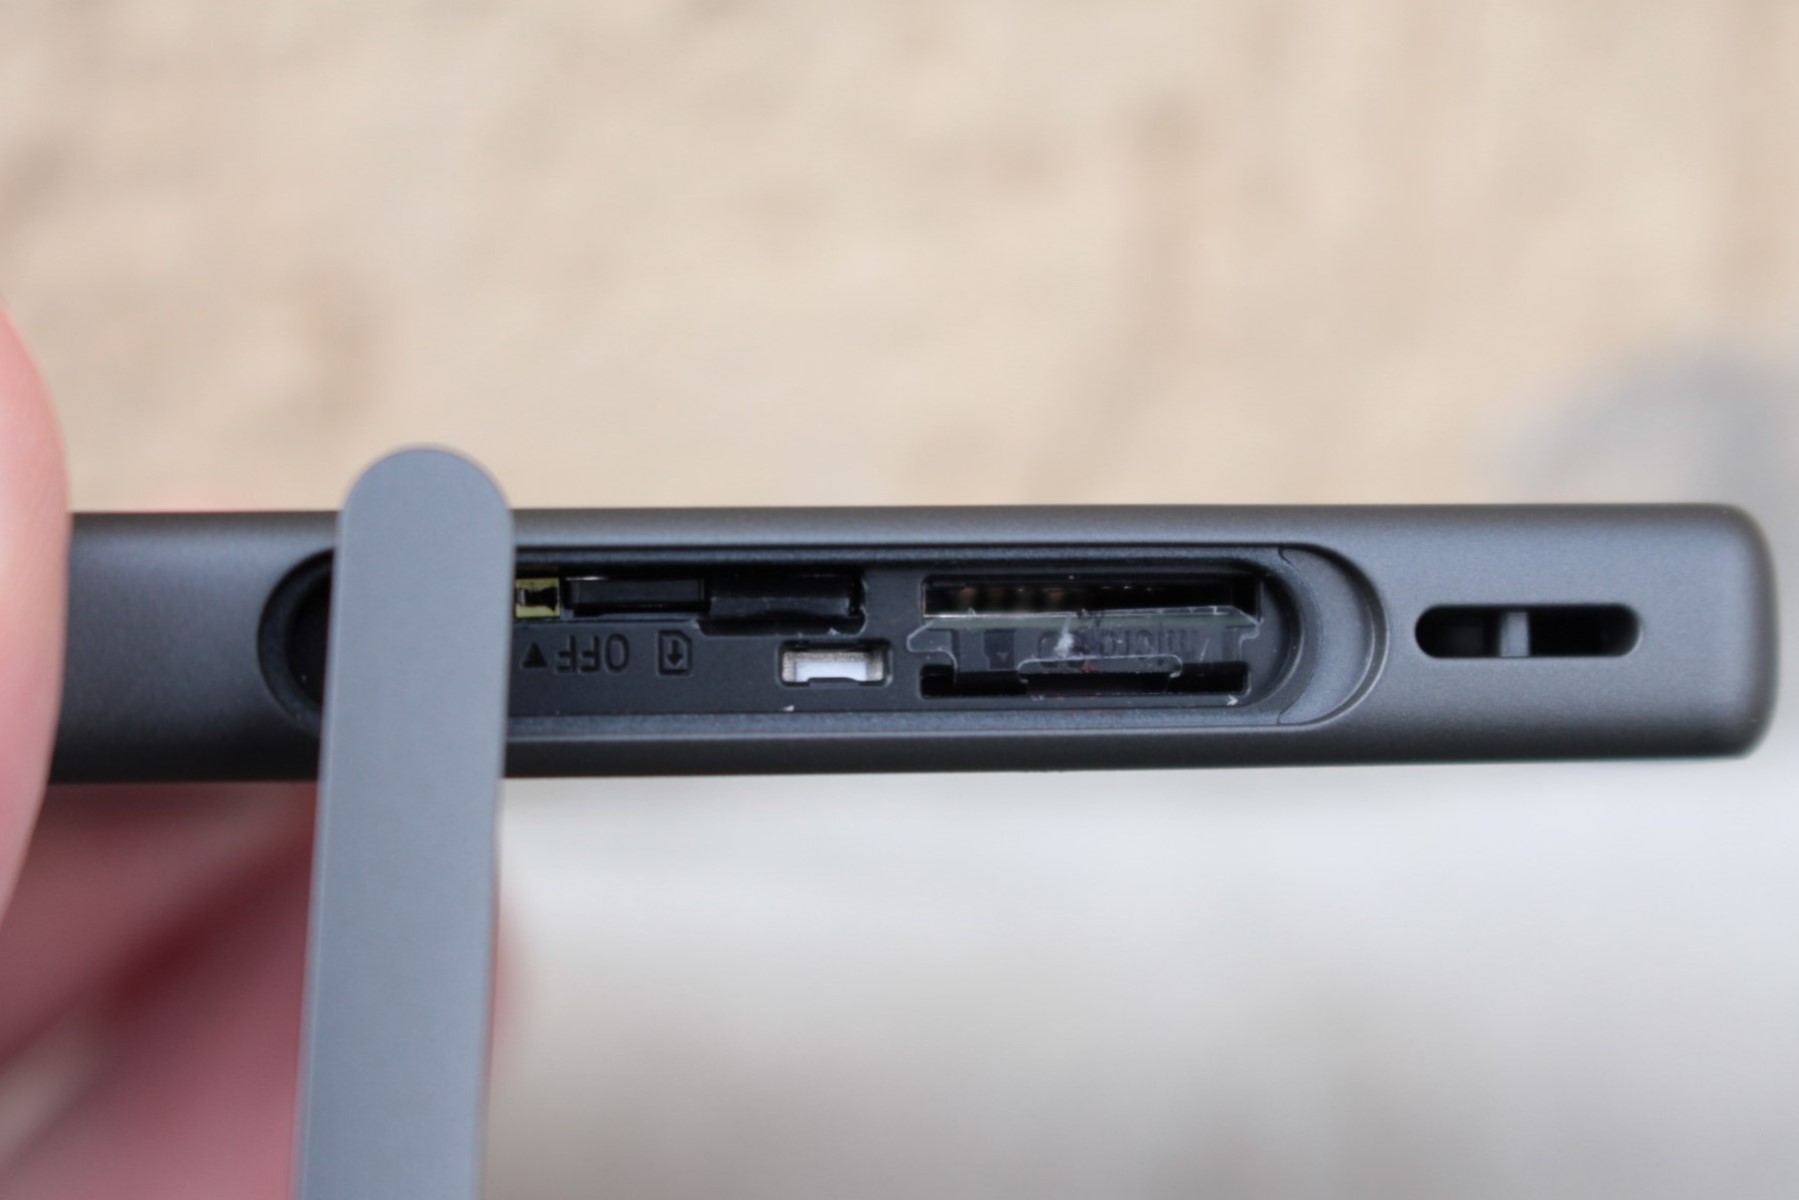
The first step in inserting a SIM card into your Samsung Z Fold 3 is to locate the SIM card tray. The SIM card tray is a small, rectangular component that houses the SIM card and facilitates its insertion into the device. To begin the process, you'll need to identify the precise location of the SIM card tray on your Samsung Z Fold 3.
On the Samsung Z Fold 3, the SIM card tray is typically situated on the side of the device. To locate it, gently hold the device and examine the edges. Look for a small, discreet slot or compartment that blends seamlessly with the device's design. This slot is where the SIM card tray is housed.
Upon identifying the slot, you may notice a tiny pinhole adjacent to it. This pinhole serves as the access point for ejecting the SIM card tray, allowing you to easily remove and insert the SIM card. The presence of the pinhole indicates that the SIM card tray is nearby.
It's important to handle the device with care as you locate the SIM card tray, ensuring that you maintain a gentle touch to avoid any accidental damage. Taking a moment to familiarize yourself with the location of the SIM card tray sets the stage for a smooth and successful insertion process.
By successfully identifying the SIM card tray, you've completed the initial step in preparing to insert a SIM card into your Samsung Z Fold 3. This foundational step paves the way for the subsequent actions, guiding you towards seamlessly integrating the SIM card into your device and unlocking its full functionality.
With the SIM card tray now located, you're ready to proceed to the next step, which involves ejecting the SIM card tray in preparation for inserting the SIM card. This next phase will build upon the foundation established in this step, propelling you closer to the successful completion of the SIM card insertion process.
Step 2: Eject the SIM card tray
Ejecting the SIM card tray is a pivotal step in the process of inserting a SIM card into your Samsung Z Fold 3. This action allows you to access the SIM card tray, providing the necessary space to insert the SIM card securely. To ensure a seamless and successful insertion, it's essential to approach the ejection process with precision and care.
To begin, locate the small pinhole adjacent to the SIM card tray on your Samsung Z Fold 3. This pinhole serves as the access point for ejecting the SIM card tray. While it may appear inconspicuous, it plays a crucial role in facilitating the smooth removal and insertion of the SIM card.
Next, take the SIM ejector tool that was included with your Samsung Z Fold 3. This tool is designed to fit perfectly into the pinhole, allowing you to apply gentle pressure to initiate the ejection process. If the SIM ejector tool is not readily available, a small paperclip can also be used as an alternative, provided that it is straightened to create a suitable shape for insertion.
Carefully insert the SIM ejector tool into the pinhole, ensuring that it aligns with the internal mechanism of the SIM card tray. Apply steady and gentle pressure to the tool, exerting just enough force to trigger the release of the SIM card tray. As you do so, you will feel a slight resistance before the tray begins to emerge from the device.
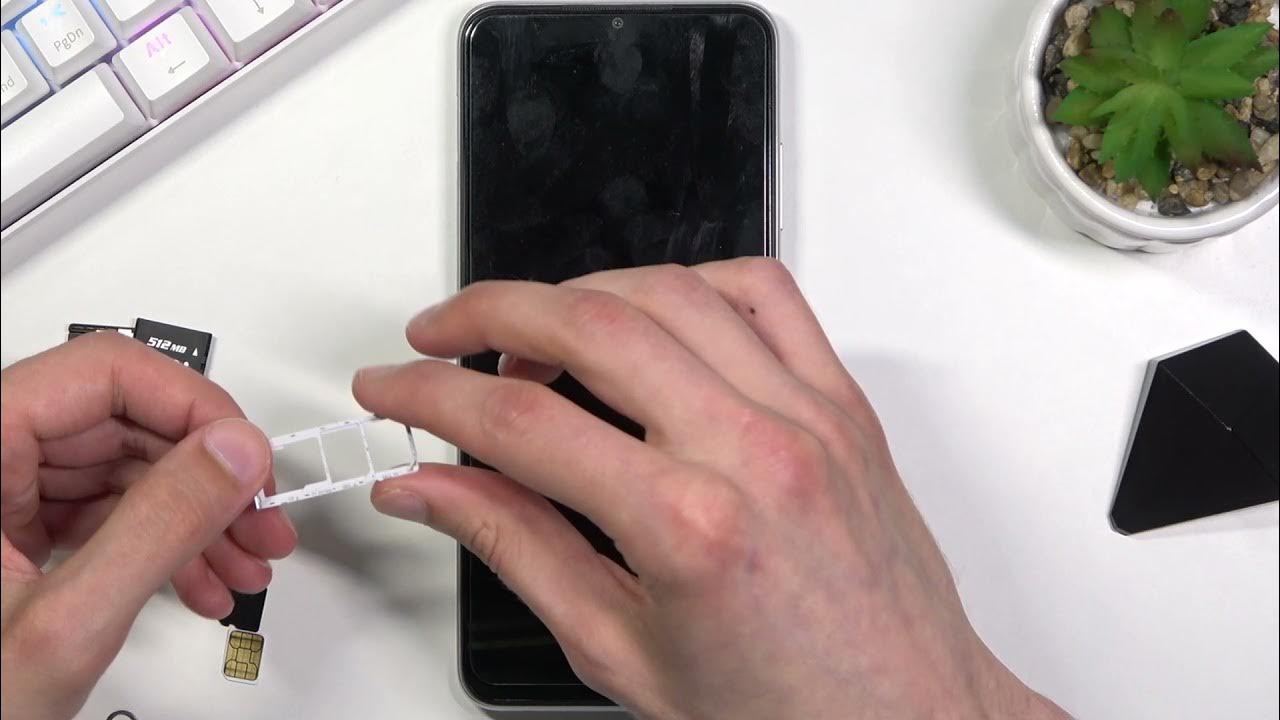
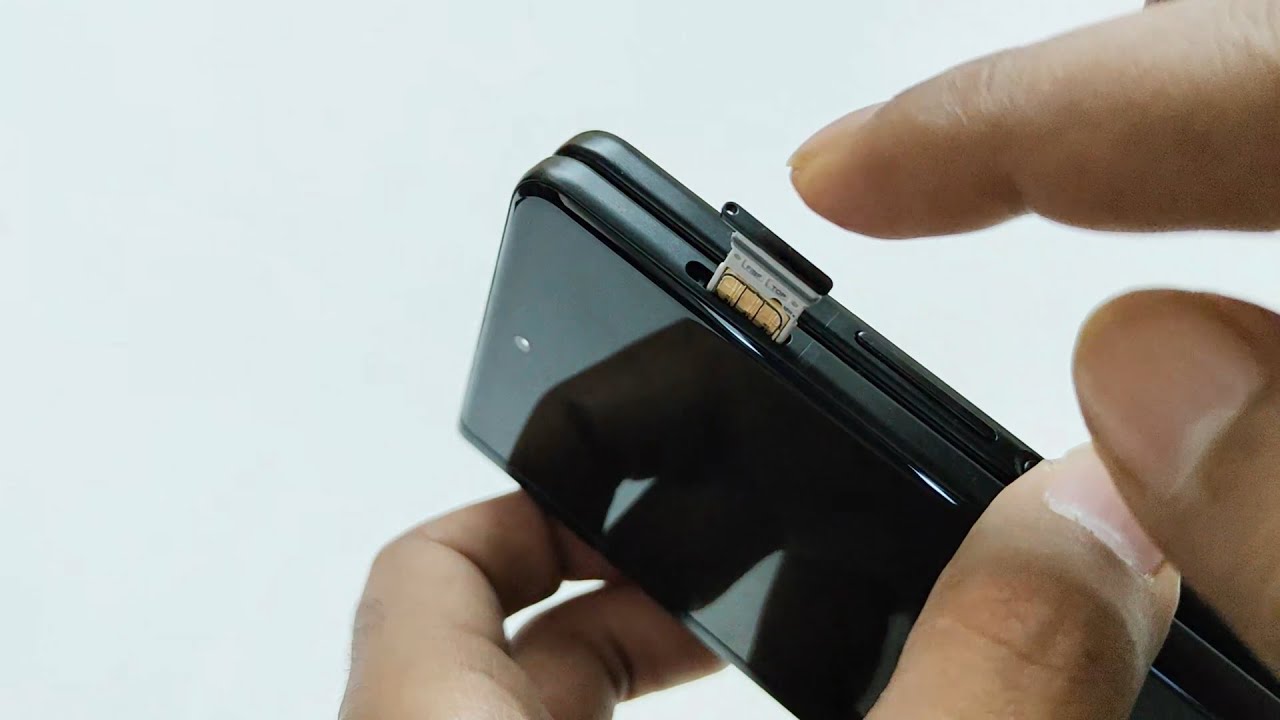
Once the SIM card tray is partially ejected, carefully remove it from the Samsung Z Fold 3, taking care not to force it or cause any damage to the device. The tray will slide out smoothly, revealing the compartment where the SIM card will be inserted.
With the SIM card tray successfully ejected, you have now prepared the device for the next crucial step: inserting the SIM card. This seamless ejection process sets the stage for a hassle-free insertion, ensuring that you can proceed with confidence and precision.
As the SIM card tray rests in your hand, ready to receive the SIM card, you are poised to move forward in the process of setting up your Samsung Z Fold 3 for mobile connectivity. The successful ejection of the SIM card tray marks a significant milestone in the journey towards harnessing the full potential of your device, paving the way for the subsequent steps in the SIM card insertion process.
Step 3: Insert the SIM card
With the SIM card tray in hand and the compartment exposed, you are now ready to proceed with the pivotal step of inserting the SIM card into your Samsung Z Fold 3. This step is crucial in establishing the connection between your device and the cellular network, enabling you to seamlessly access mobile communication and data services.
Begin by carefully examining the SIM card and identifying its orientation. The SIM card features a distinctive shape with one corner angled or notched, indicating the correct positioning for insertion. Take a moment to ensure that you have a clear understanding of the SIM card's orientation, as this will facilitate a smooth and accurate insertion process.
Next, delicately place the SIM card onto the designated area within the SIM card tray. Align the notched corner of the SIM card with the corresponding notch within the tray, ensuring a precise fit that matches the outlined shape. By aligning the SIM card correctly, you can prevent any potential issues that may arise from improper insertion.
Once the SIM card is positioned within the tray, gently slide the tray back into the SIM card slot on your Samsung Z Fold 3. Exercise caution to maintain a steady hand and avoid applying excessive force during this step. The tray should slide back into place smoothly, securing the SIM card within the device.
As the SIM card tray seamlessly integrates back into the Samsung Z Fold 3, the SIM card becomes fully embedded within the device, establishing the vital connection to the cellular network. This seamless insertion process ensures that the SIM card is securely positioned, allowing you to harness the full potential of your device's mobile capabilities.
With the SIM card successfully inserted, your Samsung Z Fold 3 is now primed to deliver a seamless mobile experience, empowering you to stay connected and engaged with the world around you. The completion of this step signifies a significant milestone in the setup process, bringing you closer to unlocking the full functionality of your device and embracing the myriad possibilities it offers.
By following these precise steps to insert the SIM card into your Samsung Z Fold 3, you have taken a crucial stride towards optimizing your device for mobile connectivity. With the SIM card securely in place, you are poised to embark on a journey of seamless communication, effortless access to mobile data, and uninterrupted connectivity, ensuring that your Samsung Z Fold 3 becomes an indispensable companion in your daily endeavors.
Step 4: Reinsert the SIM card tray
As you approach the final step of the SIM card insertion process for your Samsung Z Fold 3, it is essential to focus on reinserting the SIM card tray with precision and care. This step plays a crucial role in securing the SIM card within the device and ensuring seamless functionality. By following the detailed instructions outlined below, you can complete the process with confidence, setting the stage for a seamless mobile experience.
Begin by holding the SIM card tray, which now securely houses the SIM card, ensuring that it is positioned correctly and ready for reinsertion into your Samsung Z Fold 3. Take a moment to verify that the SIM card is securely seated within the tray, as this will facilitate a smooth reintegration into the device.
Align the SIM card tray with the corresponding slot on the side of your Samsung Z Fold 3, taking care to position it with precision. The tray should align seamlessly with the slot, allowing for a secure and snug fit that ensures the SIM card remains firmly in place within the device.
Gently slide the SIM card tray back into the designated slot, applying steady and even pressure to guide it into position. Exercise caution to avoid any abrupt movements or excessive force during this step, as a gentle and deliberate approach will facilitate a seamless reinsertion process.
As the SIM card tray seamlessly integrates back into the Samsung Z Fold 3, the SIM card becomes fully embedded within the device, establishing the vital connection to the cellular network. This seamless reinsertion process ensures that the SIM card remains securely positioned, allowing you to harness the full potential of your device's mobile capabilities.
With the SIM card tray securely back in place, your Samsung Z Fold 3 is now primed to deliver a seamless mobile experience, empowering you to stay connected and engaged with the world around you. The completion of this step signifies a significant milestone in the setup process, bringing you closer to unlocking the full functionality of your device and embracing the myriad possibilities it offers.
By following these precise steps to reinsert the SIM card tray into your Samsung Z Fold 3, you have taken a crucial stride towards optimizing your device for mobile connectivity. With the SIM card securely in place, you are poised to embark on a journey of seamless communication, effortless access to mobile data, and uninterrupted connectivity, ensuring that your Samsung Z Fold 3 becomes an indispensable companion in your daily endeavors.
Conclusion
In conclusion, the process of inserting a SIM card into your Samsung Z Fold 3 encompasses a series of precise steps that culminate in establishing a seamless connection to the cellular network. By following the comprehensive guide outlined in this article, you have gained valuable insights into the intricacies of preparing your device for mobile connectivity. From locating the SIM card tray to successfully reinserting it into your Samsung Z Fold 3, each step has contributed to the seamless integration of the SIM card, empowering you to harness the full potential of your device.
As you reflect on the journey of inserting a SIM card into the Samsung Z Fold 3, it becomes evident that this fundamental process is a gateway to a world of connectivity and communication. The deliberate actions taken to locate the SIM card tray, eject it with precision, insert the SIM card, and reinsert the tray have collectively paved the way for a seamless mobile experience. With the SIM card securely in place, your Samsung Z Fold 3 is now equipped to deliver uninterrupted access to mobile data, enabling you to stay connected and engaged with ease.
Furthermore, the successful completion of the SIM card insertion process signifies a significant milestone in your journey with the Samsung Z Fold 3. It marks the commencement of a seamless mobile experience, allowing you to make calls, send messages, and access mobile data with unparalleled convenience. The device, with its innovative design and advanced capabilities, becomes a powerful tool for communication and connectivity, seamlessly integrating into your daily life.
By embracing the process of inserting a SIM card into your Samsung Z Fold 3, you have gained a deeper understanding of the device's inner workings and its capacity to adapt to your communication needs. This knowledge empowers you to navigate the intricacies of mobile connectivity with confidence, ensuring that you can make the most of the innovative features offered by the Samsung Z Fold 3.
In essence, the process of inserting a SIM card into the Samsung Z Fold 3 signifies more than a mere technical task; it represents the initiation of a seamless and immersive mobile experience. With the SIM card securely integrated into your device, you are poised to embark on a journey of connectivity, communication, and productivity, leveraging the full potential of the Samsung Z Fold 3 to enrich your digital lifestyle.