Introduction
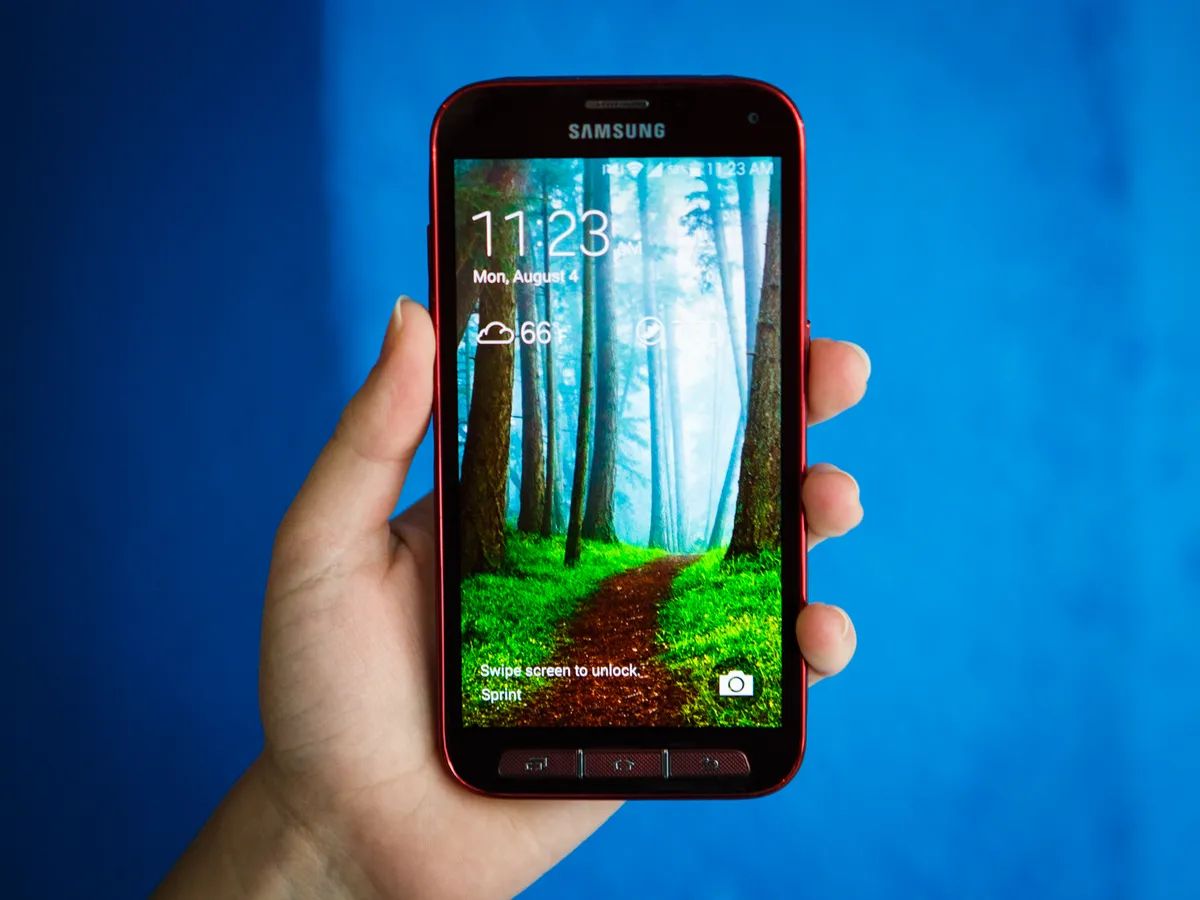
Inserting a SIM card in a Samsung Galaxy S5 is a fundamental step in setting up the device for communication. The SIM card, short for Subscriber Identity Module, is a tiny, yet indispensable component that enables a smartphone to connect to a mobile network, allowing users to make calls, send messages, and access mobile data. In this comprehensive guide, we will walk through the step-by-step process of inserting a SIM card into the Galaxy S5, ensuring that you can seamlessly integrate this vital element into your device.
The Galaxy S5, known for its sleek design and advanced features, boasts a removable back cover, providing easy access to the SIM card slot. With its user-friendly design, the process of inserting a SIM card is straightforward and requires only a few simple steps. By following this guide, you will gain a deeper understanding of the internal components of your device and feel confident in performing this essential task.
As we embark on this journey, it's important to note that the steps outlined in this guide are designed to be easily understandable for users of all levels of technical expertise. Whether you're a seasoned tech enthusiast or a newcomer to the world of smartphones, this guide will equip you with the knowledge and skills to successfully insert a SIM card into your Galaxy S5.
So, without further ado, let's delve into the step-by-step process of inserting a SIM card into the Samsung Galaxy S5, ensuring that you can harness the full potential of your device and stay connected with the world around you.
Step 1: Locate the SIM card slot
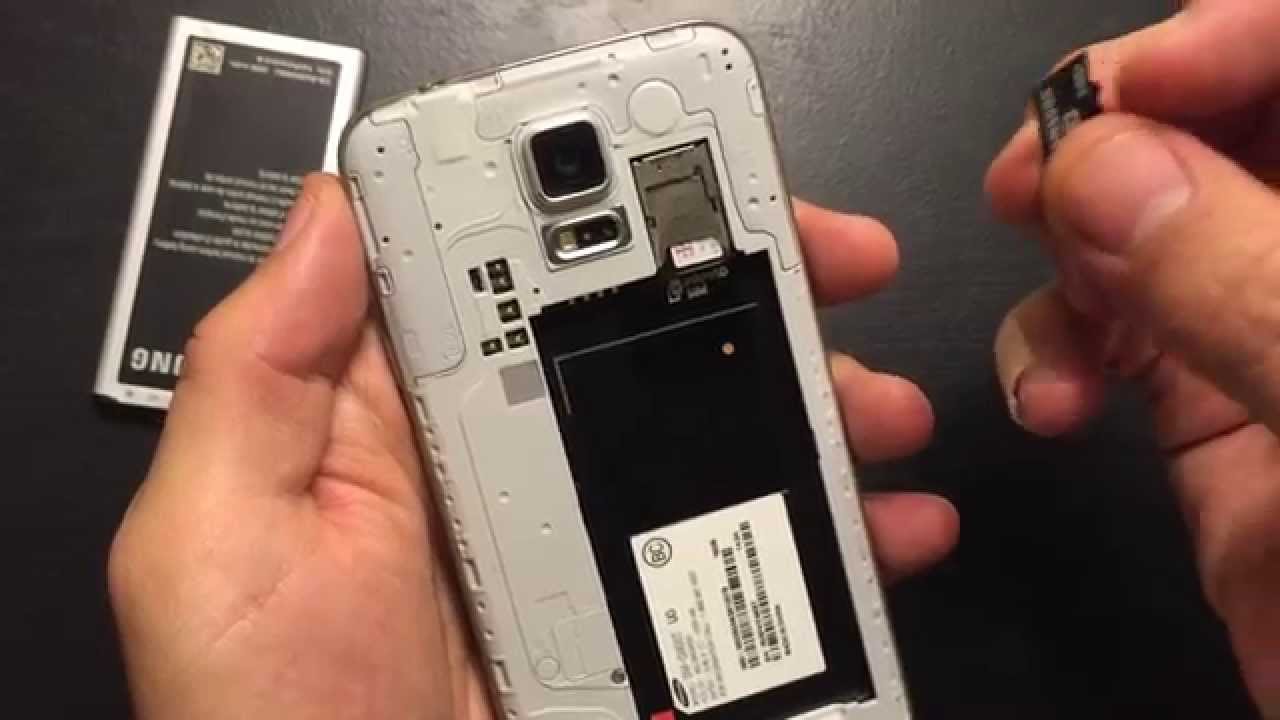
The first step in the process of inserting a SIM card into your Samsung Galaxy S5 is to locate the SIM card slot. This slot is strategically positioned within the device, and finding it is the initial stage of the setup process.
To locate the SIM card slot on your Galaxy S5, you will need to orient the device in a way that allows you to access the back cover. The SIM card slot is typically located beneath the back cover, adjacent to the battery compartment. Once you have positioned the device appropriately, you can proceed to the next step of removing the back cover.
Locating the SIM card slot is a crucial first step, as it sets the stage for the subsequent actions involved in inserting the SIM card. By identifying the precise location of the slot, you can prepare to access it with ease, ensuring a smooth and efficient insertion process.
With the SIM card slot now in sight, you are ready to move on to the next step, which involves removing the back cover to gain access to the internal components of the device. This pivotal action will pave the way for the seamless insertion of the SIM card, ultimately enabling you to establish connectivity and unlock the full potential of your Samsung Galaxy S5.
By successfully locating the SIM card slot, you have taken the first step towards integrating this essential component into your device. With this foundational knowledge in place, you are well-positioned to proceed to the subsequent steps, ultimately leading to the successful installation of the SIM card and the activation of vital communication features on your Galaxy S5.
Step 2: Remove the back cover
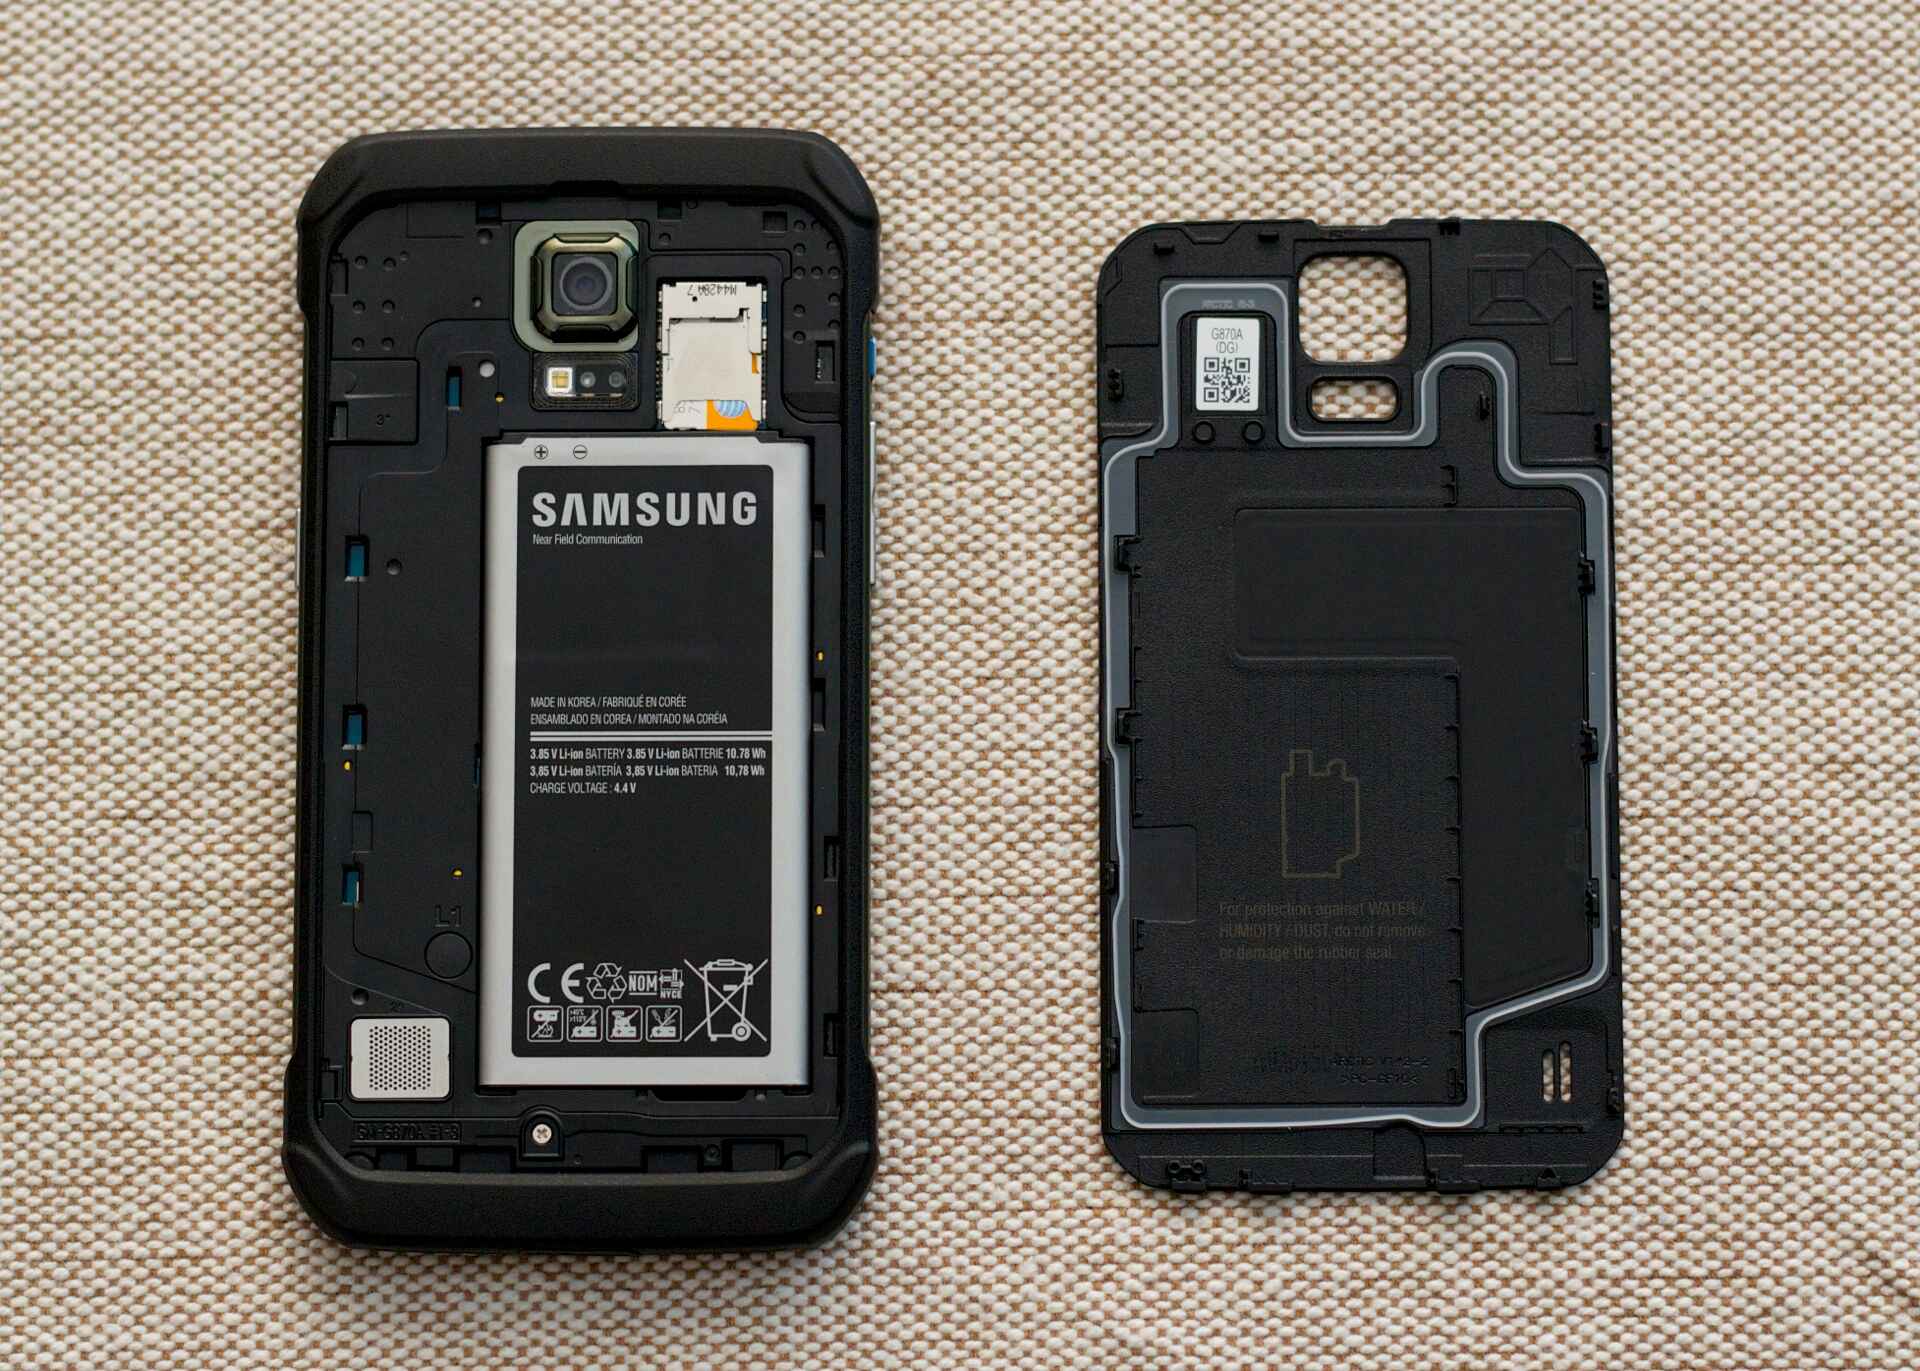
Removing the back cover of the Samsung Galaxy S5 is a pivotal step in the process of inserting a SIM card. The back cover of the device is designed to be easily detachable, allowing users to access the internal components, including the battery compartment and the SIM card slot. By carefully following the steps outlined below, you can seamlessly remove the back cover and gain access to the designated area for inserting the SIM card.
-
Power off the Device: Before proceeding to remove the back cover, it is essential to ensure that the device is powered off. This precautionary measure helps to prevent any potential disruption to the device's functionality and ensures a safe and efficient removal process.
-
Locate the Notch: Positioned along the edge of the device, you will find a small notch that serves as the entry point for removing the back cover. This notch is strategically placed to facilitate easy access to the internal components, including the SIM card slot.
-
Apply Gentle Pressure: With the device oriented in a comfortable position, gently apply pressure to the notch, using your fingertip or a small tool if necessary. This action will initiate the detachment of the back cover from the main body of the device.
-
Lift and Remove: As the back cover begins to detach, carefully lift it away from the device, ensuring a smooth and controlled removal process. The back cover is designed to be easily detached, allowing for convenient access to the internal components without requiring excessive force.
-
Handle with Care: While removing the back cover, it is important to handle it with care to avoid any damage or deformation. By exercising caution and precision, you can ensure that the back cover remains in optimal condition for reattachment after the SIM card insertion.
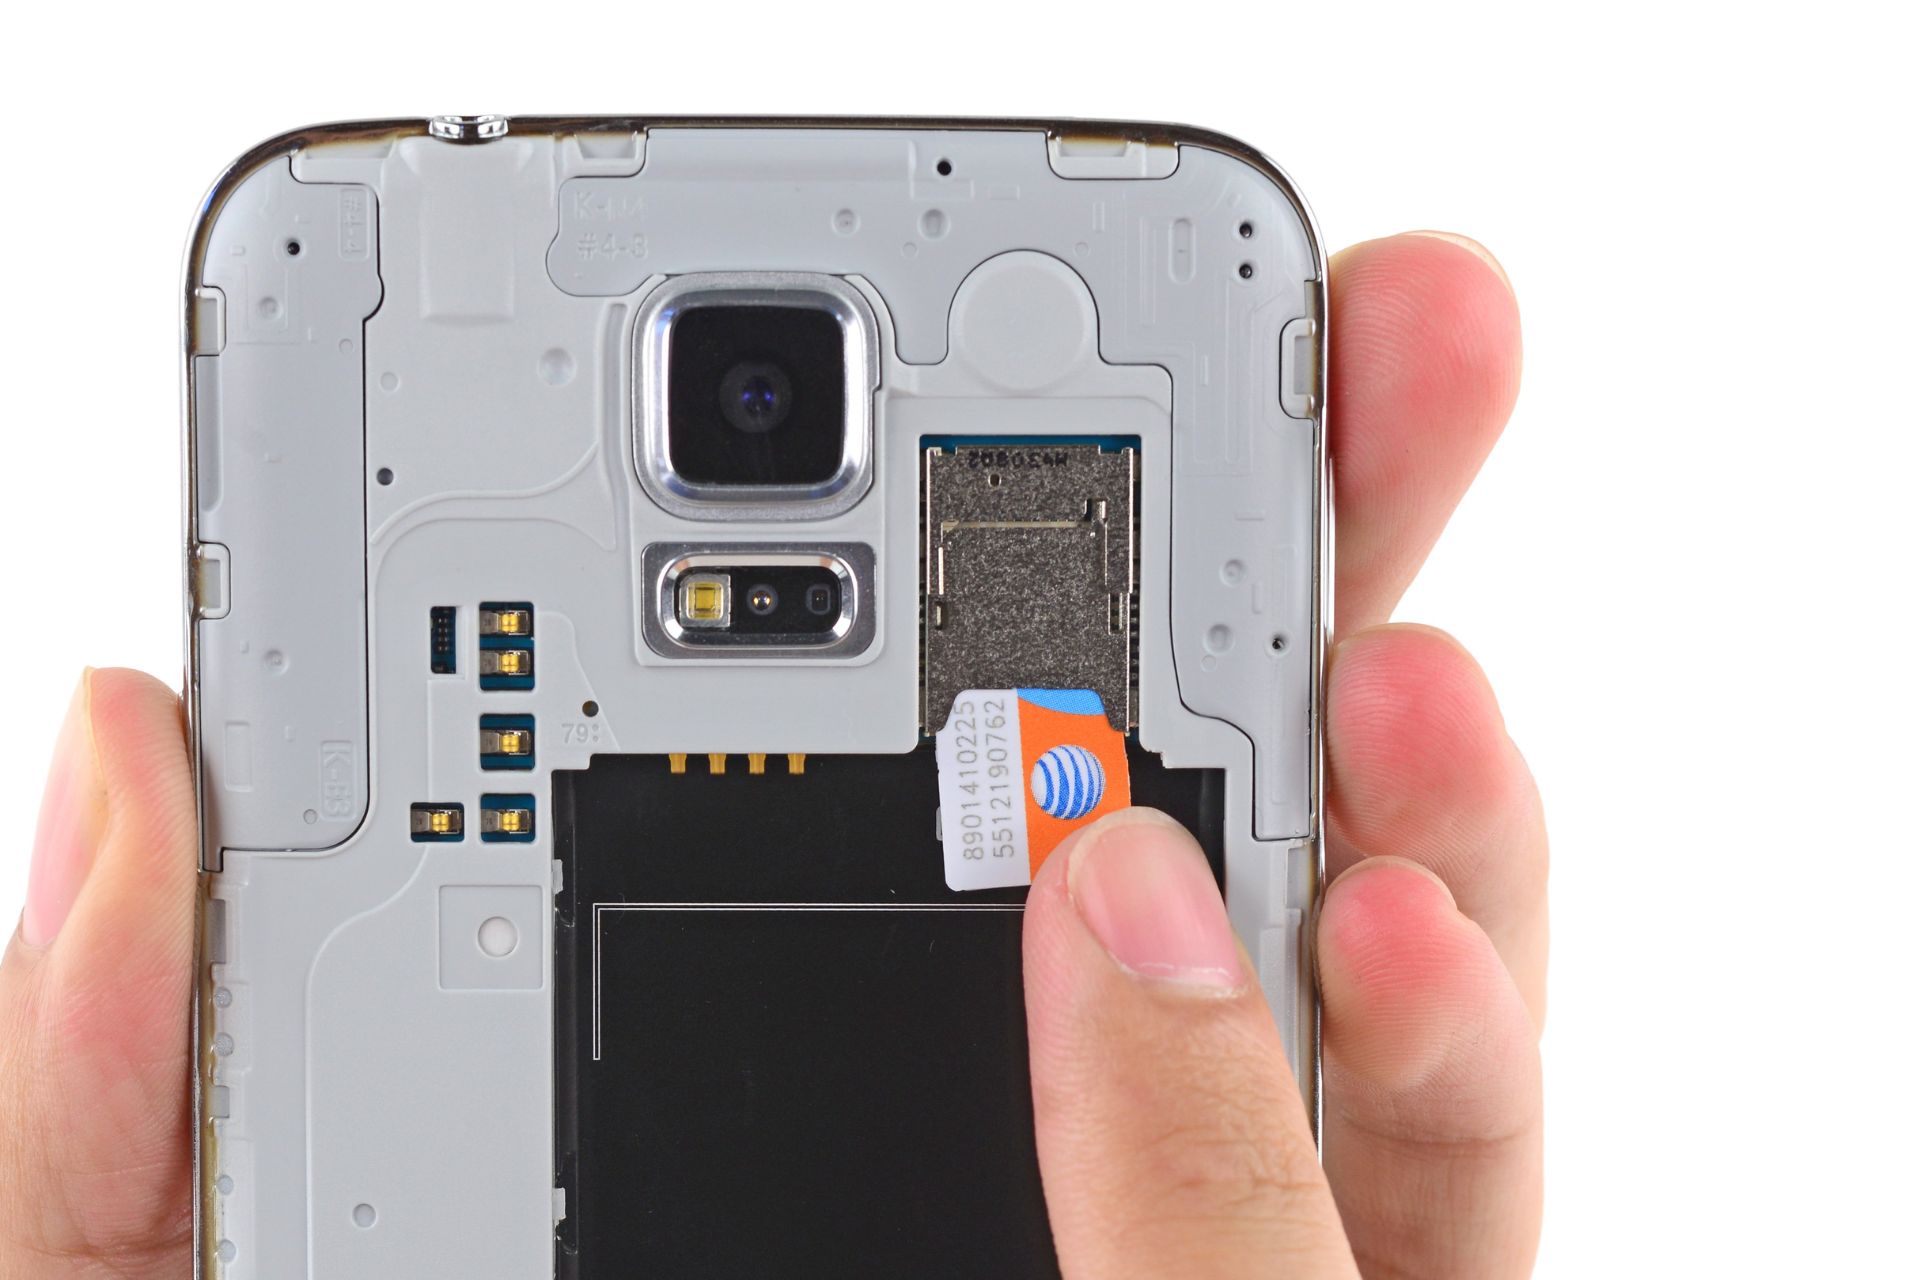
By following these simple yet crucial steps, you can successfully remove the back cover of your Samsung Galaxy S5, gaining direct access to the internal components, including the SIM card slot. This preparatory action sets the stage for the subsequent step of inserting the SIM card, ultimately allowing you to establish seamless connectivity and unlock the full potential of your device. With the back cover removed, you are now ready to proceed to the next step, which involves the careful insertion of the SIM card into the designated slot.
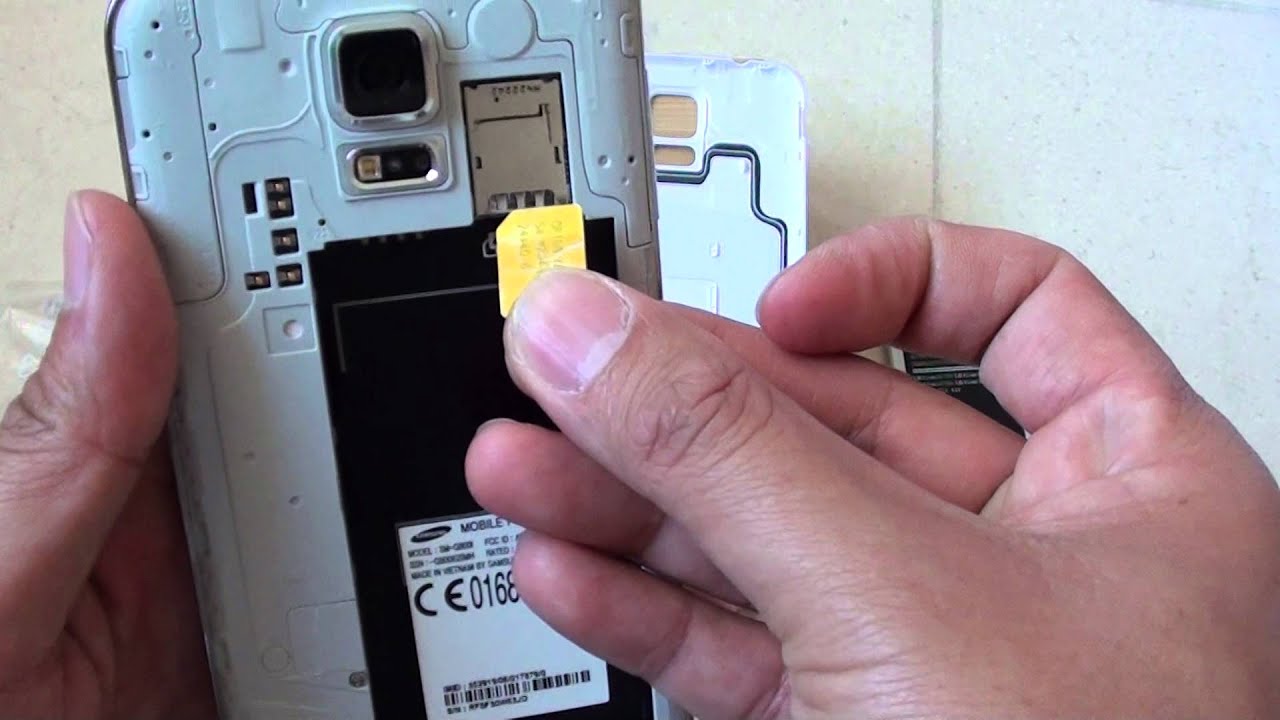
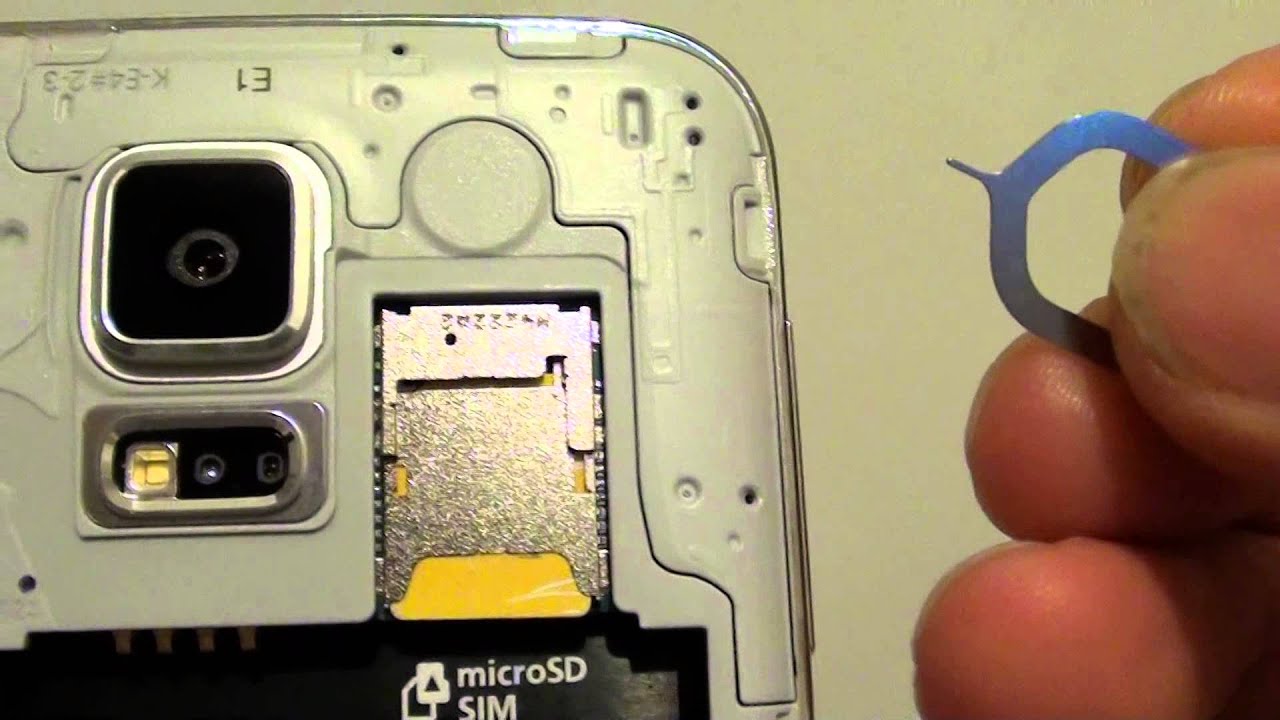
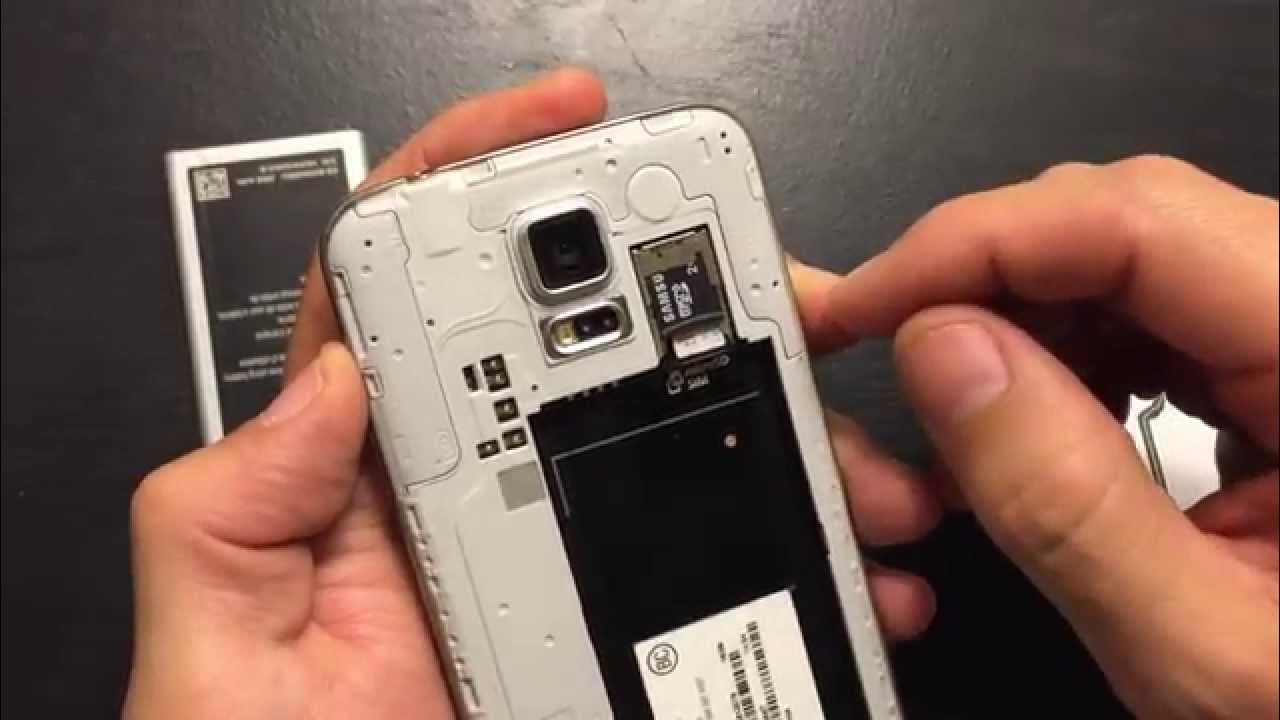
Step 3: Insert the SIM card
With the back cover successfully removed, you are now ready to proceed with the pivotal step of inserting the SIM card into your Samsung Galaxy S5. This process involves carefully placing the SIM card into the designated slot, ensuring a secure and proper fit to enable seamless connectivity and communication capabilities. Here's a detailed guide to walk you through the precise steps of inserting the SIM card:
-
Identify the SIM Card Slot: Upon removing the back cover, you will gain clear visibility of the SIM card slot, typically positioned near the battery compartment. The slot is designed to accommodate the SIM card, ensuring a snug fit that facilitates reliable communication functionality.
-
Position the SIM Card: Take the SIM card and position it according to the orientation indicated by the slot. Most SIM card slots are designed to accept the card with a specific configuration, ensuring that it aligns perfectly with the internal connectors.
-
Slide the SIM Card into the Slot: With the SIM card properly aligned, gently slide it into the designated slot, applying even pressure to ensure a smooth insertion process. It's important to exercise caution and precision during this step to avoid any damage to the SIM card or the internal components of the device.
-
Verify Secure Placement: Once the SIM card is inserted, carefully verify that it is securely positioned within the slot. A secure fit is essential to ensure optimal connectivity and functionality, allowing the device to recognize and utilize the SIM card for communication purposes.
-
Reassess the Orientation: Double-check the orientation of the SIM card to confirm that it aligns with the designated configuration. This verification step is crucial to guarantee that the SIM card is inserted correctly, minimizing the risk of connectivity issues or malfunctions.
By following these detailed steps, you can confidently insert the SIM card into your Samsung Galaxy S5, setting the stage for seamless connectivity and access to essential communication features. With the SIM card securely in place, you are now prepared to proceed to the next crucial step of replacing the back cover, ultimately completing the process of integrating the SIM card into your device.
Step 4: Replace the back cover
With the SIM card successfully inserted into the designated slot of your Samsung Galaxy S5, the next pivotal step involves replacing the back cover of the device. This essential action not only ensures the protection and integrity of the internal components but also completes the process of integrating the SIM card, allowing you to fully harness the communication capabilities of your device. Here's a detailed guide to walk you through the precise steps of replacing the back cover:
-
Align the Back Cover: Position the back cover in alignment with the main body of the device, ensuring that it fits securely and uniformly along the edges. The back cover is designed to seamlessly integrate with the device, providing a snug fit that safeguards the internal components and maintains the sleek, unified appearance of the Galaxy S5.
-
Gently Press and Secure: With the back cover correctly aligned, apply gentle pressure along the edges to secure it in place. This action helps to ensure that the cover is firmly attached to the device, minimizing the risk of any loose or uneven fitting. By exercising care and precision during this step, you can effectively reseal the device without compromising its structural integrity.
-
Verify Full Enclosure: After securing the back cover, carefully inspect the device to verify that the cover is fully enclosed and flush with the main body. A seamless and uniform enclosure is essential to maintain the device's resistance to dust, moisture, and other external elements, safeguarding the internal components and preserving the overall functionality of the Galaxy S5.
-
Check for Secure Attachment: Once the back cover is in place, conduct a thorough check to ensure that it is securely attached to the device. By verifying the stability and uniformity of the attachment, you can confirm that the cover provides reliable protection for the internal components and the SIM card, safeguarding them against potential damage or displacement.
By following these detailed steps, you can confidently replace the back cover of your Samsung Galaxy S5, completing the process of integrating the SIM card and ensuring the overall protection and functionality of the device. With the back cover securely in place, you have successfully concluded the essential task of inserting and securing the SIM card, paving the way for seamless connectivity and communication capabilities on your Galaxy S5.
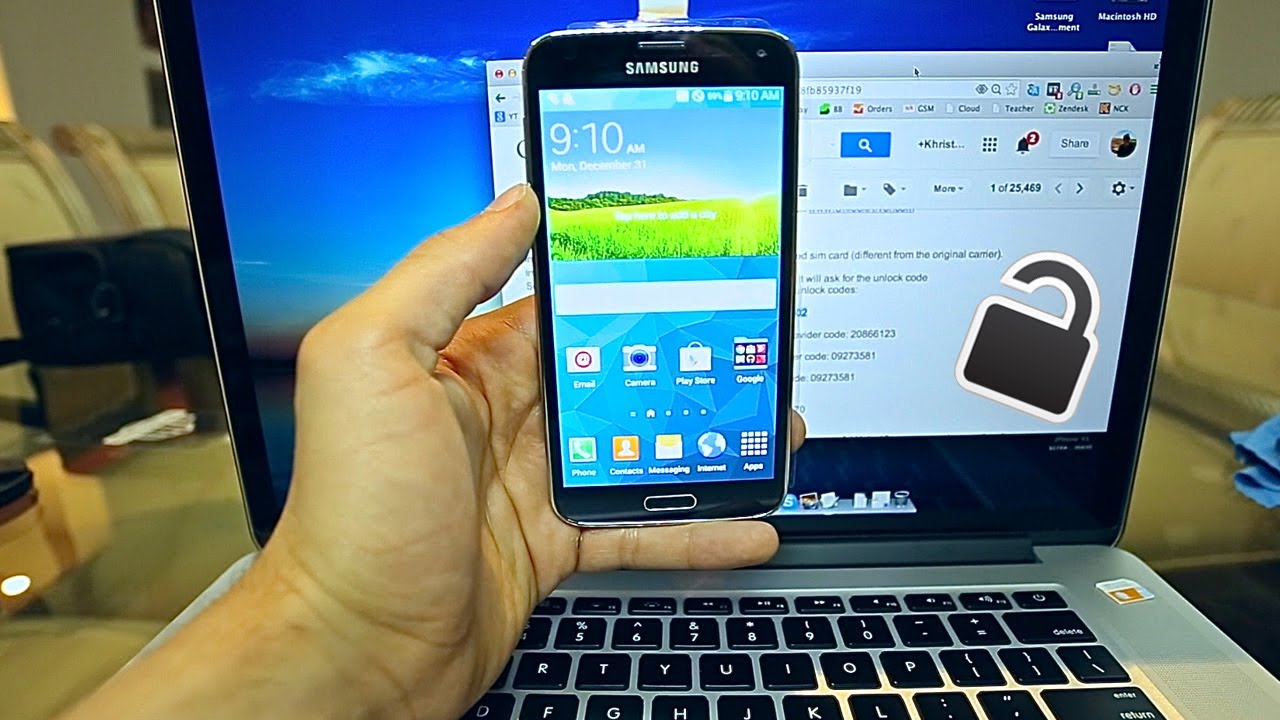
Step 5: Power on the device and check for connectivity
After successfully inserting the SIM card and replacing the back cover of your Samsung Galaxy S5, the final step is to power on the device and check for connectivity. This crucial stage ensures that the SIM card is recognized by the device, allowing you to establish seamless communication and access essential mobile features. Here's a detailed guide to walk you through the process of powering on the device and verifying connectivity:
-
Press the Power Button: Located on the side or top of the device, the power button is used to turn on the Galaxy S5. Press and hold the power button until the device powers up, indicating that it is initializing and preparing to become operational.
-
Wait for the Startup Sequence: As the device powers on, it will undergo a startup sequence, during which the system initializes and the internal components are activated. This process may take a few moments, so it's important to allow the device sufficient time to complete the startup procedure.
-
Check for Signal Reception: Once the device is powered on, observe the signal reception indicators on the screen. These indicators typically include the signal strength and network connectivity status, displayed in the notification bar. A strong signal reception and the presence of network connectivity symbols indicate that the SIM card has been recognized and that the device is successfully connected to the mobile network.
-
Initiate a Test Call or Message: To further verify the connectivity and functionality of the SIM card, consider initiating a test call or sending a text message. By engaging in these basic communication activities, you can confirm that the device can effectively utilize the SIM card for making calls and sending messages, demonstrating the seamless integration of the SIM card into the Galaxy S5.
-
Verify Mobile Data Access: Additionally, verify the access to mobile data by opening a web browser or an internet-dependent application. By attempting to access online content, you can ensure that the device is capable of utilizing mobile data services, further confirming the successful activation and integration of the SIM card for data connectivity.
By following these comprehensive steps, you can power on your Samsung Galaxy S5 and verify the seamless integration of the SIM card, ensuring reliable connectivity and access to essential communication and data services. With the device successfully powered on and the connectivity confirmed, you have completed the essential process of inserting and activating the SIM card, enabling you to fully harness the communication capabilities of your Galaxy S5.