Introduction
Welcome to the guide on how to disable Data Saver on your Samsung S20. Data Saver is a useful feature that helps conserve data usage by preventing apps from using background data. While this can be beneficial for managing your data allowance, there are times when you may need to disable Data Saver to ensure that certain apps or services function optimally. Whether you're looking to stream high-quality videos, download large files, or enjoy seamless browsing, disabling Data Saver can make a significant difference in your mobile experience.
In this comprehensive tutorial, we will walk you through the quick and simple steps to turn off Data Saver on your Samsung S20. By following these instructions, you'll gain a better understanding of how to customize your device's data usage settings, allowing you to make the most of your mobile data plan without compromising on performance.
So, if you're ready to take full control of your data usage and unlock the full potential of your Samsung S20, let's dive into the step-by-step process of disabling Data Saver. Whether you're a tech-savvy enthusiast or a casual smartphone user, this guide is designed to provide clear and straightforward instructions, ensuring that you can easily navigate your device's settings and make the necessary adjustments to suit your preferences. Let's get started!
Step 1: Open Settings
To begin the process of disabling Data Saver on your Samsung S20, you'll first need to access the device's settings. The settings menu serves as the central hub for customizing various aspects of your smartphone, including network, display, sound, and more. Here's a detailed walkthrough on how to open the settings on your Samsung S20:
-
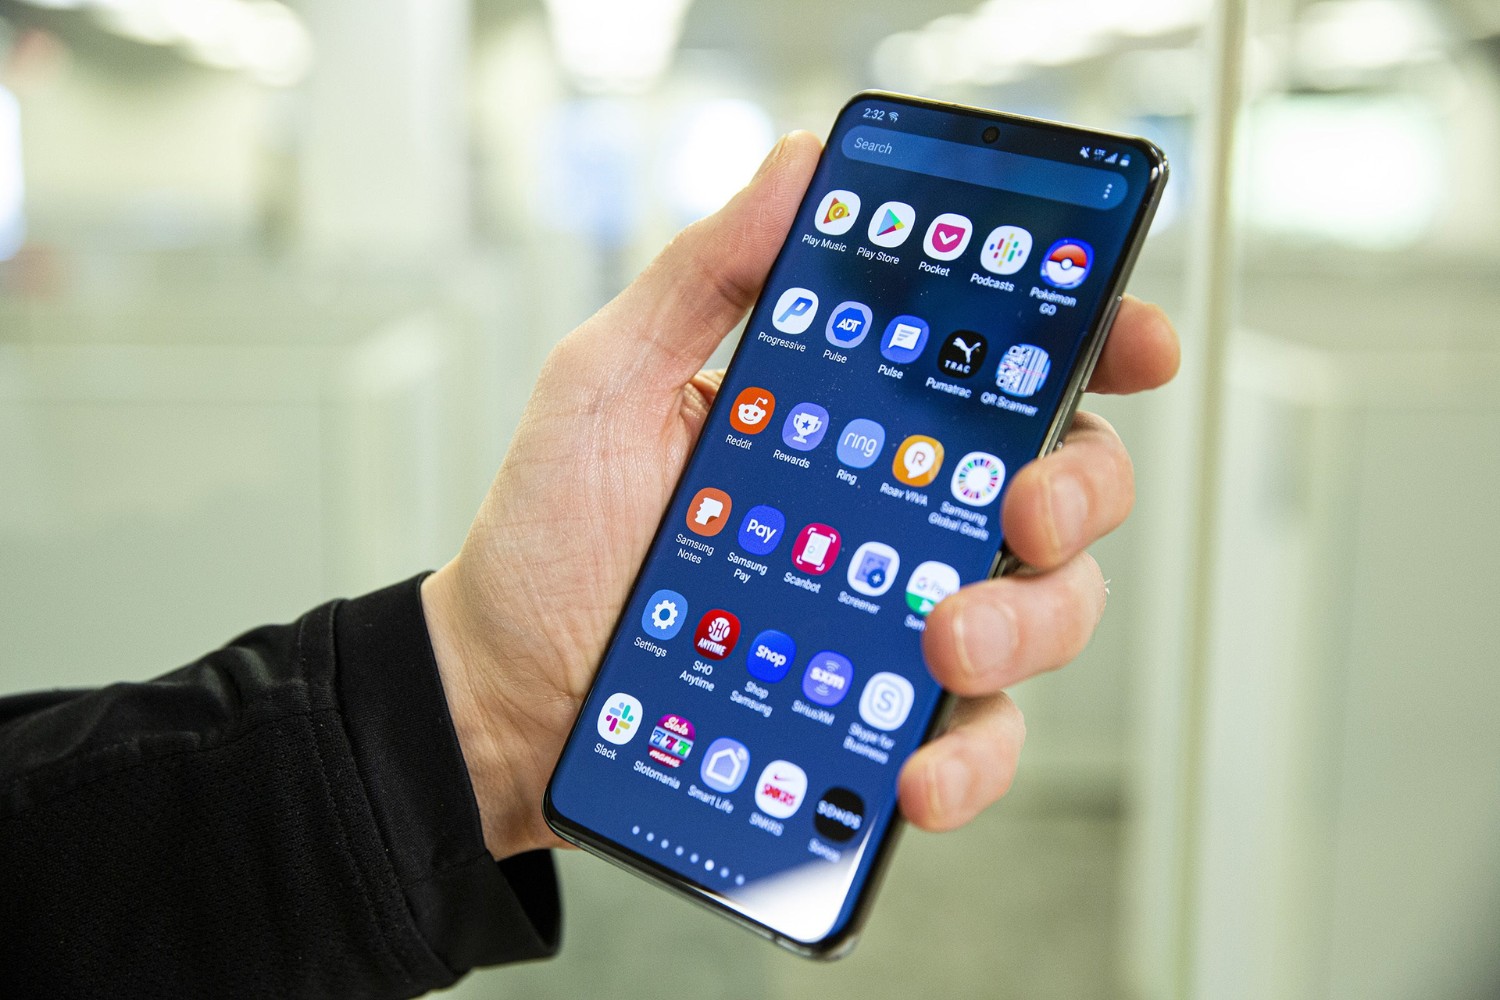
Locate the Settings App: On your Samsung S20's home screen, look for the Settings app icon. It typically features a gear or cogwheel symbol and is commonly found in the app drawer or directly on the home screen. Tap on the app icon to launch the Settings menu.
-
Swipe Down and Tap Settings: Alternatively, you can access the settings by swiping down from the top of the screen to reveal the notification panel. From there, tap on the gear icon in the top-right corner to access the Settings menu.
-
Using the App Drawer: If you prefer to access the settings via the app drawer, simply swipe up or down on the home screen to reveal all installed apps. Look for the Settings app icon and tap on it to open the settings menu.
Once you've successfully accessed the settings menu, you're ready to proceed to the next step in the process of disabling Data Saver on your Samsung S20. Opening the settings is the initial and essential step that sets the stage for making further adjustments to your device's data usage settings.
By following these straightforward instructions, you can effortlessly navigate to the settings menu on your Samsung S20, empowering you to take control of your device's configuration and tailor it to your specific preferences and requirements. Now that you've accessed the settings, let's move on to the next step in the process of disabling Data Saver and optimizing your data usage on the Samsung S20.
Step 2: Tap on Connections
After successfully accessing the settings menu on your Samsung S20, the next crucial step in disabling Data Saver involves tapping on the "Connections" option. The "Connections" menu serves as the gateway to various network-related settings and configurations, allowing you to manage your device's connectivity options and preferences. Here's a detailed exploration of how to navigate to the "Connections" menu and proceed with the process:
-
Locate the Connections Option: Within the settings menu, scroll through the available options until you come across "Connections." The "Connections" option is typically represented by an icon featuring network-related symbols, such as signal bars or Wi-Fi signals. Once you've located the "Connections" option, tap on it to access the corresponding menu.
-
Direct Access via Search: If you prefer a quicker method to locate the "Connections" option, you can utilize the search functionality within the settings menu. Simply tap on the search icon or bar, usually located at the top of the settings menu, and enter "Connections" as the search query. This will instantly display the "Connections" option, allowing you to access it directly.
-
Scrolling Through Categories: Depending on the layout of your device's settings menu, you may find the "Connections" option within a specific category or section, such as "Wireless & networks" or "Network & internet." In this case, navigate through the categories or sections until you locate the "Connections" option, and then proceed to tap on it.
Upon tapping on the "Connections" option, you will be directed to a dedicated menu that encompasses a range of connectivity settings, including Wi-Fi, Bluetooth, Mobile Hotspot, and more. This menu serves as a central hub for managing your device's network-related configurations, allowing you to fine-tune your connectivity preferences according to your specific needs.
By successfully accessing the "Connections" menu, you have taken a significant step towards disabling Data Saver on your Samsung S20. This paves the way for further adjustments to your device's data usage settings, ensuring that you can optimize your mobile experience without limitations imposed by Data Saver.
Now that you've tapped on "Connections" and accessed the corresponding menu, you're ready to proceed to the next step in the process of disabling Data Saver on your Samsung S20. This seamless progression through the settings menu empowers you to take full control of your device's network configurations, ultimately enhancing your connectivity and data usage experience.
Step 3: Select Data Usage
After navigating to the "Connections" menu on your Samsung S20, the next pivotal step in the process of disabling Data Saver involves selecting the "Data Usage" option. This crucial selection allows you to delve into the detailed data usage settings of your device, providing insights into the data consumption patterns of individual apps and services. Here's a comprehensive exploration of how to seamlessly proceed with this essential step:
-
Locate the Data Usage Option: Within the "Connections" menu, scroll through the available connectivity settings until you come across the "Data Usage" option. This option is typically positioned within the network-related configurations, allowing you to monitor and manage the data usage of your device and its associated apps.
-
Direct Access via Search: If you prefer a more expedited method to locate the "Data Usage" option, you can utilize the search functionality within the settings menu. Simply tap on the search icon or bar, usually located at the top of the settings menu, and enter "Data Usage" as the search query. This will promptly display the "Data Usage" option, enabling you to access it directly.
-
Scrolling Through Categories: Depending on the layout of your device's settings menu, you may find the "Data Usage" option within a specific category or section, such as "Network & internet" or "Mobile data." In this case, navigate through the categories or sections until you locate the "Data Usage" option, and then proceed to select it.
Upon selecting the "Data Usage" option, you will be presented with a comprehensive overview of your device's data consumption, including detailed breakdowns of data usage by individual apps, system services, and background processes. This insightful interface empowers you to gain a deeper understanding of how your mobile data is utilized, allowing you to identify data-hungry apps and take proactive measures to optimize your data usage.
By seamlessly proceeding with the selection of "Data Usage," you have taken a significant stride towards disabling Data Saver on your Samsung S20. This pivotal selection sets the stage for further customization of your device's data usage settings, enabling you to tailor your data management approach according to your specific preferences and requirements.
Now that you've successfully selected "Data Usage" and accessed the corresponding interface, you're well-equipped to progress to the subsequent step in the process of disabling Data Saver on your Samsung S20. This seamless navigation through the settings menu empowers you to gain valuable insights into your data consumption and make informed decisions to enhance your overall mobile experience.
Step 4: Disable Data Saver
Now that you've navigated to the "Data Usage" interface on your Samsung S20, the final and crucial step in the process of disabling Data Saver involves deactivating this feature to unleash the full potential of your device's data usage capabilities. Here's a detailed walkthrough on how to seamlessly proceed with this essential step:
-
Locate the Data Saver Option: Within the "Data Usage" interface, scroll through the available settings until you locate the "Data Saver" option. This feature is designed to restrict background data usage for apps, thereby conserving your mobile data. Once you've identified the "Data Saver" option, proceed to tap on it to access the corresponding settings.
-
Disable Data Saver: Upon accessing the "Data Saver" settings, you will typically encounter a toggle switch or checkbox that allows you to enable or disable this feature. To turn off Data Saver, simply tap on the toggle switch or uncheck the box, depending on the interface design of your device. This action effectively deactivates Data Saver, granting unrestricted data access to all apps and services on your Samsung S20.
-
Confirmation and Adjustment: After disabling Data Saver, you may receive a confirmation prompt or notification indicating that the feature has been turned off. Additionally, the interface may reflect the updated status of Data Saver, confirming that it is now inactive. At this point, you have successfully disabled Data Saver on your Samsung S20, allowing for unrestricted data usage across all apps and services.
By following these straightforward instructions, you have effectively disabled Data Saver on your Samsung S20, empowering you to harness the full potential of your device's data connectivity. This simple yet impactful adjustment ensures that your apps and services can utilize data without any restrictions imposed by Data Saver, enabling you to enjoy seamless browsing, streaming, and downloading experiences.
Now that you've completed the process of disabling Data Saver, your Samsung S20 is primed to deliver optimal performance without any limitations on data usage. This proactive customization of your device's data settings reflects your ability to take control of your mobile experience, ensuring that you can make the most of your data plan while enjoying unrestricted access to the digital world.
With Data Saver successfully disabled, you're now equipped to explore the full potential of your Samsung S20's data capabilities, allowing you to engage with your favorite apps and services without constraints. This seamless adjustment exemplifies your ability to tailor your device's settings to align with your specific preferences and requirements, ultimately enhancing your overall mobile experience.
Conclusion
Congratulations! By following the comprehensive steps outlined in this guide, you have successfully disabled Data Saver on your Samsung S20. This proactive adjustment empowers you to take full control of your device's data usage, allowing for unrestricted access to the digital world without any limitations imposed by Data Saver.
By customizing your data settings and deactivating Data Saver, you have unlocked the full potential of your Samsung S20, enabling seamless browsing, streaming, and downloading experiences. This simple yet impactful modification reflects your ability to tailor your device's configurations to align with your specific preferences and requirements, ultimately enhancing your overall mobile experience.
With Data Saver disabled, you can now engage with your favorite apps and services without constraints, leveraging your mobile data plan to its fullest extent. Whether you're streaming high-quality videos, downloading large files, or enjoying uninterrupted browsing sessions, the absence of Data Saver ensures that your device's performance remains unhindered by data restrictions.
Furthermore, by gaining valuable insights into your data consumption patterns and making informed decisions to optimize your data usage, you have demonstrated a proactive approach to managing your mobile connectivity. This newfound control over your device's data settings empowers you to make the most of your data plan while ensuring that your smartphone operates at its peak performance.
As you continue to explore the myriad possibilities offered by your Samsung S20, remember that the ability to customize your device's settings is a powerful tool that allows you to tailor your mobile experience according to your unique preferences. Whether it's adjusting network configurations, optimizing battery usage, or fine-tuning display settings, your Samsung S20 offers a wealth of customization options to suit your individual needs.
In conclusion, by disabling Data Saver on your Samsung S20, you have taken a significant step towards maximizing your device's potential and enhancing your overall mobile experience. This proactive customization reflects your ability to harness the full capabilities of your smartphone, ensuring that it aligns with your lifestyle and usage patterns. With Data Saver out of the picture, your Samsung S20 is now primed to deliver optimal performance and unrestricted access to the digital realm, allowing you to make the most of every moment with your device.


