Introduction
Welcome to the comprehensive guide on changing the SIM card in an iPhone 5. Whether you’re upgrading to a new device or switching to a different mobile carrier, understanding how to replace the SIM card is crucial for maintaining seamless connectivity. The Subscriber Identity Module (SIM) card is a small, removable card that stores your phone number, contacts, and other essential information. By following the step-by-step instructions in this guide, you can confidently navigate the process of changing the SIM card in your iPhone 5.
The iPhone 5, known for its sleek design and user-friendly interface, is equipped with a SIM card tray that allows for easy access to the SIM card. This guide will walk you through the process, ensuring that you can complete this task with ease and confidence. Whether you’re a tech enthusiast or a novice user, this guide is designed to provide clear, accessible instructions that anyone can follow.
Changing the SIM card in your iPhone 5 is a straightforward process that requires minimal time and effort. By following the instructions outlined in this guide, you can successfully replace the SIM card without the need for professional assistance. With just a few simple steps, you can ensure that your iPhone 5 remains connected to your preferred mobile network, enabling you to stay in touch with friends, family, and colleagues.
Now, let's dive into the step-by-step process of changing the SIM card in your iPhone 5. Gather the necessary tools, locate the SIM card tray, and prepare to embark on this user-friendly journey that will equip you with the knowledge and confidence to manage your device’s connectivity with ease.
Step 1: Gather the necessary tools
Before embarking on the process of changing the SIM card in your iPhone 5, it’s essential to gather the necessary tools to ensure a smooth and efficient transition. Here’s a list of the items you’ll need to have on hand before initiating the SIM card replacement process:
-
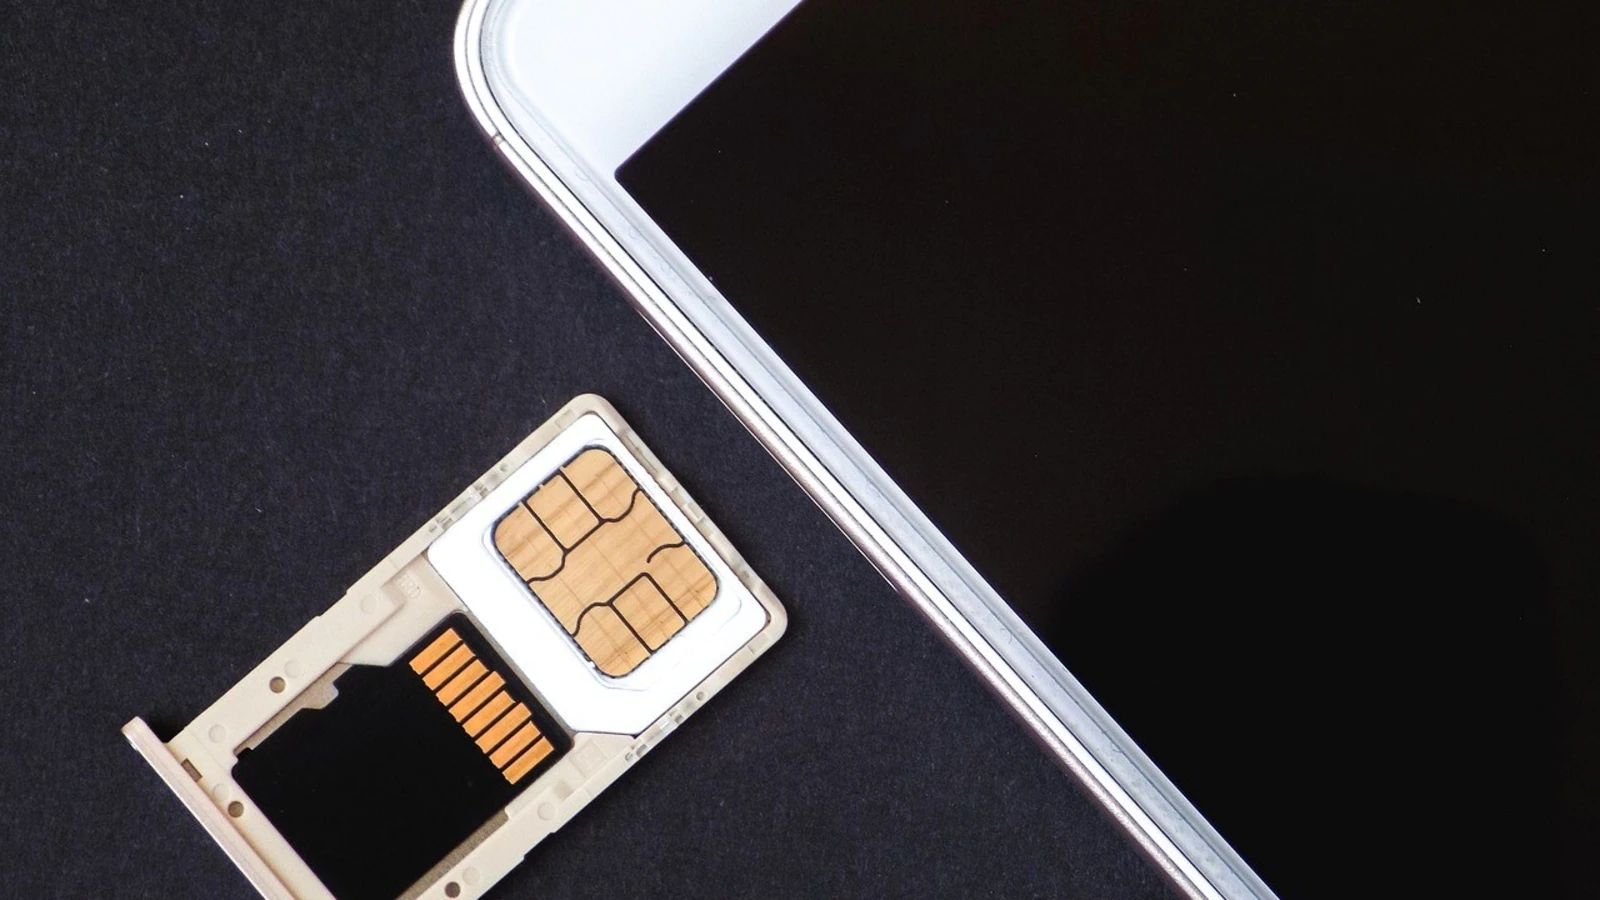
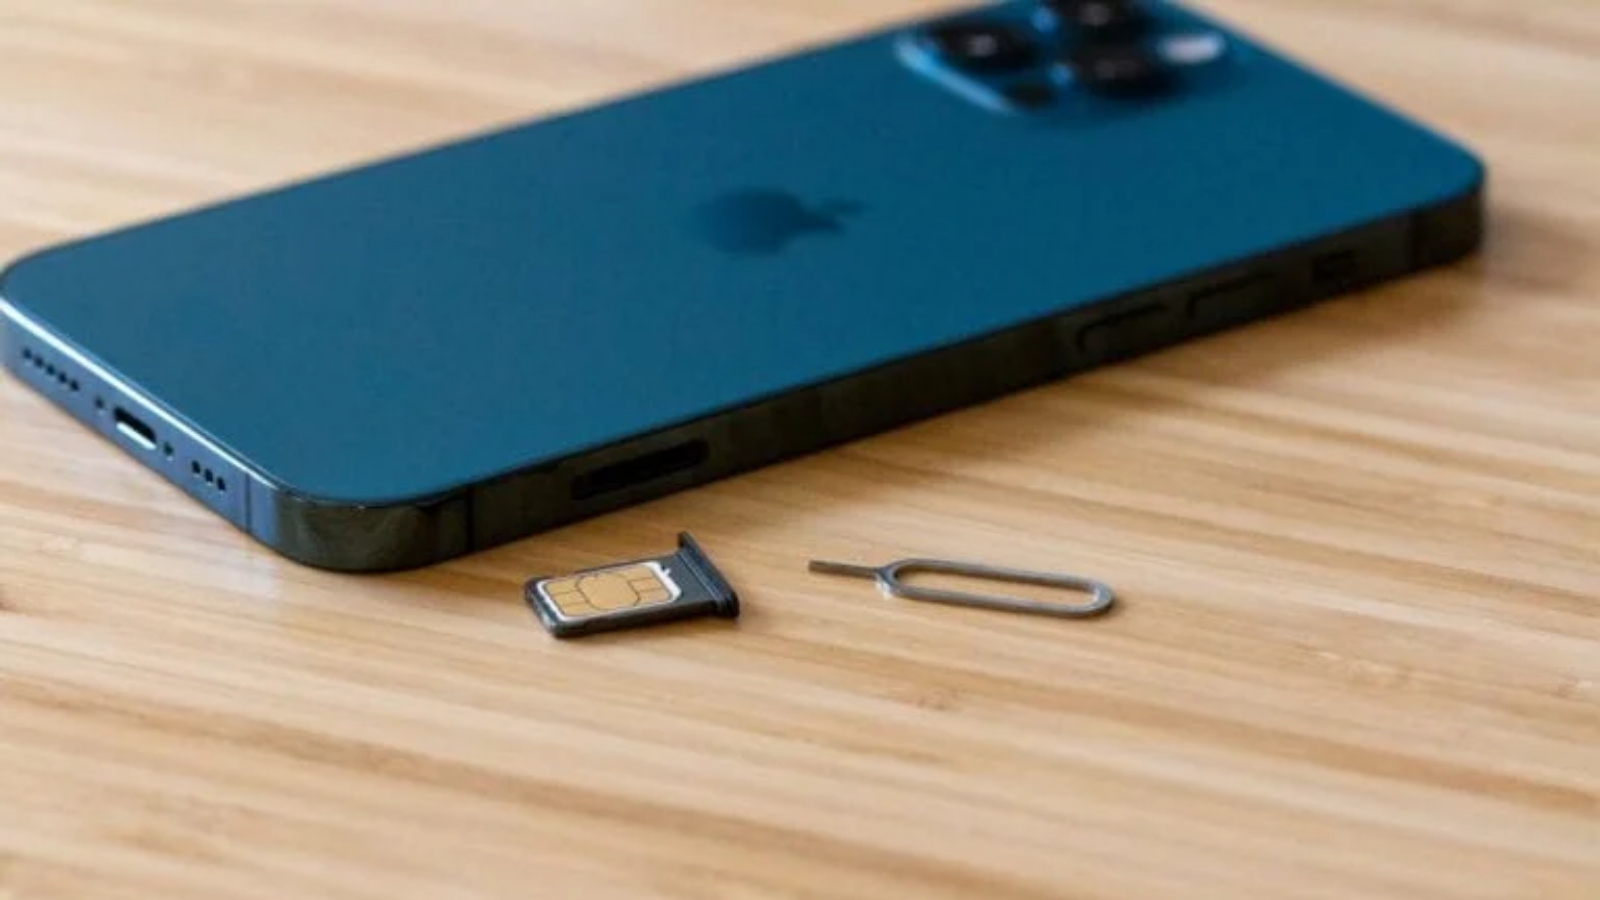
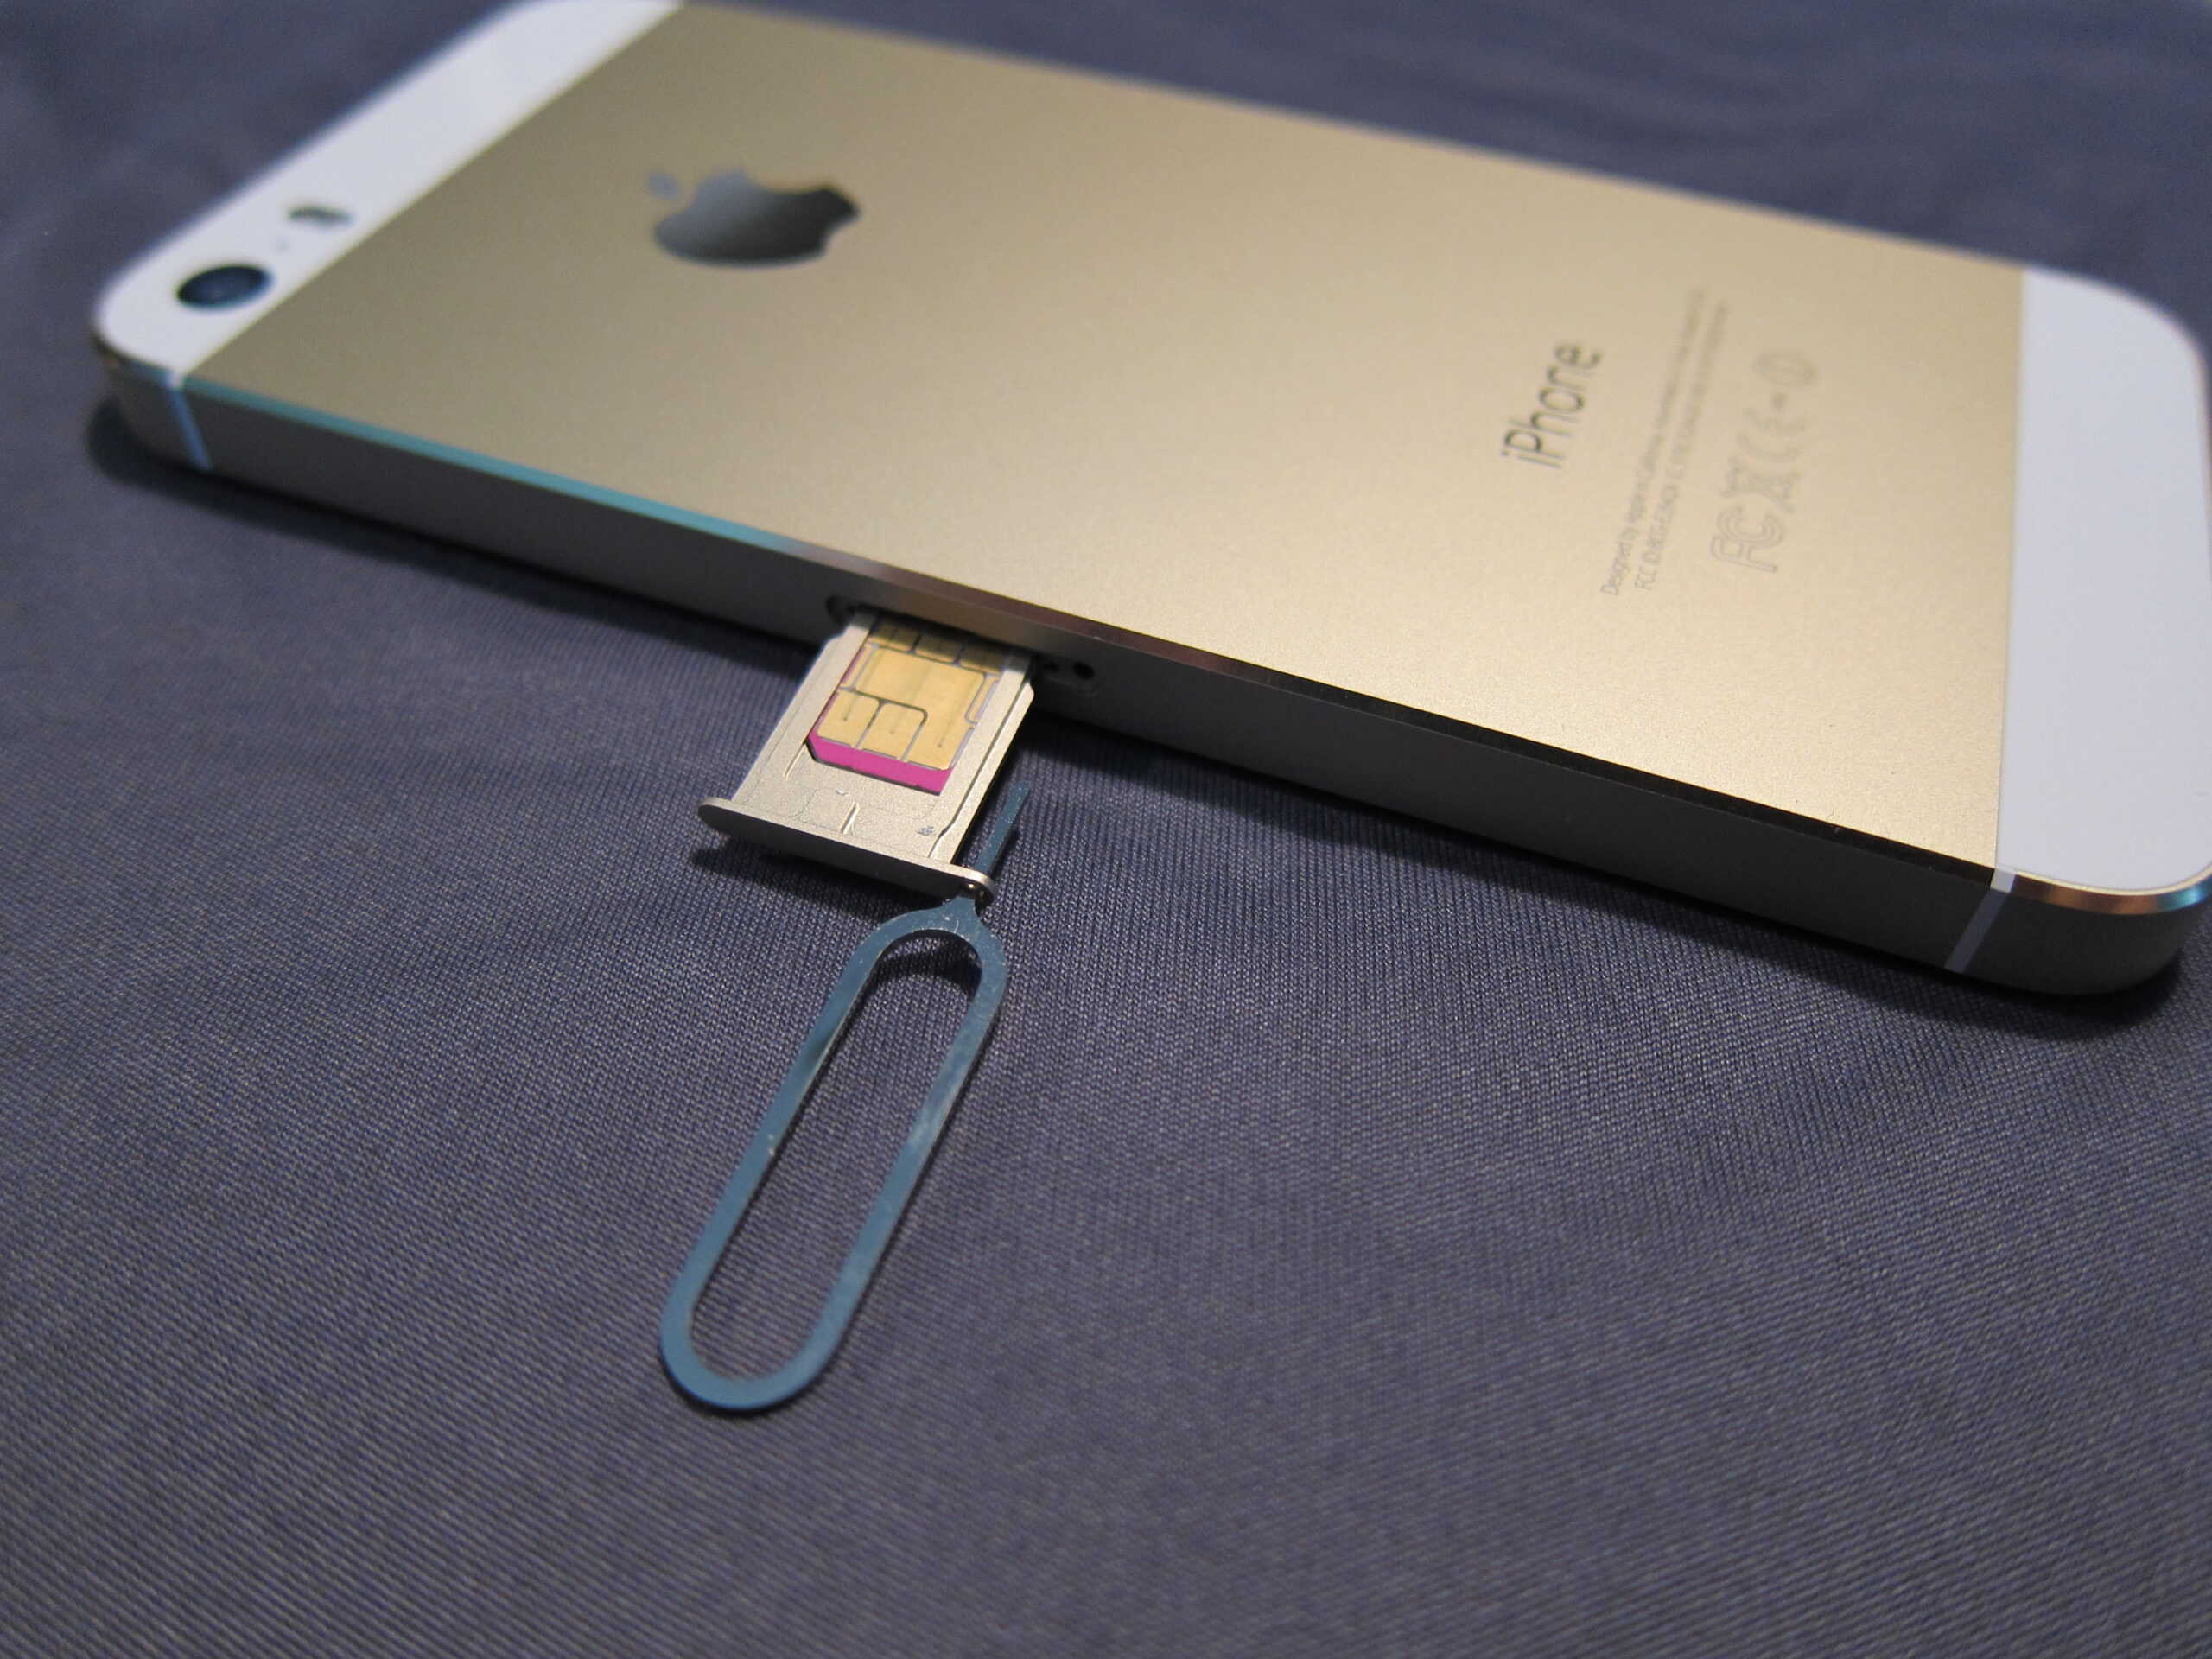
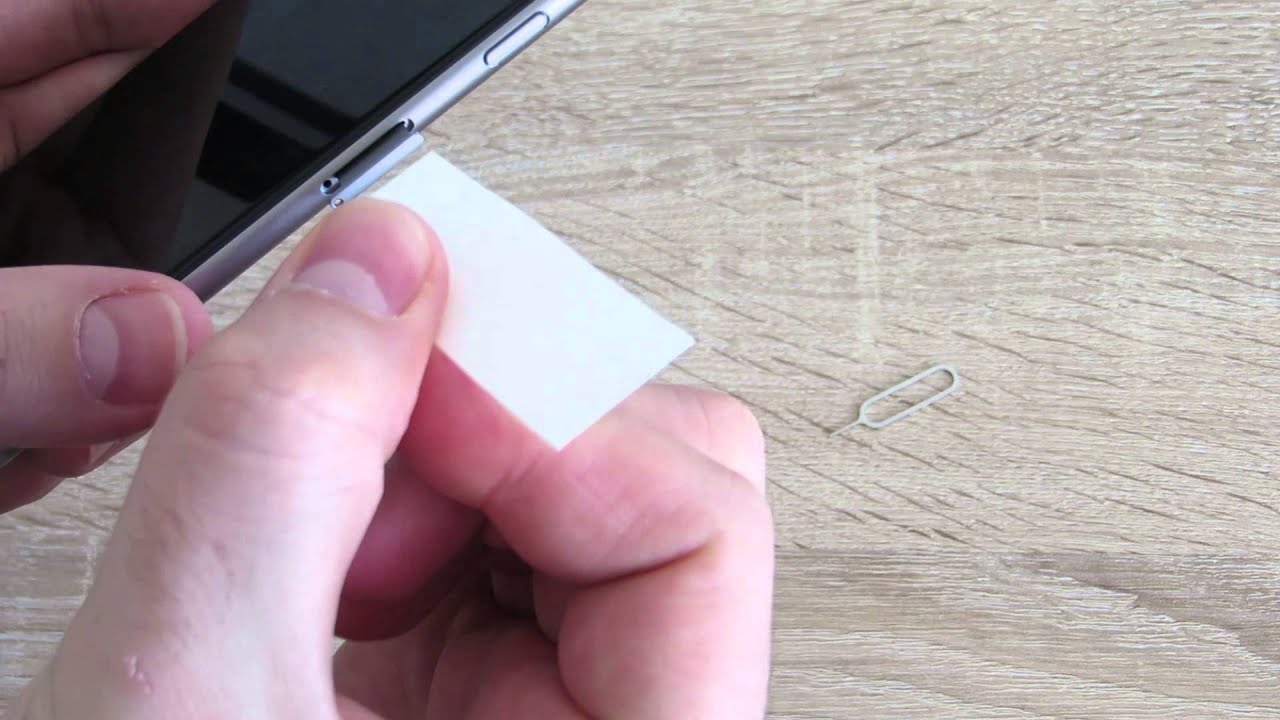
Paperclip or SIM Eject Tool: The iPhone 5 features a small pinhole on the side of the device, which is used to eject the SIM card tray. To access this pinhole and eject the tray, you’ll need a paperclip or a SIM eject tool specifically designed for this purpose. This tool is essential for safely removing the SIM card tray without causing any damage to the device.
-
New SIM Card: If you’re replacing the existing SIM card with a new one, ensure that you have the new SIM card provided by your mobile carrier. The new SIM card should be activated and ready for use before you begin the replacement process.
-
Clean, Dry Cloth: It’s important to have a clean, dry cloth on hand to wipe the SIM card and the SIM card tray. This ensures that both components are free from any dust, debris, or moisture, which could potentially interfere with the functionality of the SIM card and the device.
By gathering these essential tools, you’ll be fully prepared to proceed with the SIM card replacement process. Having these items readily available will streamline the process and minimize any potential disruptions. With the necessary tools at your disposal, you can confidently move on to the next step of locating the SIM card tray in your iPhone 5.
Now that you’ve assembled the required tools, let’s move on to the next step in this user-friendly guide: locating the SIM card tray within your iPhone 5.
Step 2: Locate the SIM card tray
Locating the SIM card tray is the crucial first step in the process of changing the SIM card in your iPhone 5. The SIM card tray is a small, discreet component of the device that houses the SIM card and facilitates its secure placement within the phone. To begin this step, ensure that your iPhone 5 is powered on and that you have gathered the necessary tools as outlined in Step 1.
The SIM card tray on the iPhone 5 is located on the right-hand side of the device. It is positioned just above the volume buttons and is identifiable by a small pinhole adjacent to the tray. This pinhole serves as the access point for ejecting the SIM card tray using a paperclip or a SIM eject tool.
Take a moment to familiarize yourself with the location of the SIM card tray, holding the device in a comfortable position and identifying the small pinhole and the tray's proximity to the volume buttons. This orientation will prepare you for the subsequent steps, ensuring that you can confidently proceed with the SIM card replacement process.
By locating the SIM card tray, you have completed a fundamental aspect of preparing for the SIM card replacement process. This initial step sets the stage for the subsequent actions, allowing you to seamlessly progress through the process with a clear understanding of the device's layout and the specific components involved.
With the SIM card tray now in sight, you are well-positioned to proceed to the next step of ejecting the tray and accessing the SIM card within your iPhone 5. This user-friendly guide will continue to provide clear, accessible instructions, empowering you to successfully navigate each stage of the SIM card replacement process.
Step 3: Eject the SIM card tray
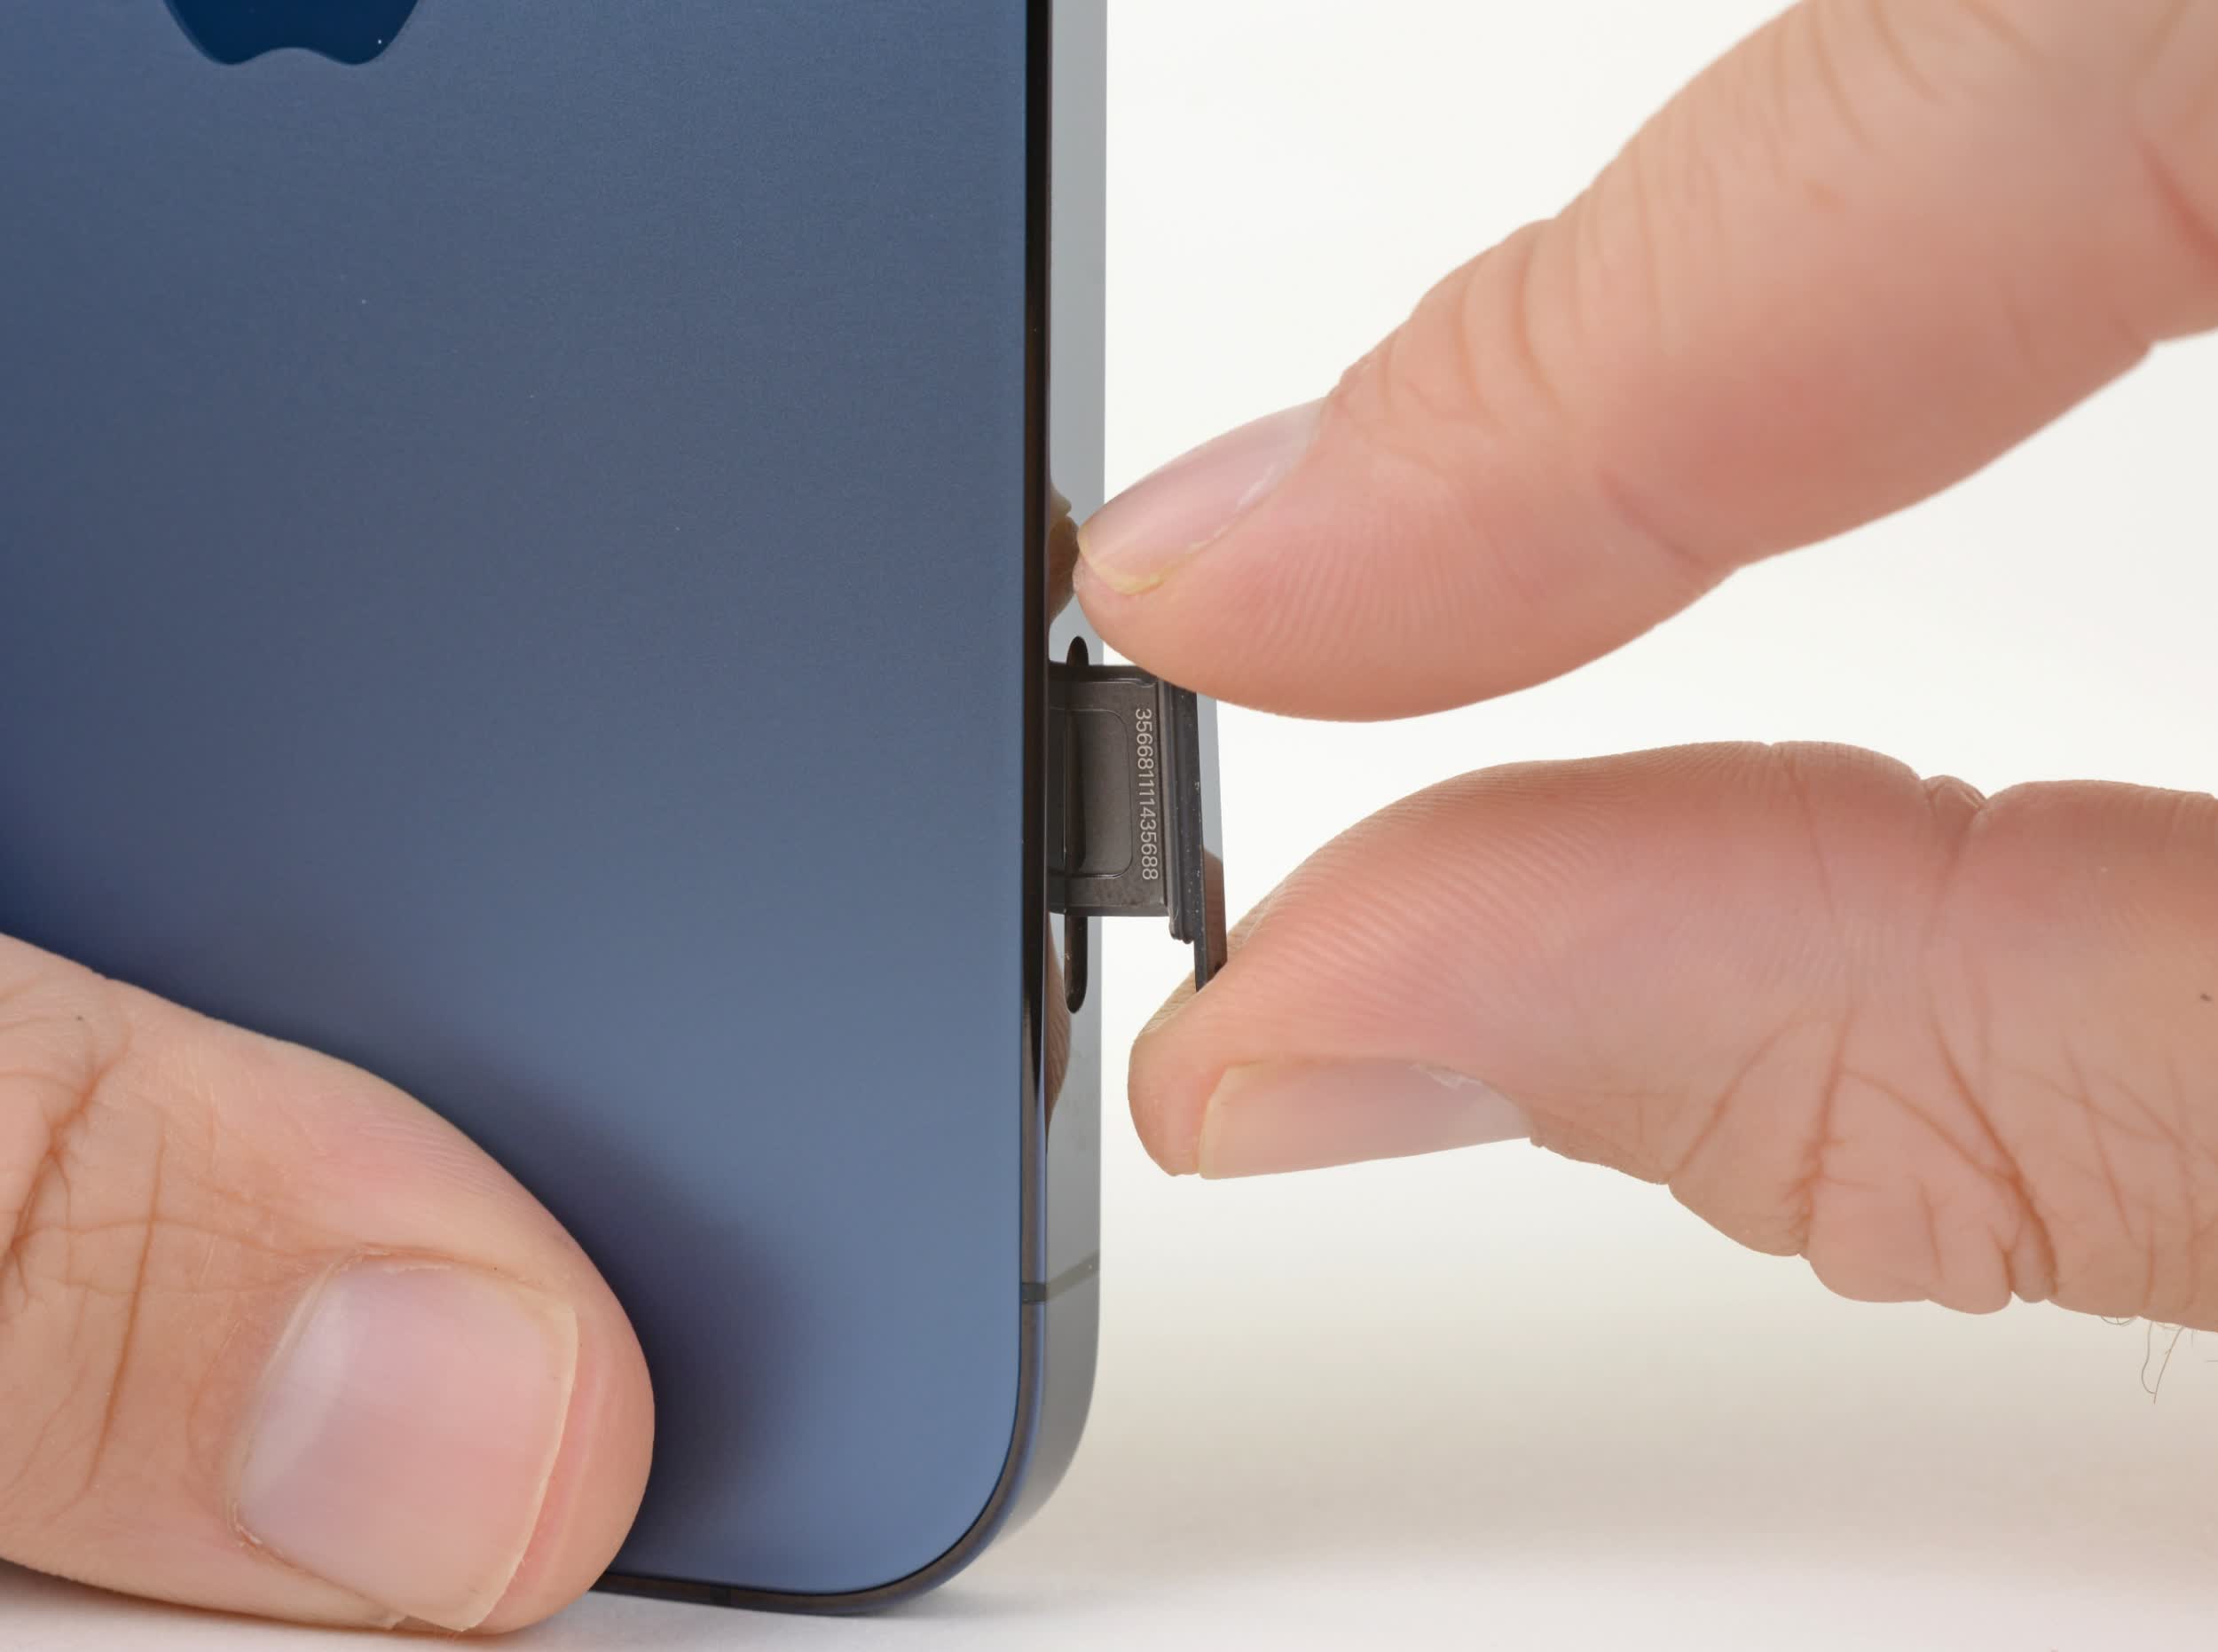
Ejecting the SIM card tray is a pivotal step in the process of changing the SIM card in your iPhone 5. This step requires precision and care to ensure that the tray is safely removed without causing any damage to the device. With the necessary tools at your disposal and a clear understanding of the SIM card tray's location, you are now ready to proceed with this crucial stage.
To eject the SIM card tray, you will need to use a paperclip or a SIM eject tool. Take the paperclip or tool and insert it into the small pinhole located next to the SIM card tray. Apply gentle pressure to the tool, pushing it directly into the pinhole. As you do this, you will feel a slight resistance, indicating that the tool has engaged with the internal mechanism responsible for ejecting the tray.
Continue to apply steady pressure until you feel the SIM card tray begin to protrude from the device. Once the tray is partially ejected, carefully remove it from the iPhone 5, ensuring that you maintain a firm grip to prevent the tray from slipping out unexpectedly. As the tray emerges, you will see the outline of the SIM card within it.
It's important to exercise caution and patience during this step, as the SIM card tray and the SIM card itself are delicate components that require gentle handling. Avoid using excessive force or abrupt movements, as this could potentially cause damage to the tray or the device.
With the SIM card tray successfully ejected, you have cleared the way for the next pivotal stage: removing the old SIM card from the tray. This accomplishment marks a significant milestone in the SIM card replacement process, bringing you one step closer to seamlessly transitioning to a new or updated SIM card for your iPhone 5.
As you proceed to the subsequent steps, remember to maintain a steady hand and a focused approach, ensuring that each action is carried out with precision and care. By following these instructions, you can confidently navigate the process of changing the SIM card in your iPhone 5, empowering you to manage your device's connectivity with ease and confidence.
Step 4: Remove the old SIM card
With the SIM card tray successfully ejected from your iPhone 5, the next critical step is to delicately remove the old SIM card from the tray. The SIM card is a small, rectangular card that contains vital information, including your phone number and carrier details. Before proceeding, it’s essential to handle the SIM card with care, ensuring that it remains free from damage or any form of contamination.
Begin by carefully inspecting the SIM card tray to locate the position of the old SIM card. The SIM card will be nestled within a designated slot, secured in place to prevent it from dislodging during regular use. Gently maneuver the tray to expose the old SIM card, taking note of its orientation and position within the tray.
Once you have identified the old SIM card, use your fingertips to delicately lift it from the tray, applying minimal pressure to avoid bending or damaging the card. It’s crucial to maintain a steady hand and a focused approach, ensuring that the SIM card is extracted smoothly and without any mishaps.
As you remove the old SIM card, take a moment to inspect it for any signs of damage, such as scratches or discoloration. Additionally, check for any debris or foreign particles that may have accumulated on the card, as these can potentially interfere with its functionality when inserted into the new SIM card tray.
After successfully removing the old SIM card, place it on a clean, dry surface, such as a soft cloth, ensuring that it remains free from dust and moisture. This brief interlude allows you to assess the condition of the old SIM card and prepare for the subsequent step of inserting the new SIM card into the tray.
By meticulously removing the old SIM card from the tray, you have completed a pivotal phase in the process of changing the SIM card in your iPhone 5. This accomplishment sets the stage for the forthcoming step of inserting the new SIM card, enabling you to seamlessly transition to a fresh, updated card that aligns with your mobile connectivity needs.
As you progress through the SIM card replacement process, maintain a patient and attentive approach, ensuring that each action is carried out with precision and care. By following these instructions, you can confidently manage the transition to a new SIM card for your iPhone 5, empowering you to stay connected with ease and reliability.
Step 5: Insert the new SIM card
With the old SIM card delicately removed from the tray, the next pivotal step in the process of changing the SIM card in your iPhone 5 is to seamlessly insert the new SIM card. The new SIM card, provided by your mobile carrier, is a vital component that will enable you to maintain seamless connectivity and access to your mobile network. Before proceeding, ensure that the new SIM card is activated and ready for use, aligning with your specific mobile plan and preferences.
Begin by carefully inspecting the new SIM card, taking note of its shape and size to ensure that it aligns with the dimensions of the designated slot within the SIM card tray. The new SIM card should be free from any visible damage or contamination, allowing for smooth insertion into the tray without any hindrances.
Position the new SIM card above the designated slot within the SIM card tray, aligning it with the corresponding orientation to ensure a proper fit. With a steady hand, delicately lower the new SIM card into the slot, applying gentle pressure to secure it in place. It’s important to verify that the SIM card sits flush within the tray, with no protrusions or misalignments that could impede its functionality.
As you insert the new SIM card, take a moment to ensure that it is positioned securely within the tray, minimizing any potential movements or slippage. This careful approach ensures that the new SIM card is firmly in place, ready to facilitate seamless connectivity and communication on your iPhone 5.
Once the new SIM card is securely inserted into the tray, you have achieved a significant milestone in the SIM card replacement process, setting the stage for the final step of re-inserting the SIM card tray into your iPhone 5. This accomplishment marks a pivotal transition to a fresh, updated SIM card, aligning with your mobile connectivity needs and preferences.
By following these instructions with precision and care, you can confidently manage the process of changing the SIM card in your iPhone 5, empowering you to maintain seamless connectivity and communication with ease and reliability.
Step 6: Re-insert the SIM card tray
With the new SIM card securely inserted into the tray, the final step in the process of changing the SIM card in your iPhone 5 is to carefully re-insert the SIM card tray into the device. This step requires precision and attentiveness to ensure that the tray is seamlessly integrated, allowing for uninterrupted functionality and connectivity. By following the instructions outlined in this guide, you can confidently navigate this pivotal stage, empowering you to complete the SIM card replacement process with ease and confidence.
Begin by aligning the SIM card tray with the corresponding slot on the side of your iPhone 5. Position the tray at the designated location, ensuring that it aligns with the surrounding contours of the device. With a steady hand, gently guide the tray back into the device, applying gentle pressure to facilitate its smooth insertion. It’s important to proceed with caution, avoiding any abrupt movements or excessive force that could potentially disrupt the tray’s alignment.
As the SIM card tray re-enters the device, you will feel a subtle resistance, indicating that it is securely positioning itself within the device. Continue to apply gentle pressure until the tray is fully integrated, with no protrusions or misalignments. Once the tray is in place, verify that it sits flush with the device's exterior, seamlessly blending in with the overall design of the iPhone 5.
After re-inserting the SIM card tray, take a moment to ensure that it is securely positioned, minimizing any potential movements or instability. This careful approach guarantees that the tray is seamlessly integrated, allowing for uninterrupted access to the new SIM card and ensuring that your iPhone 5 remains connected to your preferred mobile network.
By successfully re-inserting the SIM card tray, you have completed the final step in the process of changing the SIM card in your iPhone 5. This accomplishment marks the culmination of a user-friendly journey that has equipped you with the knowledge and confidence to manage your device’s connectivity with ease and reliability.
As you conclude this pivotal stage, take a moment to appreciate the seamless transition to a new or updated SIM card, aligning with your mobile connectivity needs and preferences. With the SIM card replacement process now complete, you can enjoy uninterrupted access to your mobile network, enabling you to stay connected with friends, family, and colleagues while leveraging the full capabilities of your iPhone 5.
Conclusion
Congratulations! You have successfully navigated the process of changing the SIM card in your iPhone 5, equipping yourself with the knowledge and confidence to manage your device's connectivity with ease and reliability. By following the comprehensive step-by-step instructions outlined in this guide, you have seamlessly transitioned to a new or updated SIM card, aligning with your mobile connectivity needs and preferences.
The Subscriber Identity Module (SIM) card plays a pivotal role in facilitating seamless communication and connectivity on your iPhone 5. Whether you're upgrading to a new device or transitioning to a different mobile carrier, understanding how to replace the SIM card is essential for maintaining uninterrupted access to your mobile network. With the user-friendly guidance provided in this article, you have gained valuable insights into the process, empowering you to undertake this task with confidence and precision.
Throughout this journey, you have gathered the necessary tools, located the SIM card tray, ejected the tray, removed the old SIM card, inserted the new SIM card, and re-inserted the tray into your iPhone 5. Each step was meticulously crafted to provide clear, accessible instructions, ensuring that you could seamlessly progress through the process without any complications.
By embracing a patient and attentive approach, you have demonstrated the ability to handle delicate components with care and precision, safeguarding the integrity of your iPhone 5 and the functionality of the SIM card. This accomplishment reflects your commitment to maintaining the seamless operation of your device, enabling you to stay connected with friends, family, and colleagues without any disruptions.
As you conclude this journey, take a moment to appreciate the knowledge and skills you have acquired. The ability to confidently manage the process of changing the SIM card in your iPhone 5 is a valuable asset, empowering you to maintain control over your device's connectivity and communication capabilities. With this newfound expertise, you can approach future device maintenance tasks with the same level of assurance and proficiency.
Moving forward, remember that the process of changing the SIM card in your iPhone 5 is a user-friendly endeavor that you can confidently undertake whenever the need arises. By leveraging the insights gained from this guide, you can ensure that your device remains seamlessly integrated with your preferred mobile network, allowing you to harness its full potential for communication and connectivity.
As you embark on your continued journey with your iPhone 5, may the knowledge and confidence gained from this experience serve you well. Embrace the seamless transition to a new or updated SIM card, knowing that you possess the expertise to manage your device's connectivity with ease and reliability.